
Bleaching wood furniture is a great way to give your old, dark furniture a fresh, lighter look. If you’re trying to remove stains, lighten up the color, or give your furniture a new vibe, bleaching is an easy and affordable option.
It’s a simple DIY project that can completely transform a piece without having to replace it. By using the right bleaching agents and following a few easy steps, you can achieve an amazing sun-washed effect that highlights the wood’s natural grain.
In this blog, I’ll go through everything you need to know, from choosing the right bleach to applying it safely. With a little patience and the right technique, your furniture will look as good as new. Let’s get started and see how you can brighten up your wooden furniture with this simple process!
What is Wood Furniture Bleaching and Why You Should Choose It
Wood furniture bleaching is a process in which a bleaching agent is used to lighten the color of the wood. It’s like giving your old, dark furniture a fresh, sun-bleached look. Bleaching can help remove stains and watermarks or just lighten the wood to give it a more natural and bright appearance.
So, why should you choose bleaching? It’s a great way to restore and refresh furniture without completely replacing it. If you have a piece of furniture that looks old or too dark, bleaching is an affordable way to make it look brand new again.
Plus, it lets the natural wood grain show through, creating a stylish, rustic, or beachy vibe. This is a simple DIY project that takes little time and can give your furniture a whole new look!
Best Types of Woods for Bleaching
Not all types of wood are created equal when it comes to bleaching. Some woods take the bleach well and lighten evenly, while others may not bleach as easily or evenly.
1. Oak
- Why it’s great: Oak is one of the best woods for bleaching. Its strong, open grain allows the bleach to penetrate evenly and gives great results.
- Look for: A lightened wood with clear grain patterns.
2. Ash
- Why it’s great: Like oak, ash has an open grain that reacts well to bleach. It lightens easily and retains its natural texture.
- Look for: A bright, almost white finish that highlights the wood’s texture.
3. Maple
- Why it’s great: Maple is a light, pale wood that takes bleach well, especially if you want a more subtle lightening effect.
- Look for: A soft, natural-looking light finish that still shows the wood’s grain.
4. Pine
- Why it’s great: Pine is soft and easy to bleach. It’s a popular choice for DIY projects since it’s affordable and takes bleach fairly well.
- Look for: A warm, lightened tone that enhances the wood’s grain.
5. Birch
- Why it’s great: Birch is another good choice for bleaching. It takes the bleach evenly and gives a soft, natural look.
- Look for: A pale, soft finish with visible grain.
Some woods don’t bleach as well as others. For example, cherry and mahogany are harder to bleach and might not give you the even, lightened look you want. These woods may end up looking patchy or uneven after bleaching.
When choosing a wood to bleach, keep these tips in mind. Softer woods with an open grain, like oak and ash, are the easiest to bleach and give the best results.
Types of Bleaching Agents
When it comes to bleaching wood furniture, there are a few different types of bleach you can use. Each one works a little differently, so it’s important to pick the right one for your project.
1. Household Bleach (Sodium Hypochlorite)
- What it is: The same bleach you use for laundry and cleaning.
- Best for: Lightening softwoods like pine.
- How it works: It lightens wood by breaking down the natural pigments.
2. Oxalic Acid
- What it is: A stronger, acid-based bleach that’s good for removing stains.
- Best for: Removing rust, watermarks, or dark stains.
- How it works: It gently lightens wood without damaging the grain.
3. Two-Part Bleach Systems (Peroxide-Based)
- What it is: A combination of hydrogen peroxide and a special activator.
- Best for: Achieving a much lighter, sun-washed look.
- How it works: The two parts mix to lighten the wood significantly.
Each of these bleach options can give your wood a fresh new look, but the key is knowing which one will work best for your desired results!
How to Bleach Wood Furniture: A Step-By-Step Guide
Bleaching wood furniture is a simple way to give old or dark pieces a fresh, lighter look.
Step 1: Gather Your Supplies
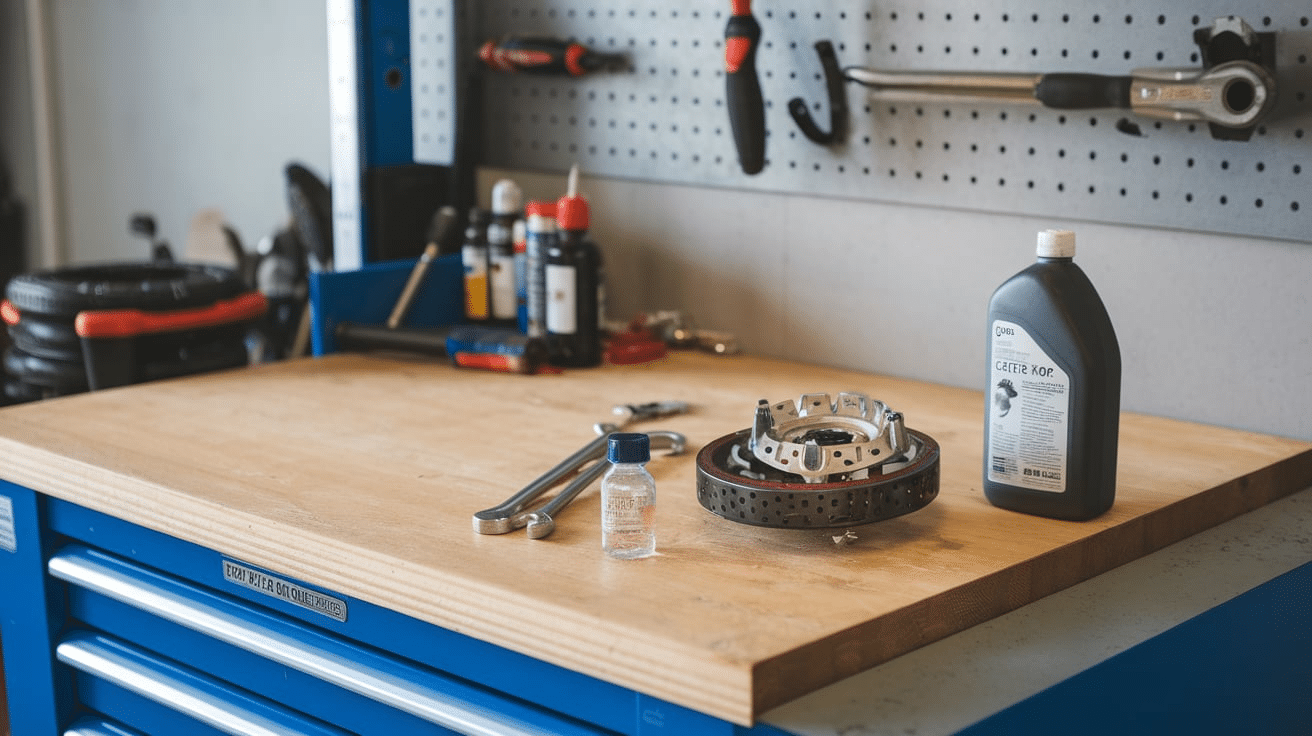
Before you start, make sure you have everything you need:
- Bleach (household bleach, oxalic acid, or a two-part bleach system)
- Gloves and safety goggles for protection
- Brush or cloth to apply the bleach
- Water and vinegar to rinse
- Sandpaper for prepping the wood
- Drop cloth to protect your work area
Step 2: Prepare the Furniture

Start by cleaning your furniture to remove any dirt or grease. Wipe it down with a damp cloth and let it dry completely. If the furniture has a finish, like paint or varnish, you’ll need to strip it off. You can do this by sanding or using a chemical stripper.
Step 3: Sand the Wood
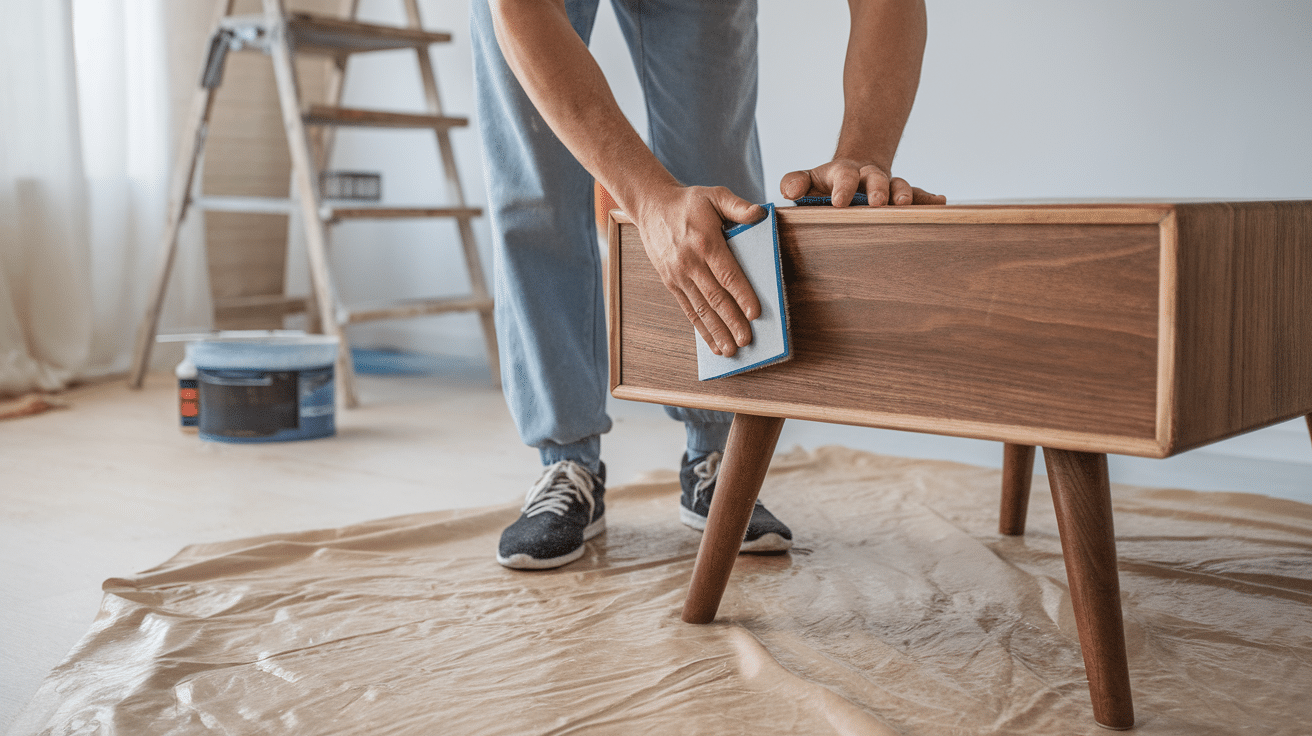
Use fine-grit sandpaper to smooth the wood surface. Sanding helps the bleach soak into the wood more evenly and also opens up the wood pores, allowing the bleach to work better. Make sure to sand along the grain to avoid scratches, and always wipe away any dust before applying the bleach.
Step 4: Apply the Bleach
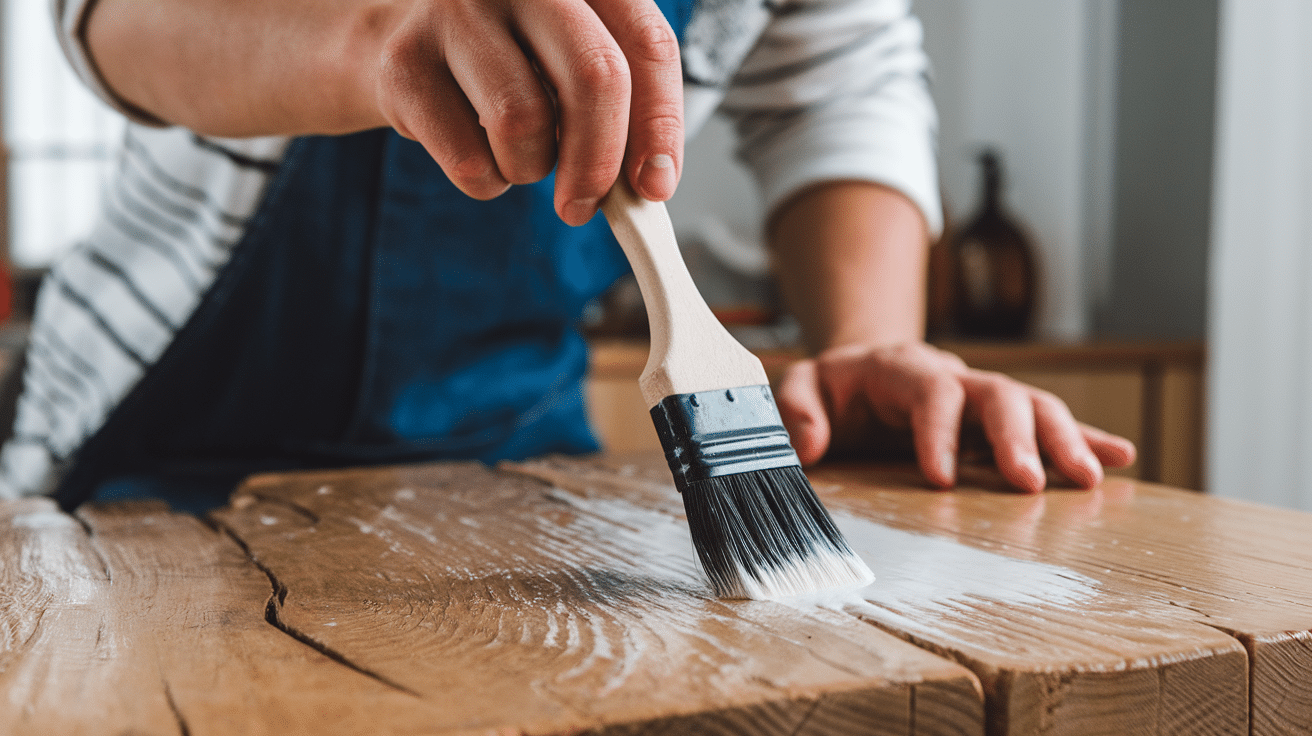
Now it’s time to apply the bleach! Depending on the type of bleach you’re using:
- Household bleach: Mix 1 part bleach with 3 parts water. Apply it with a brush or cloth, working in small sections.
- Oxalic acid: Follow the instructions on the package for mixing.
- Two-part bleach: Mix the two parts as directed and apply them to the wood.
Be sure to apply the bleach evenly, and don’t leave it on for too long. You can always add more if you want a lighter finish.
Step 5: Let the Bleach Work & Neutralize It
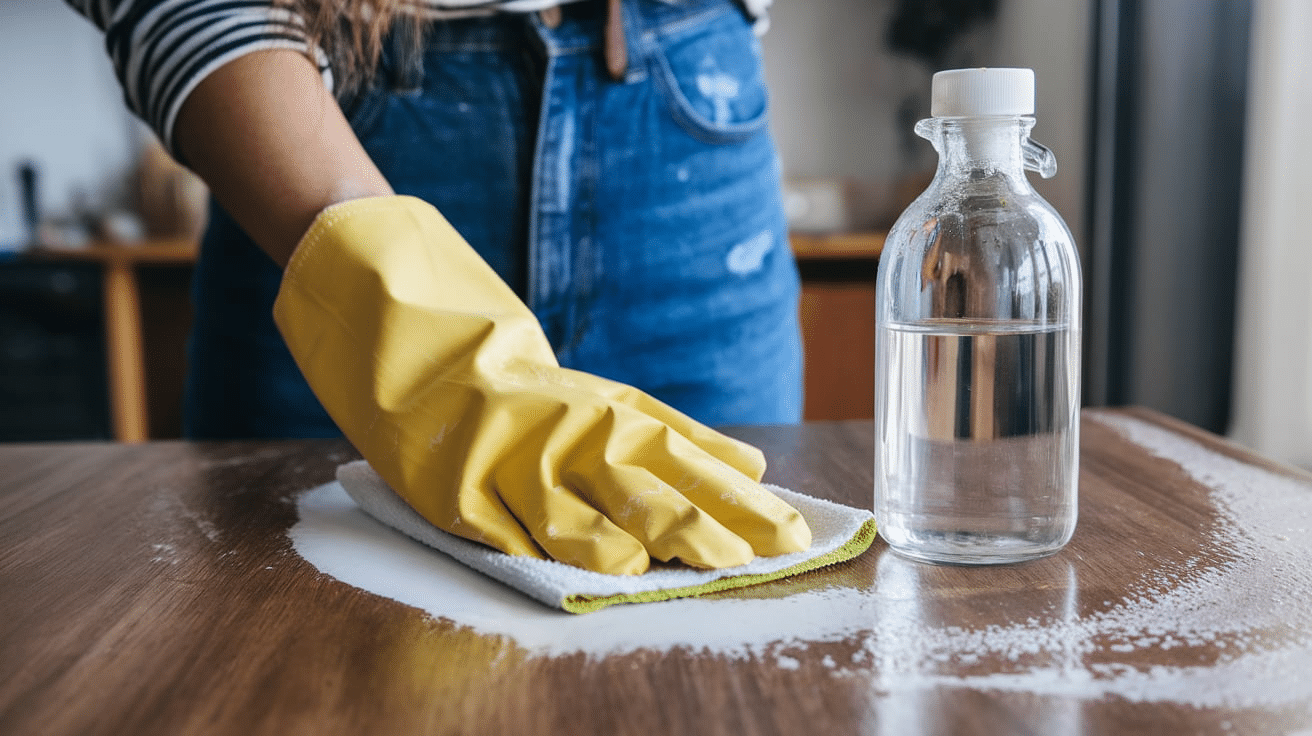
After applying the bleach, let it sit for about 15-30 minutes or until you see the wood lightening. Once you’re happy with the lightness, it’s time to stop the bleach from working. Mix a solution of vinegar and water (1 part vinegar to 3 parts water) and wipe the wood down. This will neutralize the bleach. Rinse the wood with clean water and let it dry.
Step 7: Apply a Protective Finish
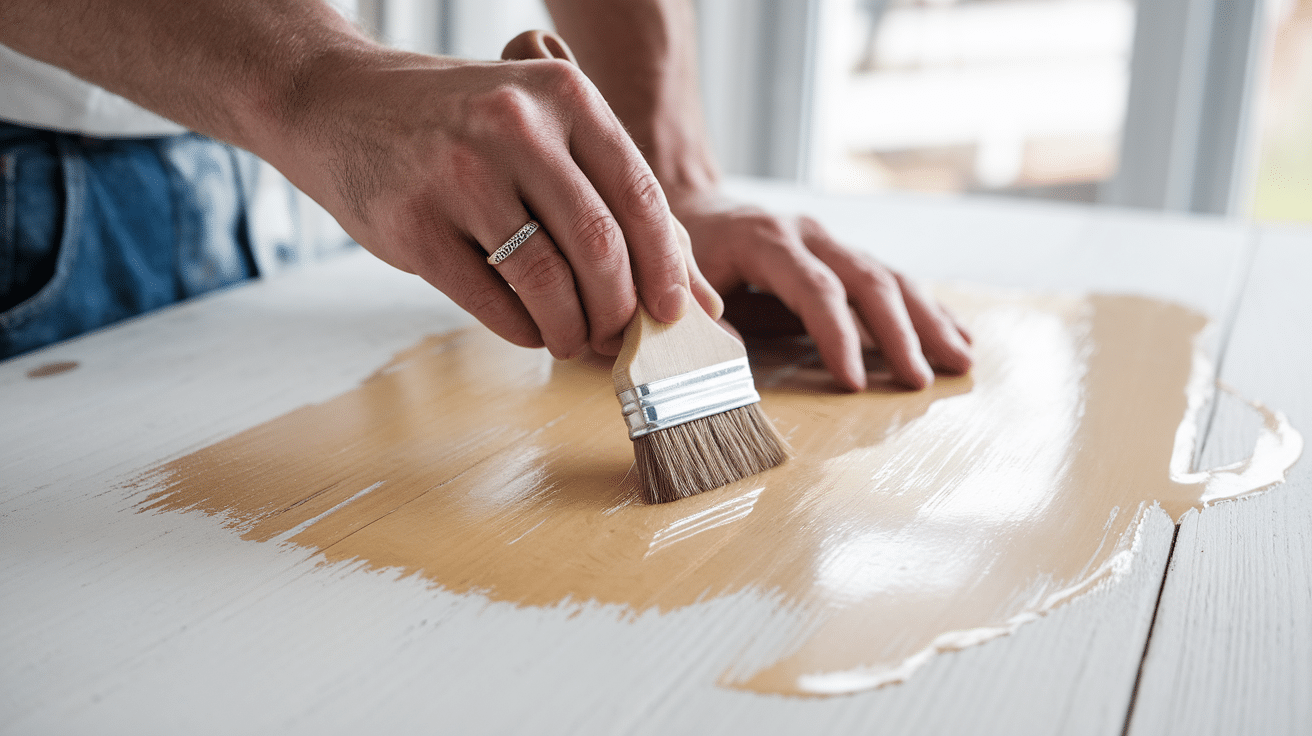
After bleaching, it’s important to protect the wood. You can apply a clear coat, wax, or varnish to seal the wood and keep it looking fresh. This will also help preserve the lightened color and add a layer of protection against scratches, stains, and daily wear.
Bleaching wood furniture is an easy and affordable way to refresh old pieces. By following these steps and taking your time, you can get lightened wood that looks great in any room. Just remember to be patient and test a small area first!
Best Types of Furniture for Bleaching
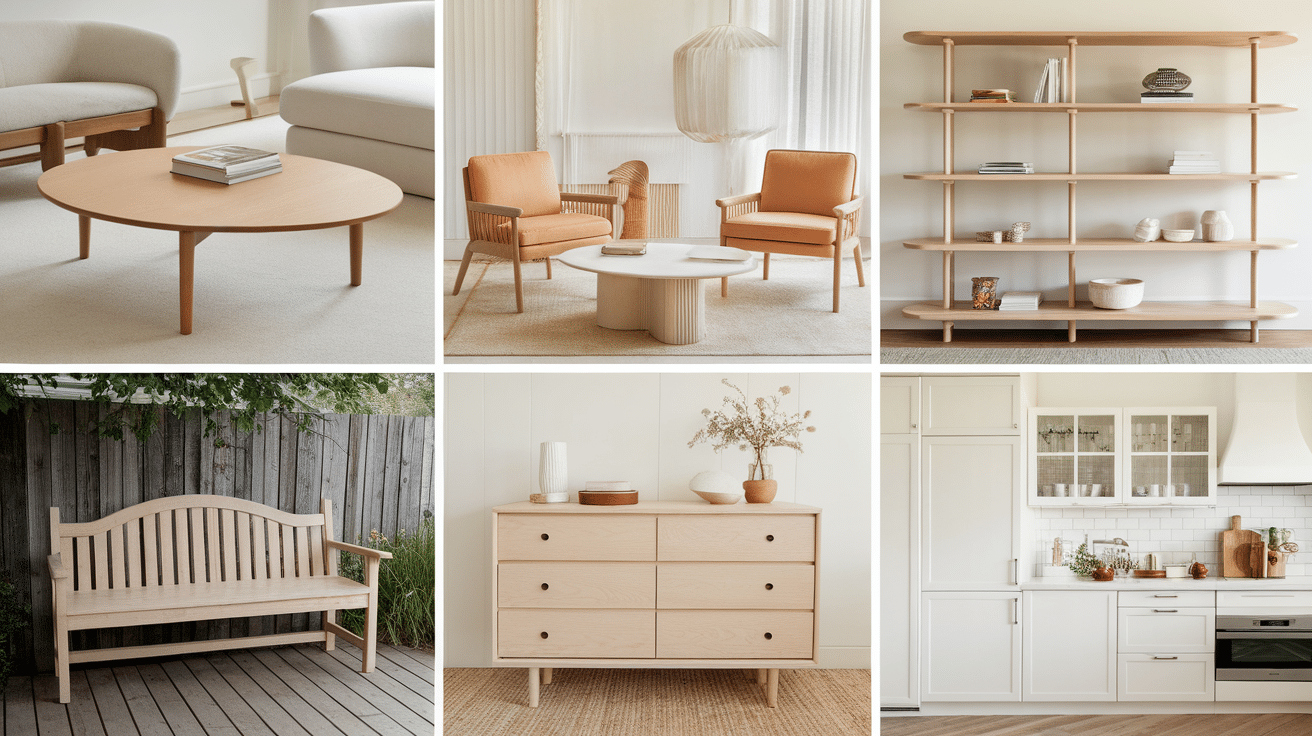
Not all furniture is suitable for bleaching, so it’s important to know which pieces will give you the best results.
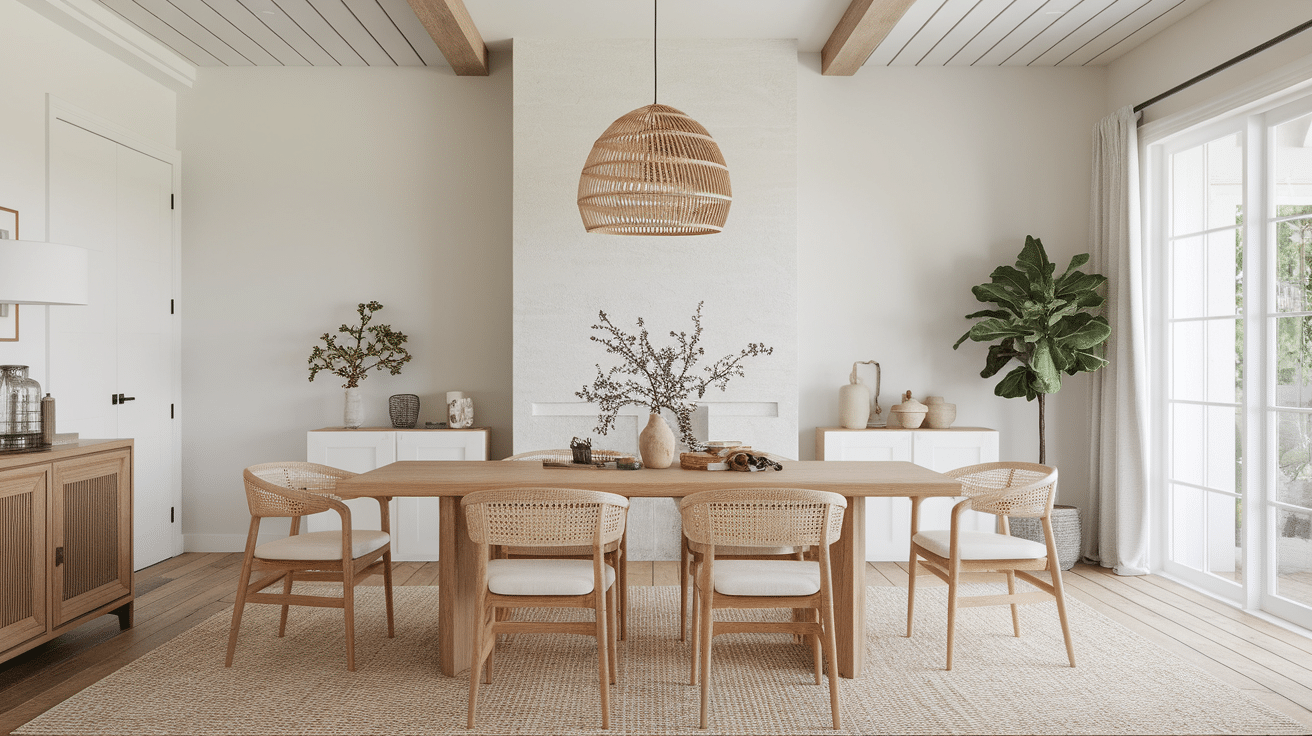
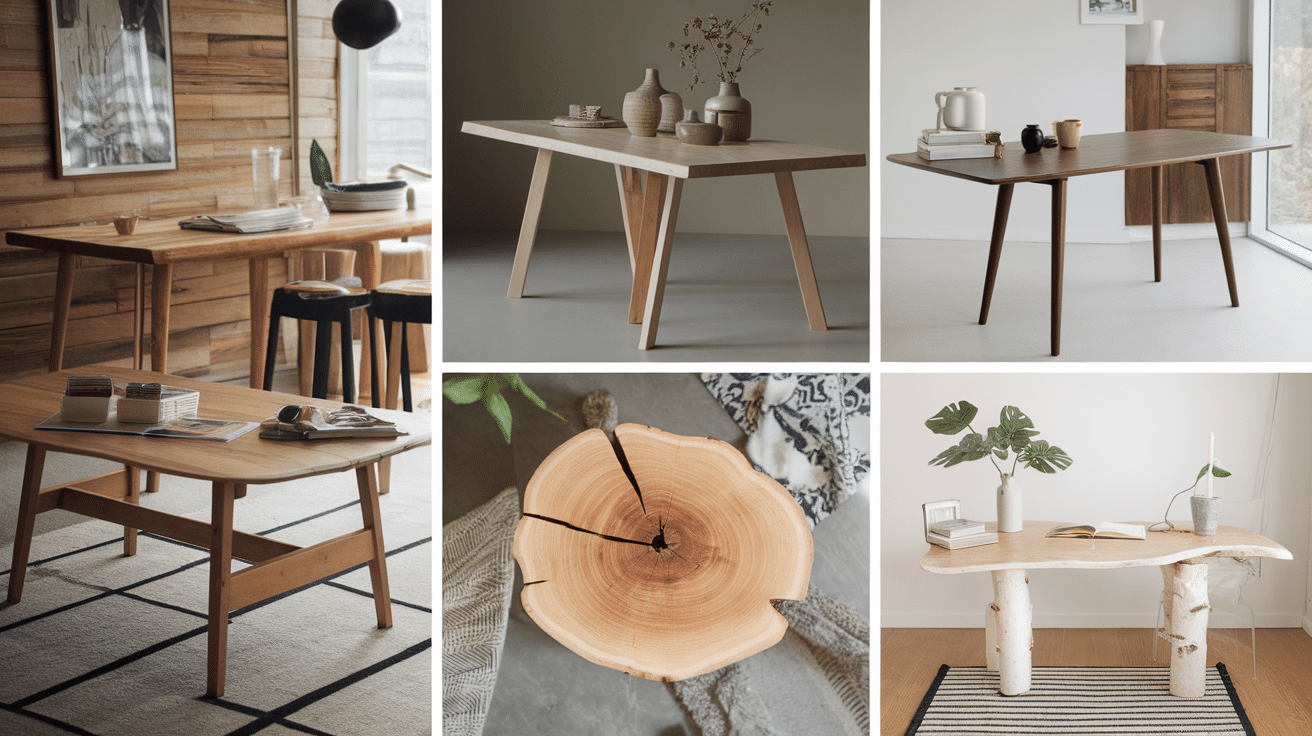
1. Wooden Tables (Dining, Coffee, and Side Tables): Wooden tables are some of the best pieces to bleach. The surface area allows for even coverage, and the wood can handle the bleaching process well. Bleaching a table can make it look more modern or give it a sun-washed, rustic look.
2. Wooden Chairs: Chairs made from solid wood, like oak or pine, are perfect for bleaching. They often have simple, clean lines, which make them easy to work with. Bleaching can give older chairs a fresh, lightened look that blends well with modern or farmhouse décor.
3. Bookshelves and Storage Units: Bookshelves or storage units made from solid wood can be transformed by bleaching. Bleaching helps lighten the wood, making it look more spacious and open. It also gives these pieces a fresh look, especially when you want them to blend with lighter-colored walls or décor.
4. Wooden Benches: Sturdy wood benches can be easily bleached, and the results often look great in entryways, hallways, or outdoor spaces. Whether you want to keep it natural or go for a more distressed look, bleaching can give a bench a fresh update.
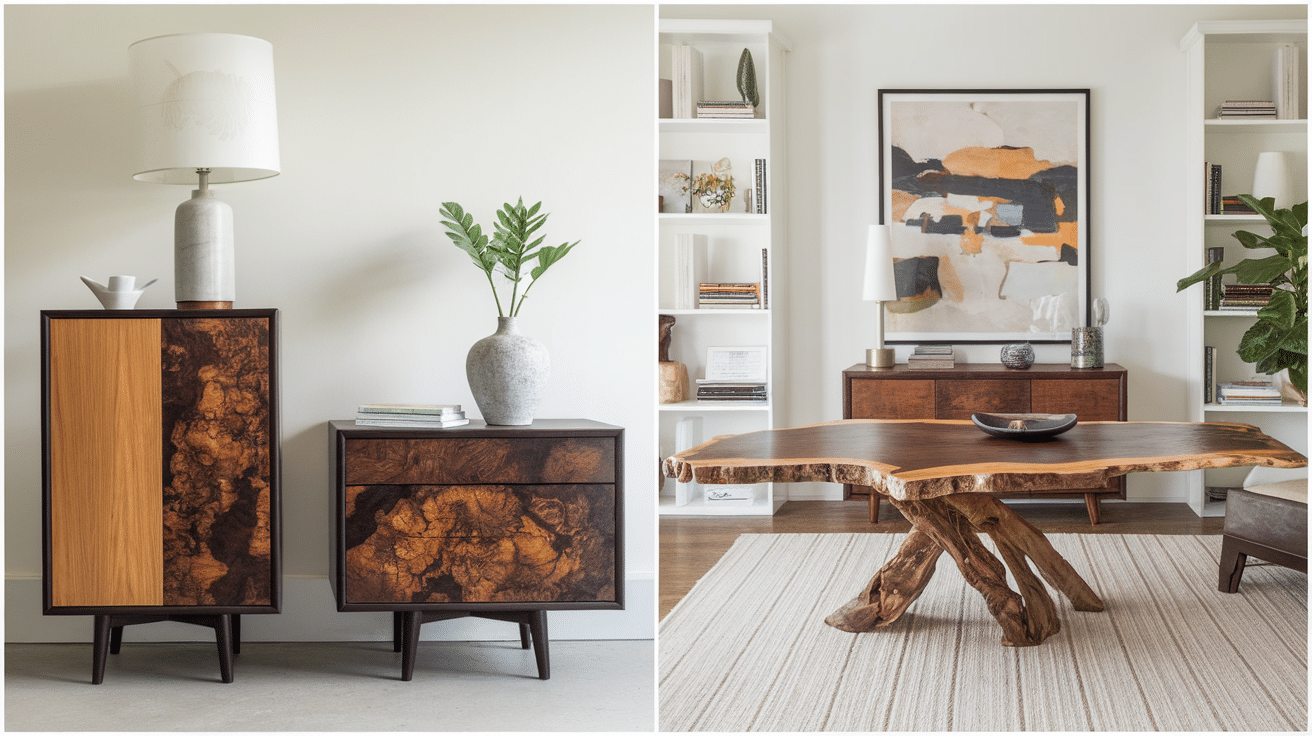
5. Wooden Dressers and Nightstands: Wooden bedroom furniture, like dressers and nightstands, often respond well to bleaching. If your pieces are looking dark or outdated, bleaching can give them a brighter, more modern feel without needing a complete overhaul.
6. Wooden Cabinets: If you’re looking to update kitchen or bathroom cabinets, bleaching is a great option. It helps remove years of wear and tear, lightens the wood, and gives the cabinets a fresh, updated look.
Avoid Bleaching:
- Veneer Furniture: Veneer is a thin layer of wood glued onto another material. It’s harder to bleach because it can peel or warp.
- Exotic Hardwoods: Woods like mahogany, walnut, and cherry often don’t bleach well and may not give you the desired result.
In short, solid wood furniture like tables, chairs, and bookshelves are the best candidates for bleaching. With the right type of wood, you can give your furniture a fresh new look that brightens up your space.
How to Maintain Bleached Wood Furniture
After bleaching your furniture, it’s important to take good care of it so it stays looking fresh and unique. Proper maintenance will help preserve the lightened look and protect the wood from damage.
1. Clean Gently: Dust and clean the surface using a soft cloth or microfiber towel. Avoid harsh chemicals or abrasive sponges that could scratch or damage the finish.
2. Avoid Excess Moisture: Water can damage wood over time. If any spills happen, clean them up quickly with a dry cloth to prevent stains or warping.
3. Apply a Protective Finish: After bleaching, it’s a good idea to apply a protective wax or polyurethane finish. This helps seal the wood and protect it from scratches and spills.
4. Keep It Out of Direct Sunlight: Sunlight can fade and dry out wood. To prevent your bleached furniture from losing its color over time, try to keep it away from direct sunlight.
5. Regularly Reapply Wax or Oil: To keep the wood looking shiny and fresh, reapply a light coat of wax or oil every few months.
By following these simple maintenance tips, your bleached wood furniture will stay good-looking for years to come, looking as fresh as the day you gave it a makeover!
Conclusion
Bleaching wood furniture is a simple and affordable way to breathe new life into old pieces. Whether you’re looking to lighten a dark table, remove stains, or create a rustic, sun-washed look, bleaching can help you achieve that perfect transformation.
By choosing the right bleach and following the proper steps, you can brighten up your furniture without having to replace it. Remember, not all wood types are suitable for bleaching, so it’s important to know which ones will give you the best results.
With a little patience and care, you can refresh your furniture and give your home a fresh new look. Just be sure to follow safety guidelines and take your time. Bleached furniture can add character and brightness to any room, giving it a modern, updated feel.
Frequently Asked Questions
Will bleaching damage my wood?
If done correctly, bleaching shouldn’t damage your wood. However, if you leave the bleach on for too long or use too strong of bleach, it can weaken or dry out the wood. Always follow instructions and test on a small area.
Is it safe to bleach furniture indoors?
Yes, but be sure to work in a well-ventilated area and wear protective gear like gloves and goggles. Bleach can release fumes, so it’s important to have good airflow or use a mask if necessary.
Can I bleach painted furniture?
If your furniture is painted, you’ll need to strip the paint before bleaching. Bleach won’t work on painted surfaces. After removing the paint, you can proceed with bleaching the bare wood.