
Getting cabinet hardware placement right seems simple until it’s not. A knob sits too high, a pull feels awkward, and suddenly those beautiful new cabinets look slightly off.
The difference between a professional finish and a DIY disaster often comes down to just a few millimeters. Most homeowners wing it, marking spots by eye and hoping for the best.
But there’s a better way. Proper measurements for knobs and pulls follow specific guidelines that designers and installers use every single day.
These aren’t complicated formulas or confusing calculations. They’re straightforward numbers that ensure hardware lines up perfectly, feels comfortable in hand, and looks intentional rather than random.
Cabinet Hardware Placement Basics
Getting cabinet hardware placement wrong creates problems that show up every single day. Poorly positioned knobs force an awkward reach. Pulls installed at random heights look messy and unplanned.
The hardware itself might be stunning, but bad placement ruins the effect. Good placement does three things well.
- It makes opening cabinets feel natural and easy.
- It creates visual balance across the kitchen or bathroom.
- And it ties the whole design together in a way that feels intentional.
This isn’t about perfection for perfection’s sake. It’s about function meeting form. When hardware sits in the right spot, cabinets work better and look better, plain and simple.
Standard Cabinet Hardware Placement Measurements

Standard measurements take the guesswork out of hardware installation. These numbers work for most cabinets and create consistent, professional results across different door and drawer sizes.
| Hardware Type | Placement | Measurement |
|---|---|---|
| Knobs on doors | From the corner edge | 2.5 to 3 inches |
| Upper cabinet knobs | Positioning | Lower corner |
| Lower cabinet knobs | Positioning | Upper corner |
| Vertical pulls | From edge | 2.5 to 4 inches |
| Drawer pulls (centered) | Position | Horizontal center |
| Drawer pulls (top-aligned) | From the top edge | 2.5 to 3 inches |
| Small drawers | Pull size | 3 to 4 inches |
| Large drawers | Pull size | 5 to 12 inches |
Cabinet Hardware Placement by Cabinet Type
Cabinet hardware placement varies by cabinet type, room, and style. Understanding these differences helps achieve better ergonomics, visual balance, and long-term functionality while avoiding common placement mistakes.
1. Upper Cabinet Hardware Placement
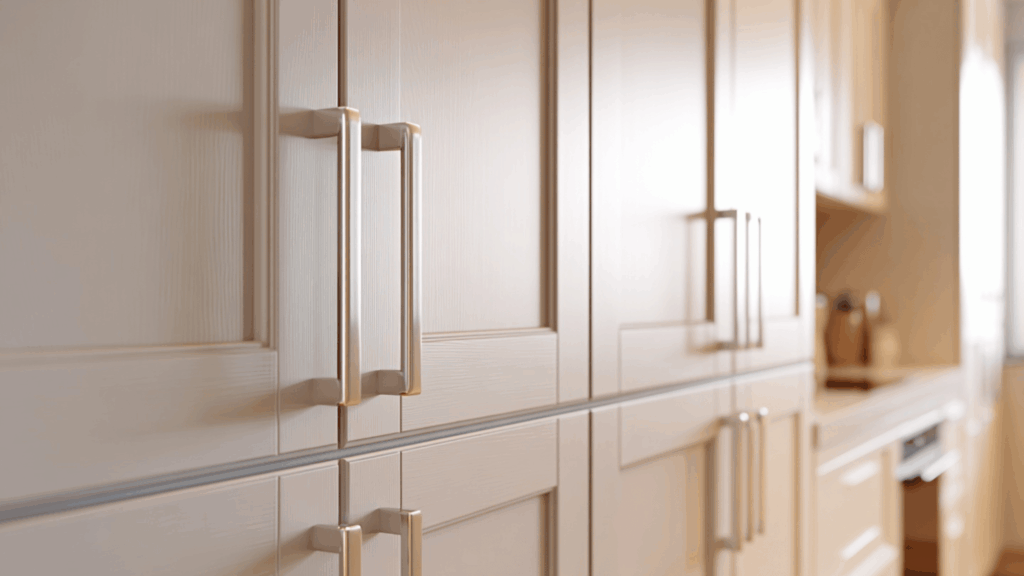
Upper cabinet hardware should be placed with eye-level ergonomics in mind to ensure comfortable daily use. Knobs or pulls are typically positioned on the lower corners of doors, while pulls are often installed vertically along the stile.
Vertical alignment is preferred for easier reach, though horizontal placement can work for modern designs. Consistency across all upper cabinets is essential to maintain a clean, intentional appearance.
2. Lower Cabinet Hardware Placement

Lower cabinet hardware placement focuses on comfort and ease of reach since these cabinets are used more frequently.
Knobs are commonly installed on the upper corners of doors, while pulls are aligned vertically for better leverage. Placement should feel natural when bending or reaching down.
Maintaining consistent alignment with upper cabinets creates visual harmony throughout the space and avoids a disjointed look.
3. Tall Pantry Cabinet Hardware Placement
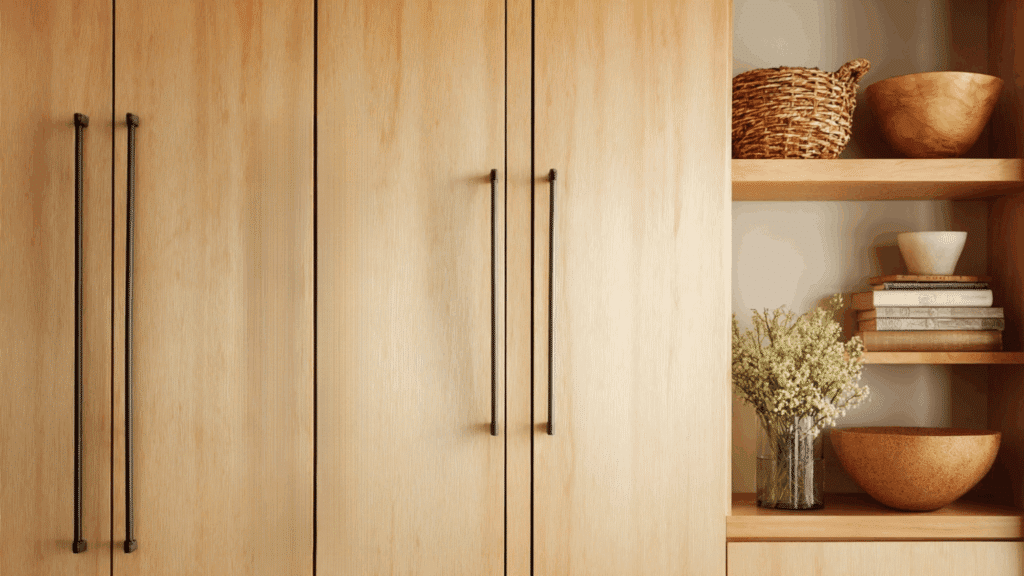
Tall pantry cabinets benefit from vertical pull alignment to support smooth operation and visual continuity.
Pulls should be centered on the cabinet stile and placed at a comfortable height for most users. Full-height cabinets often require longer pulls to balance proportions and improve grip.
Consistent vertical placement across pantry doors boosts both usability and the streamlined appearance of tall cabinetry.
4. Kitchen Cabinet Hardware Placement
Kitchen cabinet hardware placement must balance function and style due to frequent use. Common mistakes include inconsistent heights, ignoring drawer sizes, or mixing styles poorly.
Modern kitchens favor clean, aligned pulls, while traditional kitchens may allow slightly varied placement for decorative appeal. Following a unified placement strategy across all cabinets helps the kitchen feel cohesive, efficient, and professionally designed.
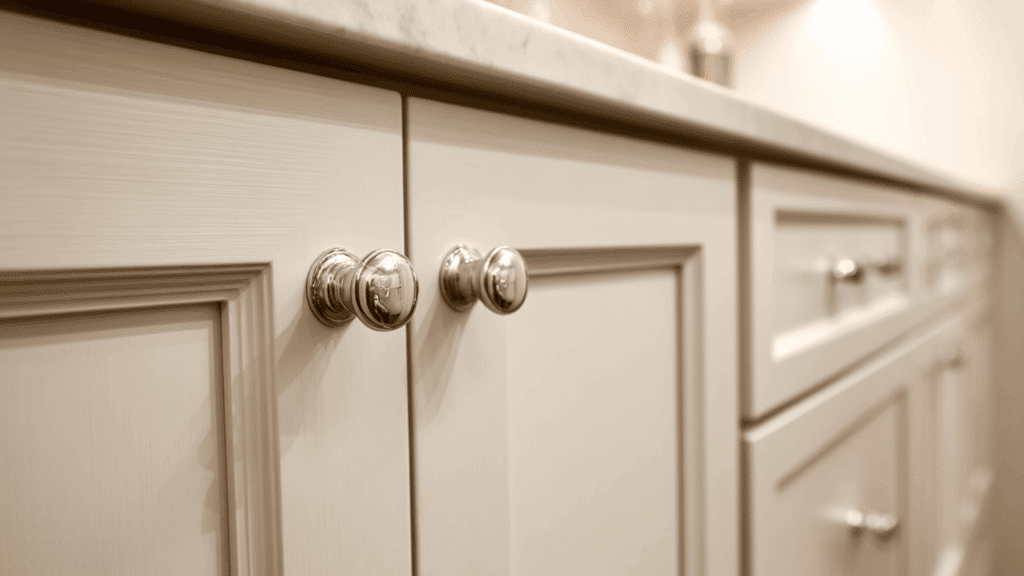
5. Bathroom Cabinet Hardware Placement

Bathroom cabinet hardware placement should consider vanity drawer spacing and moisture exposure. Hardware is typically centered on drawers and placed near door corners for easy access.
Since bathrooms experience humidity, positioning should allow easy cleaning and minimize water contact.
Proper spacing between drawer pulls improves usability while maintaining a balanced look, especially on smaller vanity cabinets with limited surface area.
6. Laundry Room & Utility Cabinets
Laundry room and utility cabinets require durable, practical hardware placement due to heavy use.
Pulls should be easy to grip, especially when hands are wet or full. Placement should prioritize comfort and accessibility over decorative concerns.
Consistent alignment improves organization and efficiency, while sturdy positioning ensures hardware withstands frequent opening, closing, and heavier cabinet loads over time.
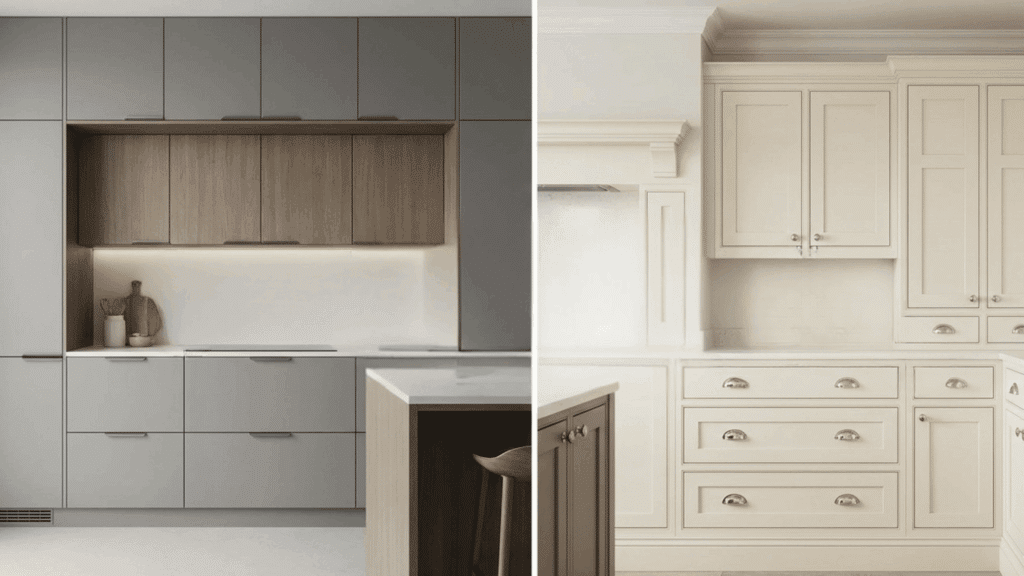
7. Modern Cabinet Hardware Placement
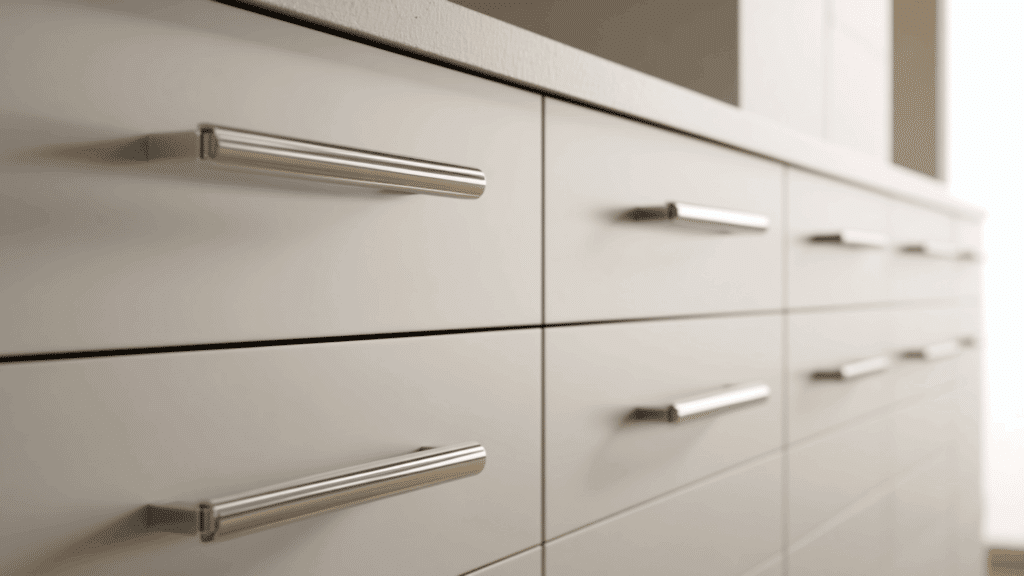
Modern cabinet hardware placement emphasizes clean alignment and minimal visual clutter. Pulls are often aligned horizontally on drawers and vertically on doors for a streamlined effect.
Spacing is precise, with hardware placed consistently across all cabinets. Minimalist designs favor longer pulls and fewer variations, making accurate placement critical to achieving a sleek, contemporary appearance that feels intentional rather than accidental.
8. Traditional Cabinet Hardware Placement
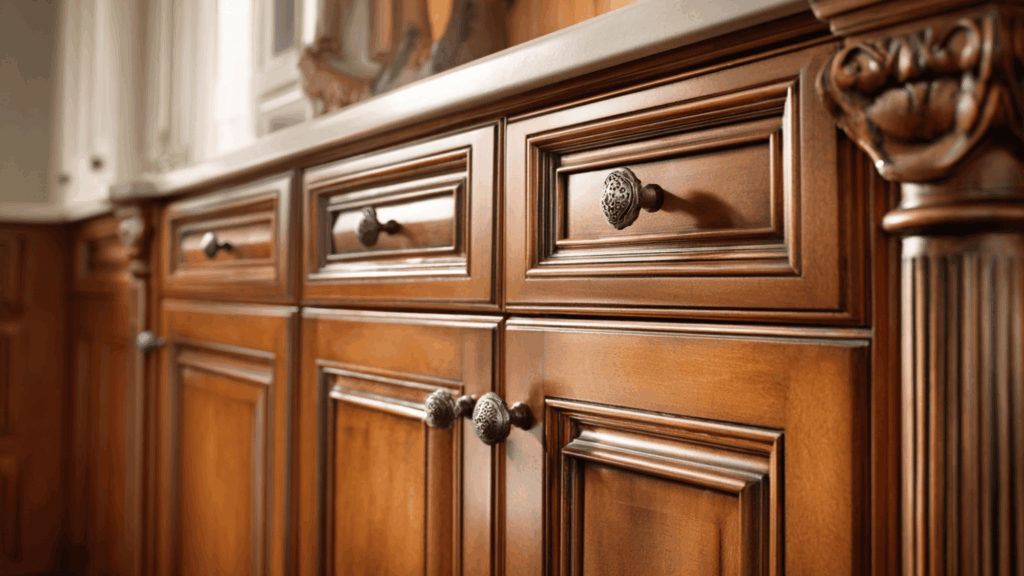
Traditional cabinet hardware placement focuses on symmetry and visual balance. Knobs are commonly centered on door panels or placed consistently near corners, while pulls align evenly across drawers.
Slight decorative variations are acceptable, but alignment should still feel deliberate.
Balanced spacing enhances the classic aesthetic and prevents cabinets from appearing uneven or cluttered, especially in kitchens with detailed molding or raised-panel doors.
9. Shaker Cabinet Hardware Placement
Shaker cabinet hardware placement often sparks debate between centered and rail-based positioning.
Centered placement on drawers provides a clean look, while rail-based placement aligns hardware with the cabinet frame for a more traditional feel. Consistency is key regardless of the chosen method.
Proper placement amplifies the simple, structured design of Shaker cabinets without overpowering their understated style.
Common Cabinet Hardware Placement Mistakes to Avoid
Poor hardware placement shows up immediately, and fixing it means new drill holes. These common mistakes turn up in kitchens and bathrooms all the time, yet they’re completely avoidable.
- Installing knobs dead center on cabinet doors instead of at the corners.
- Mixing knob positions between upper and lower cabinets randomly.
- Placing pulls too close to cabinet edges, where fingers can’t grip properly.
- Ignoring the cabinet door swing direction when positioning hardware.
- Using identical placement for different-sized drawers and doors.
- Failing to account for decorative trim or raised panel details.
Mixing Knobs and Pulls: Placement Do’s and Don’ts
Mixing knobs and pulls adds visual interest, but only when done with intention. Random combinations look confused. Strategic mixing creates a polished, designer look across the space.
Do’s:
- Use knobs on cabinet doors and pulls on drawers for clear function.
- Keep all knobs at the same height and all pulls aligned consistently.
- Match metal finishes across both knobs and pulls throughout the space.
- Consider scale by using larger pulls on wider drawers and doors.
Don’ts:
- Switch between knobs and pulls randomly on similar cabinet types.
- Mix too many different styles or finishes in one room.
- Place knobs and pulls at completely different distances from the edges.
- Ignore the overall design style when combining hardware types.
The Bottom Line
Getting hardware placement right isn’t about following rigid rules for the sake of it. It’s about making cabinets that work smoothly and look cohesive.
Those standard measurements exist because they’ve been tested in countless kitchens and bathrooms. They work. Start with the basics: knobs in corners, pulls aligned vertically, consistent spacing throughout.
Then adjust based on the specific cabinets and personal comfort. Measure twice, drill once. Use a template for consistency.
And remember that even small shifts in placement make big differences in daily use. Take the time to mark positions carefully now, and those cabinets will feel right every single time they’re opened.