
We’ve all been there, staring at an old wooden chair, picture frame, or craft project, thinking about how to breathe new life into it.
Wood painting can change boring items into something special.
Maybe you found a forgotten wooden shelf in your garage or inherited a tired-looking side table from your grandparents.
Acrylic paint has become the go-to solution for DIY enthusiasts and crafters looking to refresh wooden surfaces.
Why? Because It’s:
- Easy to use
- Affordable
- Available everywhere
- Quick-drying
In this guide, I’ll walk you through everything you need to know about painting wood with acrylics.
Trust me; by the end of this blog, you’ll have the confidence to tackle your wood painting project with zero guesswork. Let’s get started!
Can You Use Acrylic Paint on Wood?
Absolutely, you can paint wood with acrylics! Let me break it down for you.
I’ve painted everything from old picture frames to backyard signs, and acrylic paint is a crafter’s best friend.
The magic happens because acrylic paint sticks to wood like a champ. It dries fast, and you don’t have to wait around all day for your project to set.
The color options? Endless. From bold reds to soft pastels, you’ll find exactly what you need.
The secret is preparation. Clean the wood surface, sand it lightly, and use a primer if you want super-smooth results.
This isn’t rocket science, just a few simple steps between you and a beautiful wooden masterpiece.
Ready to turn that boring wooden item into something spectacular? Keep reading!
Supplies for Using Acrylic Paint on Wood
Gather your gear! Don’t panic, you might already have half these supplies tucked away in a drawer. I’ll break down exactly what you’ll need for your wood painting adventure.
Paint Choices
- Student grade: Budget-friendly, perfect for beginners
- Artist-grade: Higher pigment, smoother finish
Essential Tools
- Brushes
- Foam rollers for smooth surfaces
- Sandpaper (120-220 grit works great)
- Wood primer
- Painter’s tape
- Clear sealant
Bonus tip: Check your garage or craft box first. Half these supplies might be hiding right under your nose! No need to spend a fortune getting started.
Step-By-Step Guide: Using Acrylic Paint on Wood
When I first started painting wood, I made every mistake possible. Grab a cup of coffee, and let me walk you through a foolproof method that’ll save you time and frustration.
Step 1: Prime the Wood Surface

Begin by coating your wooden surface with 2–3 layers of acrylic gesso. Use a large brush and a little water to spread the primer evenly.
This prepares the surface for smoother paint application and prevents paint from soaking into the wood. Let each coat dry fully before applying the next.
Step 2: Choose and Test Your Acrylic Paints

Select high-quality acrylic paints like Arteza, which also offer opaque metallic colors. Test them on a scrap piece of primed wood to check opacity and texture.
The gold and silver options are surprisingly vibrant and work well even on dark backgrounds, giving your artwork a vivid and professional look.
Step 3: Plan and Sketch Your Design
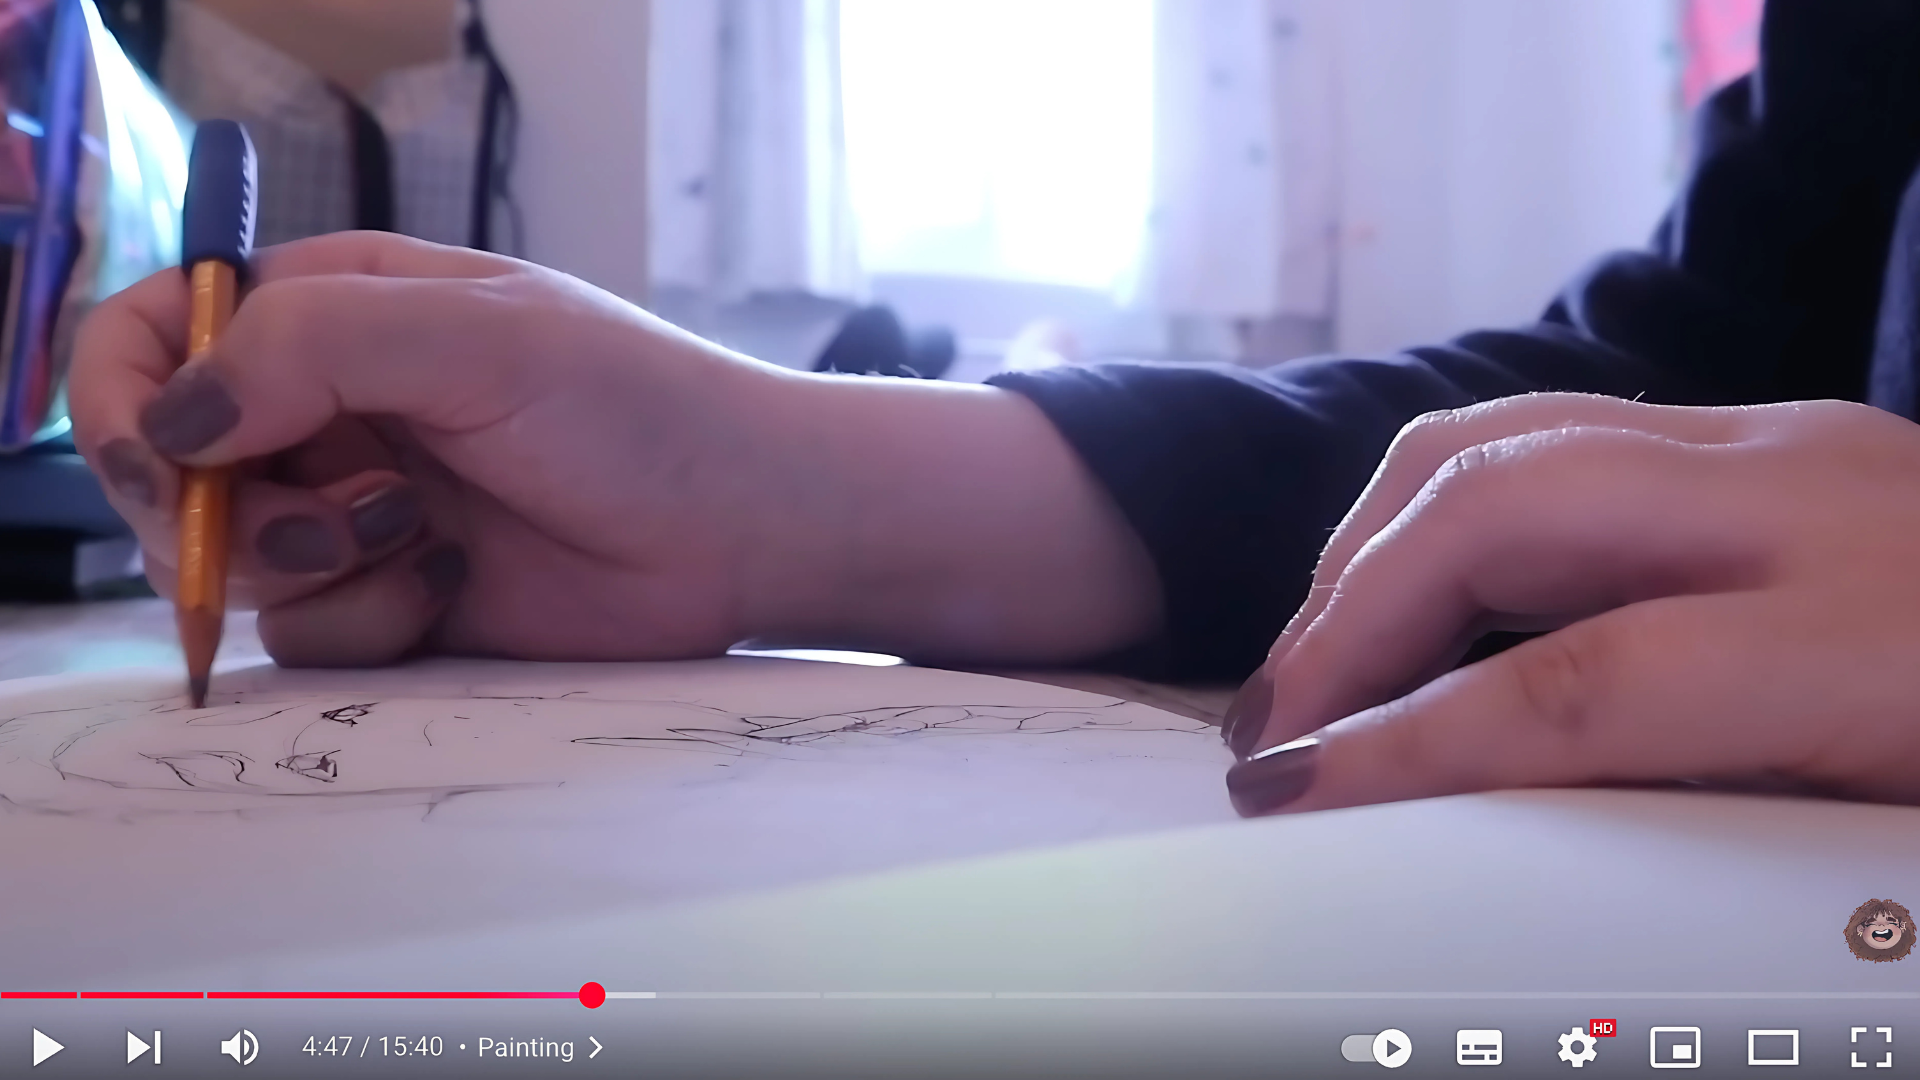
Use your sketchbook to finalize ideas, then lightly sketch your design directly onto the primed wood using a regular pencil.
The gesso layer makes it easier to erase and redraw without smudging, which is harder on unprimed canvas or bare wood. Take your time perfecting proportions and details.
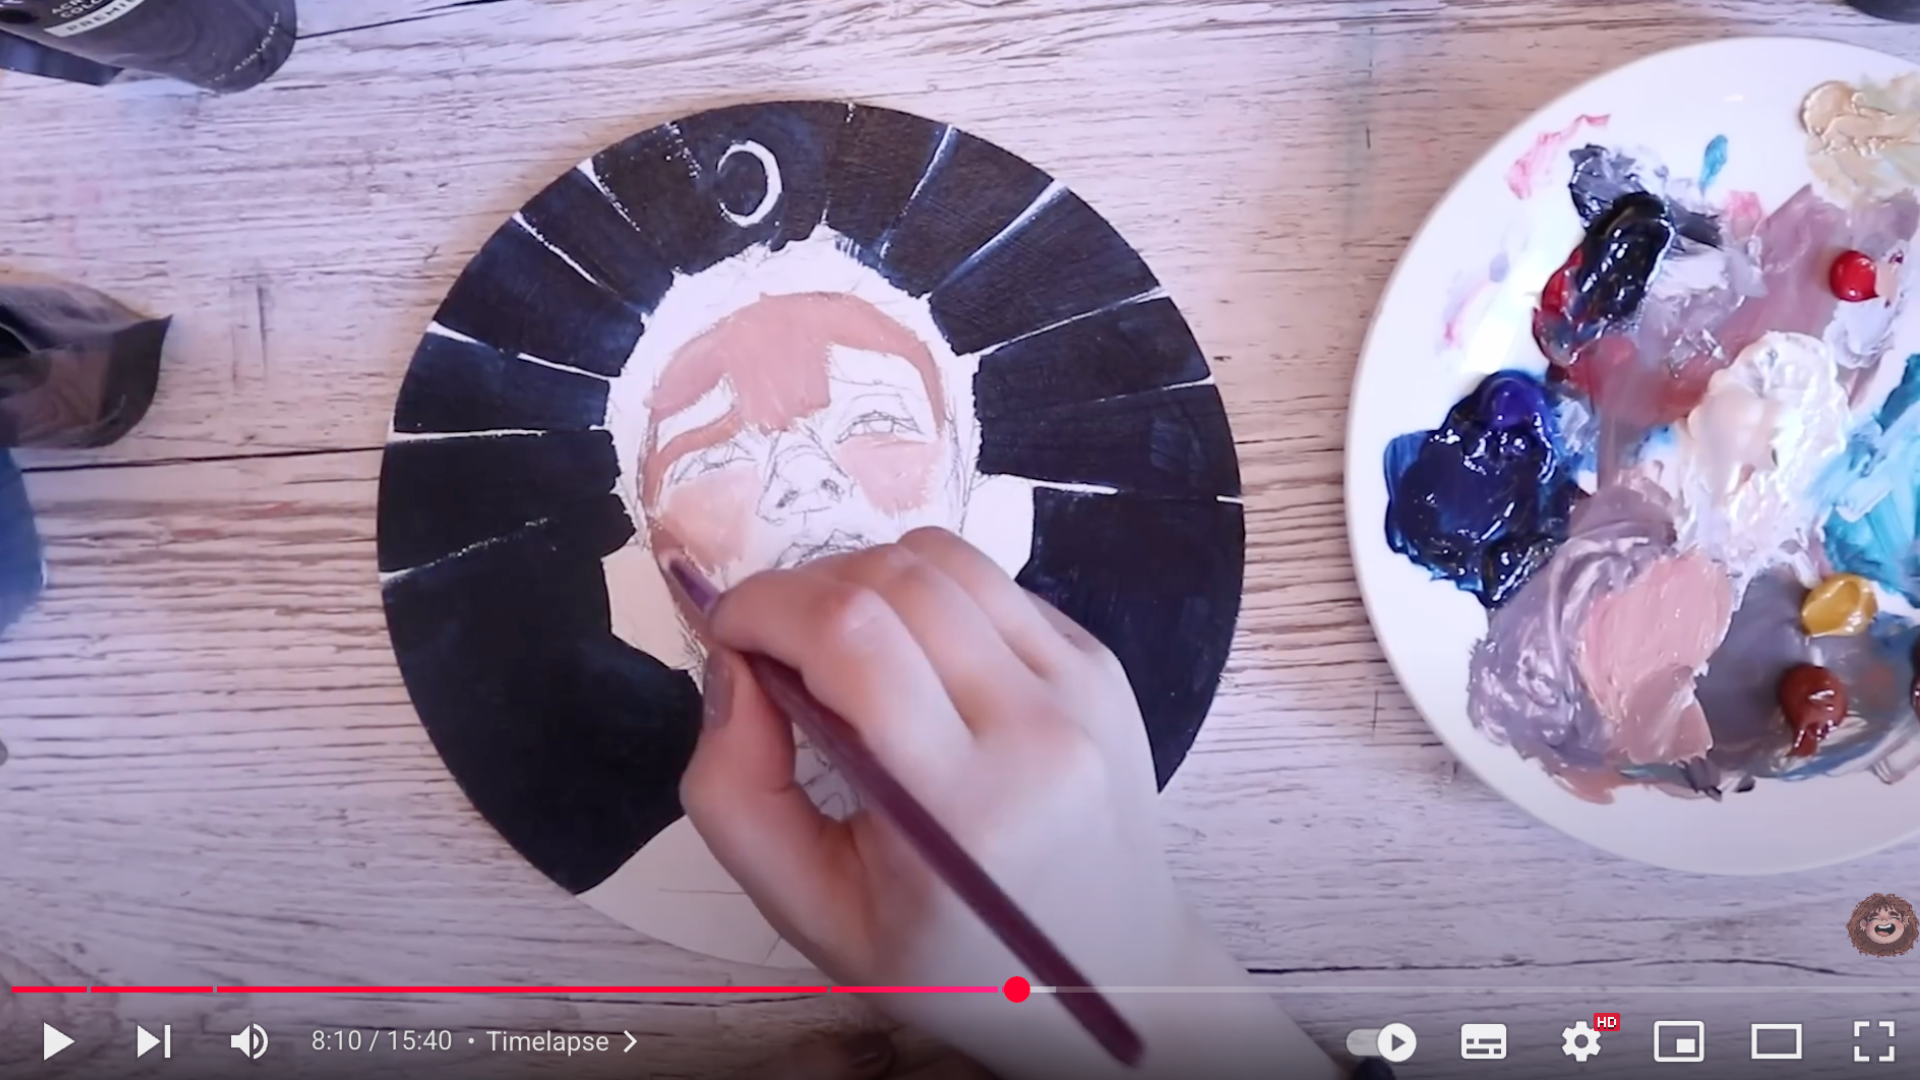
Step 4: Block in the Base Colors

Start painting with base acrylic washes to define large areas of mid-tones. Don’t worry about perfect blending yet; focus on setting a strong foundation of colors.
These base layers will guide your shadows and highlights in later steps, allowing for better depth and contrast as the painting develops.
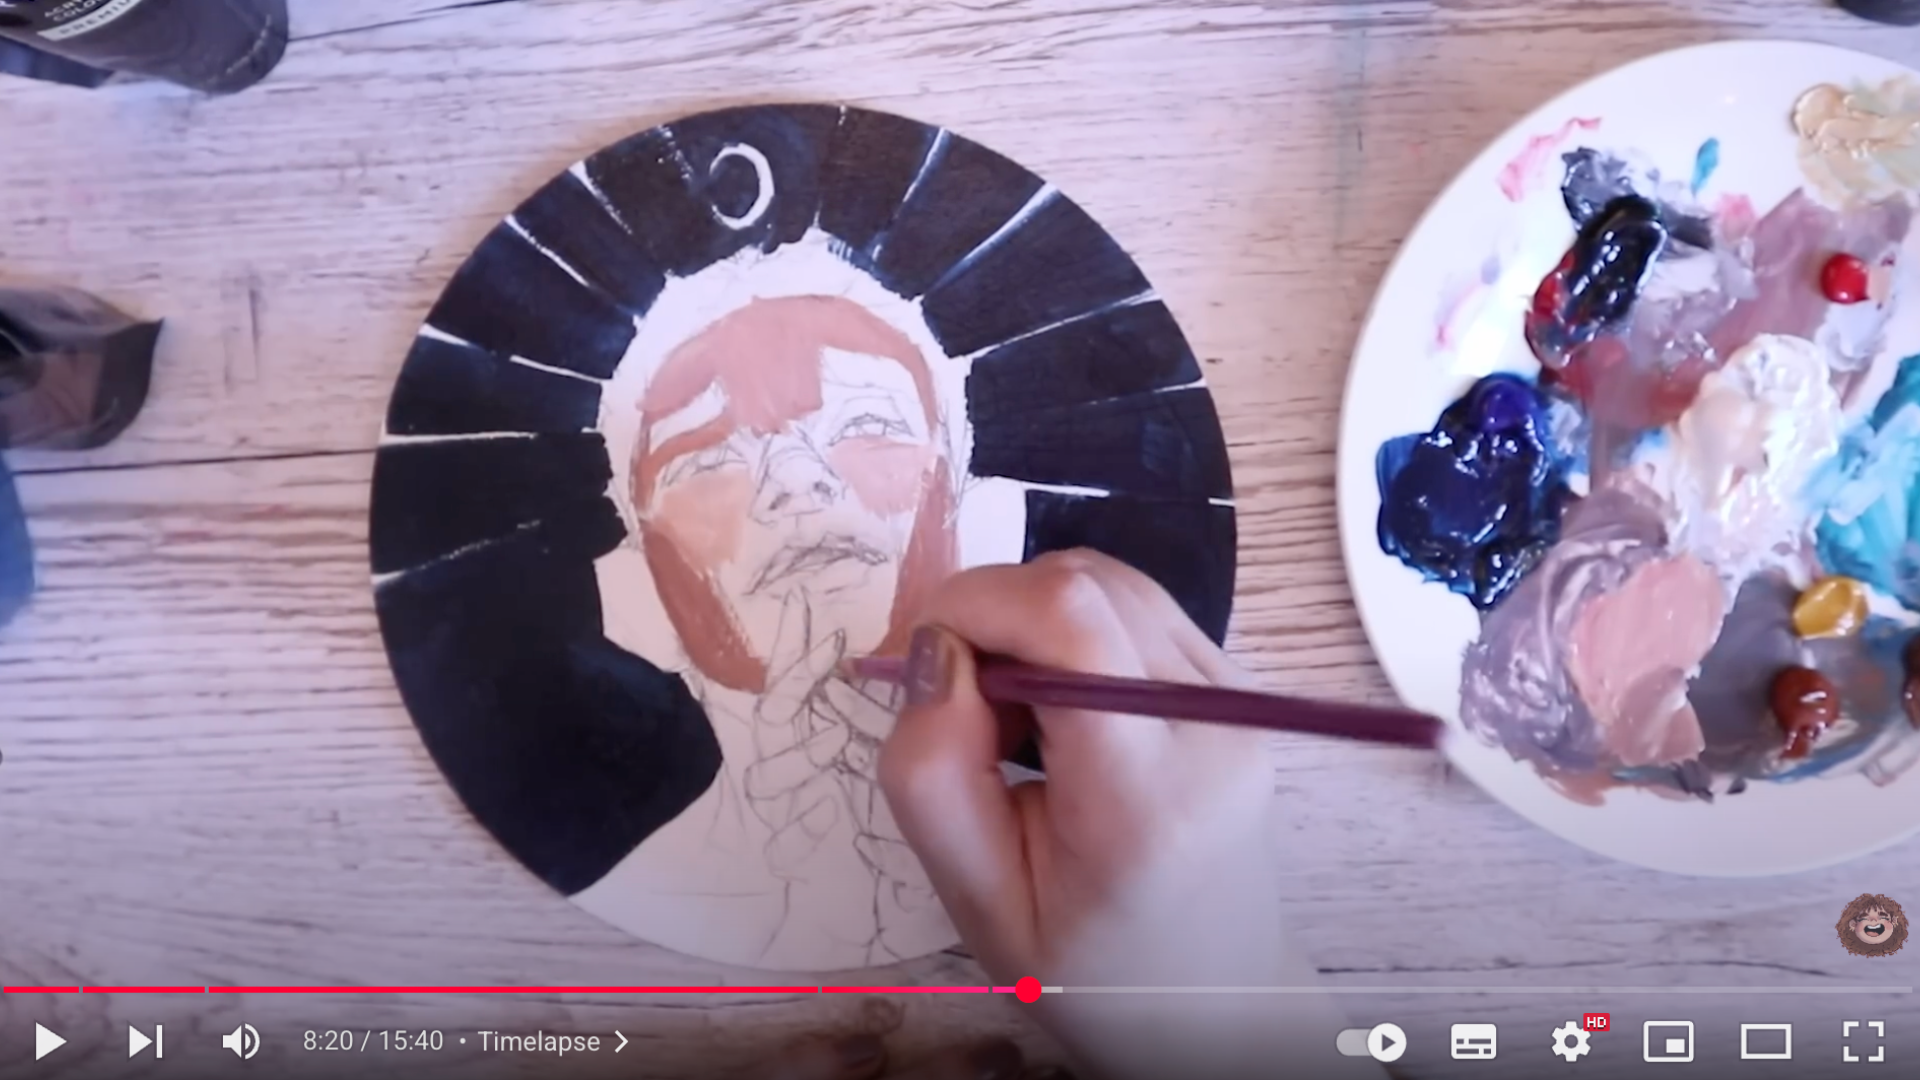
Step 5: Layer with Shadows and Highlights
Acrylics dry quickly, making layering efficient. After your base dries, add shadows and highlights on top.
Use darker tones for depth and lighter ones for raised areas or light sources. This technique helps create dimension and a more realistic or stylized effect, depending on your goal.
Step 6: Blend and Refine the Details
Once your layers are dry, go in to smooth transitions between tones and add fine details. Acrylics allow continuous reworking; if you dislike an area, paint over it once dry.
This flexibility makes it great for beginners and pros alike who want more control during the final touches.
Step 7: Finish Strong with Final Touches

Polish your piece with final refinements: adjust lines, add highlights, and enhance contrasts. At this stage, you’ll see your piece changing from “messy” to cohesive.
The speed of acrylics helps avoid creative burnout and keeps the process enjoyable. Once satisfied, consider sealing it with a clear varnish.
This step-by-step guide is based on an informative video created by Pypah’s Art. You can view the original video on their YouTube channel or simply watch it below.
How to Pick the Perfect Wood Surface for Paint?
Not all wood is created equal when it comes to painting. Let me break down what to look for while choosing the wood type:
- Understanding Wood Surfaces: Wood is not a one-size-fits-all painting canvas. I’ve learned this the hard way through plenty of DIY mishaps. Some wood surfaces welcome paint like an old friend, while others resist like stubborn teenagers.
- Wood Grain Matters: Smooth or rough, each wood type tells a different story. Softwoods like pine have open pores that drink up paint quickly. Hardwoods like oak have tighter grain patterns that require more preparation. No drama, just different approaches.
- Surface Condition is Key: New or old wood? Both work beautifully. The trick is preparation; rough or splintered surfaces require sanding, while smooth surfaces need only light scuffing. Think of it like prepping a wall before hanging a picture.
Pro tip: Clean wood is happy wood. A quick wipe-down removes dust and helps paint stick better. No special skills required; just a clean cloth and five minutes of your time.
Which Wood Can I Use to Paint On?
Not all wood is created equal when it comes to painting. Let me break down the best options that’ll make your project shine.
Pine
Pine is like the golden retriever of wood surfaces. Affordable and everywhere, it’s perfect for DIY projects. Soft enough to work with, but sturdy enough to hold paint.
Signs, craft projects, picture frames – pine handles them all. Just remember to sand lightly before painting.
Birch Plywood
Birch plywood is a dream for painters wanting crisp, clean results. Its smooth surface is like a blank canvas waiting for your creativity.
No weird grain patterns to fight against. Perfect for those who want professional-looking finished projects without professional-level skills.
MDF
Medium-density fiberboard (MDF) is the superhero of flat, smooth surfaces. Indoor decorations love this material.
It’s dense, takes paint beautifully, and gives you that ultra-smooth finish. Just keep it away from moisture; MDF doesn’t play well with water.
Oak
Oak brings durability but challenges painters with its textured grain. You’ll need extra primer to get a smooth finish.
I recommend multiple light coats instead of one thick layer. Patience is key with oak, but the results can be beautiful.
Warning: Steer clear of pressure-treated wood or super rough boards unless you’re ready for serious prep work!
Painting Techniques with Acrylic Paint on Wood

Tired of streaky, uneven paint jobs that look like a toddler’s art project? I’ll show you how to turn your wooden canvas into a masterpiece with simple, foolproof techniques that even beginners can master.
1. Dry Brushing
Want that weathered, vintage look? Dry brushing is your secret weapon. Barely load your brush with paint.
Sweep lightly across the wood surface. The result? A soft, textured finish that looks like it’s been around for years. Think old barn door vibes.
2. Color Layering and Blending
Acrylics are fantastic for creating depth. Start with a base color, then add lighter or darker shades.
Blend while the paint is still wet. Use a clean, slightly damp brush to soften edges. Experiment and have fun – no strict rules here!
3. Tape for Crisp Edges
Painter’s tape is a game-changer. Create sharp lines, geometric patterns, or clean borders. Press the tape down firmly to prevent bleeding.
Remove slowly at a 45-degree angle for perfect edges. Pro painters’ trick right there.
4. Stencil Creativity
Stencils turn anyone into an instant artist. Words, patterns, shapes – the possibilities are endless.
Position carefully and use a foam dauber. Light, dabbing motions work best. Less is more when it comes to stenciling.
5. Distressing
Want that lived-in look? After painting, grab some sandpaper and gently sand the edges and raised areas. This creates a worn, vintage appearance, instant character for any project.
Conclusion
Ready to change wood with paint? Take a deep breath. Acrylic painting is like cooking, and some experiments will be awesome.
Others? Learning experiences. The beauty is in trying. You don’t need fancy skills or expensive tools. Just grab some brushes, pick a wooden surface, and start playing.
Remember these key points:
- Prep your surface
- Choose the right paint
- Have fun
- Don’t fear mistakes
Perfection is overrated. Each brushstroke tells a story. Your first project might look a bit rough, and that’s totally okay.
Every professional started exactly where you are right now. Ready to start painting on wood? Let’s go!