
Split-level living rooms are a smart way to make your space feel open, organized, and fun—without knocking down walls. They break up the space using simple steps, which helps define areas for different uses like relaxing, eating, or working. This type of layout is great for both big and small homes.
Even a single step up or down can make a big difference. You can create cozy spaces without closing things off. This setup can also help you use uneven floors in a way that feels natural. Instead of a flat, one-level room, split-level designs add variety and function.
Let’s go through 30 split-level living room ideas to help you design a space that works for you.
Why Choose a Split-Level Living Room?
Split-level living rooms offer more than just good looks. They make spaces more useful and interesting.
1. Makes the Room Feel Bigger
Split levels open up your view. Even though the room has different zones, you can still see the whole space. This makes everything feel more connected and larger. Instead of breaking it up with walls, you just change the floor level slightly. This is perfect if you want an open feel but still need separate spaces. By using vertical space, you trick the eye into thinking there’s more room. Adding mirrors and open shelves can add to this effect.
2. Helps Create Zones
A step up or down is all you need to mark a new area. You can have a space for watching TV, another for dining, and even a spot to work. The best part is it doesn’t look cluttered. Each level has its own job, but they still work together. Zones help people move through the room more easily, giving each part a clear role. This is especially helpful in busy homes where everyone needs their own space.
3. Adds Style Without Breaking the Bank
You don’t need a big budget to get this look. Even a small platform or step can create a fresh layout. You can also play with lighting, rugs, or furniture to highlight the split-level design. It’s a cost-friendly way to update your space. Think about using second-hand materials, DIY wood platforms, or just clever furniture choices to create that division in a smart and budget-conscious way.
Split-Level Living Room Ideas
Let’s break down the ideas into simple groups. Each idea now includes more helpful content to give you even better direction, including DIY tips to help you bring them to life on your own.
1. Use Steps as a Starting Point
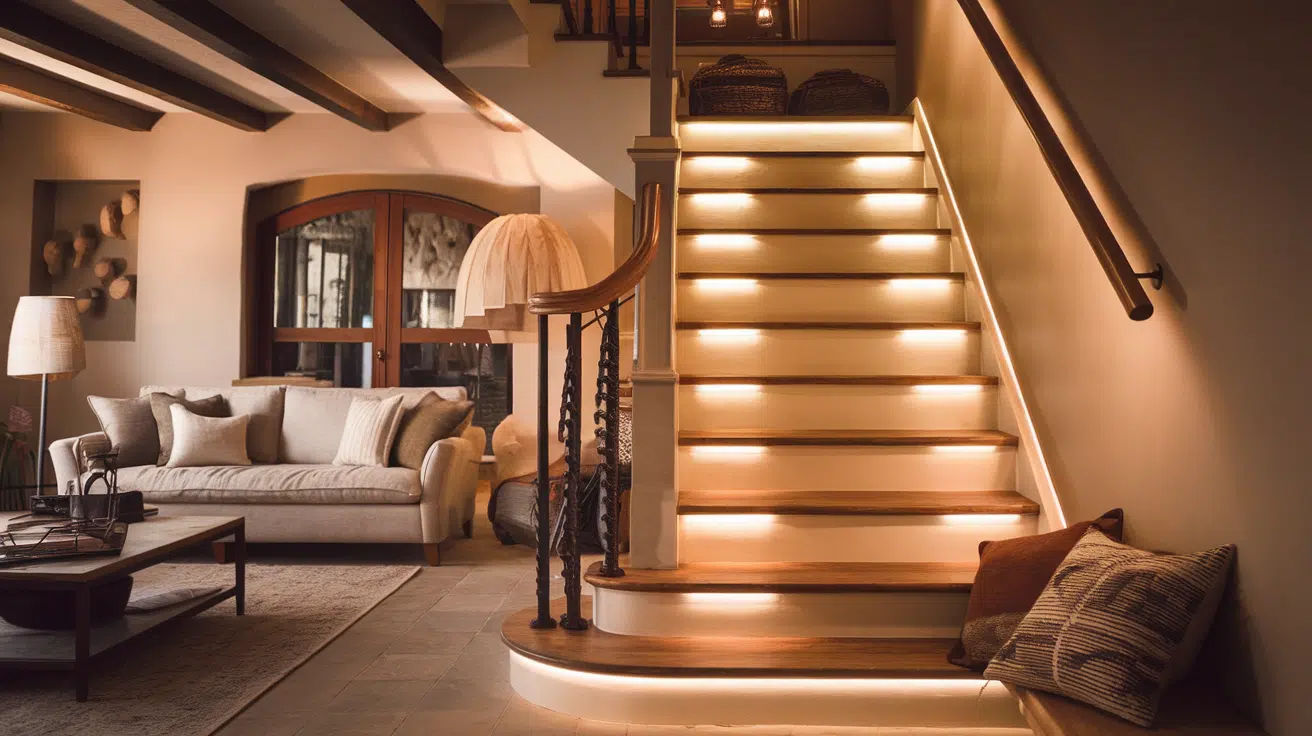
Instead of treating stairs as just a way to get from one level to another, make them stand out. Use tiles, wood inlay, or painted risers to make the steps feel like part of the room’s design. Add lighting under the stair noses for a soft evening glow. Pair it with a handrail made from wood or metal to match the style of your room.
DIY Tip: For a low-cost visual upgrade, use peel-and-stick stair riser decals. You can also use LED strip lights with adhesive backing under the step lip.
2. Keep the Steps Low and Wide
Low and wide steps not only make the space feel relaxed and informal, but they’re also safer for kids and older adults. These steps act more like a gentle slope rather than a barrier between levels. Keeping them broad lets you use them as extra seating during social events, too.
DIY Tip: Build your wide steps using plywood and 2×4 framing. Cover them with the same material as your floor or stain them for a seamless look.
3. Try Sunken Seating
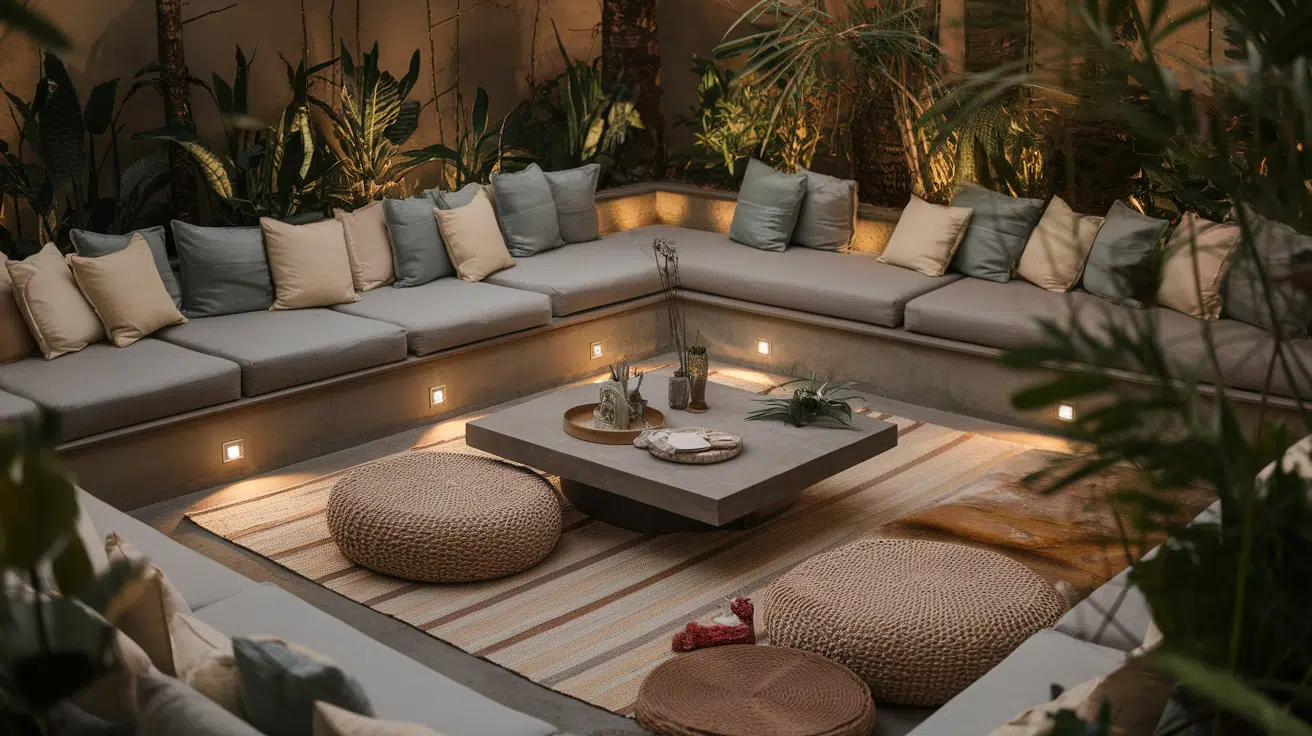
Sunken areas can make a space feel more private and intimate. They’re great for watching movies or lounging. Depending on how you style the area, this type of design can add a retro vibe or a cozy modern feel. Use lots of cushions, soft textures, and low tables.
DIY Tip: Create a sunken effect using modular seating placed inside a boxed-out floor area. If you’re renting, fake the look by putting seating on a raised border around a rug.
4. Split with a Platform Instead of Steps
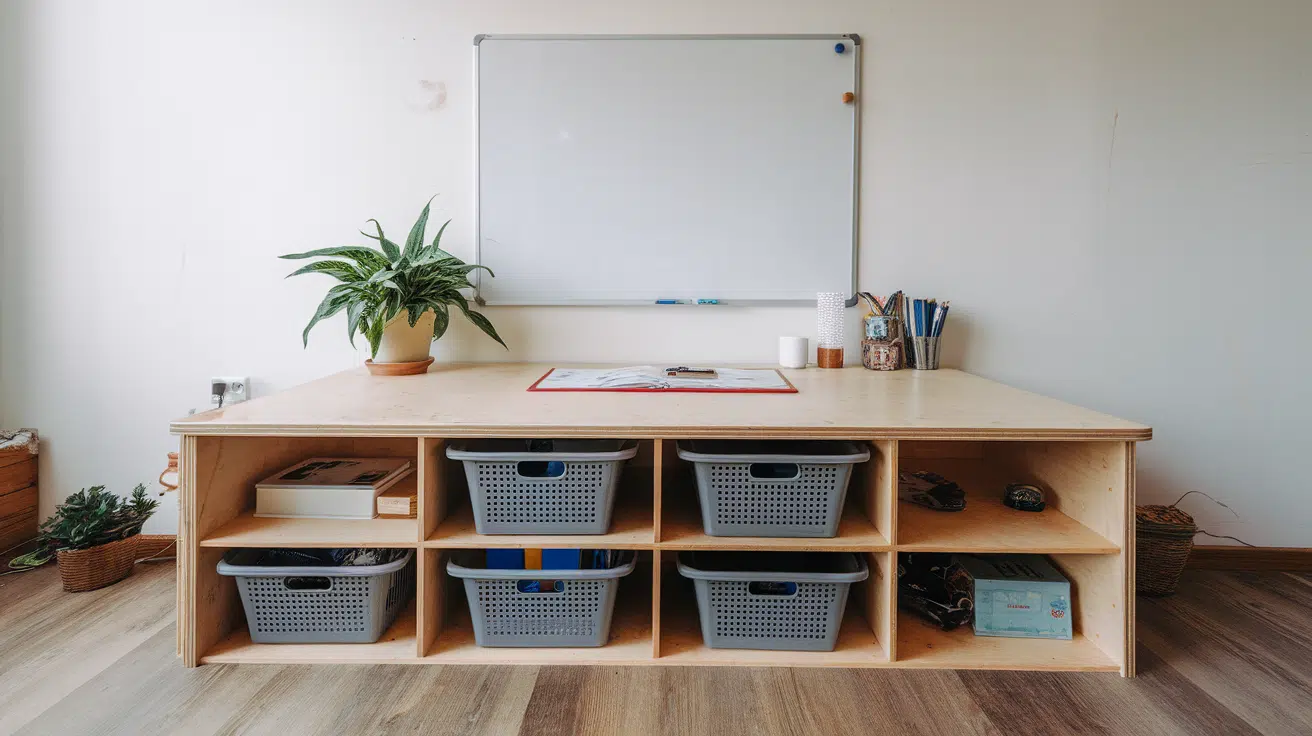
A raised platform can be used to zone off an area for a workspace, sleeping zone, or reading area. It adds height and variety to the room without needing full stairs. You can even add drawers or baskets underneath for extra storage.
DIY Tip: Build a wood frame using 2x6s or 2x8s, add plywood on top, and finish with carpet or laminate. Add storage bins before sealing the base.
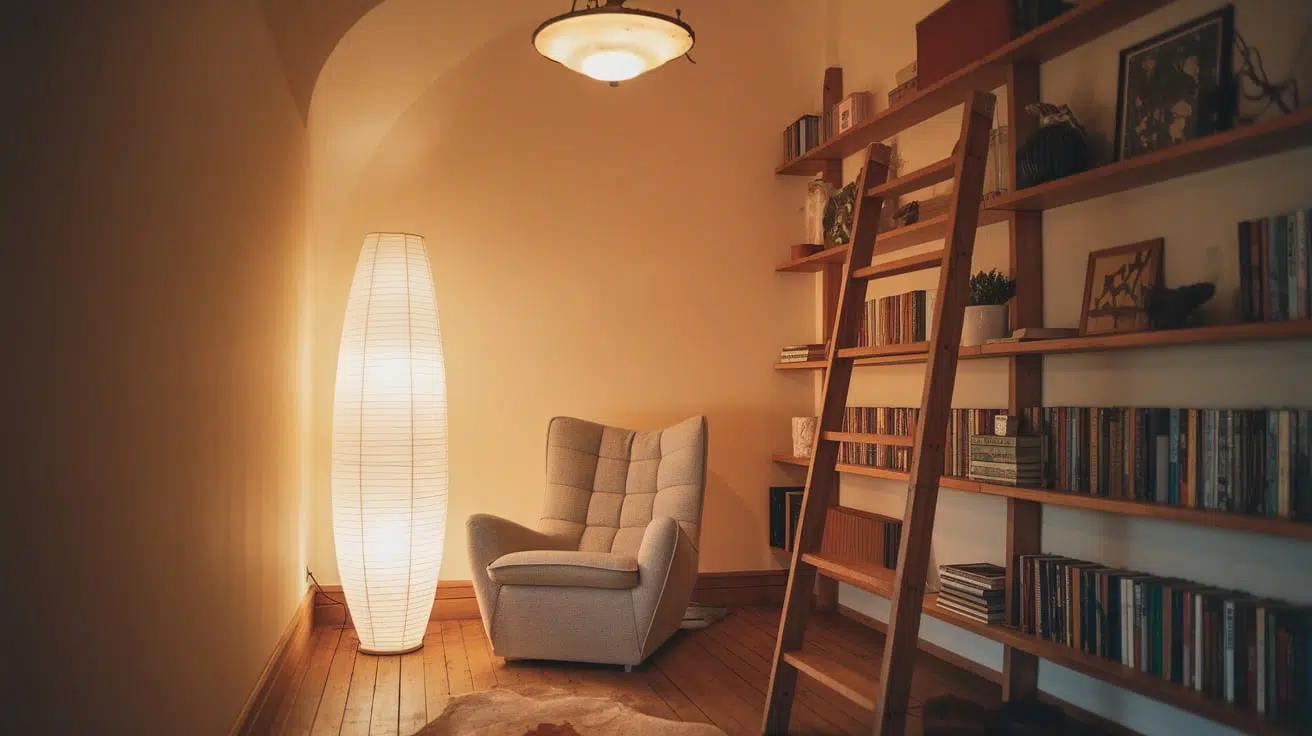
5. Add a Reading Nook on a Raised Level
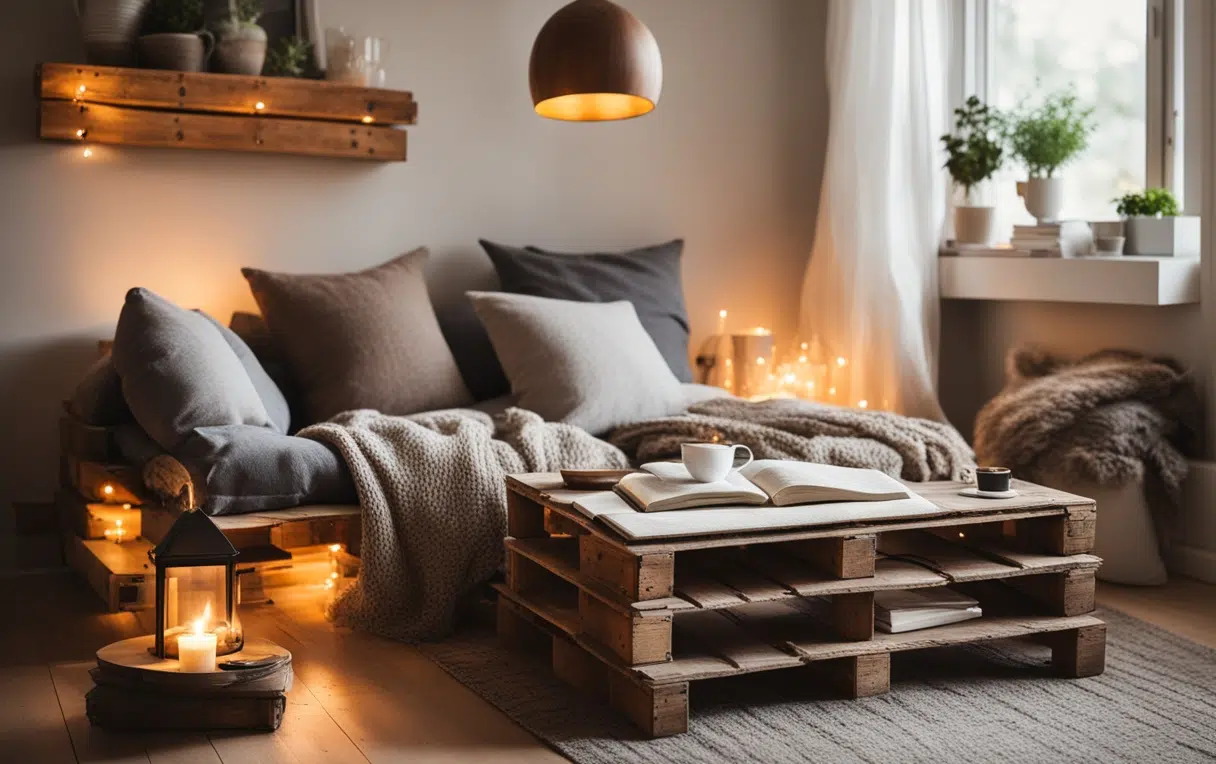
A small platform with a cozy chair, side table, and bookshelf can make reading time feel special. Elevating the space makes it feel like a retreat. Add curtains or a soft lamp to complete the mood.
DIY Tip: Use leftover pallets or crates stacked and secured together to create a mini raised nook. Top it with a soft cushion or mattress foam and throw pillows.
6. Use Rugs to Separate Zones
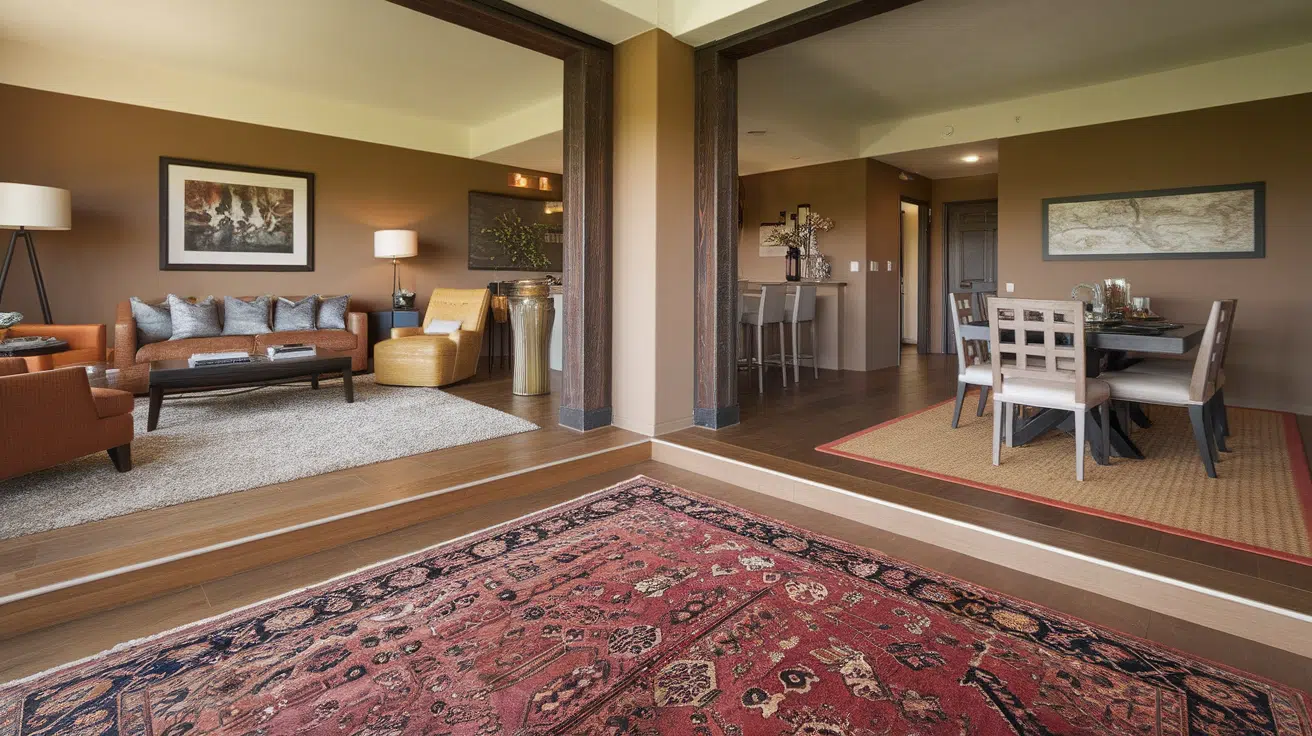
Rugs define space without walls. Choose rugs with different textures or patterns to signal a change in function. A plush carpet under the seating area and a flat weave under the dining area can make the split obvious and stylish.
DIY Tip: Repurpose old carpets by cutting them to size and sewing the edges. Or layer smaller rugs on a neutral base to create separation.
7. Paint the Levels in Different Colors
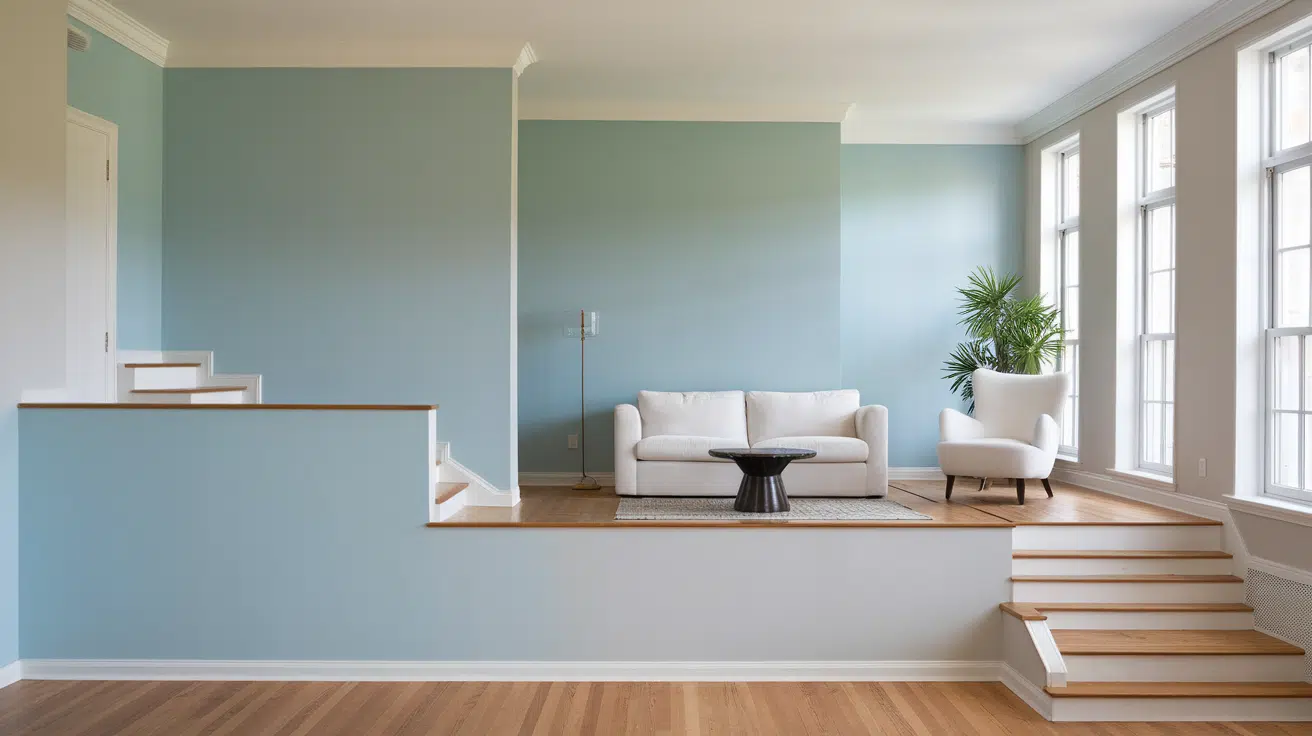
You don’t have to go bold—soft variations of the same color can show separation. For instance, sky blue downstairs and soft gray upstairs still look connected but help the eye see zones.
DIY Tip: Use painter’s tape to divide the space and sample different tones on foam boards before committing. Matte finishes work best for walls, while satin adds life to trim.
8. Keep the Furniture Low
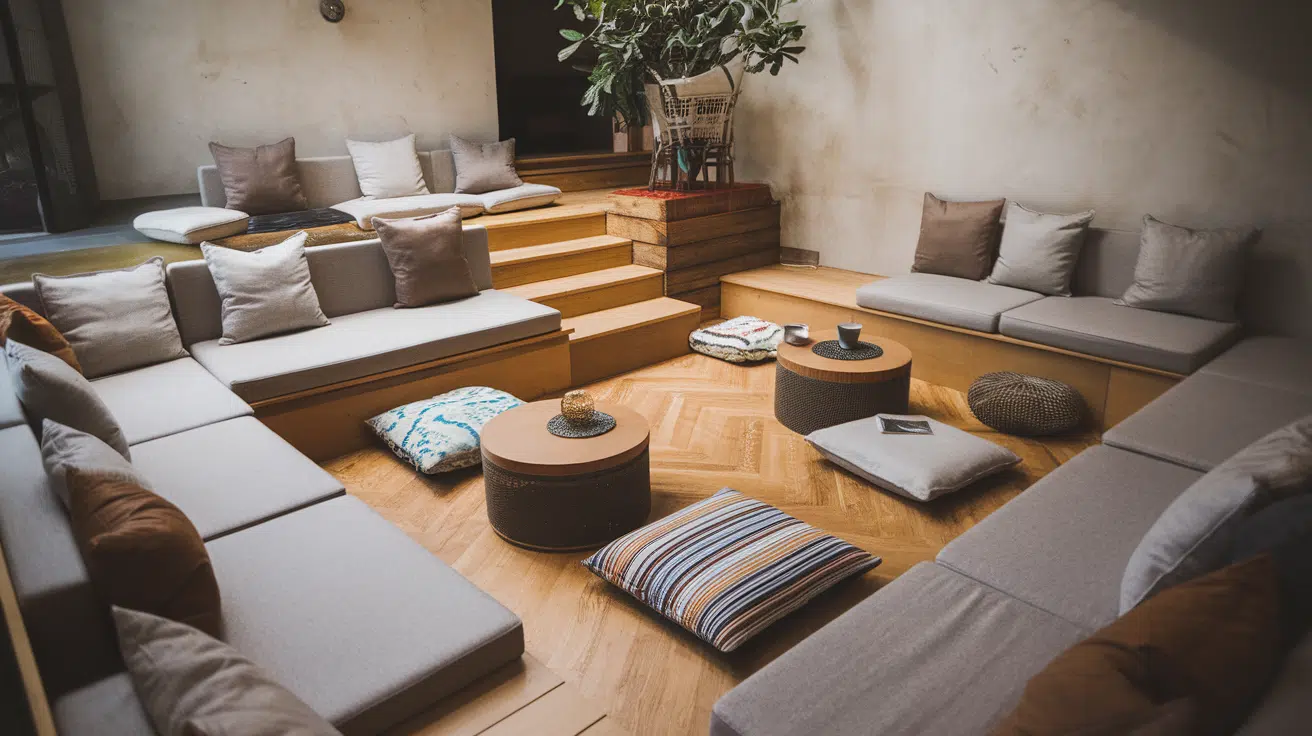
Low furniture fits better in split-level spaces because it doesn’t block your view of the whole room. A low-profile couch, floor cushions, and short tables help make the levels feel more connected.
DIY Tip: Add a cushion and backrest to a pallet or platform bed to transform it into a couch. For coffee tables, use cinder blocks as legs.
9. Use Plants to Frame the Levels
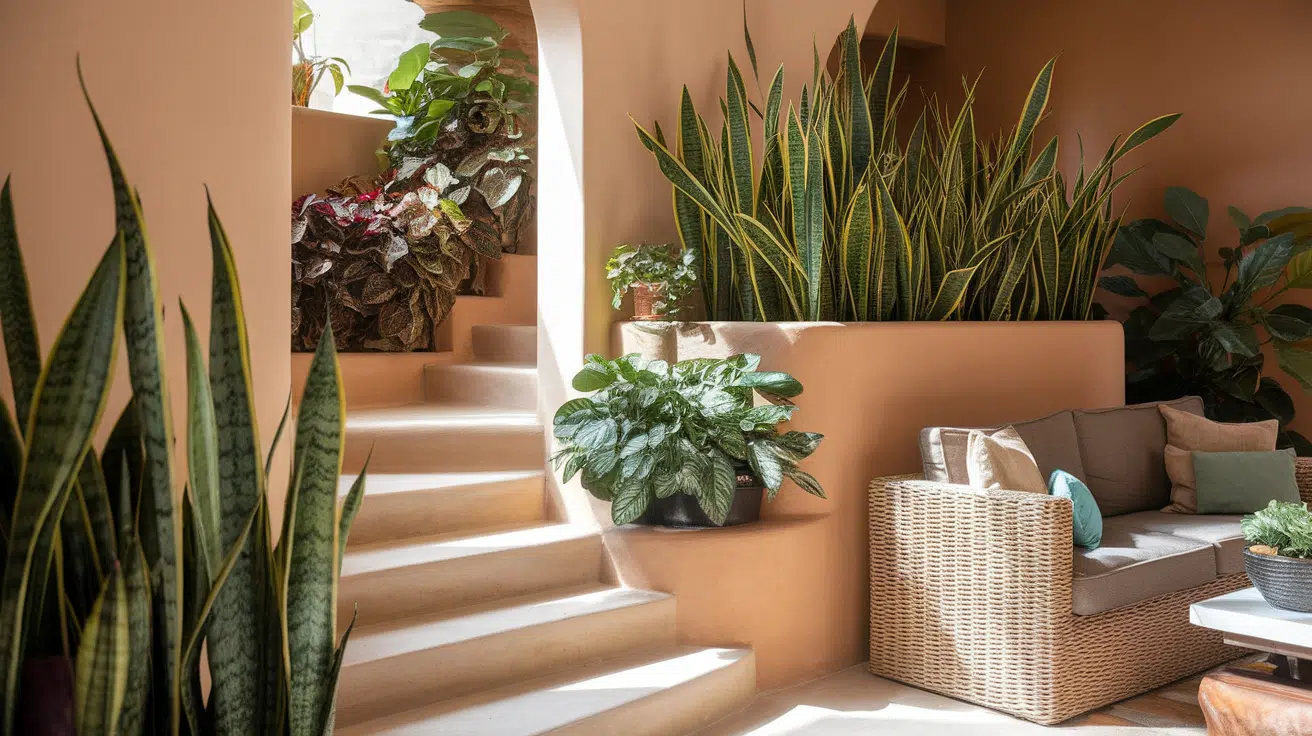
Tall plants like snake plants or palms can help you show where one zone ends and another begins. Group smaller plants in clusters to keep the room feeling fresh and soft.
DIY Tip: Use repurposed containers, such as old paint cans or baskets, for pots. Paint them to match your room’s color scheme.
10. Add Art at the Transition Point
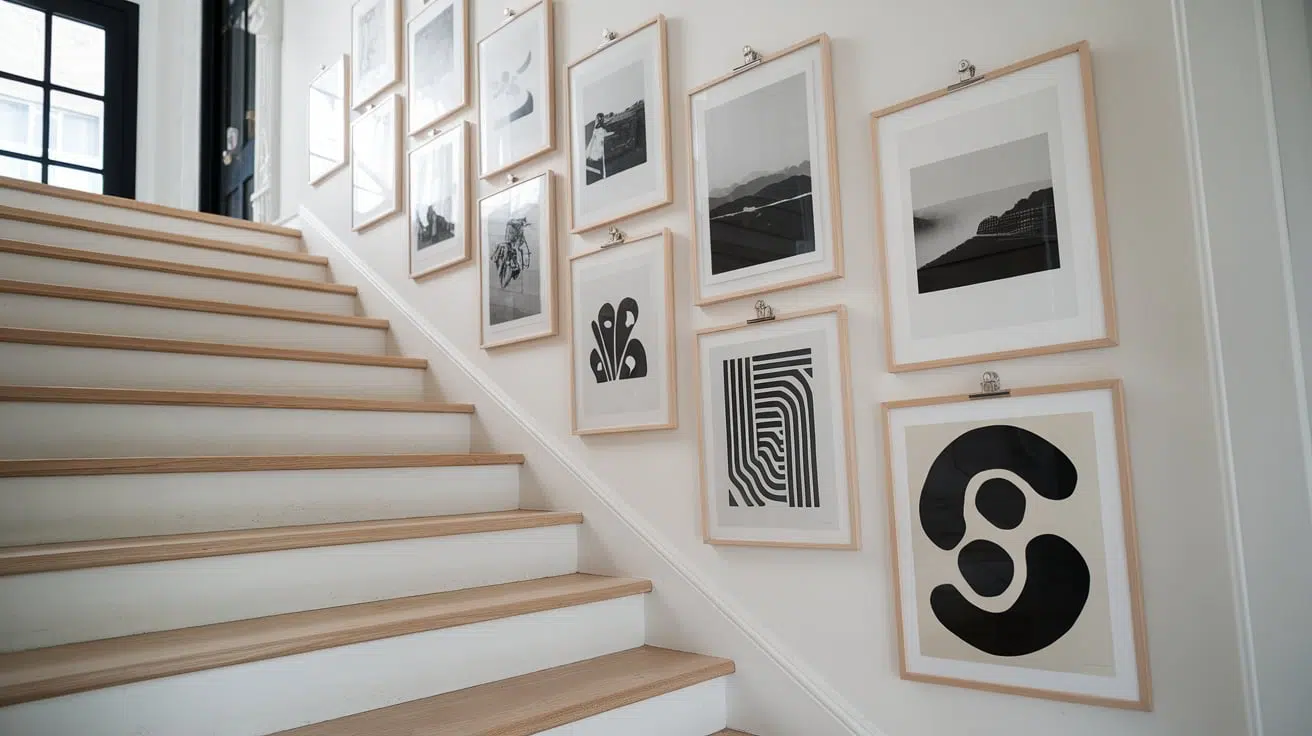
The walls around your steps or platforms are perfect places for artwork. Choose pieces that follow a theme or color to tie both levels together. This small touch creates a visual flow between zones.
DIY Tip: Print your black-and-white photos, frame them with inexpensive clip frames or wooden hangers, and arrange them gallery-style along the stair wall.
11. Hang Pendant Lights Over the Lower Level
Pendant lights help define a sunken area and give it character. Hang them above your coffee table or seating area to bring warmth and a soft glow to the space. Choose shapes and materials that match the room’s vibe—metal for modern, wicker for boho.
DIY Tip: Install a plug-in pendant light kit. Use a ceiling hook and swag the cord to position the light where you need it without hardwiring.
12. Use Recessed Lights for a Clean Look
Recessed lighting gives an even brightness and doesn’t take up space. It works well in rooms with low ceilings or open layouts. Use dimmable LED bulbs to control mood and energy use.
DIY Tip: If full installation isn’t possible, try surface-mounted LED puck lights. They mimic recessed lighting and stick directly onto ceilings.
13. Try Step Lights
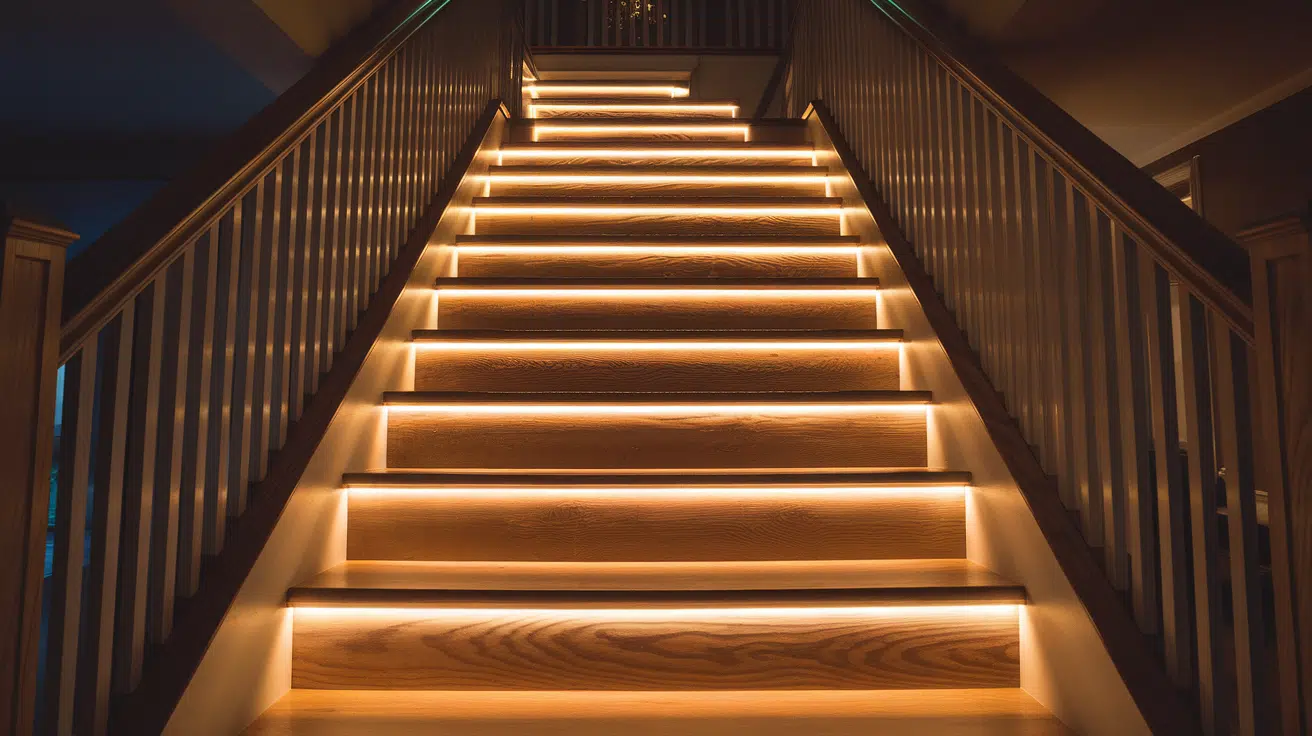
Step lights are a safety feature and a stylish detail. They light up the path at night and give your room a soft, movie-theater feel. Choose warm white tones for a cozy look.
DIY Tip: Stick-on motion sensor LED lights are easy to apply under stair lips or along baseboards—no wiring is required.
14. Use Floor Lamps at the Higher Level
Floor lamps give height and light to corners of raised areas. A tall lamp next to a reading chair or behind a sofa can anchor the space and add charm.
DIY Tip: Repurpose an old lamp base by painting it to match your decor. Replace the shade for a fresh, new look.
15. Let in Natural Light
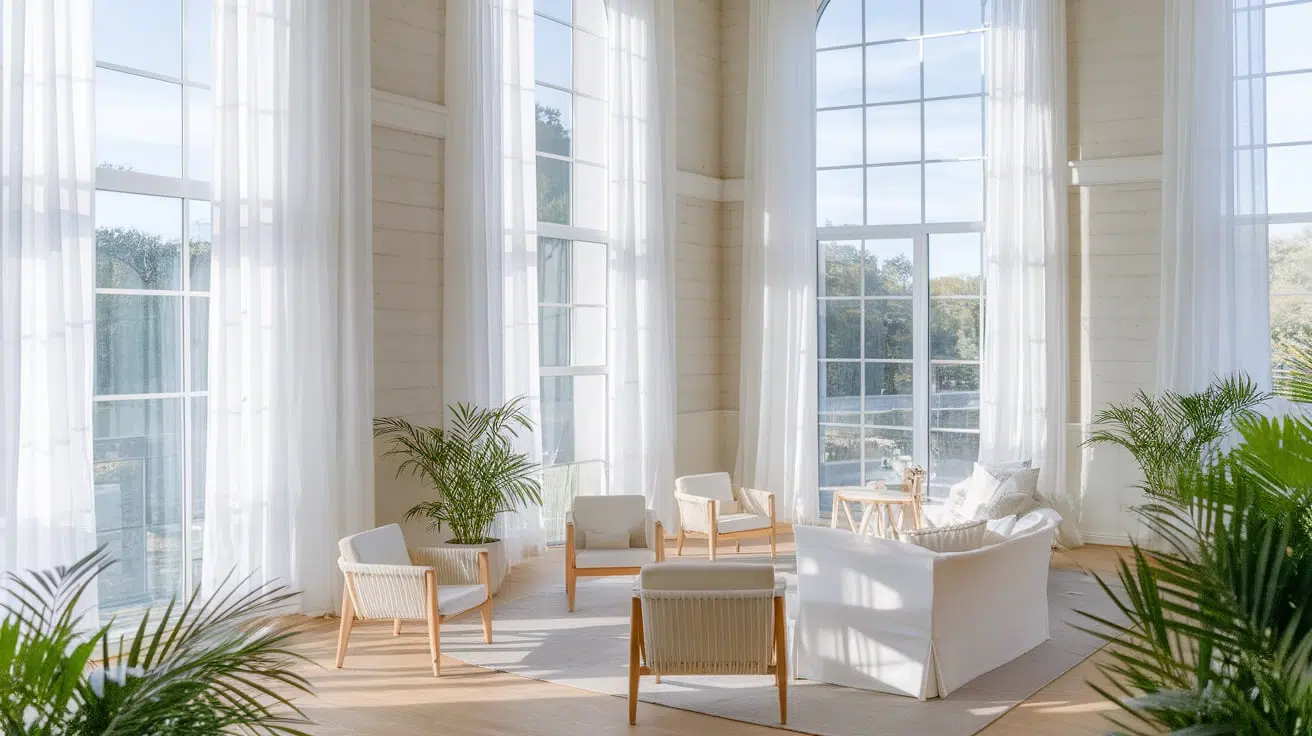
Maximize sunlight by keeping window areas open and clear. Use light curtains or none at all. Natural light helps unify split levels by flooding both areas evenly.
DIY Tip: Hang sheer curtains on a tension rod inside the window frame for a no-drill, renter-friendly way to soften bright sunlight.
16. Put the Sofa Along the Step Edge
Placing your sofa along the edge of a raised or sunken level helps define that space. It creates a visual and physical boundary between the two areas without using walls or barriers. This arrangement also allows you to face the room, making conversation and TV viewing easier. Choose a sectional or long sofa that runs parallel to the steps for maximum effect.
DIY Tip: Use furniture risers to adjust your sofa height so it aligns better with the step edge. Add a narrow shelf or console table behind it to create function and fill the gap.
17. Add a Table Behind the Sofa
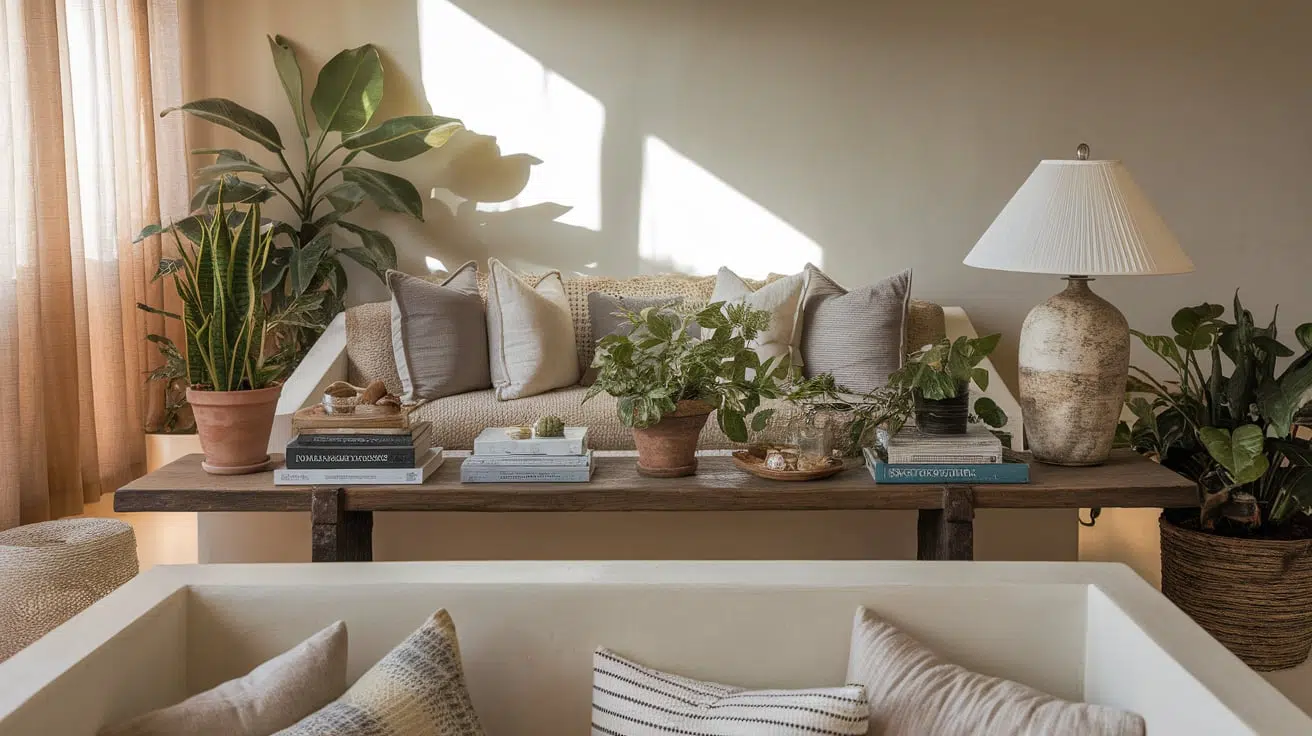
Adding a table behind the sofa makes use of the space and creates a smooth transition between levels. Use it for lighting, books, or displaying decor. It also helps balance out the height differences and brings visual continuity.
DIY Tip: Build a simple narrow table using two wooden boards and hairpin legs. Stain it to match your other furniture for a cohesive look.
18. Float the Furniture in the Middle
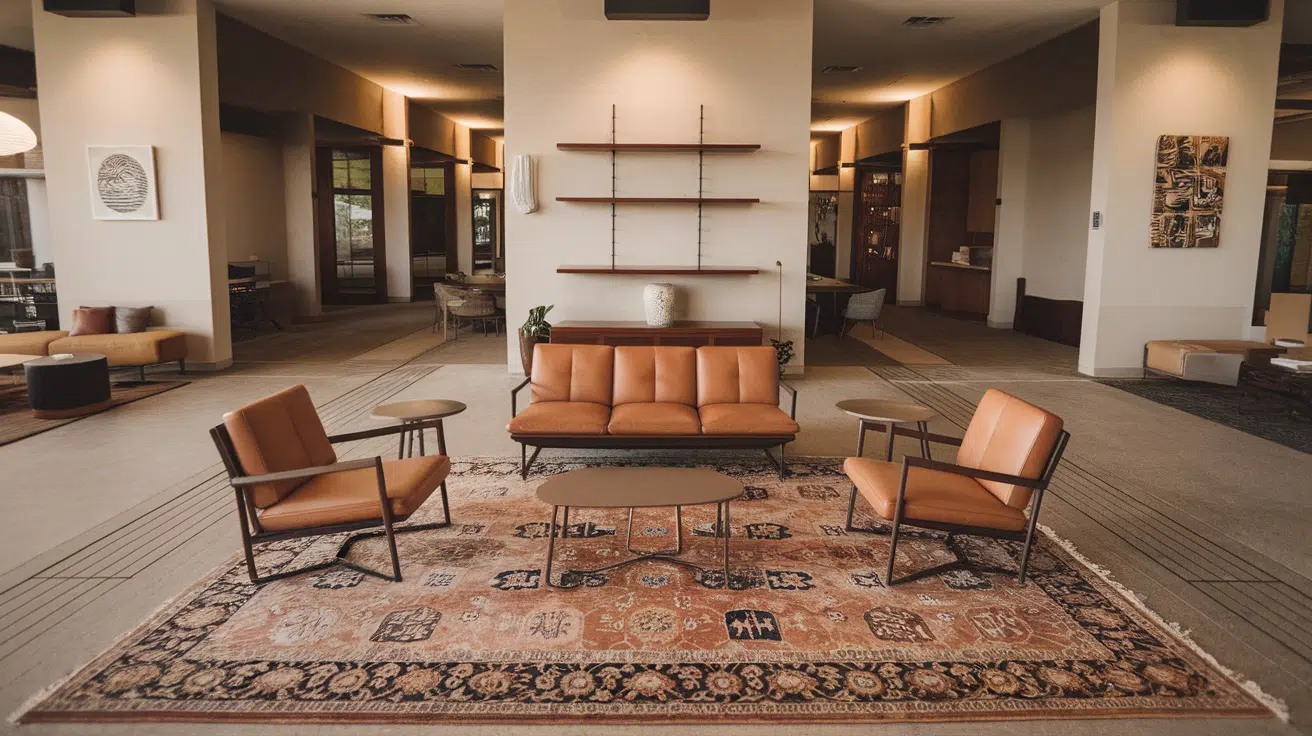
Floating your seating area away from walls creates a central hub. This makes it easier to set up different levels and gives the feeling of movement through zones. It also works well with open floor plans.
DIY Tip: Use rug placement to anchor the floating arrangement. Place furniture on a large area rug and use cord concealers for lamp or charger cables.
19. Use Sectionals to Mark Levels
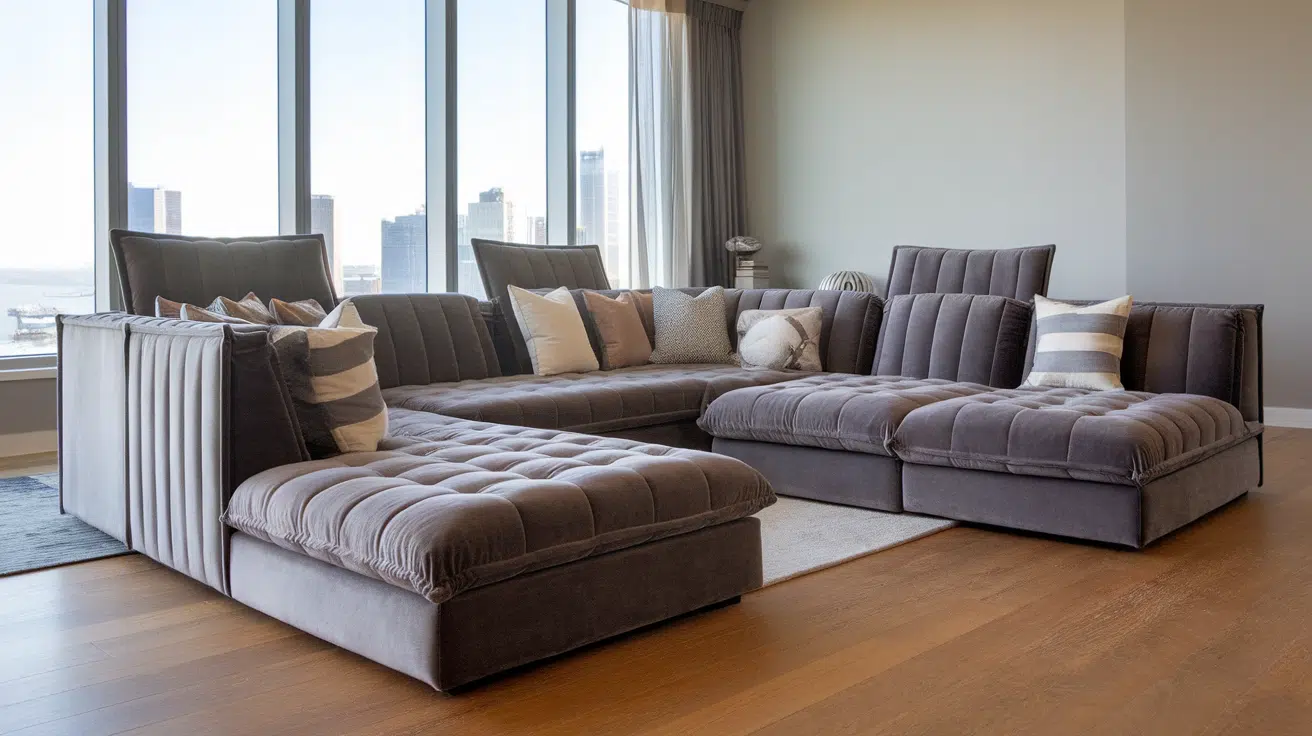
Sectional sofas naturally define space. To tie zones together, you can place one part of the sectional on a raised floor and another on the lower floor. It feels like the furniture wraps around the space.
DIY Tip: Customize an old sectional by moving pieces into the shape you need. Add throw pillows in different colors to match the levels.
20. Add Storage on the Raised Side
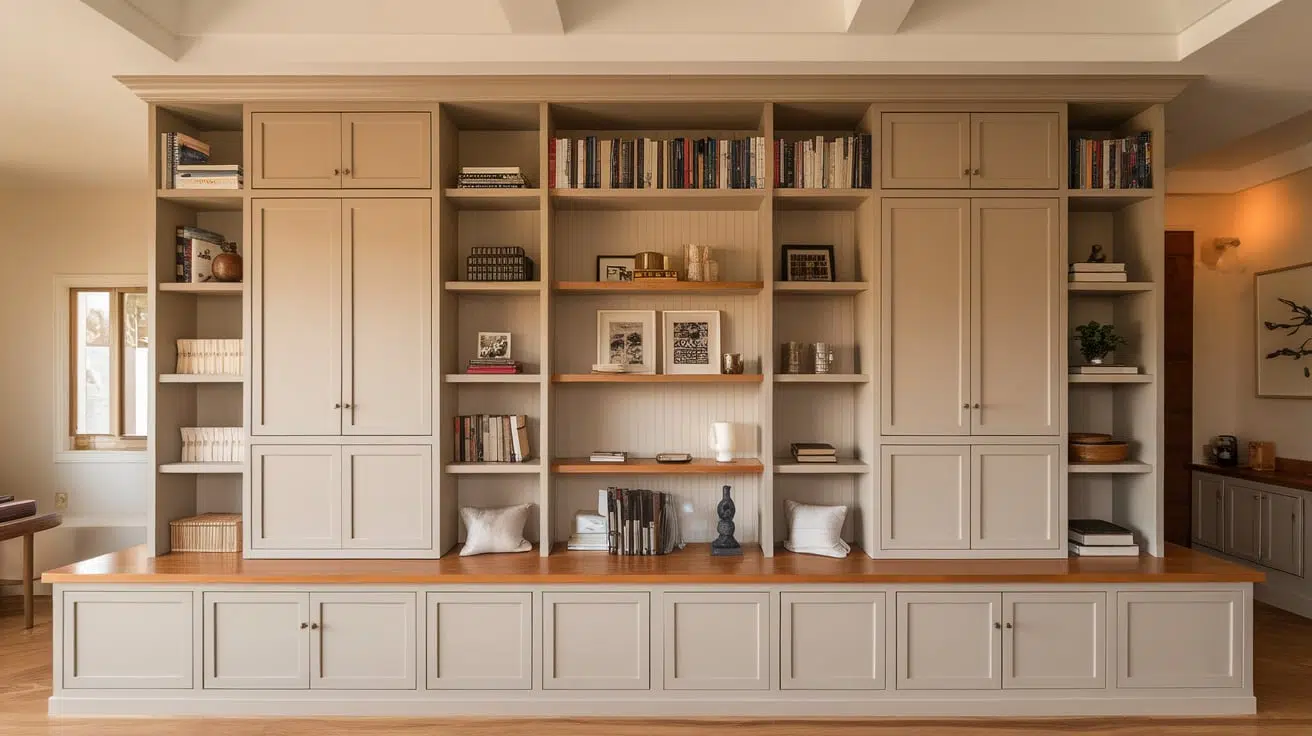
Use the space along a raised wall or behind a step for storage. Bookshelves, console tables, or low cabinets help keep clutter out of sight while marking the edge.
DIY Tip: Repurpose old crates or drawers and stack them securely. Use them as open shelving or closed cabinets by adding fabric curtains.
21. Try a Modern Black and White Look
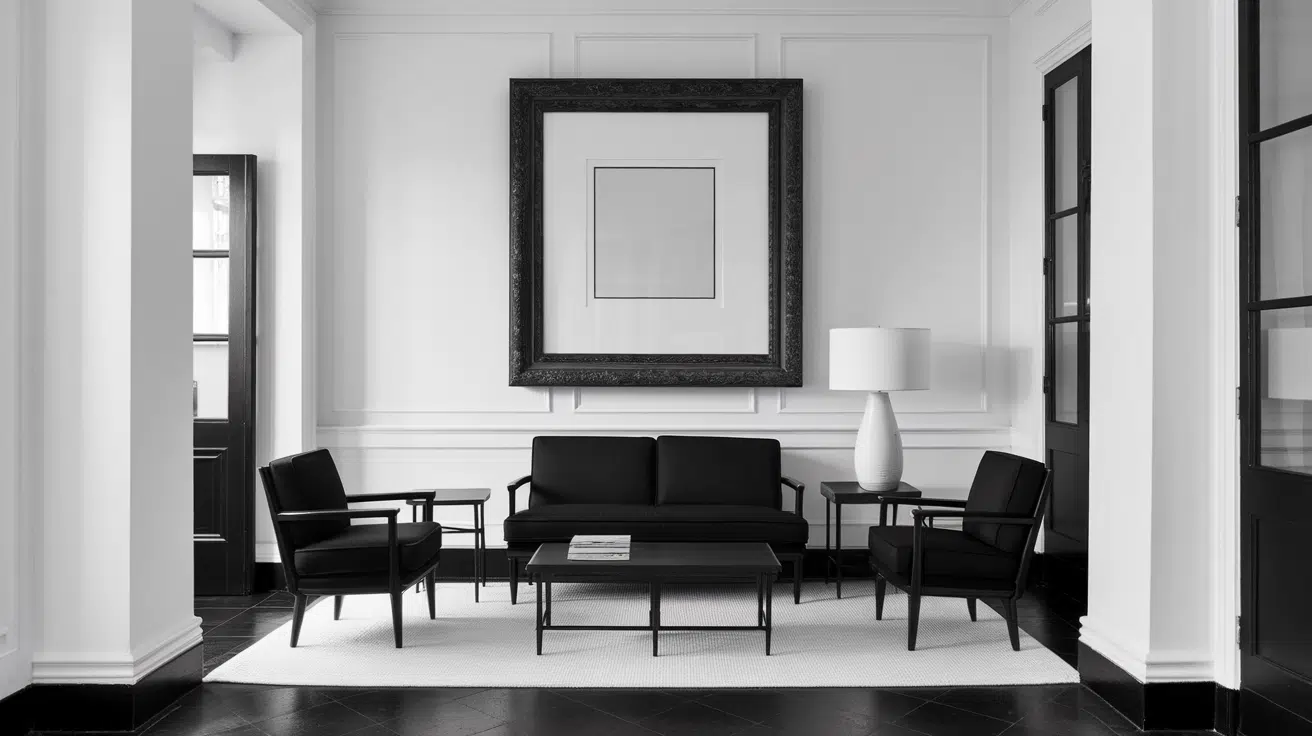
Black and white is clean and timeless. Pair white walls with black furniture or reverse it with black trim. It will make your levels feel crisp and organized.
DIY Tip: Use black contact paper or spray paint to refresh old furniture. Keep accessories like vases and lamps in black or chrome to tie it together.
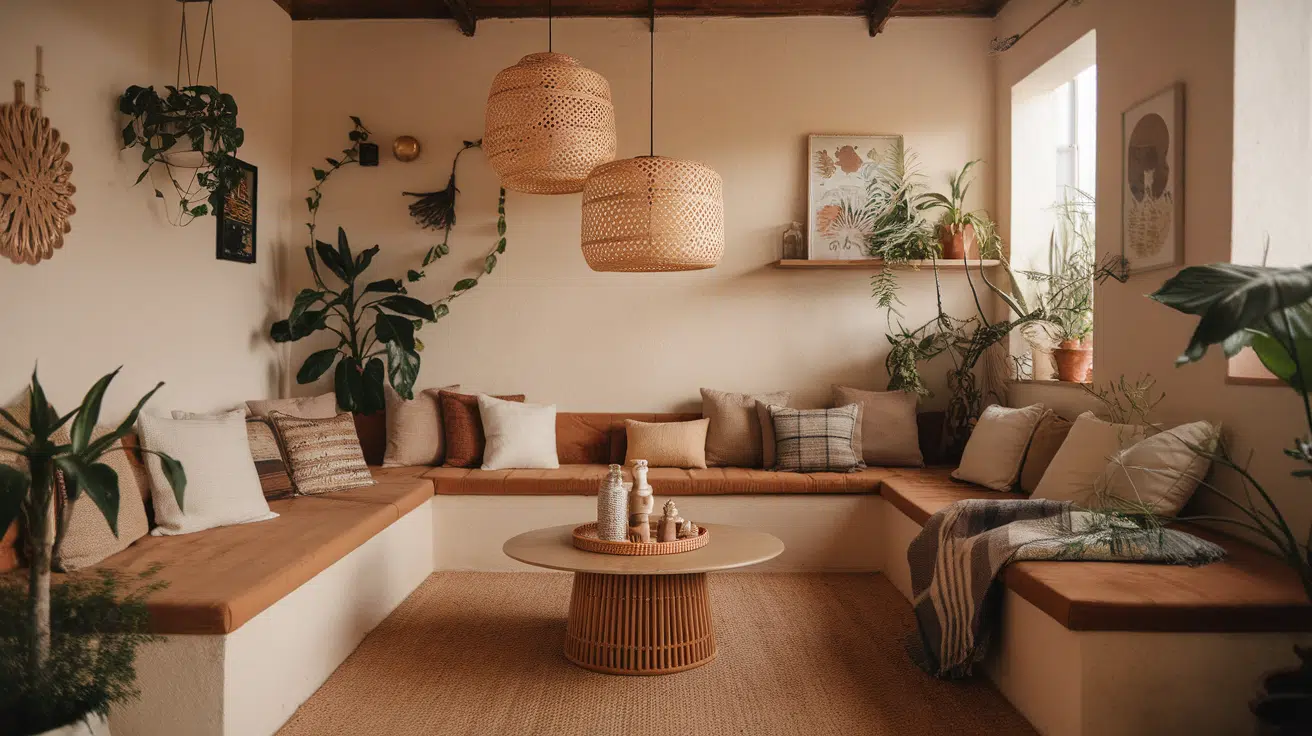
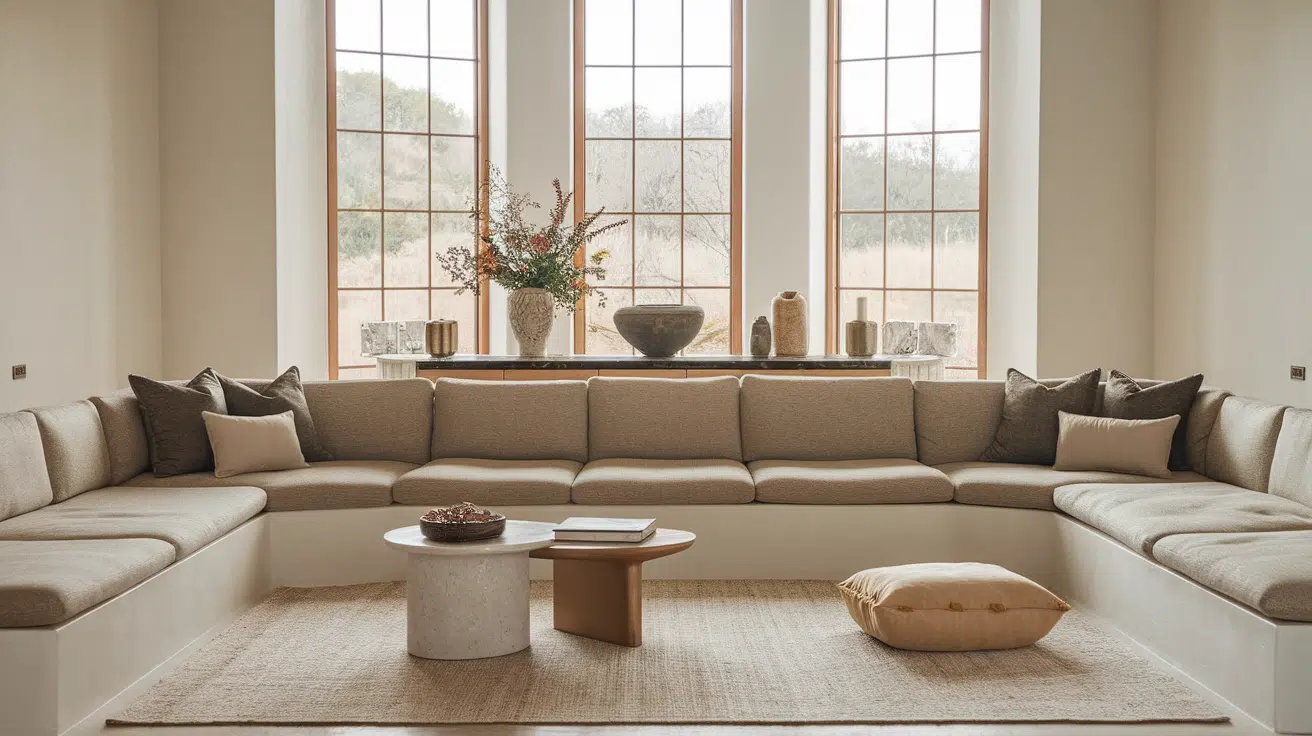
22. Go Warm and Cozy with Earth Tones
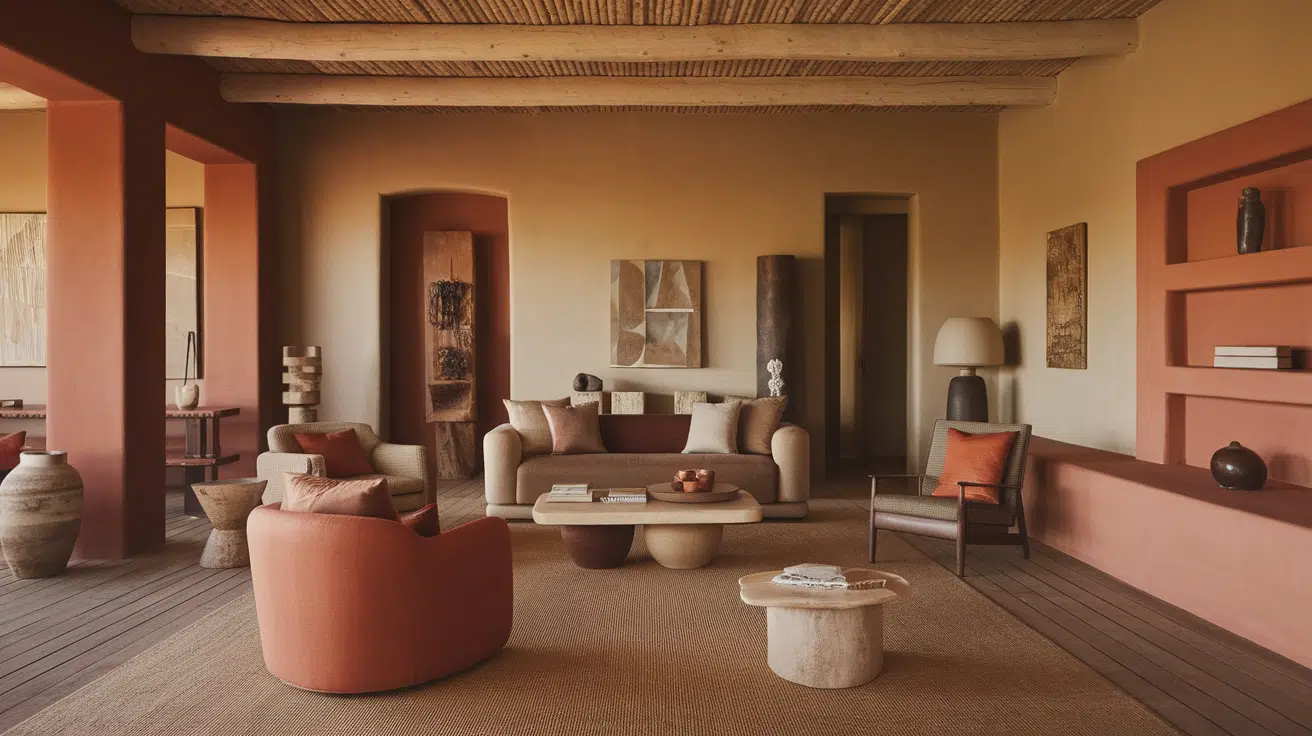
Earth tones like brown, beige, and terracotta make your living room feel grounded and calming. It’s perfect for homes with natural light and wooden floors.
DIY Tip: Make pillow covers or curtains from burlap or canvas. To extend the theme, paint plant pots in warm tones.
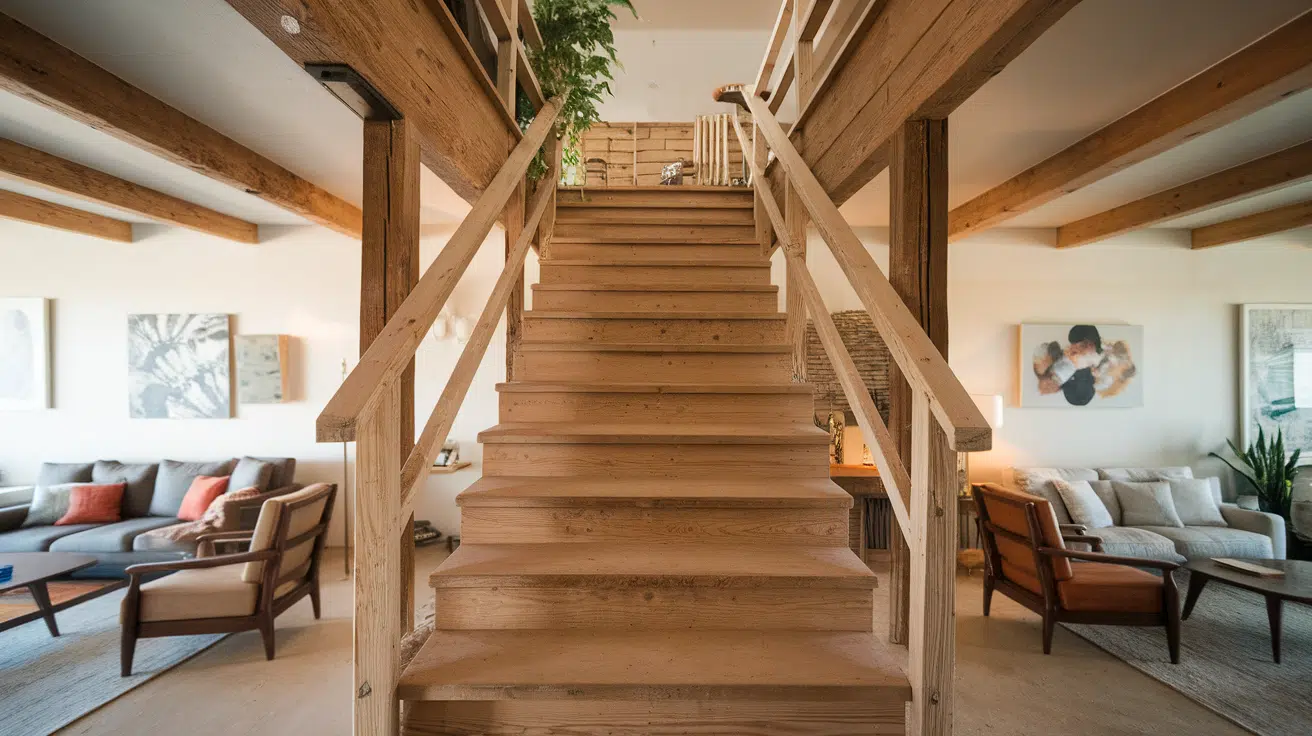
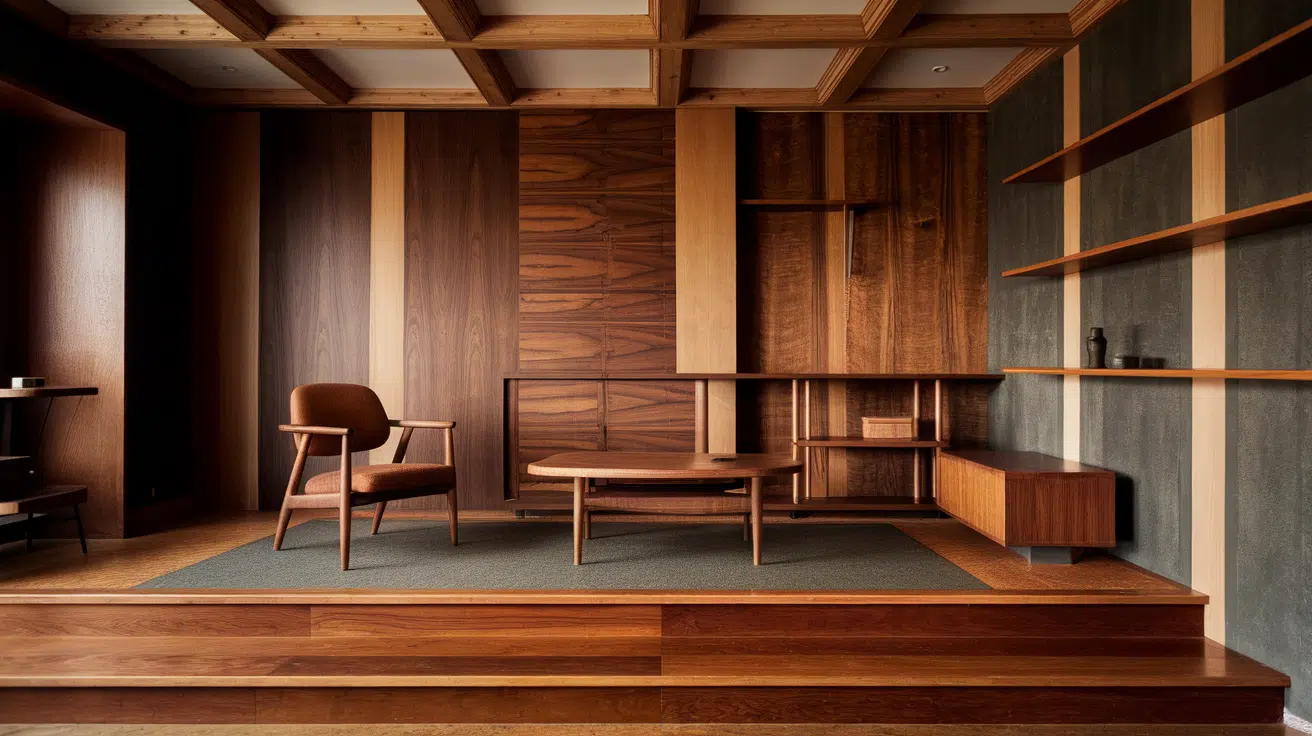
23. Mix Wood Textures
Different wood grains and finishes on steps, furniture, and decor give the room depth. This helps each level stand out while still feeling connected.
DIY Tip: Use wood stain on different types of scrap wood and create a feature wall. You can also mix wood tones in furniture and shelves for a subtle contrast.
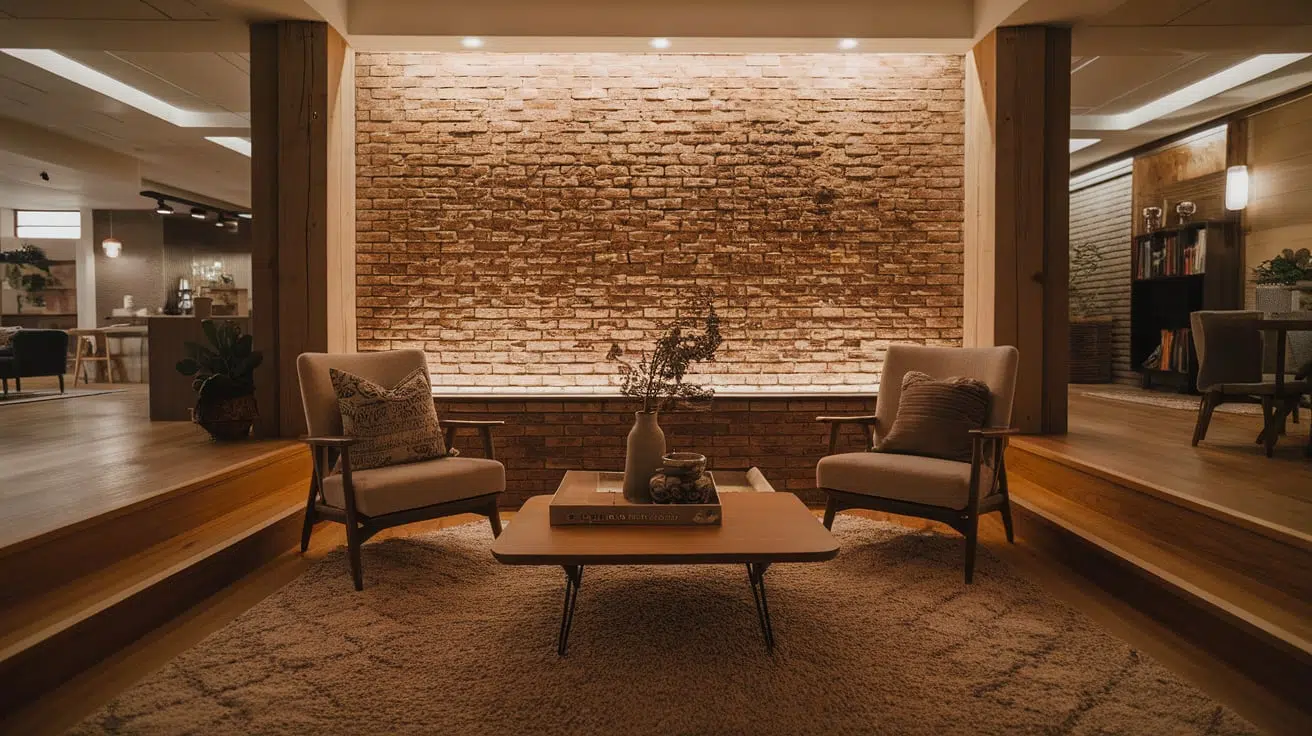
24. Add Brick or Stone Walls
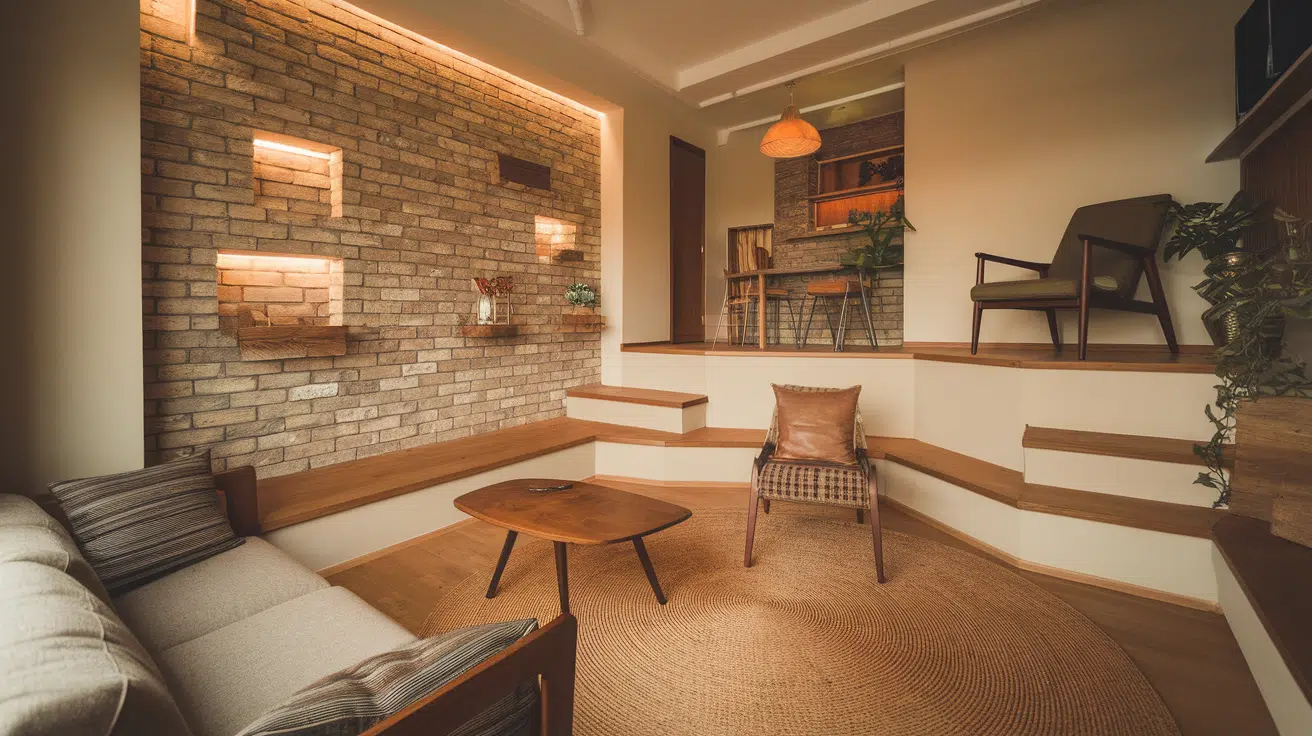
One brick or stone wall can anchor a split-level room. It adds weight to one level and makes it feel solid and grounded.
DIY Tip: Use peel-and-stick faux brick panels. They’re easy to apply, budget-friendly, and renter-approved.
25. Try an Open Loft Look

Keep railings or dividers to a minimum. Let the different heights show the structure. It’s a modern way to style small homes and keeps everything bright.
DIY Tip: Use transparent acrylic panels or tension wire systems for safety if needed without blocking the view.
26. Create a Mini Stage
A slightly raised area can be a fun spot for music practice, kids’ play, or even a place to display art. It adds a playful, flexible vibe to your space.
DIY Tip: Make a simple wood platform with plywood and carpet. Add a curtain rod for drama or to tuck it away when not in use.
27. Add Storage Under the Raised Area
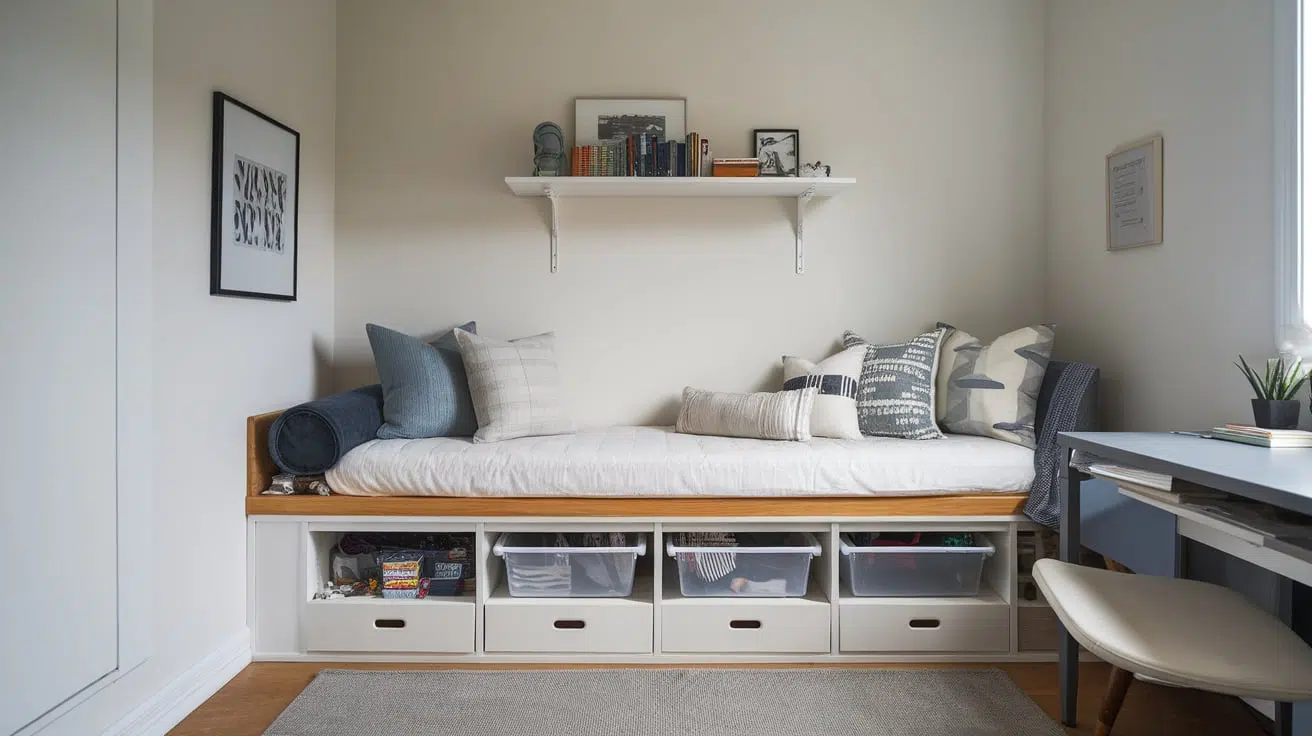
A platform can double as storage. It can hold toys, shoes, or books while still looking neat, and drawers or cubbies underneath keep it useful.
DIY Tip: Build the platform with a hollow base and attach cabinet doors or fabric panels. You can even use IKEA bins that slide right in.
28. Make the Split Your Home Office
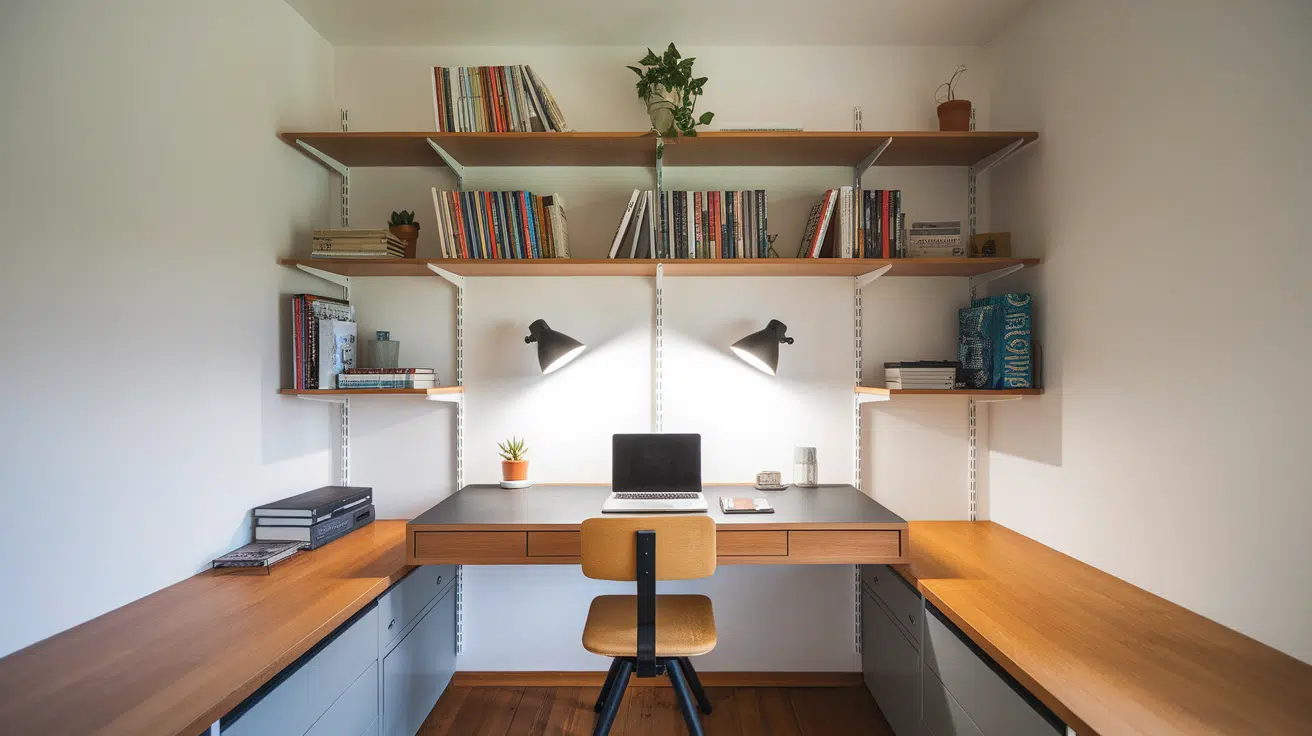
Turn one level into a workspace. This will separate work from daily life without needing another room. To complete it, add a desk, chair, and task lighting.
DIY Tip: Mount a small desk on brackets to the wall to save floor space. Use wall-mounted pegboards or shelves to keep supplies organized.
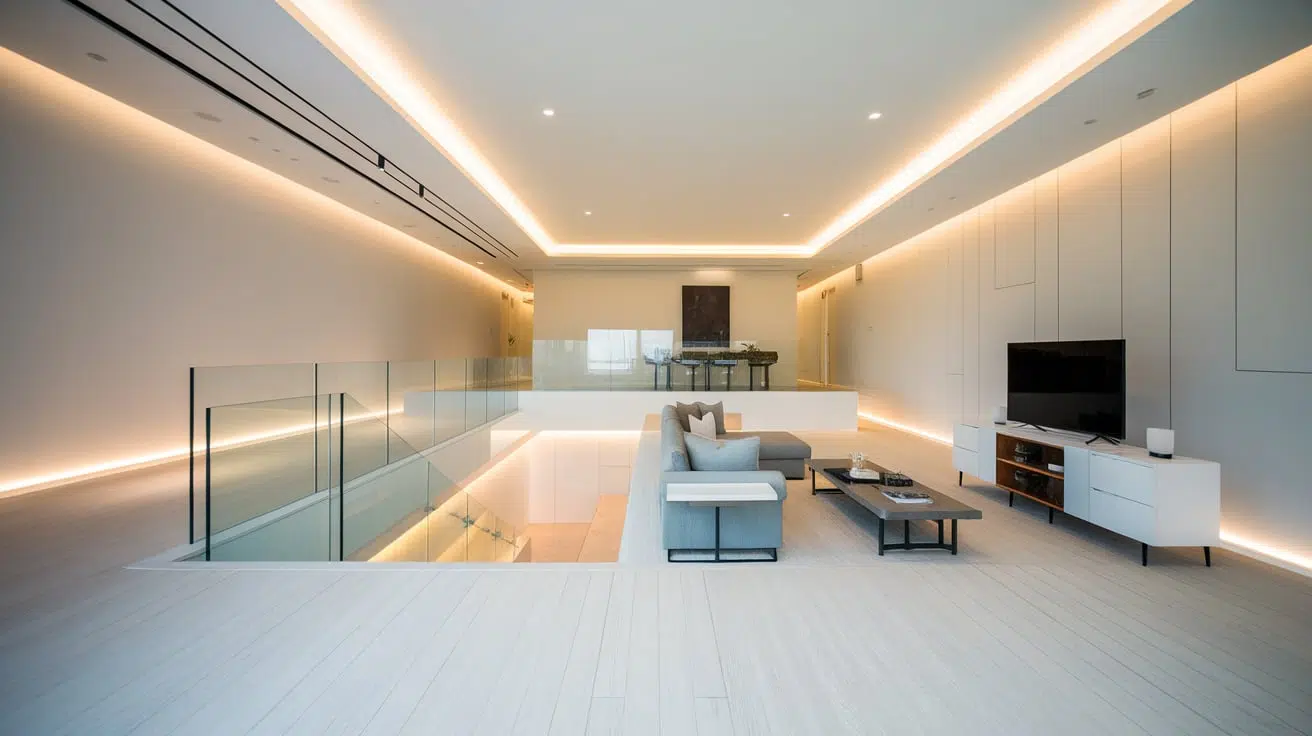
29. Add Glass Railings

If safety is a concern, add clear glass panels. They keep the space feeling open while protecting edges. It’s ideal for homes with young kids or stairs near living areas.
DIY Tip: Acrylic sheets are a lightweight alternative to glass. Mount them with metal clips or brackets for a sleek finish.
30. Use the Levels to Create a Dining Area
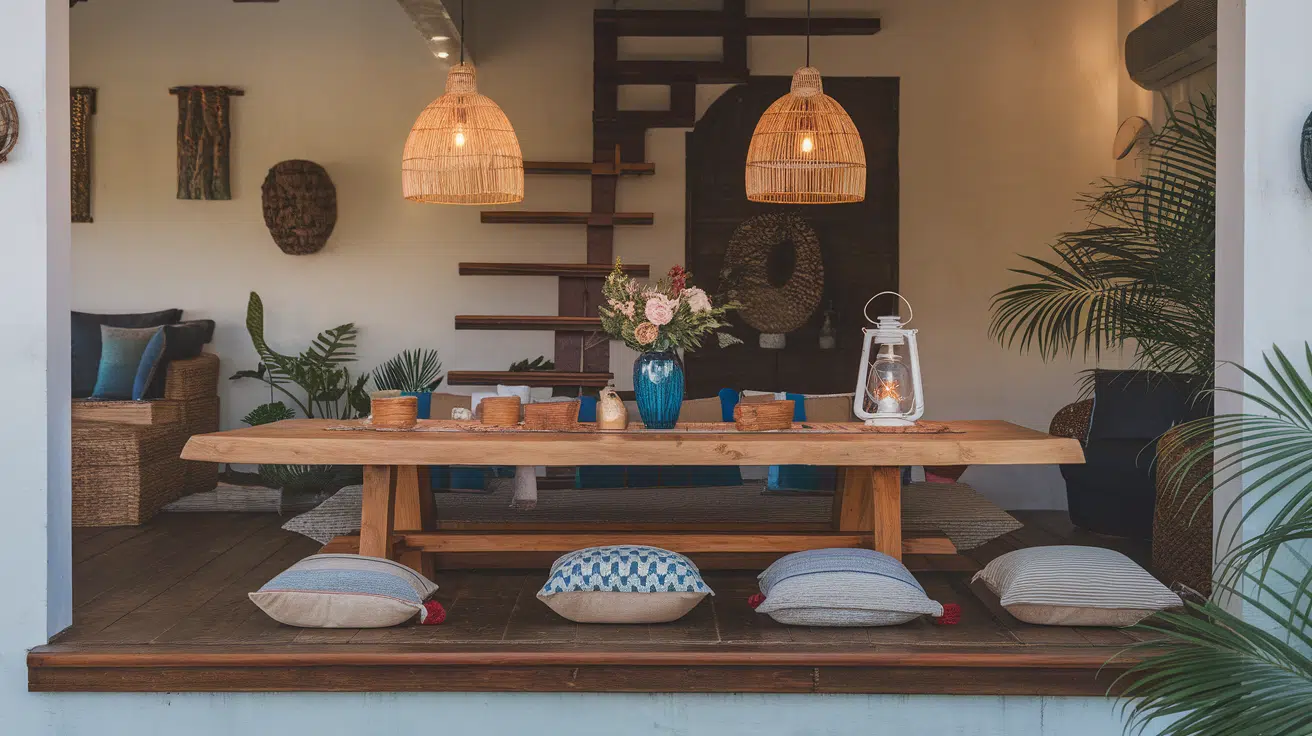
Raise the dining zone to separate it from the lounge. It makes dinner feel more formal and helps keep messes in one spot. Lighting and table decor help highlight the space.
DIY Tip: Repurpose a wooden pallet into a small stage and place your table on top. Sand and paint it to match your flooring.
Conclusion
Split-level living rooms allow you to make your space feel open and useful without making major changes. Whether your home is big or small, this layout helps break up space without adding walls. With just a few steps, platforms, or changes in level, you can shape how your home feels and functions.
From cozy reading corners to smart work zones and relaxing TV spots, split-level ideas make every part of your space do more. Using lighting, rugs, furniture height, and color, you can build clear zones that still feel part of one big room.
You don’t need a big budget. With basic DIY tools and a little time, you can add these changes yourself. Try raised platforms for extra storage, paint to mark zones, or soft lighting to change the mood.
Frequently Asked Questions
What Is a Split-Level Living Room?
A split-level living room uses different floor heights to separate areas instead of using walls. A small step up or down can divide spaces like dining, seating, or working zones.
Is a Split-Level Layout Good for Small Homes?
Yes. It helps you use the same area for more than one purpose without making it feel crowded. The open view across the levels can also make the space feel larger.
Can I Create a Split-Level Look without Remodeling?
Definitely, you can use raised platforms, rugs, or even furniture placement to show where one area ends and another begins. There is no need for big construction.
Is It Safe for Kids or Older Adults?
Yes, if planned carefully. Use wide, low steps, and add lighting for better safety. Avoid sharp edges. You can also add railings or use rugs that don’t slip.
What Are the Best Materials to Use for DIY Platforms or Steps?
Plywood, 2×4 or 2×6 boards, and laminate flooring are great. Carpet or rubber mats work well for covering. To save space, use storage bins or baskets under platforms.