
Building an indoor climbing wall for kids has been one of the most fun and rewarding DIY projects I’ve tackled.
It gives kids a way to stay active, burn energy, and build strength, all without leaving the house.
Plus, it’s a great screen-free alternative, especially during rainy days or long winters. You don’t need a huge space or a fancy setup to make it work.
In this blog, I’ll guide you through everything: choosing the right spot, gathering materials, picking holds, and making sure it’s all safe and fun.
Whether you’ve got a blank wall in the basement, a corner in the playroom, or even a hallway that could use some action, I’ll help you turn it into a mini adventure zone.
Let’s create a climbing wall your kids will absolutely love. Ready to get started? Let’s build it together!
Why Build a Climbing Wall at Home?
An indoor climbing wall is more than just a fun activity; it’s a powerful tool for growth. Climbing helps kids develop physical strength, balance, coordination, and flexibility.
It also builds focus, problem-solving skills, and determination as they plan their moves and reach for new heights.
Beyond fitness, climbing boosts confidence. Each hold they conquer gives them a sense of accomplishment and encourages them to try again when things get tough.
It’s a screen-free, mentally engaging way to stay active year-round, especially when going outside isn’t an option.
Best of all, you can tailor the wall to your child’s skill level and interests.
Whether it’s a quick climb to burn energy or a challenge to master over time, a home climbing wall gives kids a space to grow, play, and thrive, all within the safety of home.
Step-By-Step Guide: DIY Climbing Wall
Follow this detailed guide to build a safe and sturdy indoor climbing wall, from framing and prep to adding holds and finishing touches.
What You’ll Need
- 2×4 lumber – for framing
- Plywood sheets – for the climbing surface
- Framing nailer or screws – to assemble the frame
- Circular saw – for angled and birds’ mouth cuts
- Speed square and digital protractor – to measure angles
- T-nuts and climbing holds – for grip installation
- Drill holes and anchoring
- Stud finder – to locate wall studs
- Sandpaper – to smooth edges
- Polycrylic – for sealing the wall
- Measuring tape and chalk line – for layout
- Hammer and mallet – for t-nut placement
Step 1: Measure and Plan the Space
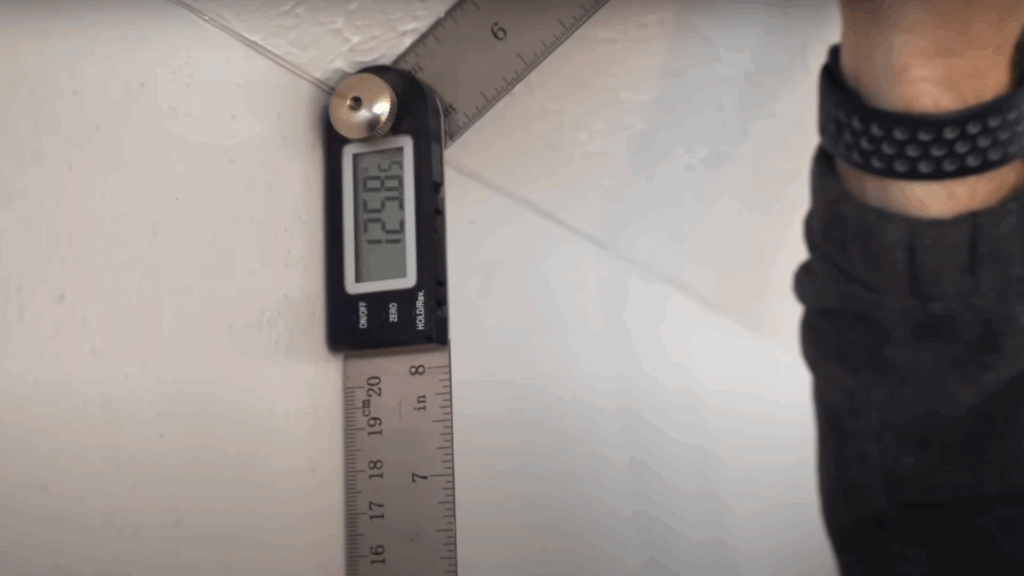
Start by carefully measuring the wall or corner where you’ll build the climbing wall. Include height, width, and any angles like roof slopes.
Use a sketch or 3D software like Fusion 360 to map out your framing plan and calculate materials.
Accurate measurements help avoid mistakes during cutting and installation and ensure everything fits together securely once you begin building.
Step 2: Cut and Assemble the Frame
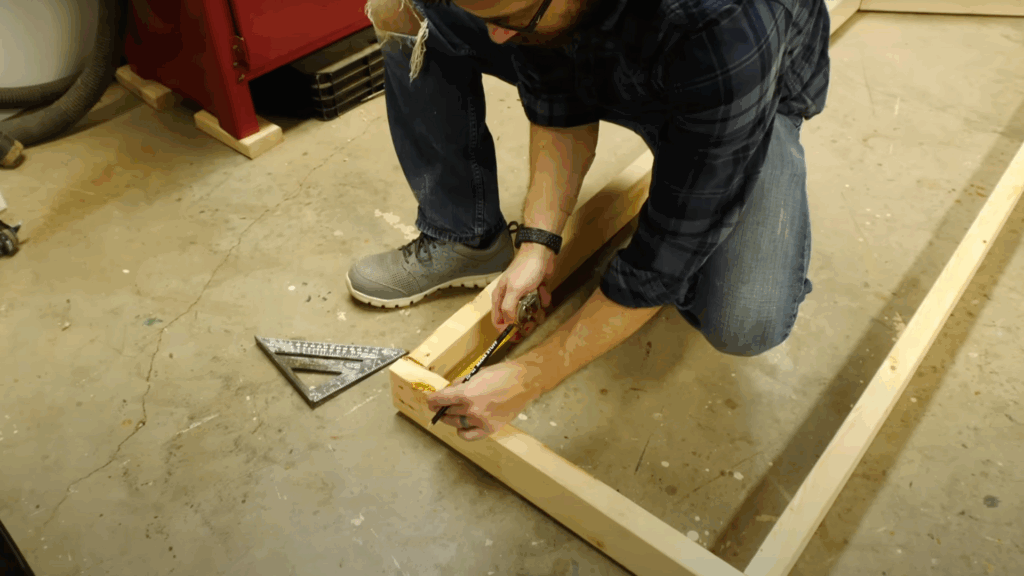
Cut your 2x4s for the base and vertical studs, using a circular saw. If your wall has angled sections, cut bird’s mouth notches or angled edges to fit tightly.
Assemble the frame using a framing nailer or screws, making sure all corners are square using a speed square. Dry-fit sections before nailing to ensure everything aligns and stands flush with your layout.
Step 3: Anchor Frame to Wall
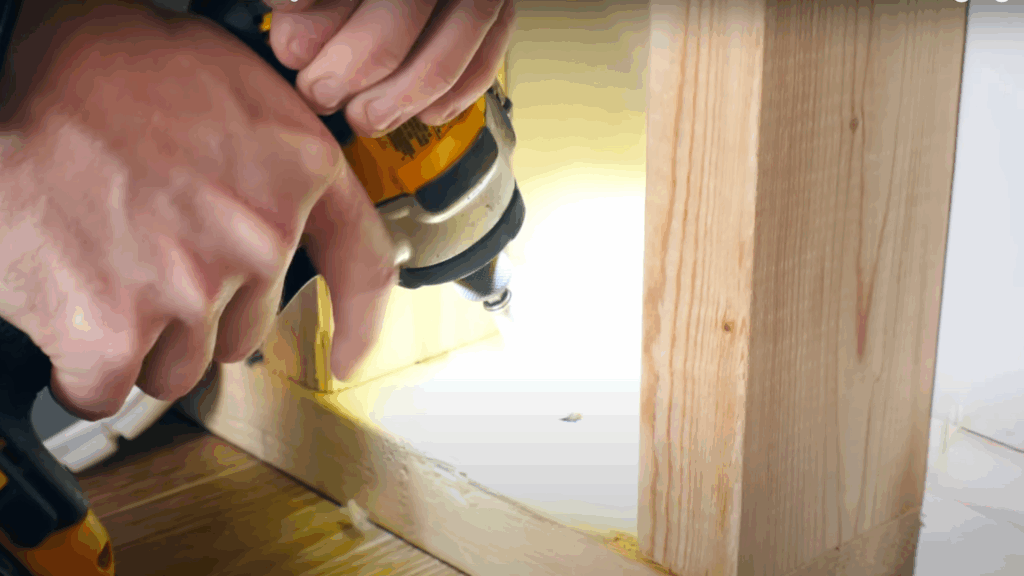
Locate studs in the surrounding walls using a stud finder. Then use long screws, at least 5 inches, to anchor the frame directly into those studs.
Make sure the frame sits flush with the wall and trim any baseboard to help it fit tightly. Anchor at several points for structural strength, especially at corners and where you’ll later mount climbing holds.
Step 4: Add Angled and Ceiling Frames
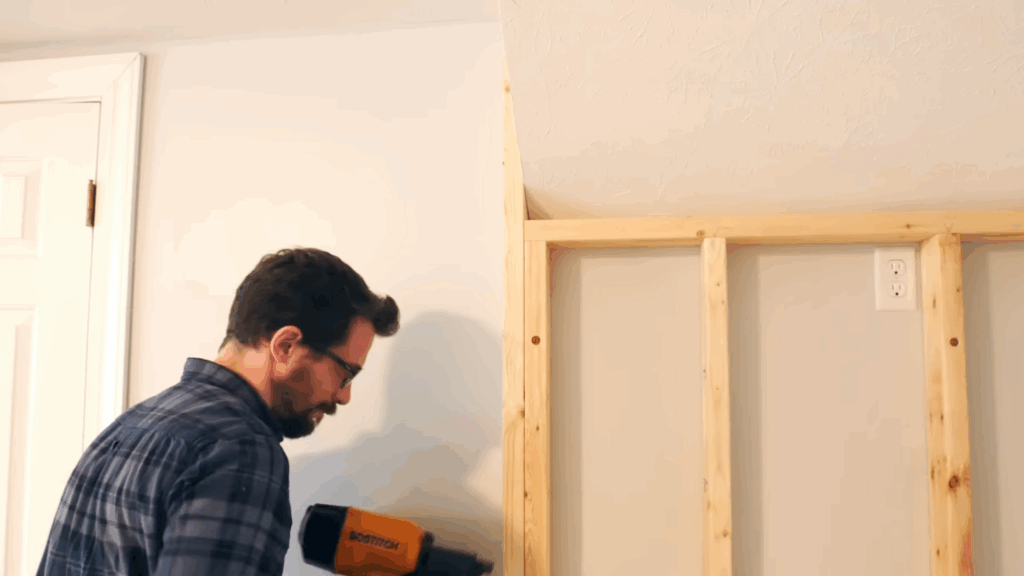
For angled ceilings or overhangs, cut your 2x4s to match the pitch of the ceiling using the measured angle. Bird’s mouth cuts allow these pieces to rest securely on vertical framing.
Space your ceiling studs based on ceiling joist spacing, typically 24 inches apart. Secure each angled piece tightly to the base frame and surrounding structure to support the plywood and hold it.
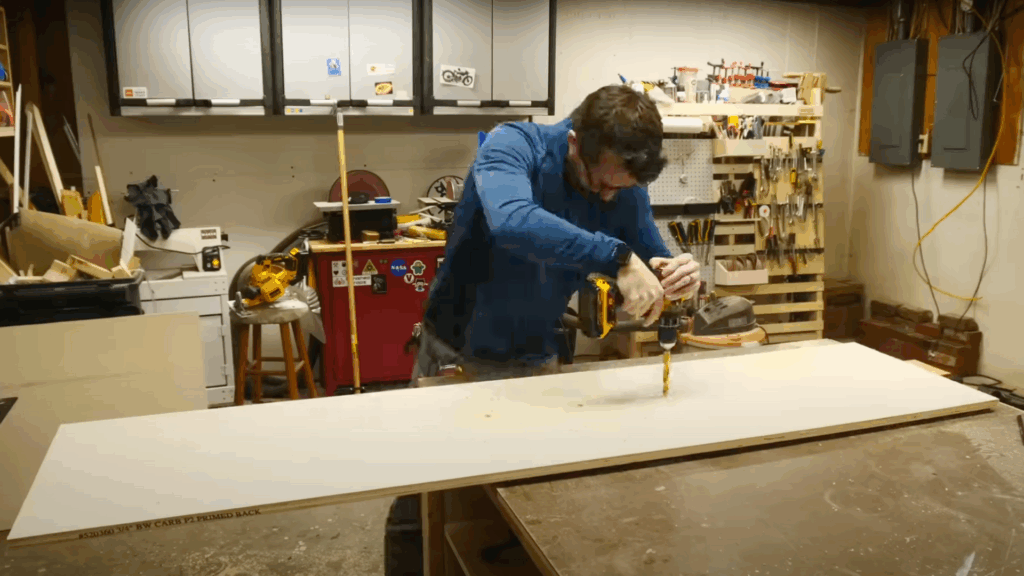
Step 5: Drill Grid and Install T-Nuts
Mark a grid on each plywood panel using an 8-inch spacing pattern, starting 6 inches from the bottom for better grip placement. Drill clean, centered holes at each intersection.
Flip the board and hammer T-nuts into each hole. These will anchor your climbing holds from the front side and allow you to rearrange them without damaging the wood.
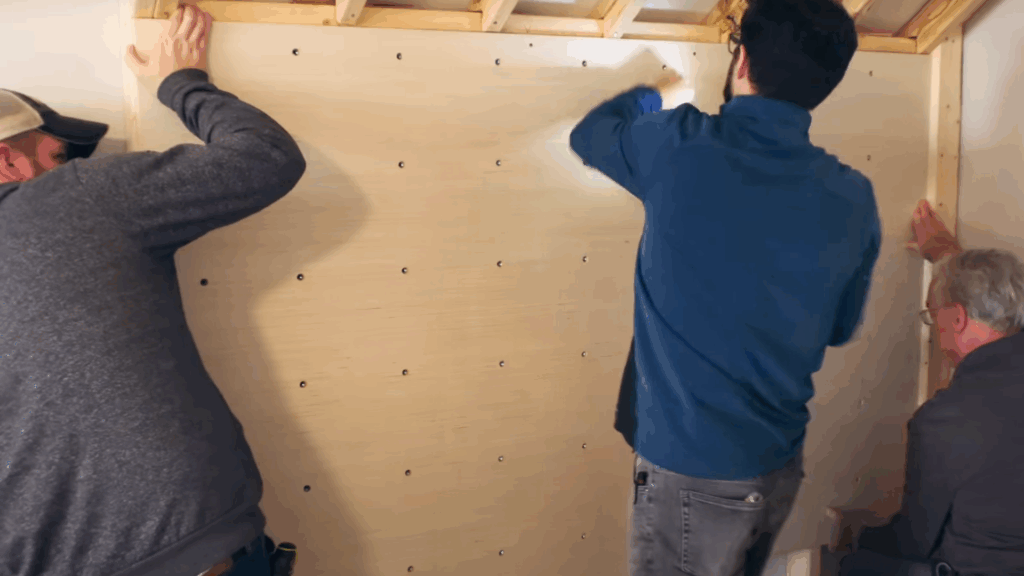
Step 6: Mount Plywood Panels
Screw the plywood sheets onto the framing using plenty of screws, especially near edges and across studs. Cut around any wall features like outlets or vents.
For a cleaner look, trim visible frame edges with strips of plywood. Use a level to keep panels aligned. Tight, flush installation is key for both appearance and safe climbing grip attachment.
Step 7: Sand and Seal Surfaces
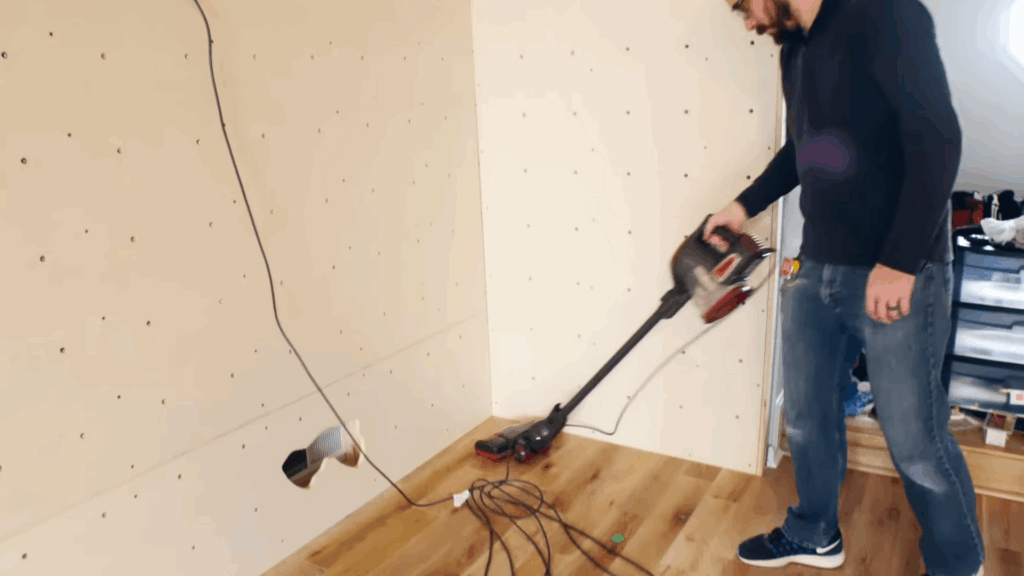
Before using the wall, sand all edges and cutouts with medium to fine-grit sandpaper to remove splinters and sharp spots.
Wipe down each board, then apply a clear coat like polycrylic to protect the surface until you decide on paint or finish. This sealing step keeps the wall smooth and extends its life, especially in high-touch climbing areas.
Step 8: Final Touches and Hold Installation
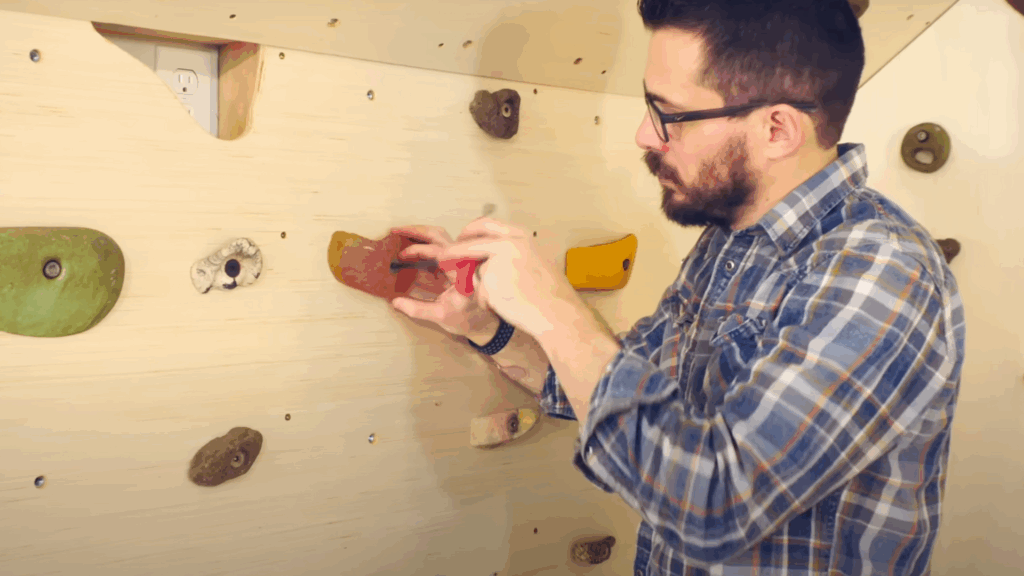
Once sealed, begin attaching climbing holds using bolts threaded through the T-nuts. For trim areas without T-nuts, screw-on holds are a good alternative.
Vary the size and style of grips to create an engaging route that suits your child’s age and strength. Check for secure placement and test everything with adult pressure before kids start to climb.
Choosing the Right Space in Your Home
The location of your indoor climbing wall can make a big difference in how much your kids use it, and how easy it is for you to supervise, maintain, and enjoy.
- Basement: A great choice for larger walls with higher ceilings. Basements offer space for creative layouts but may need extra lighting and humidity control to keep the climbing environment comfortable and safe.
- Playroom or Bedroom: Ideal for smaller, kid-friendly walls. These rooms make supervision easy and let you integrate fun themes. Ceiling height may be limited, but it’s perfect for everyday play and younger children.
- Garage or Utility Room: Garages allow for taller, more complex walls with added features. With proper insulation, they make excellent climbing zones, especially when combined with other physical activities like rope swings or ladders.
Adding Features Beyond the Wall
Take your DIY climbing wall to the next level by including fun and interactive add-ons. These features boost physical development, keep kids engaged, and encourage imaginative play.
| Feature | Benefits |
|---|---|
| Rope Ladder | Improves balance, coordination, and engages core muscles |
| Monkey Bars | Builds upper body strength and spatial movement skills |
| Mini Climbing Cave | Sparks’ imaginative play adds variety to climbing challenges |
| Cargo Net | Enhances grip strength and body awareness |
| Swing Rings | Encourages dynamic movement, grip control, and fun swinging |
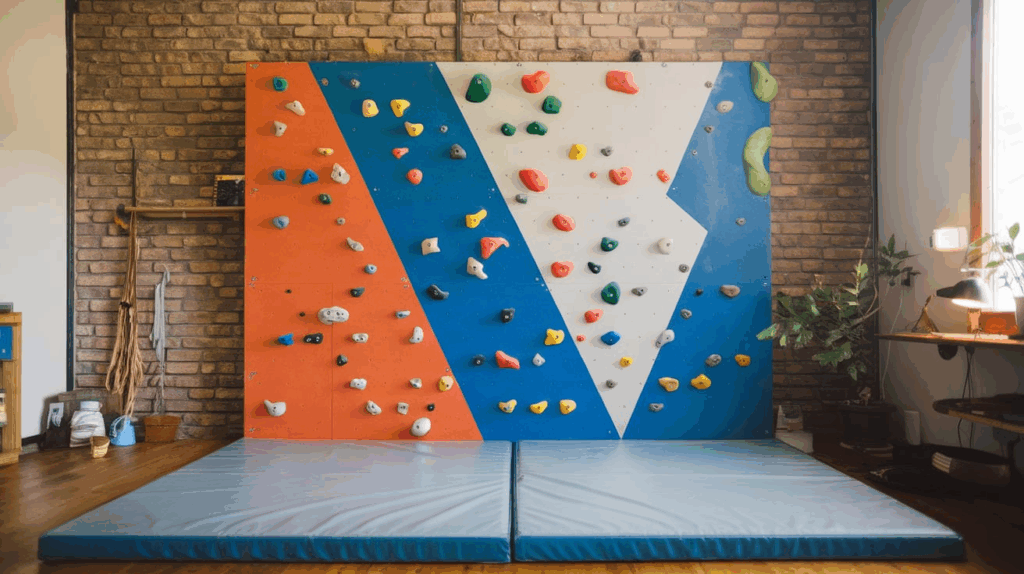
Safety First: Padding and Fall Zones
When building a climbing wall for kids, safety is the top priority. The space below and around the wall needs proper padding to cushion falls and reduce injury risk.
Whether you’re building a short wall for toddlers or something more advanced, fall protection and safe wall design are essential to keep playtime worry-free and fun.
- Ideal Fall Height Guidelines: For kids, it’s best to keep the wall height under 6–8 feet. This minimizes injury risk if they fall. If you’re building higher, make sure to increase the amount and thickness of padding.
- Crash Mat vs Gym Mat: Crash mats are thick and soft, ideal for climbing. Gym mats are thinner but can work for lower walls or budget builds. Layering gym mats is a good workaround if crash mats are out of budget.
- Wall Angle and Safety: Avoid steep overhangs unless your kids have climbing experience. Angled walls also help direct falls downward rather than away from the wall.
- Supervision Tips: Always keep an eye on little climbers. Encourage them to climb with care and take turns. Set basic ground rules like climbing barefoot or with grip socks and never pushing or jumping from the top.
Maintenance and Supervision Tips
Proper maintenance and active supervision keep your kids’ climbing wall safe, durable, and fun over time. This section covers simple upkeep tasks and safety habits every parent should follow.
- Check Holds and Hardware Monthly: Give each climbing hold a quick twist to make sure it’s tight. Inspect bolts, screws, and anchors for any signs of wear or loosening.
- Clean the Wall Surface Regularly: Use a damp cloth to wipe down plywood and holds, especially if your kids climb barefoot or with sticky hands. Avoid harsh cleaners that might affect the grip.
- Inspect Mats and Padding: Make sure mats haven’t shifted and still provide full fall coverage. Look for rips, compressions, or any reduced cushioning and replace when needed.
- Set Climbing Rules and Supervise Play: Teach your kids safe climbing habits like one-at-a-time rules and proper descent. Supervise especially younger climbers, and keep a visual line on them during use.
Conclusion
A DIY indoor climbing wall is more than just a fun addition; it’s a lasting gift of movement, creativity, and confidence for your kids.
It encourages problem-solving, builds strength, and gives them a space to grow in ways screens never can.
I absolutely loved building ours, and I’m confident yours will bring just as much joy. Start with a safe design, choose quality materials, and add your own creative twist.
Even if it’s a small corner wall or a full adventure zone, your kids will climb and smile every step of the way.
Ready to get started? Grab your tools, sketch out a plan, and let’s build a space that inspires movement and imagination.
And if you do create one, tag me or share a photo, I’d truly love to see what you come up with!