
Is your dining table looking worn and tired? You’re not alone. Many homeowners want to refresh their dining area without buying new furniture.
Fixing up your old table yourself saves money and lets you create something that perfectly fits your style. Plus, it’s a fun weekend project anyone can do!
In this guide, you’ll learn:
- How to check if your table is worth fixing
- Simple steps to strip, sand, and finish your table
- Ways to protect your renewed table for years to come
I’ve helped hundreds of people bring their old tables back to life. With my step-by-step tips, you’ll turn that faded table into the centerpiece of your dining room.
Preparing Your Dining Table for a Makeover
First things first – you need to get your table ready before any real work begins. I’ve learned that good prep saves time and trouble later.
Start by clearing everything off your table. Remove any items you’ve stored on or under it. This gives you a clean workspace.
If possible, take off the table legs. This makes the top easier to work with. Keep all screws and hardware in a small container so they don’t get lost.
Cleaning comes next. Wipe down the entire surface with a damp cloth and mild soap. Old polish, food spots, and dust must go! Let it dry completely.
Now, look closely at your table:
- Are there deep scratches?
- Does it wobble?
- Are any parts loose or damaged?
Fix these issues before moving forward. A wobbly table will only get worse if you don’t address it now. For your comfort and safety:
- Work at waist height if possible
- Wear gloves to protect your hands
- Open windows for good air flow
I like to take “before” photos at this stage. They help me see how far I’ve come when I finish the project!
Essential Tools and Materials for The Job
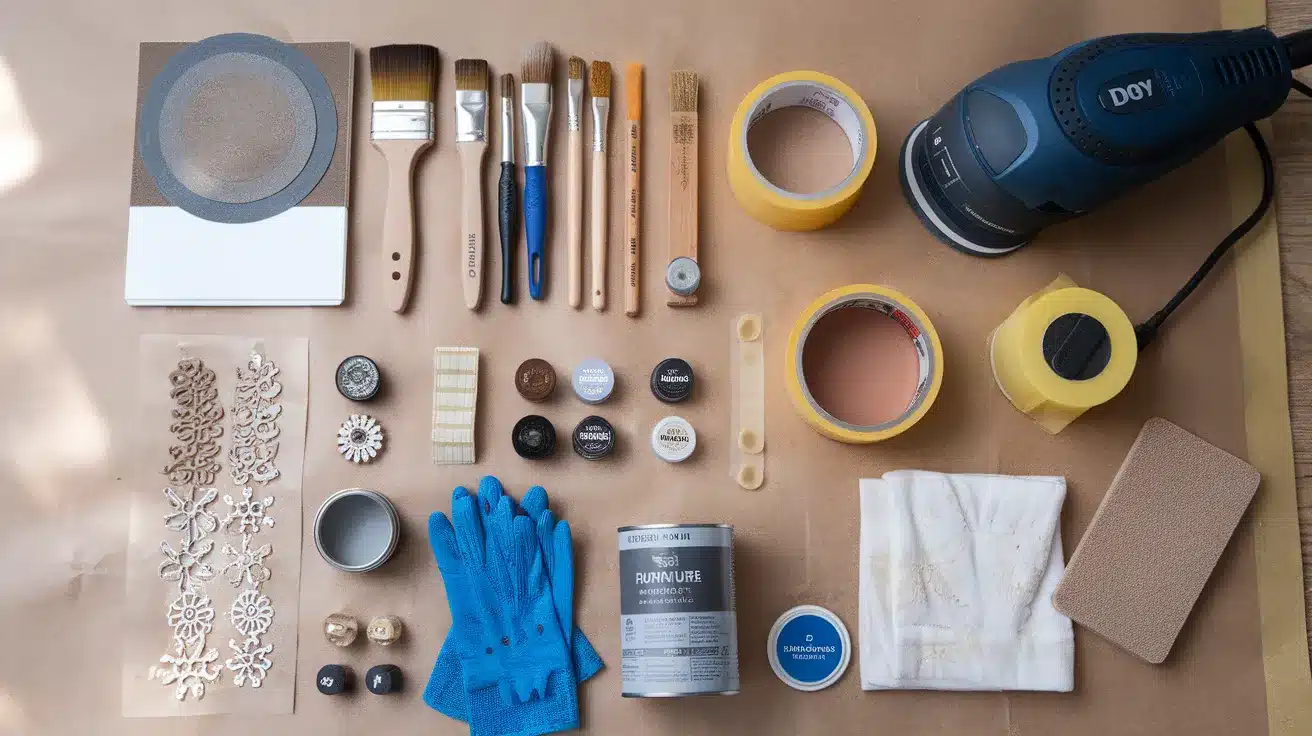
Getting the right supplies before you start can prevent extra trips to the store. I’ve put together a list of everything you’ll need to make your table look great again.
Basic Tools You’ll Need
- Sandpaper (medium and fine grit)
- Electric sander (not required but saves time)
- Set of paintbrushes (various sizes)
- Drop cloth or plastic sheeting
- Screwdriver set
- Clean rags or old t-shirts
- Painter’s tape
- Measuring tape
- Sanding block
Materials for Your Table
- Wood filler (for fixing holes and cracks)
- Primer made for furniture
- Paint or wood stain of your choice
- Clear sealant or polyurethane
- Tack cloth to remove dust
- Cleaning solution (mild soap works well)
- Gloves to protect your hands
Optional Items for Extra Style
- New drawer pulls or handles
- Stencils for patterns
- Decorative nails or tacks
- Wood appliqués
- Contact paper for drawer liners
- Furniture wax for a soft shine
You don’t need to buy everything at once. Start with the basics and add special items as your project develops. Your table makeover can be as simple or as fancy as you want it to be!
Step-By-Step Guide to Sanding and Refinishing
Sanding is where the real change begins. This is the part that takes your table from old to new. Let me walk you through each step.
Step 1: Sand in Stages
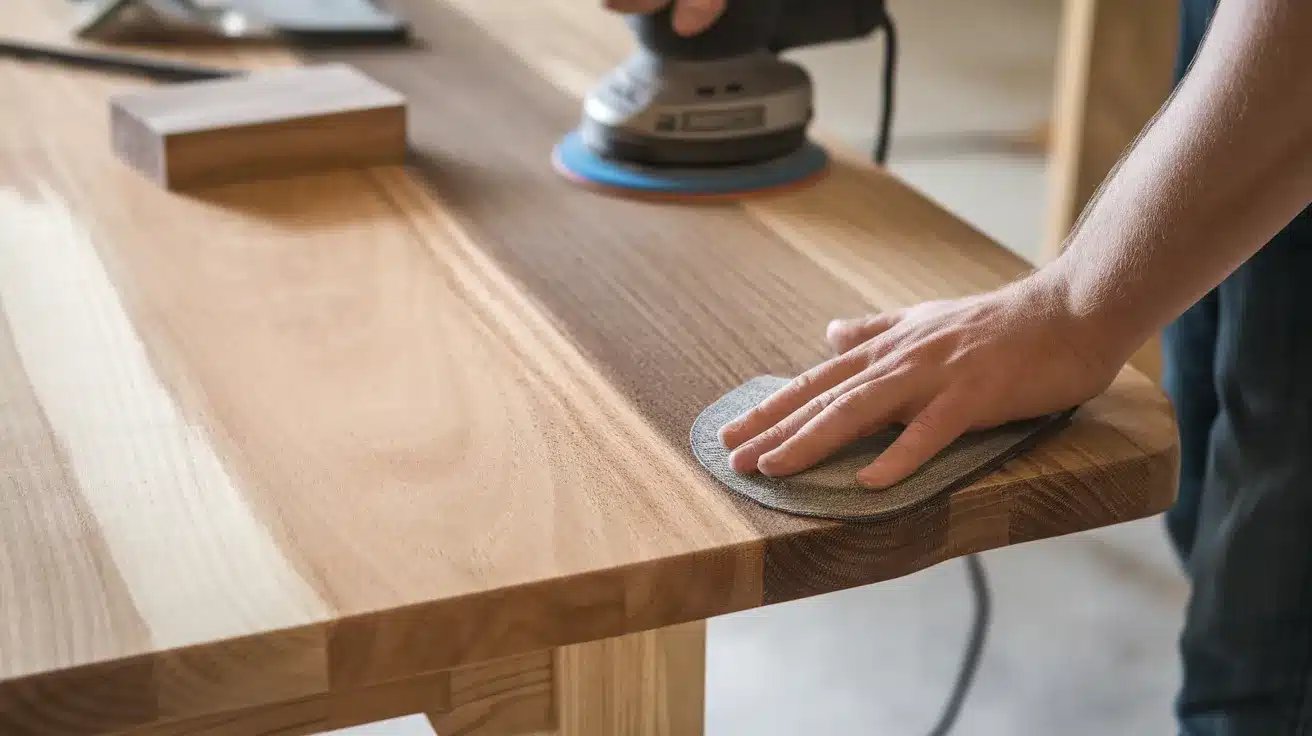
Start with coarse sandpaper (60-80 grit) to remove the old finish. Work in the direction of the wood grain. This prevents scratches that will show later.
I like to sand by hand for edges and details. For the tabletop, an electric sander makes the job much faster. Move to medium sandpaper (120 grit) next.
Finally, finish with fine sandpaper (220 grit) for a smooth surface.
Step 2: Remove All Dust
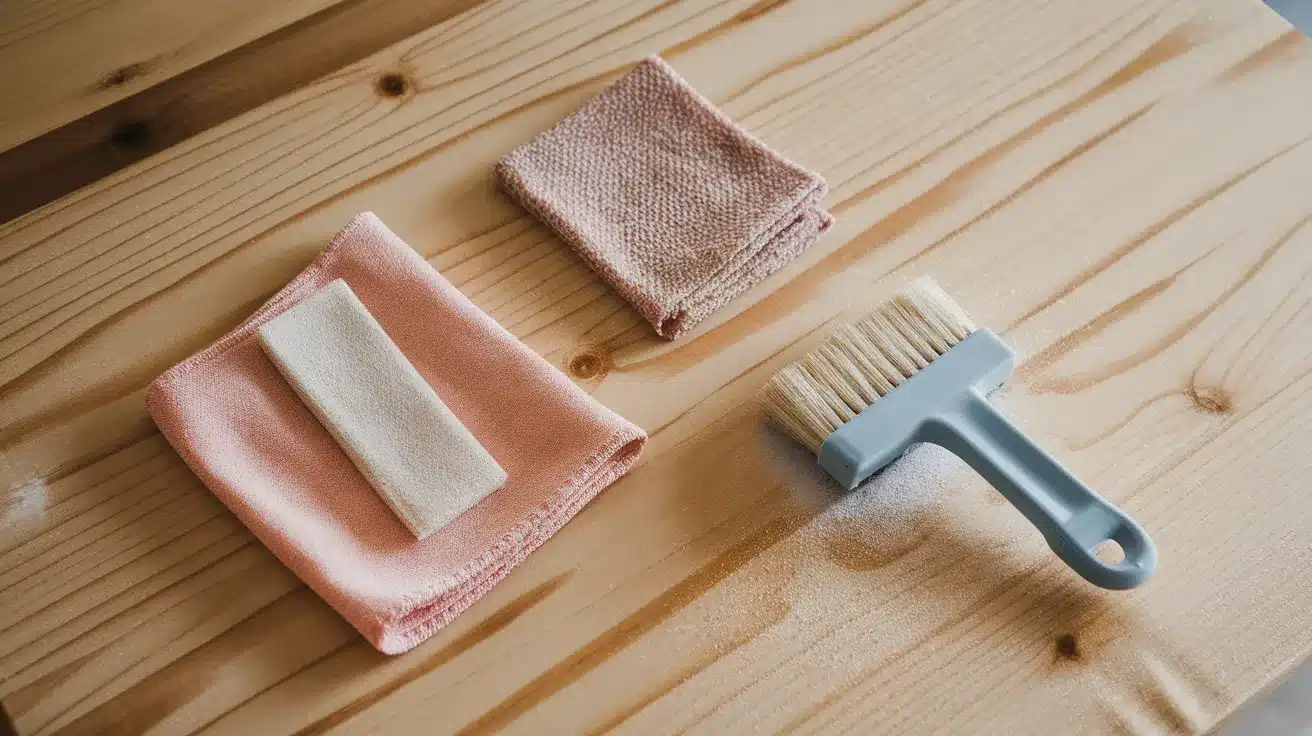
Thoroughly wipe the table with a damp cloth and let it dry completely. Follow with a tack cloth to capture remaining dust particles.
This step is crucial – any dust left behind will create permanent bumps in your new finish, ruining the professional appearance you’re working toward.
Step 3: Fill Damage
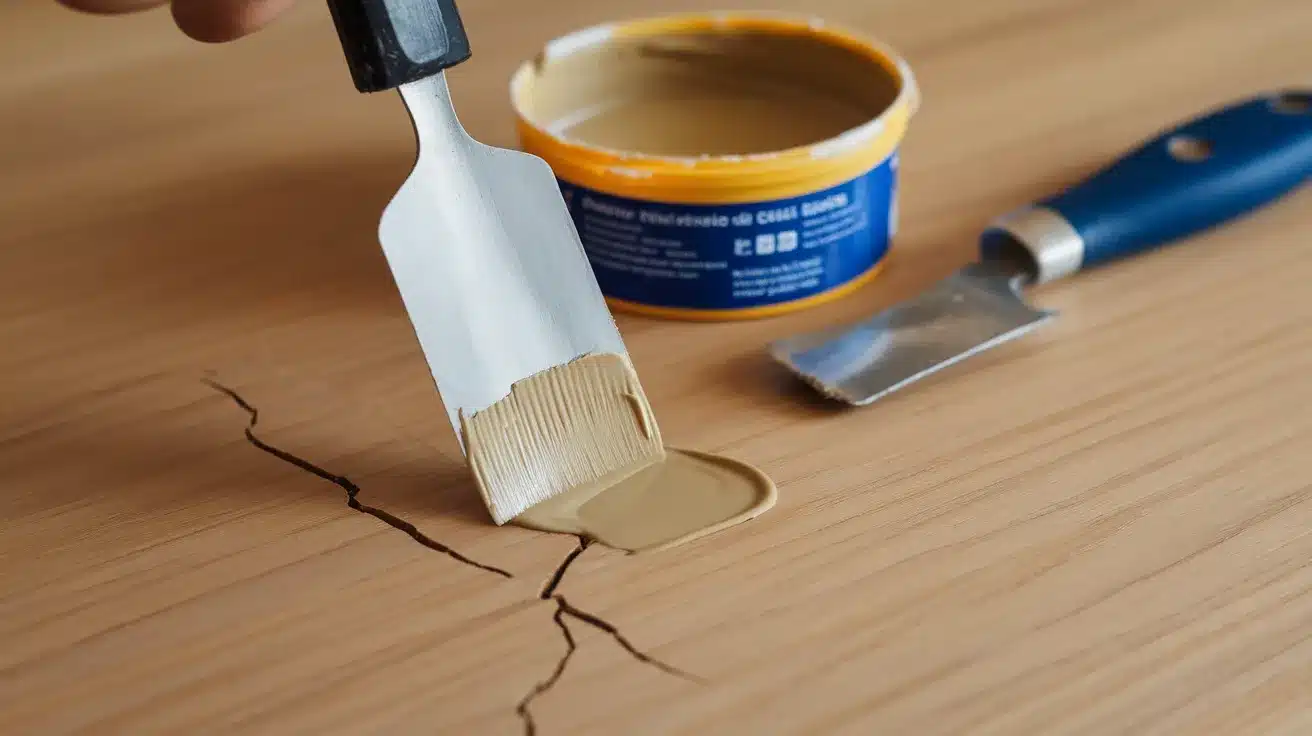
Inspect the table for holes, cracks, and deep scratches. Using a putty knife, apply wood filler, ensuring it covers the damage completely.
Allow several hours for drying, then sand the filled areas until they’re perfectly flush with the surrounding wood. For deeper gouges, you may need multiple applications of filler.
Step 4: Prime (for Painted Tables)
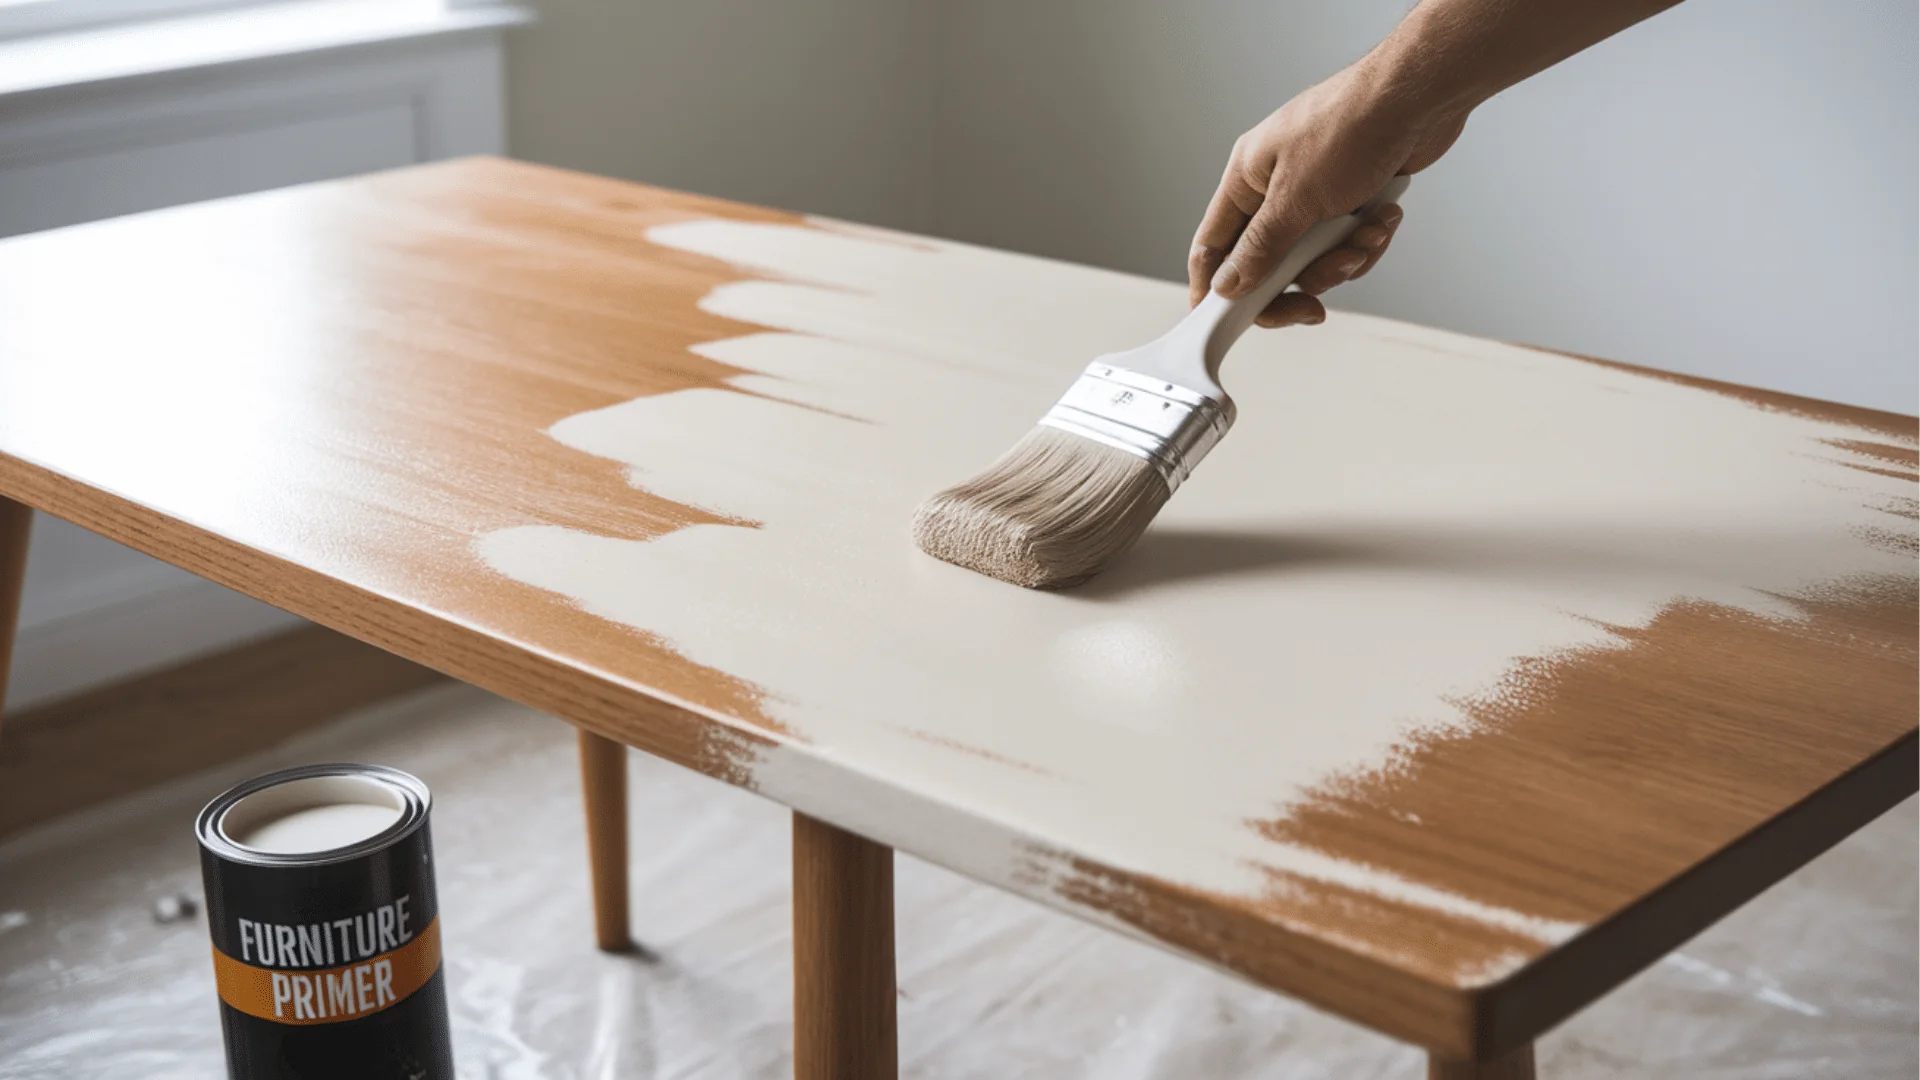
If you plan to paint your table, apply a thin, even coat of primer. Primer creates a uniform surface that helps paint adhere better and last longer.
Skip this step if you’re using stain instead of paint. Choose oil-based primer for durability or water-based for easier cleanup and less odor.
Step 5: Apply Paint or Stain
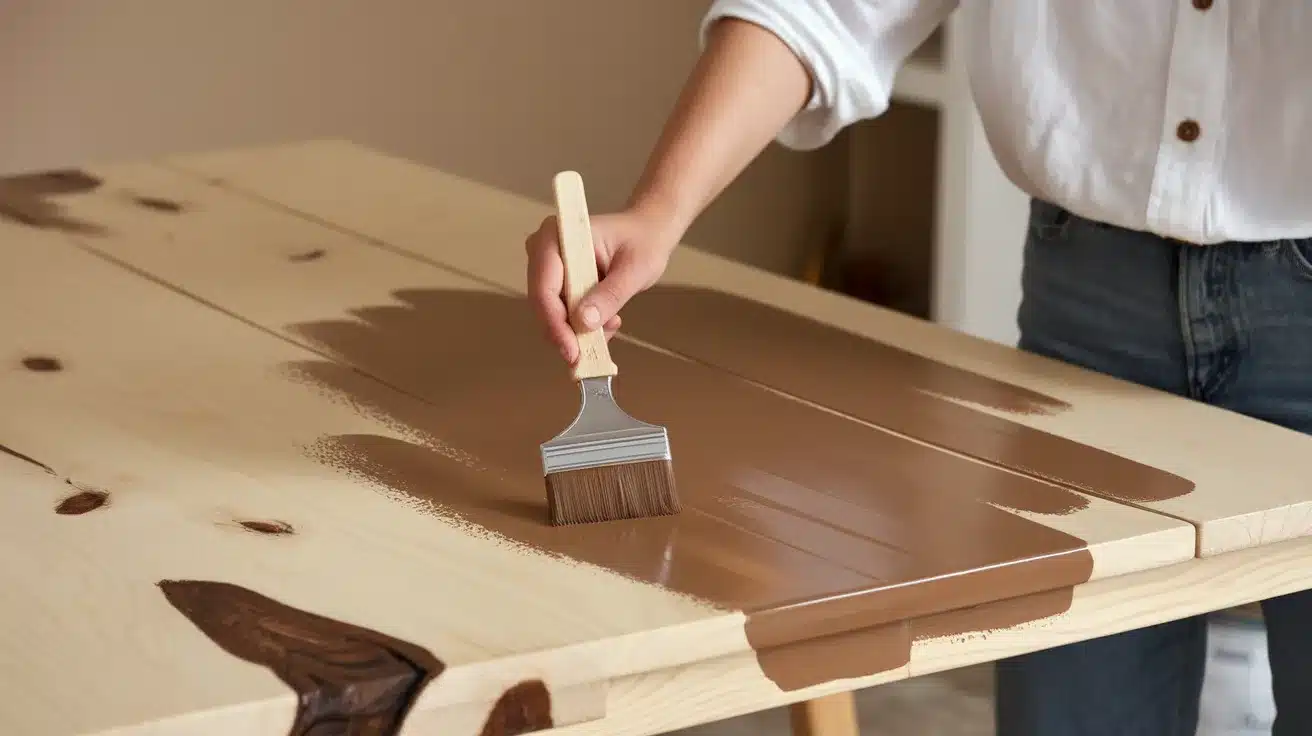
For paint: Use a good brush or small roller. Apply thin, even coats. Two or three thin coats look better than one thick coat. Let each coat dry before adding another.
For stain: Wipe on with a cloth, then wipe off excess after a few minutes. The longer you leave it on, the darker the color will be.
Step 6: Seal the Surface
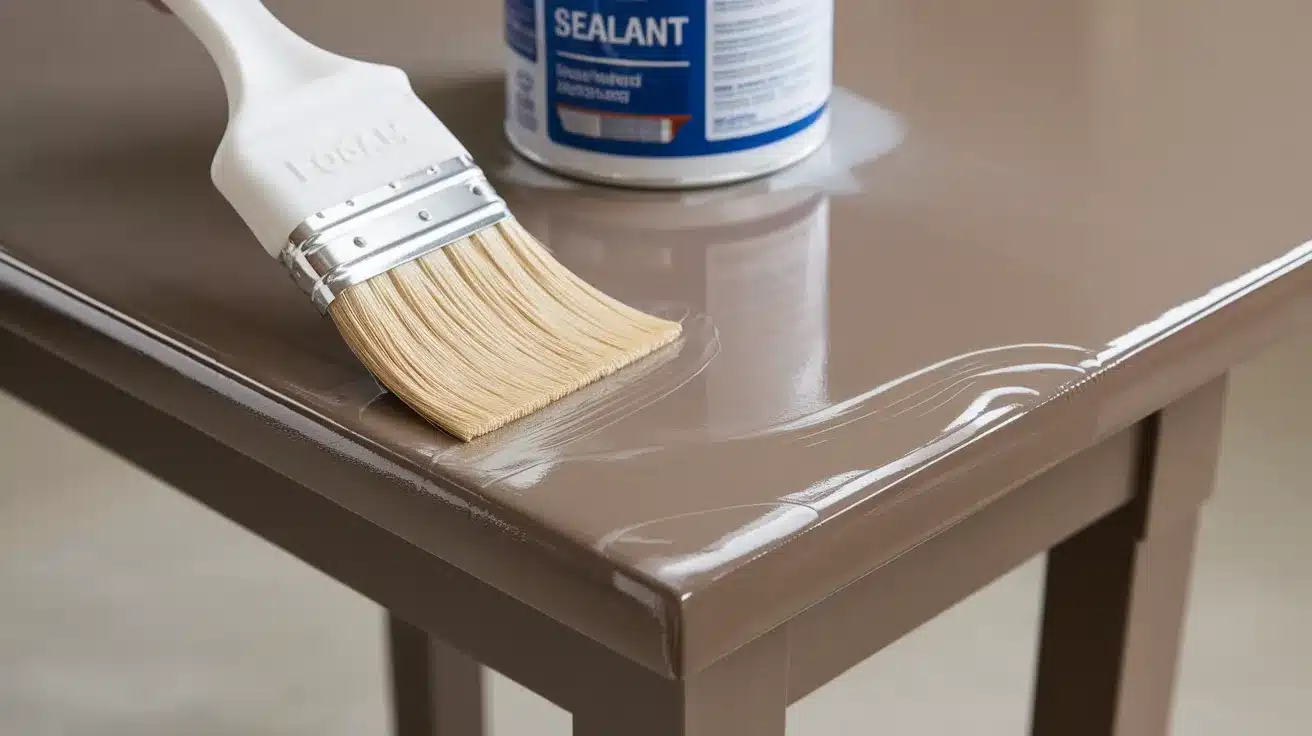
Once the paint or stain is completely dry, apply a clear sealant. This protects your hard work from water rings and scratches.
I use a foam brush for this step to avoid bubbles. Apply at least two coats, sanding lightly between them with very fine sandpaper.
Drying and Curing Tips:
Drying and curing are different! Your table may feel dry to the touch in a few hours, but it needs time to harden fully.
- Keep the room well-ventilated
- Wait at least 24 hours before light use
- Allow 3-7 days before placing heavy items on the table
- Avoid cleaning with chemicals for the first two weeks
Be patient during this final step. I’ve seen many good projects ruined by using the table too soon.
Choosing the Right Paint or Stain for Your Table
The finish you choose will decide how your table looks for years to come. I’ve tried many options over the years, and the right choice depends on what you want.
Paint vs. Stain: What’s the Difference?
- Paint covers the wood completely with color. It hides flaws well and gives you endless color options.
- Stain soaks into the wood and changes its color while still showing the grain pattern. This method is perfect for observing natural wood.
Your choice should match both your style and how you use your table.
Paint Types for Dining Tables
- Chalk Paint: Easy to use with little prep work. It gives a soft, matte look that many people love. You’ll need to seal it well for a table that gets used often.
- Latex Paint: Water-based and quick-drying. It comes in many finishes from flat to glossy. I find that semi-gloss or satin work best for tables since they clean easily.
- Oil-Based Paint: Very tough and leaves a smooth finish. It takes longer to dry but stands up to heavy use. The smell is strong, so good air flow is a must.
Stain Options
- Light stains (like maple or pine) make a room feel bigger and more open. They show off the wood grain clearly.
- Medium stains (like oak or cherry) offer a classic look that fits with most home styles.
- Dark stains (like walnut or ebony) create a more formal, rich look. They hide some flaws but show dust more easily.
What to Think About When Choosing?
- How much do you use your table? If it’s for daily meals with kids, pick something that cleans easily and resists stains.
- What’s your skill level? Some finishes are more forgiving for beginners. Chalk paint and water-based stains are good starter options.
- How much time do you have? Oil-based products last longer but need more drying time between coats.
- What other furniture is in the room? Try to pick something that works with pieces you already have and love.
I always suggest testing your paint or stain on the bottom of the table or on scrap wood first. Colors often look different once applied than they do in the can or on a color card.
Creative Ideas for A Dining Table Makeover
Looking for ways to make your table stand out?
Let’s see these seven ideas that I’ve tried myself or helped others. Each one can give your table a fresh new look without breaking the bank.
1. Two-Tone Finish
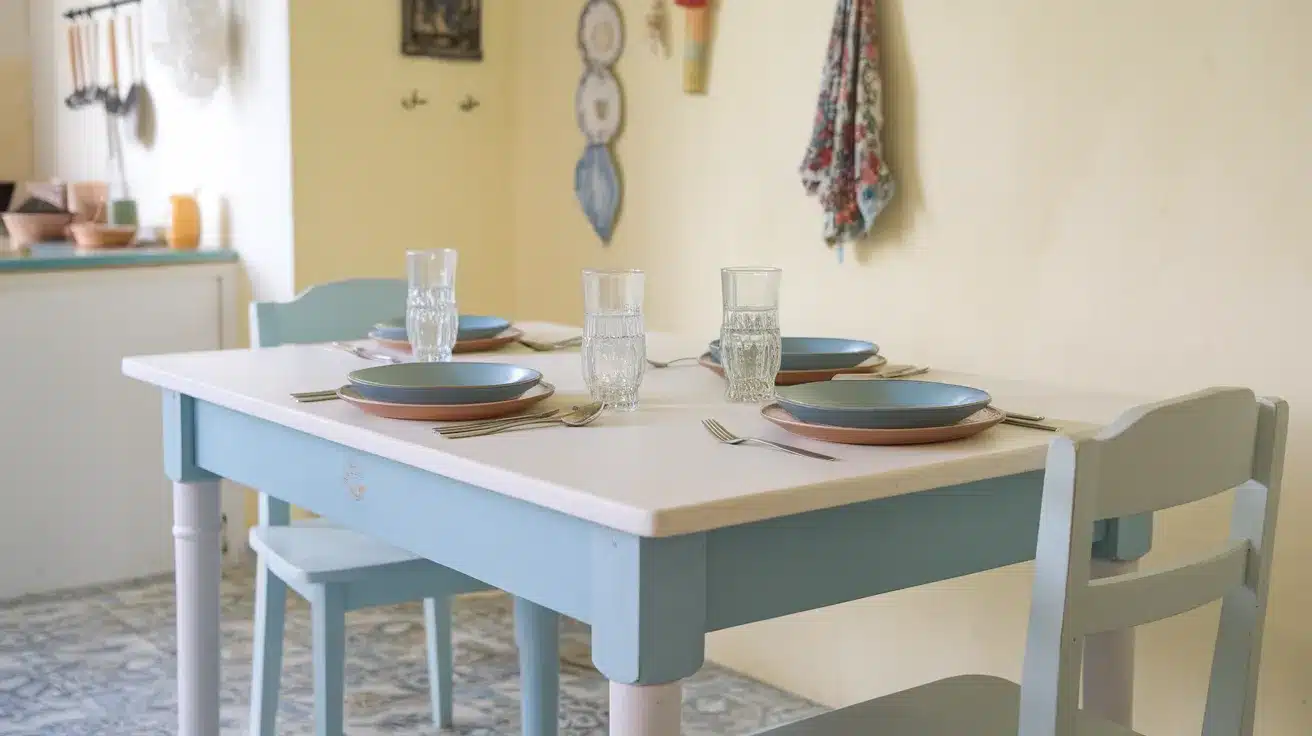
Paint the tabletop one color and the legs a different color. This simple change creates visual interest and can tie together other colors in your dining room.
I recently helped my sister paint her oak table with a white top and light blue legs – it completely changed the feel of her kitchen.
Unique features:
- Creates a custom look that store-bought tables don’t have
- Lets you blend with two color schemes
- Works well to highlight interesting table legs
2. Stenciled Pattern Top
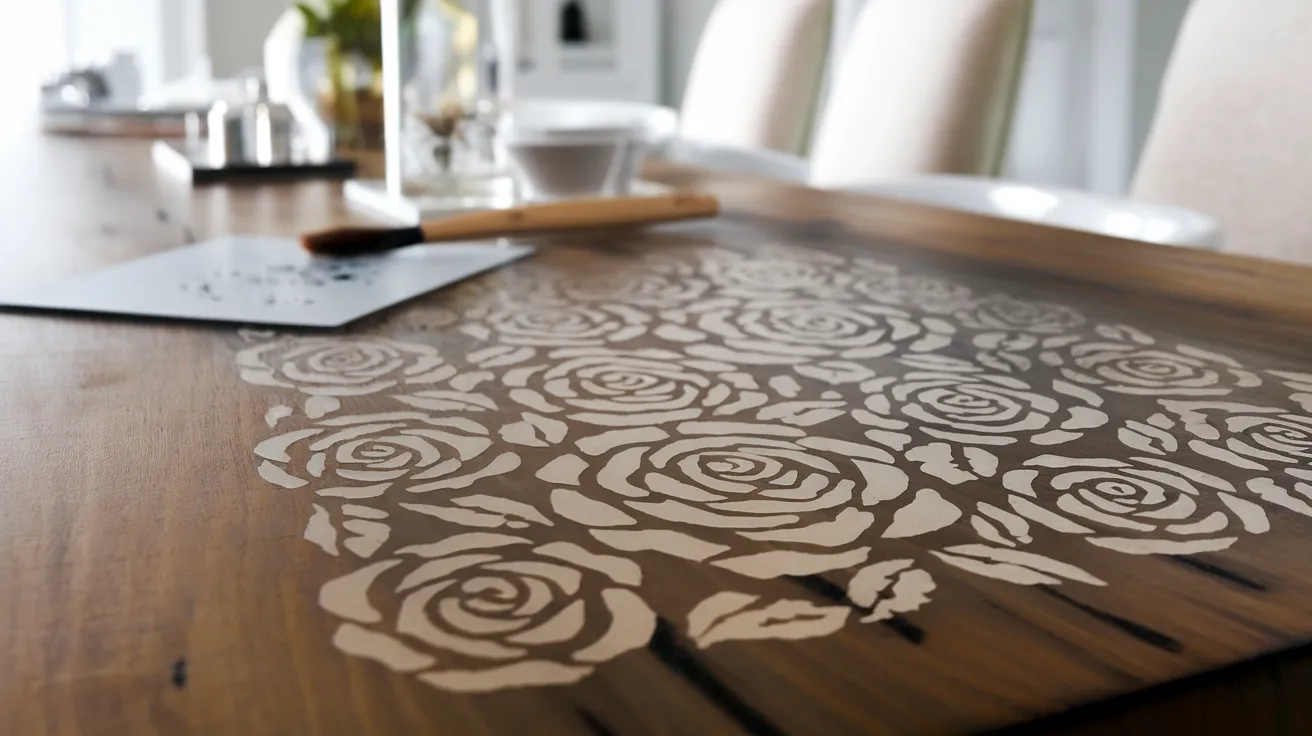
Add a pattern to the tabletop using stencils. This works on both painted and stained surfaces. You can do the entire top or just create a “runner” effect down the middle.
Unique features:
- Costs very little compared to buying a new table
- Can be changed more easily than other methods
- Allows for personal touches that reflect your style
3. Distressed Farmhouse Look
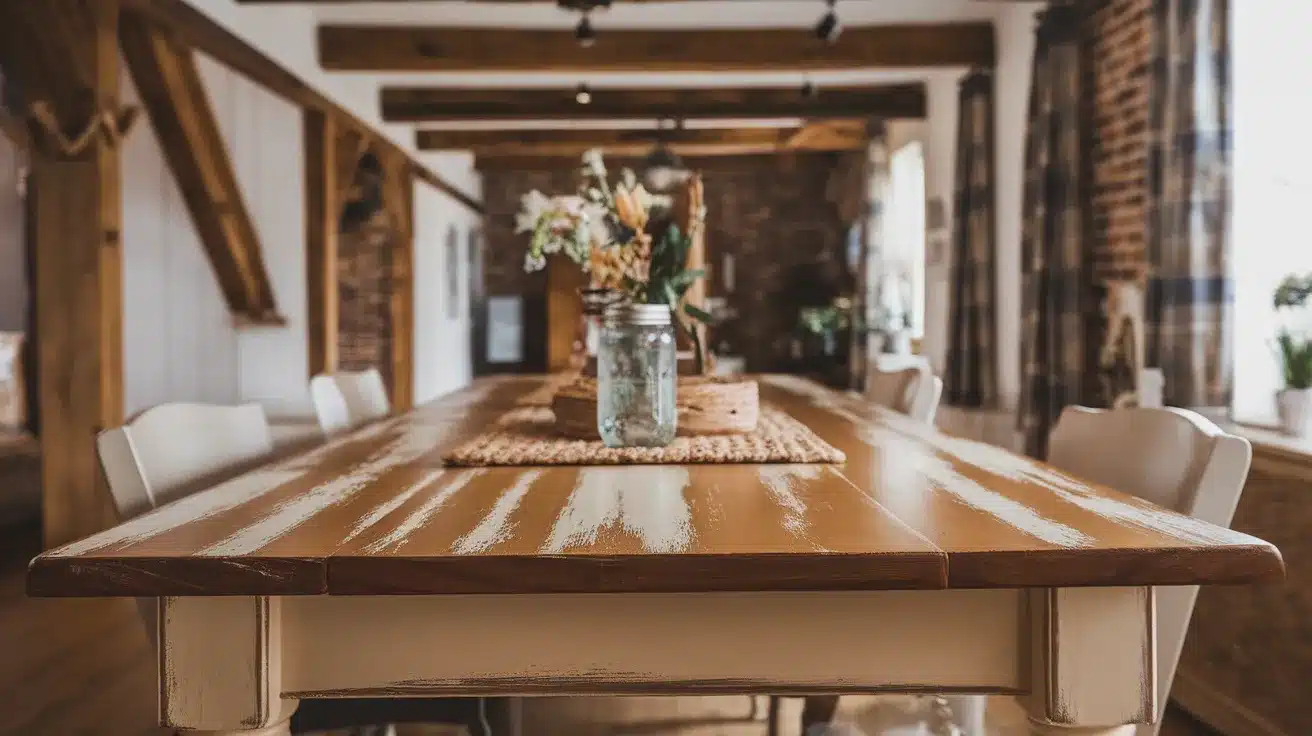
Sand through parts of the paint to let some wood or undercoat show through. Focus on edges and areas that would naturally wear over time. This gives your table a cozy, lived-in feel that’s very popular right now.
Unique features:
- Hides future scratches and marks well
- Creates a warm, welcoming look
- Gets better with age and use
4. Wood Plank Top
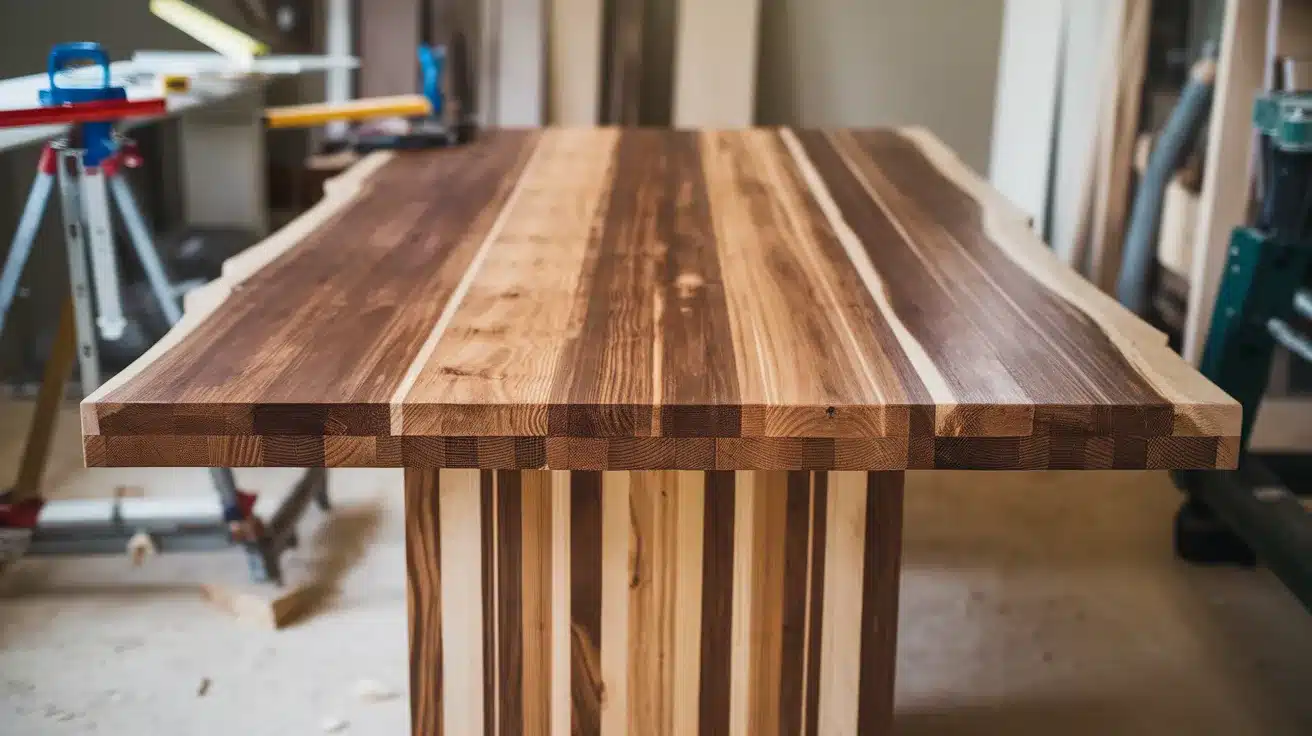
This is one of my favorites for older tables with damaged tops. Replace or cover the existing top with new wood planks. Stain them and seal well. You can even use different wood types for a striped effect.
Unique features:
- Gives new life to tables with badly damaged surfaces
- Creates a high-end look for less money
- Offers a chance to practice basic carpentry skills
5. Faux Marble Finish
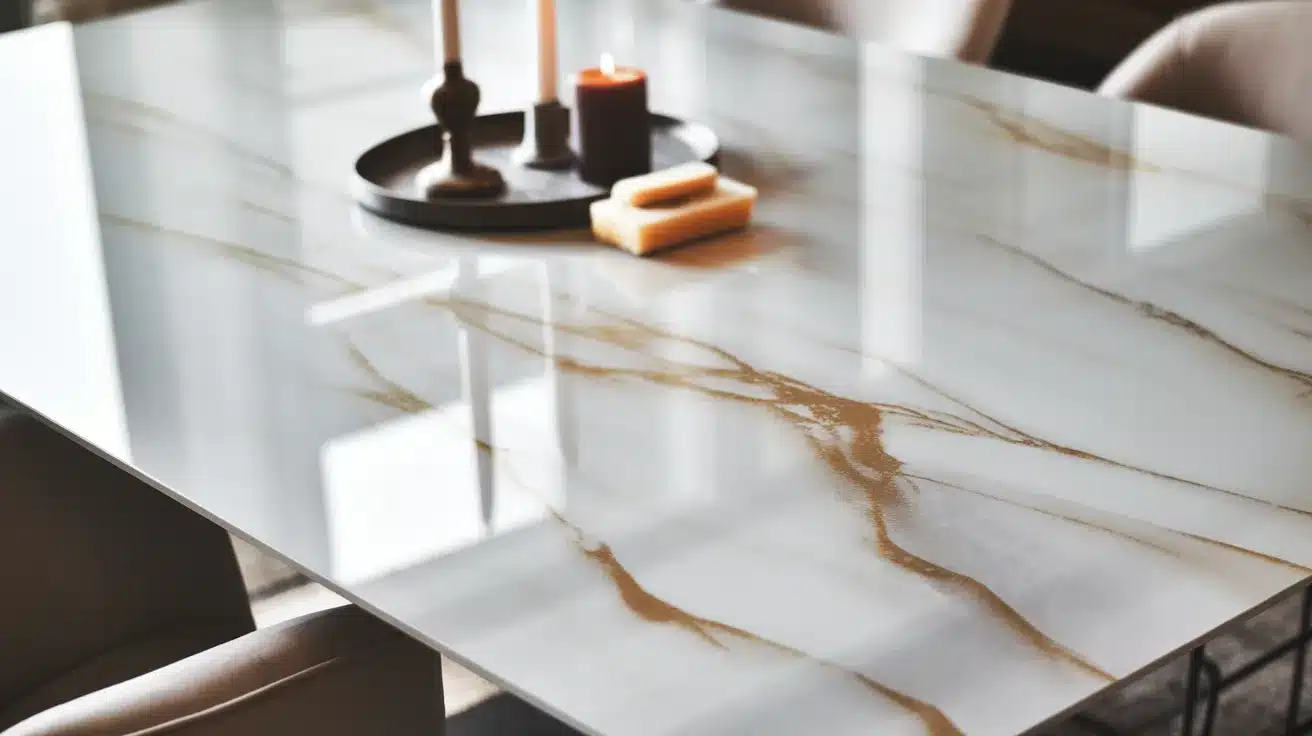
Use special painting techniques to make your wooden table look like stone. This takes practice but can be done with basic materials. I was surprised how well this turned out when I tried it last year.
Unique features:
- Creates a high-end look at a fraction of the cost
- Very tough when properly sealed
- Makes a true conversation piece
6. Painted Table Base with Natural Top
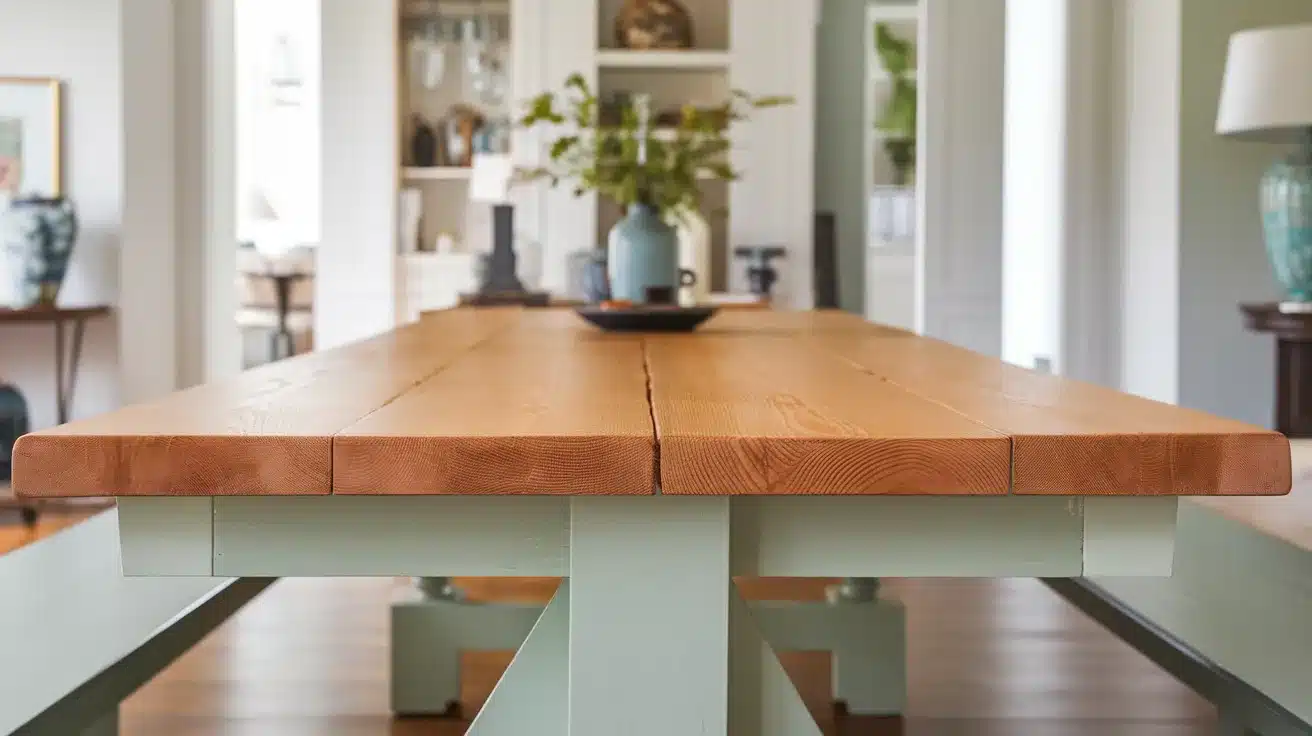
Strip and refinish just the tabletop to show the natural wood grain. Paint the base and legs in a color that works with your wood tone. This mix of natural and painted surfaces feels fresh and modern.
Unique features:
- Highlights beautiful wood grain on the top
- Requires less painting overall
- Balances traditional and modern styles
Troubleshooting Common Mistakes During the Makeover
Even the most careful DIYers run into problems sometimes. I’ve made plenty of mistakes over the years and learned how to fix them. Let’s see some of the most common issues you might face and how to solve them.
1. Paint Not Sticking Properly
If the surface isn’t prepared well, the paint might peel or chip. This usually happens when there’s still old finish, oil, or dust on the wood.
Stop what you’re doing and sand the problem area back to bare wood. Clean thoroughly and apply a good primer before trying again. I once had to restart an entire tabletop because I rushed this step!
2. Uneven Stain Application
A blotchy or streaky stain is frustrating but fixable. If you notice this happening, wipe off the excess stain immediately with a clean cloth. For woods like pine that absorb unevenly, use a pre-stain wood conditioner next time.
When reapplying, work in small sections and wipe in the direction of the grain. Remember that multiple thin coats look better than one thick coat.
3. Visible Brush Strokes
Nothing ruins a smooth finish like obvious brush marks. Switch to foam rollers for large flat areas, and use high-quality brushes for edges and details.
If you’ve already applied paint with visible strokes, lightly sand between coats with very fine sandpaper. Adding a small amount of water (for water-based paints) or Floetrol can also help the paint level out better.
4. Bubbles or Streaks in The Sealant
These typically happen when you shake the can (creates bubbles) or apply too thick a coat. For existing bubbles, wait until completely dry, then sand smooth and apply another thin coat.
Always stir sealants gently instead of shaking. Use long, even strokes with your brush or applicator, and don’t go back over areas that have started to dry.
5. Table Still Wobbles After Repairs
If you’ve tightened all the screws but still have wobble, the problem might be uneven legs. Place the table on a flat surface and determine which leg is causing the issue.
Add felt pads of varying thickness under the legs until the table sits flat. For serious structural issues, you might need to replace a leg or reinforce joints with wood glue and corner braces.
Conclusion
Your dining table makeover is now complete! We’ve covered everything from preparation to finishing touches. I hope this guide has given you the confidence to take on this project.
Remember the key steps:
- Prepare your surface properly
- Choose the right tools and materials
- Sand thoroughly and apply finishes patiently
Don’t worry about making it perfect. Each mark and imperfection adds character to your table. The small flaws tell the story of your work.
My favorite part of table makeovers is seeing the finished piece being used. There’s something special about gathering around a table you fixed with your own hands.
So pull up a chair, invite some friends over, and enjoy your beautiful “new” dining table!
Frequently Asked Questions
How Long Does a Complete Dining Table Makeover Take?
For a standard table, expect to spend one weekend on preparation and another on finishing. The most time goes to drying between coats – about 3-7 days total.
Can I Refinish a Veneer-Topped Dining Table?
Yes, but sand very lightly to avoid breaking through the thin veneer layer. Use a liquid deglosser instead of heavy sanding and choose paint over stain when possible.
How Do I Protect My Refinished Table from Hot Dishes?
Always use trivets or heat-resistant pads under hot items. No finish is completely heat-proof, and direct heat can cause white rings or permanent damage.