
Painting on wood can feel tricky, right? There’s so much to think about. Will the paint stick? Does the surface need prep work first? And what about long-term results?
Acrylic paint is popular for many projects. It’s easy to use and dries fast. But wood is different from canvas or paper. It has texture and sometimes oils that affect how the paint behaves.
Many crafters wonder if acrylic is the right choice for their wooden pieces. Some worry about peeling or fading. Others just want their project to look good and last.
This post breaks down everything you need to know about using acrylic paint on wood surfaces.
Why Acrylic Paint Behaves Differently on Wood
Wood isn’t like other painting surfaces. It’s porous, which means it soaks up moisture. When acrylic paint hits bare wood, the surface pulls in the water from the paint. This changes how everything works.
The grain matters too. Smooth wood and rough wood react differently to paint. Some woods have natural oils or resins that can cause problems.
Acrylic paint contains water and binders. On wood, these elements behave in unexpected ways. The absorption rate affects drying time and coverage.
Understanding this helps avoid common mistakes, such as uneven color or poor adhesion. Wood’s unique properties make it special but challenging.
How to Prepare Wood for Acrylic Paint
Proper preparation makes all the difference. Skipping steps leads to peeling paint and wasted effort. Here’s how to prep wood correctly.
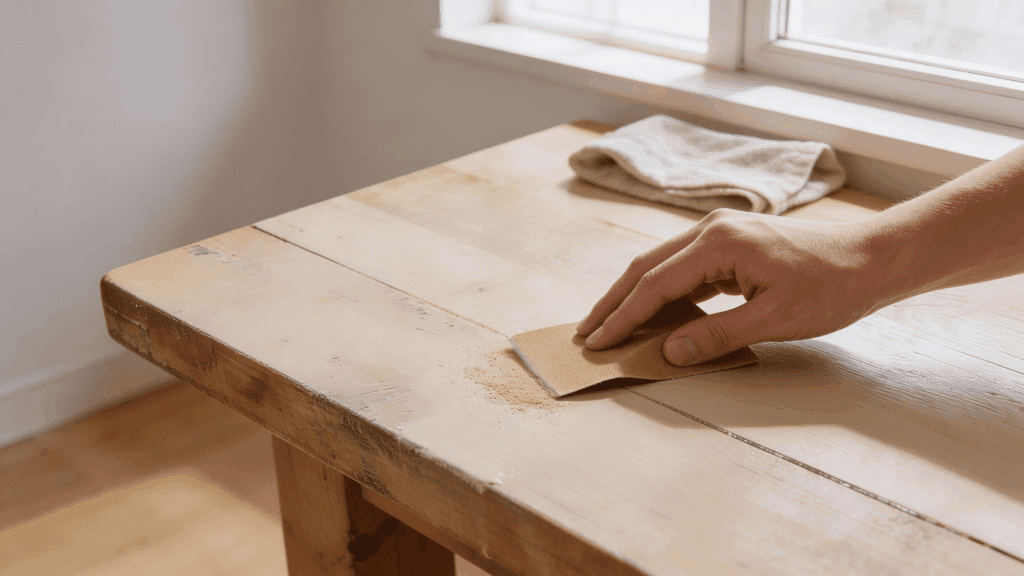
1. Sand the Surface Smooth: Start with medium-grit sandpaper, then move to fine-grit. This removes rough spots and creates a better surface for paint to grip. Always sand with the grain.
2. Clean Off All Dust: Use a damp cloth or tack cloth to wipe away sanding dust. Even tiny particles can create bumps under paint. Let the wood dry completely before moving forward.
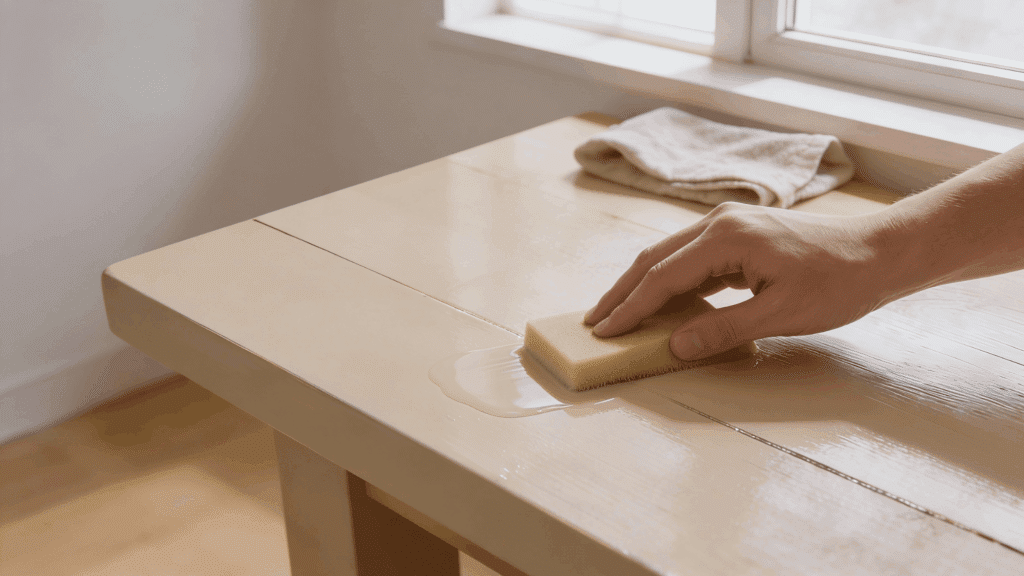
3. Apply Primer or Sealer: A good primer blocks wood tannins and creates an even base. It also reduces how much paint the wood absorbs. This step saves paint and improves color vibrancy.
4. Let Everything Dry Fully: Rushing causes problems. Give primer at least two hours to dry, longer in humid conditions. Touch the surface lightly to check before painting begins.
How to Use Acrylic Paint on Wood
Applying acrylic paint on wood requires technique and patience. The right approach ensures smooth coverage and prevents common issues like streaking or cracking.
Step 1: Choose the Right Brush or Applicator
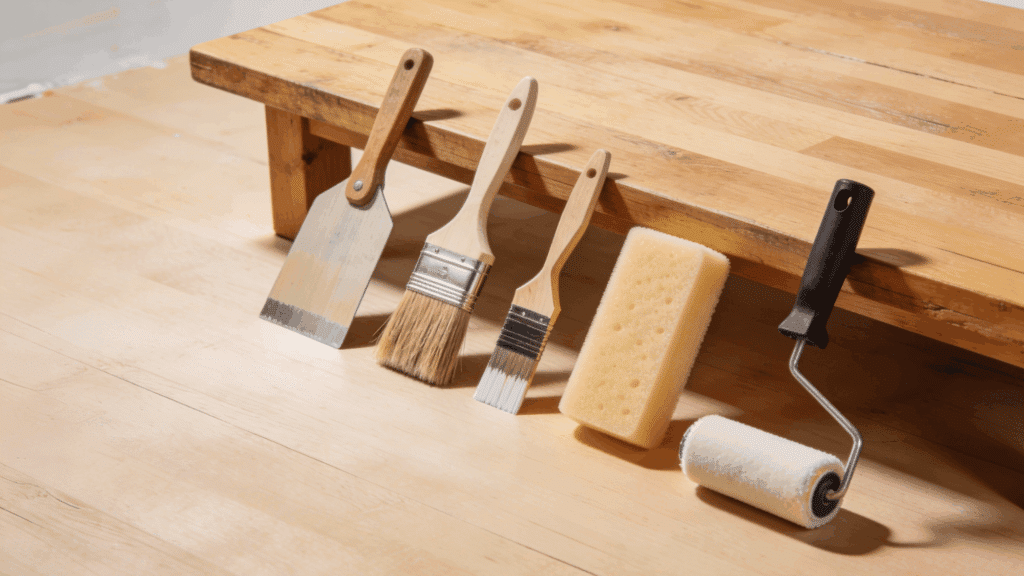
Picking the right tool makes painting easier. Synthetic brushes handle acrylics well without losing shape.
Flat ones work great for big areas, angled types tackle corners nicely. Foam brushes give super smooth results without bristle lines. Rollers and sponges suit certain projects.
Match the brush to wood texture; rougher surfaces need firmer bristles to get paint into all the grooves and crevices properly.
Step 2: Apply Thin, Even Coats
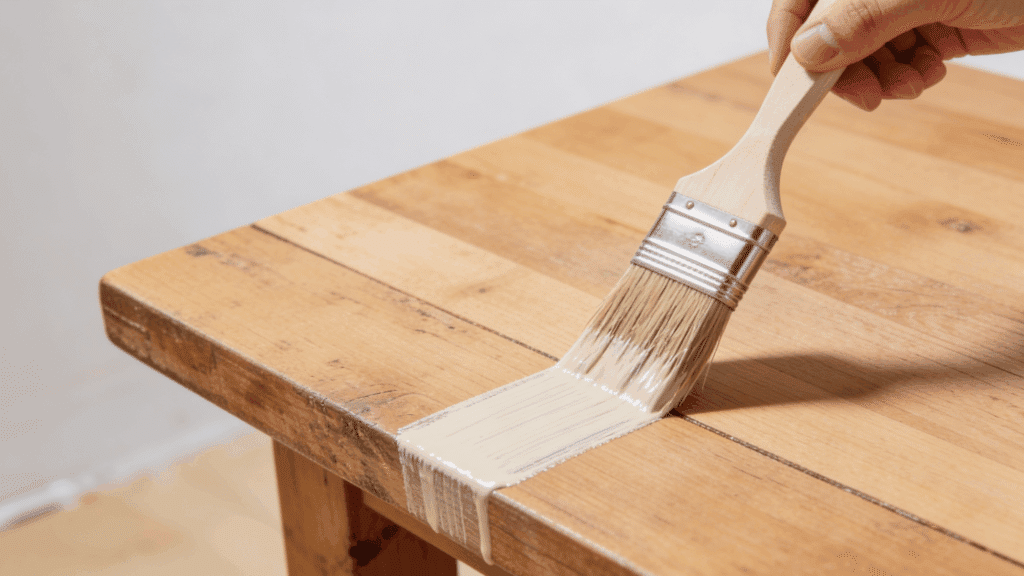
Slapping on thick paint seems like a shortcut, but it backfires. Heavy layers crack and take ages to dry properly on wood.
Thin applications dry faster and stick better. Brush along the grain with smooth strokes. Avoid going over the same spot repeatedly, which causes streaking.
Multiple light coats always win over one heavy layer. The finish looks cleaner and lasts longer with this approach.
Step 3: Allow Proper Drying Time Between Coats
Just because acrylic feels dry doesn’t mean it’s ready for more paint. Surface drying happens fast, maybe 20 minutes.
Full curing takes longer, at least an hour or more. Humidity and temperature change timing. Going too fast traps wetness underneath, leading to peeling down the road. Always test a hidden area first.
Following the paint can’s instructions helps avoid mistakes and ensures better adhesion overall.
Step 4: Sand Lightly Between Coats if Needed
Want a glass-smooth result? Try light sanding between dried coats. Use superfine sandpaper; 220-grit works well. Buff gently to knock down raised fibers and bumps.
Clean off dust before the next layer goes on. Too much sanding removes paint, so go easy. This extra effort suits furniture and display pieces beautifully.
Rustic or casual projects don’t need it; leave the texture for character and charm.
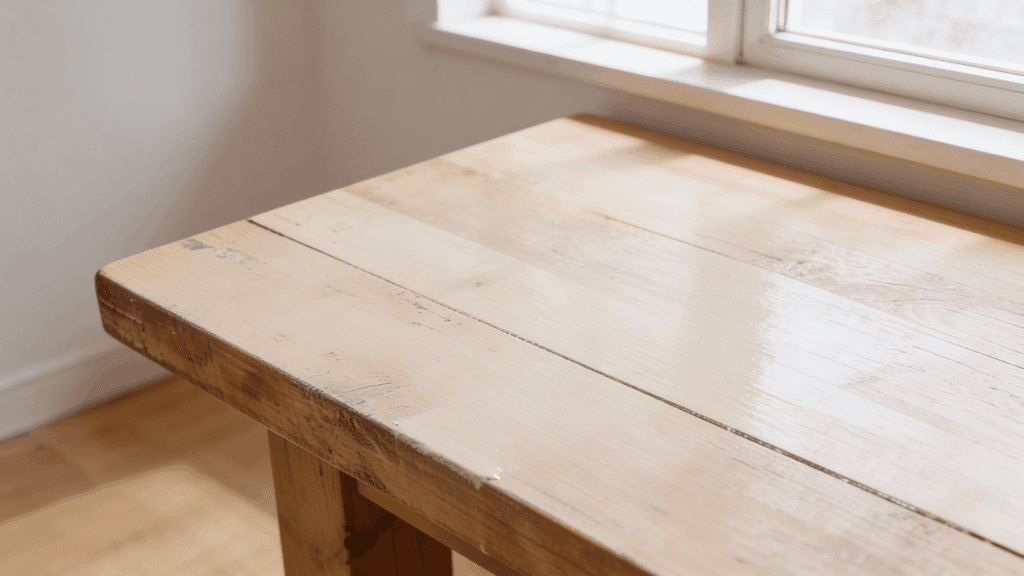
Step 5: Seal the Finished Piece for Protection
Painted wood without sealer won’t last long. Moisture, scratches, and sunlight all damage bare acrylic.
Clear sealers protect the surface and keep colors bright. Pick matte, satin, or gloss depending on style preference. Apply like paint; thin layers with drying time in between.
Spray versions make the job simpler. Items that get touched or sit outside absolutely need sealing. Even indoor decorations benefit from this protective final layer.
Acrylic Paint on Wood vs Other Paint Types
| Paint Type | Durability | Drying Time | Water Resistance | Best For |
|---|---|---|---|---|
| Acrylic | Good with sealer | 20-60 minutes | Moderate (needs sealer) | Crafts, furniture, and indoor projects |
| Oil-Based | Excellent | 6-24 hours | High | Outdoor furniture, high-traffic items |
| Latex | Very good | 1-4 hours | Good | Large surfaces, walls, and cabinets |
| Chalk Paint | Fair | 30-60 minutes | Low (needs wax/sealer) | Vintage looks, distressed finishes |
| Spray Paint | Good | 15-30 minutes | Moderate to high | Quick projects, even coverage |
Sealing Acrylic Paint on Wood for Long-Lasting Results
Sealing isn’t just an extra step. It’s what keeps painted wood looking good for years, not just months. Without protection, acrylic paint fades, chips, and absorbs moisture damage.
Different sealers offer different benefits. Some add shine while others keep things matte. The choice depends on where the piece lives and how much use it gets.
Indoor decorations require less maintenance than outdoor furniture. Items that get touched daily require tougher protection than wall art. Climate matters too, since humidity affects how sealers perform.
Applying the sealer correctly makes all the difference. The right product and technique turn a simple paint job into something that lasts.
Common Problems When Using Acrylic Paint on Wood
Even with careful work, issues pop up. Knowing what goes wrong and how to fix it saves projects from disaster.
- Paint Peels or Flakes off: Sand the wood better, and always use primer before painting for proper adhesion.
- Colors Look Uneven or Blotchy: Apply multiple thin coats rather than one thick layer, and let each dry completely.
- Wood Grain Shows Through Paint: Use a quality primer first, then add extra coats until the coverage looks uniform.
- Paint Cracks as It Dries: Thin the paint slightly with water and avoid applying thick layers on the surface.
- Brush Strokes Remain Visible: Use foam brushes or lightly sand between coats for a smoother, more professional finish.
To Conclude
Acrylic paint absolutely works on wood when done right. The key is preparation and patience. Sand well, prime properly, and build up thin layers. Don’t rush between coats.
Wood presents challenges that canvas doesn’t. It absorbs moisture and has texture. Sealing the finished piece protects all that hard work. It keeps colors bright and surfaces durable for years to come.
Ready to start your wood painting project? Grab some supplies and test techniques on scrap pieces first. Practice builds confidence.
Soon, transforming plain wood into colorful creations becomes second nature. The results are absolutely worth the effort.