
Are you staring at that dark wood trim and wondering if you can brighten it up yourself? You’re not alone. Many homeowners feel stuck with outdated stained trim but worry that painting it seems too complicated.
In this guide, I’ll walk you through the exact steps to transform your home’s trim from dark and dated to fresh and bright. No special skills are required—just some basic tools and a weekend of your time.
If you’re refreshing a single room or your entire house, you’ll find everything you need to prep, prime, paint, and finish your trim like a pro—without the pro price tag.
What Is Stained Trim?
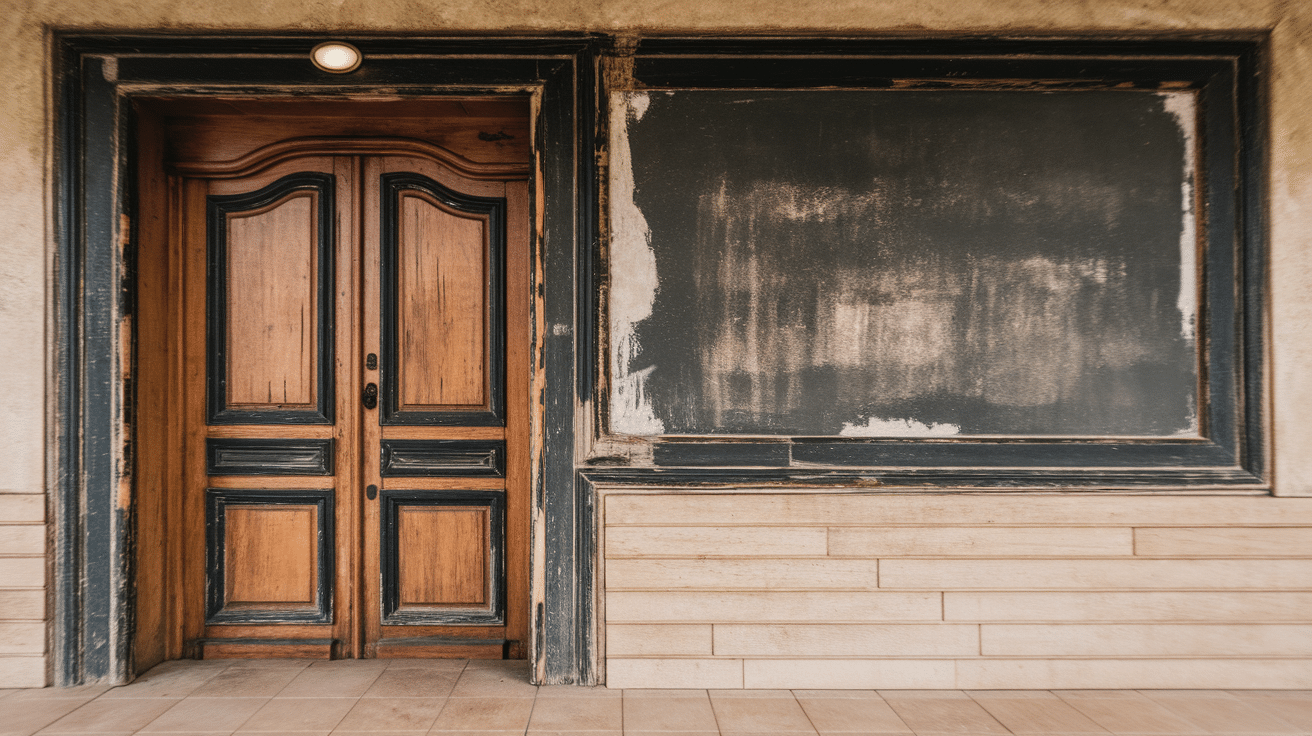
Stained trim is the wooden molding in your home that has been finished with wood stain instead of paint. You’ll typically find it around doors, windows, along baseboards, and where walls meet ceilings.
I’ve seen many homes where this dark wood trim makes rooms feel smaller and more dated than they actually are.
Stained trim comes in various shades – from light oak to deep mahogany. Most homes built before 2000 feature this classic finish.
Why do people stain trim instead of painting it?:
- To showcase the natural wood grain
- To match other wood elements in the home
- To create a traditional, classic look
While stained trim was once the gold standard in home design, today’s trends favor lighter, brighter spaces. That’s why so many homeowners are making the switch to painted trim.
The good news? You don’t have to live with dark trim if you don’t want to. With some basic supplies and a weekend of work, you can transform these wooden elements completely.
Should You Paint Over Stained Trim?
Deciding whether to paint your stained trim is a personal choice that depends on your home and your goals. Let me help you decide if this project is right for you.
When It Makes Sense to Paint Trim
- Your home looks dated with dark wood everywhere
- The trim is scuffed, scratched, or showing signs of wear
- Your rooms feel dark and small, and you want to brighten them
- You’re updating to a more modern aesthetic
When to Leave Stained Trim Alone
- You live in a historic home where original woodwork adds value
- The trim is made from rare or high-quality wood like walnut or cherry
- You enjoy the warmth and character of wood grain
What to Expect from Painted Trim
Painted trim creates an instant transformation. Rooms suddenly feel brighter and more spacious, and the clean lines make everything look fresh and updated.
I’ve seen homes gain a whole new personality with just this one change. Dark, cramped spaces open up, and the entire house feels more cohesive and modern.
Remember, this isn’t just about following trends. It’s about creating a home that feels right to you.
Supplies You’ll Need
Having all supplies ready will make the project go much smoother.
- Painter’s tape (blue or green, 1-2 inch width)
- Drop cloths or plastic sheeting
- Screwdriver (to remove outlet covers and switch plates)
- Sanding blocks (medium and fine grit)
- Putty knife
- Trisodium phosphate (TSP) cleaner
- Sponges and rags
- High-quality paintbrushes (a 2-inch angled brush works best for trim)
- Primer specifically for glossy surfaces
- Paint (semi-gloss or satin finish recommended)
- Wood filler (for any holes or deep scratches)
Having these supplies ready before you start will save you multiple trips to the store. I recommend buying slightly more paint than you think you’ll need—running out mid-project is frustrating!
The right tools make all the difference between a DIY job that looks professional and one that screams “amateur.” Don’t skimp on brush quality, especially—it will show in your final results.
Step-by-Step Guide to Painting Stained Trim
Step 1: Clean the Trim Thoroughly
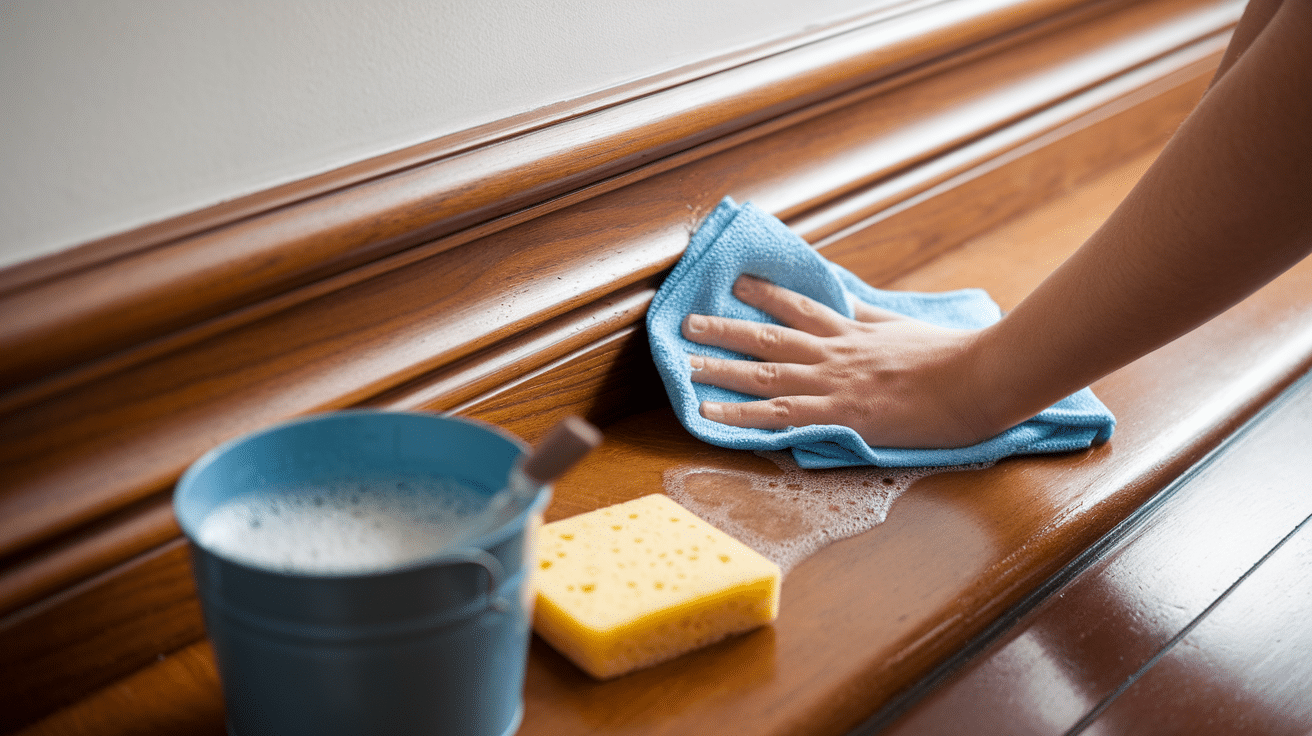
- Mix mild soap or TSP substitute with warm water.
- Wipe down all trim surfaces to remove built-up dirt, grease, and fingerprints.
- Rinse with clean water to remove any soap residue
- Let the trim dry completely before moving to the next step
I’ve seen many DIY paint jobs fail because people rushed past this step. Take your time here.
Step 2: Lightly Sand or Use Deglosser
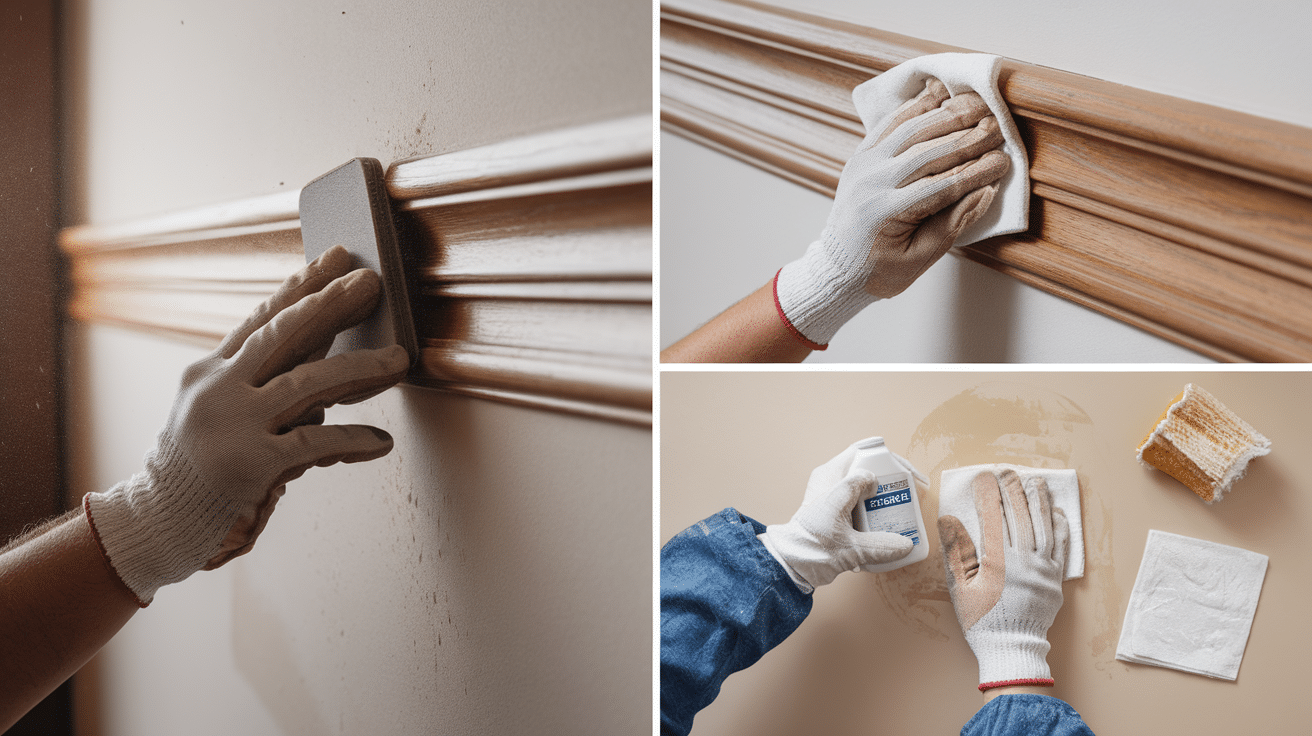
- Sand the trim with 120-220 grit sandpaper (I prefer sanding blocks for this)
- OR apply liquid deglosser following product instructions
Wipe away all dust or deglosser residue with a tack cloth or slightly damp rag. When done, your trim should feel slightly rough to the touch.
Step 3: Tape Off Walls and Floors
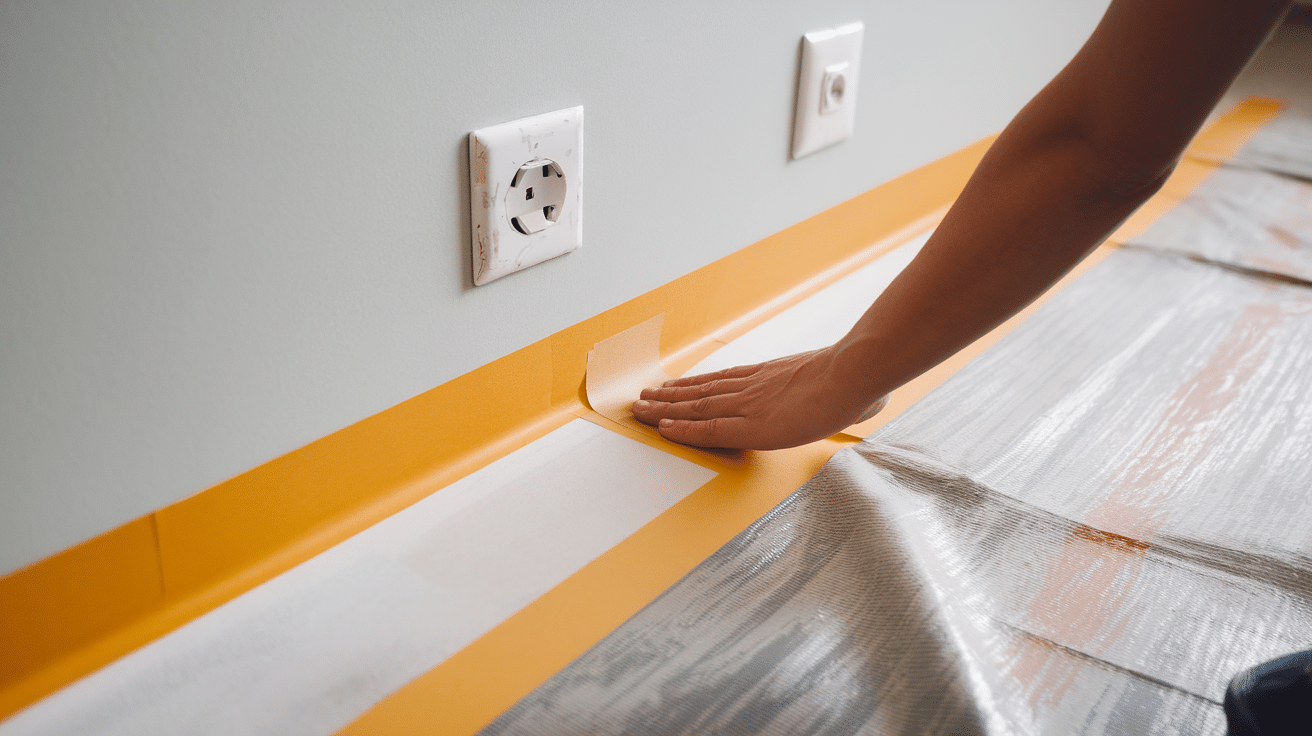
- Apply painter’s tape along the edges where the trim meets walls
- Press tape edges firmly to prevent paint bleed
- Cover floors with drop cloths or plastic sheeting
- Remove outlet covers and switch plates
Step 4: Apply Primer
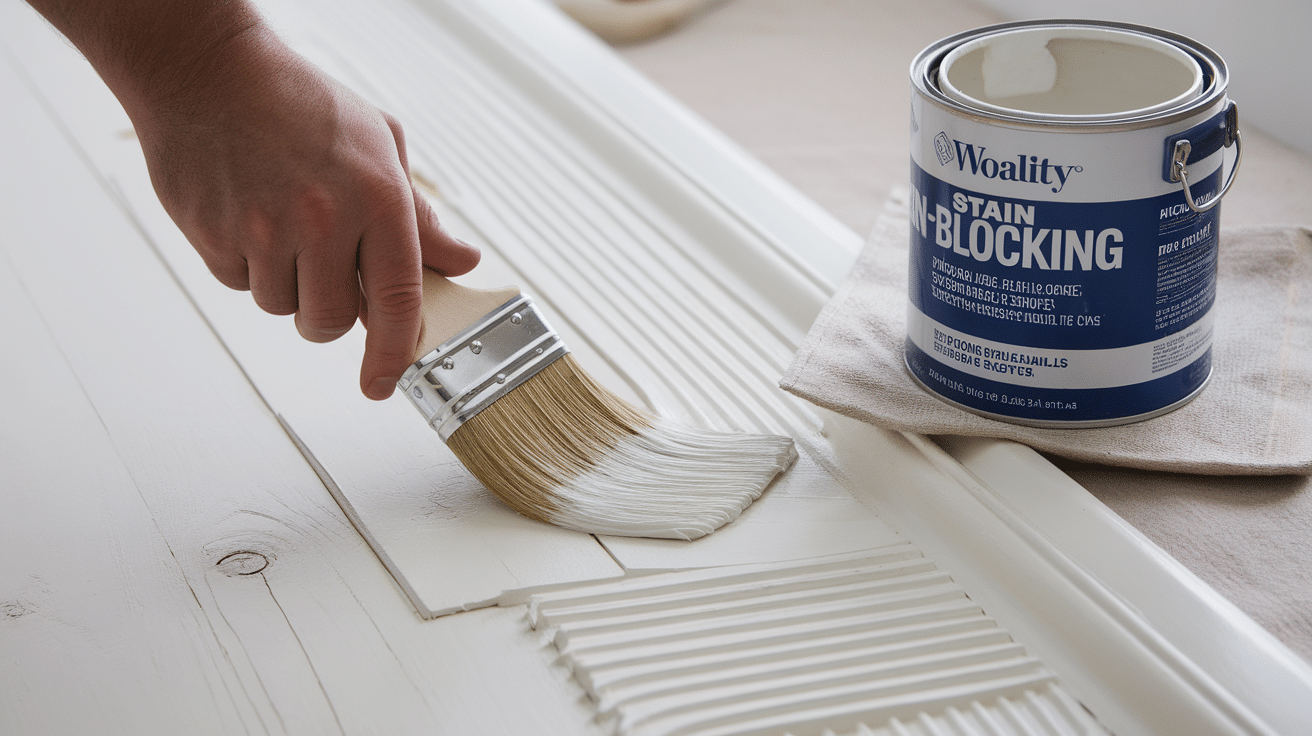
- Use a stain-blocking primer designed for glossy surfaces
- Apply in thin, even coats with a quality brush
- Pay special attention to knots and dark areas, which might need two primer coats.
- Let dry completely according to the product instructions
Step 5: Paint the Trim
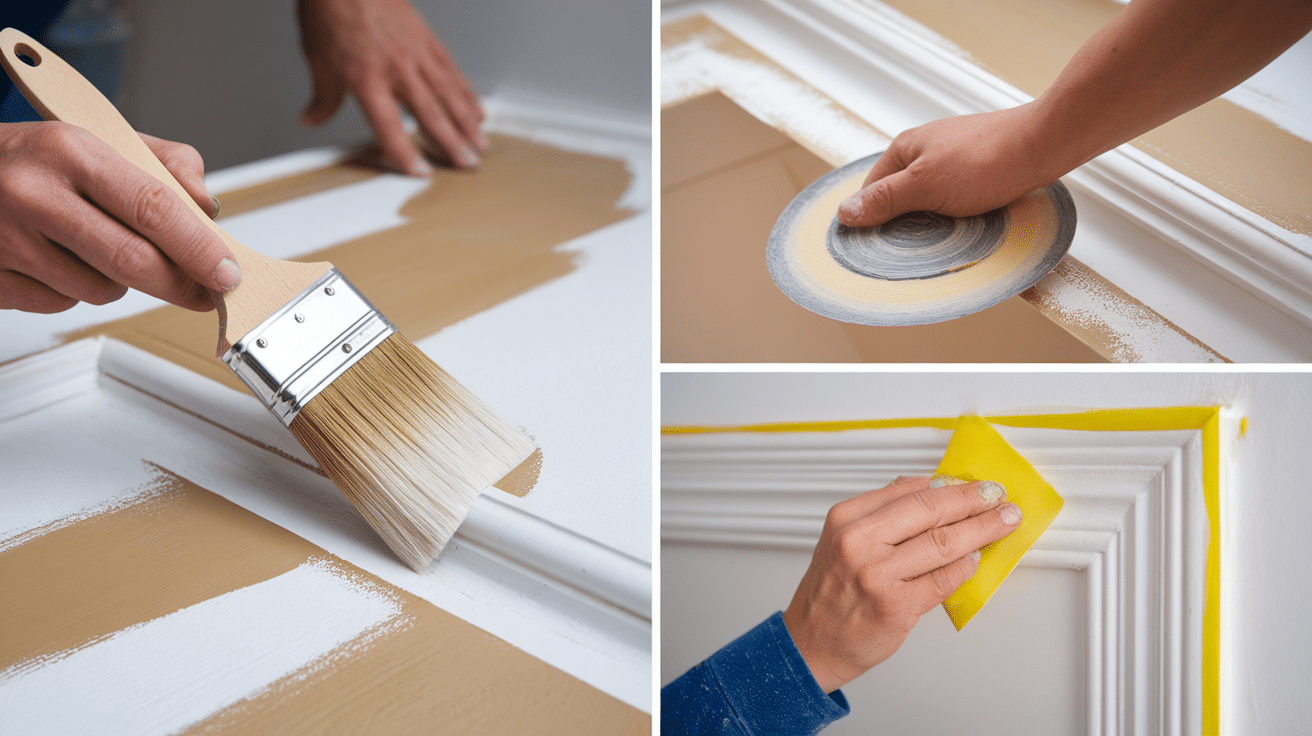
- Use a high-quality, angled brush for detailed areas
- Apply paint in thin, even strokes
- Let the first coat dry completely
- Lightly sand with fine-grit sandpaper between coats
- Apply a second coat for perfect coverage
Remove painter’s tape while the final coat is still slightly wet for the cleanest edge.
Extra Tips for a Clean Finish
Getting that professional-looking result comes down to the small details. Here are some tricks I’ve learned that make a big difference:
1. Always stir paint—don’t shake it. Shaking creates bubbles that can show up as tiny craters in your finish. Instead, stir thoroughly with a paint stick until the color is completely uniform.
2. Paint in long, steady strokes following the wood grain. Short, choppy strokes leave visible marks. Try to maintain a “wet edge” by not letting the paint dry before connecting to your next section.
3. Keep a damp cloth nearby for quick cleanup of mistakes. If you accidentally get paint where it doesn’t belong, wipe it off immediately—before it has a chance to dry.
4. Use a razor blade to clean up dried paint on glass or floors. For paint that’s already dried where it shouldn’t be, a razor blade can carefully scrape it away without damaging the surface underneath.
I also recommend working in good lighting. What looks perfect in dim light often reveals flaws once the sun hits it. Natural daylight is best for seeing every detail as you work.
Take your time with corners and edges—these are the spots most people notice first. A little extra attention here goes a long way toward a truly professional result.
Common Mistakes to Avoid
Even experienced DIYers make these errors. I’ve made most of them myself and learned the hard way!
1. Skipping primer is the biggest mistake you can make. Stained wood contains tannins that will bleed through your paint, creating ugly yellowish or pinkish stains. No matter how many coats you apply, these stains will eventually show through without a proper primer.
2. Using wall paint instead of trim paint leads to disappointment. Wall paint isn’t durable enough for high-touch surfaces like trim. It chips easily and doesn’t stand up to cleaning. Spend a little more for proper trim paint (semi-gloss or satin) that’s formulated to take abuse.
3. Not allowing enough dry time between coats ruins your finish. Rushing and applying the second coat too soon can actually pull up the first coat, creating a mess. Follow the dry time on the paint can and add extra time in humid conditions.
4. Overloading the brush causes frustrating drips and runs. Dip only the bottom third of your brush into the paint, then tap (don’t wipe) it against the side of the container. This loads enough paint for smooth coverage without excess that leads to dripping.
Be especially careful around doorknobs, hinges, and detailed molding—these areas tend to collect excess paint and most obviously show mistakes.
Conclusion
Painting your stained trim transforms your home from dated to modern with relatively minimal investment. While it does require patience and attention to detail, it’s a project most homeowners can tackle successfully over a weekend.
Remember that proper preparation makes all the difference. Clean thoroughly, sand carefully, and never skip the primer. Take your time with each step, and your results will look professional.
The bright, fresh look of painted trim opens up your space and creates a perfect backdrop for any decorating style. It’s one of the most dramatic changes you can make for the cost of a few gallons of paint and some basic supplies.
Ready to brighten your home? Start with one room to build your confidence, then move through your house at your own pace. You’ll be amazed at the difference.
Frequently Asked Questions
How Long Will It Take to Paint All the Trim in One Room?
For an average-sized bedroom, expect to spend about 4-6 hours on preparation and 2-3 hours on actual painting. Allow extra time between coats for drying. A full room can typically be completed over a weekend.
Can I Paint Over Stained Trim without Sanding?
While a liquid deglosser can reduce the need for sanding, some light sanding is still recommended for the best adhesion. If you skip both sanding and the deglosser, your paint will likely chip and peel within months.
What’s the Best Color for Trim?
White and off-white remain the most popular choices because they brighten spaces and coordinate with any wall color. Pure white (like Benjamin Moore’s Chantilly Lace) works in modern homes, while softer whites (like Swiss Coffee) complement traditional spaces.
Will Painted Trim Show More Scratches and Damage than Stained Trim?
Yes, painted trim will show wear more visibly than stained trim. However, the good news is that touch-ups are simple with painted trim—keep some extra paint stored for quick fixes.
Can I Change My Mind and Go Back to Stained Trim Later?
Removing paint to restore stained trim is extremely difficult and time-consuming. It typically requires complete removal and replacement of the trim. Consider this a permanent change.