Hold on a second, we have something exciting for you if you were the kind of child who had happy memories of using chalkboards and the thrill of sketching on them all day long and maybe if you were someone who liked boards and chalks so much that you actually ended up carrying a little board everywhere you went!
Did nostalgia just hit you?
Well, Take a moment to appreciate those delightful moments and get ready to cherish that joy again in your life as we bring you the perfect guide on Chalkboard and magnetic paint.
Let’s quickly explore more about this nostalgic medium and discover what more you can do with it.
Magnetic Paint
Looking at the increasing popularity and appreciation seen in the market for chalkboards and magnetic paint, more and more manufacturers have started producing chalkboard paint in recent years. They also tried giving and incorporating many other utilities and features other than just being limited to teaching maths in the classroom or advertising the daily specials at local coffee shops.
A chalk wall in the house can be used for anything from a child’s never-ending blank canvas to a grocery or to-do list.
Isn’t it just an amazing tool?
So before we hover further, let us know first more about what a Chalkboard is.
It’s a plain black surface upon which you can write and draw with different reusable chalks. Chalkboard surfaces typically contain talc, titanium dioxide, and silicon dioxide, making for a surface that will hold chalk.
Moving further, let us explore more ways where you use Chalkboard Paint to create message boards or art displays.
1. For Art Displays
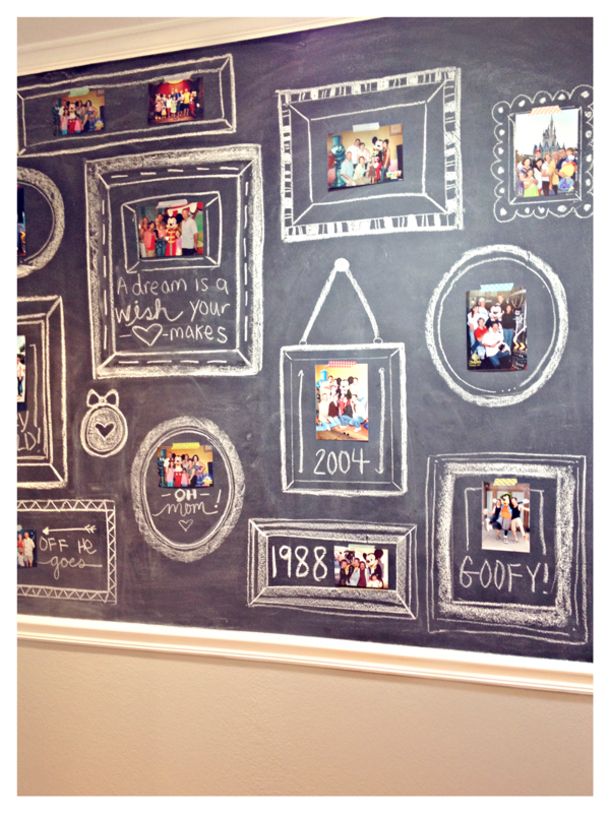
You can create a chalkboard wall or section in a bedroom, playroom, or any living space where your kids and family members can draw and display their artwork.
Chalkboard paint provides a unique and ever-changing canvas for creative expression, and the drawings or designs can be easily erased and replaced, encouraging continuous creativity.
In commercial spaces like cafes or restaurants, chalkboard walls can serve as attractive displays for daily specials, menu items, or seasonal promotions.
2. For Message Boards
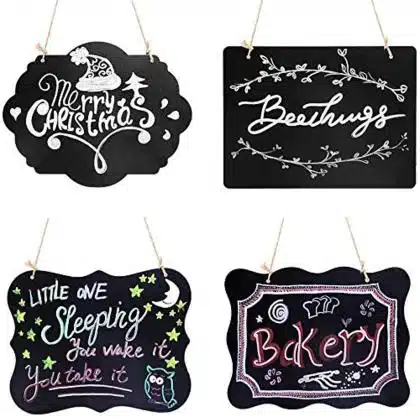
Apply chalkboard paint to a designated area on a wall, door, or even a piece of furniture, like a cabinet door or a pantry. Once the paint dries, you can use chalk to write messages, reminders, to-do lists, or inspirational quotes on the chalkboard surface.
The chalkboard can be easily erased and updated as needed, making it an ideal message board for family communication in kitchens or common areas or for leaving notes in offices or classrooms.
Chalkboard Wall
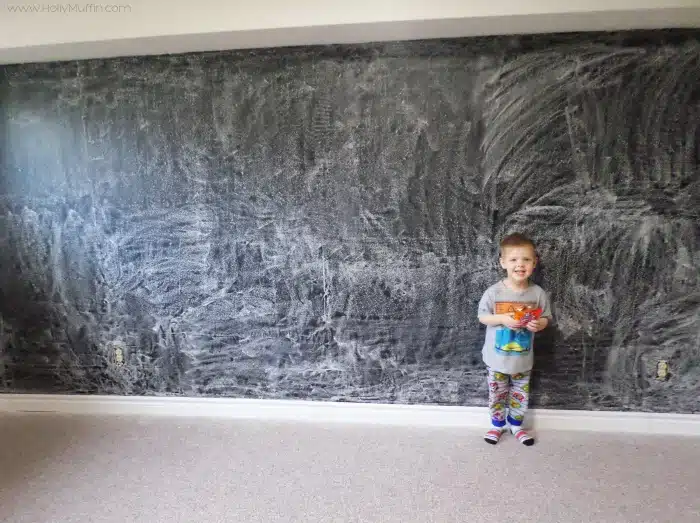
Paint an entire wall or a section of it with chalkboard paint to create a large canvas for your kids to draw, write, and express their creativity. This can be an ever-changing space for them to showcase their artwork or practice writing and drawing.
1.Chalkboard Door or Cabinet
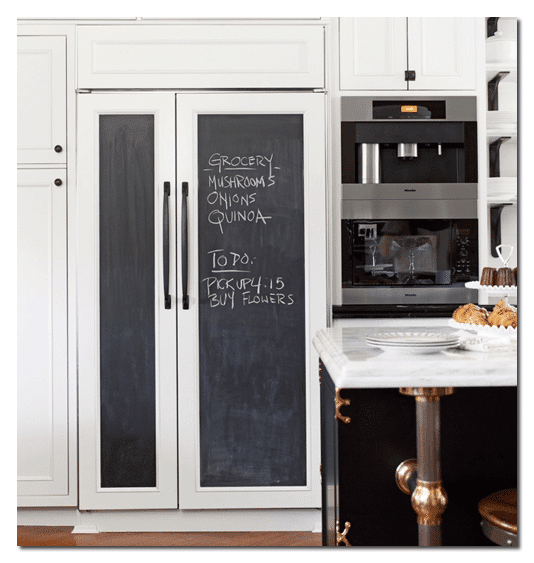
Turn the back of a door or a cabinet into a chalkboard surface. This provides a hidden space for creative play or jotting down notes without taking up additional wall space.
2. Playroom Labels
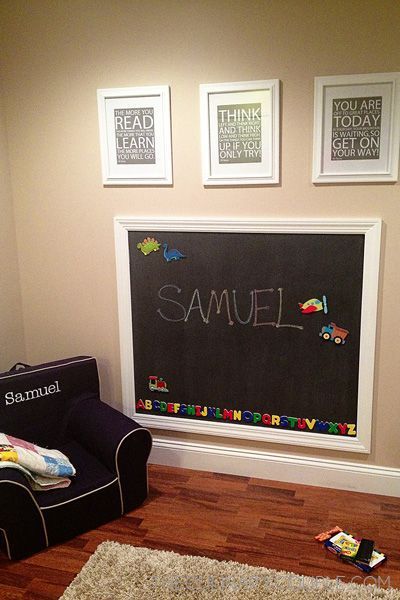
Use chalkboard paint to create labels for toy bins or shelves in the playroom. This helps keep toys organized and allows your kids to practice reading and recognizing words.
3. Daily Planner
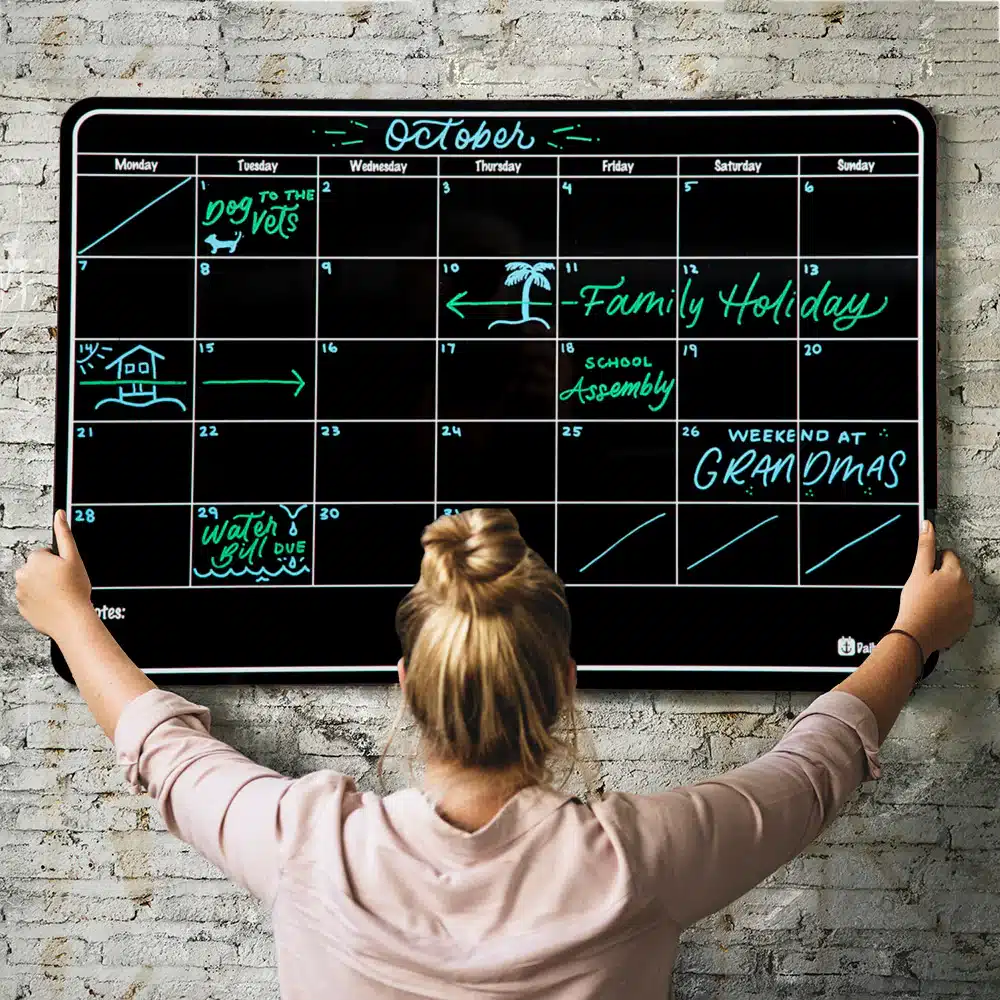
Paint a section of the wall or a small board with chalkboard paint to create a daily planner. There you can write down your schedule, activities, or important reminders for the day.
Chalkboard paints come in various colors, allowing you to match them to your room’s decor or create a striking contrast. They can be applied to walls, doors, cabinets, or virtually any smooth surface. Chalkboard paints are relatively easy to apply, making them a popular DIY project for adding functional and artistic elements to different areas of your home, business, and working space.
Now that you know what exactly chalkboards are and where else you can use them, it’s time we have a quick look at some amazing facts about these quirky productive tools.
Some Facts About Chalkboard
- Chalkboard paint can be applied to a wide range of surfaces, including walls, doors, wood, metal, glass, and more. It’s a popular choice for creating functional and creative spaces in homes, schools, offices, and restaurants.
- When using chalkboard paint, it’s essential to prepare the surface properly and follow the manufacturer’s instructions for the best results and longevity of the finish. Additionally, use only regular chalk for chalkboard markers designed for use on chalkboard surfaces to avoid damaging the paint.
- Chalkboards offer a versatile and practical solution for enhancing your workplace aesthetics, protecting your walls from children’s playful marks, or creating daily to-do lists. With chalkboards, you have a one-stop solution to add functionality and charm to any space.
- Chalkboards aren’t some latest invention; it has been marking their usability for many years. Ancient Egyptians and Romans utilized chalk-like substances on slate or painted walls and were the first civilizations to write on black surfaces with white materials.
- James Pillans, a Scottish school teacher, created the modern whiteboard at the beginning of the 19th century after understanding the concept of the blackboard. In order to teach geography more effectively, Pillans switched to a huge piece of slate. This novel concept immediately gained acceptance and turned into a common teaching aid.
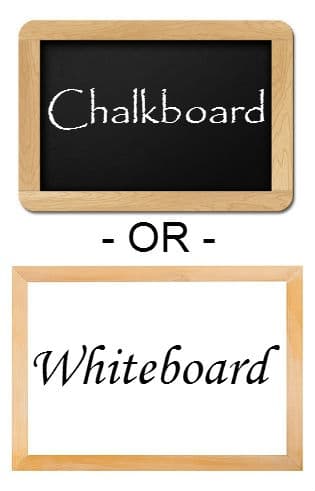
Due to reduced dust, simpler cleaning, and compatibility with markers, whiteboards have largely taken the role of chalkboards in contemporary educational environments. However, some schools and organizations continue to employ chalkboards because of their nostalgic appeal.
It’s time to roll up your sleeves now and get working.
How to Install a Chalkboard?
For a successful installation of chalkboard paint, follow these steps:
- Prepare the surface: Clean the surface thoroughly to remove any dust, dirt, or grease. Sand down any bumps or uneven areas, and use a spackle to fill in any holes or imperfections.
- Primer (if needed): In most cases, walls won’t require a primer before applying the chalkboard paint. However, if you’re painting over surfaces like plastic or metal, check the paint manufacturer’s recommendations. Some situations may require a primer for better adhesion.
- Applying the paint: Stir the chalkboard paint well before use. Since many chalkboard paints are thick, apply a small amount to your brush or roller to avoid drips. Start painting from one edge and work your way across the surface evenly. You may need to apply multiple coats depending on the coverage and desired effect. Allow each coat to dry thoroughly before applying the next.
- Drying time: After painting, let the chalkboard dry for at least three days. This ensures that the paint cures properly and becomes durable for regular use.
- Conditioning the surface: Before drawing on the chalkboard, condition it by rubbing the side of the chalk over the entire surface. This creates a fine layer of chalk dust, allowing your future writings to be erased smoothly. Wipe off the chalk dust with a damp cloth.
Unleash Your Creativity and show the magic!
By combining the functionality of a chalkboard with the magnetic properties of magnetic paint, you can create an even more attractive and versatile surface. This allows you to enjoy both the benefits of writing and drawing with chalk and the convenience of attaching magnets to the same board.
Wait, Now, what are magnetic paints?
Magnetic pain is the combination of tiny bits of iron or other magnetic minerals that are included in a specific kind of paint. It seems magical! By using magnetic paint, you may transform a plain wall into a fun and useful area.
This indicates that you may attach magnets to it in the same way that you would attach magnets to a typical refrigerator door. Magnets may be used to put up photographs, messages, or anything else you wish to show once it has dried.
It’s a wonderful way to add more creativity and interaction to your environment! Magnetic paints are typically available in different colors, allowing you to customize the look of your magnetic display area to match the room’s decor.
Magnetic paints are relatively easy to apply, making them a popular DIY project for adding functional and creative elements to different spaces in your home, office, or educational environment.
Some Facts About Magnetic Paint
- Magnetic paint contains iron particles or other magnetic materials that give it the ability to attract and hold magnets.
- When applied to a surface, magnetic paint creates a surface that behaves like a magnet, allowing you to stick magnets to it and hold lightweight magnetic objects.
- Magnetic paint is commonly used for displaying artwork, photos, and notes using magnets. It can be used in offices, classrooms, kitchens, and workshops to create interactive spaces and organize tools or other magnetic objects.
- Magnetic paint looks like regular paint and is available in various colors, such as black, grey, or white.
- Magnetic Paint helps you to transform walls and boards for a More attractive space!
Here’s How You Can Do It Yourself
- Prepare the Surface: Ensure that the surface with the chalkboard paint is clean and free from any dust, debris, or chalk markings. If the chalkboard paint has been applied recently, make sure it has fully cured according to the manufacturer’s instructions.
- Apply Magnetic Paint: Stir the magnetic paint well to ensure an even consistency. Apply the magnetic paint over the chalkboard paint in thin and even coats. Follow the manufacturer’s instructions for the recommended number of coats and drying times between coats.
- Test Magnetic Strength: After the magnetic paint has dried completely, test its magnetic strength by attaching lightweight magnets to the painted surface. Depending on the brand and application, the magnetic strength may vary, so ensure that it can hold the type of magnets you intend to use.
- Conditioning the Chalkboard Surface: If needed, condition the chalkboard surface by rubbing the side of the chalk over the entire chalkboard area and then erasing it with a damp cloth. This step will improve the erasability of the chalkboard paint.
But Wait, Don’t Use Chalkboard and Magnetic Paint Until You Read This!
Careful installation of chalkboard paints and magnetic paints is essential to ensure the best results and longevity of the finishes. Make sure you install Chalkboard Paints & Magnetic Paint carefully to save yourself from regrets!
If you’ve ever come across the painted chalkboard and magnetic walls and considered giving it a try, you’re not alone! But before you embark on the project, let’s explore what actually works, what doesn’t, and how to achieve the desired effect you’re looking for.
You must obviously be wondering if you should go ahead with the magnetic & chalkboard paints or not.
Let us help you resolve your overthinking. Here’s a list of Dos and don’ts to follow before you can install Chalkboards and magnetic Paints.
When You Should Install Your Chalkboard and Magnetic Paint
- Clear with your ideas for where to install it
- Willing to make your visuals more attractive
- Have a dedicated place & space for it
- Using Organic Paint
- Ready to maintain it by regular cleaning & conditioning
- Wanting to optimize your space in a better way to display items
- Wishing to have a creative fun place for your kid
When You Should Not Install Your Chalkboard and Magnetic Paint
- Allergic to specks of dust
- Limited to use only Chalks
- Not wanting to put heavy weighted objects on the painted wall
- Looking for continuous customizations
So now you know well how Chalkboards & Magnetic Boards can help you create your space beautifully & useful. So, let us know if you are willing to try it or not.
Winding Up!!
So if you have fond memories of using chalkboards and enjoy the thrill of sketching on them, we are sure you found this article very valuable! With the help of our guide to magnetic paint and chalkboards, embrace nostalgia and rediscover the fun of chalkboards.
So be ready to use these interesting and extremely handy tools to unleash your creativity and beautify your living and working areas!
Did you read the blog till the end or take the mid-flight to order yourself one of the coolest chalkboard and magnetic paints?
Frequently Asked Questions
Can Chalkboards Only Be Black?
No! Here’s a secret to it. For each cup of regular paint in any color, add 2 tablespoons of unsanded tile grout and stir to break up clumps. Apply paint with a roller or sponge paintbrush, and use multiple coats for even coverage. After it dries, sand lightly with 150 grit sandpaper and wipe off dust. Rub the side of a piece of chalk over the entire thing, then wipe away the chalk with a barely damp sponge.
Can I Combine Magnetic Paint with Chalkboard Paint?
Yes, you can add magnetic paint on top of the chalkboard paint. The combination of magnetic paint and chalkboard paint can create a versatile and interactive surface that allows you to both write with chalk and attach lightweight magnetic items.

