
Restoring your hardwood floors is a great way to bring back their original beauty without replacing them. Over time, floors can get scratched, dull, or stained, but that doesn’t mean they’re ruined. With a little time and effort, you can make them look fresh and clean again.
Whether you want to sand and refinish or try a no-sanding method, there are easy steps you can follow. You don’t need to be a pro or spend a lot of money to get good results.
This guide will walk you through everything you need to know—from checking your floors to choosing the right tools and products. I’ll also cover some common mistakes to avoid and tips to keep your floors looking great. If you’re ready to give your hardwood floors a new life, you’re in the right place. Let’s get started!
Should You Restore Your Hardwood Floor?
Hardwood floors are strong and long-lasting, but over time, they can lose their shine. You might notice scratches, dull spots, or even stains. That’s normal, especially in busy areas like hallways or living rooms. But just because your floor looks worn doesn’t mean you have to replace it. Restoring it can make a big difference and save you money.
Before you decide, take a close look at your floor. If it still feels sturdy and thick, it might just need a little love. Restoring a floor can bring back the warmth and beauty of real wood without the high cost of new flooring.
Signs You Should Restore Your Hardwood Floor:
- The finish looks dull or faded
- There are many small scratches or scuff marks
- You see light water stains or spots
- The boards are still flat and tight (no major damage)
- The wood feels solid underfoot
- You haven’t refinished the floor in many years
If you notice these signs, restoring could be the perfect option. It’s a smart way to keep your home looking clean and cared for, without spending too much.
Step-By-Step Guide to Sanding and Refinishing Hardwood Floors
Restoring your hardwood floors might sound like a big job, but you can do it yourself if you take it one step at a time. Sanding and refinishing can remove scratches, dull spots, and stains. It gives your floors a fresh, smooth look that makes your whole home feel cleaner and brighter.
Step 1: Get the Room Ready
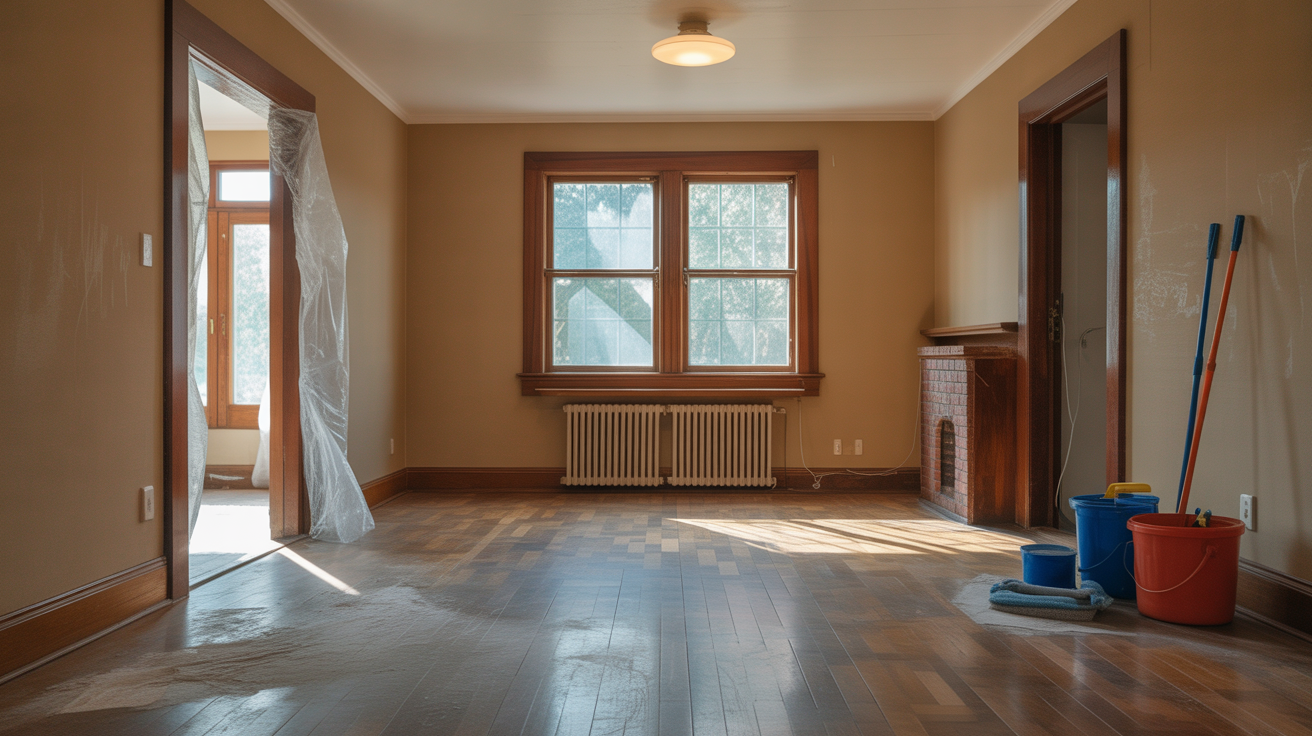
Start by moving all the furniture out of the room. Take off anything on the walls and remove rugs, curtains, or anything else that might get dusty. Next, remove the baseboards if possible. This helps you sand all the way to the edge of the floor.
Vacuum or sweep the floor to get rid of loose dirt and dust. Cover nearby doorways or vents with plastic to keep dust from spreading around your house.
Step 2: Gather the Right Tools
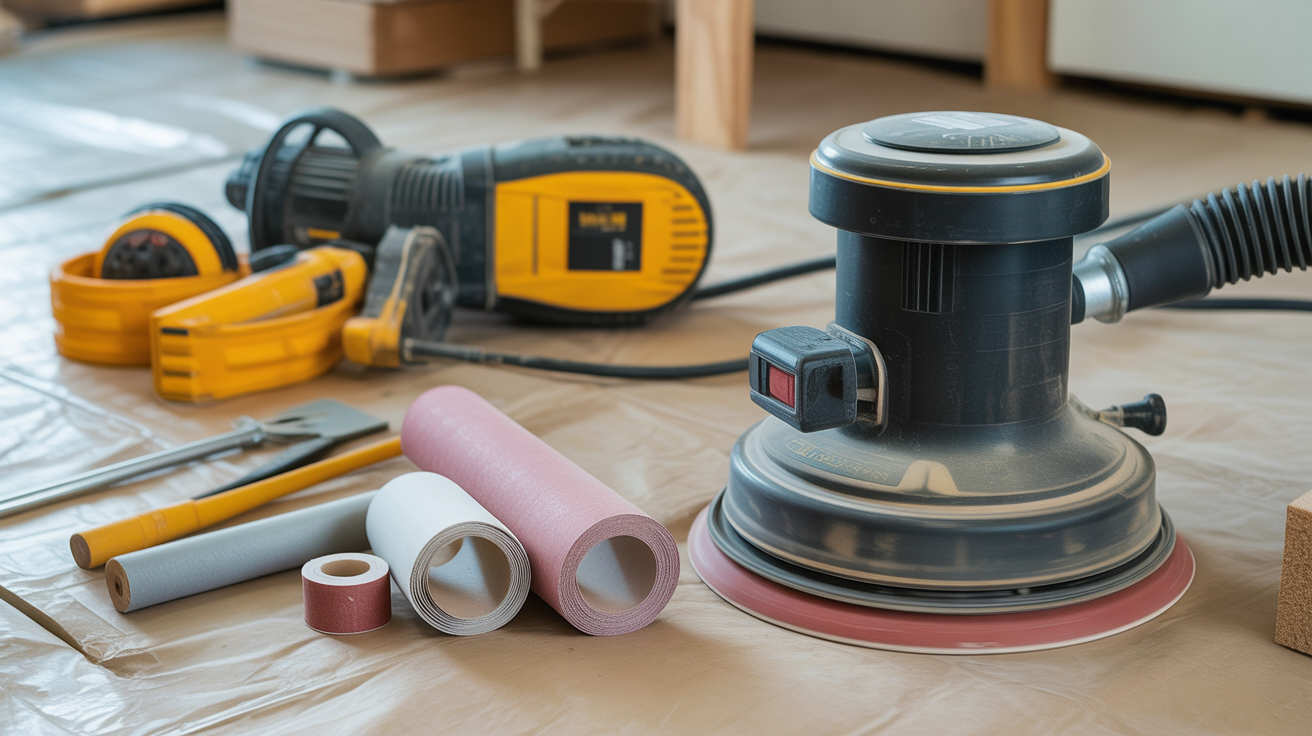
You’ll need a few tools for this job. The main one is a drum sander, which you can rent from a local hardware store. You’ll also need an edge sander to reach corners and edges.
Here’s what else you’ll need:
- Vacuum or broom
- Wood filler (if needed)
- Safety goggles, gloves, and a dust mask
- Clean cloths or tack cloths
- Stain (optional)
- Polyurethane finish
Step 3: Sand the Floor

Now it’s time to start sanding. Begin with coarse sandpaper (like 36 or 40 grit) to remove the old finish. Go slowly and let the machine do the work. Always sand in the direction of the wood grain, not against it. Make a few passes over the floor, switching to finer grits (like 60, then 100) as you go.
Use the edge sander or a hand sander for the spots the drum sander can’t reach, like corners or along the walls. Don’t stay in one spot too long, or you might leave a dip in the floor.
Step 4: Apply Wood Stain (optional)
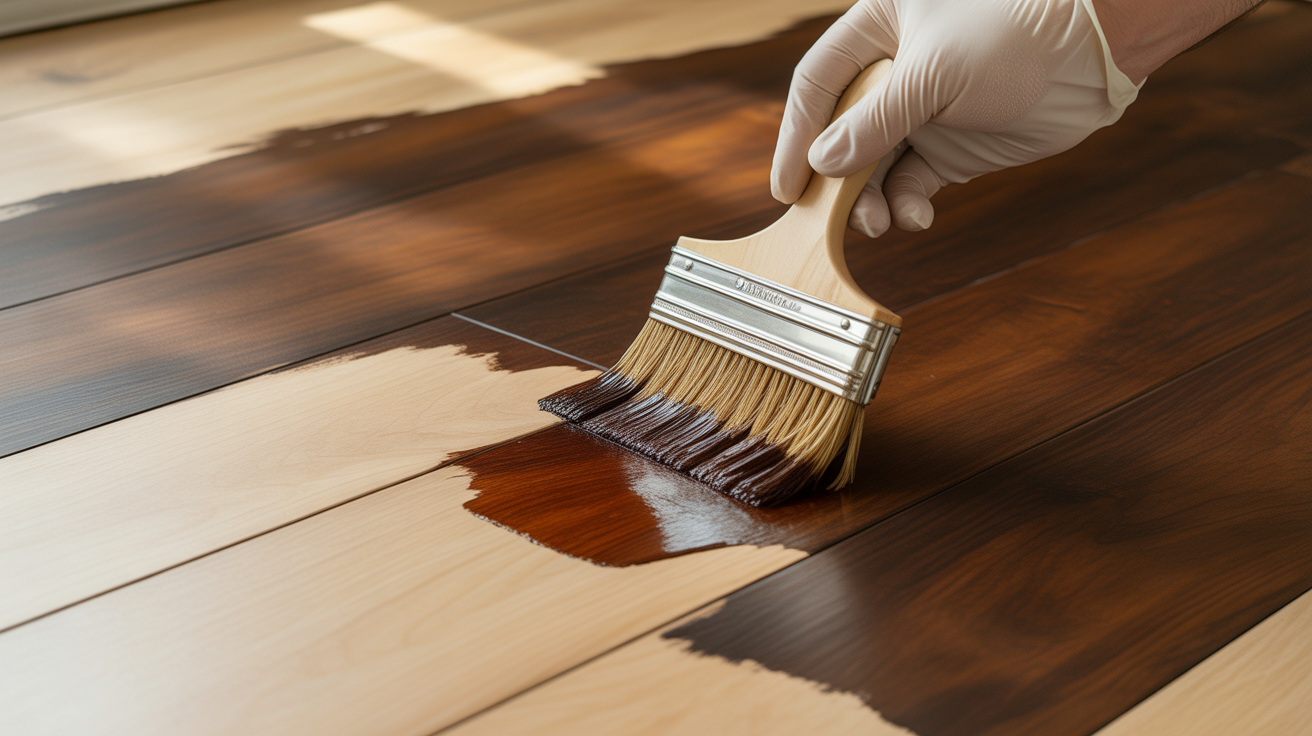
If you want to change the color of your floor, now’s the time to add a wood stain. Use a cloth or a brush to apply it evenly. Work in small sections and always follow the grain of the wood. Let the stain dry fully—this might take a few hours or overnight, depending on the product you use.
Test the stain on a small, hidden spot first to make sure you like the color. This helps you avoid surprises before doing the whole floor.
Step 5: Add the Finish
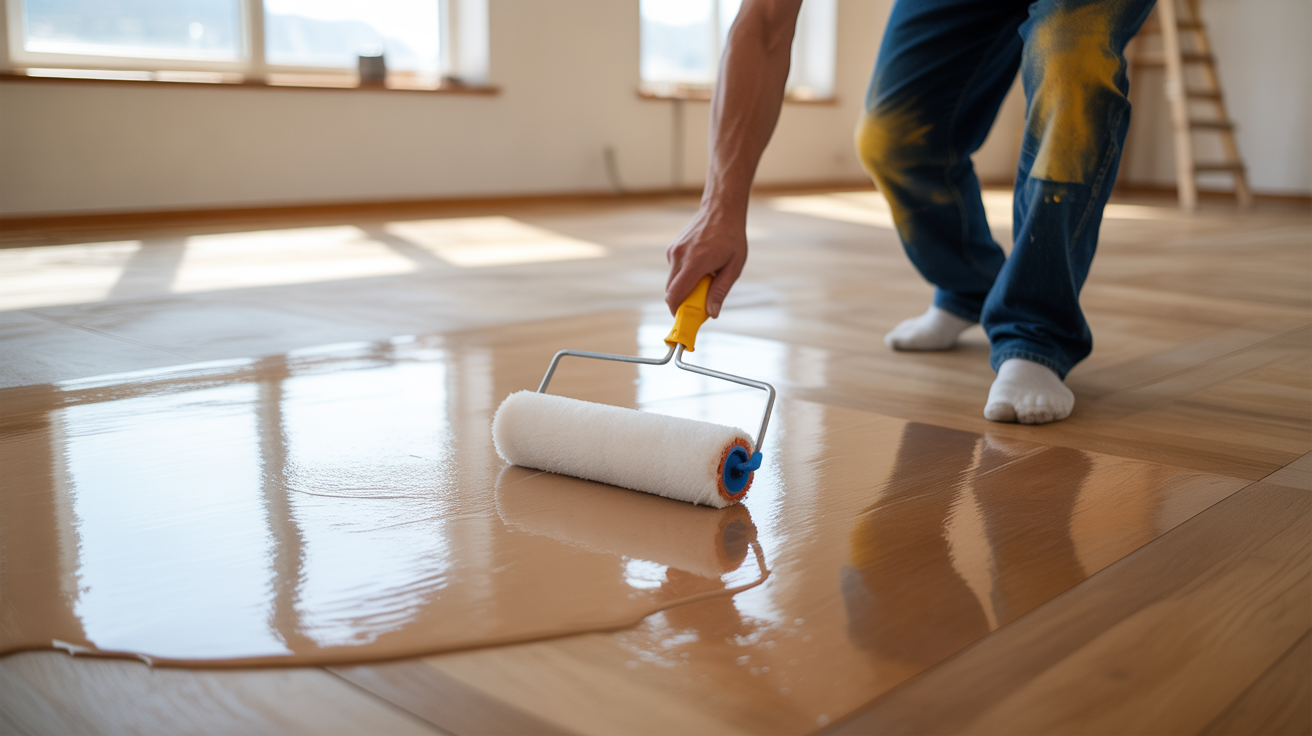
Once your stain is dry (or if you’re skipping the stain), you can add the finish. Most people use a polyurethane finish because it’s strong and lasts a long time. Use a brush or foam roller to apply it in smooth, even strokes.
Let it dry completely before adding another coat. Most floors need at least two or three coats for a strong, shiny finish. Lightly sand between coats with fine sandpaper and clean up the dust before adding the next layer.
Step 6: Let the Floor Cure
After the final coat, let your floor sit undisturbed for at least 24–48 hours before walking on it. Try to wait 7 days before moving furniture back, so the finish has time to harden fully.
Sanding and refinishing your hardwood floors can take a weekend or two, but the results are worth it. Your floors will look fresh, clean, and almost brand new. It’s a great DIY project that adds value to your home and gives you something to be proud of every time you walk through the room.
How to Restore Hardwood Floors without Sanding?
Want to make your hardwood floors look new again without using a big sander? You’re in luck! If your floors aren’t too damaged and just look a little dull or scratched, there are easy ways to bring them back to life without sanding. This method saves time, makes less mess, and is great for beginners.
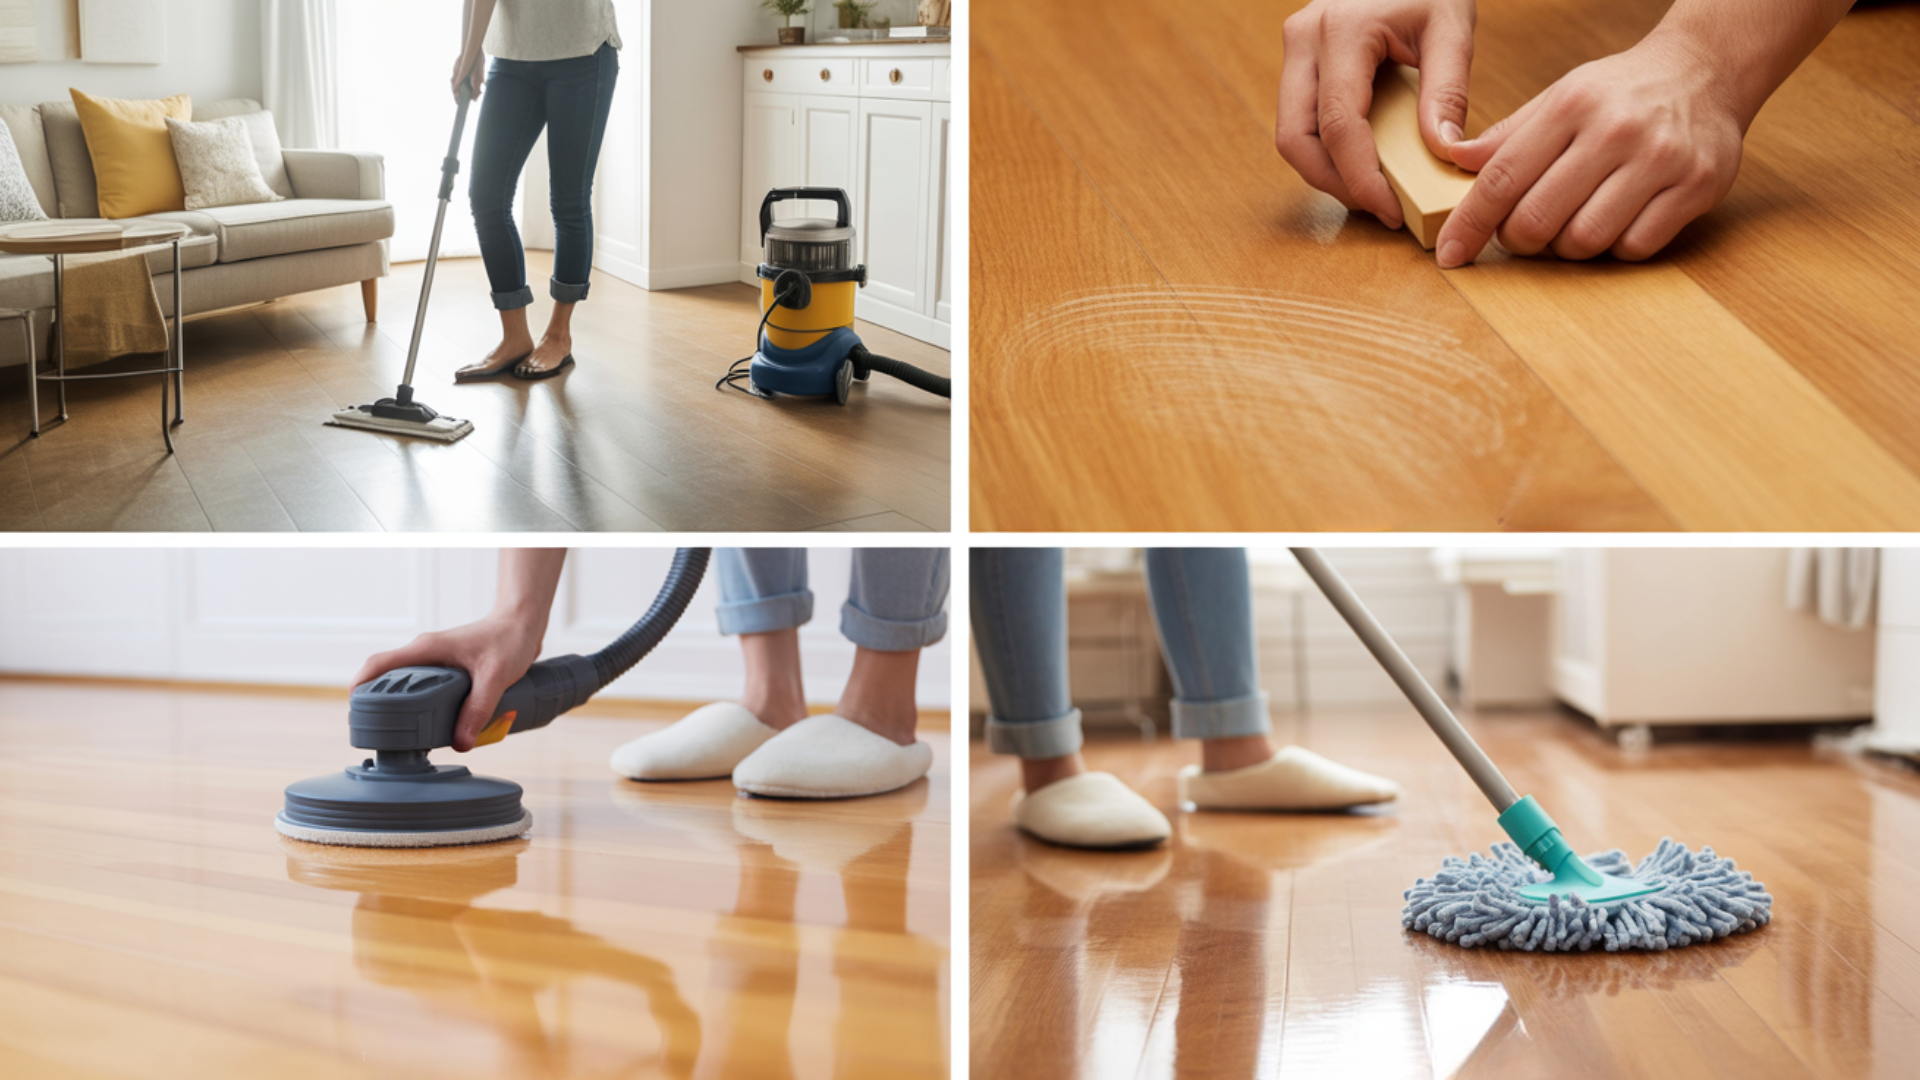
1. Clean the Floor Really Well: Start by cleaning your floor to get rid of dust, dirt, and anything sticky. Use a vacuum and then a mop with a hardwood-safe cleaner. Make sure the floor is totally dry before moving to the next step.
2. Fill In Small Scratches and Gaps: If you see little scratches or small cracks, you can fix them with wood filler or a wax stick. Choose a color that matches your floor. Gently rub the filler into the scratch, wipe away extra, and let it dry.
3. Buff the Floor: Using a buffing pad or a floor buffer (which you can rent), lightly go over the floor. This helps smooth out the surface and get it ready for polish. If you don’t have a buffer, a microfiber mop works too.
4. Apply a Floor Reviver or Polish: Get a hardwood floor polish or a product labeled “floor restorer” or “reviver.” Pour a small amount onto the floor and spread it with a clean, dry mop. Work in sections and follow the wood grain. Let it dry completely—usually in 30 to 45 minutes.
Once the floor is dry, step back and enjoy the shine! Your floors will look smoother, cleaner, and refreshed. While this method doesn’t fix deep damage, it’s perfect for giving tired wood floors a boost without sanding.
Best Products for Restoring Hardwood Floors
When it comes to restoring hardwood floors, using the right products can make a big difference. For cleaning, a gentle hardwood floor cleaner like Bona Hardwood Floor Cleaner is a great choice—it removes dirt without harming the finish.
If you’re skipping sanding, consider a floor restorer like Rejuvenate All Floors Restorer or Quick Shine Floor Finish. These products help bring back shine and fill in light scratches.
For deeper fixes, wood filler sticks or pens, such as those from Minwax, are helpful for hiding small dents or cracks. And if you plan to add a new finish, a water-based polyurethane like Bona Mega or Varathane offers a strong, low-odor coating.
Choosing trusted products makes your floor look better and helps your hard work last longer.
Factors to Consider Before Restoring Hardwood Floors
Before jumping into a floor restoration project, it’s important to think about a few key things. Not every hardwood floor is the same, and choosing the right method depends on your floor’s condition and your goals.
1. Condition of the Floor: Check for deep scratches, stains, water damage, or warped boards. If the damage is light, a quick polish might do the trick. If it’s more serious, sanding and refinishing may be needed.
2. Type of Wood: Some hardwoods can be sanded several times, while others are thinner and more delicate. Engineered hardwood has a thin top layer and may not handle sanding well, so a no-sand method might be safer.
3. Your Budget: Restoring floors can be cheaper than replacing them, but costs still add up. Renting tools, buying supplies, or hiring help are all things to consider when setting your budget.
4. Time and Effort: Do you have a free weekend to work on your floors? Sanding takes more time and work than a simple polish. Think about how much time you’re willing to spend on this project.
5. Desired Look: Do you want to change the color of your floor or just refresh its shine? Staining and refinishing give you more control over the look, while no-sand methods keep the original color.
Taking time to consider these factors helps you choose the best way to restore your hardwood floors. You’ll save time, money, and avoid mistakes down the road.
Conclusion
Restoring your hardwood floors is a simple way to bring beauty and warmth back into your home. Whether you choose to sand and refinish or go with an easier, no-sand method, the results can be amazing. Clean, shiny floors make any room feel fresh and inviting.
The best part? You don’t need to be a pro to do it. With the right tools, products, and a little patience, you can handle it yourself. Just remember to check the condition of your floors first and take your time with each step. From small scratches to dull finishes, most problems can be fixed without spending a lot of money.
So if your hardwood floors are looking a little tired, don’t give up on them—restore them. It’s a smart, budget-friendly project that makes a big difference in how your home looks and feels.