
Are you looking to add safety and style to your staircase? Building your handrail is a manageable weekend project that can make a big difference in your home.
A well-built handrail does more than prevent falls—it adds a finished look to your stairs and can complement your home’s design. The good news is that you don’t need to be a carpentry expert to create something functional and attractive.
In this guide, I’ll walk you through the entire process, from selecting materials to the final installation. You’ll learn what tools you need, how to measure correctly, and the step-by-step technique for a professional-looking result.
Let’s get started on creating a handrail that’s both practical and pleasing to the eye!
Materials and Tools You’ll Need
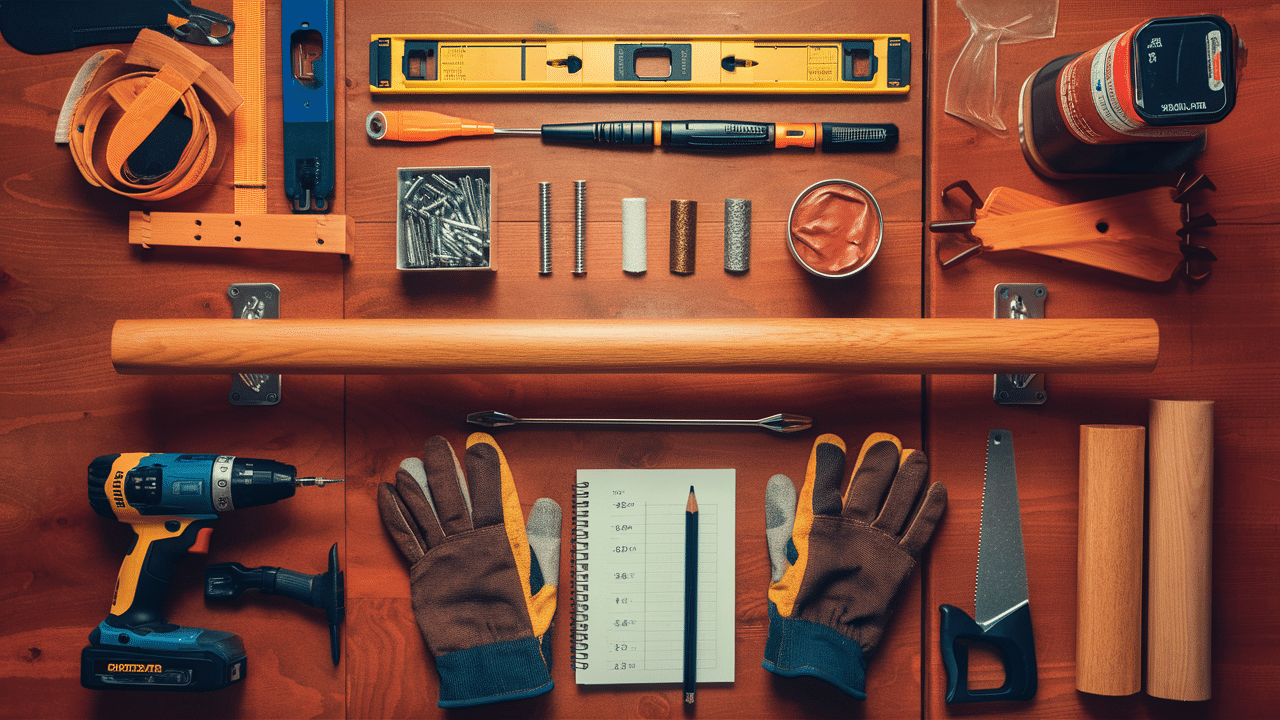
Getting your supplies ready beforehand will save you time and stress. I suggest laying everything out in your work area before you begin so you won’t have to stop mid-project to search for a tool.
Materials
- Handrail material (wood or metal)
- 3-4 handrail brackets (one every 4 feet)
- Screws and wall anchors
- Sandpaper (60, 120, and 220 grit if using wood)
- Wood finish or paint
- Wood putty for filling holes
Tools
- Measuring tape
- Level (2-foot length works best)
- Stud finder
- Drill and drill bits
- Screwdriver
- Saw (for cutting wood handrails)
- Safety gear (gloves and goggles)
- Pencil for marking
Pro tip: Buy slightly more materials than you think you’ll need. Having extra prevents mid-project trips to the store.
Step-By-Step Guide
Now that you have all your supplies together, let’s break down the process into manageable tasks. I’ll guide you through each phase so you can work confidently and safely.
Remember to take breaks if you need them—this isn’t a race! Let’s start with the first important step.
1. Measure Your Stairs

First things first—you need to know how much handrail to buy.
- Use your measuring tape to find the total length of your staircase.
- Add 6 inches to allow for returns at the ends.
- Mark the desired height (34-38 inches is standard) on the wall at both the top and bottom of the stairs.
- Use a chalk line or a straight edge to mark a line connecting these points.
This line will guide your bracket placement. Take your time here—good measurements make the rest of the job easier.
2. Locate and Mark Studs
Your handrail needs to attach to something solid. That’s where wall studs come in. Finding these hidden wooden supports inside your walls is crucial for a safe installation. Think of studs as the skeleton of your walls—they provide the strength needed to hold your handrail securely.
- Use your stud finder to locate wall studs along your marked line.
- Mark each stud location with a small pencil.
- Plan to place brackets at the top, bottom, and every 4 feet in between.
- Make sure at least two-thirds of your brackets connect directly to studs.
No studs where you need them? You’ll need to use heavy-duty wall anchors, but remember, they’re not as strong as stud connections.
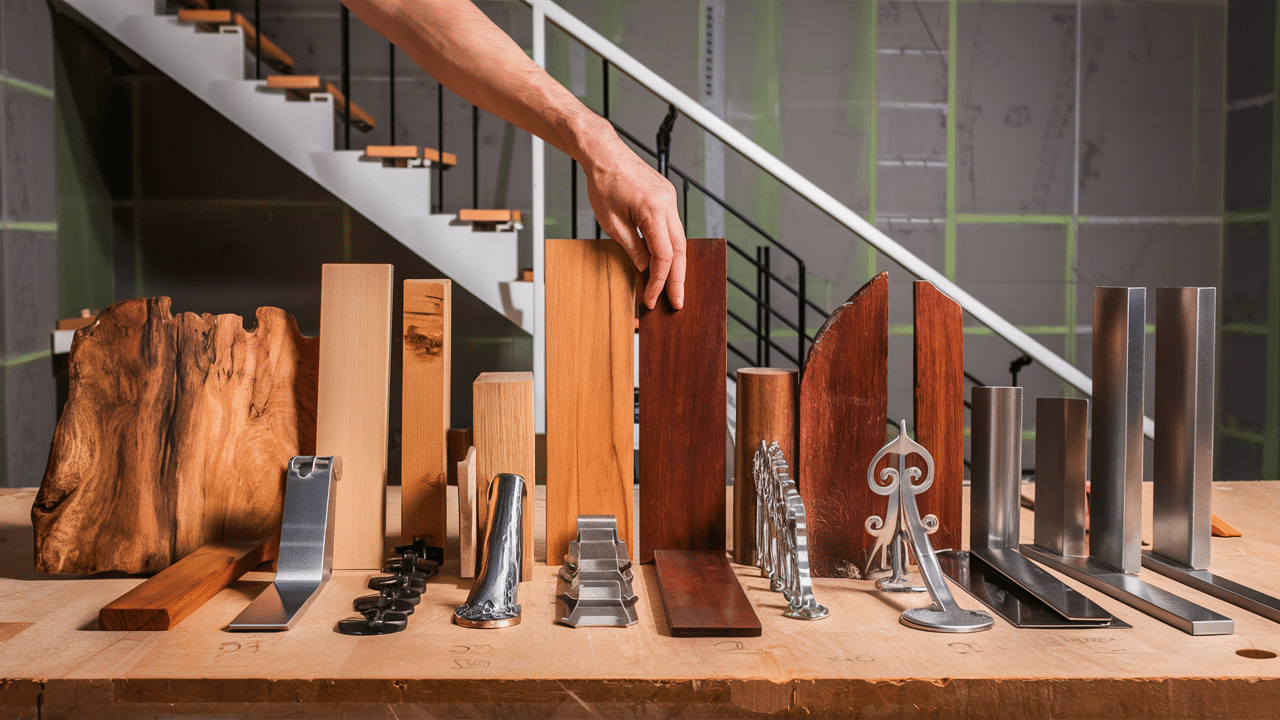
3. Choose the Right Materials
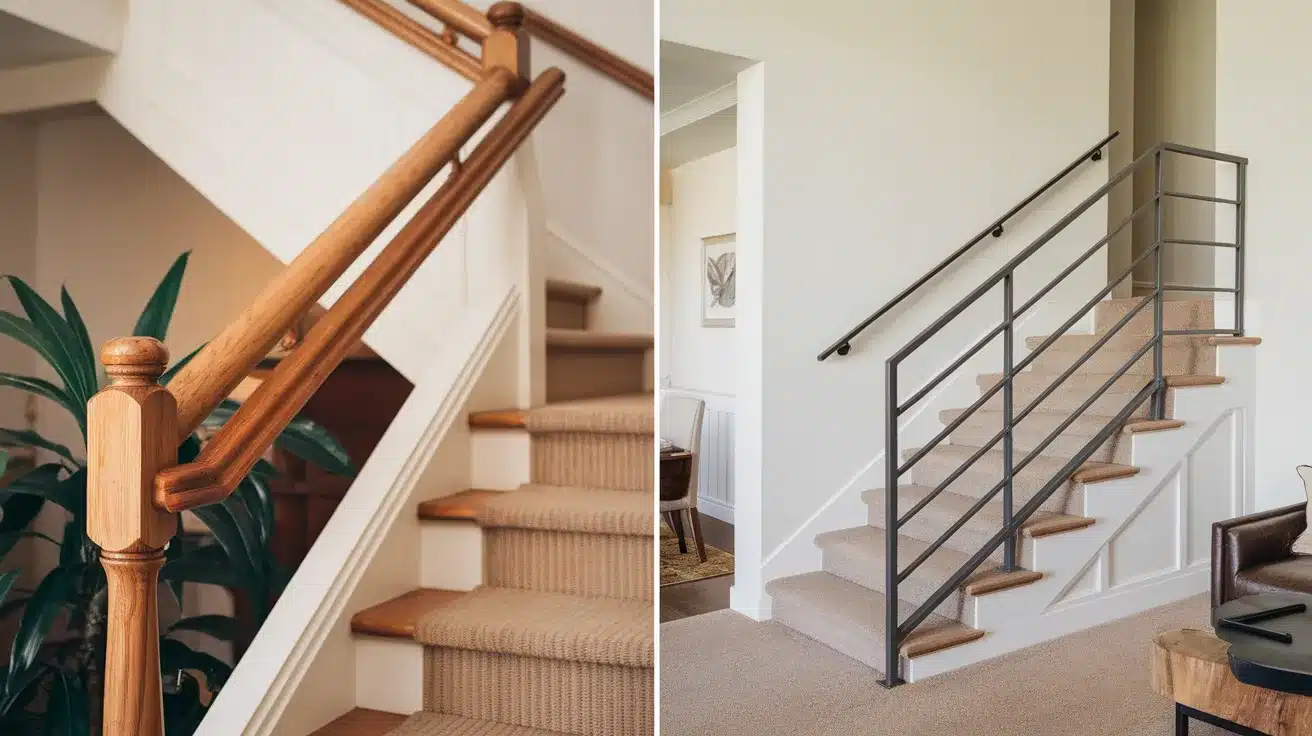
Your choice of materials affects both looks and function. The handrail you select will be touched daily for years, so pick something that feels good in your hand and matches your home’s style.
Wood Options
- Oak: Strong and Takes Stain Well
- Maple: Hard and Smooth
- Pine: Less Costly but Softer
Metal Options
- Aluminum: Light and Won’t Rust
- Iron: Classic Look, Very Strong
- Stainless Steel: Modern Look, Easy to Clean
Pick what matches your home and fits your budget. Wood feels warmer to the touch but needs more care. Metal lasts longer but can feel cold.
4. Cut and Prepare Your Handrail
Now it’s time to size your handrail perfectly. This step requires accuracy and care, as proper measuring and cutting will ensure your handrail fits just right. A well-prepared handrail makes installation much easier.
- Transfer your measurements to the handrail material.
- Mark clearly where cuts need to be made and use a miter saw for clean, straight cuts.
- If using wood sand all surfaces start with 60-grit, then 120-grit, and finish with 220-grit sandpaper.
- Wipe away all dust with a tack cloth.
- Apply your chosen finish (stain, paint, or clear coat) following the product directions and let it dry fully before handling.
Take extra care with the ends of the handrail. Rounded or returned ends look better and are safer than square cuts.
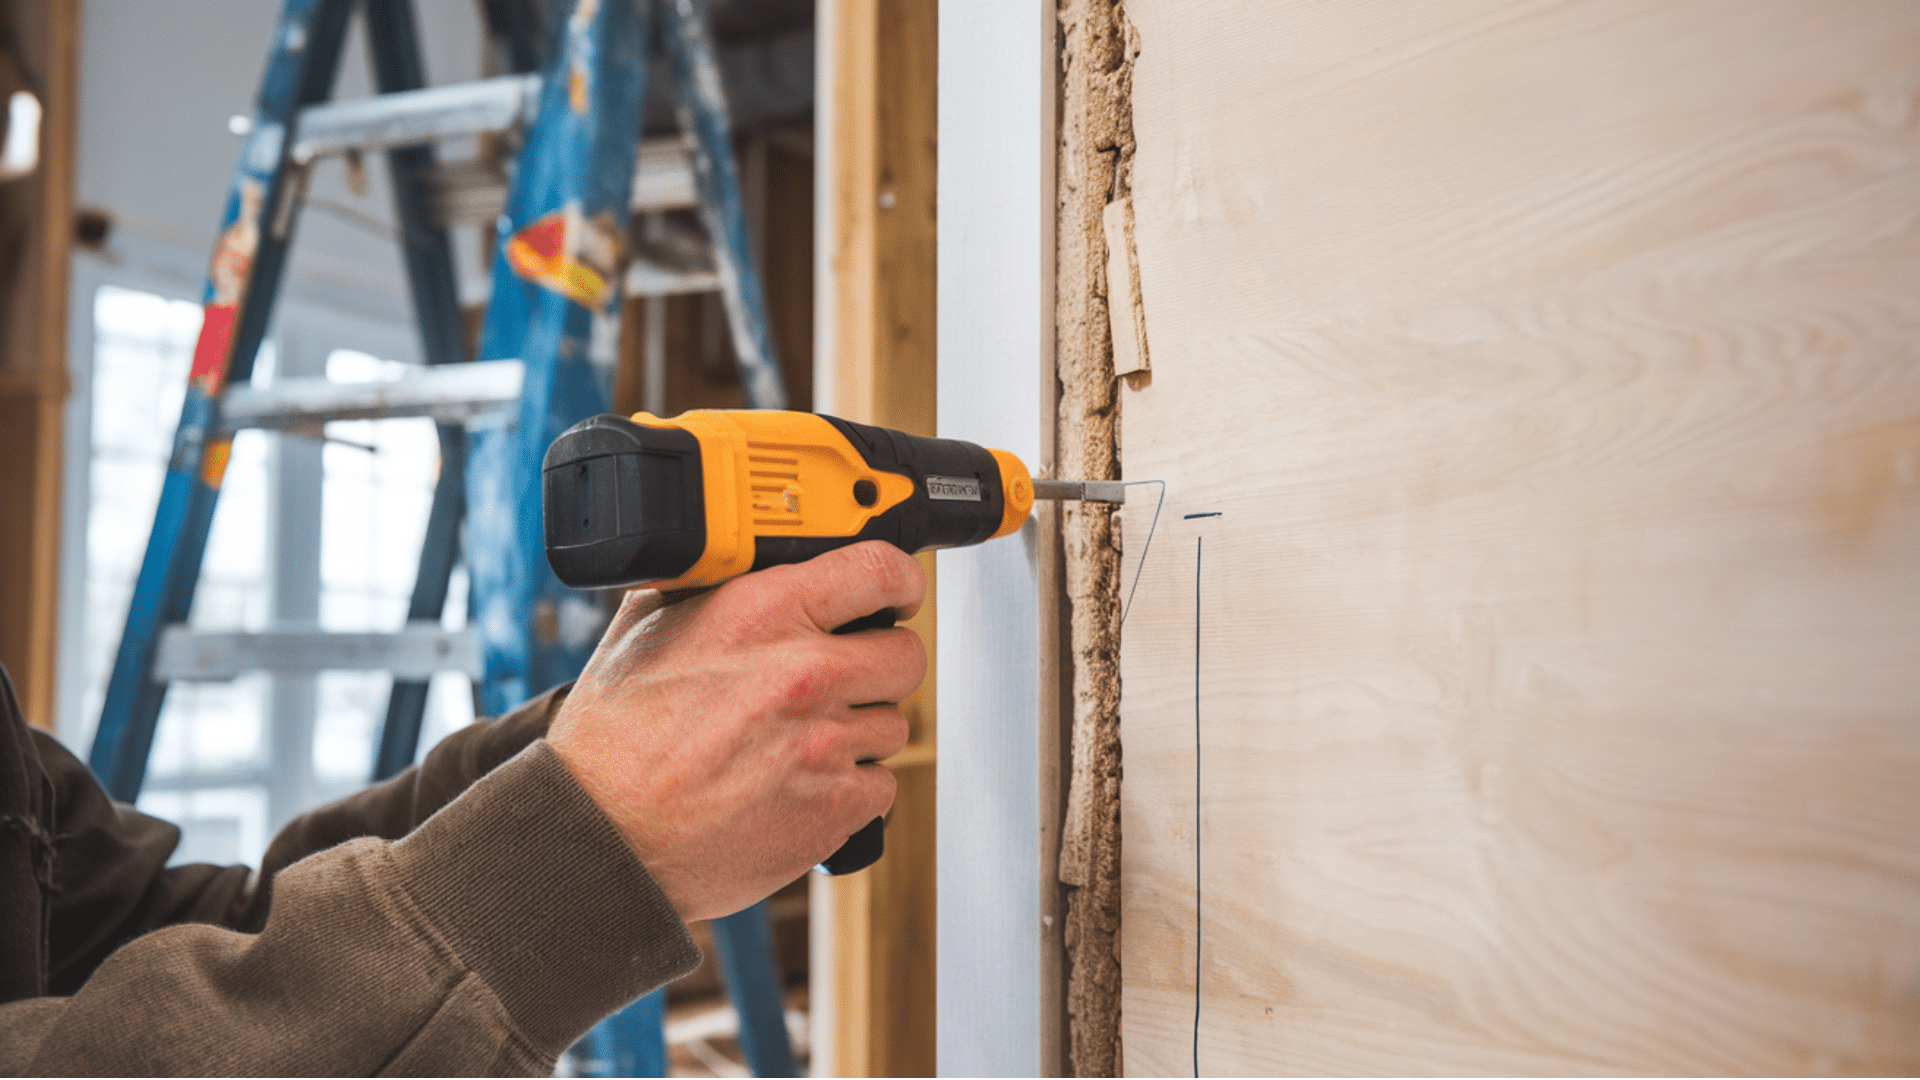
5. Install Handrail Brackets
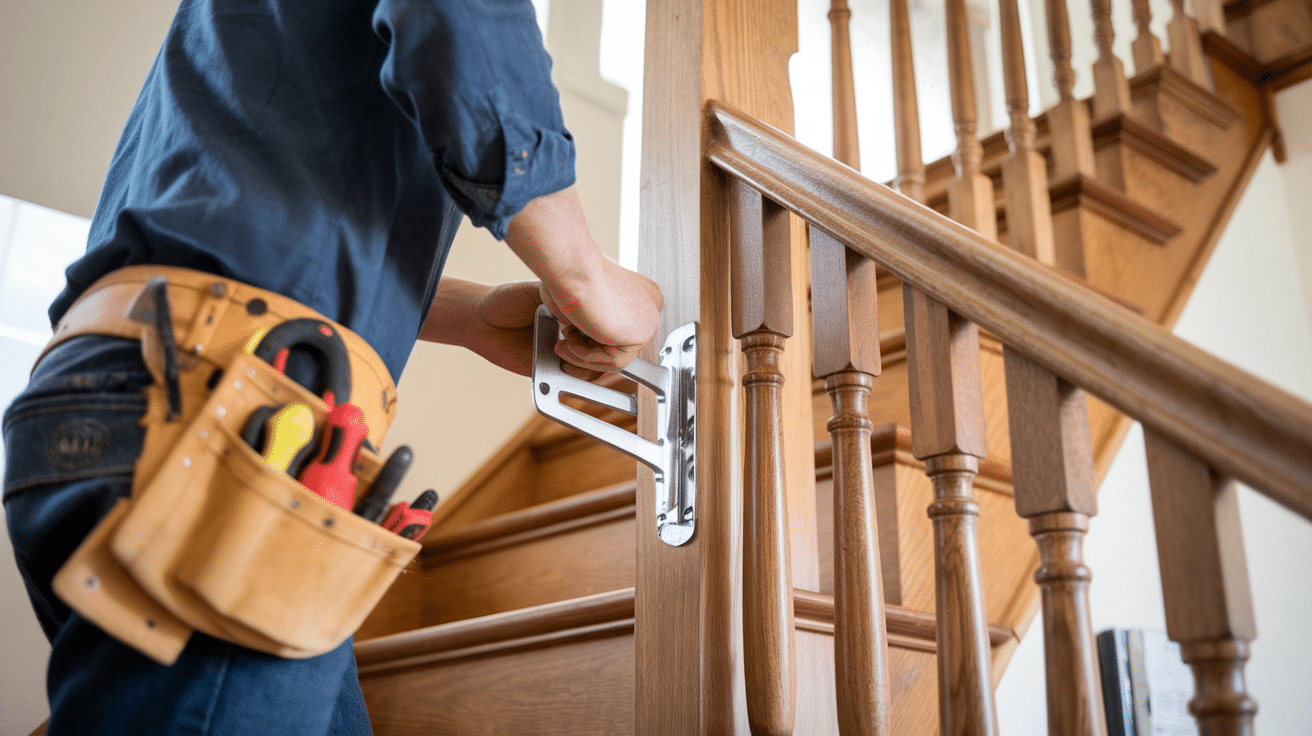
With the prep work done, it’s time to add brackets to the wall. This step turns your planning into visible progress. Proper bracket placement ensures your handrail will be secure and meet safety standards.
- Hold each bracket against your marked line at stud locations.
- Use a level to make sure each bracket is perfectly straight.
- Mark screw holes with a pencil.
- Pre-drill holes for each screw.
- Attach brackets firmly to the wall with screws.
- Tug on each bracket to check it’s secure.
Space brackets evenly, about 4 feet apart, with extra support at the top and bottom of the stairs.
6. Attach the Handrail
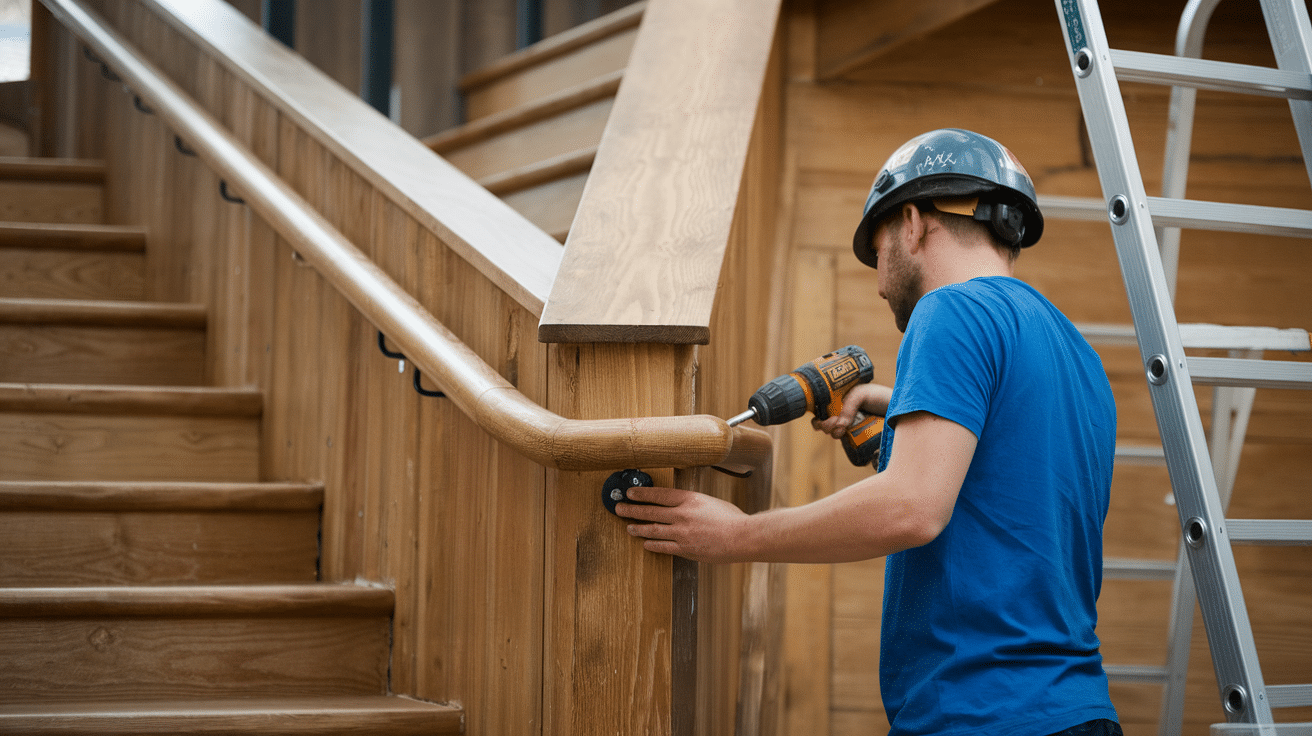
Now for the moment of truth—adding the handrail to your brackets. This is where your project comes together and all your careful prep work pays off. Take a deep breath and follow these steps:
- Place the handrail onto the installed brackets and check that it’s level along its entire length.
- Mark where screws will go through brackets into the handrail.
- Remove the handrail and drill pilot holes at your marks.
- Place the handrail back on the brackets.
- Attach with screws, being careful not to overtighten and split the wood.
Pro tip: Have a helper hold the handrail while you work. It makes this step much easier.
7. Finishing Touches
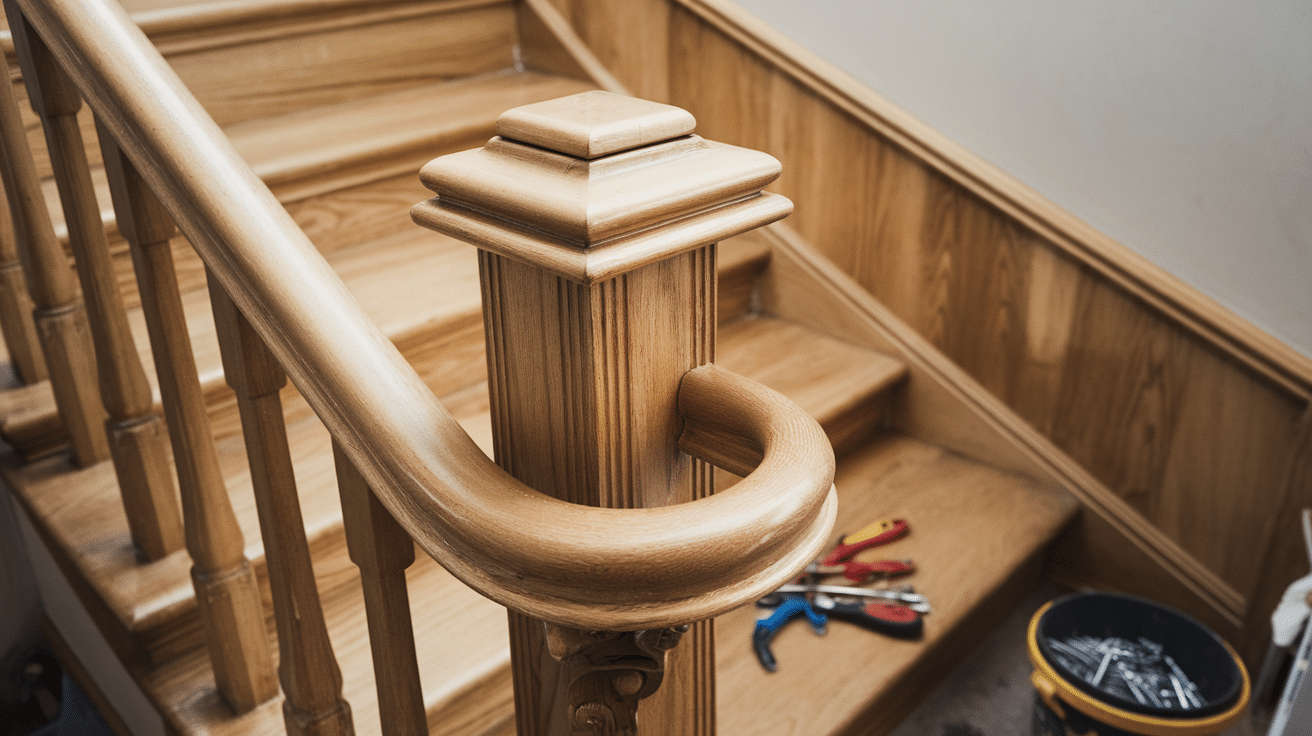
You’re almost done! Let’s make sure everything is perfect. This is the moment to step back and examine your work with fresh eyes. If you can, walk away for a few minutes. Sometimes, a short break helps you spot things you might have missed while focused on the installation.
- Go back and tighten any loose screws.
- Fill any visible screw holes with wood putty that matches your handrail.
- Touch up the finish if needed.
- Clean the entire handrail and surrounding wall area.
- Apply a second coat of finish if desired for extra protection.
Walk up and down the stairs, holding the handrail to test its sturdiness and comfort.
Understanding Building Codes and Safety Standards
Before you grab your tools, let’s discuss the rules. Rules exist to keep you and your family safe.
Check your local building codes first. Each area has its own rules about handrails. Calling your local building department can save you time and money later.
Most codes require handrails to be:
- Between 34 and 38 inches above the stair nosings
- Easy to grip with your hand
- Strong enough to support body weight
- Continuous from the top to the bottom of the stairs
Taking the time to learn these rules now means no costly fixes later. Safety comes first!
Safety tips
Your safety matters during and after this project.
- Always wear safety glasses when drilling or cutting.
- Use work gloves to prevent splinters and cuts.
- Have someone nearby when working on ladders.
- Test the handrail by putting your full weight on it before considering the job complete.
- If you feel the handrail move at all, check your bracket connections.
Remember, if any step feels beyond your skill level, it’s okay to call a pro. Some tasks are worth the extra cost for peace of mind.
Conclusion
Building a handrail does more than make your stairs look better—it creates a safer home for everyone who uses them.
Think about the various people who climb those steps every day: young children who are still mastering their balance, elderly family members who might need extra support, and friends visiting who aren’t familiar with your home’s layout.
By following this guide, you’ll add value to your home and learn some handy diy skills.
The best part? Each time you grip that handrail, you’ll feel the satisfaction of having built it yourself.
Want to share your handrail project? Post a comment below with a photo of your finished work. I’d love to see what you’ve created, and your success might help other readers gain the confidence to try this project, too.
Have questions? Ask away—i check comments regularly and am happy to help you problem-solve.