
Some mornings, I step into the shower and notice the water isn’t flowing the way it should. If that sounds familiar, it can be annoying, especially when you’re trying to get ready and move on with your day.
The good part is that the cause is usually simple and easy to take care of.
In this guide, I explained how to clean a shower head for better water flow using simple steps you can do at home.
I have also shared what tools you need, how to deep clean buildup, and how to spot early signs that your shower head needs attention.
You’ll learn tips to keep the water flowing strongly after cleaning and mistakes that can make things worse.
This article is here to save you time and effort. By the end, you’ll know exactly how to get your shower working better and keep it that way.
What You Need to Clean a Shower Head?
Most of the items needed are simple and easy to find at home. Having everything ready first helps the process go faster and smoother.
- White vinegar
- Baking soda
- A plastic bag or a small bucket
- Rubber band or zip tie
- Old toothbrush or small scrub brush
- Soft cloth or sponge
- Toothpick or safety pin (optional, for clogged holes)
- Adjustable wrench (optional, for removable shower heads)
How to Deep Clean a Shower Head?
Deep cleaning removes hidden mineral buildup that blocks spray holes and lowers pressure, helping restore steady water flow and even spray performance.
Step 1: Check the Buildup
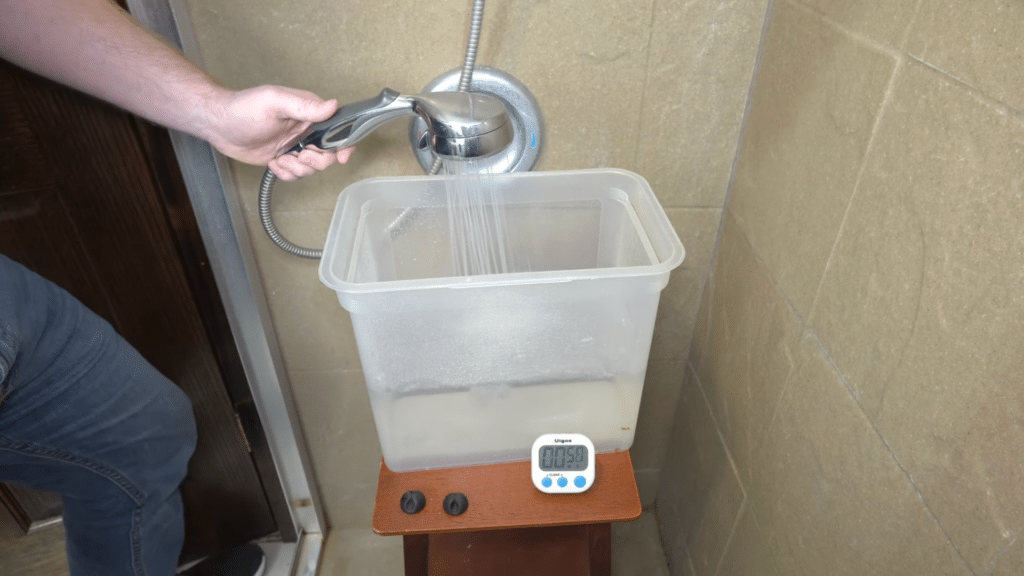
Start by turning on the shower and paying attention to how the water sprays.
Blocked or partially clogged holes often cause uneven streams, weak pressure, or water shooting sideways. Some nozzles may barely release water at all.
These issues usually point to mineral buildup from hard water collecting inside the spray holes.
A quick visual check of the shower head face may also show white or chalky residue, which confirms that cleaning is needed before flow can improve.
Step 2: Remove or Secure the Shower Head
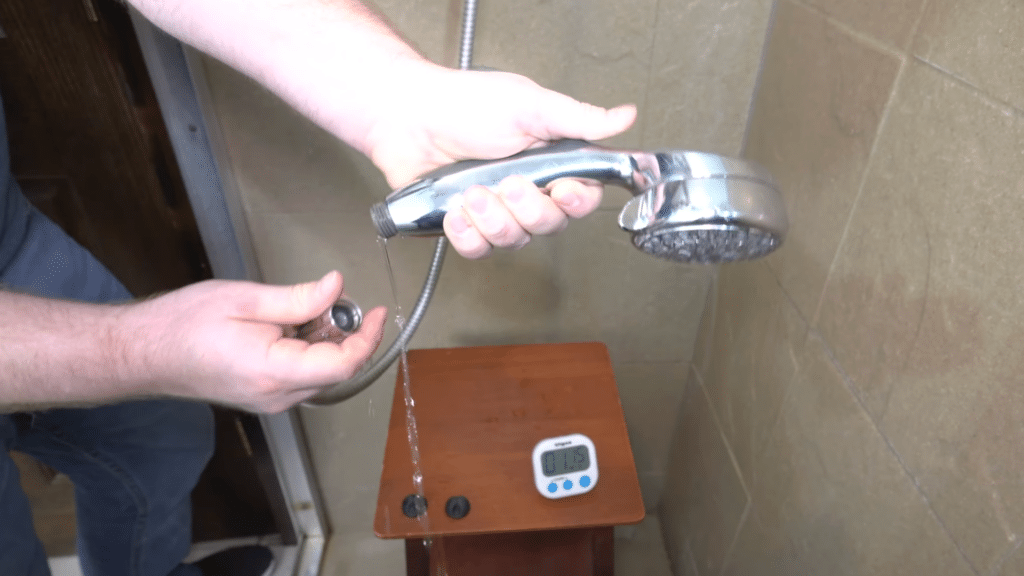
If the shower head can be removed, twist it off gently and place it in a safe spot.
For fixed shower heads, pour white vinegar into a strong plastic bag and slip it over the shower head. Secure the bag tightly using a rubber band, rope, or duct tape so it does not slip.
Check that the entire spray face is covered by vinegar.
Full contact helps loosen buildup evenly across all nozzles and improves cleaning results.
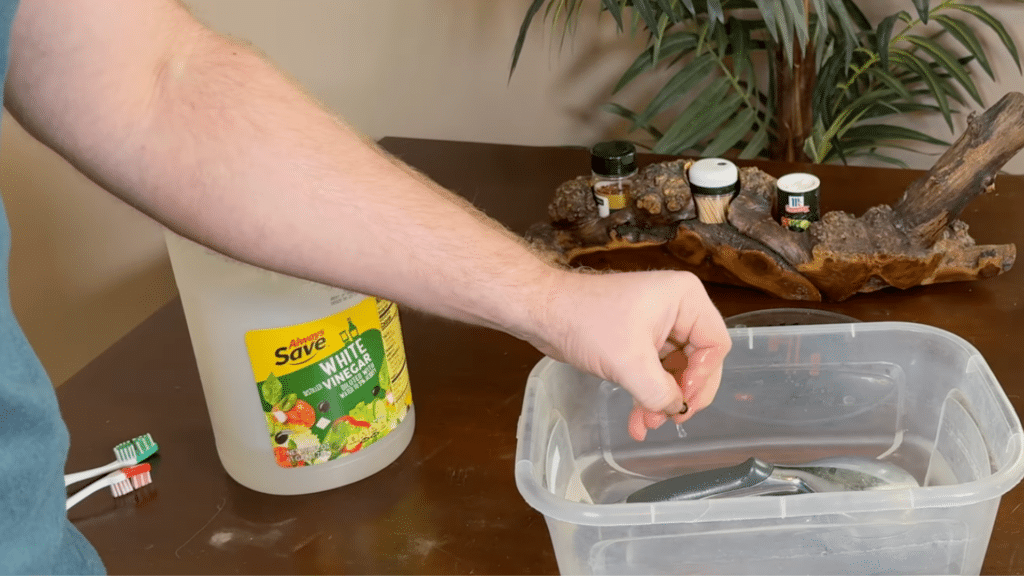
Step 3: Soak in White Vinegar
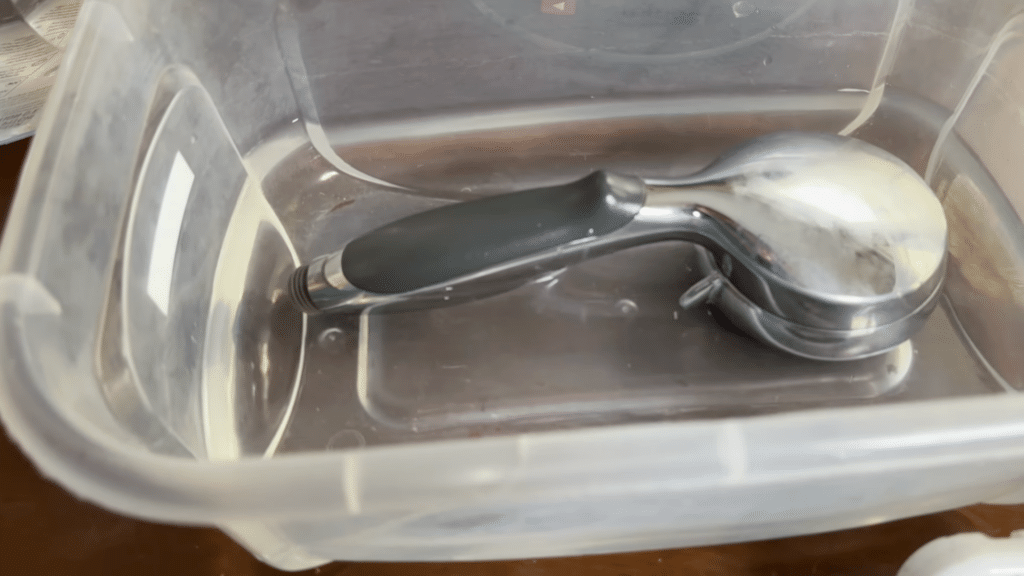
Place the shower head into a bowl filled with distilled white vinegar that has 5% acidity.
This strength is effective at breaking down mineral deposits without damaging most finishes. Ensure the entire spray area is covered.
The vinegar works by dissolving calcium and lime buildup that blocks water flow.
During this stage, no scrubbing is needed. Let the vinegar begin loosening the deposits on its own.
Step 4: Let It Sit and Check Progress
After about 20 minutes, the early signs of buildup breaking down become visible.
Residue may soften or start lifting away from the rubber nozzles. This is a good time to gently move the shower head or bag slightly to make sure vinegar reaches all areas.
If the buildup is light, this soak may already be enough.
For heavier buildup, more soaking time will help loosen deposits deeper inside the nozzles.
Step 5: Scrub the Nozzles
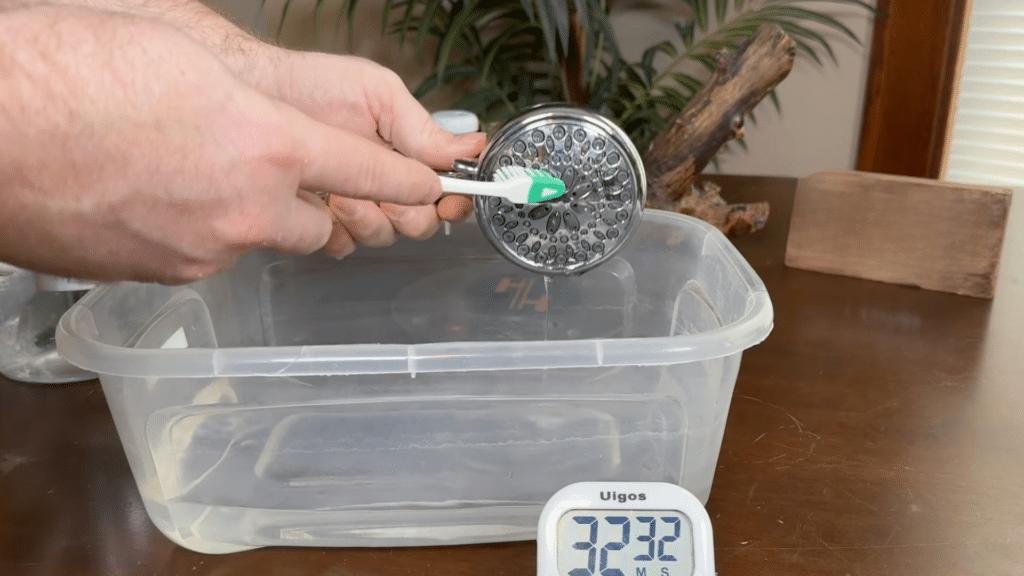
Use an old toothbrush or a small soft brush to gently scrub the rubber nozzles. Pay close attention to areas where buildup is still visible or where spray holes look clogged.
Lightly pressing and flexing the rubber nozzles while brushing helps loosen trapped minerals inside.
Take your time and work evenly across the surface. Avoid sharp objects or metal tools, as they can damage the spray holes and affect performance.
This step removes residue that soaking alone may not fully clear and helps restore proper spray flow.
Step 6: Extend the Soak if Needed
If buildup remains after the first soak and scrub, return the shower head to the vinegar and allow it to soak longer.
Heavy buildup may require up to three hours.
Check progress every hour and repeat light brushing as needed. Longer soaking allows vinegar to reach deeper deposits that form over time.
Extending the soak is often more effective than aggressive scrubbing and helps protect the shower head surface.
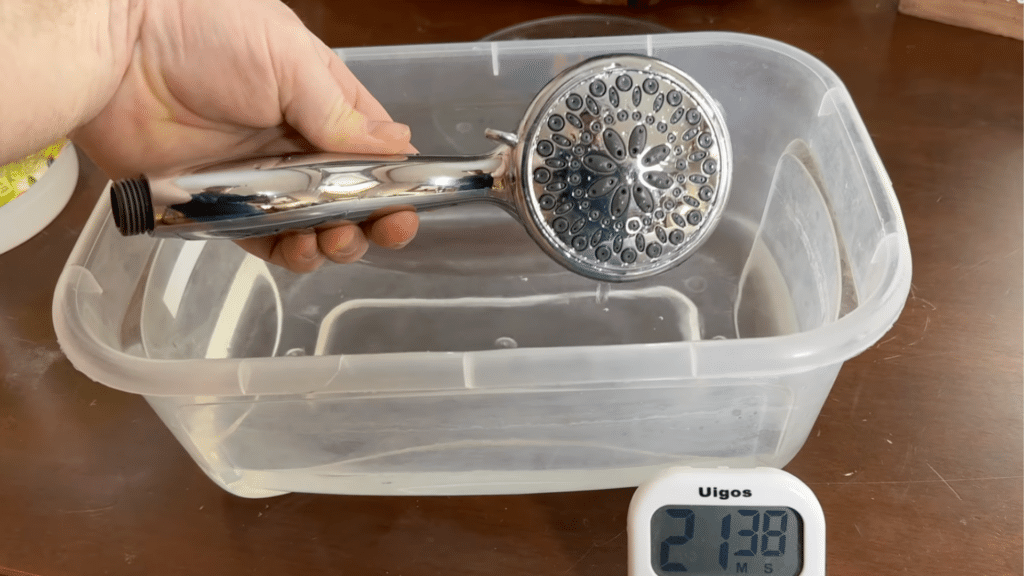
Step 7: Final Touch-Up and Rinse
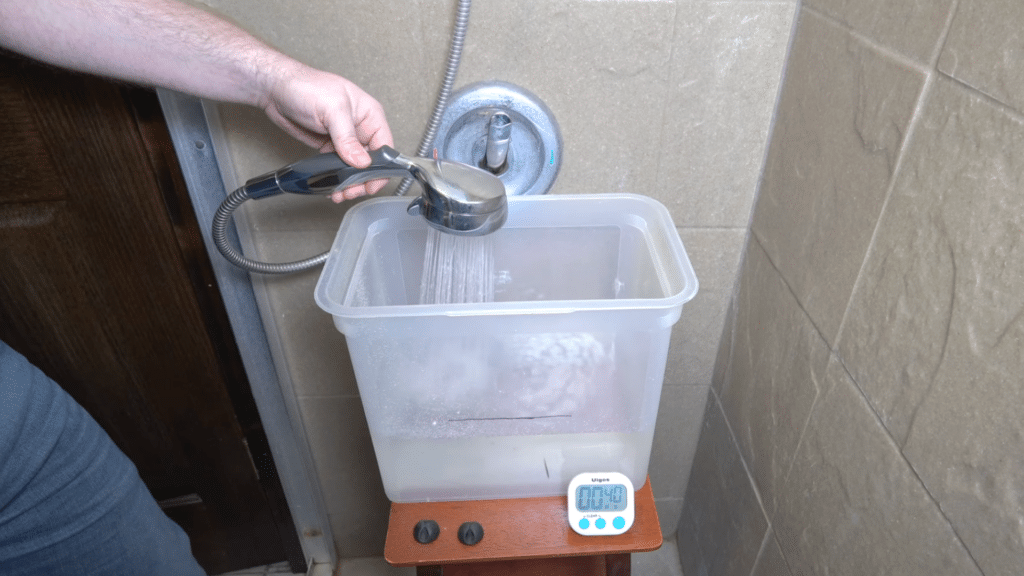
Once the buildup is gone, rinse the shower head well with clean water. Let water run through every spray hole to clear out leftover vinegar and loosened debris.
If the shower head has multiple spray settings, switch through each one to flush them fully.
Wipe the outside with a soft cloth to remove moisture and residue.
Reinstall the shower head if it was removed and tighten it securely. Proper rinsing helps maintain smooth water flow and prevents vinegar residue from affecting performance during future use.
This tutorial is based on a helpful video by Handyman Hertz. You can check out the original video on their YouTube channel here or watch it below.
Tips to Improve Water Flow After Cleaning
These simple steps help clear out leftover debris and keep things working well. They also make it easier to spot small issues before they turn into bigger ones.
- Run hot water for a few minutes to flush loose particles
- Rub the spray holes with your fingers to loosen trapped grit
- Use a toothpick to clear holes that still look blocked
- Wipe the face of the shower head with a soft cloth
- Check that the shower head is tightened properly
- Remove and clean the flow restrictor if the water still feels weak
- Turn the shower on and off a few times to test the spray pattern
Signs Your Shower Head Needs Cleaning
These signs often show up slowly and are easy to miss. Paying attention early can help prevent bigger issues later.
1. Weak or Uneven Water Pressure
One clear sign is weak or uneven water pressure. When mineral buildup blocks small spray holes, water struggles to flow evenly.
You may notice thin streams, random spraying, or pressure that changes during use.
This often happens slowly, so it’s easy to ignore at first. If adjusting the handle does not help, buildup is likely inside the shower head.
Cleaning removes these blockages and helps restore a steady, balanced spray that feels more comfortable during daily showers over time with regular use in most homes.
2. Visible White or Green Residue
Visible white or green residue is another strong warning sign. Hard water leaves mineral deposits that build up around spray holes and seams.
Over time, this residue becomes harder and more noticeable. You might see crusty spots or feel rough patches when touching the shower head. This buildup not only affects flow but can also trap bacteria.
If left untreated, it becomes harder to remove later.
Early cleaning keeps the surface smooth and prevents long-term damage from constant moisture exposure in many bathrooms today.
3. Strange Smells or Discolored Water
Another sign is strange smells or discoloration in the water. When buildup and trapped debris sit inside the shower head, bacteria can grow.
This may cause musty odors or cloudy water when you turn on the shower.
These issues often appear even when pressure seems normal. Ignoring them can affect water quality over time.
Regular cleaning helps flush out hidden residue and keeps the water smelling fresh and clear for everyday use without added effort or costly repairs later on in most homes today.
How Often Should You Clean Your Shower Head?
Most shower heads should be cleanedevery 1–2 months to keep water flowing well.
If your home has hard water, mineral buildup happens faster, so monthly cleaning works best.
Homes with soft water can usually stretch it to every two or three months. If you notice weak spray, uneven flow, or visible buildup, clean it sooner instead of waiting.
Regular light cleaning takes less time than dealing with heavy buildup later.
A quick soak and rinse often does the job and helps avoid clogs.
You don’t need to deep clean every time, but staying on a simple schedule makes a big difference. Keeping up with this habit helps your shower work better and last longer without extra effort.
Common Mistakes to Avoid when Cleaning a Shower Head
Small errors during cleaning can lead to damage or poor results. Paying attention to these points helps keep the shower head in good shape.
- Using harsh cleaners that can damage the finish
- Scrubbing with steel wool or rough pads
- Skipping a rinse after soaking
- Leaving vinegar on for too long
- Forcing clogged holes with sharp tools
- Overtightening the shower head after cleaning
- Ignoring the flow restrictor during cleaning
Conclusion
Keeping your shower head clean is one of those small tasks that makes a real difference over time.
When buildup is removed, water flows more evenly, pressure feels stronger, and showers become more comfortable.
Regular cleaning also helps prevent stubborn deposits that are harder to deal with later. Once you get into a simple routine, it stops feeling like a chore and becomes part of basic home care.
A few minutes every couple of months can save time, money, and frustration.
If you’ve tried these methods or noticed better water flow, your experience could help others.
Share what worked for you or any tips you’ve learned in the comments below. Your input might be exactly what another reader needs.