
Got a jar of old coins sitting around? Maybe they’re family heirlooms, collected treasures, or just pocket change that’s lost its shine.
Dirty coins can look pretty rough. Tarnish, grime, and years of handling leave them looking dull and lifeless.
Cleaning coins the wrong way can actually make them worse. Scratches, chemical damage, and lost value are real risks. So what’s a coin collector to do?
There are safe, effective ways to clean coins at home. This blog breaks down exactly how to restore that shine without causing harm. Let’s get those coins looking their best again.
When Not to Clean Collectible Coins at Home
Hold on before grabbing that cleaning solution. Not all coins should be cleaned at home. In fact, many valuable coins lose their worth the moment they’re scrubbed.
Rare coins, antique pieces, and anything potentially valuable need a professional assessment first. That natural patina collectors love? Cleaning it off can slash a coin’s value by half or more.
Collectors actually prefer coins with their original surface intact, even if they look a bit weathered.
If a coin might be worth serious money, don’t touch it. Contact a professional numismatist or coin grading service instead. They’ll know whether cleaning helps or hurts its value.
How to Clean Old Coins Using Different Methods
Cleaning old coins requires the right approach for the specific type of dirt or tarnish. Different methods work better for different situations. Here are proven techniques that safely restore shine without damaging precious metals.
1. Soap and Water Method
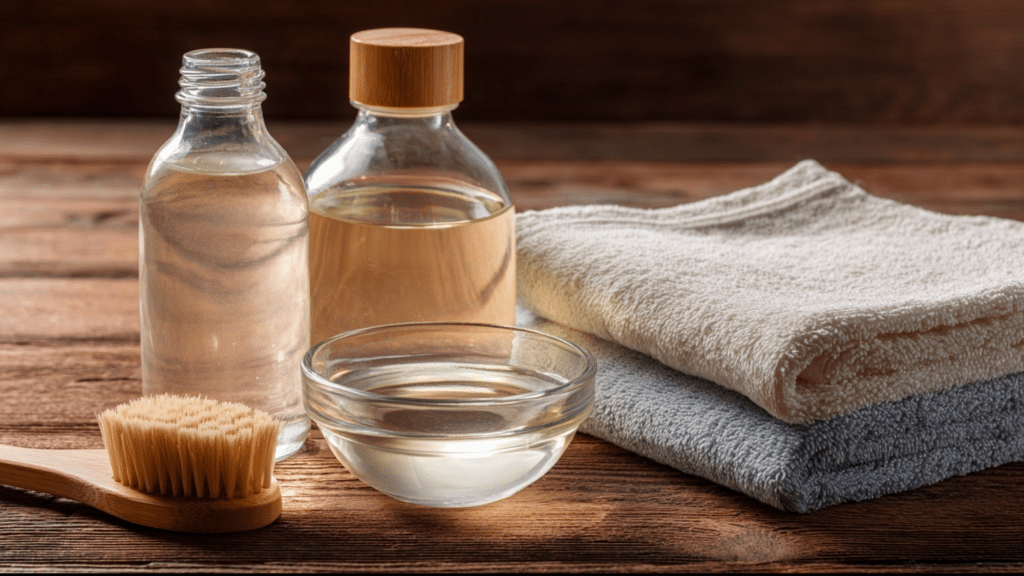
This is the gentlest cleaning method available. It removes surface dirt, oils, and light grime without harsh chemicals. Perfect for everyday coins and initial cleaning attempts before trying stronger methods.
Materials Required:
- Mild dish soap
- Distilled water
- Soft cloth or microfiber towel
- Soft-bristled toothbrush
- Small bowl
How to Do This:
- Mix a few drops of mild dish soap with warm distilled water in a small bowl.
- Place the coins in the soapy water and let them soak for 5-10 minutes to loosen dirt.
- Gently scrub each coin with a soft-bristled toothbrush using circular motions on both sides.
- Rinse the coins thoroughly under distilled water to remove all soap residue.
- Pat dry immediately with a soft cloth and let air dry completely on a clean towel.
2. Vinegar and Salt Method
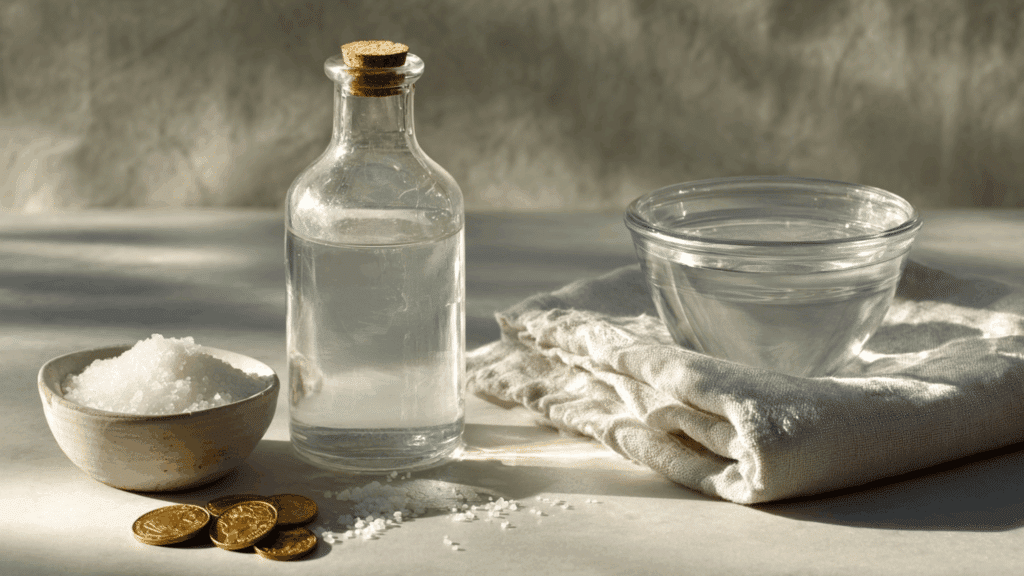
Vinegar’s acidity, combined with salt, creates a mild abrasive solution. This method tackles tougher tarnish and oxidation on copper and brass coins. Works well for pennies that have turned dark green or brown.
Materials Required:
- White vinegar
- Table salt
- Glass or plastic container
- Soft cloth
- Distilled water for rinsing
How to Do This:
- Pour enough white vinegar into a container to fully submerge the coins you’re cleaning.
- Add one tablespoon of salt per cup of vinegar and stir until mostly dissolved.
- Place coins in the solution and soak for 5-30 minutes, checking progress every few minutes.
- Remove coins when desired cleanliness is reached and rinse thoroughly with distilled water.
- Gently pat dry with a soft cloth and allow to air dry completely.
3. Baking Soda Paste Method
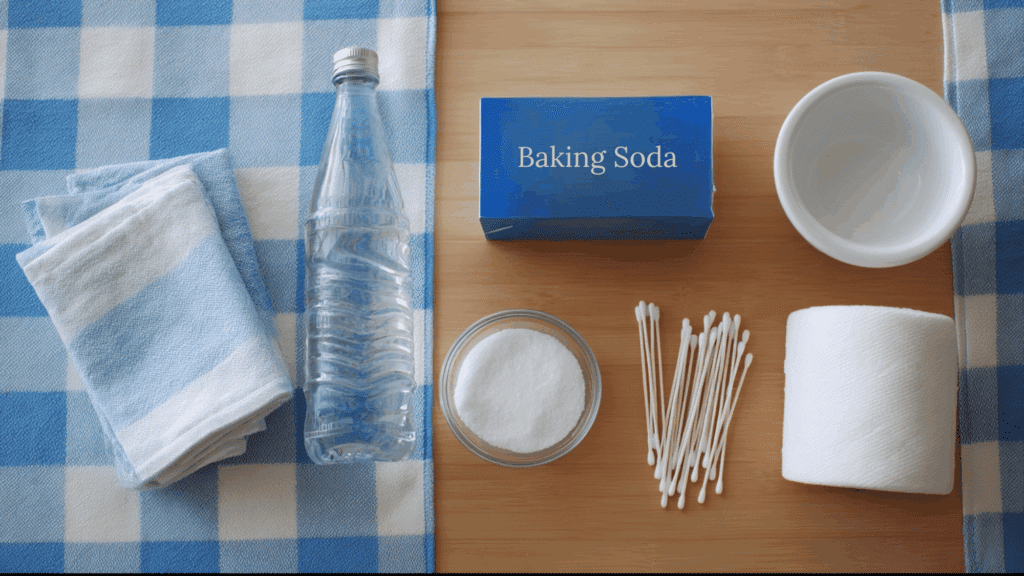
Baking soda acts as a gentle abrasive that lifts grime without scratching metal surfaces. This method provides more scrubbing power than soap alone. Great for removing stubborn dirt while maintaining control over the pressure applied.
Materials Required:
- Baking soda
- Distilled water
- Small bowl
- Soft cloth or cotton swabs
- Paper towels
How to Do This:
- Mix baking soda with small amounts of distilled water to create a thick paste consistency.
- Apply the paste to the coin’s surface using your finger or a soft cloth.
- Gently rub in small circular motions, focusing on particularly dirty or tarnished areas.
- Rinse the coin thoroughly under distilled water to remove all baking soda residue.
- Dry immediately with a soft cloth and let air dry on paper towels.
4. Lemon Juice Method

Lemon juice’s natural citric acid dissolves oxidation and tarnish effectively. This method brightens copper coins especially well. The acid works quickly, so monitoring is important to prevent over-cleaning or surface damage.
Materials Required
- Fresh lemon juice or bottled
- Small glass bowl
- Distilled water
- Soft cloth
- Timer
How to Do This
- Pour enough lemon juice into a glass bowl to cover the coins completely.
- Submerge the coins and set a timer for a maximum of 5 seconds.
- Check progress after 2-3 minutes by removing one coin and rinsing it briefly.
- Remove all coins once the desired brightness is achieved and rinse immediately with distilled water.
- Pat dry gently with a soft cloth and allow coins to air dry fully.
5. Olive Oil Soak Method
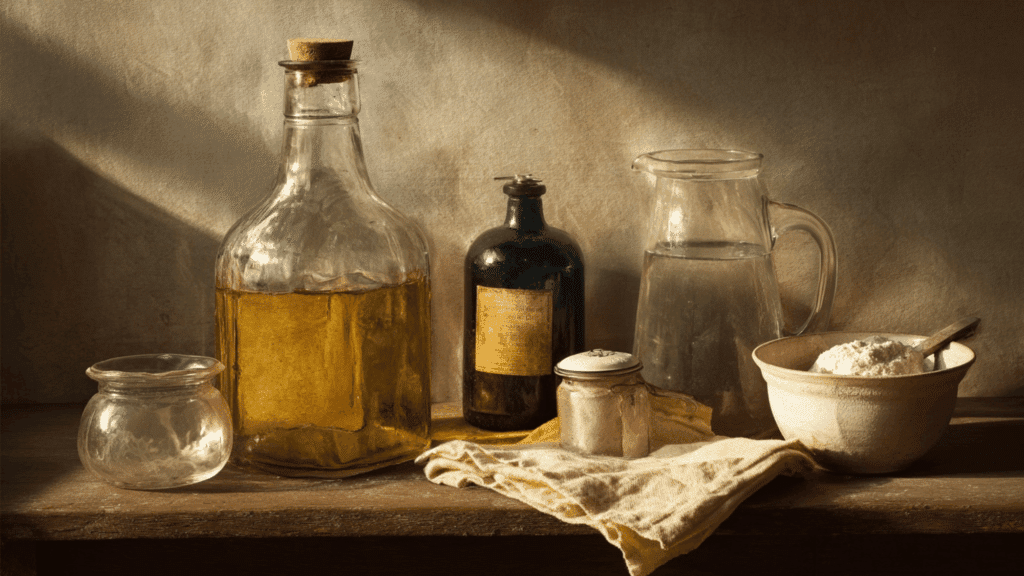
Olive oil is the safest method for delicate or potentially valuable coins. It slowly loosens dirt without chemical reactions. This gentle approach takes longer but poses minimal risk of damage or value loss.
Materials Required
- Pure olive oil
- Small glass container with lid
- Soft cloth
- Mild dish soap
- Distilled water
How to Do This
- Pour olive oil into a container and fully submerge the coins you want to clean.
- Seal the container and let the coins soak for several days to several weeks.
- Remove coins and gently wipe away loosened dirt with a soft cloth.
- Wash coins with mild soap and distilled water to remove all oil residue.
- Dry thoroughly with a soft cloth and let air dry completely before storing.
Common Coin Cleaning Mistakes to Avoid at Home
Even with good intentions, it’s easy to damage coins during cleaning. These common mistakes can permanently reduce value, create scratches, or ruin a coin’s finish. Avoid these errors to keep coins safe.
- Using abrasive cleaners like toothpaste, scouring powders, or metal polish that scratch the coin’s surface
- Scrubbing too hard with rough brushes, steel wool, or abrasive pads that remove metal layers
- Cleaning coins under hot tap water containing minerals and chemicals that leave deposits
- Mixing different cleaning chemicals can create harmful reactions and damage coins
- Leaving coins in acidic solutions for too long can cause pitting, discoloration, or permanent surface damage
- Using paper towels or rough fabrics to dry coins creates tiny scratches across surfaces
Maintenance Tips for Copper and Silver Coins
Proper maintenance keeps coins looking good long after cleaning. Copper and silver coins each need specific care due to their different properties. Follow these tips to preserve shine and prevent future tarnishing.
Copper Coin Maintenance
- Store copper coins in airtight containers or coin holders to prevent exposure to moisture and air that cause oxidation
- Handle copper coins only by the edges using clean, dry hands or cotton gloves to avoid transferring oils
- Keep copper coins away from humid environments like basements or bathrooms, where tarnish develops quickly
- Apply a thin coat of mineral oil or Renaissance wax occasionally to create a protective barrier against tarnishing
Silver Coin Maintenance
- Store silver coins in anti-tarnish strips or bags that absorb sulfur compounds responsible for discoloration
- Never store silver coins in PVC-containing holders, as they release chemicals that permanently damage silver surfaces
- Keep silver coins in a cool, dry location away from rubber bands, paper, and cardboard that accelerate tarnishing
- Use silica gel packets in storage containers to control moisture and slow down the tarnishing process
To Conclude
Cleaning coins at home doesn’t have to be scary. With the right methods and a gentle touch, those tarnished treasures can shine again. Remember, patience wins over aggressive scrubbing every time.
Start with the mildest method first. Soap and water solve most problems without risk. Save stronger solutions for stubborn cases, and always handle valuable coins with extra care.
Proper storage after cleaning matters just as much. Keep coins dry, protected, and handled minimally. These simple habits maintain that fresh-cleaned look for years.
Now those dusty coins have a second chance at looking great.