
I know how frustrating it feels when your couch starts to look dull or stained. I’ve been there too, trying to figure out how to clean a fabric couch at home easily without using harsh products or spending too much money.
In this guide, let’s walk through simple steps you can follow with things you likely already have. You’ll learn how to remove dirt, tackle common stains, and keep your couch smelling fresh.
I’ll share what to check before you start, which tools work best, and a few mistakes to avoid. By the end, you’ll feel more confident handling everyday messes and keeping your couch in good shape.
Let’s keep it simple and get your couch looking clean again.
Why Regular Cleaning Matters for Fabric Couches
If you use your couch every day, it slowly collects dust, crumbs, and body oils. You may not notice it right away, but over time, it can make the fabric look dull and feel less fresh.
Regular cleaning helps stop this buildup before it becomes harder to deal with.
Keeping your couch clean helps it last longer. Dirt can wear down the fabric fibers, which can lead to fading or damage.
A simple cleaning routine can help protect your couch and keep it looking new longer.
It also helps with smells. Fabric easily holds onto odors, especially from food, pets, or spills. Regular cleaning keeps your space feeling fresh and comfortable.
Another important point is hygiene. Dust and allergens can settle into the fabric. Regular cleaning can make your couch a better place to sit, especially if you have kids or pets at home.
Things to Check Before You Start Cleaning
Before cleaning your couch, take a moment to check important details to avoid damage, fading, or using the wrong method that could ruin the fabric.
- Check the Care Tag: Look for codes like W, S, WS, or X to know which cleaner is safe.
- Test in a Hidden Spot: Apply cleaner to a small, inconspicuous area to ensure it won’t cause fading or damage.
- Inspect the Fabric Condition: Check for loose threads or weak spots and handle those areas carefully while cleaning.
Taking these simple steps first helps protect your couch, making the cleaning process safer, easier, and more effective without causing accidental damage or costly mistakes.
Step-By-Step Process to Clean a Fabric Couch
This method is simple, affordable, and uses items you likely already have. I’ll walk you through each step so you can follow along easily.
Easy Tools and Supplies You Already Have at Home
Step 1: Check the Before Condition

Before you start cleaning, take a good look at your couch. Notice areas that look dull, stained, or slightly darker than the rest.
These spots usually need more attention. This gives you a realistic idea of what you need to work on and helps you set a clear goal before you begin.
Doing this first makes the whole process more focused, as you know exactly where to spend more time while cleaning.
Step 2: Gather Your Cleaning Supplies
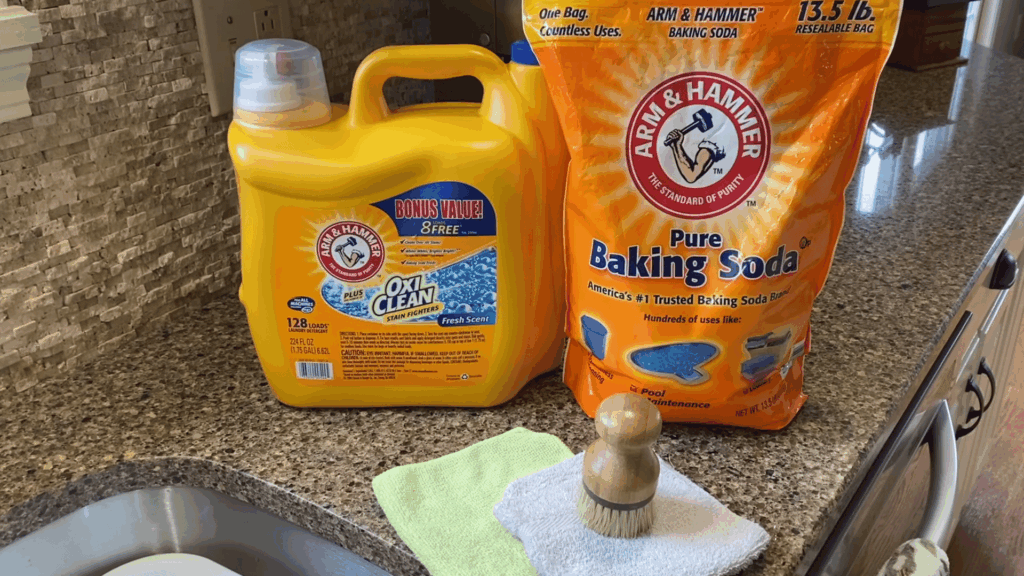
You don’t need expensive tools to clean your couch well. Most of the items are already in your home.
Keeping everything ready before you start saves time and keeps the process smooth. It also helps you avoid stopping midway to look for something.
Simple tools can still give great results if you use them the right way.
Step 3: Prepare the Cleaning Solution

Now it’s time to make your cleaning mix. Add about two to three tablespoons of laundry detergent to a bowl or pan filled with hot water.
This mixture helps break down dirt, oils, and buildup in the fabric. The water should be hot but safe to handle. Mix it well so the detergent dissolves properly.
A good solution makes the cleaning step easier and more effective, especially when dealing with older stains or heavily used areas.
Step 4: Start with Seat Cushions
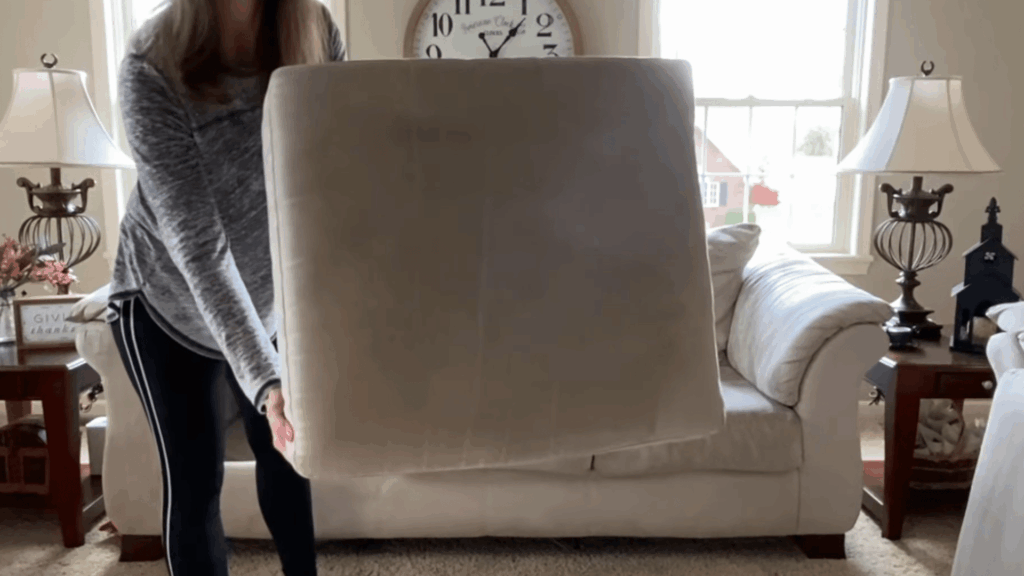
Begin with the seat cushions since they usually collect the most dirt. If your cushions can be removed, take them off and place them on the floor.
This gives you better control while cleaning.
Cleaning them separately also helps you reach all sides easily. Starting with the dirtiest part first makes a big difference.
It also helps you stay motivated as you begin to see results early in the process.
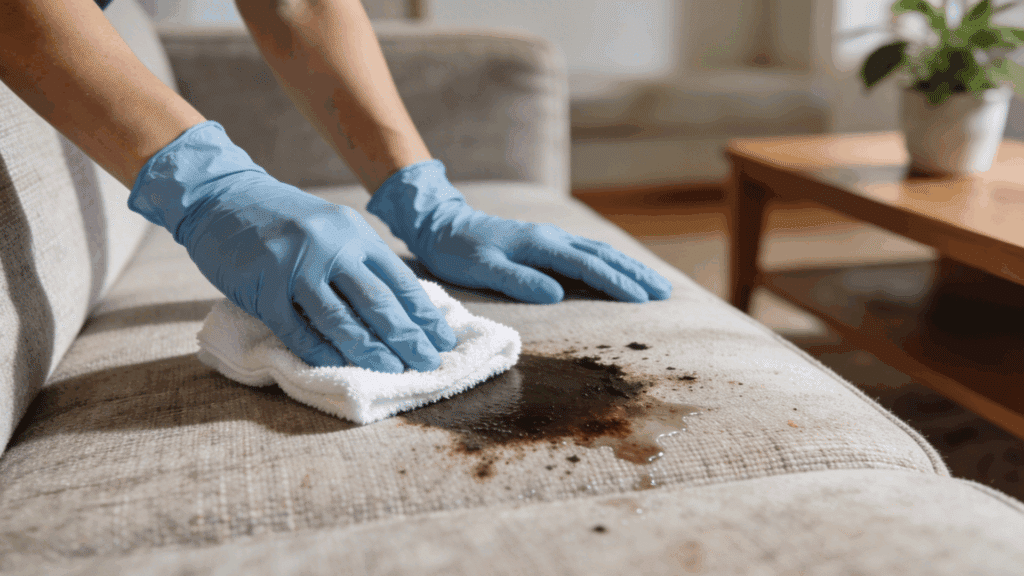
Step 5: Scrub with a Damp Cloth
Dip your microfiber cloth into the cleaning solution and start scrubbing the cushion. Use firm but gentle pressure and move your hand in straight lines.
Focus more on seams and edges, as these areas trap more dirt. Avoid soaking the fabric too much.
The goal is to clean the surface without letting too much moisture sink in. Working slowly and evenly helps lift dirt without damaging the fabric.
Step 6: Use a Brush for Deep Cleaning
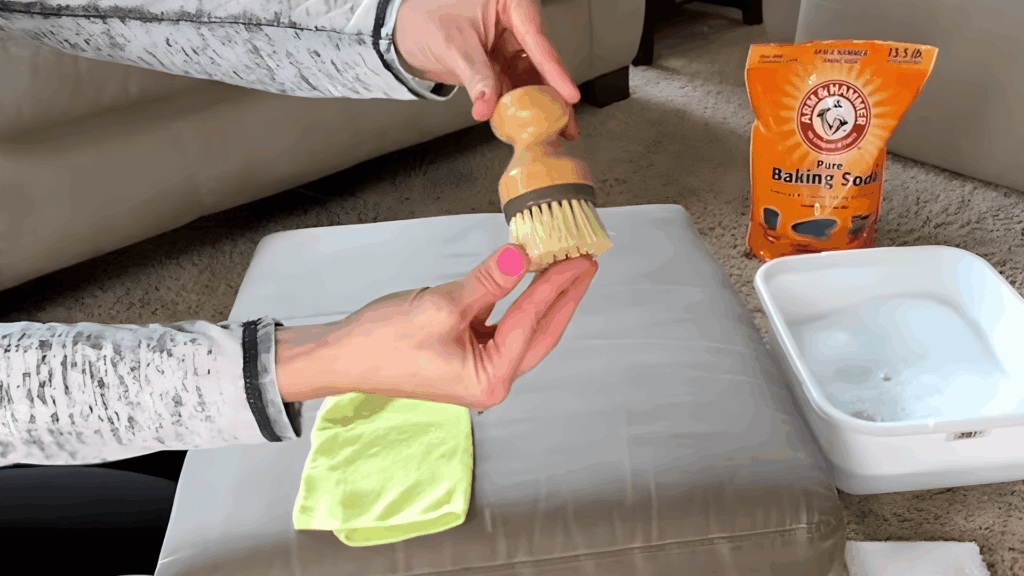
For deeper cleaning, wrap your damp cloth around a stiff brush and scrub the cushion again. This step helps pull out dirt that sits deeper in the fabric.
That’s a good sign the method is working. Use steady pressure and keep your strokes consistent.
This step may take a little effort, but it makes a big difference in how clean your couch looks once you’re done.
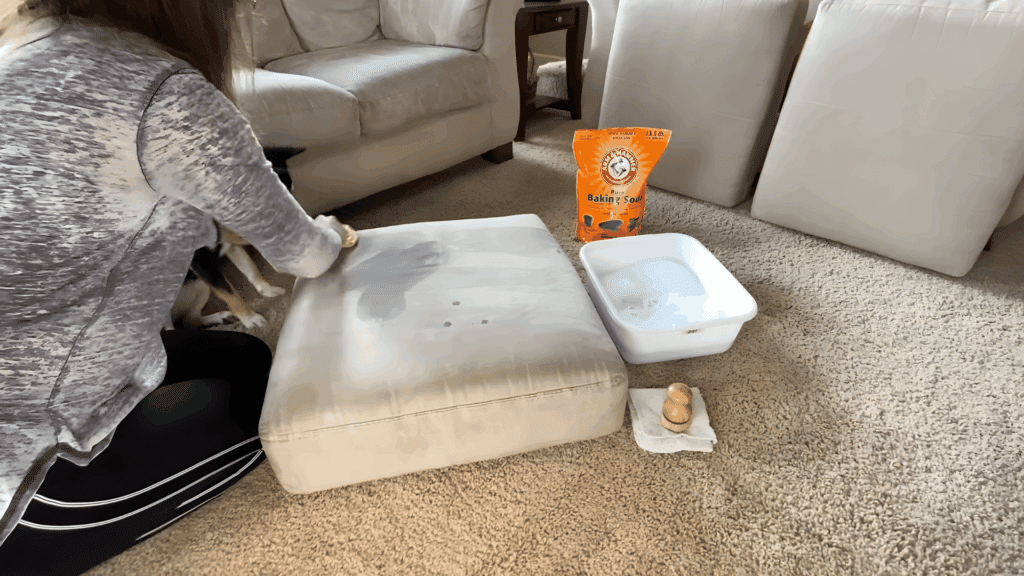
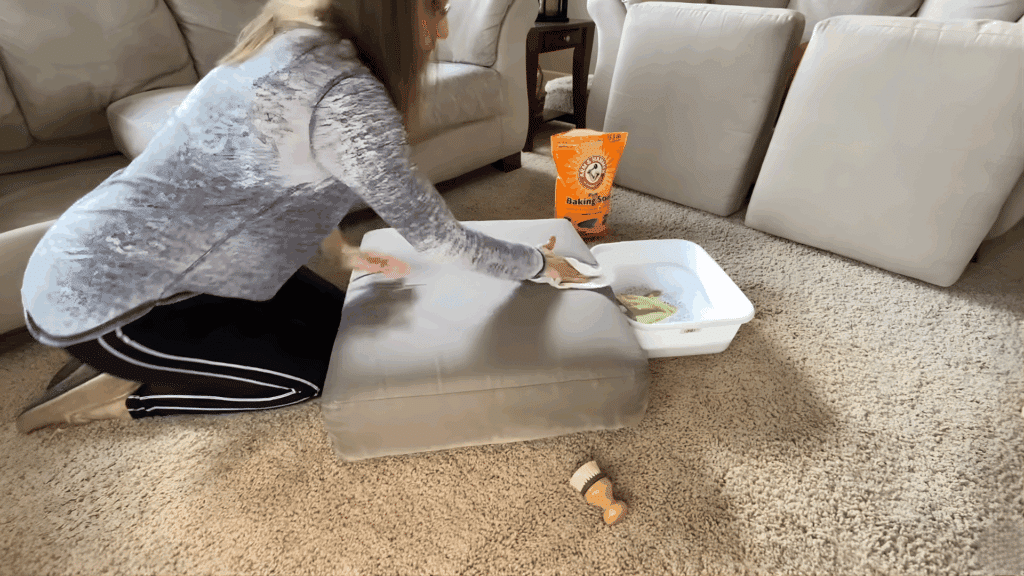
Step 7: Apply Baking Soda for Odors
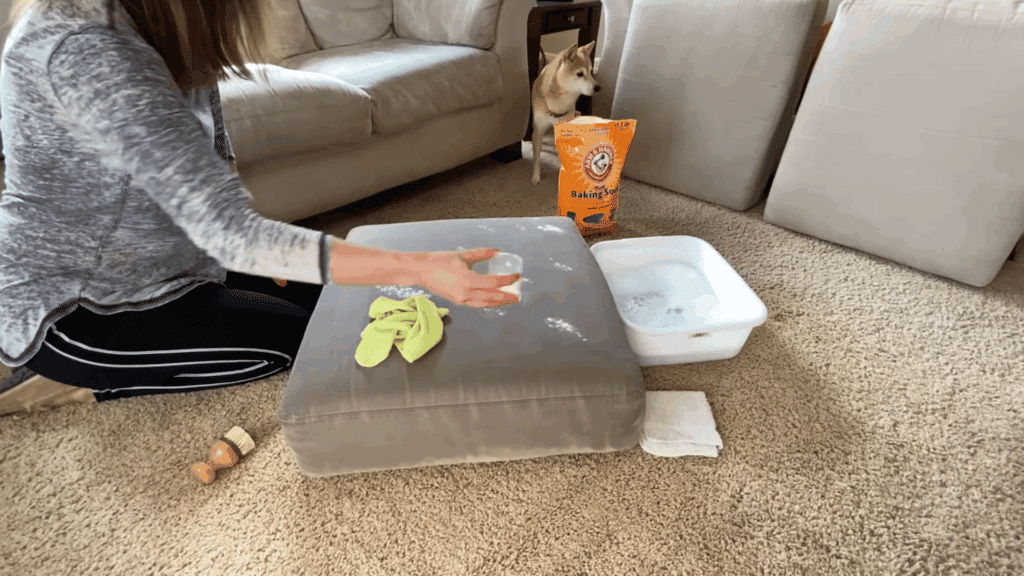
Once the cushion is still slightly damp, sprinkle baking soda across the surface. Spread it as evenly as you can. Baking soda helps remove odors and also helps break down deep dirt trapped in the fabric.
After sprinkling, gently rub it into the fabric using circular motions. This helps it settle deeper into the material.
It’s a simple step, but it plays a big role in making your couch smell fresh again.
Step 8: Let It Sit
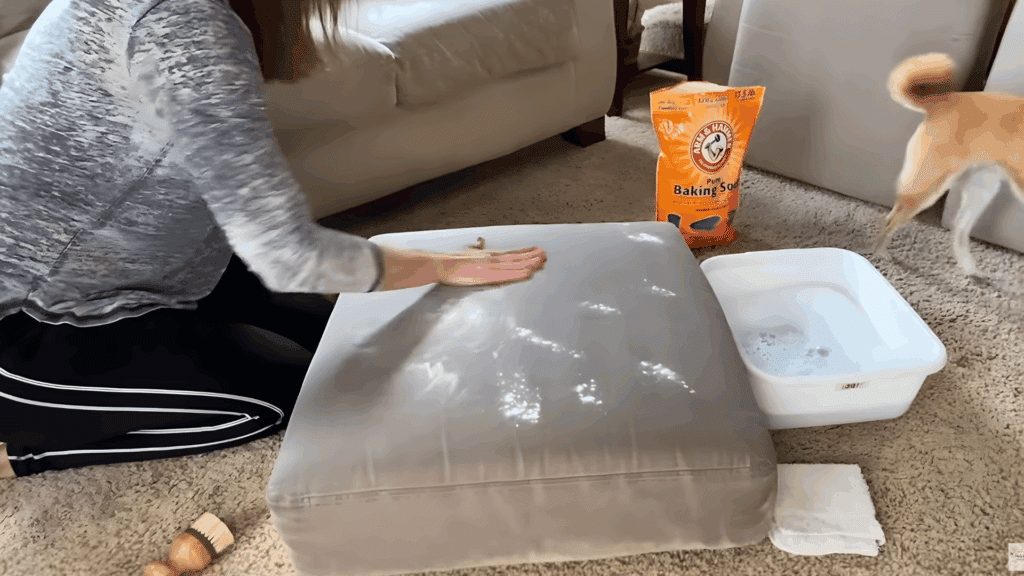
After applying baking soda, let it sit for about 10 minutes. This waiting time allows it to absorb odors and loosen any remaining dirt.
You don’t need to rush this part. Giving it time helps improve the final result.
During this step, you can prepare for the next stage or clean another section.
Even though it may seem like a small pause, it adds value to the overall cleaning process and helps your couch feel fresher once it’s finished.
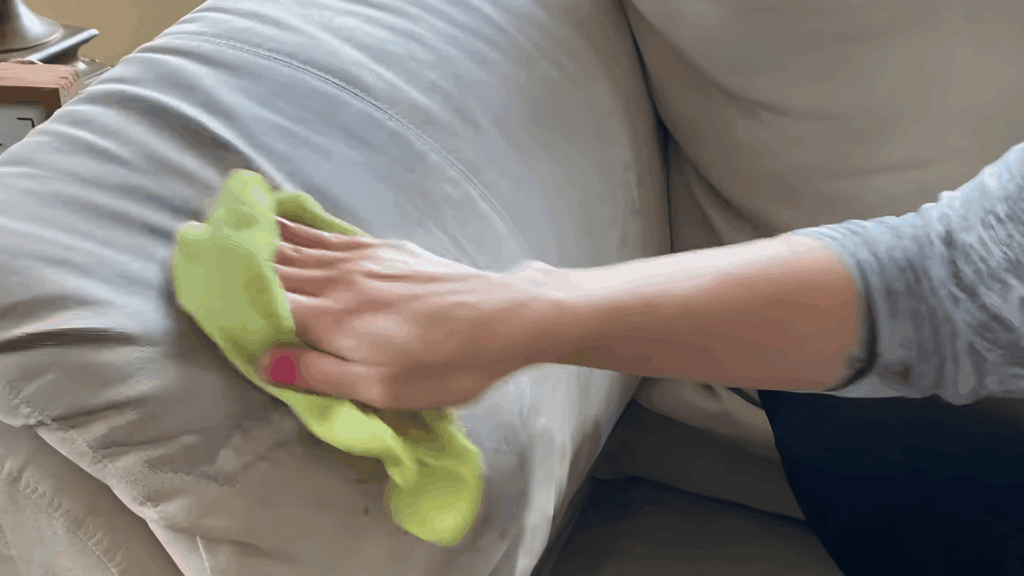
Step 9: Wipe and Re-Clean the Surface
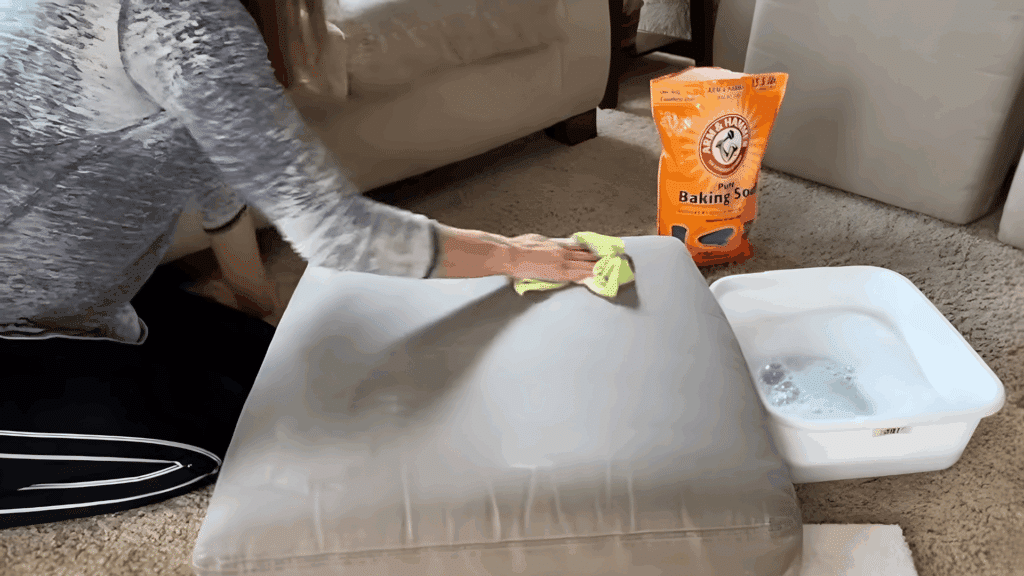
After the wait, take your microfiber cloth, dampen it again, and wipe the cushion. This step helps remove the baking soda along with loosened dirt.
Make sure you go over the surface evenly so no residue is left behind. This step also helps smooth out the fabric slightly.
It’s important to keep the cloth clean during this stage so you don’t spread dirt back onto the surface.
Step 10: Final Dry Scrub
Now use a dry white cotton cloth to scrub the cushion one last time. Apply firm pressure and move in straight strokes. This helps pull out any remaining moisture and dirt.
You will clearly see how much dirt is still coming off. Replace the cloth when it gets too damp or dirty.
This final step helps bring back the clean look of the fabric. It also prevents watermarks from forming as the couch dries.
Step 11: Repeat for the Entire Couch
Once the cushions are done, move on to the rest of the couch. Clean the arms, back, and sides using the same method.
Work in small sections so you don’t miss any spots. If some parts can’t be removed, clean them where they are.
Also, remember to change your water when it gets dirty. Using clean water helps you avoid spreading dirt and keeps the results consistent across the whole couch.
Step 12: Let it Dry and Fluff the Fabric
After cleaning, let the couch dry completely before using it. Good airflow helps speed up drying. Once dry, the fabric may feel a bit stiff. You can smooth it out using your hand or run a vacuum over it.
This helps restore the soft texture. Taking time to dry it properly keeps your couch looking clean and prevents smells or dampness from returning later.
Check out this video by Simply R Home for more detailed steps to paint a wall:
How to Dry Your Fabric Couch the Right Way
Properly drying your couch is just as important as cleaning it. If moisture stays in the fabric, it can lead to bad smells or even damage over time.
Start by removing as much water as you can. Use a clean, dry towel to press and absorb extra moisture. Don’t rub too hard, as this can spread the damp area.
Next, improve the room’s airflow. Open windows to let fresh air move around the couch. Good airflow helps the fabric dry faster and more evenly.
You can also use a fan. Place it near the couch to speed up the drying process. This works well, especially in closed spaces.
Finally, be patient. Avoid sitting on the couch until it is fully dry. This helps keep the shape and prevents new stains from forming.
Safe Cleaning Tips for Different Fabric Types
Different fabrics need different care. Using the right method helps you clean safely without causing damage.
| Fabric Type | Safe Cleaning Tip |
|---|---|
| Cotton | Use light water-based cleaning and avoid soaking the fabric. |
| Polyester | Handles mild cleaners well, but still avoids strong chemicals. |
| Linen | Be gentle and use very little water to prevent shrinking. |
| Blends | Always follow the care label for the safest cleaning method. |
Common Mistakes to Avoid While Cleaning a Couch
Small mistakes can lead to bigger problems, such as stains, damage, or bad smells. Knowing what to avoid makes the cleaning process safer and more effective.
- Using Too Much Water: Adding too much water can soak deep into the fabric and padding. This makes drying harder and can lead to mold or odor.
- Skipping The Spot Test Step: Not testing your cleaner first can cause fading or discoloration. A quick test helps you avoid ruining the fabric.
- Scrubbing Too Hard: Rough scrubbing can weaken or damage the fibers. It may also spread the stain rather than remove it.
- Not Drying The Couch Properly: Leaving moisture in the couch can lead to odors and bacterial growth. Proper drying keeps the fabric fresh and safe to use.
Wrapping It Up
Cleaning your couch at home doesn’t have to feel hard or confusing. With a few simple steps and basic items, you can bring your fabric couch back to life.
I like this method because it’s practical, budget-friendly, and easy to repeat whenever needed. You don’t need special tools, just a little time and effort.
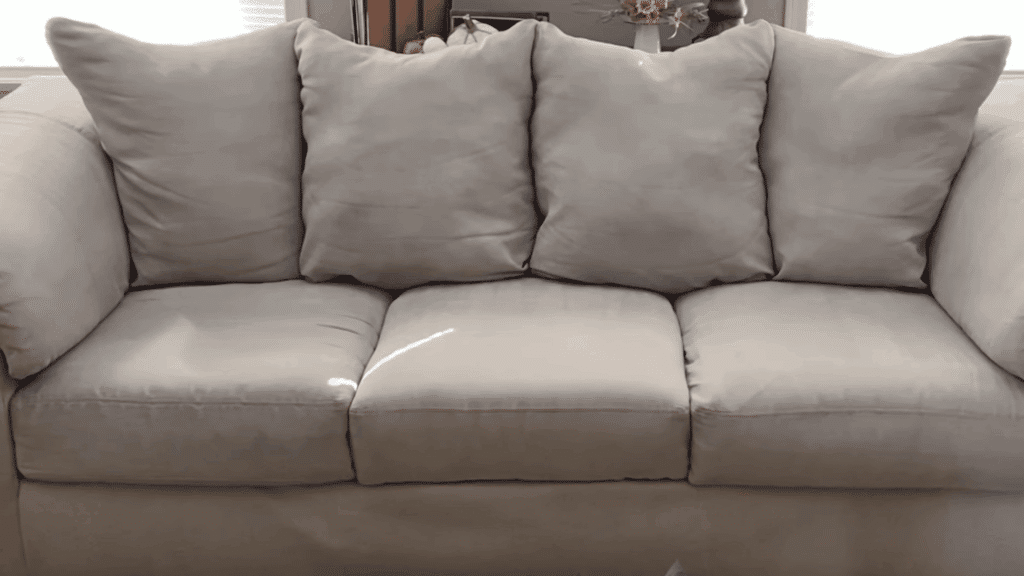
If you follow these steps, you’ll notice your couch looks fresher, feels cleaner, and smells better. It also helps your furniture last longer, which is always a win.
Now it’s your turn, don’t wait for stains to get worse. Try this method today and see the change for yourself. And when you’re done, drop a comment below and share your results or tips, I’d love to hear what worked for you!