
How to decorate a Christmas tree is something I look forward to every year, yet it can still feel overwhelming.
I pull out boxes, see too many ornaments, and wonder how to make it all work, and you may feel the same way. I want a tree that looks neat, balanced, and polished, not crowded or random.
You might want that too, but it is easy to get stuck or overthink each step. In this post, I break the process into simple, clear steps you can follow.
I covered how to choose a theme, place lights, add ornaments, and fix empty spots.
You can also find easy tips and tricks that will help your tree look finished without extra effort.
You do not need special tools or skills to get good results. I want to help you decorate with confidence and enjoy the process.
How to Choose the Right Theme and Color Scheme?
Choosing a theme first makes decorating easier because it gives you a clear plan. Instead of guessing where things go, you follow one direction and save time.
A clear theme also helps your tree look neat and balanced. When picking colors, stick to two or three shades that work well together.
This keeps the tree from looking busy. Neutral colors feel calm, while red, green, or gold give a classic look.
Next, think about the room around your tree. Match the style so everything feels connected. Room colors matter, especially walls, furniture, and rugs. Simple themes work best if you want less stress.
Easy themes include classic red and gold, white and silver, rustic neutrals, or one main color with metallic accents.
These choices are simple, flexible, and easy to decorate without overthinking every ornament or losing focus while decorating today.
Tools and Materials You’ll Need
Having everything ready before you start helps the process feel smoother and more organized. These items make each step easier and keep you from stopping often to search for supplies.
- Artificial or real Christmas tree
- Apron with pockets
- Scissors
- Ornament hooks
- Floral wire
- Cluster fairy lights or extra string lights
- Garland
- Ribbon (wide and thin styles)
- Picks and decorative stems
- Ornaments in multiple sizes
- Clear fishing wire
- Tree topper
- Hot glue and glue gun
How to Decorate a Christmas Tree?
Decorating a Christmas tree works best when you follow a clear order instead of adding everything at once. These steps break the process down so each layer builds on the last, making the tree look full and well balanced.
Step 1: Fluff the Tree
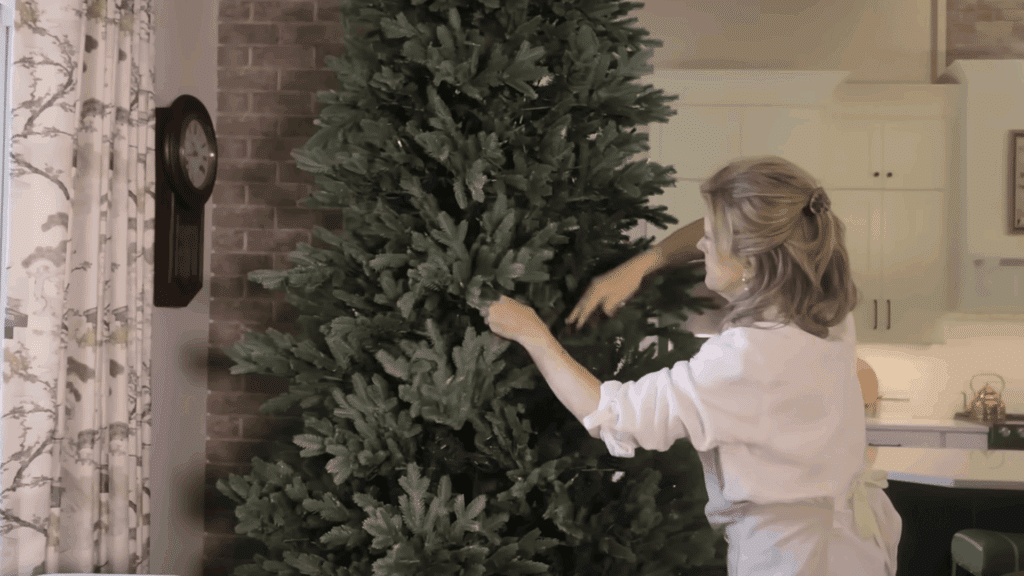
Fluffing the tree is the first and most important step because it sets the base for everything else.
Start from the inside of the tree and pull each branch outward, shaping them so there are no gaps. Take your time and work section by section from bottom to top.
This step alone makes the tree look fuller and more balanced.
Wearing an apron with pockets helps keep hooks, scissors, and wire close by so you are not stopping often to search for tools.
Step 2: Add the Lights
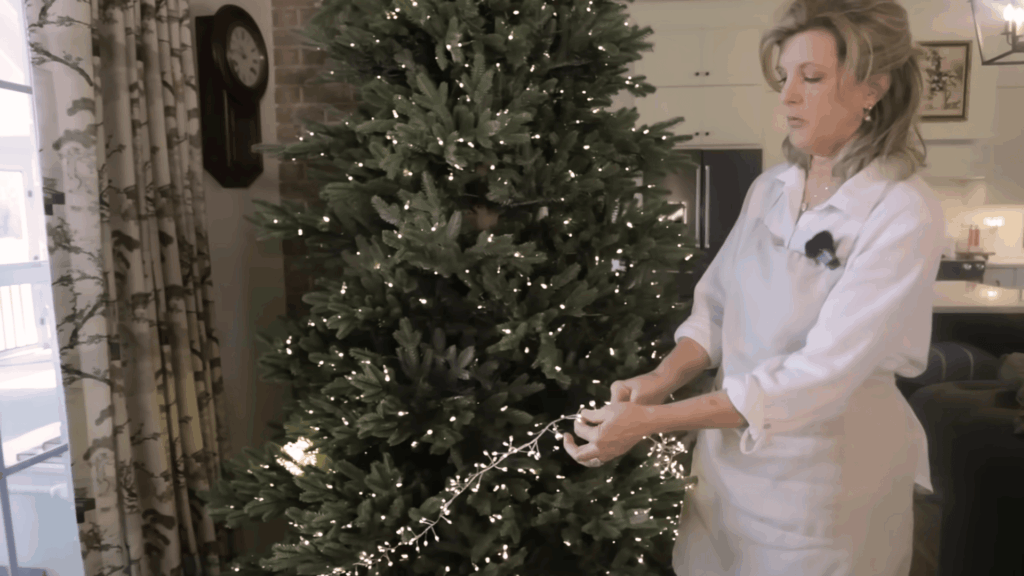
Once the tree is fluffed, it is time to add lights. Even trees with built-in lights often need extra lighting for better depth.
In the video, cluster fairy lights are used because they are flexible, thin, and very bright. Instead of wrapping lights only around the edges, weave them in and out of the branches.
This method creates depth and a soft glow from inside the tree.
Two boxes work well for a 7-foot tree, while a 9-foot tree usually needs three boxes for coverage.
Step 3: Add Garland
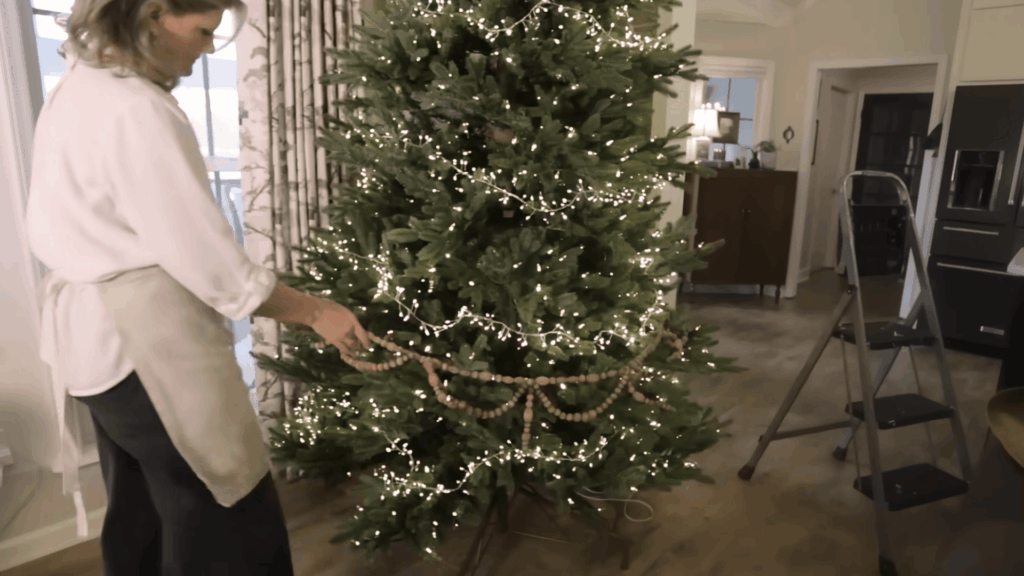
Garland should be added before ribbon and ornaments so it blends naturally into the tree.
Start by choosing a garland style that matches your overall look, such as wood beads or simple strands. When placing it, drape the garland loosely instead of pulling it tight around the branches.
Let it fall gently and follow the shape of the tree. This relaxed placement keeps it from looking stiff and forced.
Garland helps guide the eye around the tree and adds another soft layer without overpowering the design.
Step 4: Add Ribbon
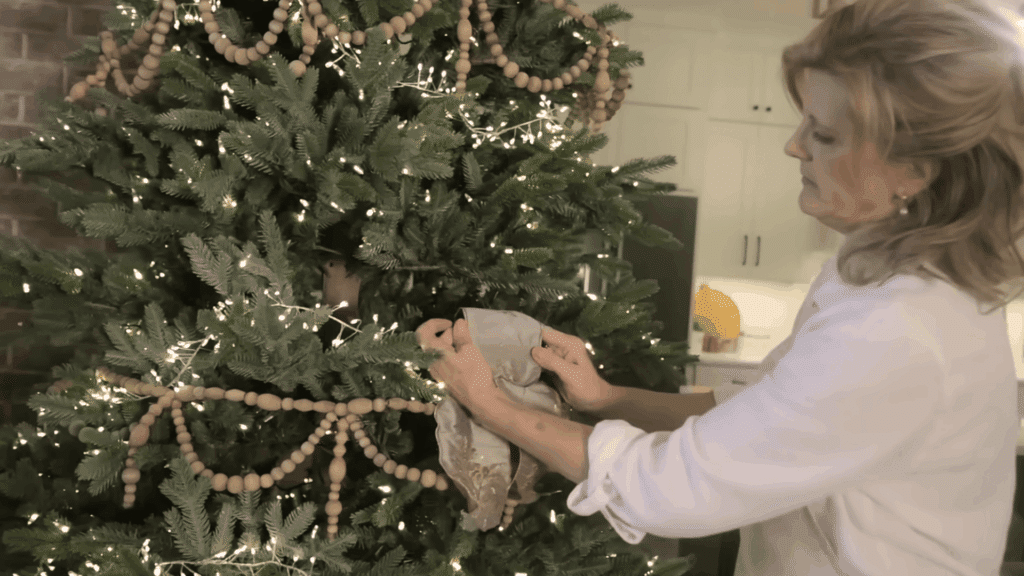
Ribbon adds movement and softness to the tree. Cut ribbon pieces about 36 inches long, fold them in half, and form a loop secured with floral wire.
Attach the ribbon slightly inside the tree, not just on the outer tips.
Use the diamond method by placing ribbon evenly around the tree to keep spacing balanced.
A second ribbon style can be added using a waterfall effect, letting thin ribbon fall vertically to catch light and add flow.
Step 5: Add Picks and Stems
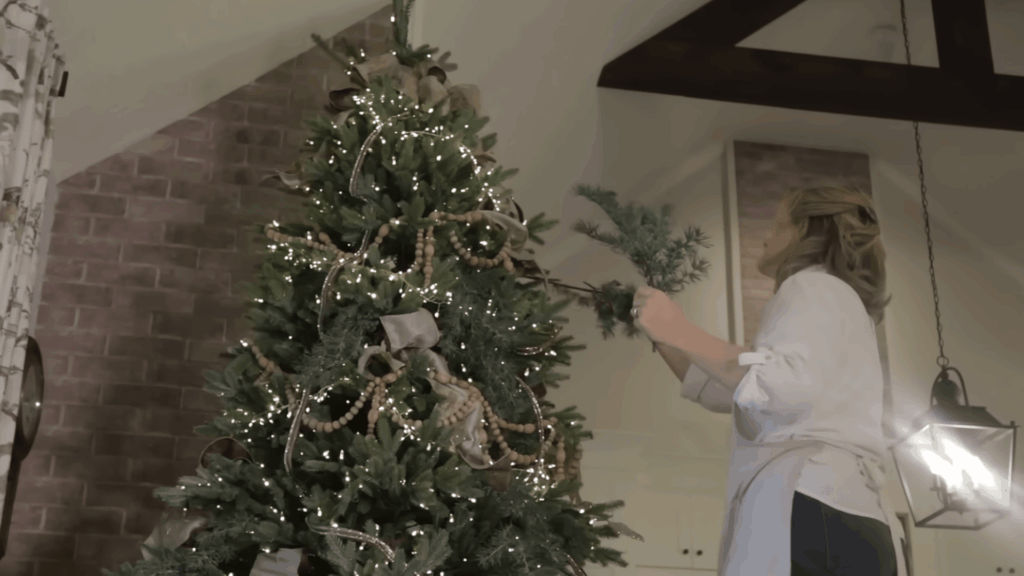
Picks and stems help fill empty spaces and add texture to the tree. Start by looking for visible gaps and place stems in those areas first.
Some stems can be pushed straight into the branches, while others should be angled upward to cover more space.
Larger stems can be trimmed into smaller pieces so nothing goes to waste. Allow the stems to extend slightly past the branches instead of sitting flat.
This layering adds depth and helps the tree look fuller, richer, and more finished overall.
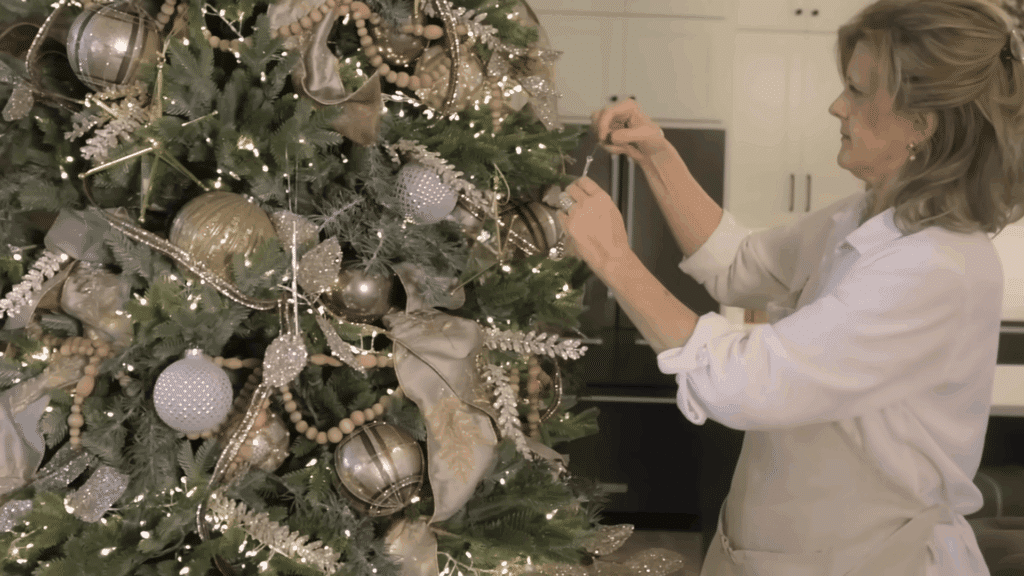
Step 6: Add Ornaments
Ornaments should be added from largest to smallest to keep the tree looking balanced and well spaced.
Start by placing the biggest ornaments first, then add medium ones, and finish with smaller pieces. Using ornament hooks instead of strings helps them sit closer to the branches.
Gently pull the branch down to hide the top of the ornament so it looks tucked in.
For delicate glass ornaments, gluing the tops helps prevent breakage. Spread ornaments evenly so no area looks too heavy or crowded.
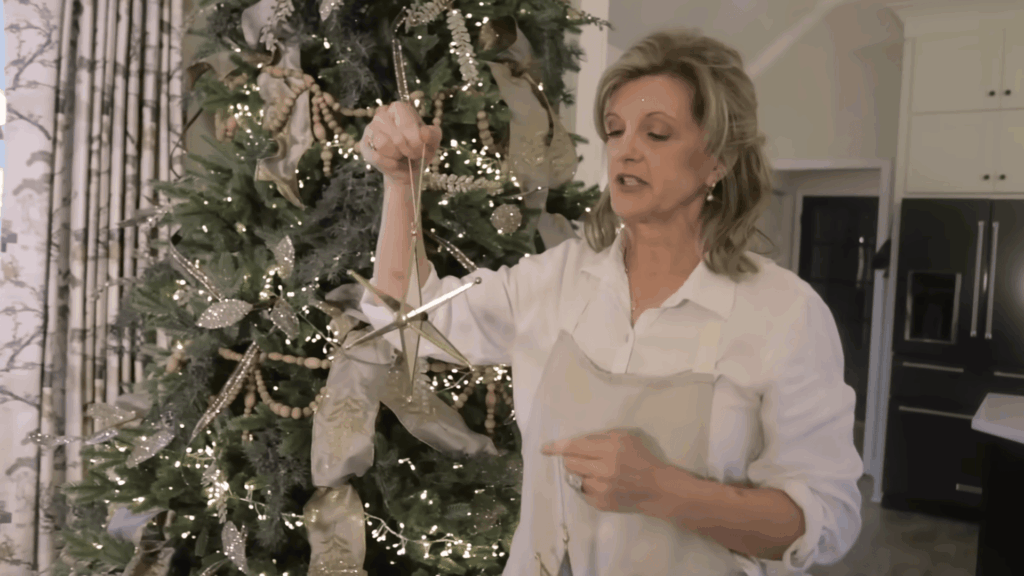
Step 7: Finish with Droplets
Droplets are the final detail that brings the whole tree together. They are hung using clear fishing wire, which blends in and stays hidden once placed on the branches.
Do not cut the strings shorter, since the length allows the droplets to hang naturally and move slightly.
Place them evenly throughout the tree so they catch light from different angles.
This final layer adds sparkle without adding bulk and gives the tree a polished, finished look without overpowering the other decorations.
This tutorial is based on a helpful video by Jennifer Decorates. You can check out the original video on their YouTube channel here or watch it below.
How to Make a Christmas Tree Look Full and Balanced ?
A Christmas tree looks full and balanced when each layer is added with purpose instead of rushing.
When placing decorations, work from large items to small ones so weight feels even. Spread colors and textures around the tree instead of grouping them in one spot.
Use picks, stems, or small ornaments to fill visible holes, especially near the center.
Let some items sit slightly outside the branches to add layers. Step back often and view the tree from different angles.
If something feels crowded, remove one piece before adding more. Balance comes from spacing, patience, and steady layering, not from adding more decorations.
Quick Tips for a Professional Finish
These final touches help bring everything together and make the tree feel complete. Small changes can make a big difference without redoing your work.
- Step back and look at the tree from different angles to spot uneven areas
- Move ornaments slightly to spread color and shine more evenly
- Tuck a few ornaments deeper into the branches for added depth
- Use picks or small filler pieces to close visible gaps
- Adjust the lights that feel too bright or too dim in one spot
- Turn the ornaments so the best side faces forward
- Shift heavier ornaments lower to keep the tree balanced
- If something looks off, remove one item before adding more
Conclusion
Decorating a tree feels easier when you follow clear steps. Learning how to decorate a Christmas tree starts with a simple theme, good spacing, and steady layering.
Focusing on balance and color keeps the process calm. You do not need complex plans to get good results.
Small changes can turn basic setups into unique Christmas tree ideas that still feel clean and planned.
Using a few thoughtful Christmas tree decor ideas helps your tree feel personal without looking busy. The goal is not perfection but a tree that feels right to you.
Take your time, trust your eye, and enjoy each step as you decorate.
I hope these tips help you feel confident this season. If you try any of these ideas, share your experience in the comments below.