
Looking for a simple way to make your windows stand out during the holidays or any season? Hanging wreaths on the inside of your windows is an easy way to bring color and warmth into your home.
You don’t need a lot of tools or time to get started. In fact, many of the best methods are safe for renters and leave no marks behind. From ribbons and hooks to tension rods and suction cups, there’s a method that works for every window.
This guide will show you how to hang wreaths inside with clear steps and helpful tips. You’ll learn what tools to use, how to avoid damage, and smart ways to hang wreaths in different rooms.
We’ll also share ideas for decorating with wreaths year-round and how to store them when you’re done. Let’s get started with the basics and help you create a neat, welcoming setup.
Step-by-Step: How to Hang Wreaths on Inside Windows
Before you begin, gather the items you’ll need to hang your wreath safely and neatly. The right tools make the job faster and help prevent damage to your windows or walls. Pick what fits best based on your wreath’s weight and the surface you’re working with.
Supplies You’ll Need
- Ribbon: Adds a soft, simple way to hang wreaths and can match room colors
- Suction cup hooks: Stick directly to glass and hold lightweight wreaths well
- Adhesive hooks: Attach to trim or frames and are easy to remove without marks
- Tension rods: Fit between window frames without tools or sticky backs
- Scissors: Useful for cutting ribbon, tape, or fishing line
- Measuring tape: Helps you find the center and keep wreaths even
- Clear tape: Holds ribbon in place or adds extra support without being seen
- Fishing line: A nearly invisible way to hang wreaths without visible hooks
Hanging wreaths on inside windows is a simple and easy way to refresh a space regardless if we’re talking about commercial Christmas wreaths or a DIY version. Once you have the supplies, just follow the steps below to hang your wreath safely and neatly.
Step 1 – Pick a Window and a Wreath

Start by choosing a window where the wreath will be easy to see. A front-facing window or one with lots of light works best. Make sure the space around the window is clean and free of clutter.
Pick a wreath that fits the window size without covering too much of the view. Smaller wreaths are better for narrow windows, and larger ones can handle wider windows. If you want to hang more than one wreath, try to keep them the same size.
Lightweight wreaths are the easiest to hang. They won’t pull on the hook or ribbon and are less likely to fall, which makes them safer if they’re placed in busy areas.
Step 2 – Choose the Hanging Method

There are a few ways to hang a wreath inside your window. Common options include suction cup hooks, adhesive hooks, ribbon, and tension rods. Each method works well in different situations.
Suction cups stick to the glass and are best for lighter wreaths. Adhesive hooks stick to trim or frames and are easy to remove later. Ribbons add a soft, decorative touch and can match your room’s style.
Tension rods are useful if you don’t want to stick anything to the window. You can hang the wreath directly from the rod using a ribbon or hook. Pick the method that works best for your window and tools.
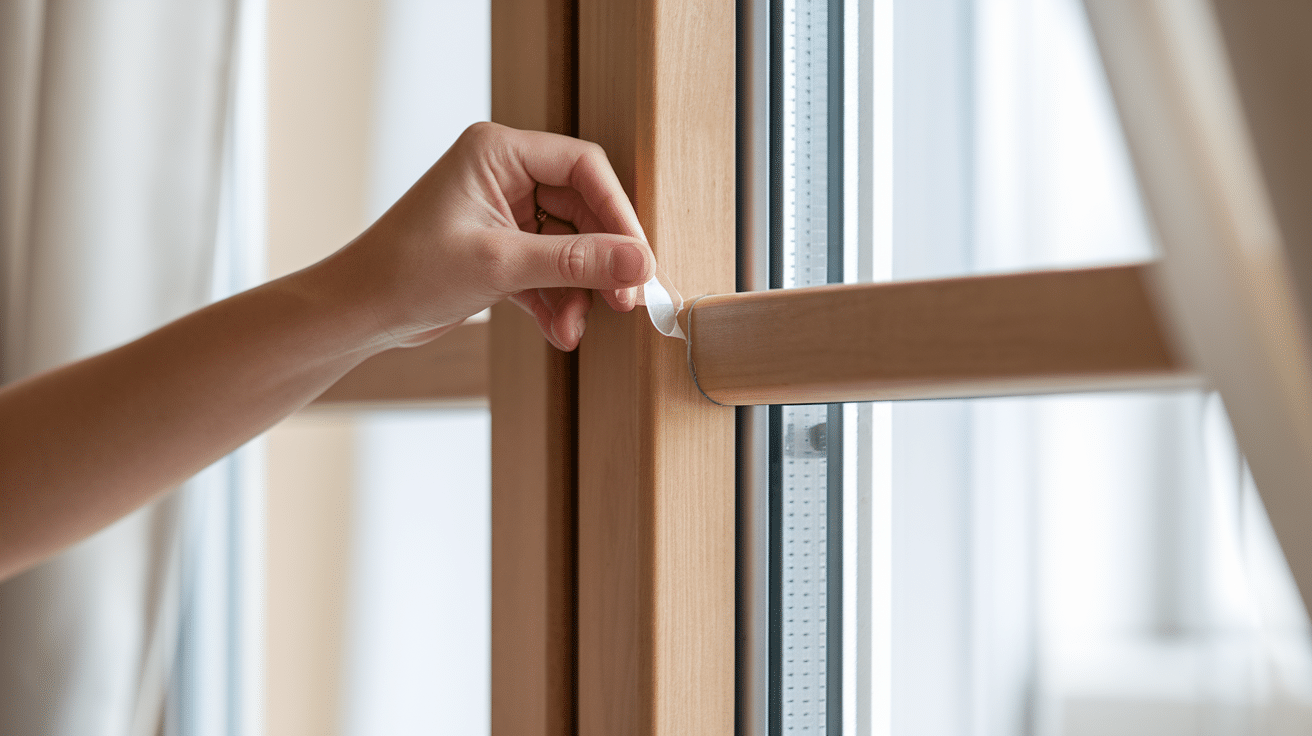
Step 3 – Clean the Area First

Before placing anything on your window, clean the glass or frame. Use a dry cloth or a mild glass cleaner to remove dirt and dust. A clean surface helps suction cups and adhesives stick better.
Make sure the area is completely dry before you move on. Even a small amount of moisture can weaken the hold. This simple step keeps your wreath from falling later.
Taking time to clean also helps avoid marks or smudges. It gives your window a fresh look and helps the wreath stay in place. This step only takes a minute but makes a big difference.
Step 4 – Measure and Mark the Center

To place the wreath in the right spot, measure the center of the window. Use a tape measure and lightly mark the middle point with a pencil. This helps ensure the wreath hangs straight.
If you’re hanging more than one wreath, measure the same height for each one. Keeping them even makes the display look tidy and balanced. Double-check your marks before hanging anything.
Spending a little extra time measuring saves you work later. It helps you avoid crooked wreaths and extra adjusting. A neat setup starts with good planning.
Step 5 – Hang the Wreath

Now it’s time to hang the wreath using your chosen method. Place the hook, loop the ribbon, or set up the tension rod. Carefully hang the wreath and step back to check the position.
Make sure the wreath is centered and not tilted. If needed, make small adjustments until it hangs just right. Gently press the hook or suction cup to ensure it’s secure.
Once you’re happy with how it looks, you’re done. The wreath should feel stable and look clean from a distance. With a few easy steps, you’ve just added a fresh touch to your room.
Best Hanging Methods for Interior Windows
There are several easy ways to hang wreaths inside your windows. The method you choose depends on the surface, wreath weight, and the look you want.
1. Using Suction Cup Hooks

Suction cup hooks are a simple option that stick directly to the glass. They work best on clean, smooth surfaces and are easy to remove later. These hooks are ideal for small to medium wreaths.
Before placing the hook, wipe the glass with a dry cloth or mild cleaner. Any dirt or moisture can weaken the hold and cause the wreath to fall. Press the suction cup firmly and wait a few seconds before hanging the wreath.
2. Using Adhesive Hooks
Adhesive hooks are a good choice if you don’t want to attach anything to the glass. They can stick to the window frame, wall, or trim without using nails or screws. These hooks are often safe for renters.
Choose a hook that can hold the weight of your wreath. Many options list their weight limit on the package. Once the hook is in place, wait a few minutes before hanging the wreath to be sure it’s secure.
3. Hanging with Ribbon or Twine

Ribbon or twine gives your wreath a softer look. You can loop the ribbon over the top of the window or over a curtain rod. It adds color and works well with many types of wreaths.
After looping the ribbon, secure the ends behind the window trim using clear tape or a small tack. This keeps the ribbon out of sight and holds it in place. Make sure the wreath hangs at the height you like before pressing the tape firmly.
4. Using a Tension Rod
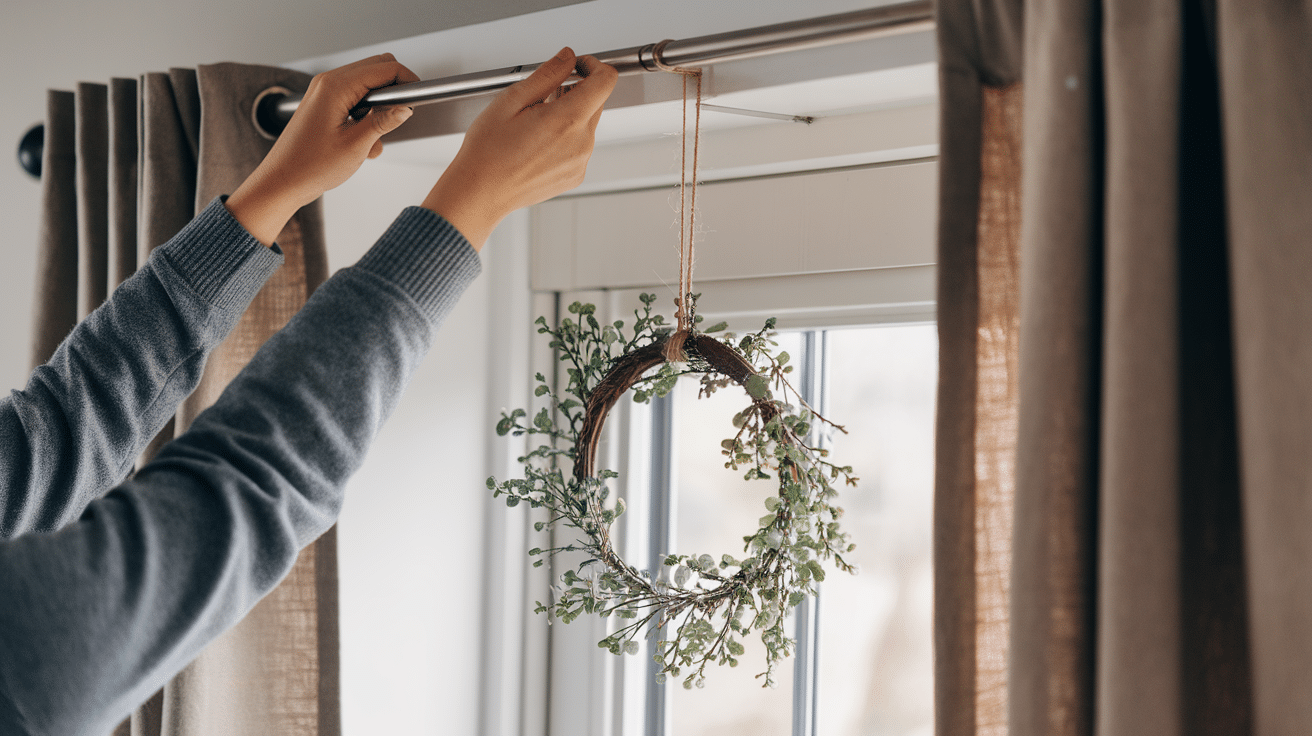
Tension rods are great for windows with a deep frame. They don’t need any adhesive and won’t damage the wall or trim. You can hang a wreath from the rod using ribbon, string, or a hook.
Place the rod inside the window frame and adjust it until it fits tightly. Then, hang your wreath from the rod using your chosen method. This setup is easy to take down and works well for seasonal decor.
How to Hang Wreaths with Ribbon

Using ribbon to hang wreaths is a classic method that works well in many rooms. It looks neat, adds a soft finish, and lets you easily match your wreath to your decor. This option also keeps the focus on the wreath instead of the hardware or hooks.
Start by choosing a ribbon that fits your style and the weight of your wreath. A wider ribbon gives better support and adds a bold look, while a narrow ribbon works for smaller wreaths. Cut the ribbon to the right length, keeping both ends even so the wreath hangs straight.
Loop the ribbon through the top of the wreath and pull the ends up to your chosen height. You can tape the ribbon behind the trim, use a tack, or tie it around a curtain rod. Once it’s secure, take a step back and adjust the wreath so it hangs evenly in the center of the window.
Tips to Keep Wreaths Secure and Damage-Free
It’s important to hang wreaths in a way that keeps them in place and avoids harm to your windows or walls. A few simple choices can help your wreath last longer and keep your space looking clean. These tips will ensure that your setup stays safe and looks neat from the start.
- Choose the Right Spot: Stay away from windows near doors that open often or places where people walk by.
- Avoid Surface Damage: Use hooks or suction cups that don’t leave marks when removed.
- Skip Nails or Staples: These can cause lasting damage and are hard to fix later.
- Safety First: Don’t hang heavy wreaths on light hooks or rods that can fall.
- Keep Cords Tidy: If your wreath has lights, make sure wires are tucked away and not in the walking path.
Taking the time to secure your wreath the right way means less fixing later. A good setup helps your home look better and keeps everyone safe.
Creative Ideas for Hanging Wreaths Year-Round
Wreaths aren’t just for the holidays—they can be used in your home any time of the year. With just a few changes in color or style, you can keep your windows looking fresh and in season. Try these ideas to keep your wreaths looking right all year.
- Seasonal Styles: Use soft florals in spring, bright greens in summer, leaves in fall, and pine in winter
- Grouped Displays: Hang two or three smaller wreaths in a row or stack them top to bottom on tall windows
- Added Touches: Decorate wreaths with small lights, ribbons, or bells to match the mood of the room or time of year
Changing your wreaths through the seasons is a fun way to update your space without much work. It also gives your windows a fresh look that matches the rest of your home.
Wreath Storage Tips for Reuse
Once the season ends, storing your wreaths the right way helps keep them looking fresh. A proper storage plan means less damage and less work the next time you want to use them. You don’t need fancy tools—just a few simple steps to protect them.
- Use a large box or wreath storage bag: These hold the shape and protect from dust.
- Keep wreaths upright: This prevents them from getting crushed or bent.
- Avoid stacking: Don’t place heavy items on top of stored wreaths.
- Label containers: Mark each by holiday, season, or room for easy finding later.
- Choose a cool, dry place: Keep wreaths away from heat, moisture, or sunlight.
- Store near the front: This makes them easy to grab when it’s time to decorate again.
Taking a few minutes to store wreaths with care saves time and trouble in the future. When next season comes, you’ll be ready to hang them without any extra work.
Conclusion
Hanging wreaths on inside windows is simple and works well in nearly any room. With the right supplies and methods, you can make your home look cleaner and more put together.
Using ribbon, hooks, suction cups, or tension rods, you can safely hang wreaths without causing damage. This guide showed you clear steps, helpful tools, and easy ways to get started.
You also saw tips for each room, ideas for year-round use, and how to store wreaths when you’re done. These small changes can help you get a cleaner look with very little effort.
Now that you have a clear plan, try hanging one wreath and see how it looks. Pick a window, gather your tools, and take the first step. It’s a fast way to make your space feel more finished and cared for.
Frequently Asked Questions
How Can I Keep A Wreath From Scratching My Window?
Place a soft backing behind the wreath, such as felt or fabric, to prevent scratches. You can also use small rubber bumpers or pads where the wreath touches the glass. This keeps both the window and wreath in good condition.
What Kind Of Wreaths Work Best For Small Windows?
For small windows, choose a lightweight wreath between 12 and 16 inches wide. Flat or low-profile wreaths are best since they take up less space. You can also hang mini-wreaths in sets for a balanced look.
Can I Hang Wreaths On Window Blinds Or Curtains?
It’s not a good idea to hang wreaths directly on blinds or curtains. The extra weight can damage them or make them hang unevenly. Instead, use a tension rod or hang the wreath above the window if you have curtains.
Are There Wreath Options For Homes With Allergies?
Yes, choose wreaths made from artificial or dried materials that don’t shed. Avoid wreaths with strong scents, real pine, or heavy dust buildup. Cleaning them gently before use can also help reduce allergens.
Can I Leave Wreaths Up All Year?
Yes, many people use wreaths as part of their everyday decor. Try wreaths with flowers in spring, leaves in fall, or simple greenery year-round. Just make sure they’re clean and match the look of the room.