
Ready to change your garage into a more functional space? Installing plywood garage walls is one of the smartest upgrades you can make to protect your walls and add storage options.
Many homeowners choose plywood because it offers durability without breaking the bank. You can hang tools, shelves, and cabinets directly on the surface.
Even if you are setting up a workshop or just want tidier walls, plywood provides an excellent foundation.
This will help you through everything from selecting materials to finishing touches. Let’s start by making your garage walls both practical and long-lasting.
What is the Ideal Thickness of Plywood for a Garage?
The sweet spot for plywood garage walls is typically half-inch-thick sheets. This thickness gives you enough strength to mount heavy items while keeping costs.
Some people go with 3-8 inches for lighter-duty applications, but this can feel flimsy when hanging tools or equipment.
If you plan to mount very heavy cabinets or workbenches, three-quarter-inch plywood offers maximum support.
Most standard garage projects work perfectly fine with half-inch material. The thicker your plywood, the more weight it can handle per square foot.
Consider what you will be hanging before making your final choice. Remember that thicker sheets cost more and are heavier to work with during installation.
Tools and Materials Required
| Item | Type | Notes |
|---|---|---|
| 12 mm plywood sheets (2400 x 1200 mm) | Material | Main wall lining panels |
| Plywood offcuts (various thicknesses) | Used as spacers on the brick wall | |
| Bottom plate timber | Horizontal base piece along the floor line | |
| Construction adhesive | To tack spacers to the brick | |
| Masonry anchor screws (Ramset 7.5 x 80 mm) | Hardware | To secure battens through spacers into the brick |
| Hammer drill | Tool | For pre-drilling masonry holes |
| Drill/driver with driver bits | For driving screws into timber and brick | |
| Spirit level | To keep battens and sheets straight and plumb | |
| Saw (circular or track saw) | For cutting sheets and notches |
Step-By-Step Process of Installing Plywood Garage Walls
Installing plywood on garage walls chnages bare studs into functional, durable surfaces that provide protection, insulation, and mounting options for storage.
Step 1: Plan the Wall Layout and Work with Full-Size Sheets
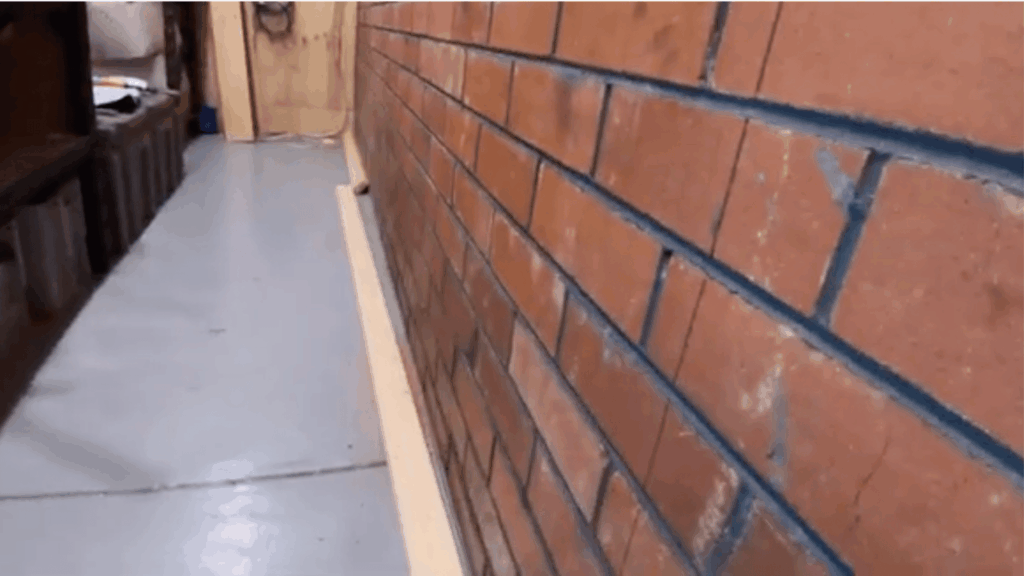
Begin by mapping out the wall layout so it aligns with the plywood installation already completed on the adjacent brick garage wall.
Position the new wall slightly forward to ensure the plywood sheets meet cleanly with the roof truss for a smooth, continuous look.
By adjusting the wall height to match the standard 2.4-meter sheet length, you can install full sheets without needing to trim them.
Step 2: Glue On Plywood Spacers to Build Out From the Brick

Apply construction adhesive to the back of each plywood spacer and press them firmly onto the brick wall.
Use the offcuts from your earlier ceiling and wall panels; these provide consistent thickness and help keep costs low.
The adhesive only needs to hold the spacers temporarily, so a light, even application is enough at this stage.
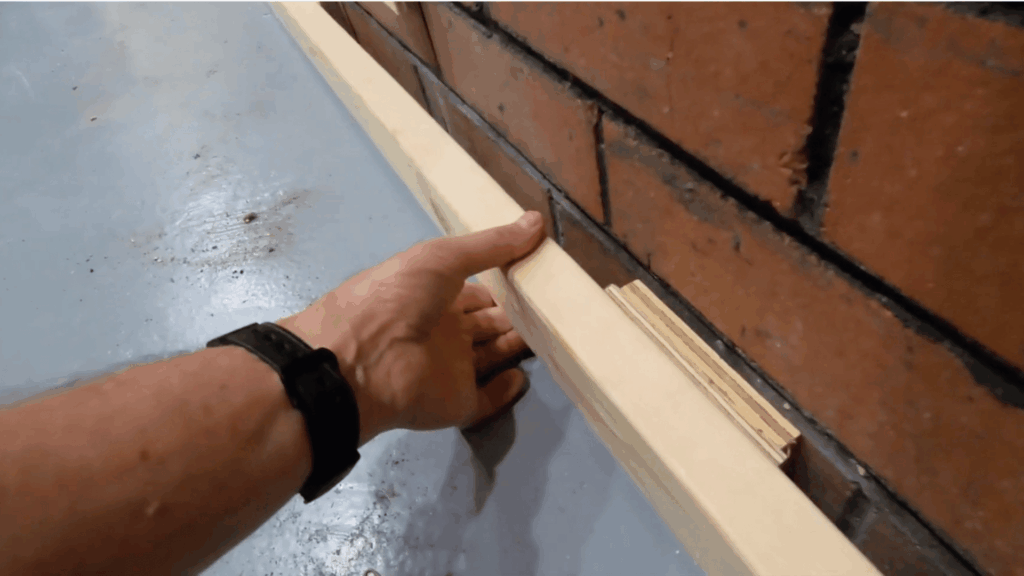
Step 3: Layer Spacers to Achieve the Correct Stand-Off

Start by attaching the thicker plywood spacers directly to the wall. Once they’re secured, glue the thinner spacer strips on top to fine-tune the overall depth.
This layered approach lets you achieve the exact standoff you need without cutting custom thicknesses.
After all the spacers are installed, they create a smooth, even surface for the battens to rest against, helping correct any uneven areas in the brick wall.
Step 4: Install the Bottom Plate and Let the Adhesive Cure
Position the bottom plate along the brick wall, using the spacers to ensure it sits at the correct height to support the base of the plywood sheets.
Because the floor has a slight slope, the bottom plate establishes a straight and level fixing line for the plywood.
Once the plate is in place, secure it with adhesive and a few temporary screws. Leave the assembly to cure overnight before moving on to the next step.
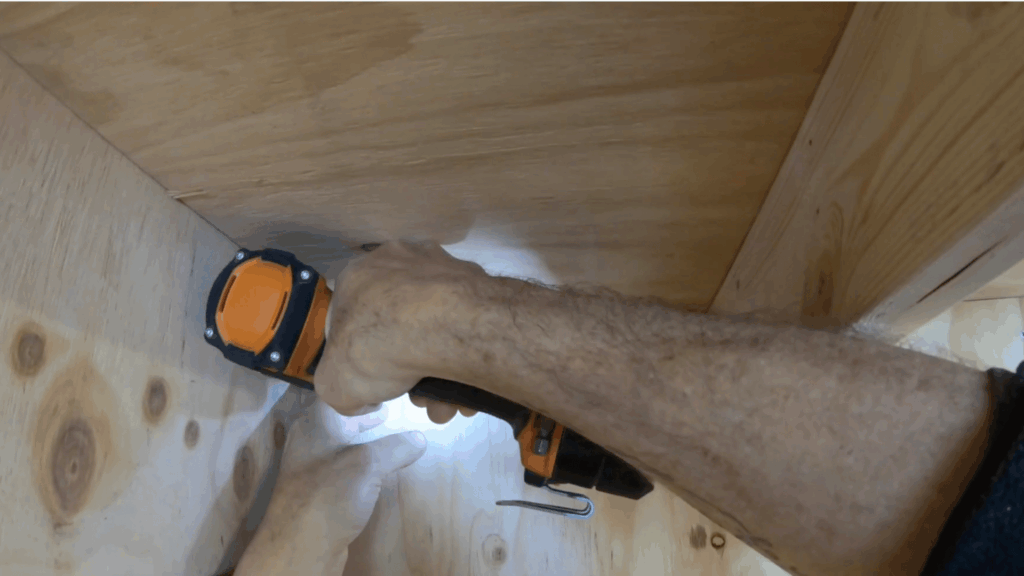
Step 5: Fix Vertical Battens and Anchor Them Into the Brick

Lightly fasten the vertical battens onto the pre-spaced wall, making sure to include a pair of battens where each plywood sheet edge will align.
Once the layout is confirmed, secure the battens permanently using 7.5 x 80 mm screws.
Drill through the battens and spacers with a hammer drill and drive each screw into the brick to create solid anchor points.
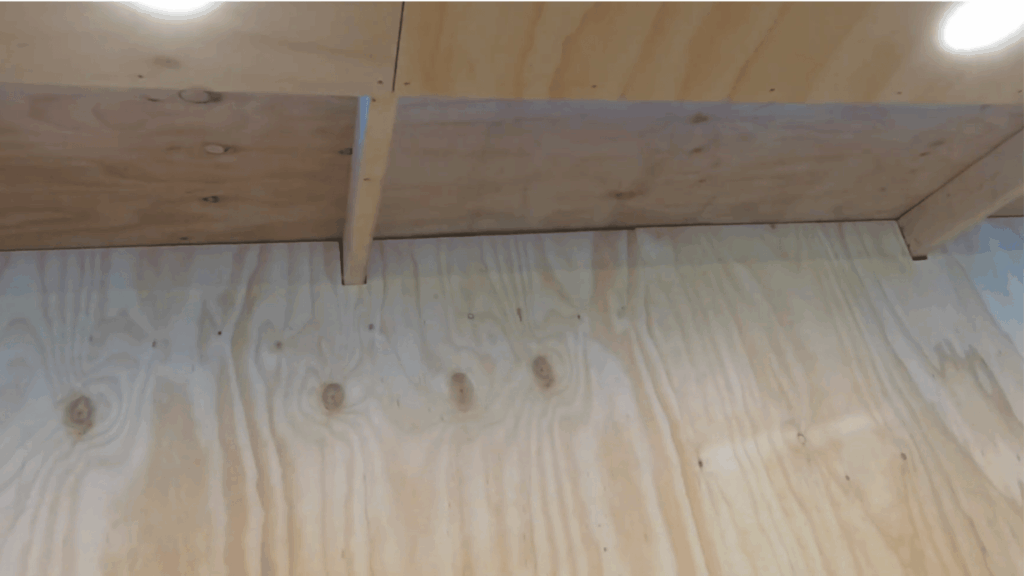
Step 6: Cut Notches in the Plywood Sheets to Clear Joists
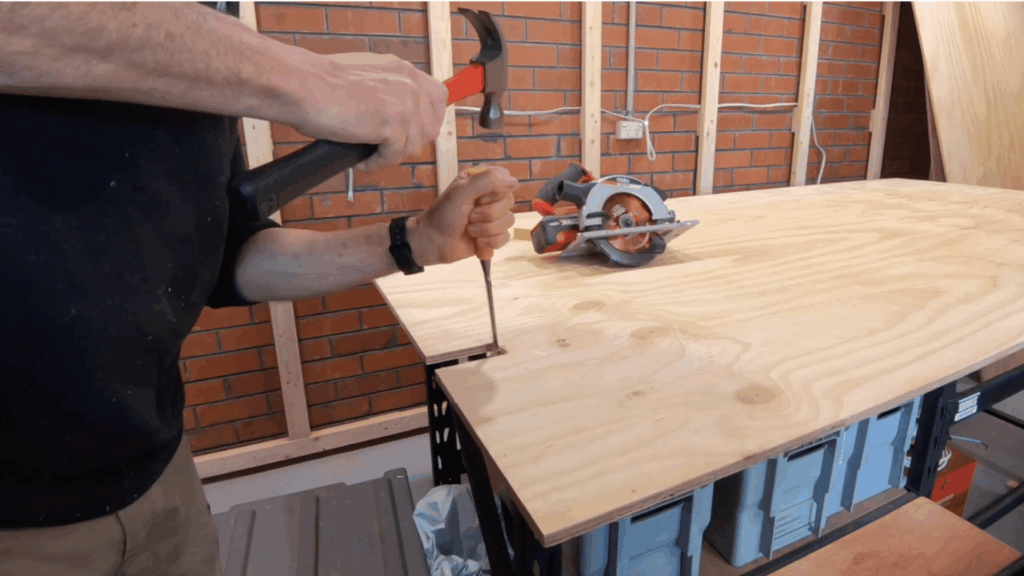
With the plywood sheets laid flat, mark and cut the notches needed to fit around the overhead timber joists and shelf supports.
Once the notches are made, lift the sheets into position and check that each cutout fits snugly around the existing timber structure.
This ensures a clean, secure installation before fastening them in place.
Step 7: Wedge the Sheets Tight and Screw Into the Battens
Start by placing timber offcuts and builder’s packers under the bottom edge of the sheet.
Once the sheet is properly positioned, locate the center batten by measuring 600 mm from each sheet edge.
Drive the first screws into this center point to hold the sheet flat and prevent any bowing. Continue securing the sheet along the batten line for a solid.
Step 8: Deal With Crooked Existing Structure and Finish Remaining Sheets
When placing the second sheet, you’ll likely notice a common issue: the existing timber and shelf framing aren’t perfectly straight, while your plywood sheets are.
You might think about trimming more from the top to compensate, but it’s usually unnecessary. Your goal is a clean, functional finish, not perfection.
Attach the remaining sheets and align them as consistently as possible. Focus on creating a straight line, even if the older framing above has slight waves.
Step 9: Add Cable Holes and Prepare for Bench and Shelves
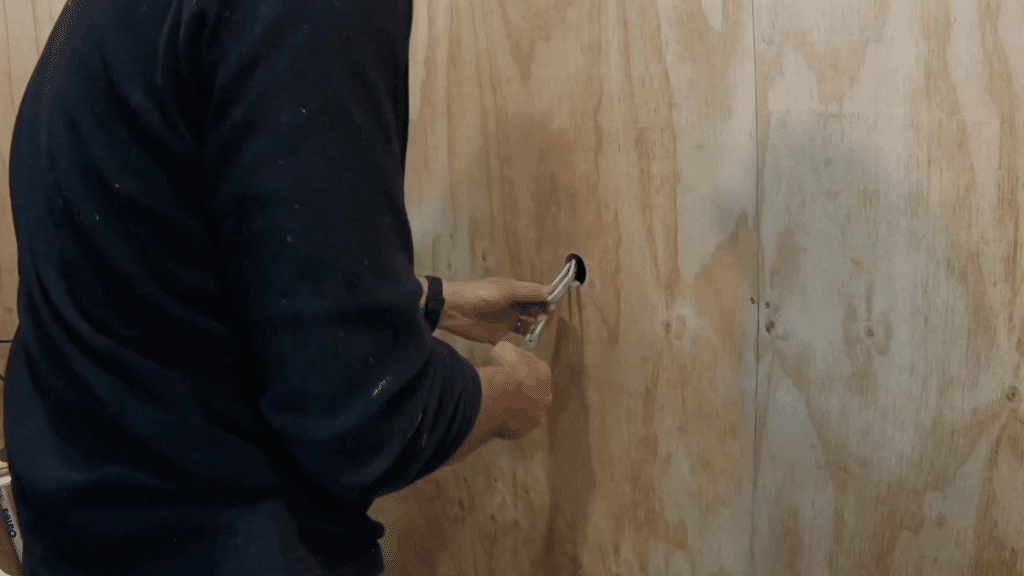
Drill evenly spaced cable holes into the plywood panels according to your measured markings. Pull the power cables through the hole and leave them for the electrician.
Next, position and secure the deep plywood benchtop, followed by the heavy-duty 25 mm plywood shelves.
Anchor all components firmly into the battens behind the wall to ensure proper support.
For more detailed steps, you can check this YouTube video:
Pros and Cons of Installing Plywood Garage Walls
| Pros | Cons |
|---|---|
| Provides excellent durability and impact resistance. | Requires proper sealing to prevent moisture damage. |
| Its easy to install using basic tools | It can be more expensive than drywall initially. |
| Allows mounting of heavy tools and storage systems. | Visible seams between sheets need finishing work. |
| Adds insulation value to your garage space. | Requires cutting around outlets and fixtures. |
| Creates a smooth surface for painting or staining. | Heavier material makes solo installation challenging. |
| Long-lasting solution that handles daily wear well. | May need periodic maintenance in humid climates. |
Maintenance Tips to Keep Your Plywood Walls Long-Lasting
Proper care ensures your plywood walls remain beautiful and durable for years, requiring minimal effort with these straightforward maintenance practices.
- Inspect regularly: Check for signs of water damage, warping, or loose panels every few months to catch problems early.
- Clean gently: Wipe down surfaces with a damp cloth and mild soap to remove dust, grease, and grime buildup.
- Seal properly: Apply a quality wood sealant or paint to protect against moisture and extend the life of your walls.
- Fix damage quickly: Repair any dents, scratches, or holes immediately to prevent further deterioration of the material.
- Control moisture: Use a dehumidifier if needed to maintain proper humidity levels and prevent swelling or rot.
- Tighten fasteners: Check screws periodically and tighten any that have loosened due to temperature changes or settling.
Community Discussion on Plywood Garage Walls
Many homeowners who’ve tried plywood swear by its practicality and toughness. One user summed it up simply:
Plywood is a great idea. Makes it easy to hang things wherever.
Another echoed the same sentiment, noting that
Plywood is way better than drywall
When it comes to durability and everyday use. People also love how it naturally fits an industrial aesthetic. As one DIYer advised,
Embrace the industrial look… paint it, then hang it with contrasting screws to give it a heavy-duty finish.
Across multiple discussions, the message is consistent: plywood delivers strength and a workshop-ready look, making it a favorite among garage renovators.
Final Thoughts
Installing plywood garage walls gives you a practical surface that handles daily demands while opening up storage possibilities.
You now have the knowledge to select the right thickness, gather necessary supplies, and complete the installation with confidence.
Remember that proper preparation and careful measurement make the biggest difference in your final results.
Start planning your project today and create the functional garage space you have always wanted.