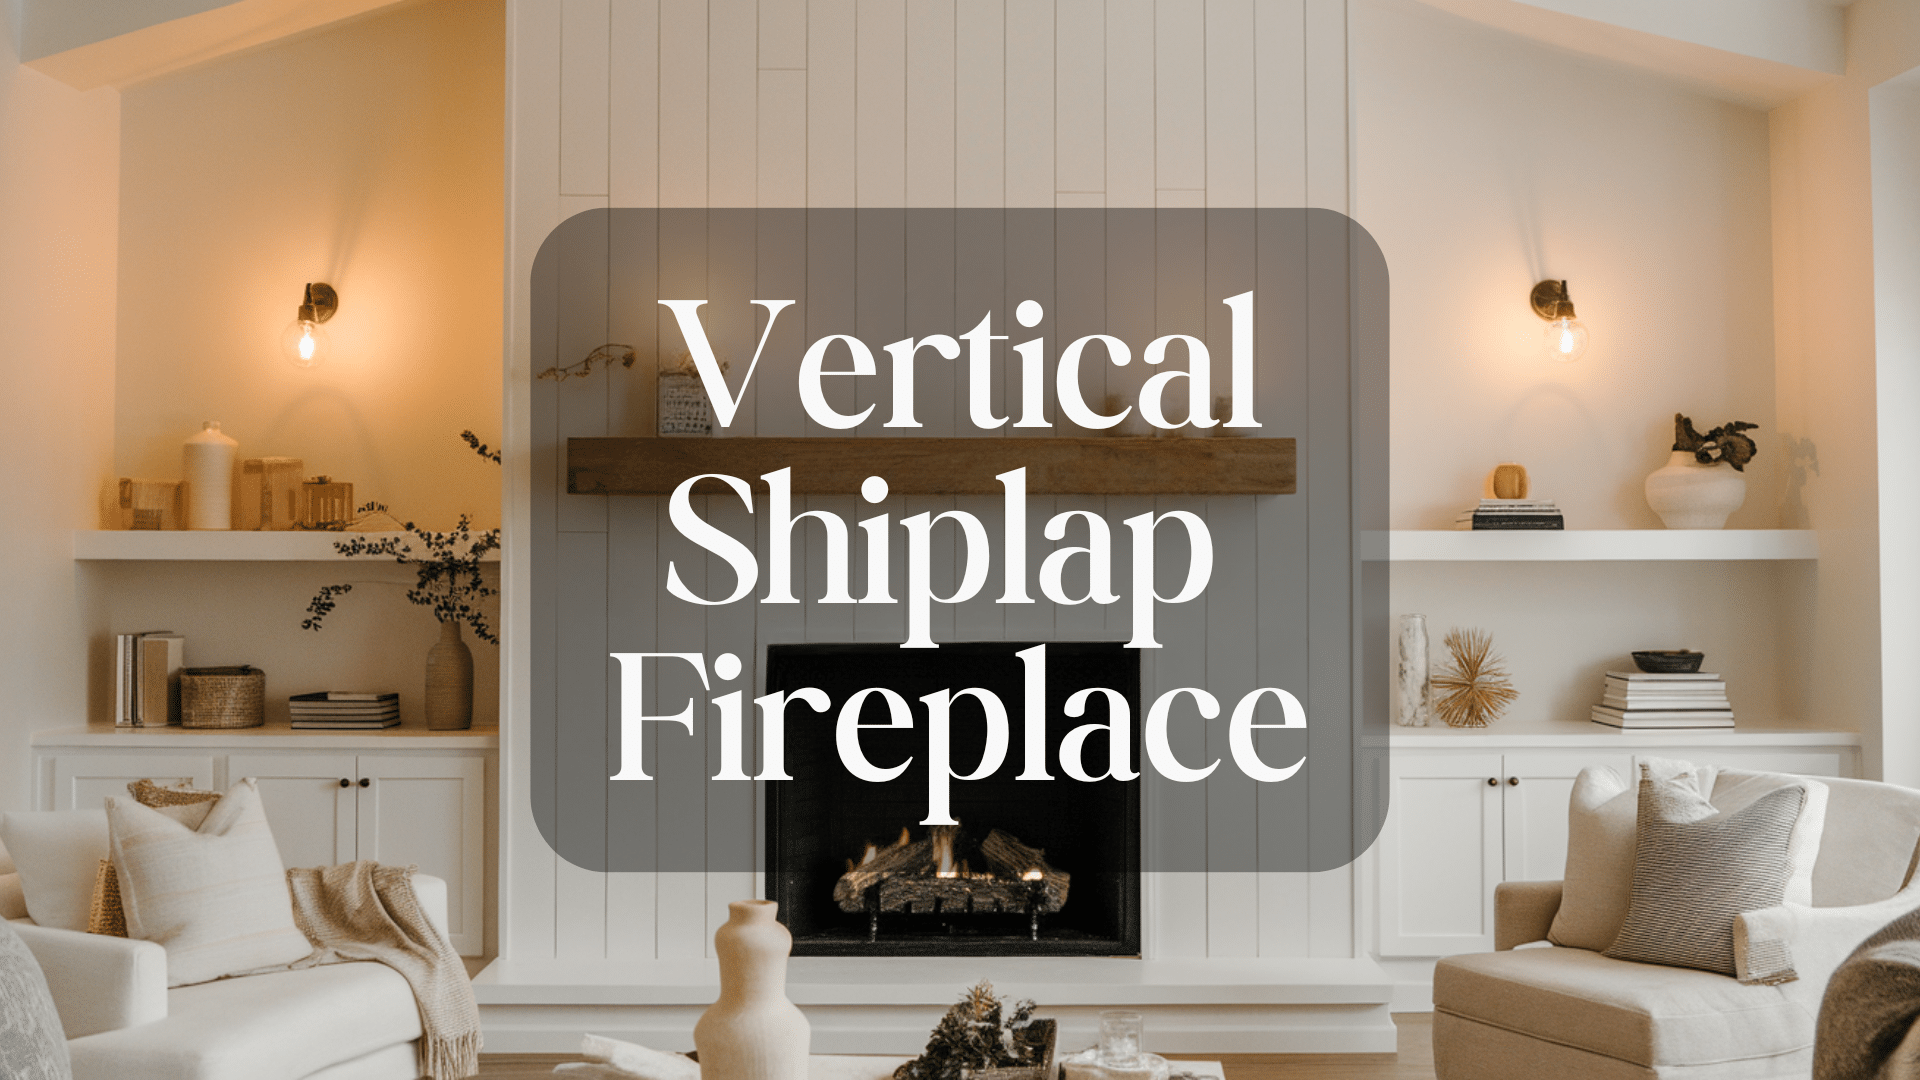
Ready to change up your living space with something eye-catching? A vertical shiplap fireplace might be just what you need.
This popular design adds both rustic charm and modern style. It creates a beautiful focal point in any room.
Vertical shiplap makes your walls look taller. It also adds texture and character to the space.
This look works well with both farmhouse and modern decor. It’s a flexible choice that fits many styles.
In this guide, I’ll show you how to install a vertical shiplap fireplace. The steps are clear and easy to follow.
You don’t need to be an expert. regardless of if you’re a DIY fan or just starting out, you can get great results.
Home projects can be tricky. That’s why I’ve added tips to help you avoid common mistakes.
With the right tools and a little patience, you can build something amazing. This fireplace will look great, work safely, and boost your home’s value.
Let’s get started!
Tools and Materials You’ll Need
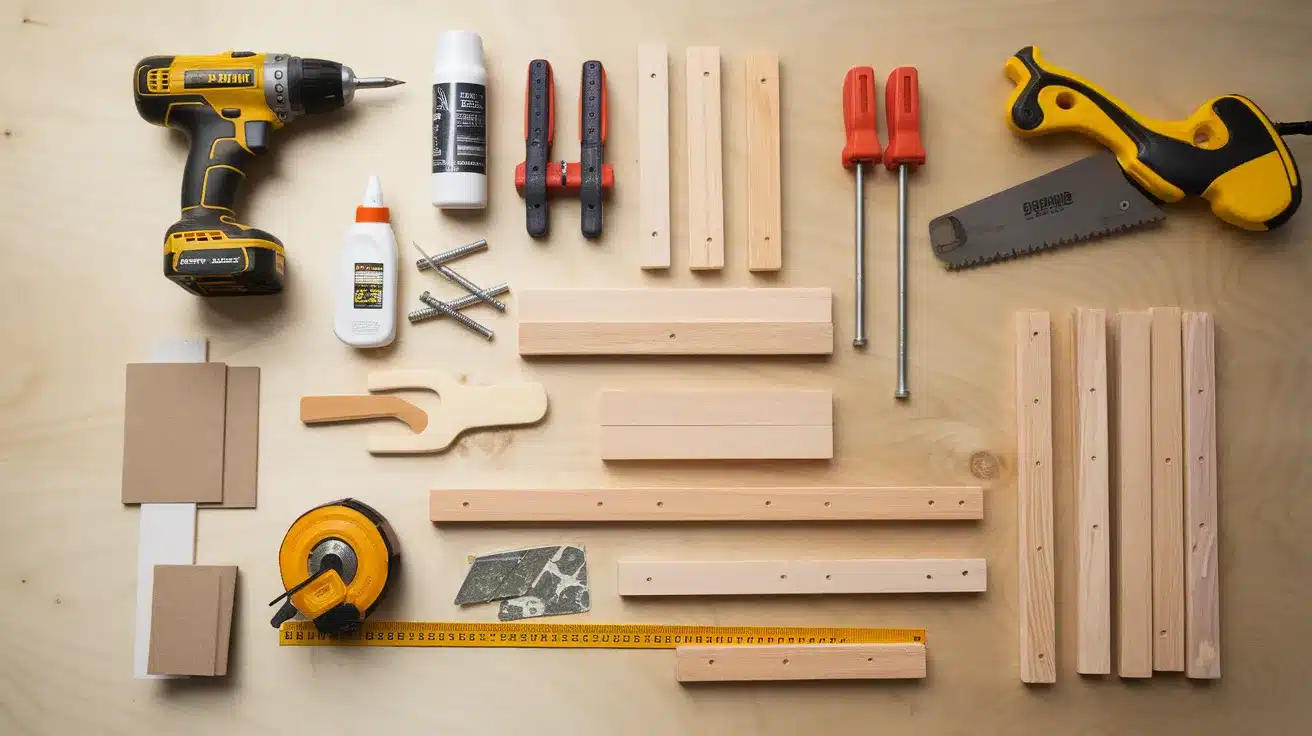
Before starting any fireplace project, it’s a good idea to gather all your tools and materials. Being prepared saves time and helps the work go smoothly.
You don’t need professional gear. Most of the tools are things you might already own or can borrow.
Basic tools like a tape measure, a level, and something to mark with will help you measure and plan. You’ll also need a saw to cut boards and a drill or hammer to attach them.
A sander or sanding block can smooth rough spots. Safety gear like gloves, goggles, and a dust mask will help keep you safe.
For materials, you’ll want wood boards or panels, something strong to stick them in place (like adhesive or nails), and items to help finish the look.
This could include paint, filler, and trim. If you’re building around a real fireplace, be sure to use materials that can handle heat.
You may also need a few extras depending on your design. This could be a mantel, a fireplace insert, or a backer board for added support.
Every project is different, but having the basics ready will help you get off to a strong start.
Steps to Install Vertical Shiplap Fireplace
Installing a vertical shiplap fireplace involves careful planning and precise execution. Follow these steps to create a beautiful focal point that changes your space while ensuring safety and functionality.
1. Plan and Design Your Fireplace
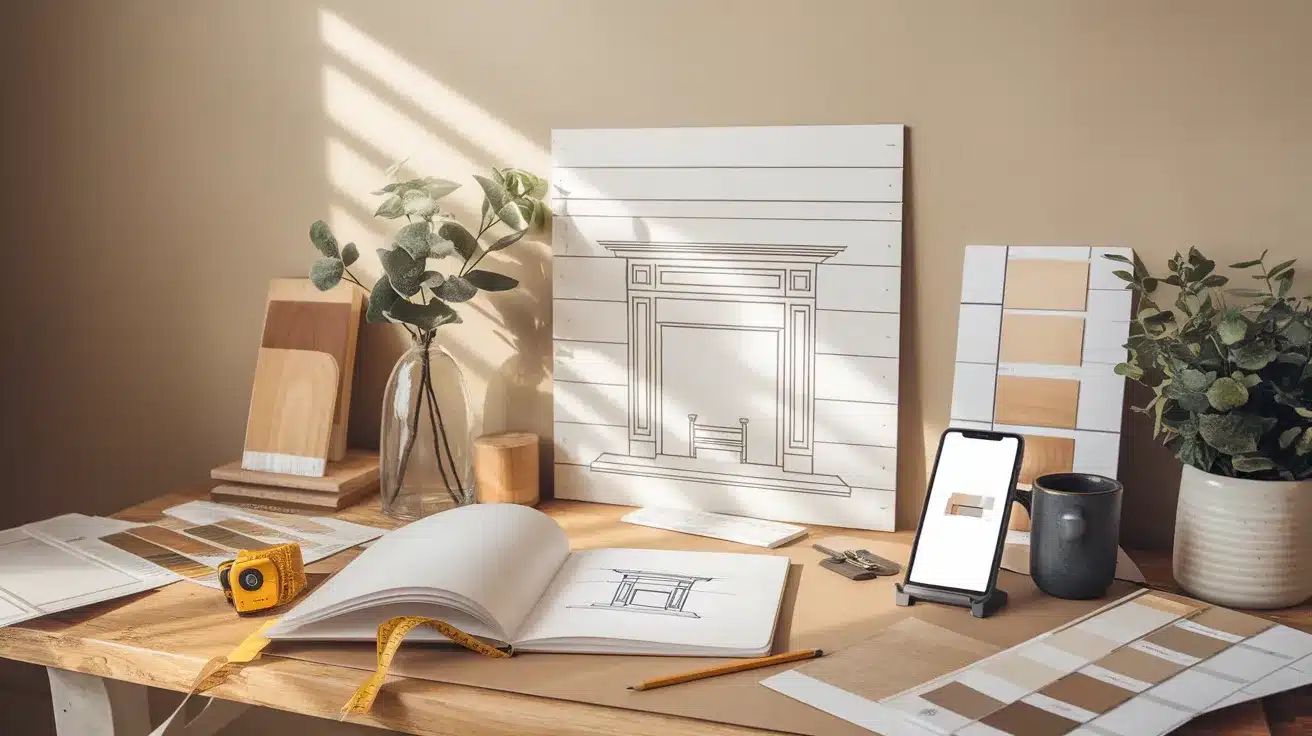
Before starting your project, take time to plan your fireplace design. Sketch your ideas on paper or use a simple app to picture the final look.
Decide how tall and wide the fireplace should be. Think about if you want to include a mantel.
Choose the board style that fits your space. Narrow boards look more traditional. Wide boards feel more modern and bold.
Measure your wall space carefully. If you’re adding a fireplace insert, include those measurements too.
This step helps you figure out how much material to buy. Planning ahead saves time and avoids mistakes.
It also makes the building process smoother from start to finish.
2. Gather Permits and Check Regulations
Safety should always come first. Before you begin, contact your local building department.
Ask if you need any permits for your project. This is very important if you’re adding a new fireplace insert or changing the structure of your wall.
Next, take time to review local fire codes. These rules help keep your home safe.
Many areas have specific requirements for how close materials can be to the fireplace. They also list which materials are safe to use and how everything should be installed.
Following these rules protects your home and your family from fire risks.
3. Prepare the Wall
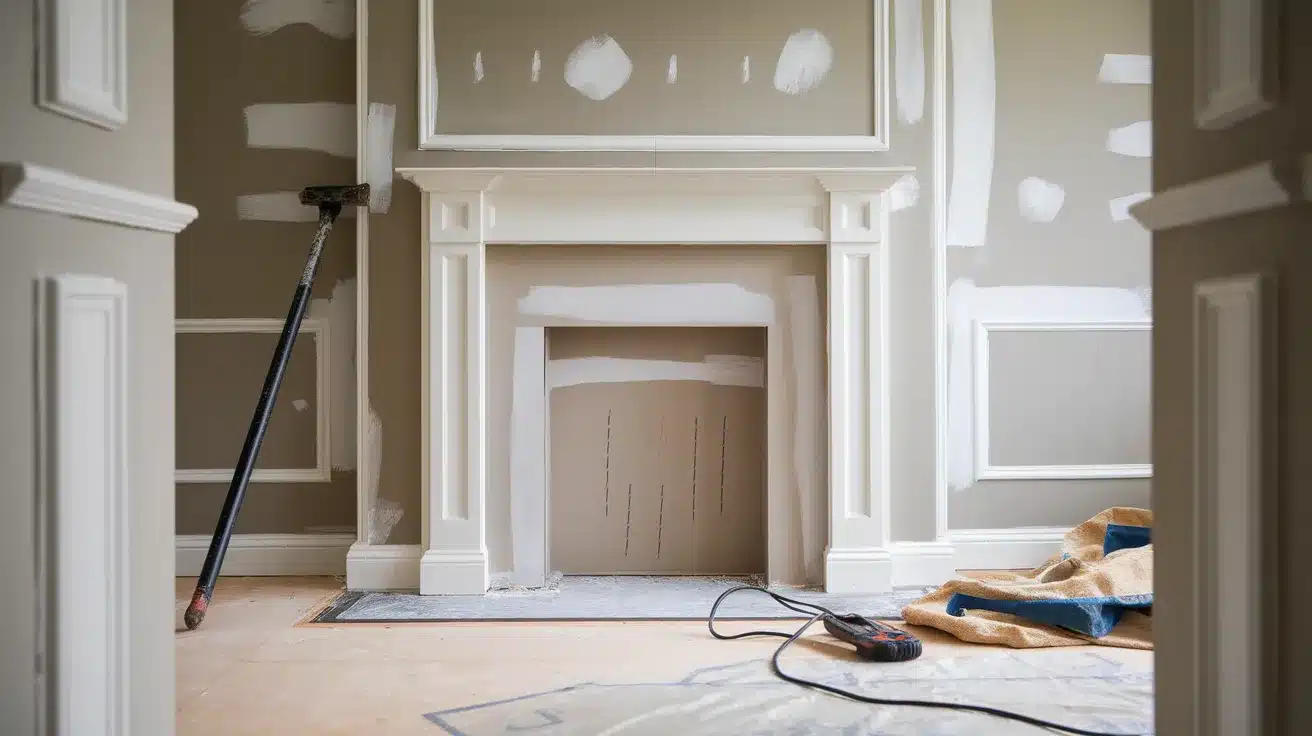
Start by clearing the area where your fireplace will go. Take off any trim, molding, or wall panels in that spot. Use a pry bar gently so you don’t damage the wall underneath.
If there’s already a fireplace, cover it with a drop cloth. This will protect it while you work.
Next, clean the wall surface. Remove dust, dirt, and anything that might stop the boards from sticking. Fill in holes or cracks with spackle. Let it dry, then sand it smooth.
Use a stud finder to locate the wall studs. Mark each one clearly. These will help support your shiplap boards.
4. Install a Fireplace Insert (Optional)
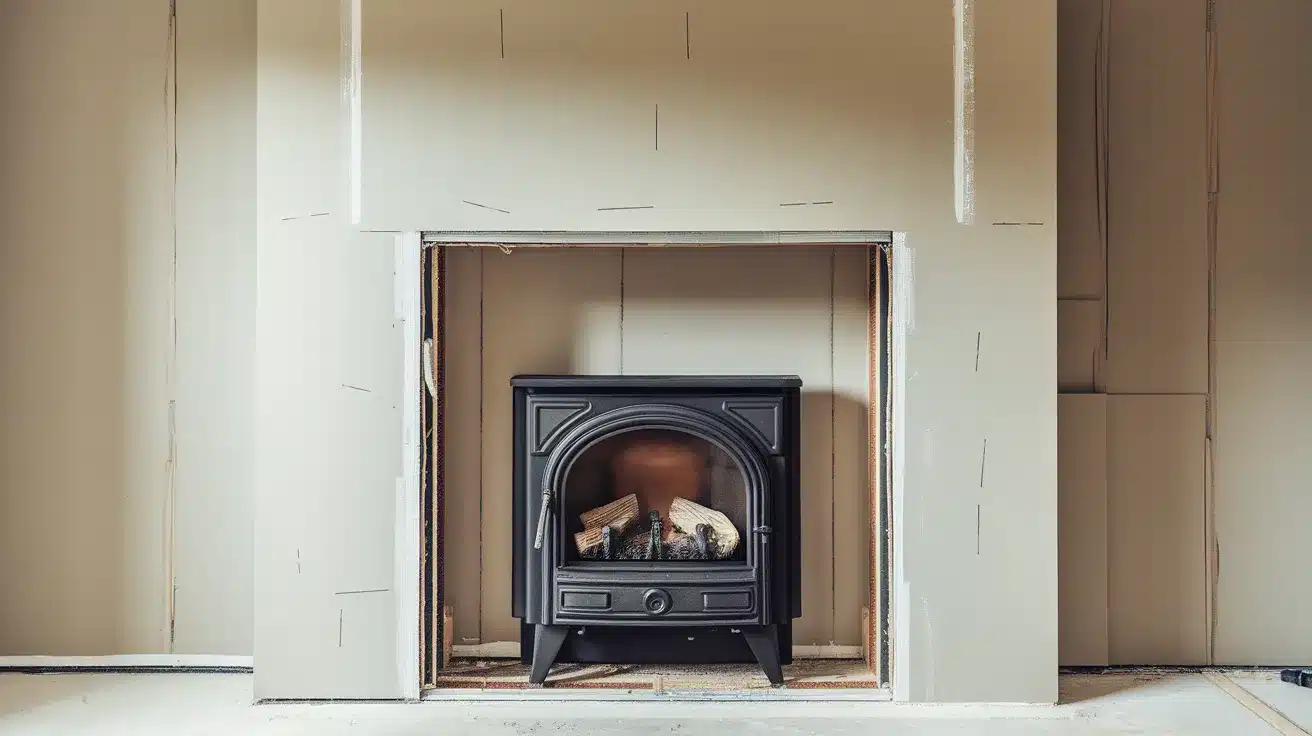
If you’re adding a fireplace insert, take time to follow the instructions that come with it. Each type of insert—gas, electric, or wood-burning—has its own setup steps.
Most inserts need proper ventilation or airflow. Some may require gas lines or electrical connections.
Let a licensed professional handle any gas or electrical work. This keeps your home safe and up to code.
Make sure the insert is fully secured before moving on. Test it to see that it works properly.
Once it’s installed and safe, you can start adding shiplap around it.
5. Frame the Fireplace Surround
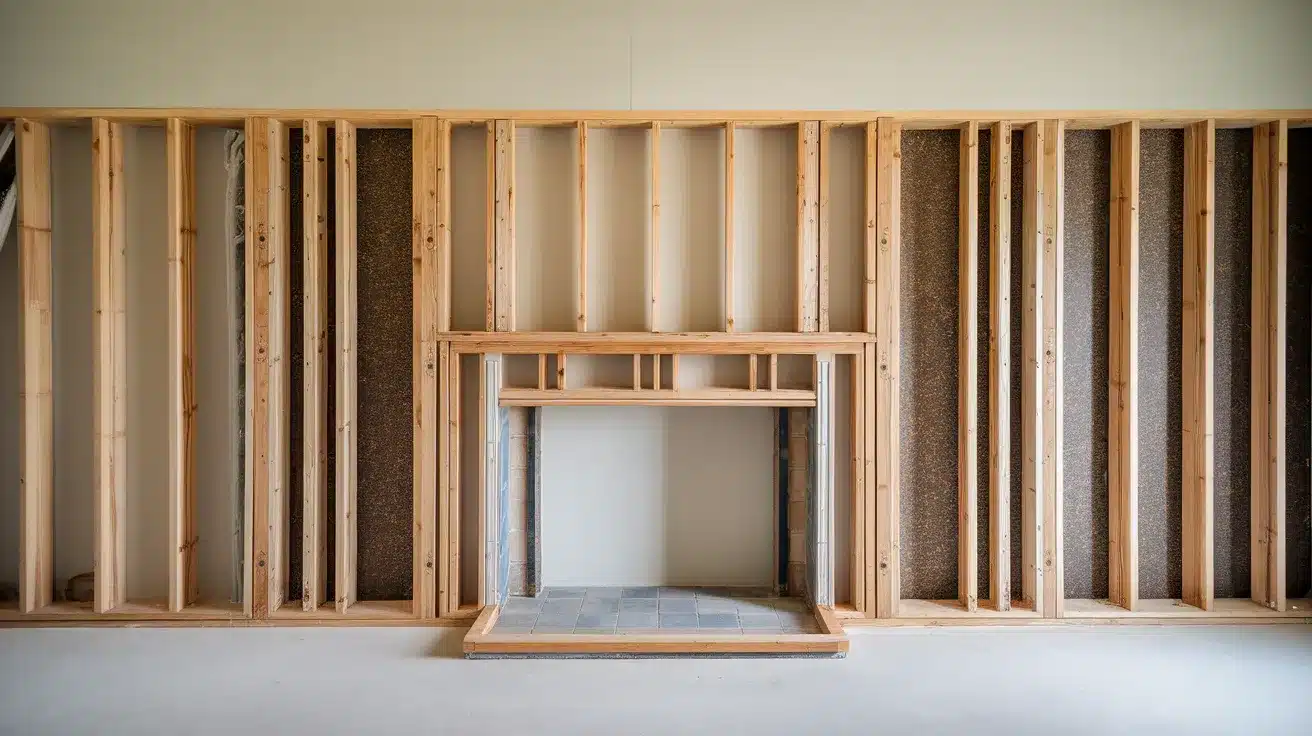
Use 2×4 lumber to build a frame around your fireplace area. This frame will support the shiplap boards and any mantel you want to add.
Make sure the frame is level on all sides. Attach it firmly to the wall studs so it stays in place.
The size of the frame should match your original design. Leave enough space around the fireplace insert for safety. Check the insert manual and follow local rules for clearance.
This frame won’t be visible when the project is done. So focus on making it strong and secure, not on how it looks.
6. Measure and Cut the Shiplap Boards
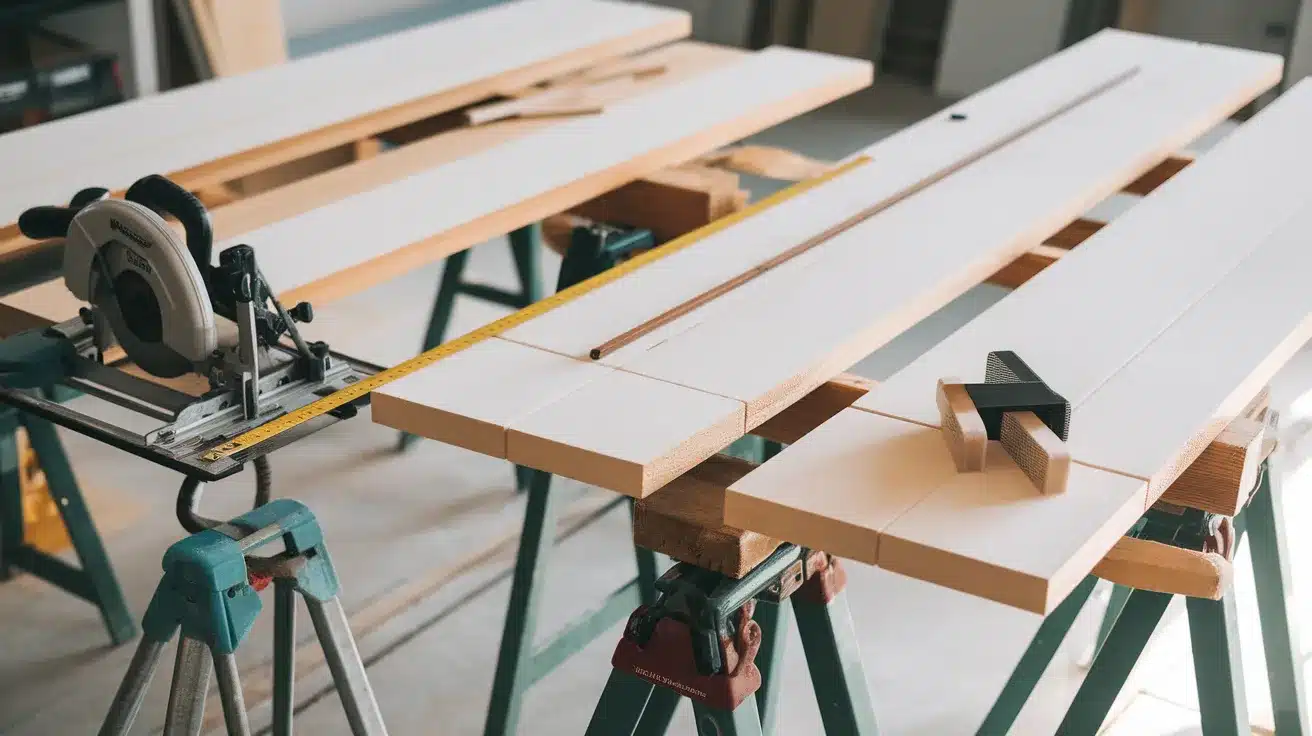
Start by measuring each board carefully. Always double-check your measurements. The old saying “measure twice, cut once” really helps avoid mistakes.
For vertical shiplap, cut the boards to fit from floor to ceiling. Or cut them to your chosen height if you’re stopping below the ceiling.
Use a circular saw or miter saw to make clean, straight cuts. After cutting, sand the edges to smooth them out.
If your design has a specific layout, number each board as you go. This will help during installation.
For outlets or switches, measure their spots and cut holes in the right boards.
7. Paint the Shiplap
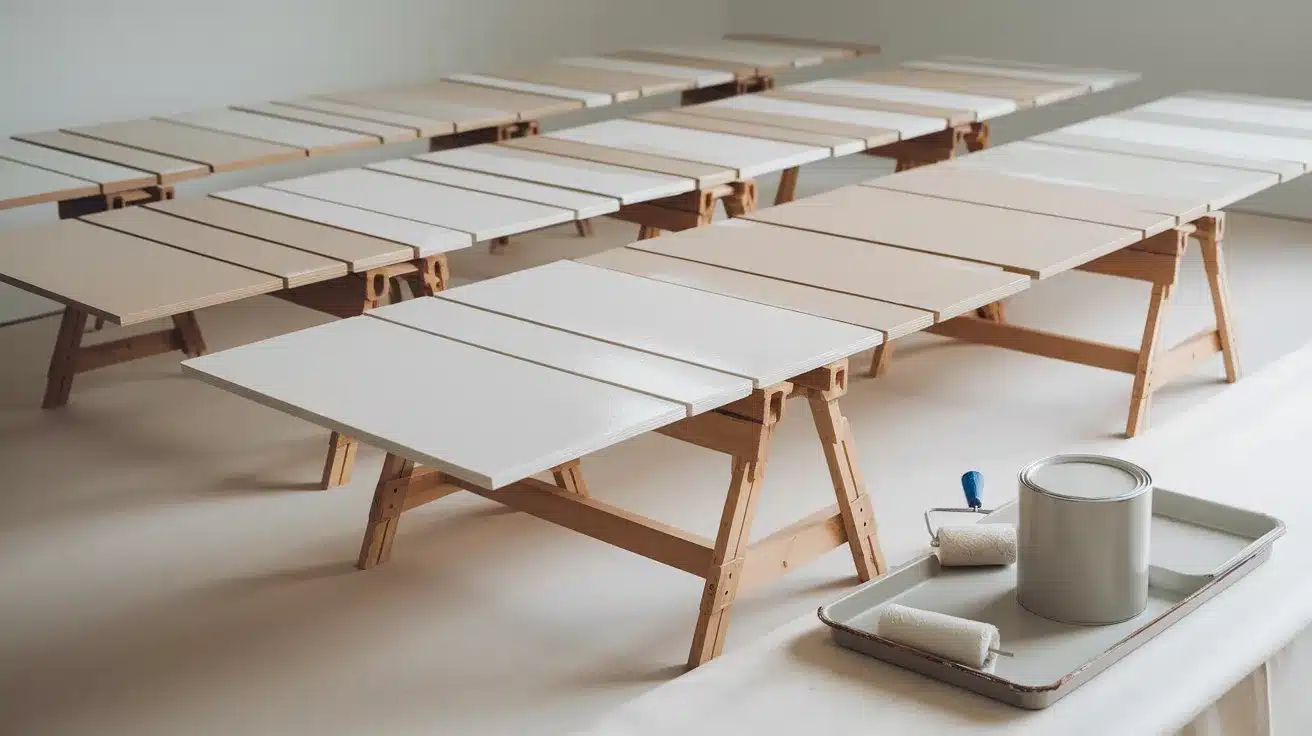
It’s usually best to paint the shiplap boards before installing them. This makes the job cleaner and easier—especially if you’re using light paint over a dark wall.
Start by applying a coat of primer. This is important if you’re using raw wood. Primer helps the paint stick better and gives a smoother finish.
Pick a paint that fits your space. If your fireplace will be active, make sure to use heat-resistant paint.
Paint all sides of each board, including the edges. This helps prevent warping later. Let everything dry fully before you move on to installation.
8. Begin Installing Shiplap Vertically
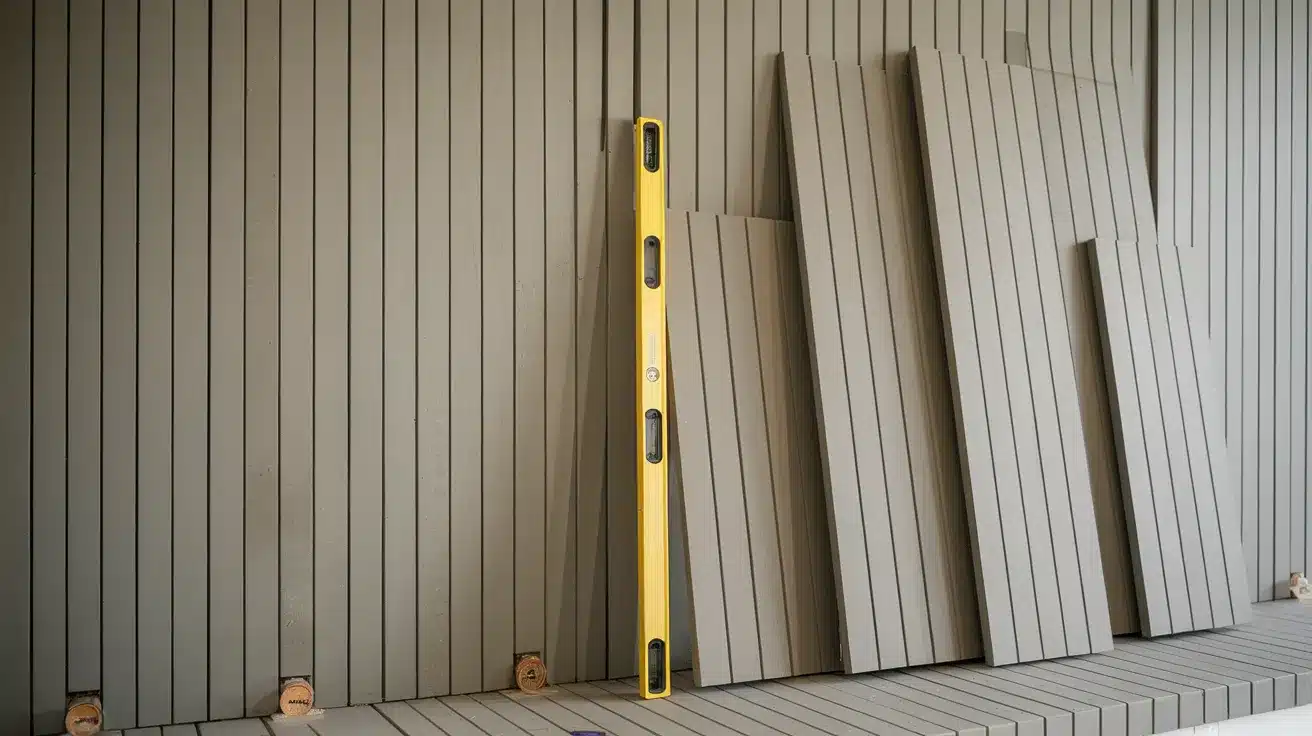
Start placing the boards on one side of the fireplace. Work your way across to the other side.
Use a level to make sure your first board is perfectly straight. This is very important. Every board after it will line up with that first one.
Leave a small gap at the floor and ceiling. About 1/8 inch is enough to allow for expansion.
If you’re using tongue-and-groove boards, face the tongue toward the direction you’re moving. This makes each board fit neatly into the next.
If you’re using flat boards, use spacers or coins to keep the gaps even.
9. Secure the Boards
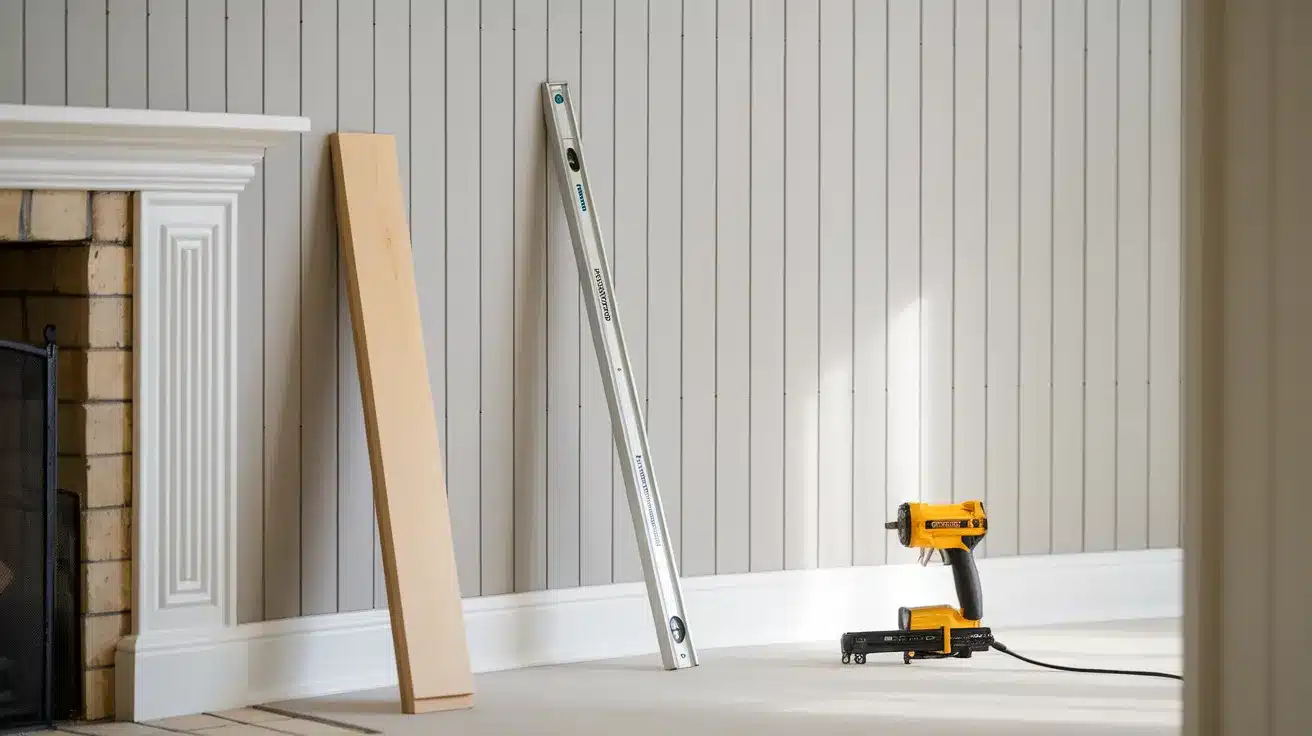
Once your first board is in place, start attaching the rest. Use a nail gun with finish nails for a clean look.
Try to nail into the wall studs whenever possible. This gives each board strong support.
If you can’t hit a stud, use construction adhesive on the back of the board. This adds extra holding power.
For tongue-and-groove boards, nail through the tongue at a slight angle. This is called blind nailing, and it hides the nails.
For flat boards, nail straight through the front. Place nails about 16 inches apart from top to bottom. Keep checking that each board is level as you go.
10. Create a Fireplace Mantel (Optional)
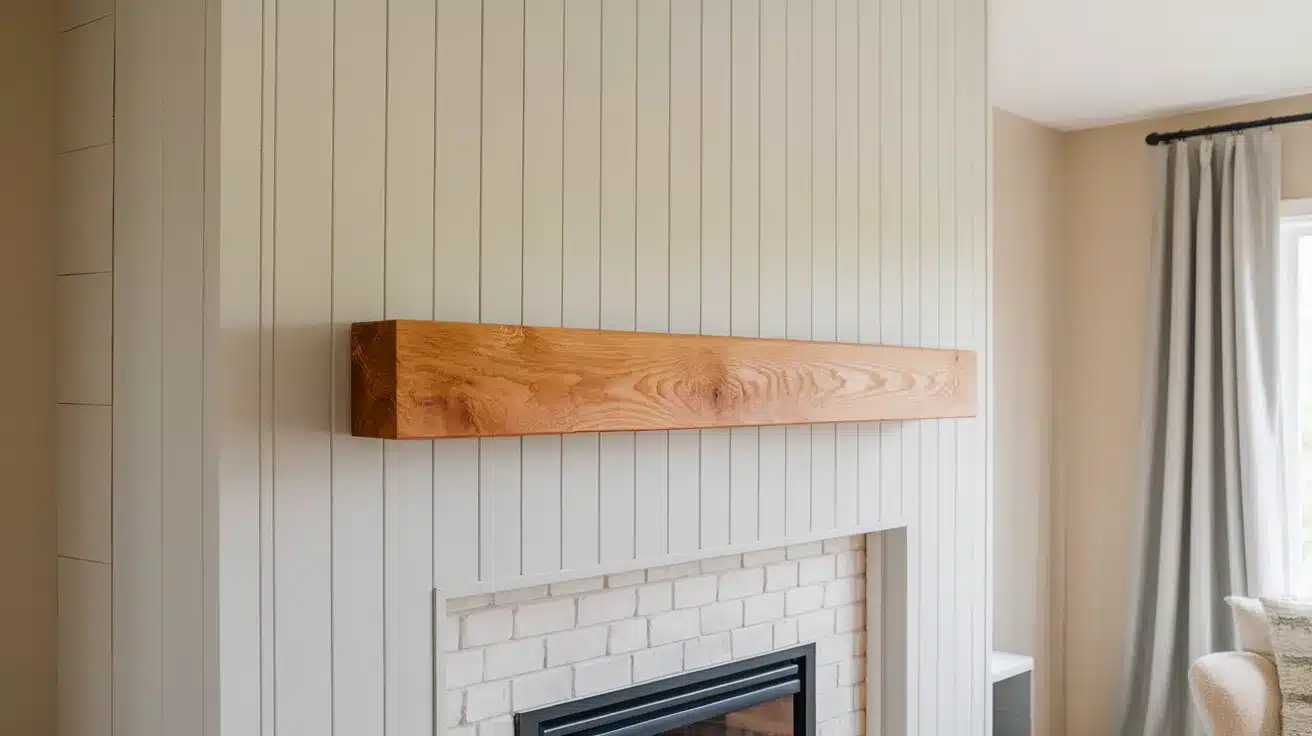
Adding a mantel gives your fireplace extra style and function. You can build one yourself using lumber or buy a pre-made version.
Choose a mantel that matches the look of your room. Keep it simple or go bold, depending on your style.
Attach the mantel directly to wall studs. Don’t rely on the shiplap alone—it’s not strong enough to hold the weight.
Place the mantel at a height that fits your room. Most mantels sit between 54 and 60 inches from the floor.
If your fireplace is active, follow safety rules. Keep at least 12 inches between the firebox and any wood.
11. Add Trims and Finishing Touches
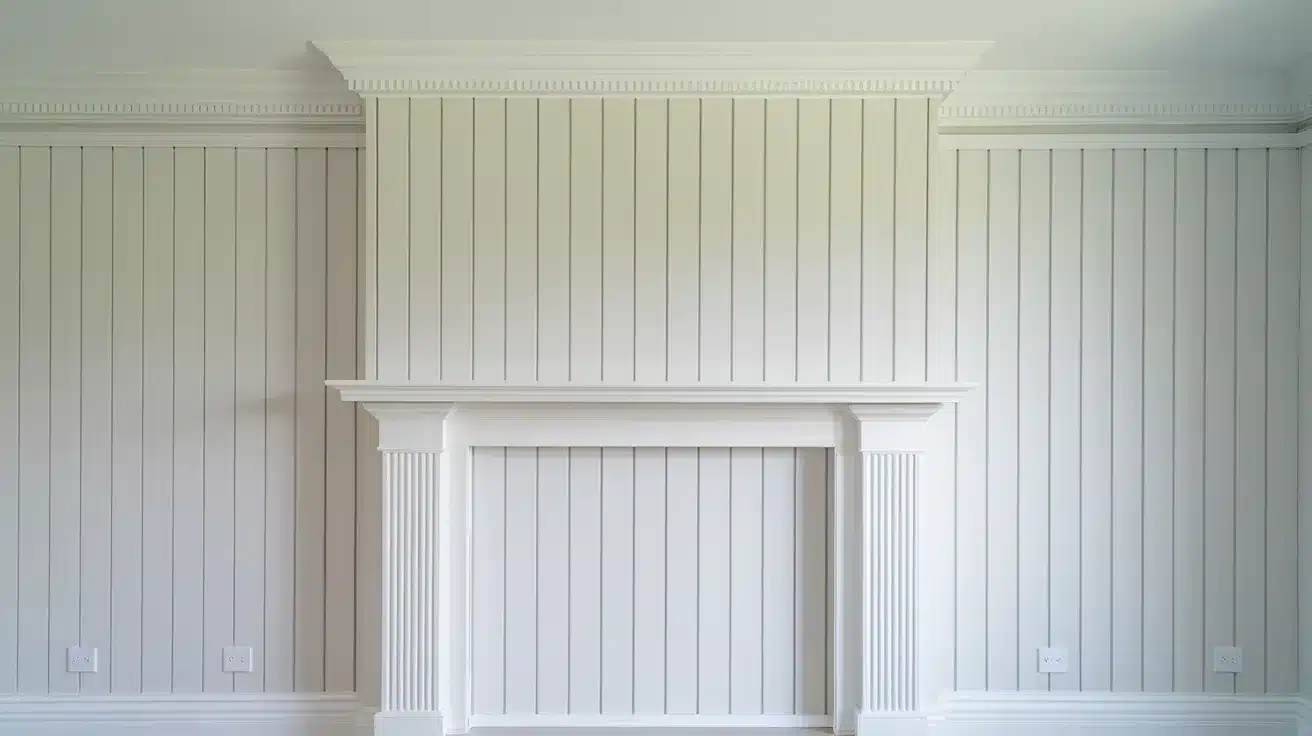
Once your shiplap is up, it’s time to add the finishing details. Trim pieces help your fireplace look clean and complete.
You can use crown molding where the boards meet the ceiling. Add corner trim to cover edges and baseboards along the floor.
These small touches give your project a polished, professional look. They make the whole wall feel more finished.
Fill nail holes with wood filler. Use caulk to seal gaps between the trim and the wall. This keeps dust out and gives a smooth surface for paint. Let everything dry fully before painting.
12. Paint Touch-Ups
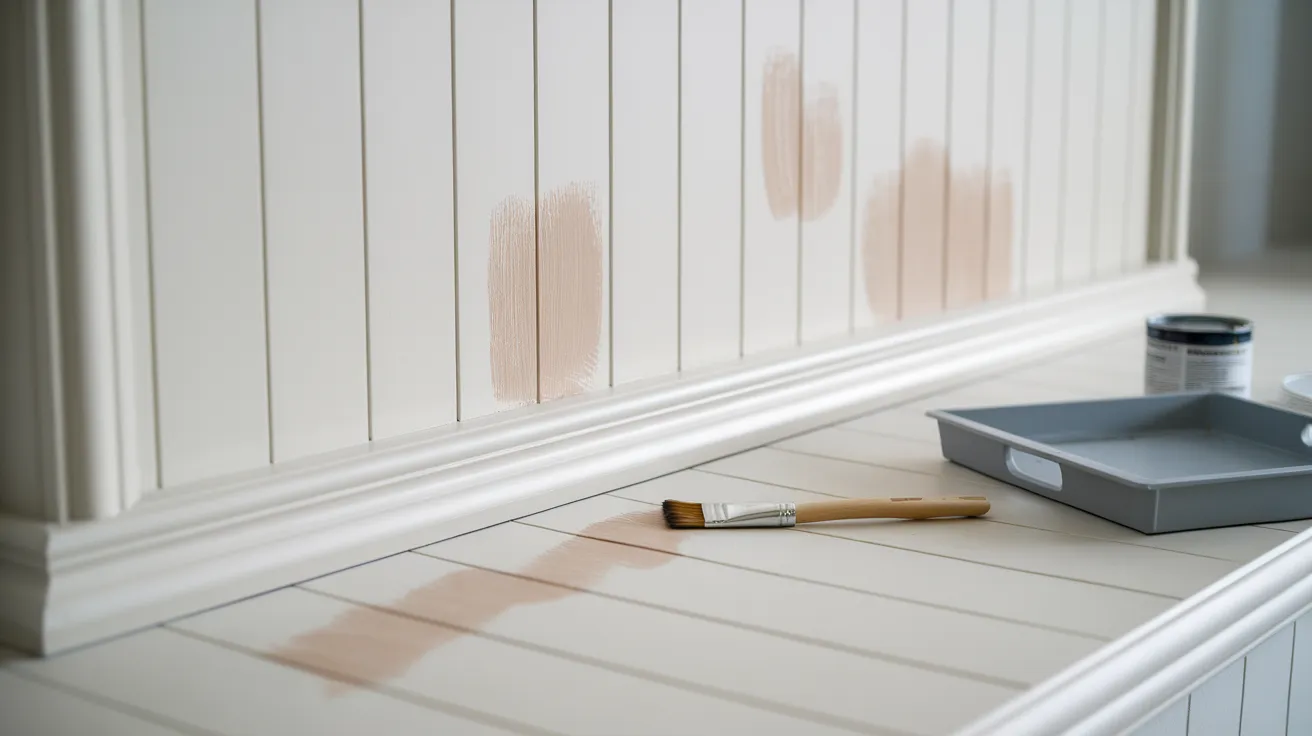
After you finish installing everything, check for spots that need paint. Look closely at nail holes, corners, and edges where boards meet.
Use a small brush for touch-ups. An artist’s brush works well for careful, detailed areas.
If the paint looks thin in some spots, add a second coat. This helps the color look even and covers everything fully.
The final coat also protects the wood from dust, moisture, and daily use.
Let the paint dry all the way before adding decor or using the fireplace. A little extra time here gives you a cleaner, longer-lasting finish.
13. Install Fireplace Accessories
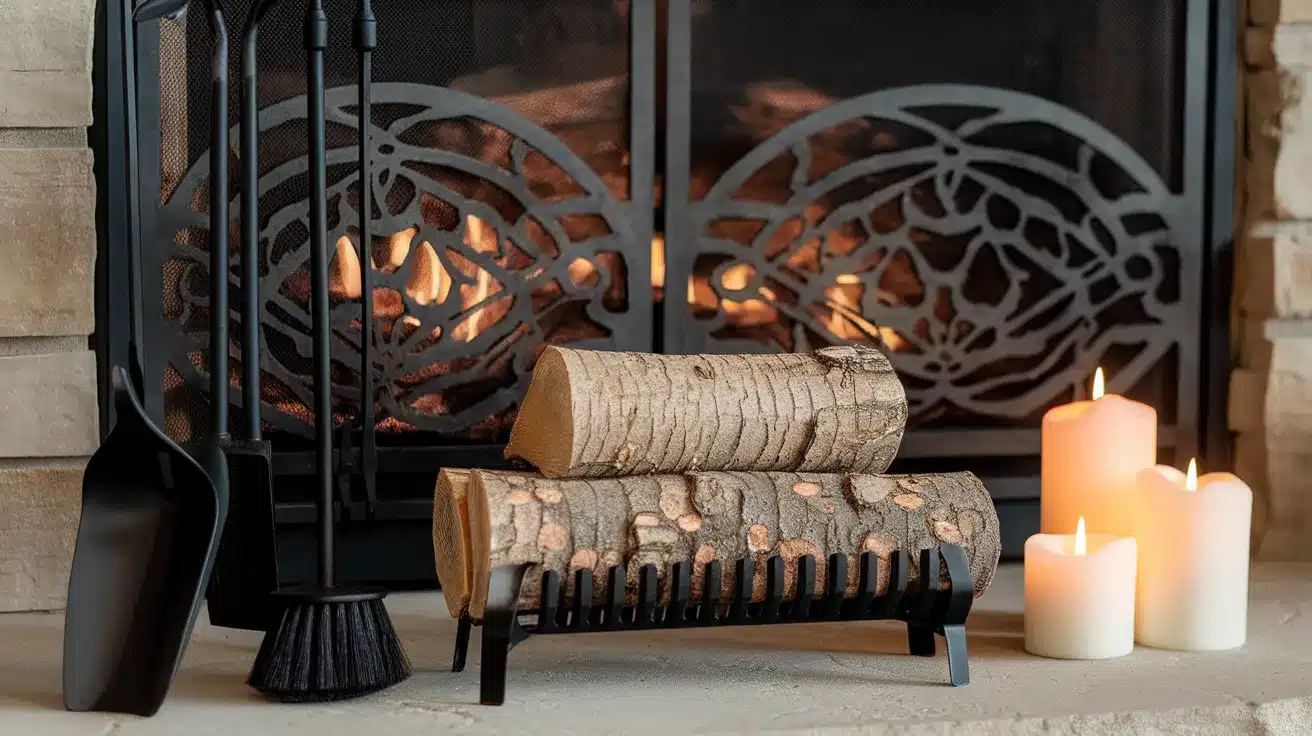
Once the build is done, it’s time to add some finishing pieces. If you have an active fireplace, accessories like screens, doors, or tool sets are both useful and stylish.
These items help protect your space and make the area safer to use. Choose ones that match your room’s style and the look of your new fireplace.
For decorative fireplaces, you can add LED candles, faux logs, or other safe elements. These details make the space feel warm and cozy, even without real flames.
Little extras like these help your fireplace stand out and feel complete.
14. Final Safety Checks
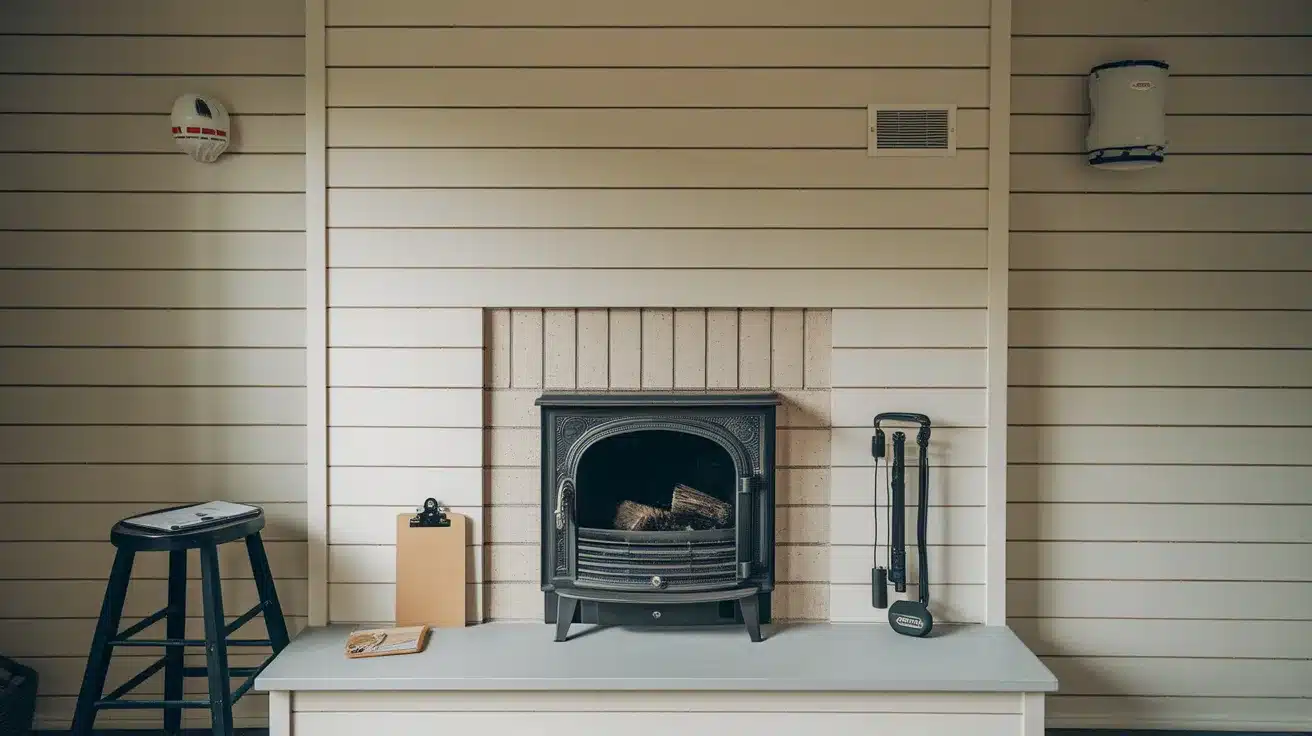
Before using your new fireplace, take time to check everything for safety. Make sure all flammable materials are a safe distance from heat sources.
If you added gas or electric parts, test them carefully. It’s best to have a professional help with this step to be sure everything is working right.
Check for proper airflow and that all vents or inserts are secure. Look over wires, gas lines, and connections one more time.
If your fireplace is active, install smoke and carbon monoxide detectors nearby. A great design means nothing without safety. Double-check everything before lighting that first fire.
Conclusion
A vertical shiplap fireplace brings both beauty and function to your home. It creates a strong focal point that draws the eye and adds interest to any room.
The vertical lines help make the space feel taller and more open, which is great for smaller or lower-ceilinged areas.
This design also adds warmth and texture. Unlike a flat wall, shiplap adds depth and personality. It gives your room that extra layer of detail that feels thoughtful and inviting.
One of the best parts of vertical shiplap is how versatile it is. if your home leans more modern, rustic, coastal, or traditional, this look fits right in. It’s simple enough to blend in, yet bold enough to stand out.
The clean lines and timeless feel mean you won’t have to worry about the style going out of date. It holds up well through changing trends and seasons.
Beyond design, a shiplap fireplace can increase your home’s value. Buyers love homes with unique, built-in features, and a well-done fireplace makes your living space feel finished and custom.
It also adds comfort. Even if the fireplace is decorative, the look alone creates a sense of warmth, making your space feel more like home.
Regardless of if you’re using the fireplace daily or just enjoying the view, the benefits are long-lasting.
A vertical shiplap fireplace gives your space charm, height, and personality—all in one beautiful feature.

