
Making a DIY memo board is a great way to keep your space organized and add a personal touch. It’s simple, fun, and doesn’t require a lot of time or money. A memo board helps you remember important notes, tasks, or even fun reminders like quotes or pictures. ‘
I’ll walk you through making your own using easy-to-find materials. You don’t need to be an expert crafter to create a useful and stylish board for your home or office. Plus, it’s a project you can customize to fit your space and style.
So, if you’re ready to get organized and add something unique to your walls, let’s start! This guide will show you how to create a simple DIY memo board step by step.
Why a DIY Memo Board is a Great Idea

A DIY memo board is an excellent project for anyone who wants to stay organized and add a personal touch to their space. Not only is it functional, but it can also be customized to match your style. Whether you choose a simple corkboard or a more intricate design, a memo board helps keep your daily tasks and reminders visible and accessible.
Additionally, it’s an affordable way to create a functional item for your home. You can repurpose materials you already have or purchase inexpensive supplies. Making a DIY memo board is a great way to exercise creativity while also solving an organizational problem in your home.
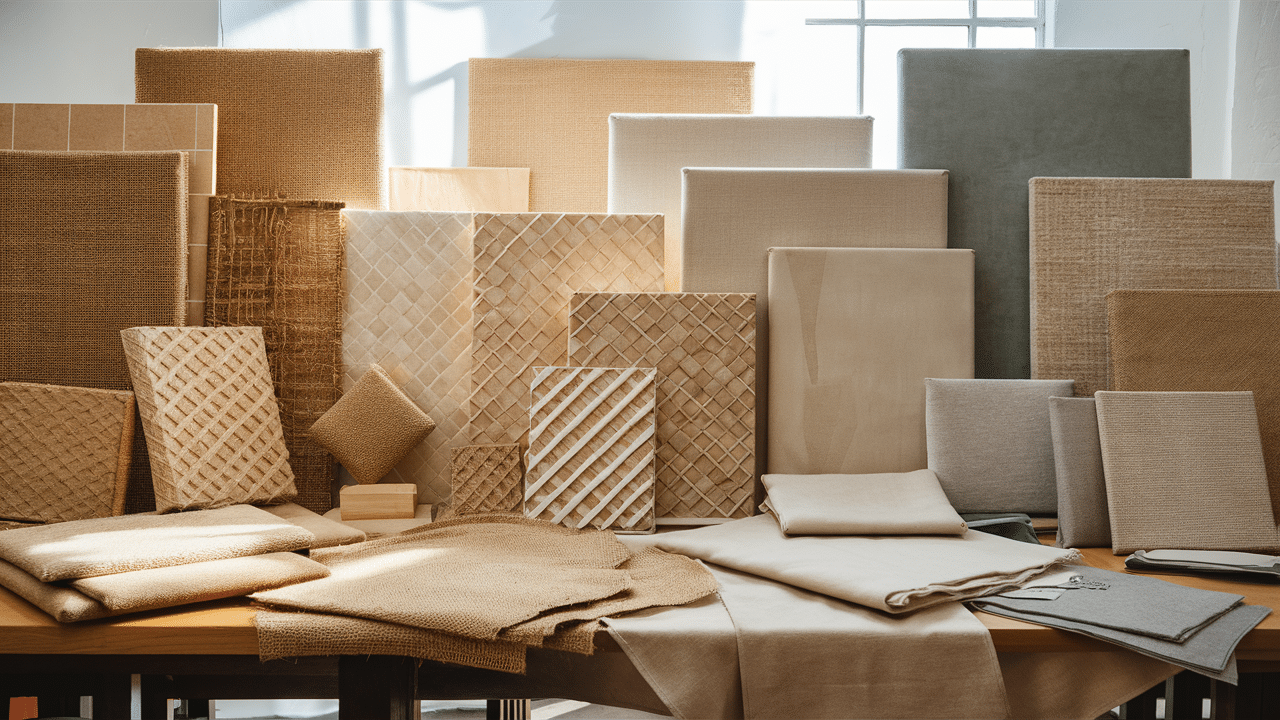
What You’ll Need to Make a DIY Memo Board

Before you start the project, let’s gather all the materials you’ll need to create your memo board.
Essential Materials:
-
A Board or Frame: You can use a corkboard, a wooden board, or an old picture frame.
-
Thumbtacks or Push Pins: To attach notes, pictures, or reminders.
-
Scissors: For cutting fabric, paper, or any other materials you choose.
-
Hot Glue Gun or Regular Glue: To attach fabric or other decorative elements to the board.
-
Ruler and Pencil: For measuring and marking the space on your board.
-
Paint, Markers, or Decorative Stickers: For personalizing and decorating your memo board.
-
Fabric, Paper, or Wrapping Paper: These are the options for covering the board and making it more colorful.
Optional Extras:
-
Hooks or Clips: To hang small items like keys or lightweight bags.
-
String or Wire: For creating a more rustic or vintage-style memo board.
-
Lights: For a fun and glowing addition to your board.
-
Magnetic Paint: If you’d prefer to use magnets instead of push pins.
Step-by-Step Guide to Creating Your Memo Board
Now that you have everything ready, let’s jump into the fun part – creating your DIY memo board!
Step 1: Choose Your Base
The first step in creating your DIY memo board is selecting the right base. This will be the foundation of your project, so it’s important to choose something that works with both your style and needs.
Corkboard
Corkboards are popular choices because they’re easy to work with and functional. You can attach notes and pictures using thumbtacks or push pins. Corkboards can be found at most home goods stores or online, and they come in various sizes to fit your space.
Wooden Board or Panel
A wooden board or panel is a great option for a rustic, farmhouse look. You can find inexpensive wood boards at hardware stores or repurpose an old wooden frame. The natural wood finish adds a warm touch to any room.
Picture Frame
If you’re looking to create a smaller, framed memo board, consider using a picture frame. This is a budget-friendly option and a great way to repurpose an old frame you no longer use. You can easily add cork or fabric inside the frame for a unique look.
Chalkboard or Whiteboard
A chalkboard or whiteboard is perfect if you like to update your notes frequently. You can write and erase messages as needed, making them versatile for daily reminders or to-do lists.
Step 2: Prepare Your Base
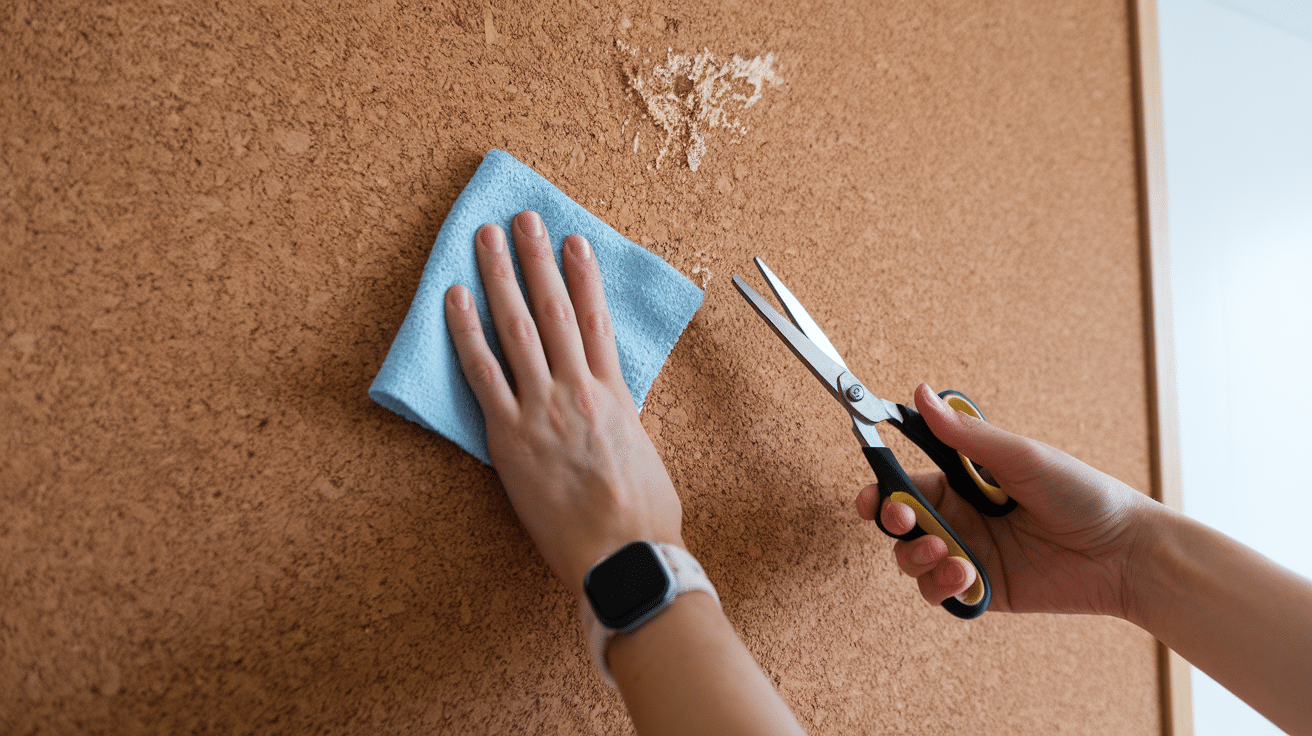
Once you’ve selected your base, it’s time to prepare it for decorating. This step is simple and will help ensure that your memo board looks clean and polished.
Clean the Surface
Before you begin, clean the surface of your board thoroughly. Use a damp cloth to remove any dust, dirt, or grime. A clean surface will make sure that the glue and other materials adhere better.
Trim the Edges (If Needed)
If you’re covering your board with fabric, paper, or wrapping paper, you may need to trim the edges to fit the board’s size. Use a ruler and pencil to measure the dimensions of your board and mark where you need to cut. Then, use scissors to trim along the lines carefully.
Sand the Edges (For Wooden Boards)
If you’re using a wooden board, it might have rough edges. Use a sandpaper block to smooth out the edges. This will give your memo board a more polished and professional finish.
Step 3: Add Color and Design
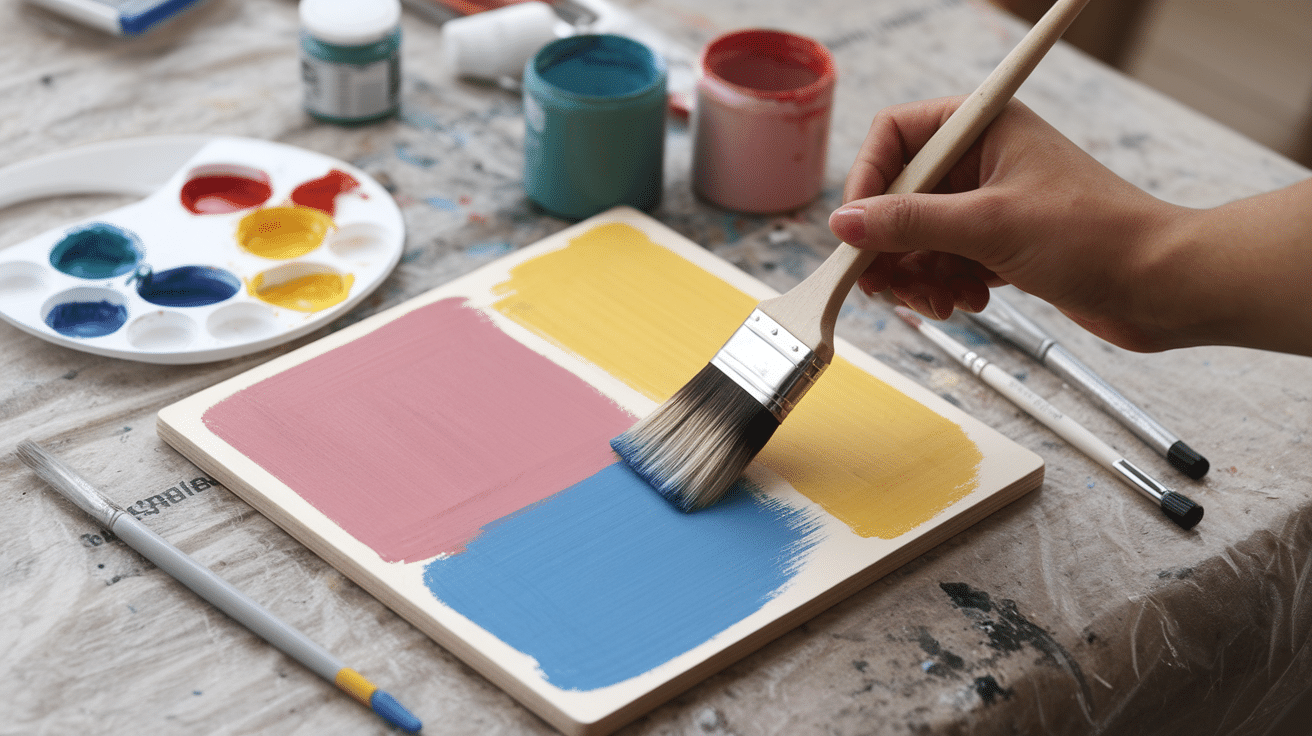
At this point, you can start decorating your memo board. Personalizing the surface is where the fun begins! This step is optional but a great way to make your memo board truly yours.
Cover with Fabric or Paper
If you want to add color, texture, or pattern to your memo board, you can cover it with fabric, paper, or wrapping paper. Here’s how to do it:
-
Measure the Material: Use a ruler to measure the material for your board. Please leave a little extra material around the edges to ensure it covers the entire surface.
-
Cut the Material: Carefully cut the fabric or paper to fit your board.
-
Glue the Material to the Board: Apply glue to the back of the fabric or paper and press it onto the surface of the board. Smooth out any wrinkles or bubbles as you go to ensure a clean, tight fit.
Paint the Board
If you want to keep things simple, you can also paint your board. Choose a paint color that matches your room décor. You can apply one solid color or even get creative with stripes, polka dots, or other fun designs. Just make sure to let the paint dry completely before moving to the next step.
Add a Border
To finish off your memo board, consider adding a decorative border around the edges. This can be done with washi tape, ribbons, or paint. A border will give your memo board a finished, clean look.
Step 4: Attach Hooks or Clips (Optional)
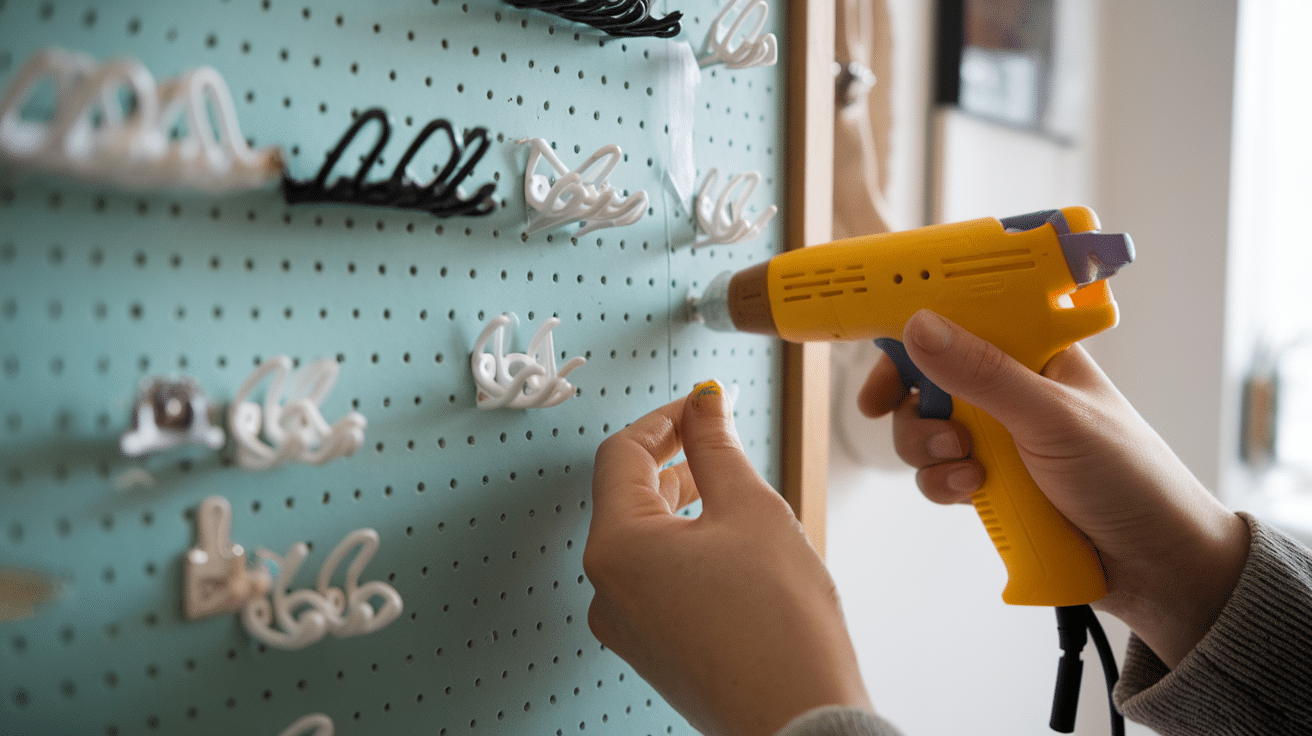
For added functionality, you can attach hooks or clips to your memo board. This is a great option if you want to hang small items like keys, necklaces, or lightweight bags.
-
Choose the Location: Decide where you want the hooks or clips to go (either at the top, sides, or bottom).
-
Attach the Hooks/Clips: Use a hot glue gun or small nails to attach the hooks to your board. Make sure they’re secure enough to hold whatever you plan to hang on them.
Step 5: Hang Your Memo Board
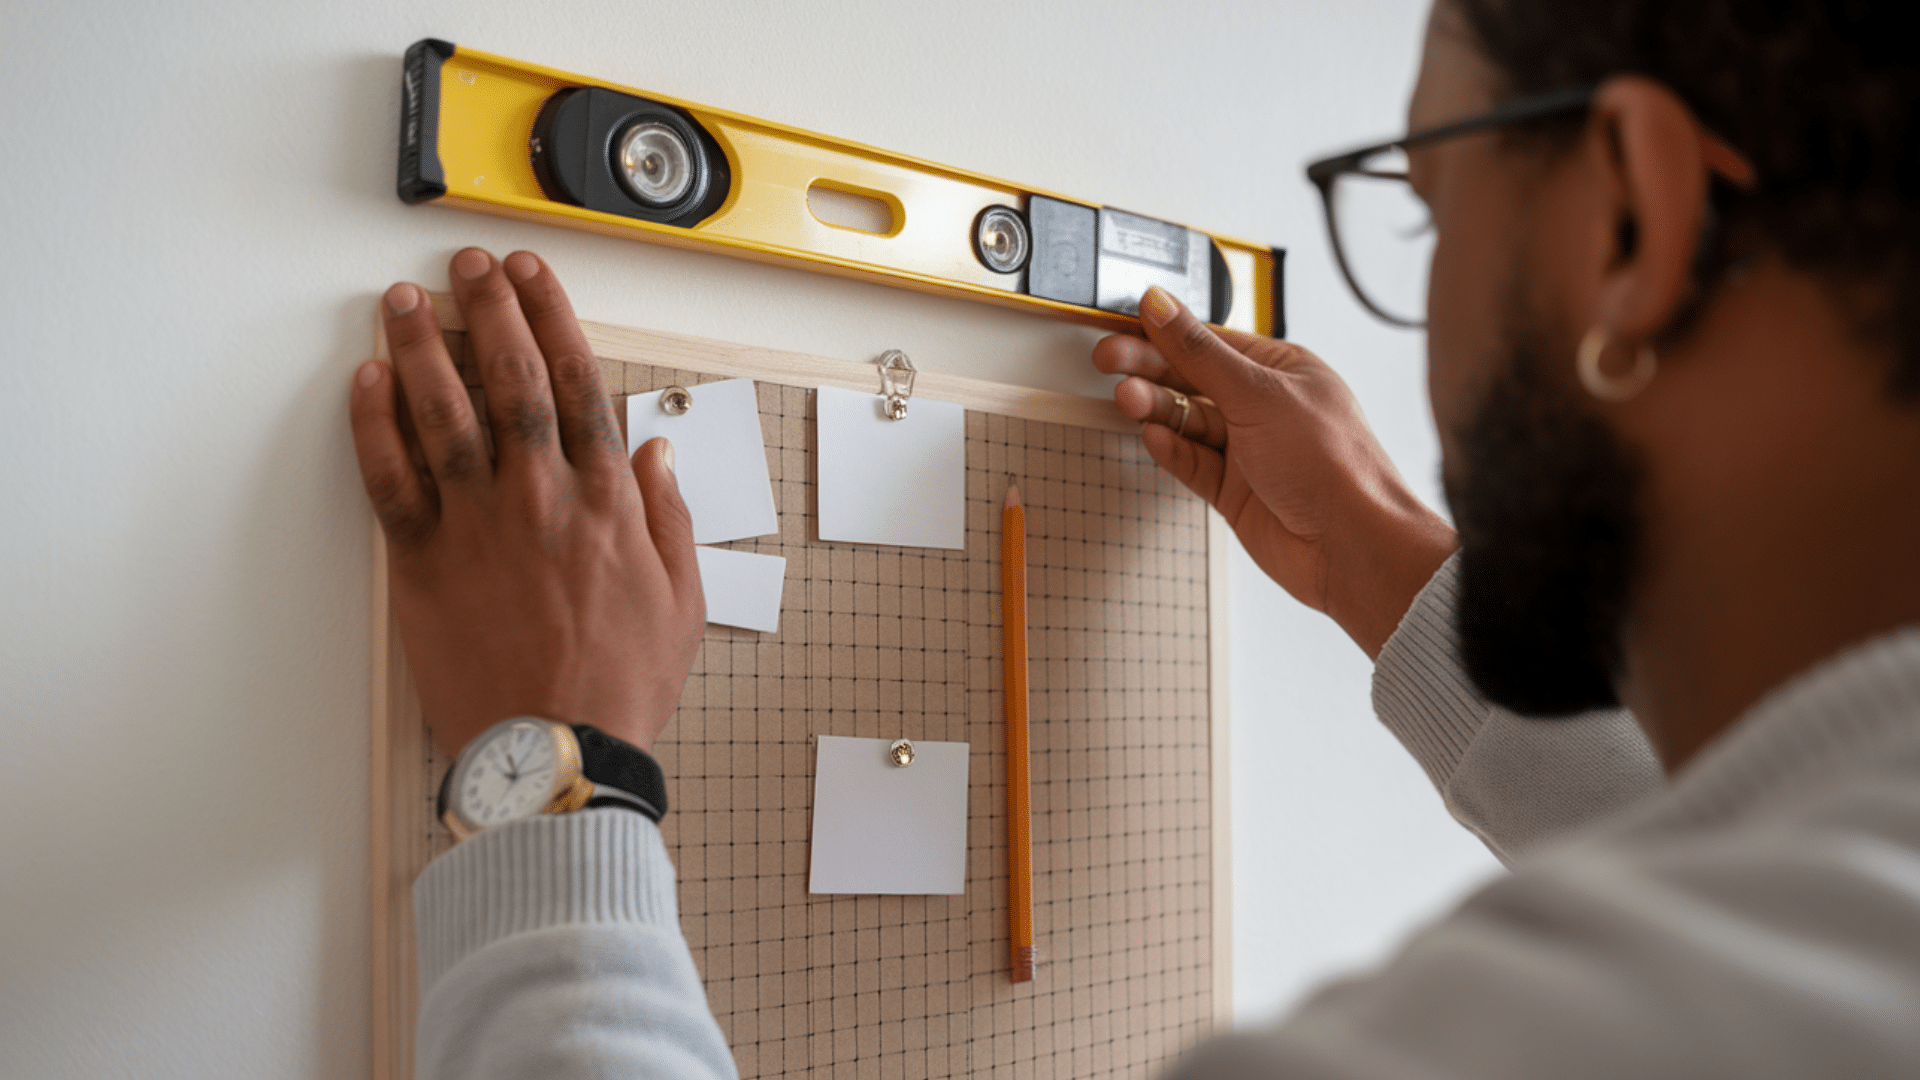
Now that your memo board is decorated, it’s time to hang it on the wall. There are several ways to do this, depending on the weight of your board and your preferred method of hanging.
Using Picture-Hanging Strips
For a simple, no-damage solution, you can use picture-hanging strips. These strips are perfect for lightweight boards and won’t damage your wall. Just follow the instructions on the packaging to apply the strips to the back of your board and then press it onto the wall.
Using Nails or Screws
For heavier boards, it’s better to use nails or screws. You’ll want to measure and mark the placement for the nails so that your board is level. Use a hammer or drill to insert the nails or screws into the wall, then hang your board on them.
Using Hooks or Rope
For a more rustic or vintage look, you can hang your memo board from hooks or a rope. This adds an interesting, decorative touch while also providing an easy way to move or adjust the board when needed.
Step 6: Add Pins and Decorations

Now that your board is hanging, it’s time to add the finishing touches. Here are some ideas for personalizing your board with useful and decorative items:
Thumbtacks or Push Pins
Thumbtacks or push pins are essential for a functional memo board. You’ll use them to attach notes, photos, reminders, and more. Push pins can be found in various colors, designs, and styles to match your board.
Sticky Notes
Sticky notes are perfect for jotting down quick reminders, to-do lists, or messages. They’re easy to update, so you can change them as needed without much effort.
Photos or Artwork
Add pictures of your family, friends, or pets to make your memo board more personal. You can also pin up your favorite artwork or inspirational quotes to make the board reflect your style.
Small Hooks or Clips
As mentioned earlier, small hooks or clips can be added to the memo board to hang items like keys, small bags, or even lightweight hats. These make your memo board both functional and decorative.
Chalkboard or Whiteboard Markers (For Chalkboard Memo Boards)
If you’ve chosen to use a chalkboard or whiteboard, add markers so you can write and erase messages as needed. You can create a to-do list, write down daily reminders, or even doodle for fun!
Step 7: Organize and Use Your Memo Board

Your memo board is ready to use! Here are some ways to make the most out of it:
Use It for Daily Tasks and Reminders
Write down your to-do list or upcoming appointments to help you stay on track. It’s also a great place to keep track of important events or family schedules.
Create an Inspirational Space
If you want your memo board to be more than just functional, you can use it to display your favorite quotes, photos, or artwork. Use it as an inspirational space that keeps you motivated and focused.
Organize Your Home or Office
A memo board is a great tool for organizing important notes and information. Use it to store phone numbers, business cards, or work reminders. It keeps everything in one place so you can find what you need quickly.
How to Maintain and Update Your Memo Board
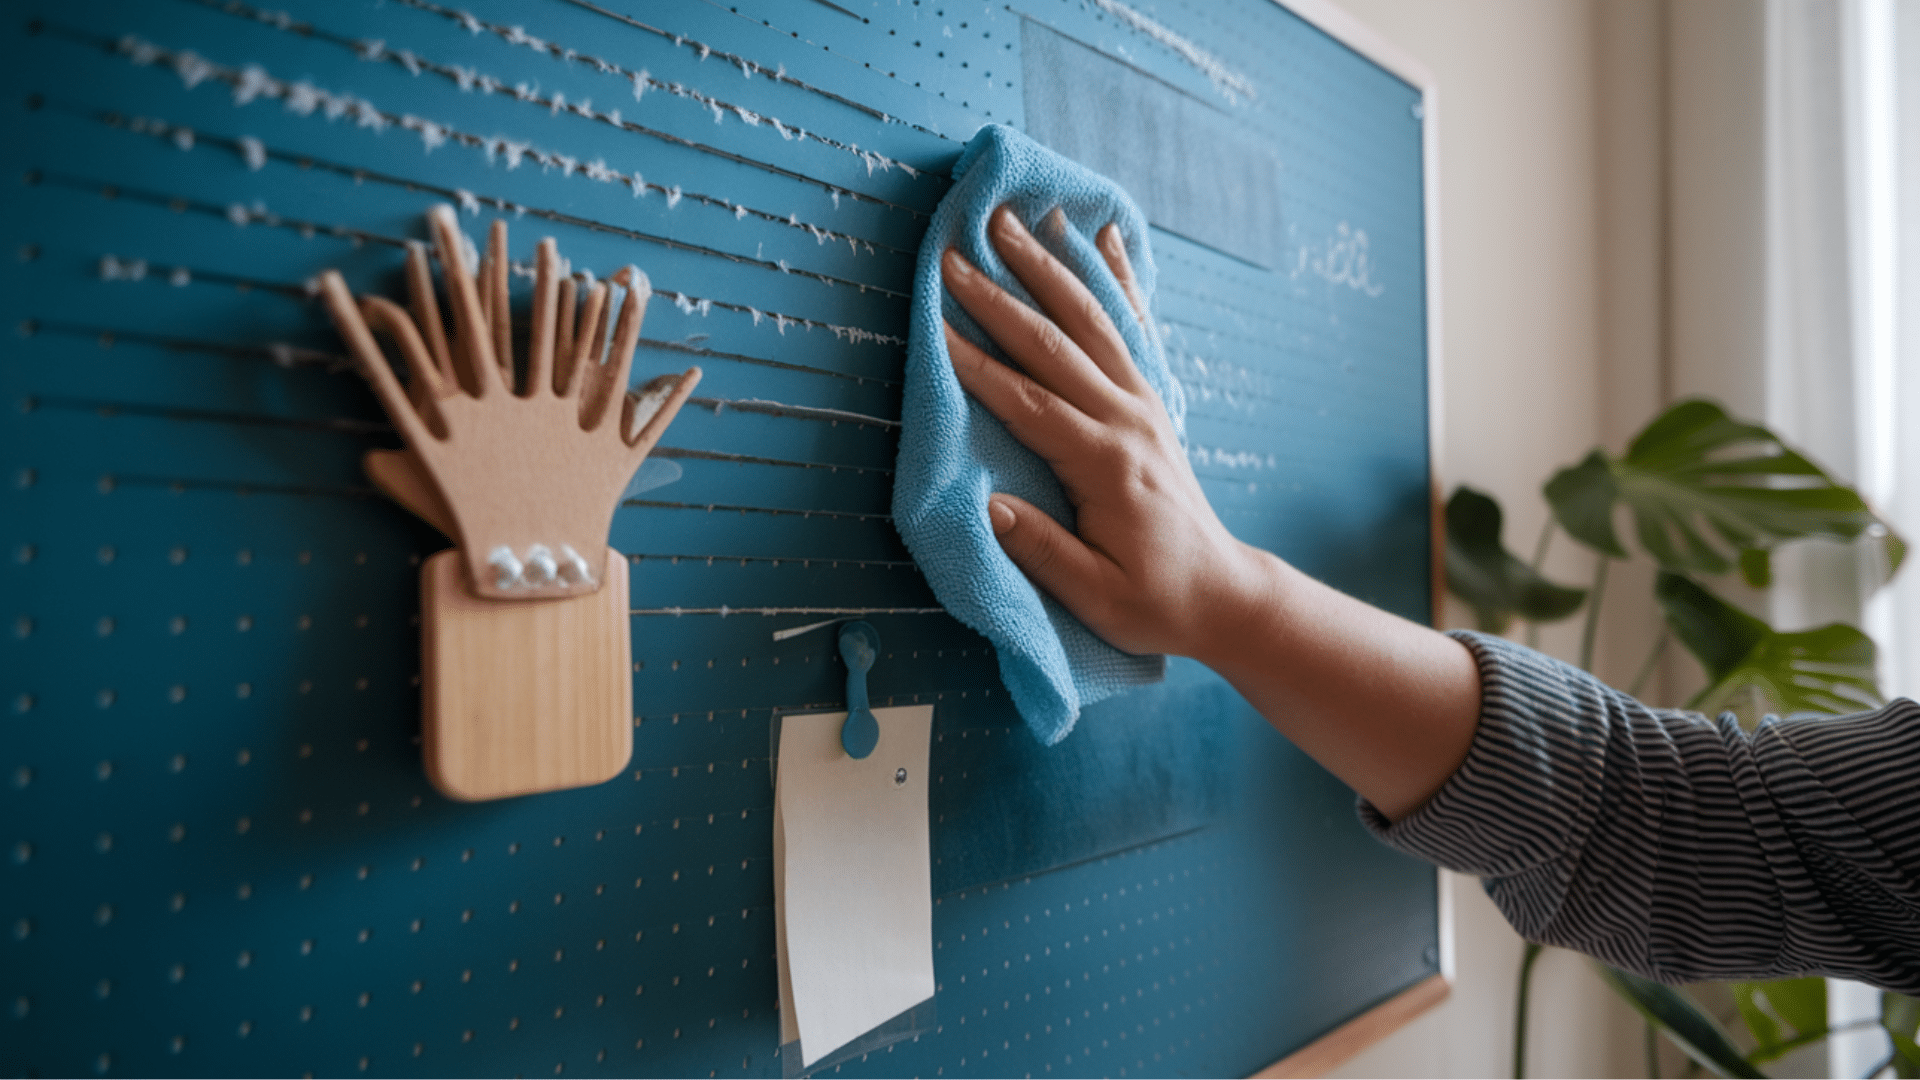
Once your memo board is up and running, it’s important to keep it updated and well-maintained. Here are some tips for maintaining it:
1. Regularly Clean the Board: Dust and dirt can accumulate over time, especially if the memo board is exposed to frequent handling. Clean it regularly with a soft cloth to keep it looking fresh.
2. Update Your Notes: Make sure your memo board stays useful by updating your notes, reminders, and photos. Replace sticky notes when you’ve completed tasks, and add new ones as needed. Keeping the board current ensures that it remains a useful tool.
3. Keep It Tidy: A memo board can easily become cluttered with papers, photos, and reminders. Regularly tidy up the board by removing outdated items and reorganizing what’s left.
Tips for Creating a Long-Lasting Memo Board
Creating a memo board that lasts requires a bit of care during the building process. Here are a few tips to ensure your board stays in good shape:
1. Use Durable Materials: If you want your memo board to last, choose high-quality materials that can withstand frequent use. For example, if you’re planning to use it for heavy-duty purposes, opt for a thicker corkboard or sturdy wood.
2. Attach the Board Securely: Make sure your memo board is properly secured to the wall. If you’re using picture-hanging strips, follow the instructions carefully. For heavier boards, use screws or nails that are appropriate for the weight of your board.
3. Reinforce the Edges: If you’re using fabric or paper to cover the board, reinforce the edges with extra glue or tape to prevent them from peeling over time. This will help the board maintain its neat appearance.
Conclusion
Making a DIY memo board is a simple, affordable, and fun project that can help you stay organized and add a personal touch to your home. With just a few materials and some creativity, you can create a memo board that not only keeps your important notes and reminders in one place but also adds style to your room. It’s an easy way to stay on top of your tasks, remember appointments, and keep things tidy.
The best part about a DIY memo board is that you can customize it to fit your needs and taste. You can choose the base and decorations and even add hooks or clips for extra functionality. It’s also easy to update and maintain, making it a long-lasting addition to any space.
So grab your materials, get creative, and start building your memo board today. It’s a great way to bring order to your space while making something truly your own!