

| Difficulty | 2 out of 5 for a small, isolated patch; higher once drywall or ventilation work is involved |
| Estimated Cost | $20-$50 in cleaning supplies and primer for a DIY spot; $1,223-$3,753 for professional remediation |
| Time | A weekend for cleaning, drying, and repainting a small ceiling patch |
| DIY or Professional | DIY for patches under about 10 sq. ft.; professional for larger or recurring growth |
| Tools Needed | N95 mask, gloves, eye protection, scrub brush, non-ammonia cleaner, moisture meter, stain-blocking primer |
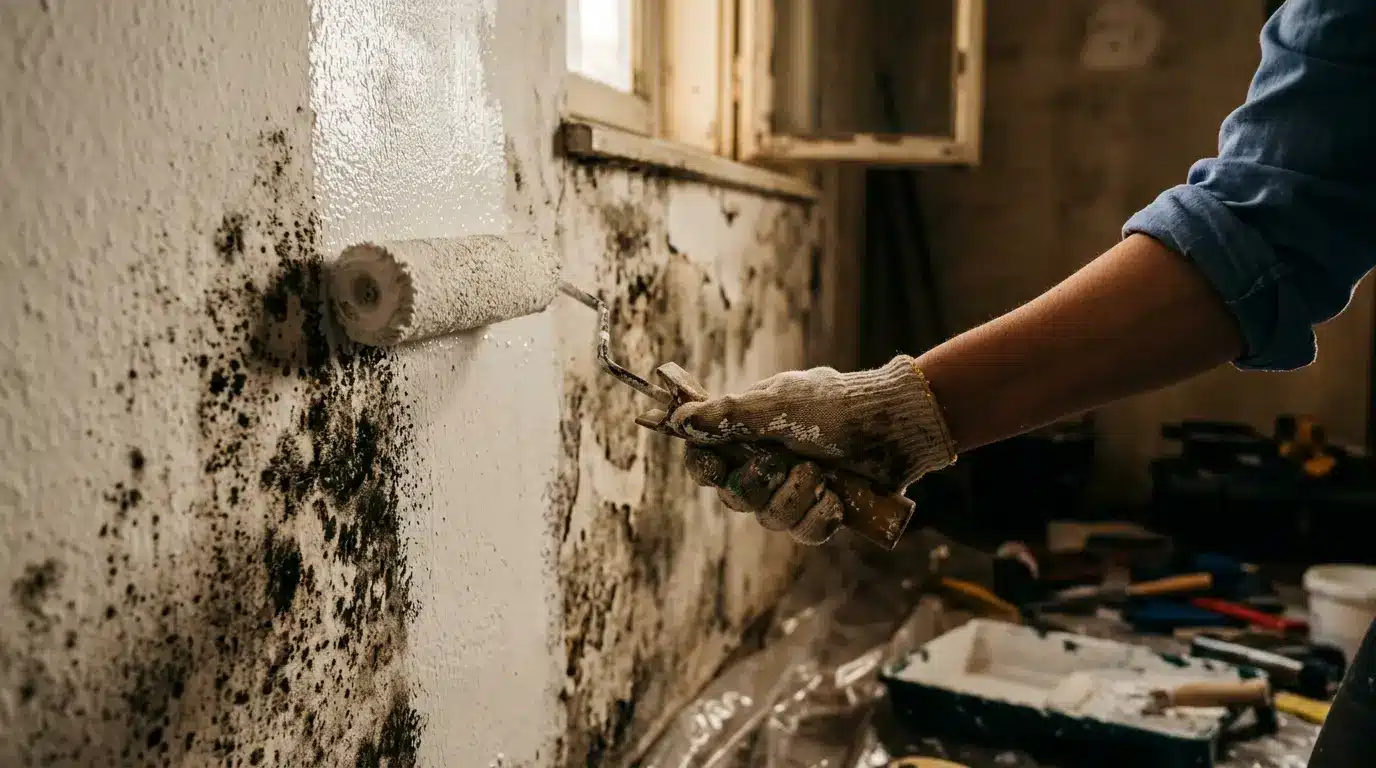
No, you can’t paint over mold with KILZ and expect it to solve the problem. I found that out on my own bathroom ceiling, where a can of KILZ Mold & Mildew Primer looked like a clean fix for about three weeks before the same dark ring bled straight back through the new coat.
KILZ makes a legitimate mold-and-mildew-resistant primer, but the label itself tells you the surface has to be clean and free of mold before you apply it.
Primer protects a properly prepared surface from future growth; it comes right before you settle on a paint shade for the room, not before the cleanup. It was never designed to kill or seal in an active colony that’s already established on drywall or plaster.
| Cost Note: The remediation and repair figures in this guide reflect national averages reported by Angi and HomeAdvisor. Actual costs vary by region, contractor rates, square footage, and the type of mold involved. Get at least three written quotes for any job over $1,000. |
Why Mold Comes Back After You Paint Over It
Mold needs three things to keep growing: moisture, a food source like drywall paper or wood, and a temperature it tolerates. Paint changes none of those conditions. It just sits on top.
On my ceiling, the leak was slow, from a bathroom fan duct that wasn’t vented outside. I never traced the actual source before I primed and repainted, so the ceiling stayed damp behind the new coating.
Within a month, the stain telegraphed straight through both the primer and the topcoat, and I ended up re-matching the ceiling texture before I repainted it a second time.
A few things typically happen when paint goes over active growth instead of a cleaned, dried surface:
- The colony keeps feeding on moisture trapped underneath the film, even though the surface looks sealed.
- Stains bleed through as the organic material continues to break down.
- Adhesion fails; trapped moisture is one of the most common reasons paint bubbles, peels, or cracks within a season.
- Porous materials keep deteriorating, since drywall paper, wood, and insulation absorb water long after the surface looks dry.
Signs You’re Dealing With More Than a Surface Stain
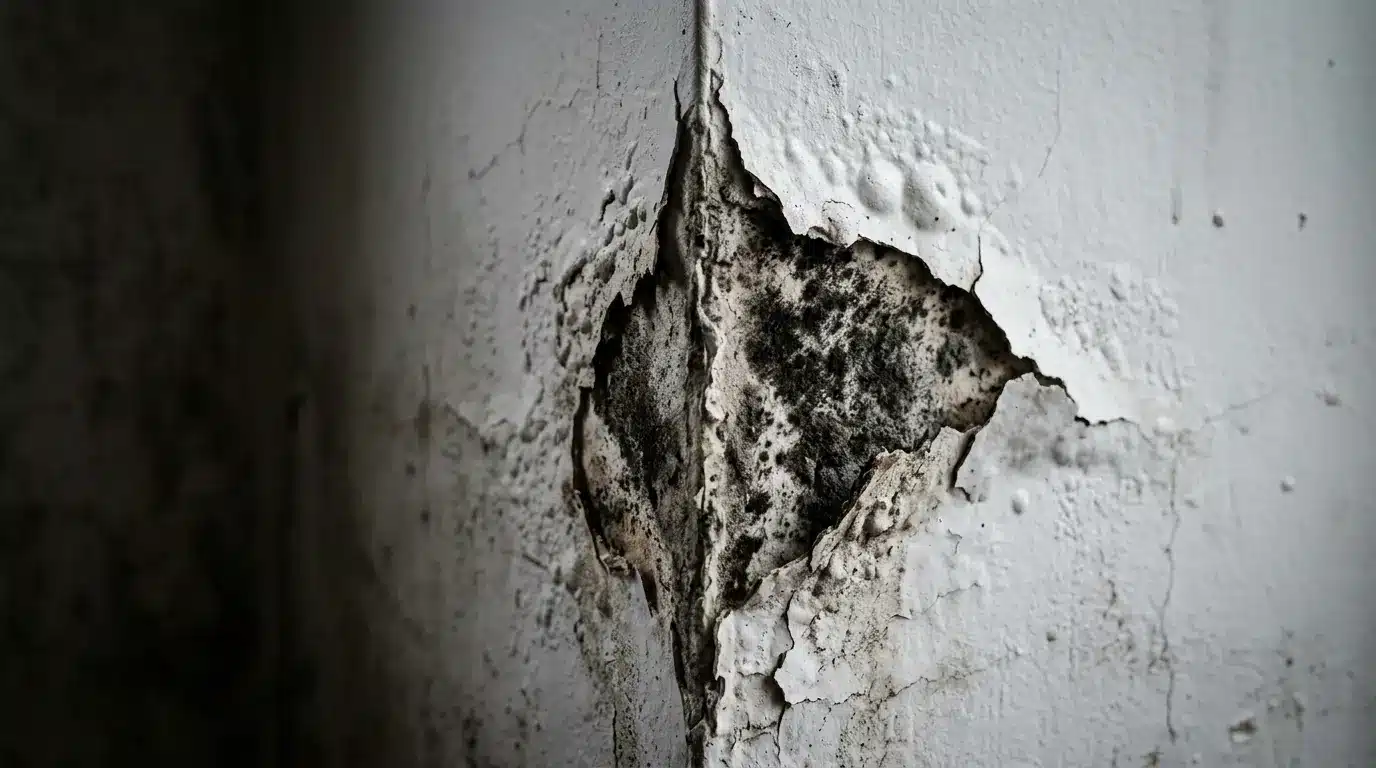
Before you reach for a scrub brush or a primer can, check the material underneath the discoloration. This is the step I skipped, and it’s the one that cost me a second repaint, right down to sourcing pre-cut wood for the section of trim that had to come out.
- Drywall feels soft, spongy, or bows slightly when pressed
- Wood trim or subfloor has started to split, warp, or crumble
- A musty odor persists after the visible spot is wiped down
- The same patch has reappeared more than once in the same location
- Growth appears on both sides of a wall or ceiling, suggesting it’s inside the cavity
Any one of these means cleaning the surface won’t be enough. The material itself may need to come out.
How to Deal With Mold Before You Prime and Paint
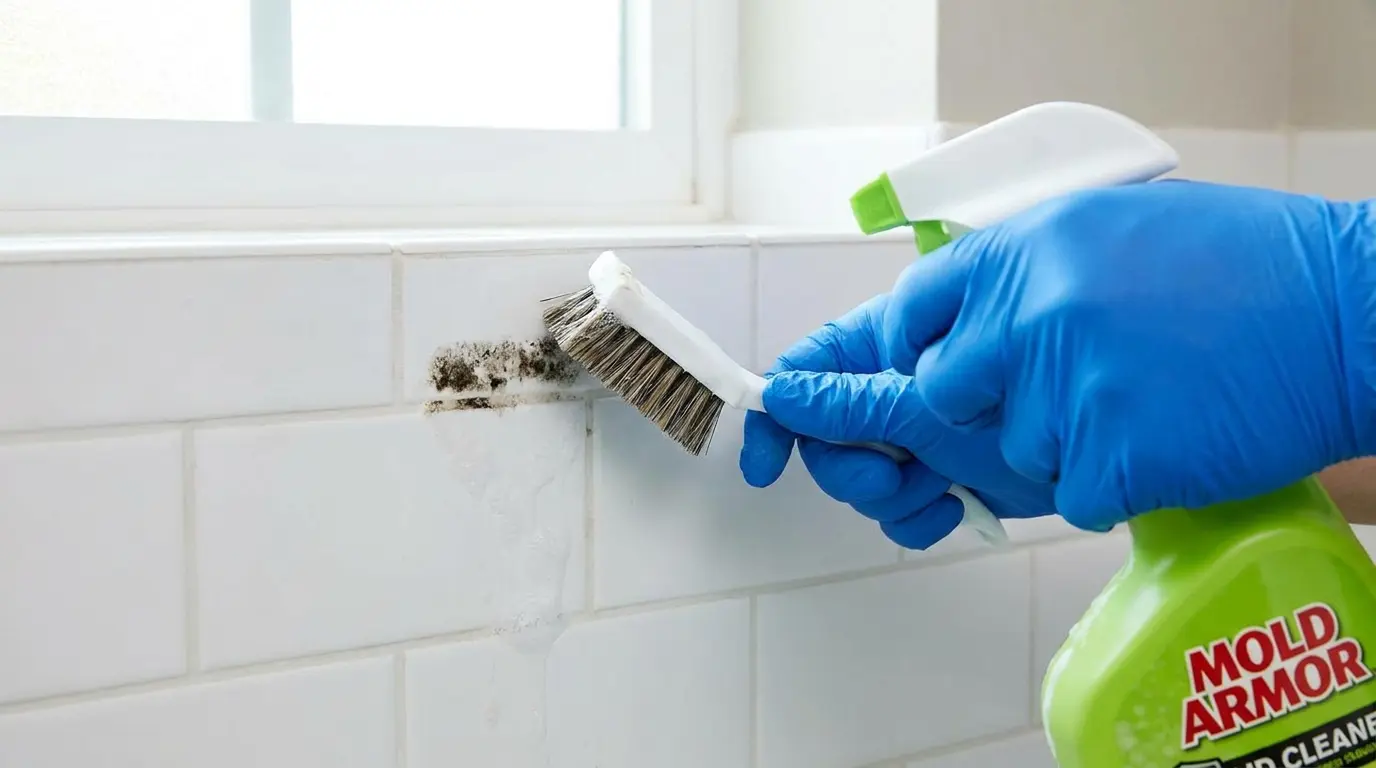
The EPA’s guidance on residential mold cleanup puts the DIY line at roughly 10 square feet, about a 3-foot by 3-foot patch. Below that, most homeowners can handle it themselves with the right precautions. Above it, or if the growth followed flooding or sewage contamination, call a remediation professional instead.
1. Find and Fix the Moisture Source
Common culprits I run into on service calls: a bathroom fan venting into the attic instead of outside, a slow roof or plumbing leak, condensation on a cold exterior wall, or a shower that isn’t sealed at the tile grout. Trace the water before you touch the mold, or the same spot will be back within weeks.
2. Assess the Material
Press on the drywall or wood. If it holds firm and the paint film is intact, surface cleaning is usually enough. If it flexes, crumbles, or smells musty at the core, plan on cutting it out instead.
3. Clean the Affected Area
For a patch under 10 sq. ft. on a hard, non-porous surface like tile or sealed trim, scrub with water and a non-ammonia detergent, then let it dry completely. Never mix bleach with ammonia-based cleaners; the combination produces toxic fumes. Wear an N95 mask, gloves, and eye protection while you work, per EPA cleanup guidelines.
4. Let the Surface Dry Fully
This is the step most homeowners rush. A wall can feel dry to the touch while the drywall core still holds moisture. Give it at least 24-48 hours in good airflow, and check with an inexpensive moisture meter before priming if you have any doubt; under $30, well spent compared to repainting twice.
5. Apply a Stain-Blocking, Mold-Resistant Primer
Once the surface is clean, sound, and dry, a product like KILZ Mold & Mildew Primer is appropriate. Its manufacturer specifications call for a surface free of dust, grease, and existing mold before application, and the primer film itself resists future mildew growth; it doesn’t treat what’s already there.
6. Finish With a Moisture-Resistant Paint
In bathrooms, laundry rooms, and basements, a satin or semi-gloss paint formulated to resist mildew on the finish coat holds up better than a flat wall paint over the long run.
| Tip: Test any cleaned area with a moisture meter before priming, not just a visual check. I’ve primed over drywall that looked bone-dry and still had a stain bleed through two weeks later because the core hadn’t fully released moisture. |
Common DIY Mistakes That Bring Mold Back
- Priming before the material is dry. Trapped moisture behind a sealed film is worse than leaving the spot uncovered.
- Treating primer as the remediation step. Primer protects a prepared surface — it isn’t a substitute for cleaning or removing damaged material.
- Repainting the stain instead of fixing the leak. If you don’t find the water source, budget for repainting the same spot again.
- Leaving damaged drywall or insulation in place. Once these materials are saturated and soft, cleaning doesn’t restore them.
- Skipping ventilation upgrades. A bathroom without adequate exhaust will reproduce the same conditions that caused the problem.
When to Call a Mold Remediation Professional
| Safety Note: Large-scale mold removal can disturb spores and, in some cases, involves work near electrical fixtures, HVAC ducting, or structural framing. If growth covers more than roughly 10 sq. ft., appears inside wall cavities, or follows flood or sewage water, hire an IICRC-certified remediation contractor rather than treating it as a weekend project. |
Professional mold remediation costs an average of $2,368 nationally, with most jobs falling between $1,223 and $3,753 depending on square footage and mold type.
A small bathroom-ceiling job on the low end of that range is often cheaper in the long run than a DIY repaint that has to be redone. Get a mold inspection first if you’re unsure of the scope; that typically runs $300 to $700 separately.
Call a professional when:
- Growth covers more than about 10 sq. ft.
- Multiple rooms or the HVAC system are affected
- Drywall or wood has become soft or is visibly decaying
- A musty odor remains after cleaning and drying
- The same spot has returned more than once despite fixing the visible cause
- Anyone in the household has asthma, allergies, or another condition that makes mold exposure a bigger concern
These are the same warning signs homeowners ask about most often once the visible mold is gone and the wall is almost ready for paint, which brings up a few questions I hear on nearly every job like this.
Final Thoughts
Can you paint over mold? Not while active mold and the moisture problem are still sitting underneath the finish. And KILZ should not be treated as a one-can replacement for mold removal.
My failed bathroom ceiling repaint changed how I approach these jobs. I now focus on the cause before reaching for a brush.
The reliable order is straightforward: stop the moisture, assess the material, deal with the mold, let everything dry, then prime and paint.
Following that order gives the new coating a clean, stable surface and lowers the chance that the same dark patches appear again a few weeks later.
Frequently Asked Questions
How long should a wall dry before primer is applied?
There is no single drying time for every wall. The material, humidity, airflow, temperature, and amount of water involved all matter. Prime only after the surface and material underneath are properly dry.
Can old mold stains remain after cleaning?
Yes. Discoloration can sometimes remain even after the underlying problem has been addressed. A suitable stain-blocking primer may help cover the mark once the surface is clean, sound, and dry.
What indoor humidity level helps reduce mold problems?
Keeping indoor humidity controlled, commonly below about 50% when practical, can make conditions less favorable for mold. A basic hygrometer can help track changes in bathrooms, basements, and other damp rooms.
Is bathroom paint enough to prevent mold?
Bathroom paint can help resist moisture and mildew on the painted surface, but it cannot stop mold caused by leaks, persistent condensation, wet drywall, or poor ventilation. Moisture control still comes first.
Can you prime immediately after fixing a leak?
Not usually. Fixing the leak stops new water, but the affected material may still contain moisture. Let the area dry properly and check for damage before applying primer or paint.