

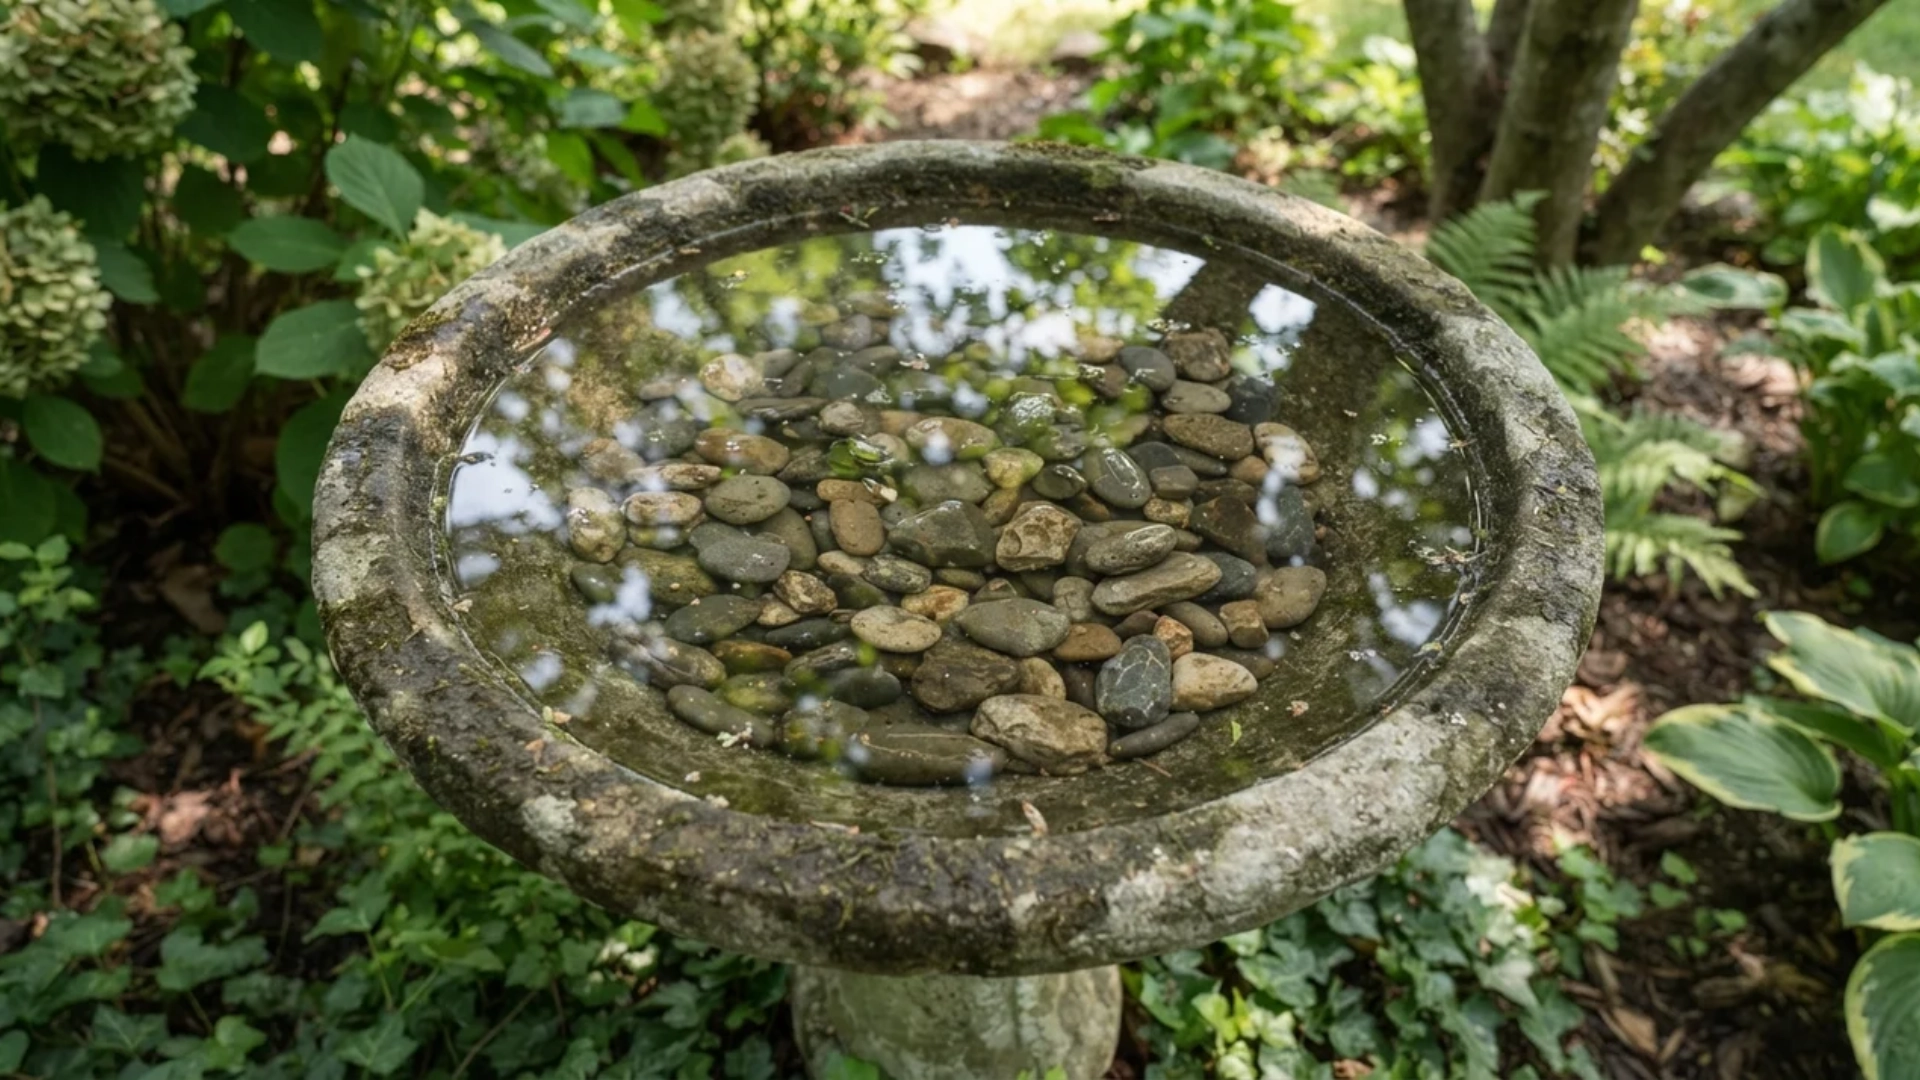
A few forgotten garden pots can become the busiest spot in your backyard. My first attempt leaned to one side and nearly collapsed, but fixing those early mistakes taught me what makes a diy bird bath sturdy, safe, and inviting.
You do not need expensive supplies or advanced tools. The right pot sizes, a stable stacking method, and a bird-friendly water level can turn unused pieces into something robins, sparrows, and finches will visit regularly, especially if you eventually add a DIY bird feeder pole nearby to give them another reason to stop by.
Coming up, I will help you choose suitable pots, secure each layer, position the finished bath, and maintain it without creating another demanding backyard chore.
What Do You Need to Make a DIY Bird Bath?
Start with a wide, shallow basin that can withstand sun, rain, and frequent cleaning. A plant saucer is a practical choice because it offers enough room for birds without creating deep water.
For a basic terracotta diy bird bath, gather one wide plant saucer, two or three sturdy pots, exterior-rated construction adhesive, a few flat stones or pieces of gravel, fresh water, a level outdoor surface, and a separate cleaning brush.
Choose pots with broad bases and firm rims. Avoid cracked, thin, or badly chipped pieces, since they may buckle under the basin’s weight. If your leftover pots are a little mismatched, painting terracotta pots first is an easy way to bring them together before they go outside. A shallow bowl, tray, or strong container lid can also work if it stays stable outside.
Skip anything with sharp edges, peeling finishes, or chemical residue. I prefer a plain, textured saucer because birds can grip it easily and dirt does not collect in awkward corners. Matching pieces are optional. Stability, shallow water, and easy cleaning matter most.
How to Build a Terracotta Pot Bird Bath Step by Step
Build the bird bath with these simple stages. Test each piece before applying adhesive, since even a small alignment issue can affect the stability of the finished structure.
Step 1: Prepare and Dry-Fit the Parts
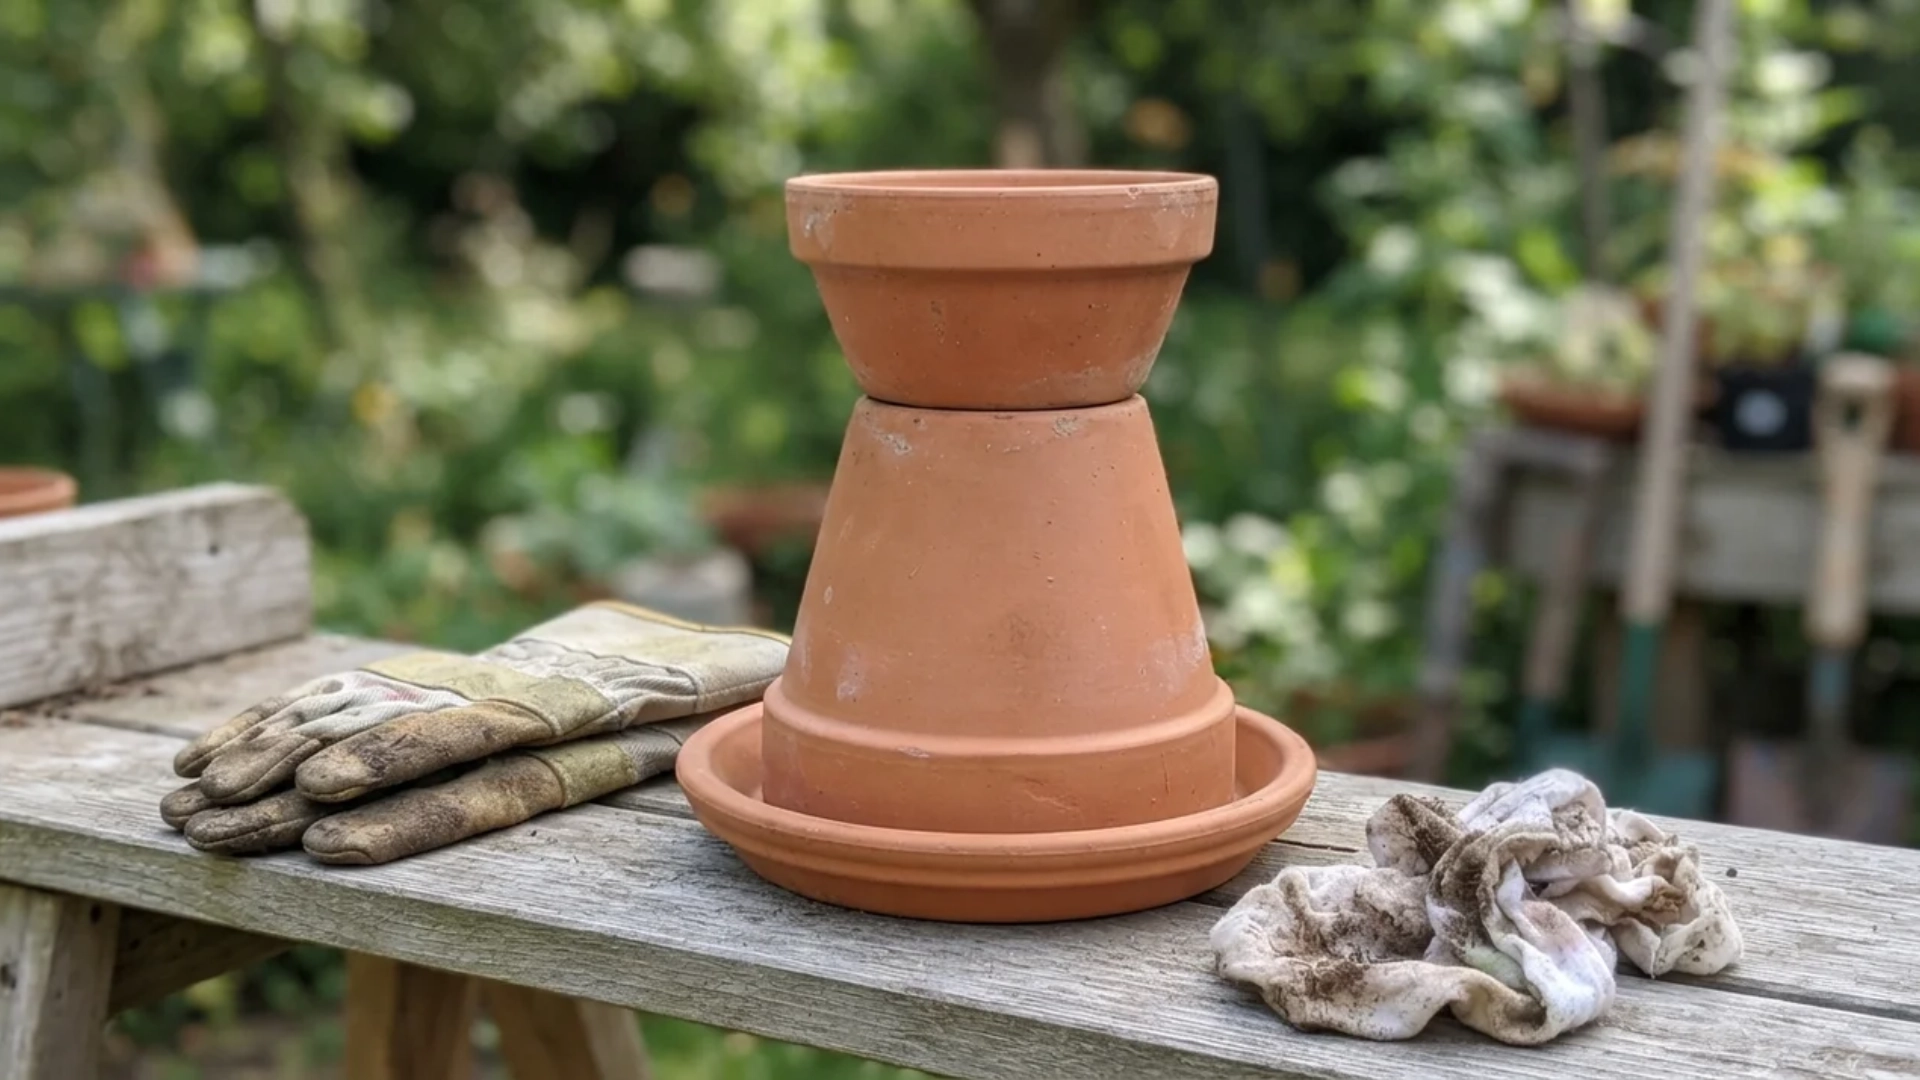
Clean every pot, bowl, and saucer before assembly so dust, grease, or grit does not weaken the adhesive bond. Set every piece in place without glue first, then check the full stack from different angles to see whether it sits straight and feels balanced.
Watch for rocking pieces, uneven rims, hidden gaps, or bases that shift under light pressure. Dry-fitting gives you time to correct those issues before anything becomes permanent, saving trouble once adhesive or epoxy has fully cured.
Step 2: Build and Secure the Support
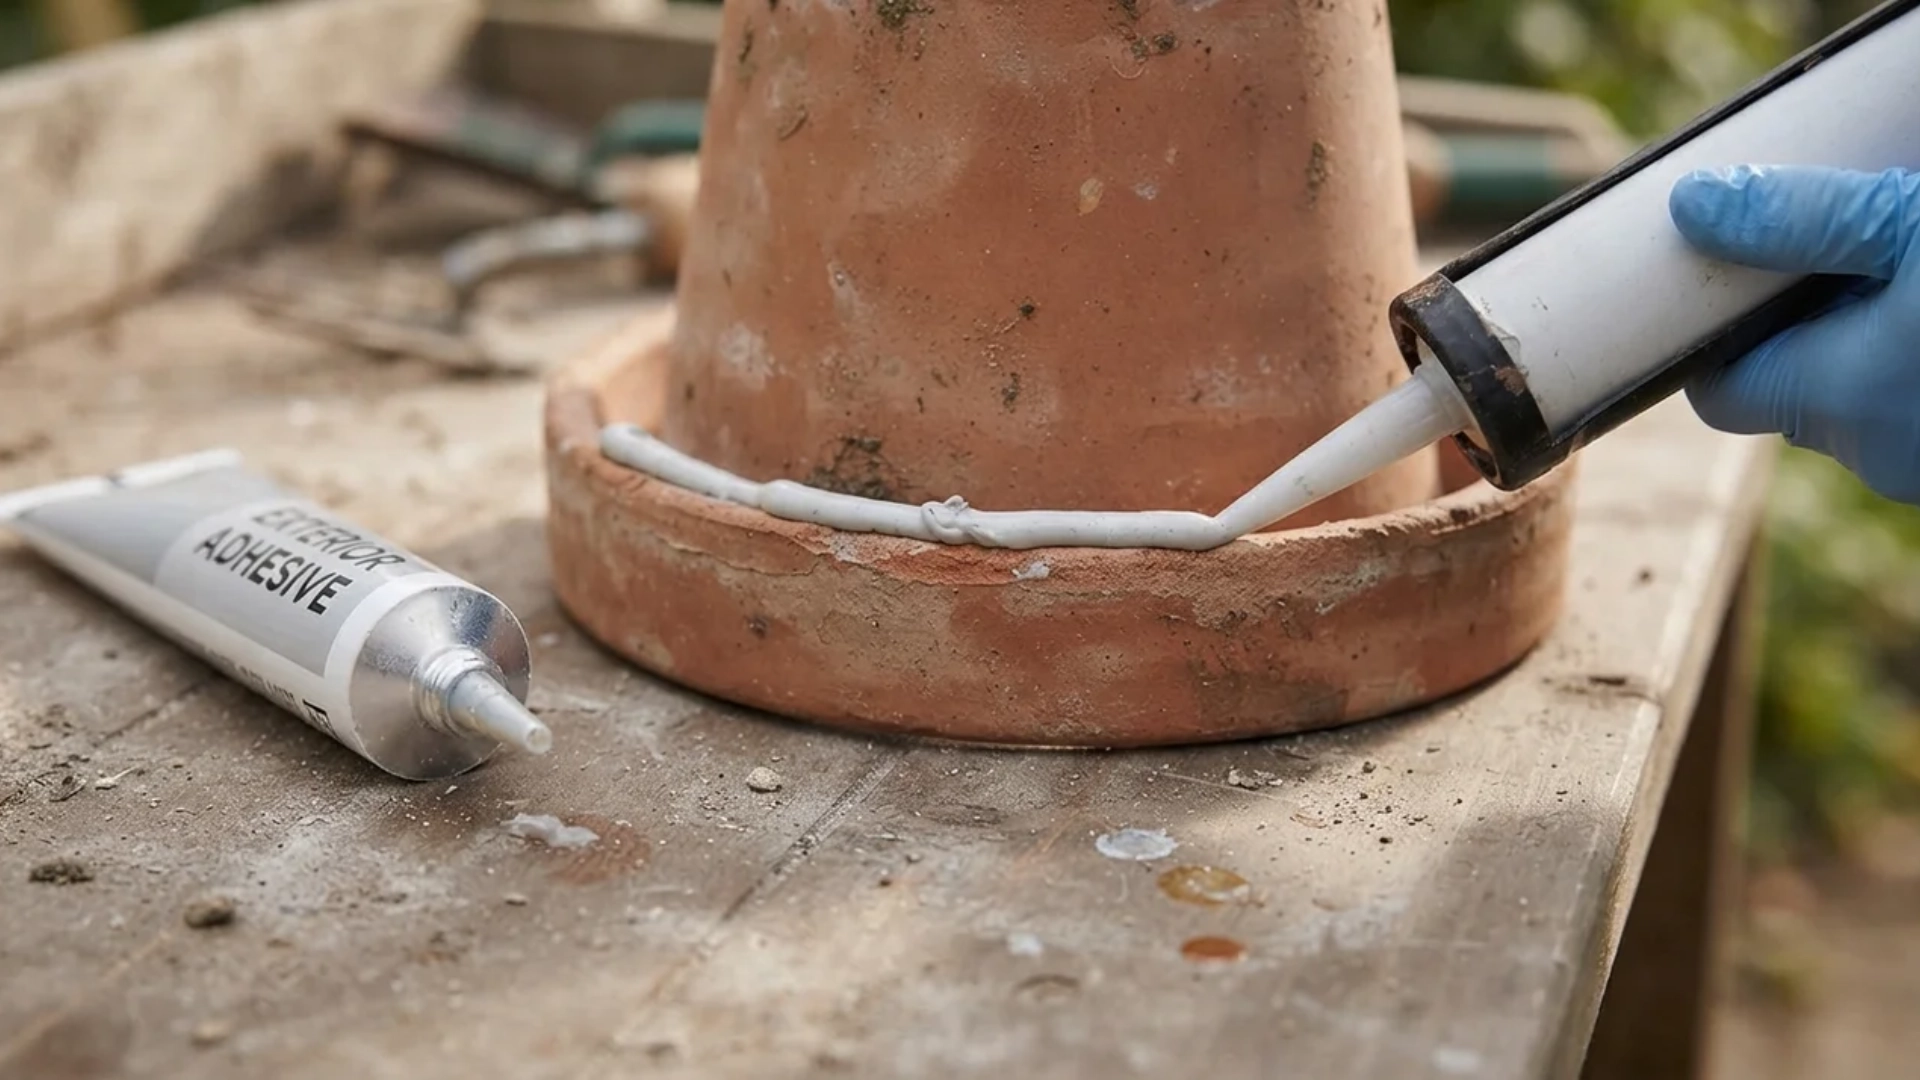
After the dry-fit feels solid, secure the support using the method that suits your materials. Apply exterior adhesive around terracotta rims, use outdoor-rated clear epoxy for glass, pour concrete correctly for molded designs (the same basic mixing and curing steps used in creative concrete garden projects apply here), and choose strong rope or chain for hanging versions that can handle the filled weight.
Keep the base wider and heavier than the upper section whenever possible. A broad foundation handles wind, rain, movement, and birds landing on the rim better than a tall, narrow outdoor build.
Step 3: Attach or Form the Basin
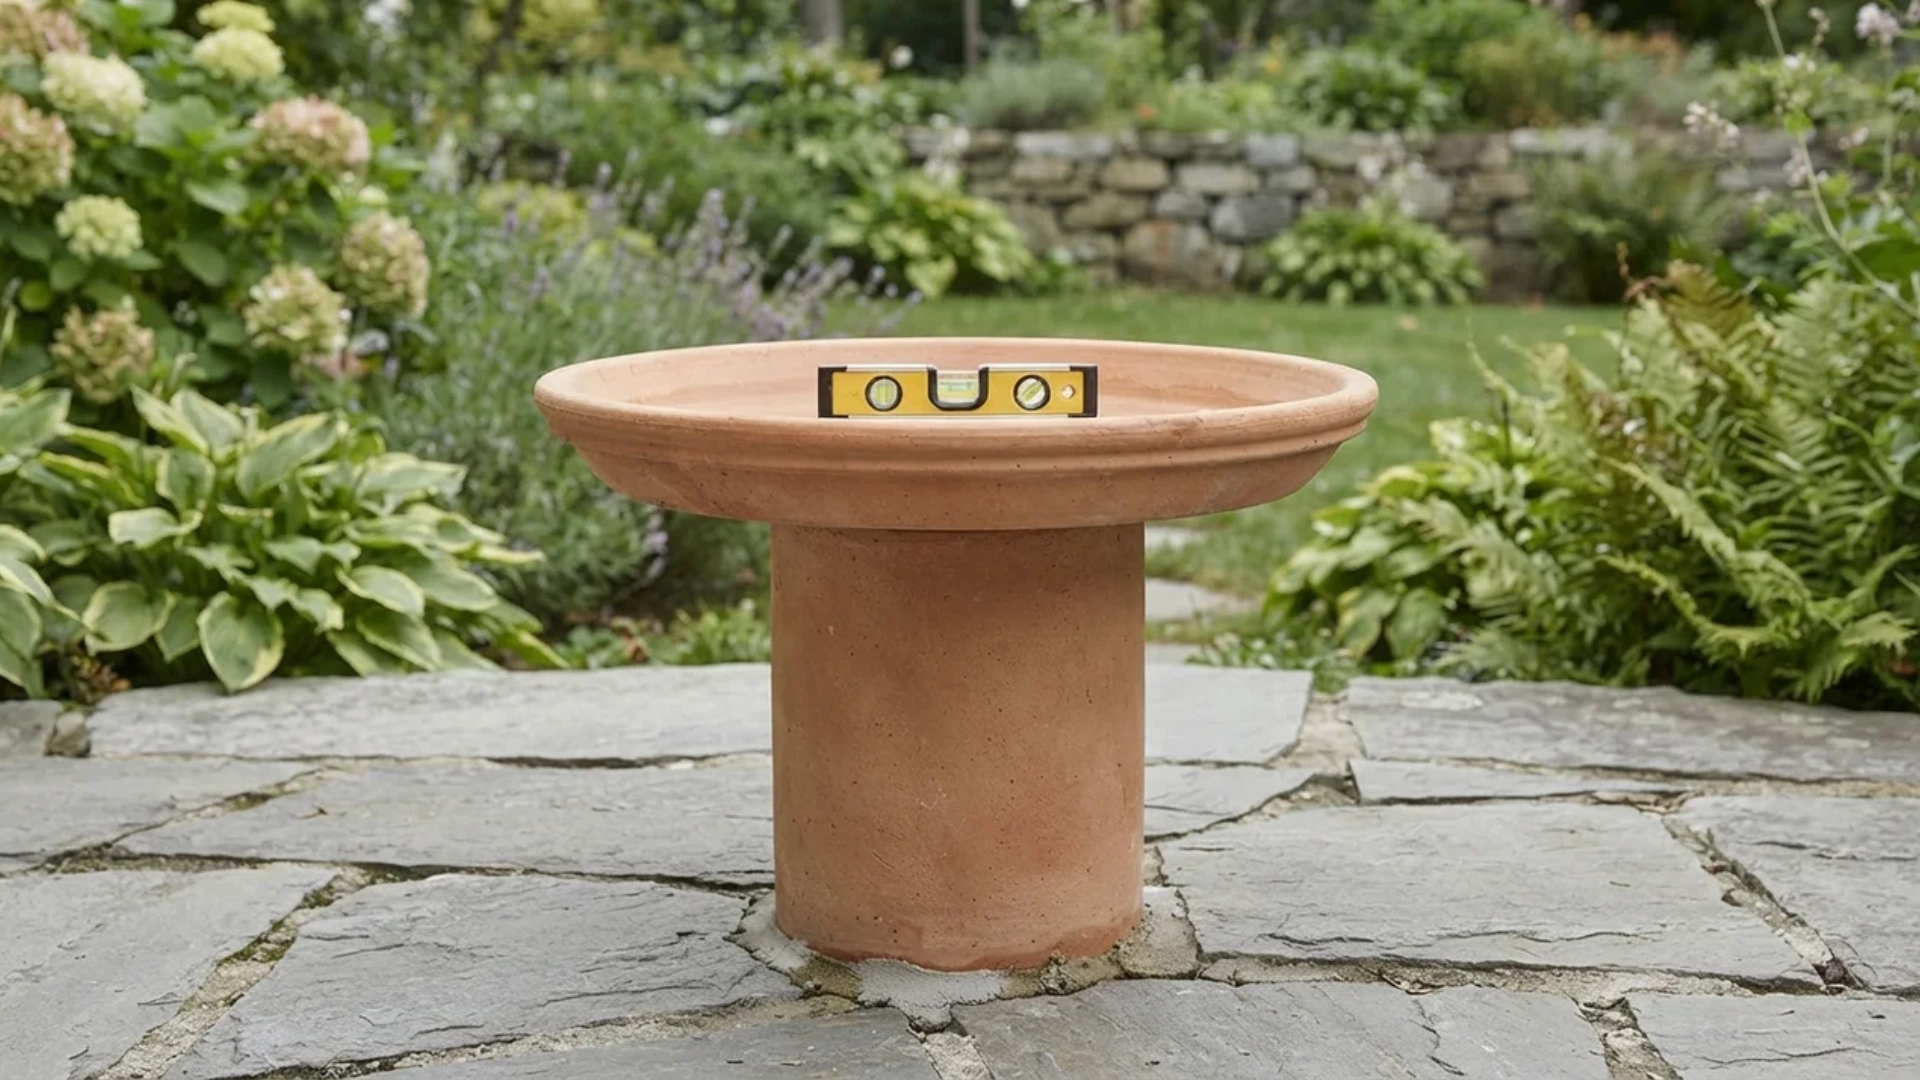
Set the basin level because this is the part that holds water and determines how evenly the bath works. On stacked designs, center the saucer or bowl over the cured support, then press lightly and check that it sits flat without rocking.
For leaf-cast concrete, shape the mold so the finished basin stays shallow with gentle sides. If water gathers on one edge, fix the support underneath rather than tilting the basin, which can reduce stability and usable water depth.
Step 4: Let the Bird Bath Cure Before Filling
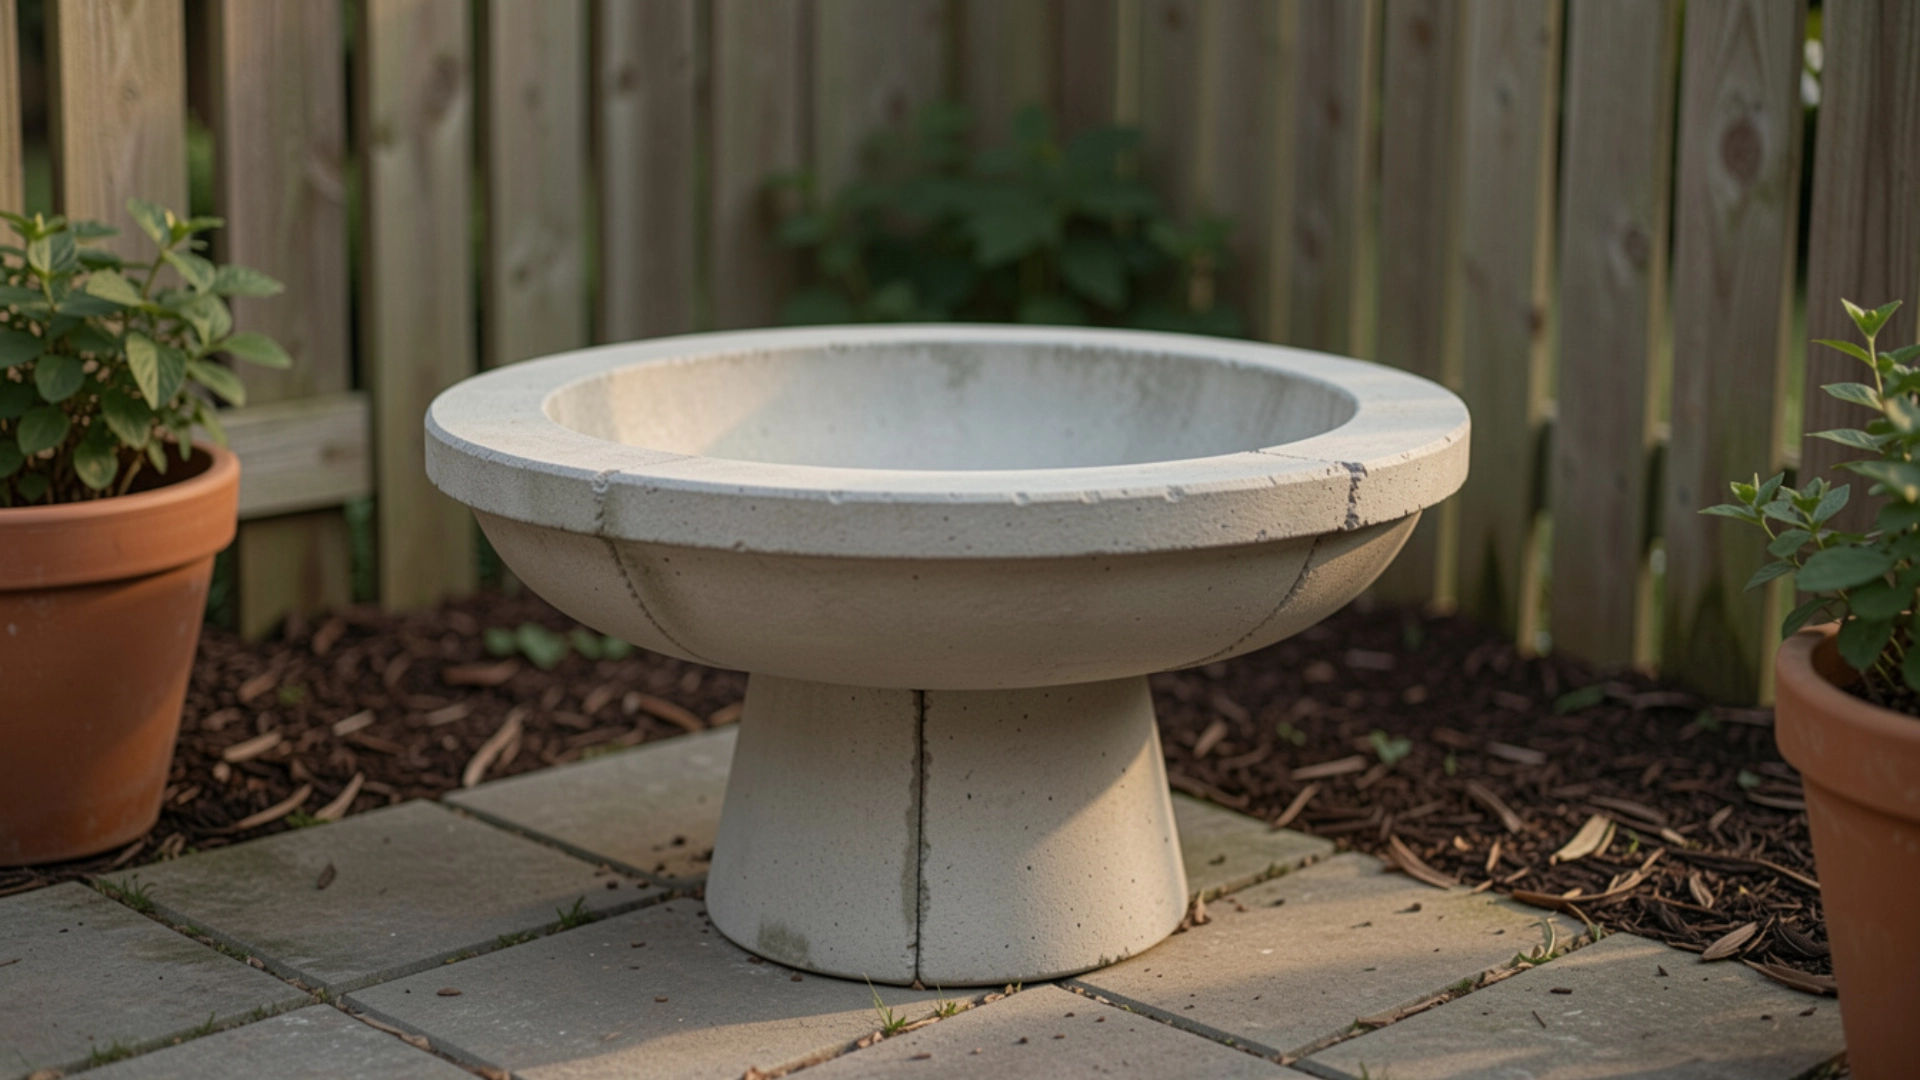
Give every adhesive, epoxy, sealant, or concrete joint its full curing time before adding water. The required wait varies by product, so follow the label rather than guessing. Moving or filling the bath too soon can weaken connections before they have fully hardened.
Early filling can also expose the basin to uncured residue that may wash into the water. Once the listed curing period is complete, inspect the joints for firmness and stability before filling the bird bath for use.
Step 5: Add Water, Stones, or Pebbles
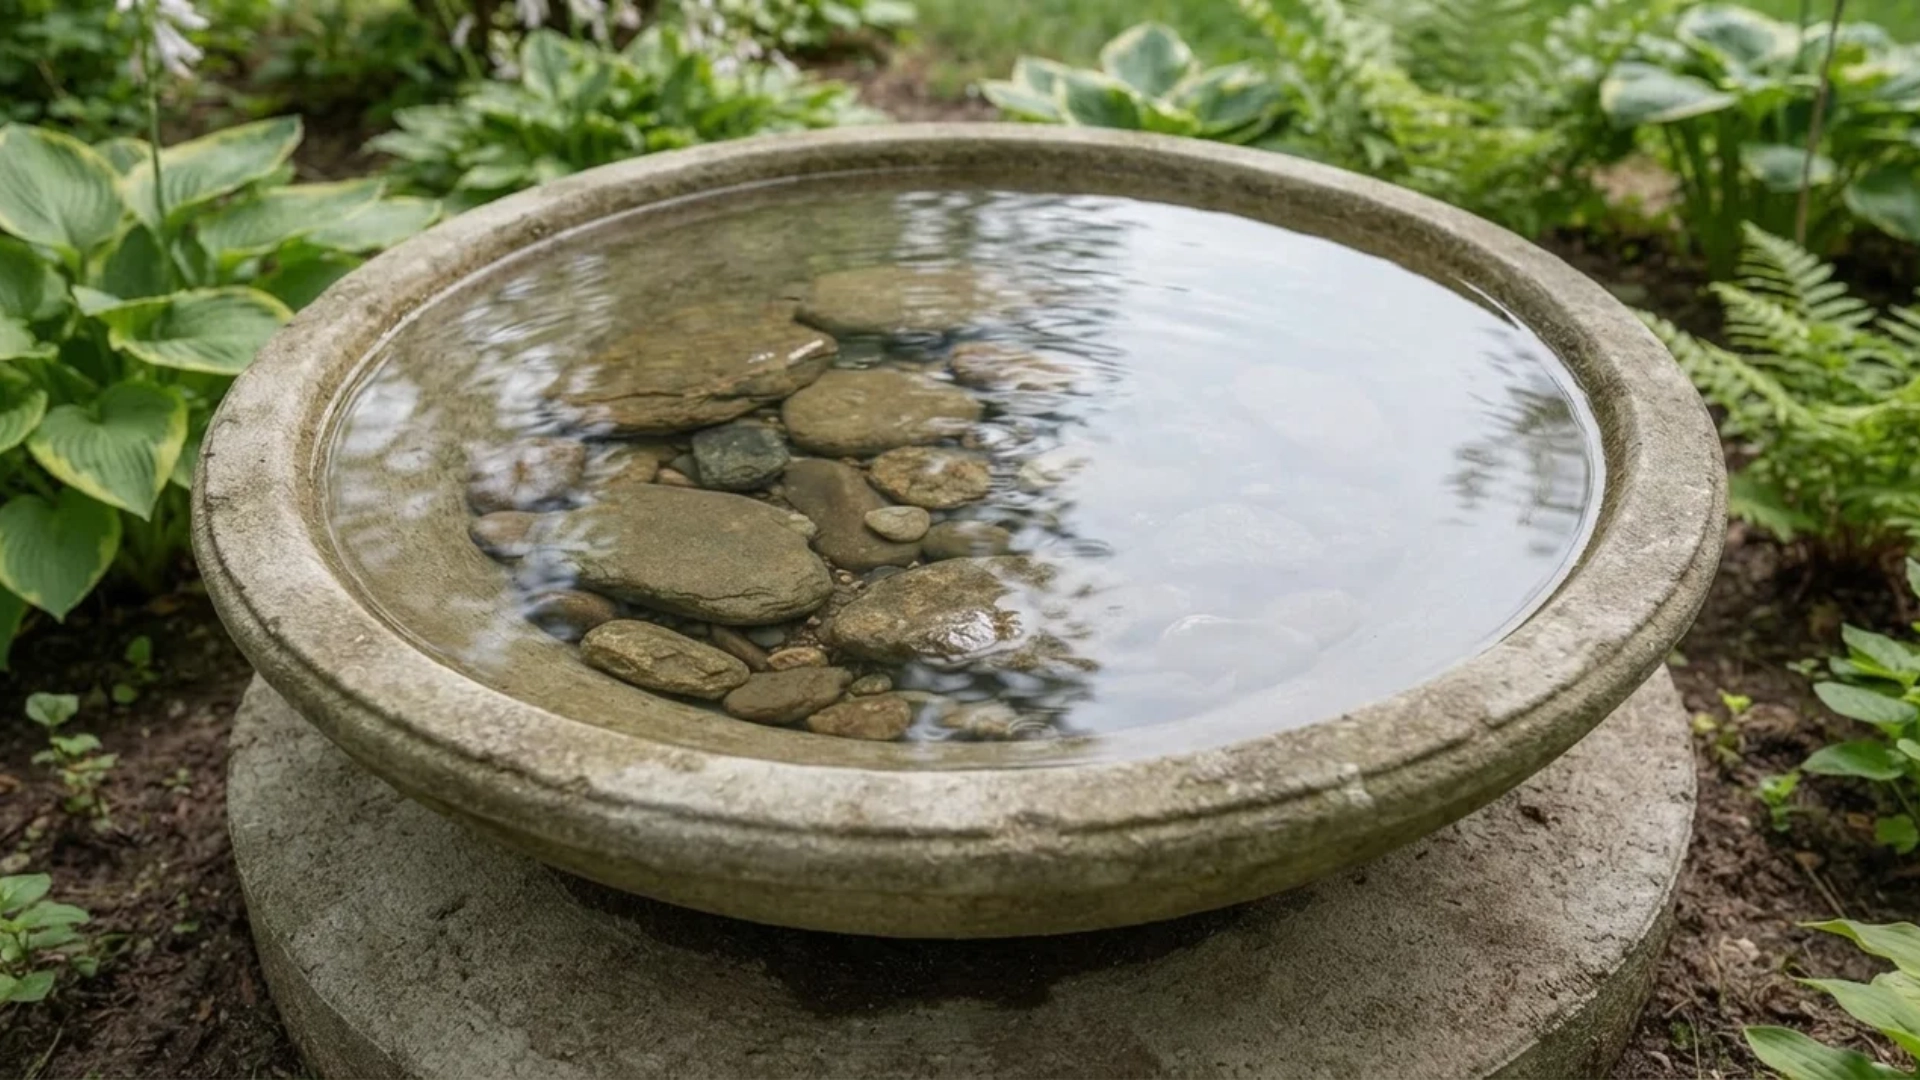
After the structure has fully cured, add about 1 to 2 inches of water to the basin. Keep the depth shallow enough for small birds to stand comfortably, then place a few flat stones or pebbles inside to create secure landing spots and easier footing- the kind of small, budget-friendly garden decor touch that costs little but changes how usable the bath feels.
These simple additions make the bath more usable, especially if the basin surface is smooth or slightly deep. Without safe footing and shallow areas, birds may avoid the bath even when the structure appears finished.
Once the basin sits level and the base stays firm under light pressure, let everything settle before adding the final amount of water.
What Makes a DIY Bird Bath Safe for Birds?
A bird bath depends on several features working together, not just holding water properly.
- Water Depth: Keep the basin 1 to 2 inches deep so smaller birds can drink and bathe comfortably without struggling in deeper water.
- Footing: Add flat, rough stones that give birds secure places to stand. Avoid smooth gravel because wet surfaces can become slippery.
- Entry and Exit: Choose a basin with a gentle slope or textured rim so birds can step in and leave easily.
- Placement: Set the bath on level ground in partial shade near shrubs or trees, but keep open space around the base for predators to see.
- Surroundings: Avoid busy walkways, play areas, and ground that remains soggy after rain.
- Rain Checks: Recheck water depth after storms because runoff can quickly make a normally safe basin deeper than expected.
When these basics work together, the bird bath becomes safer, easier to use, and far more inviting for regular visitors. Encouraging more birds into this part of the yard also supports natural garden pest control, since many visiting species feed on the insects that trouble nearby plants.
How Do You Keep a DIY Bird Bath Clean and Working?
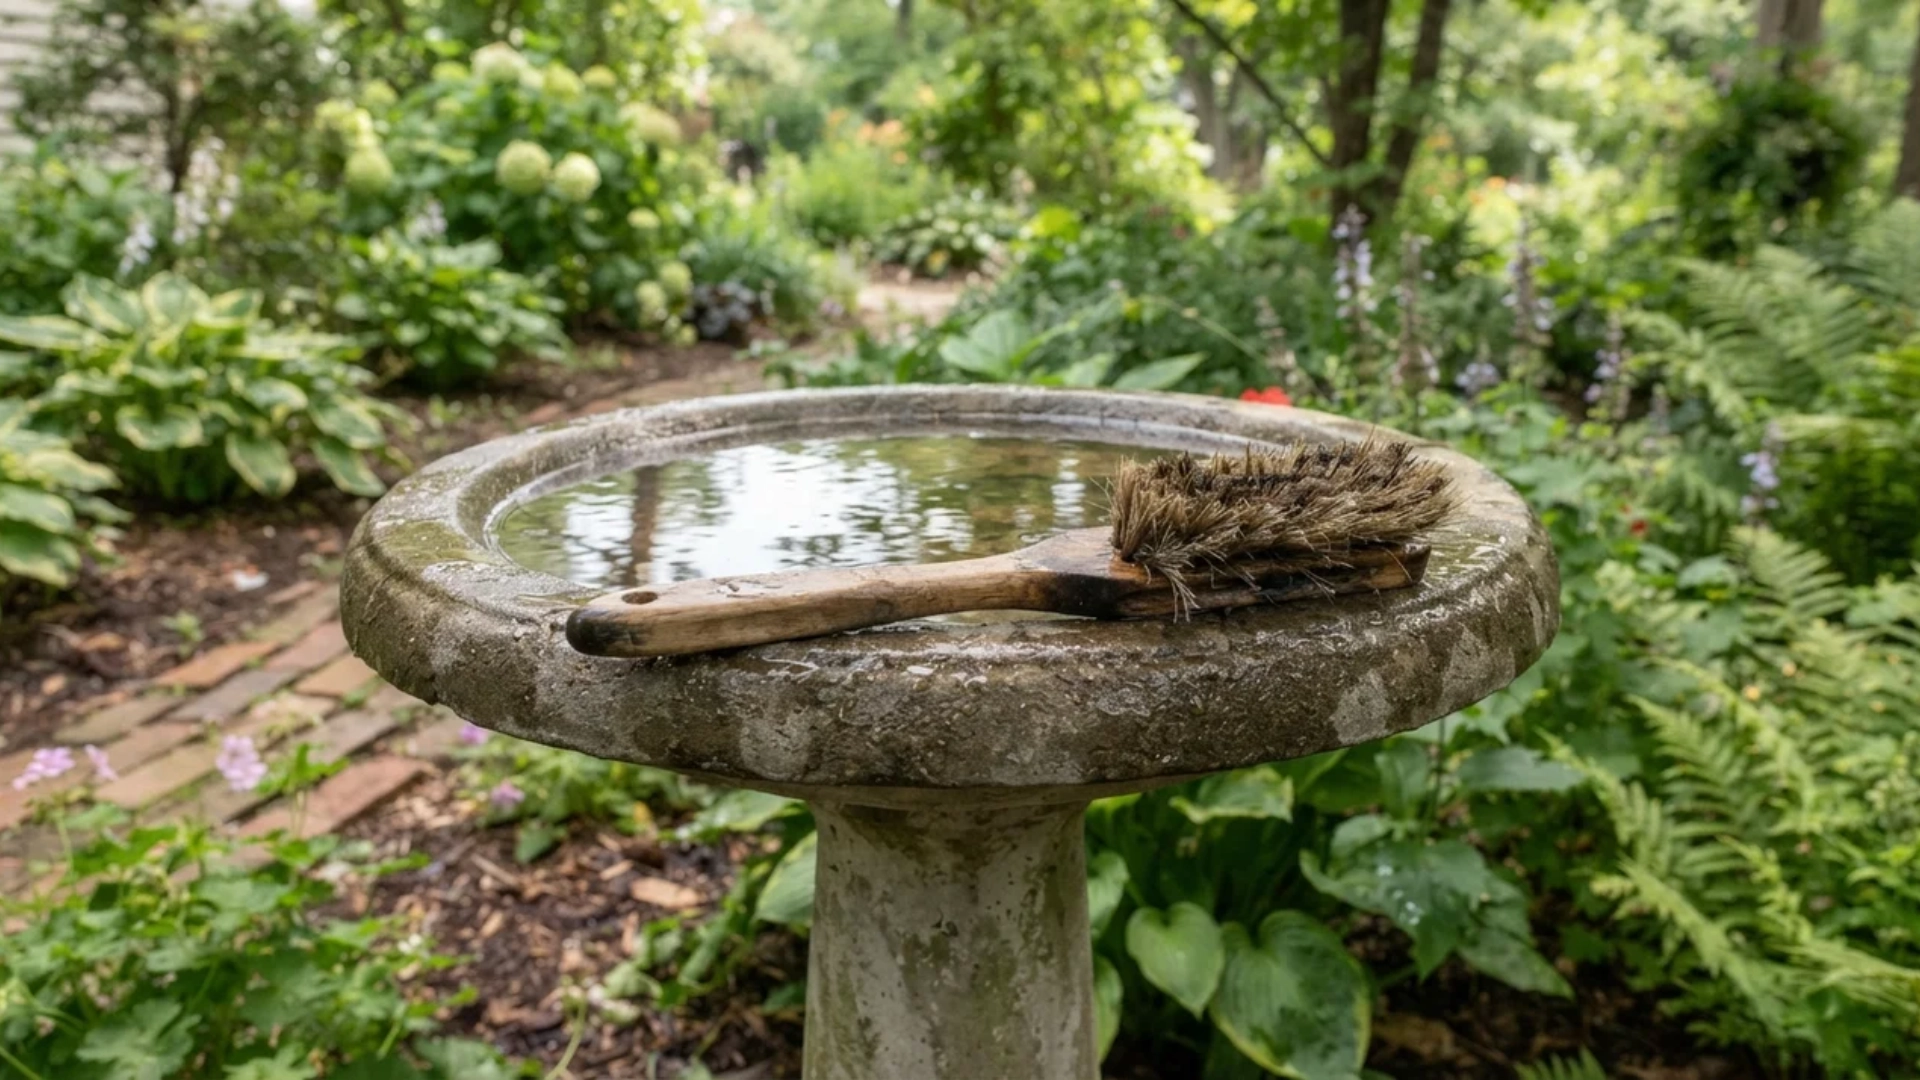
Fresh water in a diy bird bath can collect leaves, dust, feathers, insects, and droppings within a day. Replace it whenever it looks cloudy or contains debris during hot weather.
Follow this cleaning routine:
- Pour out old water away from feeders and nests.
- Remove the stones and rinse them.
- Scrub the basin with a dedicated stiff brush.
- Rinse until buildup is gone.
- Return the stones and add shallow water.
Use the brush only for the bird bath, and avoid water treatments birds may drink. Cleaning frequency depends on heat, shade, dust, falling leaves, and bird activity.
Inspect the structure each time. Check for cracked pots, loose adhesive, shifting stones, or an uneven basin. Press the rim from several sides. Stop using the bath if it rocks or slides. Empty and protect terracotta before freezing weather. Keeping the brush and spare stones sorted with a few basic garden tool storage solutions makes this whole routine faster each time.
Conclusion
Your diy bird bath is ready once it feels stable, holds shallow water, and gives visiting birds a secure place to stand. Those simple checks matter more than decorative extras or expensive materials.
Give every glued section enough time to cure, place the bath where birds can watch for danger, and refresh the water regularly. A few minutes of care will keep it cleaner, safer, and more inviting throughout the year.
Pick out your spare pots today, set aside an afternoon this weekend, and build a diy bird bath your backyard birds can rely on. Once it is in place, refill it, watch from a distance, and see which visitor arrives first.
Frequently Asked Questions About DIY Bird Baths
What can I use instead of a traditional bird bath?
You can use a plant saucer, shallow bowl, serving tray, or sturdy container lid. Choose something weather-resistant and easy to clean. It should have no sharp edges or peeling coatings. Add flat stones when the surface is slippery, or the water becomes too deep.
What materials are best for a DIY bird bath?
Terracotta pots and a wide plant saucer create a sturdy and simple bird bath. Plastic pots can also work when secured properly. Use exterior-rated adhesive for permanent joints. Flat stones improve footing, while a textured basin helps birds enter and leave the water safely.
Why do people put stones in a bird bath?
Flat stones provide stable places for birds to stand. They also create shallower areas for smaller birds. Partly exposed stones offer an easier route into and out of the water. Keep them steady, widely spaced, and simple to remove during cleaning.
Can you make a bird bath without glue?
Yes, you can build one without glue when the base and basin remain completely stable. Use a broad support and a heavy saucer that cannot slide. Test the rim from several directions before adding water. Avoid tall stacks because loose pots can shift when birds land.