

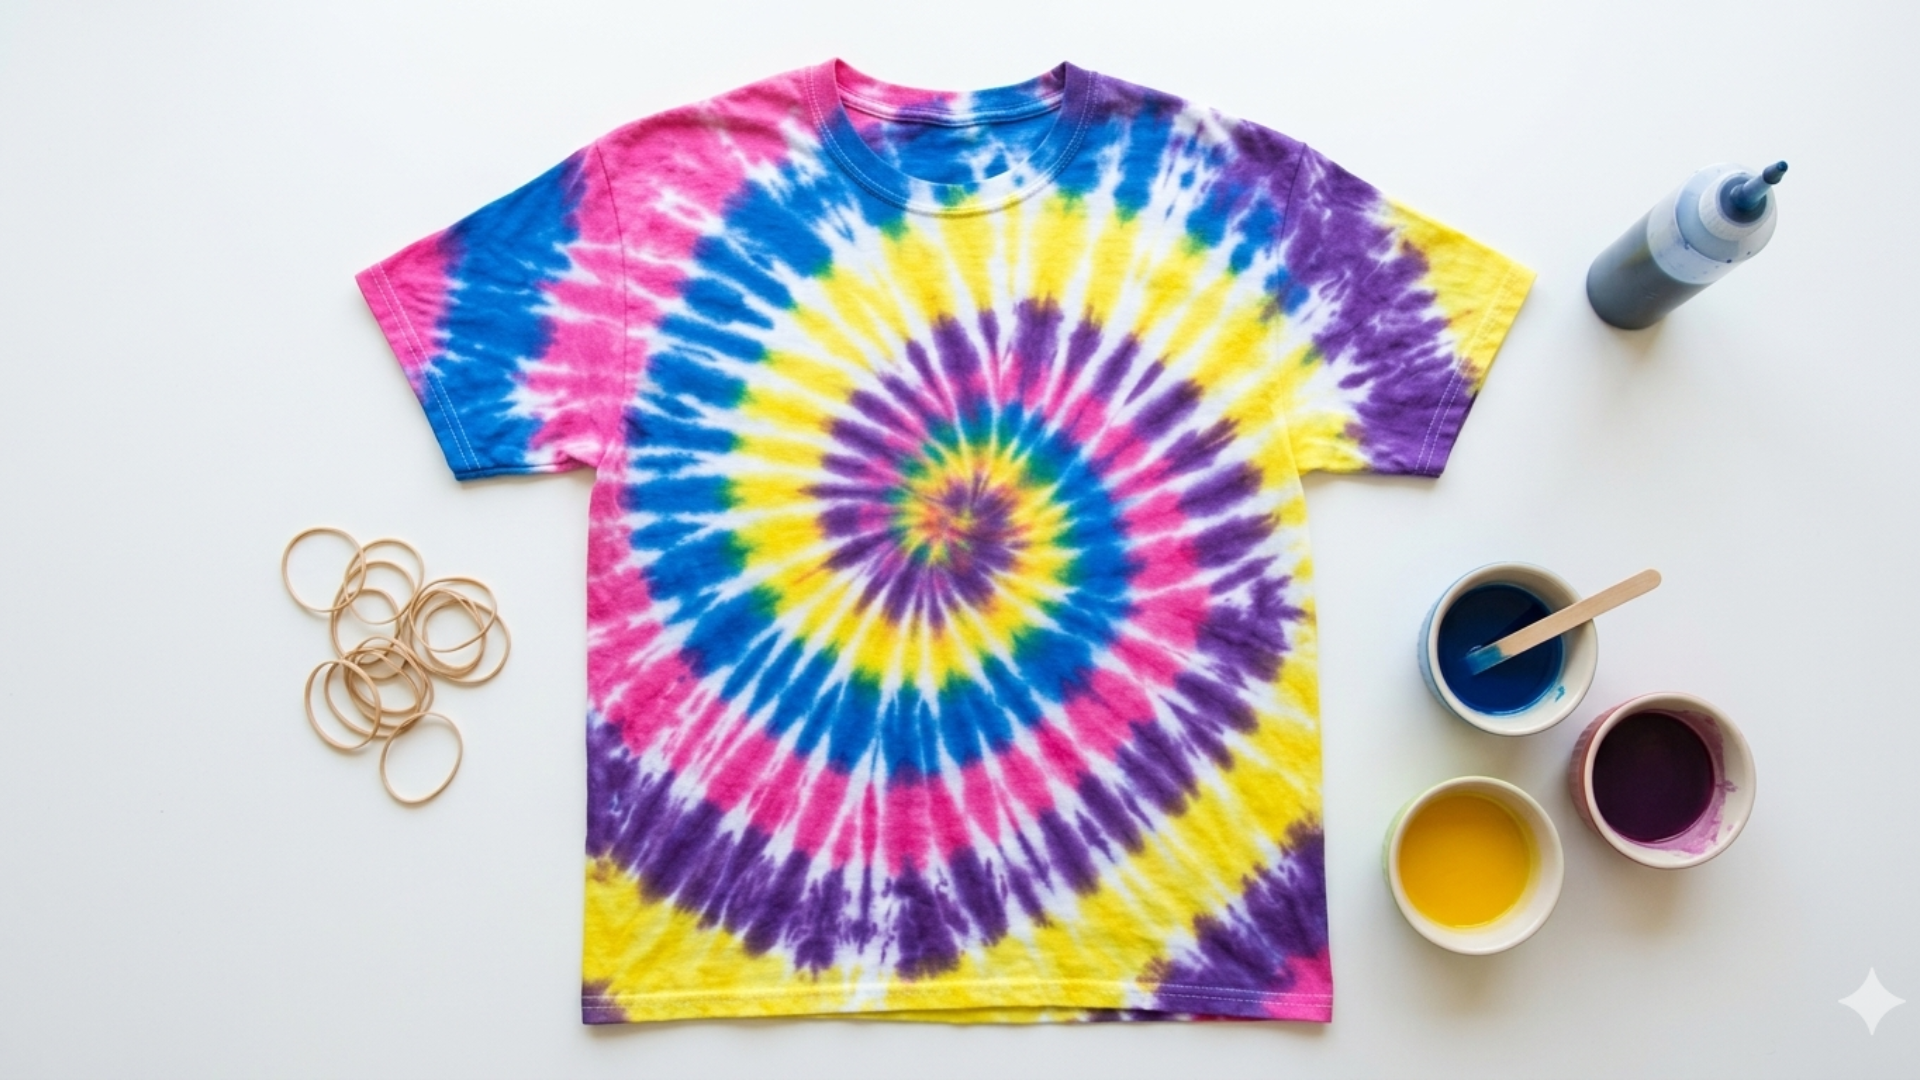
Tie dye is a fun and easy way to turn a plain white shirt into something colorful and personal. The process includes folding, twisting, or scrunching the fabric before adding bright dye colors.
Once the dye sets and the shirt is rinsed, it creates patterns that are always different, which makes each shirt feel special.
Many people enjoy making DIY tie-dye shirts at home because the supplies are affordable and beginner-friendly.
You only need a shirt, dye, rubber bands, and a little creativity to get started.
Tie dye is also a popular activity for kids, families, summer camps, and weekend crafts because it is simple and enjoyable for all ages.
You can make spiral, stripe, rainbow, or scrunch patterns by folding the fabric in different ways. The shirts turn out colorful and great for daily wear or summer days.
Quick Answer: How to Tie Dye a Shirt?
To tie-dye a shirt, start with a clean white cotton shirt and fold, twist, or scrunch the fabric into your desired pattern.
Use rubber bands to hold the folds in place, then apply different dye colors to each section using squeeze bottles. Let the dye sit for at least 6 to 8 hours so the colors absorb properly into the fabric.
After that, rinse the shirt with cold water until the extra dye washes away, then wash it separately and let it dry.
Popular tie-dye patterns include spirals, stripes, bullseye, and crumple designs. Tie dye is easy, affordable, and fun for beginners of all ages.
How to Prepare Used Fabric?
Before starting the tie-dye process, wash the old clothes well to remove dirt, oil, or leftover detergent from the fabric. Clean fabric helps the dye spread more evenly and stick better to the material.
Do not use fabric softener because it can leave a coating that blocks the dye.
After washing, check the fabric for holes, loose threads, or damaged areas that could affect the final design.
If the clothing feels stiff, soaking it in warm water for 10 to 15 minutes can help soften it and make folding and scrunching easier.
One thing I always do before working with old fabric: hold it up to a window to check for thin or worn spots.
Those areas absorb dye much faster than the rest of the shirt, and the color ends up darker and blotchier if you do not account for that. A quick inspection saves a lot of frustration later.
Things You Need for Tie Dye a White Shirt
Before you start, gather everything so you don’t have to stop mid-project.
- White cotton shirt (100% cotton works best as dye sticks well)
- Fiber reactive dye (brands like Tulip or Jacquard work great)
- Soda ash (helps the dye set into the fabric)
- Rubber bands (the more, the better)
- Rubber gloves (dye stains skin fast)
- Plastic squeeze bottles (one per color)
- Plastic bags or plastic wrap (for the waiting step)
- Plastic table cover or trash bags (to protect your workspace)
- Warm water
Pro Tip: Pre-wash your shirt before you start. This removes any finish on the fabric that might block the dye.
How to Tie Dye a Shirt at Home?
Tie dye is a simple DIY project that lets you turn a plain white shirt into a colorful design using different folding and dyeing techniques. Beginners can easily make fun patterns at home with a few basic supplies.
Step 1: Scrunch the Shirt
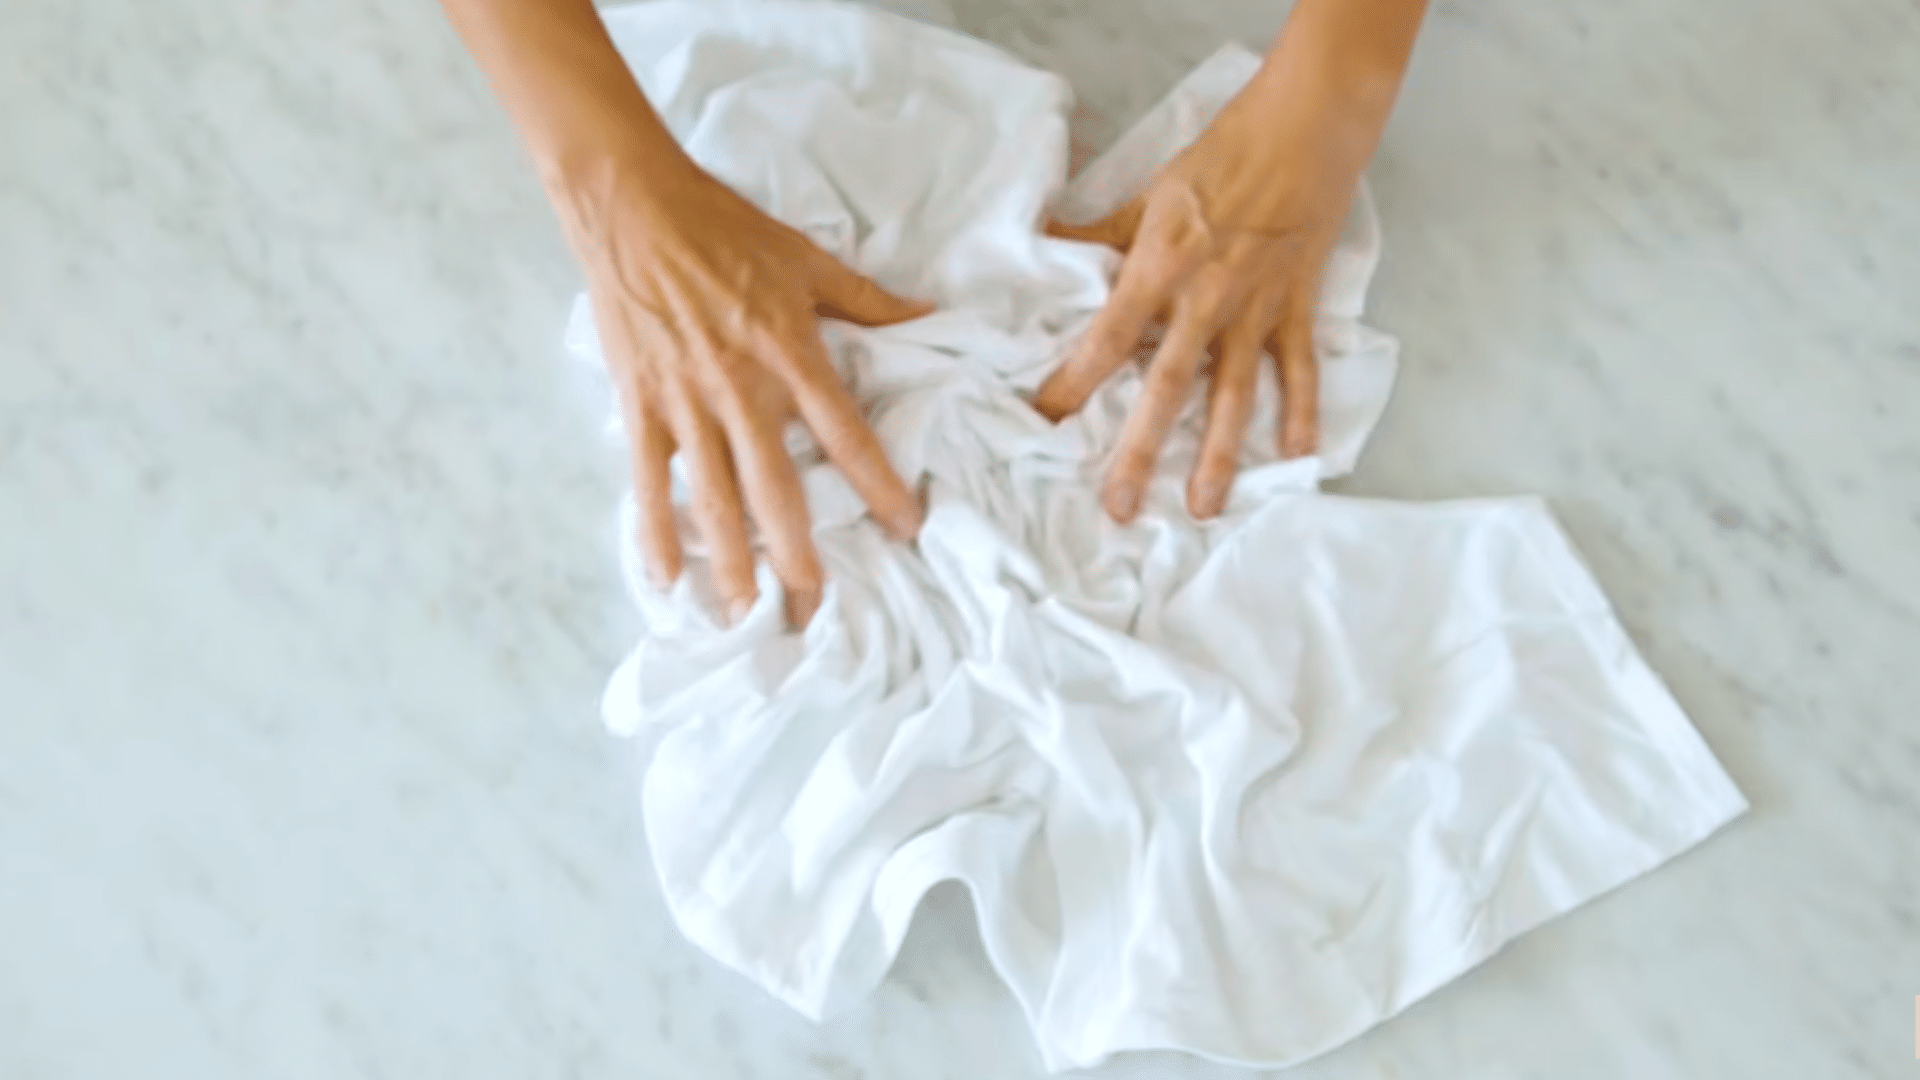
Start by placing your white T-shirt on a flat and clean surface. Take small sections of the fabric and scrunch them together until the whole shirt forms a tight bundle.
This step creates random folds that shape the final tie-dye design.
You can work with a damp shirt if you want the colors to blend softly into each other.
A dry shirt works better for sharper lines and stronger patterns. Keep scrunching until the shirt feels compact and secure.
The tighter the folds are, the more detailed and textured the final tie-dye pattern will look after dyeing.
Step 2: Secure with Rubber Bands
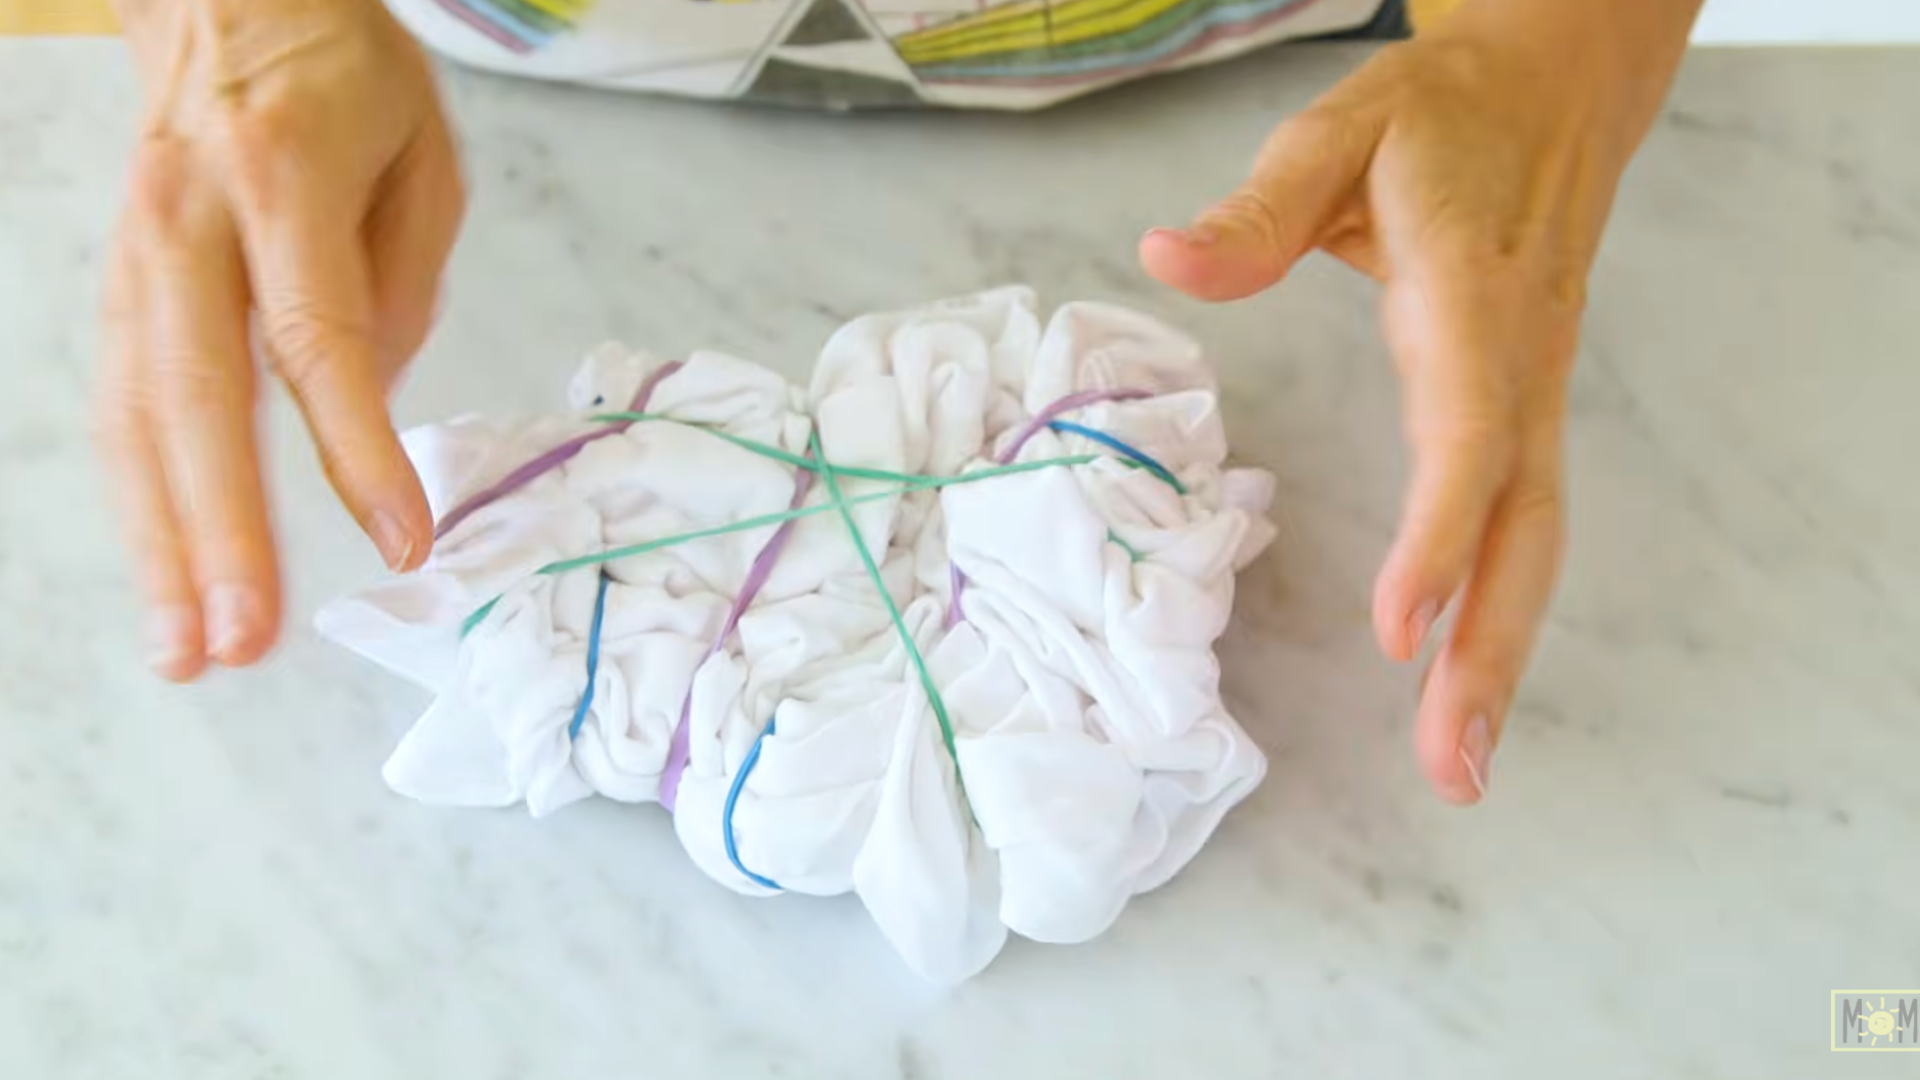
After scrunching the shirt into a tight bundle, use rubber bands to secure it from several directions. Wrap the bands tightly so the fabric stays in place during dyeing.
These rubber bands create lighter lines and spaces because the dye cannot fully reach the covered areas.
Tight bands also help keep colors from spreading too much into nearby sections.
This makes the final pattern look cleaner and more defined instead of blurry. Try adding bands at different angles for a more random design.
Make sure the shirt feels firm and compact before moving on to the dyeing step.
Step 3: Mix the Dye
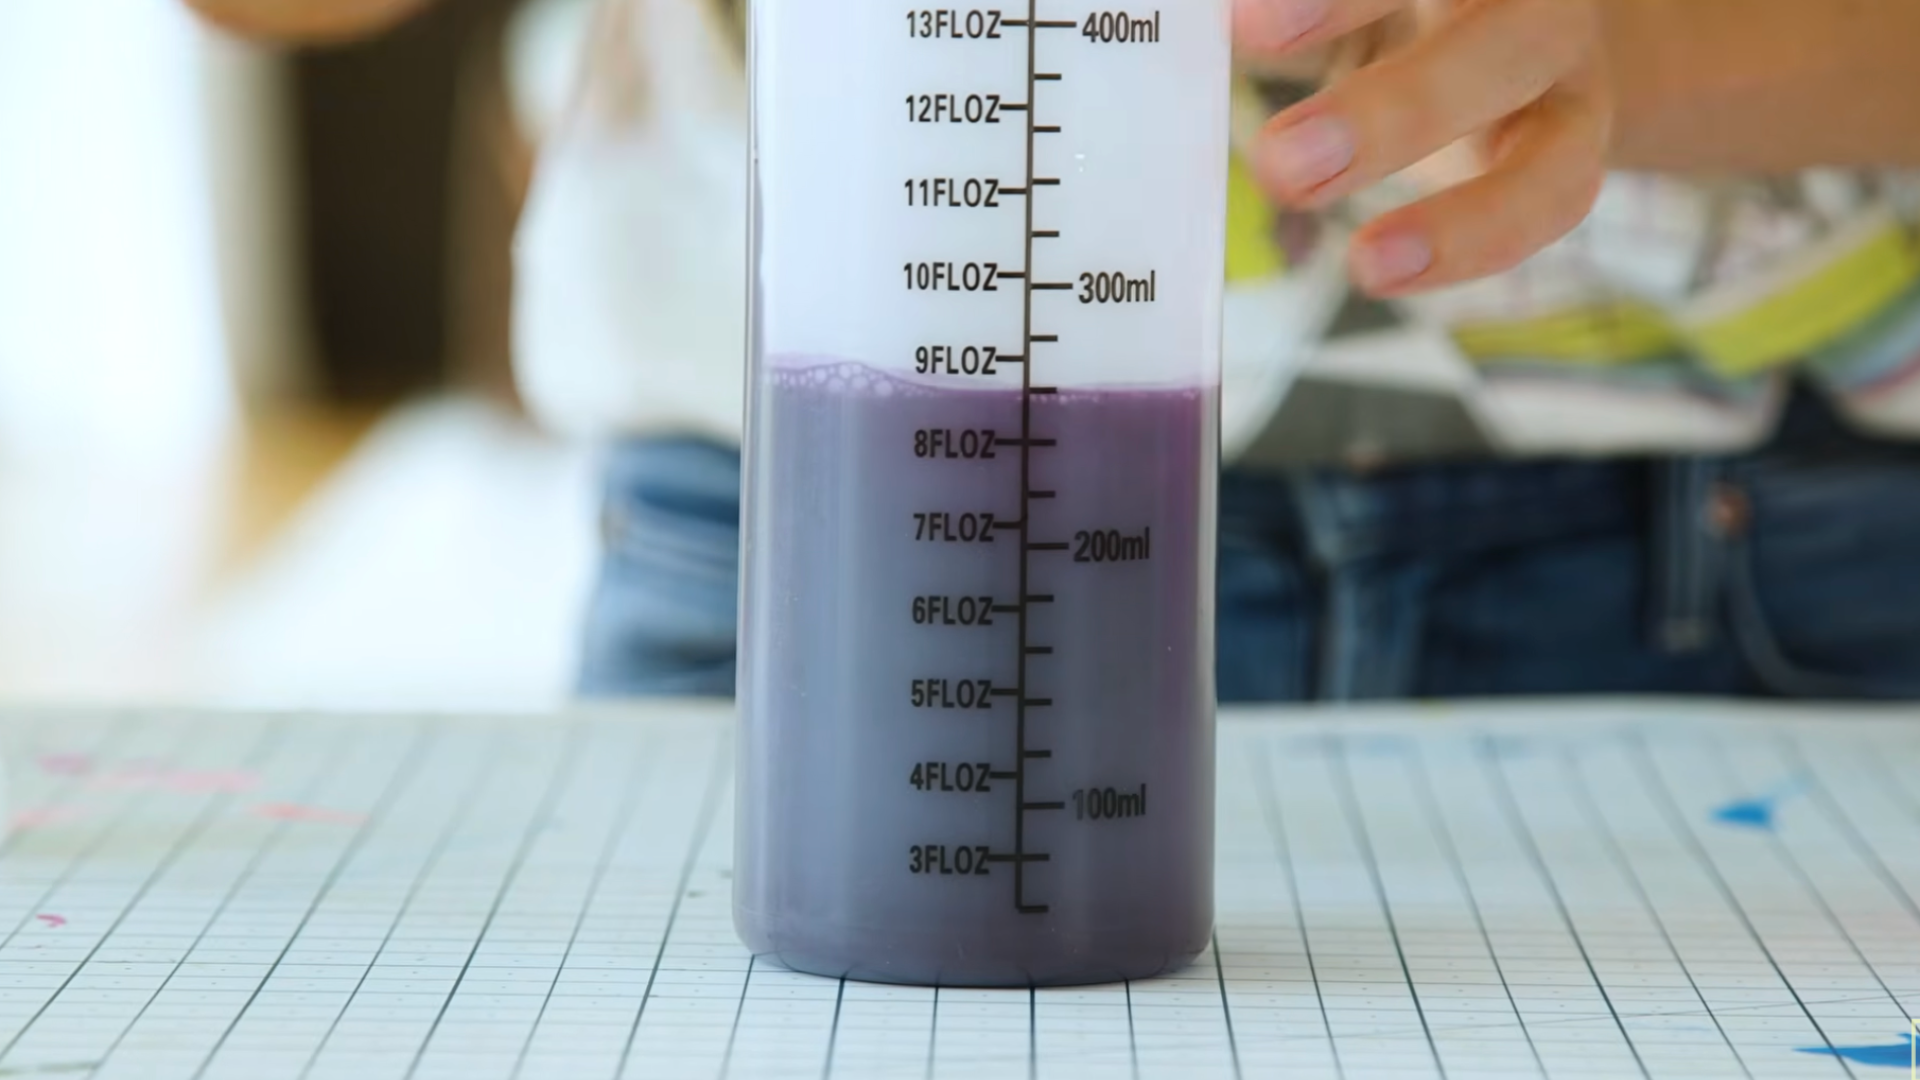
Pour 8 ounces of warm water into a squirt bottle, then add 1 tablespoon of dye powder. Close the bottle tightly and shake it well until the powder fully dissolves into the water.
Mixing the dye completely helps prevent uneven spots on the fabric later.
You can adjust the amount of dye powder depending on how bold or soft you want the color to look. More powder creates brighter shades, while less gives a lighter effect.
Warm water helps the dye mix faster and spread more evenly through the shirt. Make sure the bottle is fully mixed before applying the dye.
Step 4: Apply the Dye
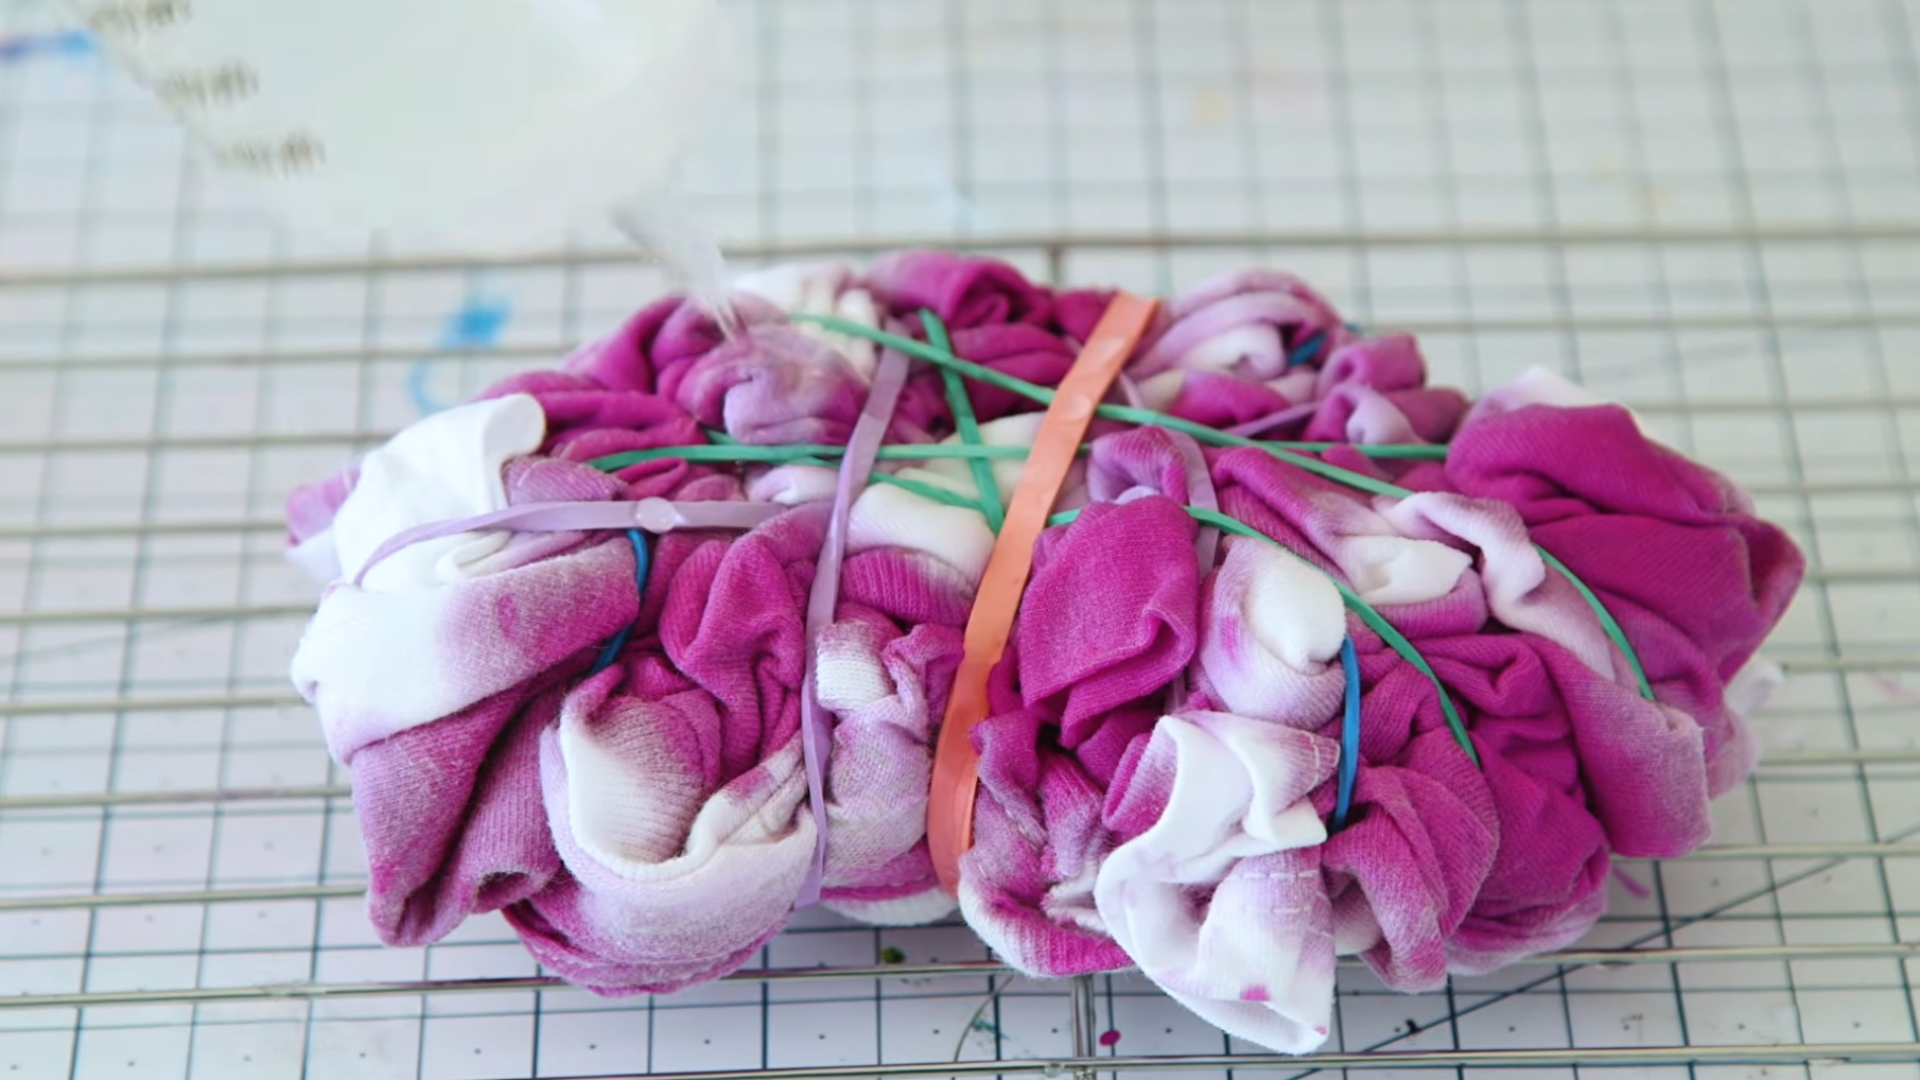
Slowly apply the dye to different parts of the scrunched shirt, working with one color at a time.
Squeeze the bottle gently so the dye spreads evenly through the folds without soaking the fabric too heavily. Turn the shirt as you work to make sure both sides get enough color.
Leaving small white spaces between colors can help the design stand out more clearly after rinsing.
Avoid using too much dye in one spot because extra liquid can cause the colors to blend together and create muddy shades. Take your time to build a balanced and colorful tie-dye pattern.
Step 5: Let It Sit
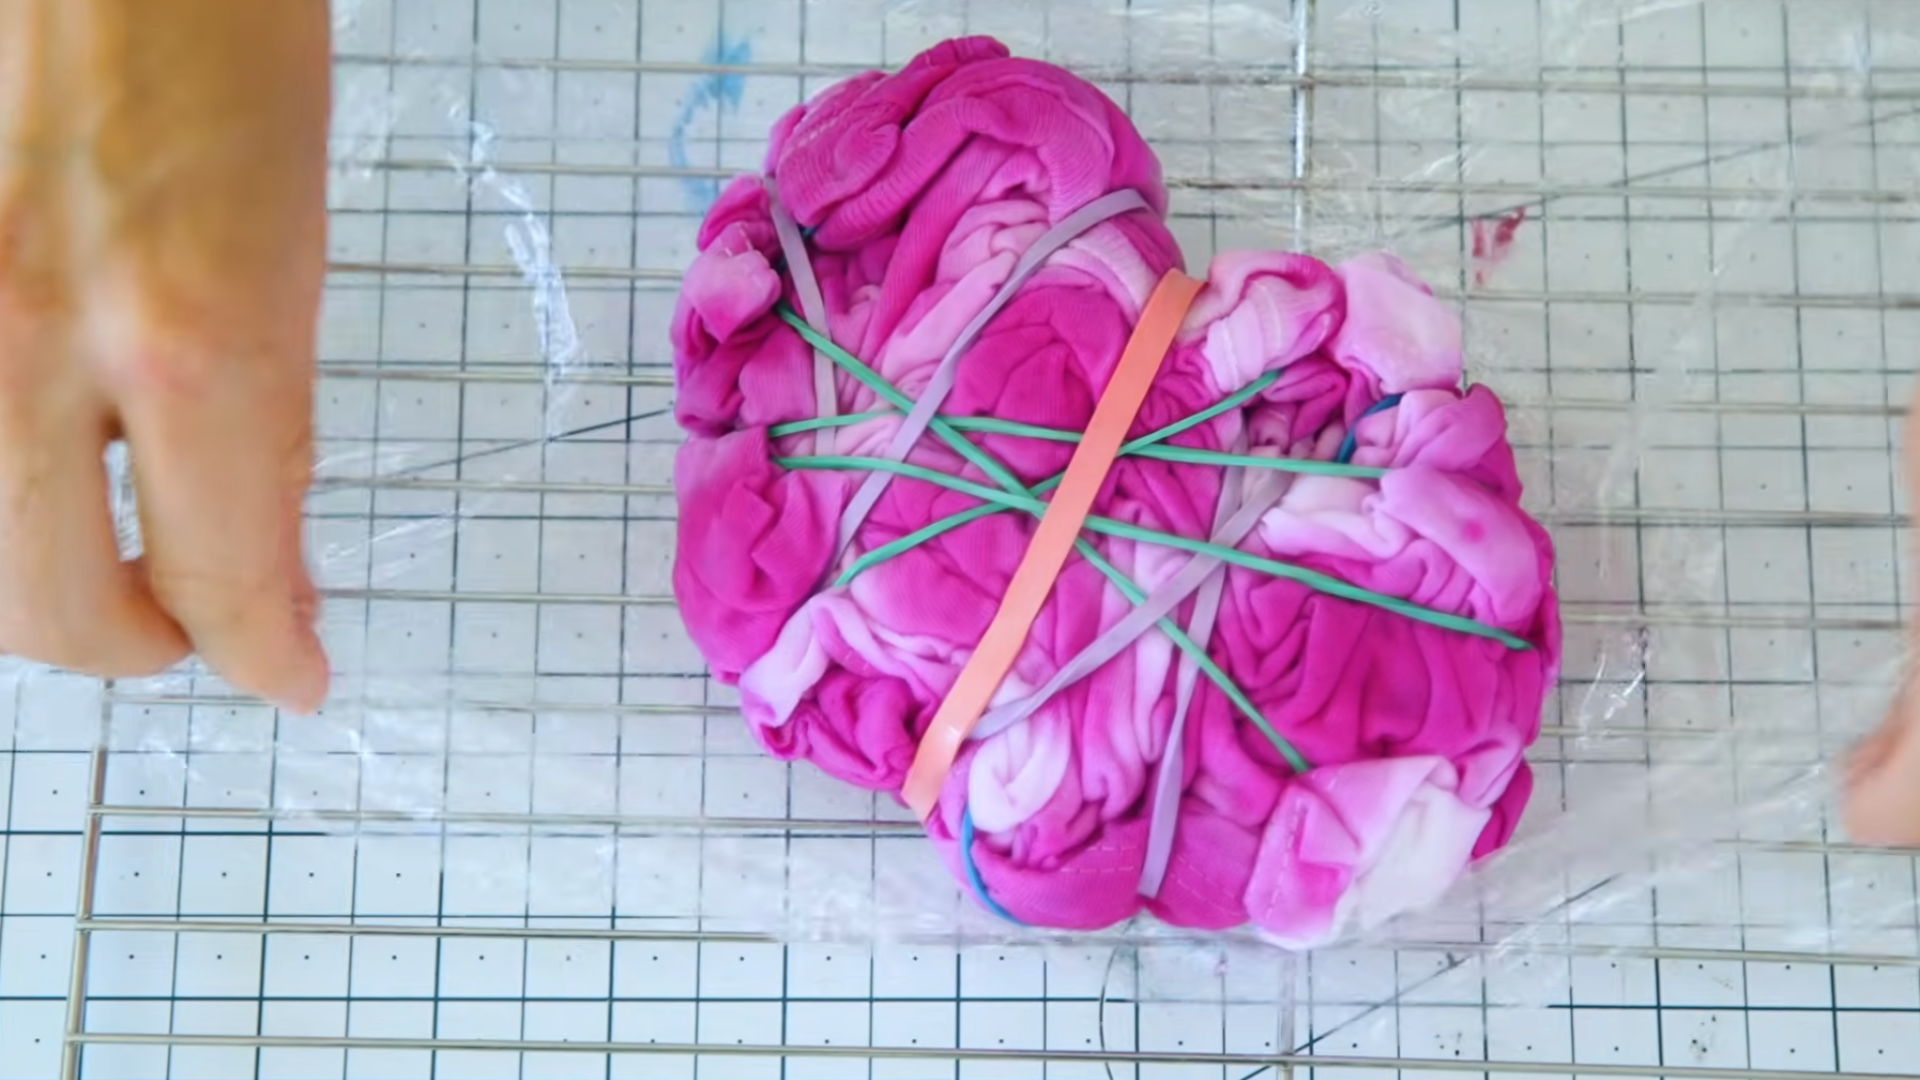
Once all the dye has been added, let the shirt sit for about 30 minutes without touching it. This resting time allows the fabric to absorb the dye more deeply, so the colors turn out brighter and last longer after washing.
Keep the rubber bands tightly wrapped around the shirt during this step because they help hold the folds and pattern in place.
Moving or unwrapping the shirt too soon can disturb the design and cause colors to spread unevenly.
Place the shirt on a protected surface while it rests so extra dye does not stain nearby areas.
Step 6: Wrap and Microwave
After letting the dye rest, wrap the shirt tightly in plastic wrap or Saran Wrap to keep the moisture and heat inside.
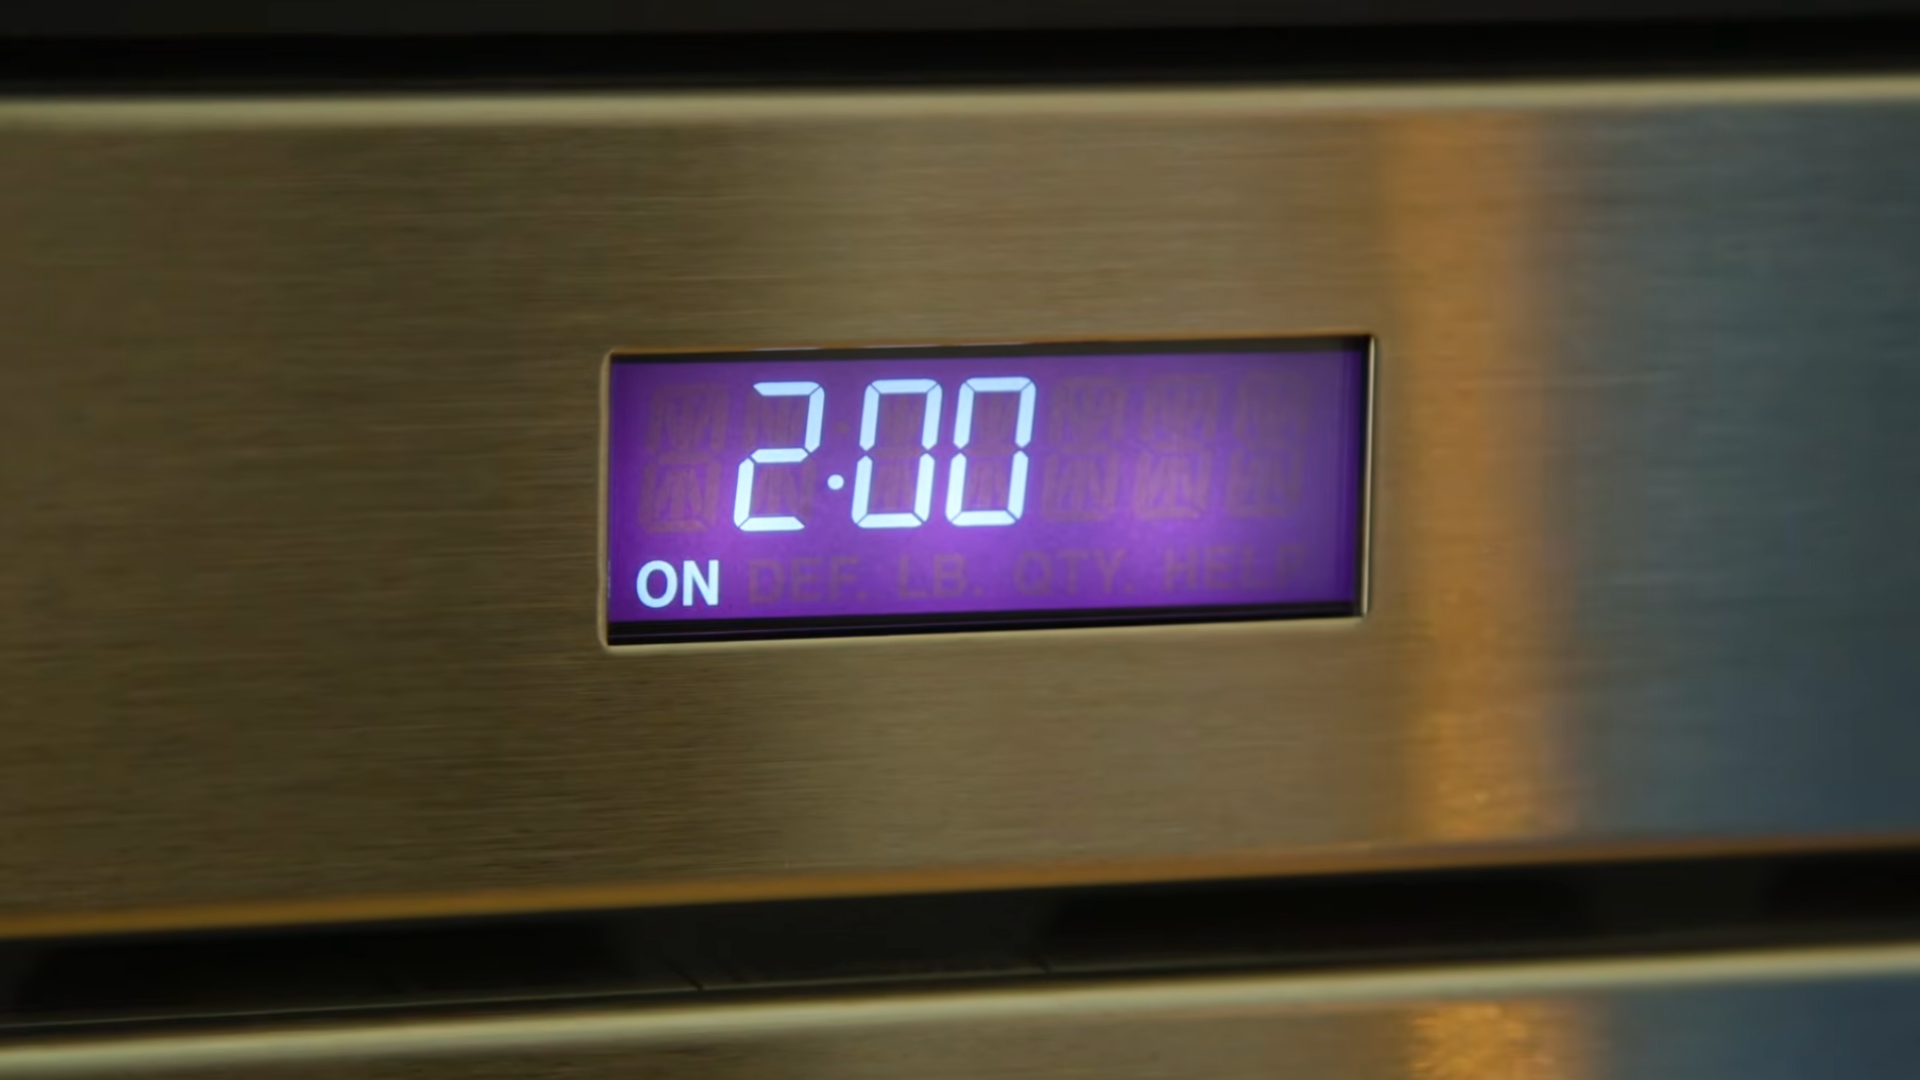
Place the wrapped shirt in the microwave for about 2 minutes to help set the dye into the fabric faster. The heat helps the colors bond with the material, which can make the final shades look brighter and more vibrant.
Be careful when removing the shirt because it will feel very hot after microwaving.
Let it cool completely before touching, unwrapping, or rinsing it. Cooling also helps the dye settle properly into the fabric before the next step.
Step 7: Wash Separately
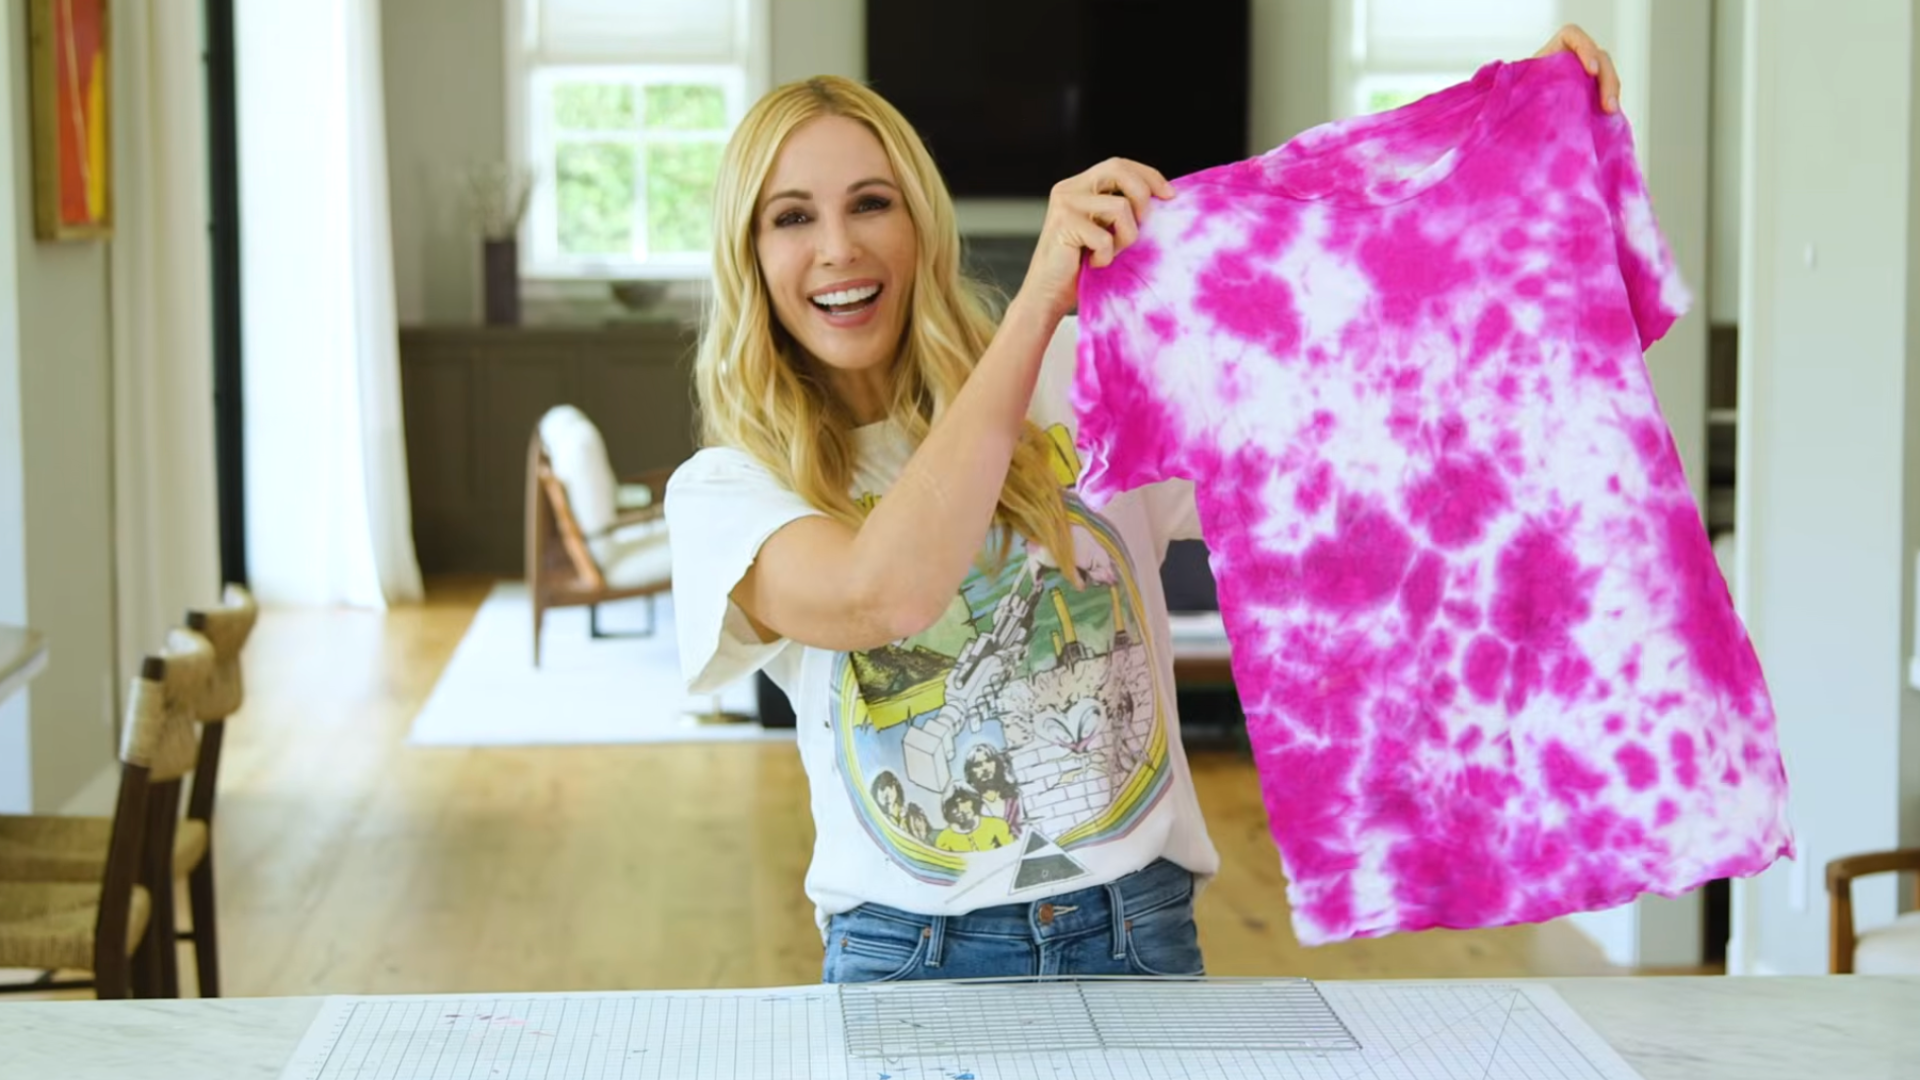
Wash the tie-dye shirt by itself during the first wash because extra dye may still come out of the fabric. Using cold water helps keep the colors bright and prevents them from fading too quickly.
Add a small amount of mild detergent so the fabric stays soft without damaging the dye.
Avoid harsh soaps or bleach during this step. After washing, let the shirt air dry or use low heat if needed. Once dry,
the colors may look a little softer than before, giving the shirt a relaxed and slightly faded beach-style appearance that many people enjoy.
Step 8: Rinse and Reveal
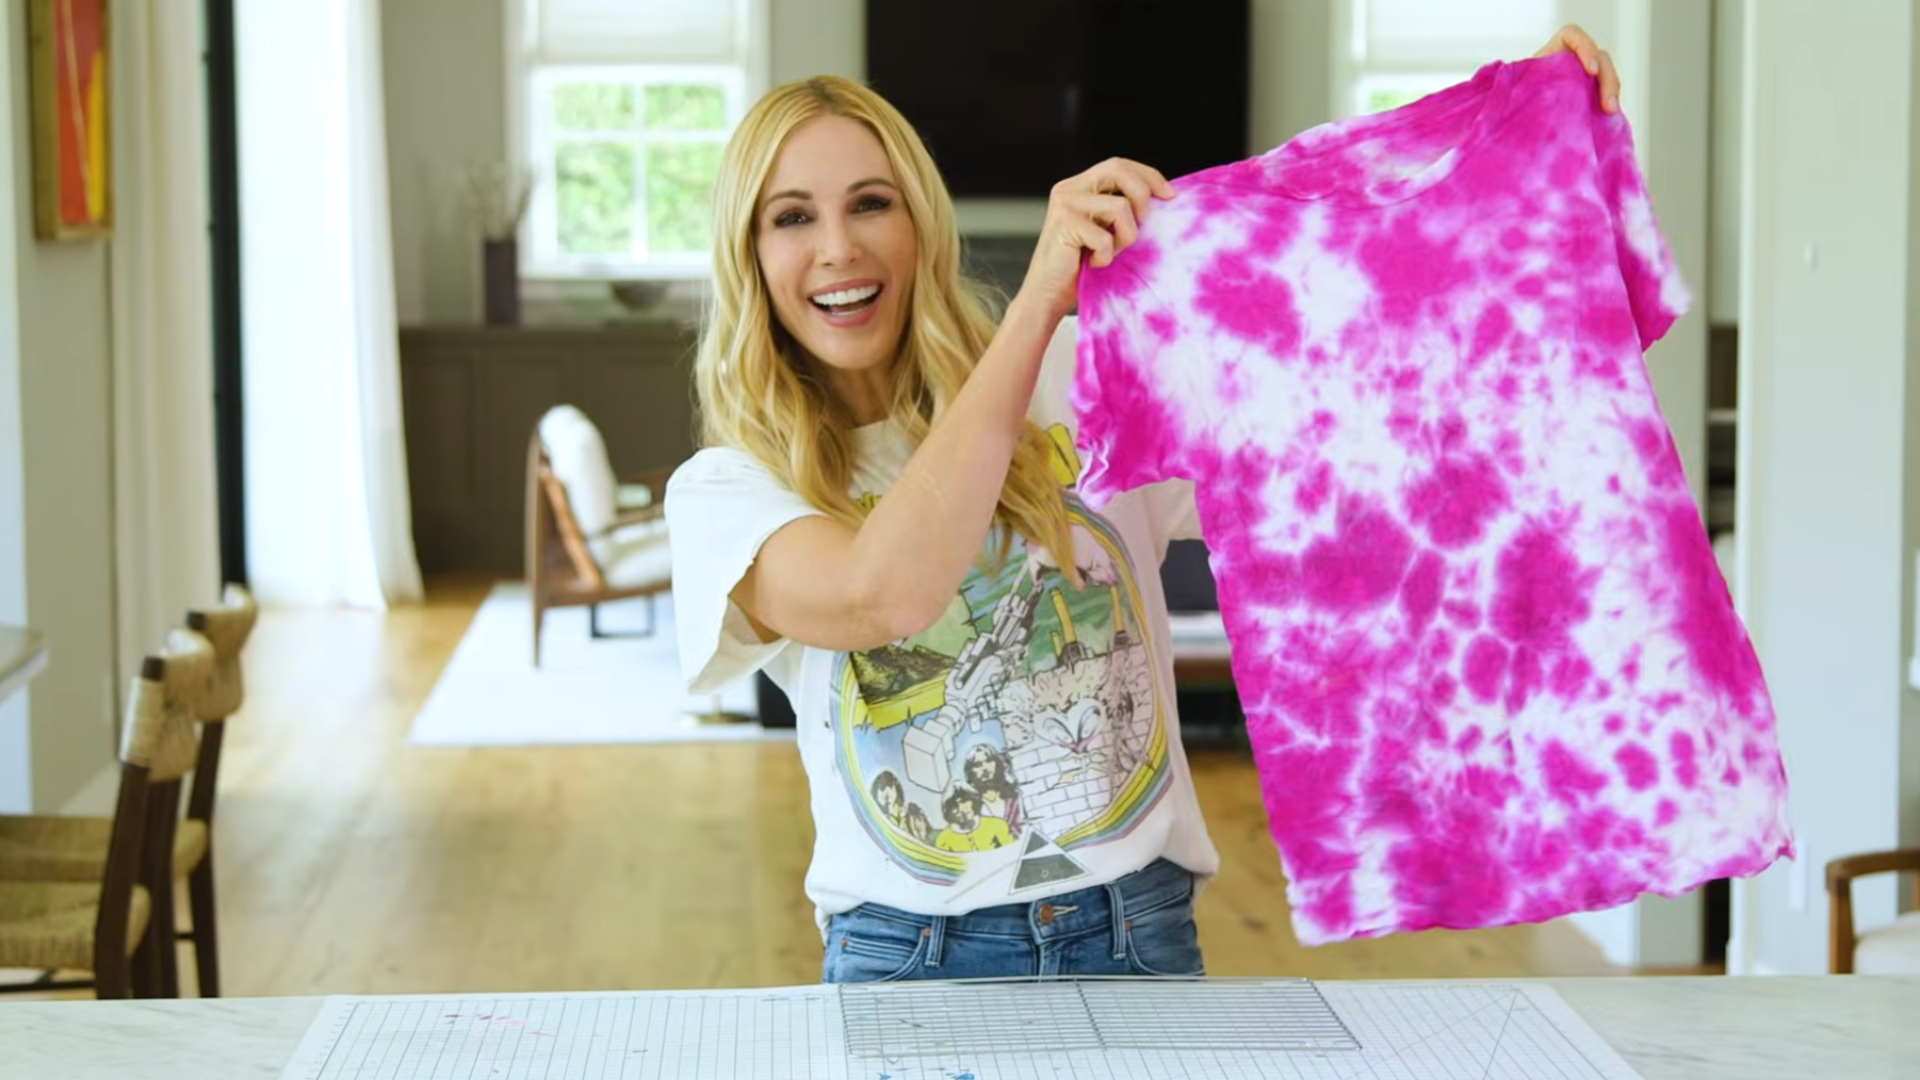
After the shirt cools, carefully unwrap it and rinse it under cold water to remove extra dye from the fabric.
Cold water helps keep the colors from bleeding into each other during this step. Slowly remove the rubber bands to reveal the hidden tie-dye design underneath the folds.
Continue rinsing both sides of the shirt until the water starts to look much clearer.
This helps remove excess dye before washing and keeps the final pattern cleaner and brighter after drying.
This tutorial is based on a helpful video by WhatsUpMoms. You can check out the original video on their YouTube channel hereor watch it below.
Best Tie Dye Folding Patterns
The folding method determines the entire look of the shirt. Each technique below gives a distinct result, so the pattern to use depends on the look you want before you start.
- Spiral: Pinch the center of the shirt and twist it into a flat circle shape. Secure it with rubber bands like pizza slices, then add different colors to each section for the classic spiral tie-dye look.
- Crumple: Scrunch the shirt into a random ball shape and loosely wrap rubber bands around it. Apply dye all over the fabric to create a marble-style pattern with mixed colors.
- Stripes: Fold the shirt back and forth like an accordion from top to bottom or side to side. Add rubber bands between folds and apply different colors for clean stripe patterns.
- Bullseye: Pinch one area of the shirt and pull the fabric upward. Wrap rubber bands down the fabric in sections and apply colors between each band to create ring-shaped circles.
- Heart Pattern: Fold the shirt in half and draw half a heart shape along the fold. Scrunch the fabric around the outline, secure it with rubber bands, and apply different colors inside and outside the heart shape.
Best Old Clothes for Tie-Dye
Old clothes work great for tie-dye projects because they give unused fabric a fresh and colorful look. White cotton shirts usually absorb dye the best and create brighter patterns.
Faded shirts, old hoodies, socks, and even pillow covers can also be used for tie-dye. Thrifted clothes are another good option because they are affordable and easy to find.
Avoid fabrics with heavy stains, waterproof coatings, or high synthetic content.
Polyester and nylon do not absorb fiber-reactive dye well, so the colors come out washed out no matter how long you leave them.
A fabric that is at least 80% cotton will take dye reliably. Rayon is another option that dyes beautifully and is worth trying if you have rayon pieces you want to refresh.
Pros and Cons of Tie Dye Shirts
Tie-dye shirts are popular because they are colorful, fun to make, and completely personal. Many people enjoy them for DIY projects, summer outfits, school events, and casual wear.
| Pros | Cons |
|---|---|
| Easy and fun for all ages | Can get messy quickly |
| Cheap to make at home | Dye stains counters, skin, and clothes |
| Every shirt comes out unique | Colors can fade if not cared for properly |
| Great way to use old white shirts | Setup and cleanup take time |
| You control the colors and pattern | Too many colors can turn muddy |
| Cotton takes dye very well | Synthetic fabrics do not absorb dye |
Fixing Stains Before Dyeing
It is important to treat stains before adding tie-dye because dark spots can still show through the final design.
Use a mild stain remover or a mix of baking soda and water to clean problem areas before washing the fabric again.
Grease stains are particularly stubborn because the oil residue repels water-based dye. For grease, apply a small amount of dish soap directly to the stain, let it sit for five minutes, then scrub and rinse.
Bleach marks are a different issue since bleach removes the existing fabric color rather than adding a stain.
In those cases, the bleached area will simply take the tie-dye color differently, often appearing brighter or more saturated than the surrounding fabric.
That is not always a bad thing. Let the fabric dry fully after treating so you can confirm the stain is gone before starting.
Common Mistakes to Avoid While Tie Dyeing a Shirt
Small mistakes can affect how the final tie-dye pattern looks after washing and drying. Using the right method helps the colors stay bright, and the patterns look clean and clear.
- Skipping the Soda Ash Soak: The dye may fade faster because it does not fully stick to the fabric.
- Using Too Many Colors Together: Extra colors can mix and create muddy shades instead of bright patterns.
- Applying Dye Only on the Surface: Inner folds may stay white if the dye does not reach inside the fabric.
- Using Loose Rubber Bands: Loose bands can make the design look blurry because colors spread too much.
- Rinsing with Warm Water First: Warm water may cause the fresh dye to bleed into other sections.
- Washing with Other Clothes: Extra dye from the first wash can stain nearby clothing items.
- Unwrapping the Shirt Too Early: The colors may look dull if the dye does not get enough time to set.
Tips to Make Tie Dye Colors Last Longer
Taking care of your tie-dye shirt properly keeps it looking bright wash after wash.
| Tie-Dye Care Tip | Why It Matters |
| Wash in cold water every time | Hot water fades the dye faster and can make colors look dull. |
| Turn the shirt inside out before washing | This protects the outer surface from friction and fading. |
| Use a gentle, color-safe detergent | Harsh detergents can slowly remove the dye from the fabric. |
| Avoid the dryer when possible | Air drying is softer on both the fabric and the colors. |
| Keep out of direct sunlight for long periods | UV rays can fade bright colors, especially on lighter fabrics. |
| Don’t bleach or use strong stain removers | Bleach and stain removers can remove the dye almost instantly. |
| Wash separately for the first 3–4 washes | Extra dye may still come out and stain other clothes. |
Conclusion
Learning how to tie-dye a shirt at home is much easier than many people expect. You do not need expensive supplies or special crafting skills to get started.
With a white shirt, dye colors, and rubber bands, you can create a fun and colorful design at home.
Many people enjoy tie-dye because every shirt turns out different, even with the same colors and folds. The basic process is simple and beginner-friendly. First, the shirt is soaked in soda ash to help the dye stick better to the fabric.
The shirt is folded, twisted, or scrunched with rubber bands. After adding the dye, leave it overnight before rinsing and washing.
After trying one tie-dye technique, most people want to test more patterns and color combinations.
Frequently Asked Questions
What Kind of Shirt Works Best for Tie Dye?
A 100% cotton white shirt works best. Cotton absorbs dye well. Blended fabrics (like polyester-cotton) don’t take dye as deeply, so the colors come out lighter.
Can You Tie-Dye a Shirt without Soda Ash?
You can, but the colors won’t last as long. Soda ash helps the dye permanently bond to the fabric. Without it, expect more fading after washing.
How Long Should You Leave Tie Dye Before Rinsing?
At least 6–8 hours. For the best results on a DIY tie-dye shirt, leave it for a full 24 hours. The longer the dye sits, the deeper the color.
How Do You Wash Tie-Dye Shirts without Losing Color?
Use cold water, a gentle detergent, and turn the shirt inside out. Air dry if you can. Avoid hot water and bleach. Following the steps on how to wash tie-dye shirts properly keeps the colors bright for a long time.
Can Kids Do Tie Dye at Home?
Yes, with adult help. Kids can help with folding, adding rubber bands, and picking colors. Adults should handle the dye mixing and application since the dye stains skin and surfaces. Use gloves for everyone.