

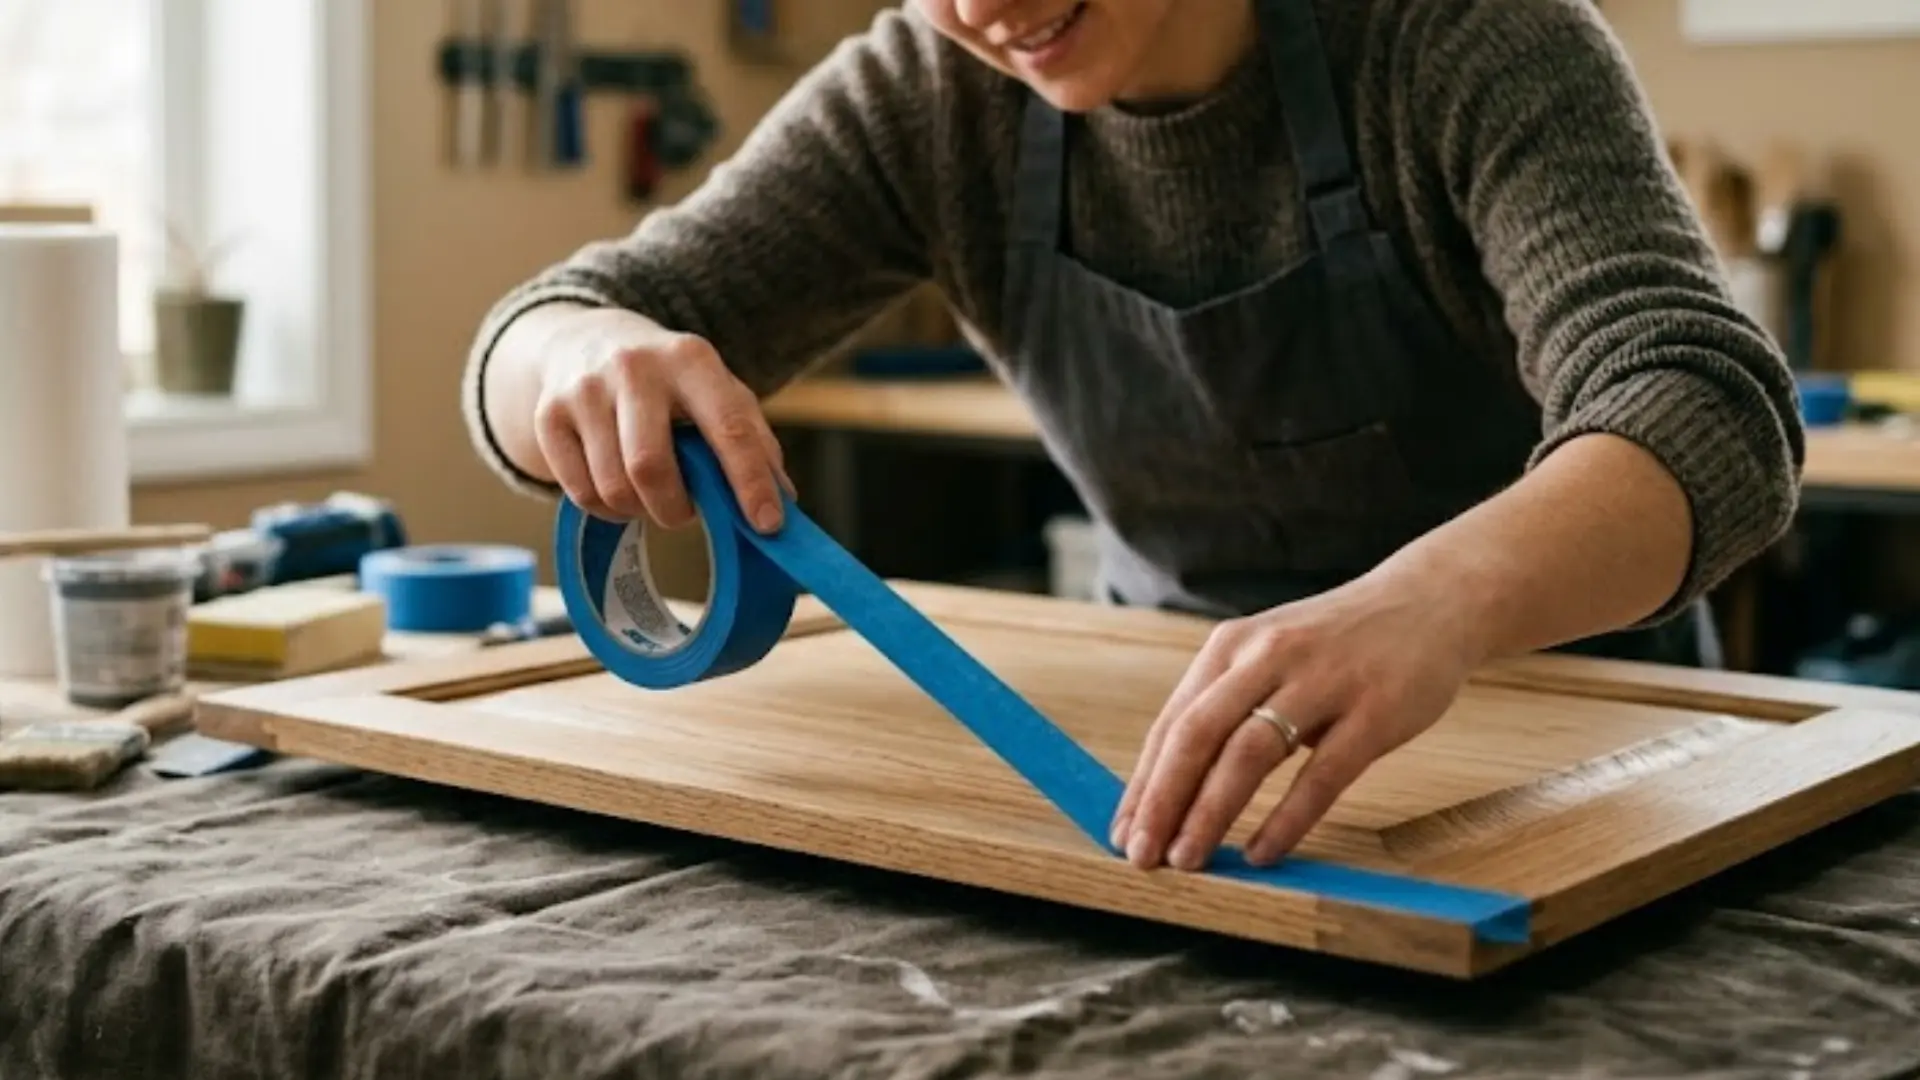
A can of spray paint sits in almost every garage, unused half the time. Learning how to spray paint the right way stops you from wasting cans and time.
Once you understand how the paint settles and dries, your results improve fast. I used to rush my coats and end up with ugly drips every time.
Slowing down and following a few habits fixed that problem for good. You avoid streaks, clumps, and patchy color on your project.
Small habits like the right distance and steady passes keep things clean. Stay with me, and your next paint job turns out perfect.
What Makes Spray Painting Different From Brush Painting?
Spray painting works differently than using a brush. Instead of pressing paint on with bristles, a sprayer sends out a fine mist that settles evenly across the surface.
This mist gets into grooves, corners, and detailed spots that a brush might miss. Since there’s no bristle contact, spray paint leaves no brush strokes behind, just a smooth finish.
But spraying has trade-offs. Overspray drifts, so you need more coverage around your work area, not just on the piece itself.
You also get less time to fix mistakes since the coating goes on wet and thin. That’s why steady, controlled movement matters so much. Smooth, even passes prevent drips, blotches, and uneven color.
How to Spray Paint Without Making a Mess
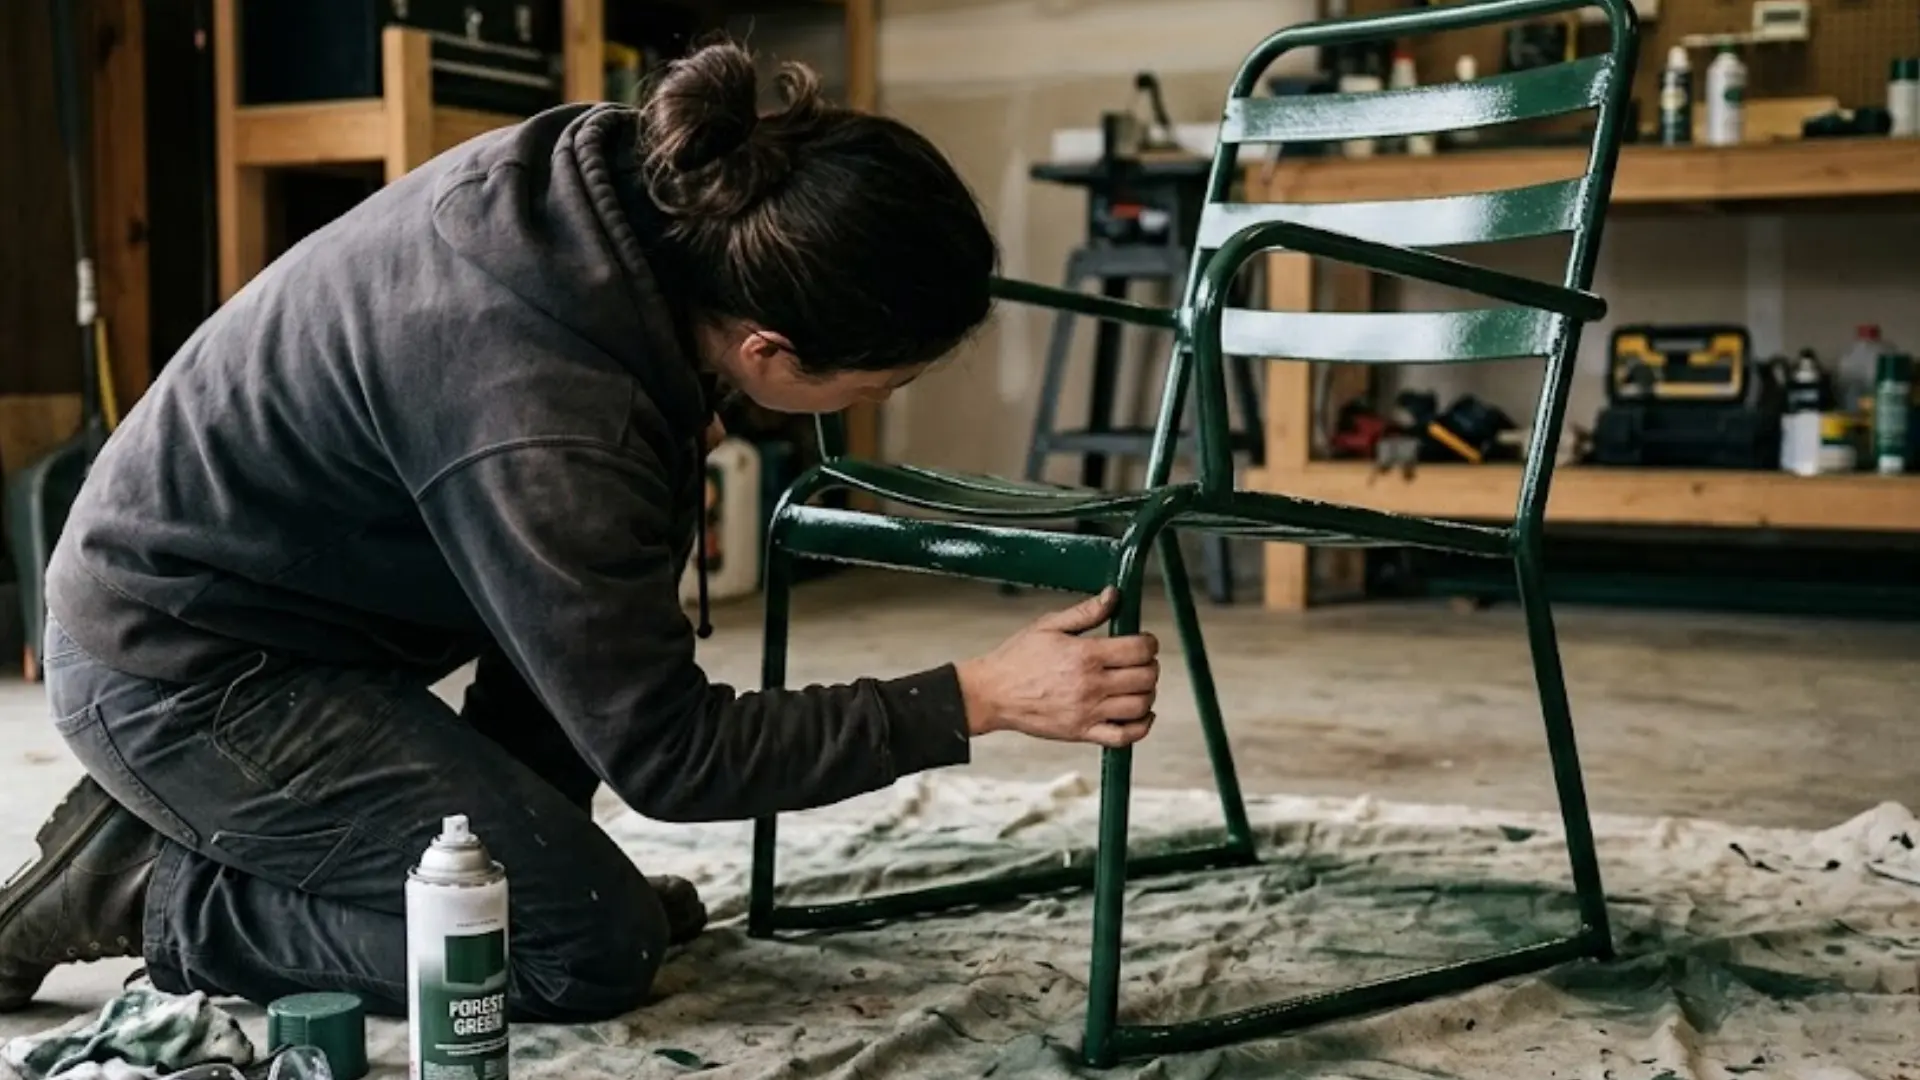
Spray painting feels a lot simpler once I break it into small, manageable steps. Getting myself organized before I start makes the whole process easier to follow:
Tools and Materials Checklist
Every paint job goes smoother with the right setup ready to go. Grabbing your supplies first saves you from stopping halfway through:
|
Tool or Material |
Estimated Cost Range |
|---|---|
|
Spray paint can |
$5–$12 |
|
Scrap cardboard |
Free–$2 |
|
Drop cloth or tarp |
$5–$15 |
|
Painter’s tape |
$3–$8 |
|
Sandpaper |
$3–$7 |
|
Respirator mask |
$10–$30 |
|
Safety glasses |
$5–$12 |
Set everything within reach before opening the can. This keeps your rhythm steady once you start spraying.
How to Apply Your Spray Paint Correctly?
Good spray painting comes down to following a clear order. Each step sets up the next one for success:
- Get the can ready by following the label’s mixing instructions, then test the spray on cardboard. This clears sputtering and confirms the color and pattern look right.
- Hold the can at the distance the label recommends and keep that distance steady. Start each pass just off the edge of the object, not directly on it.
- Keep the can moving at a steady, even speed without stopping mid-spray. Overlap each pass slightly so you don’t leave gaps or bare spots.
- Apply a light first coat instead of trying to cover everything at once. Add more thin coats gradually, checking coverage from a few angles.
- Let each coat dry within the recoat window before adding another. Give the final coat full cure time before handling the piece.
Stick to this order, and each layer builds cleanly on the last. Rushing any step usually shows up in the finished surface.
Simple Spray Painting Tips for Better Results
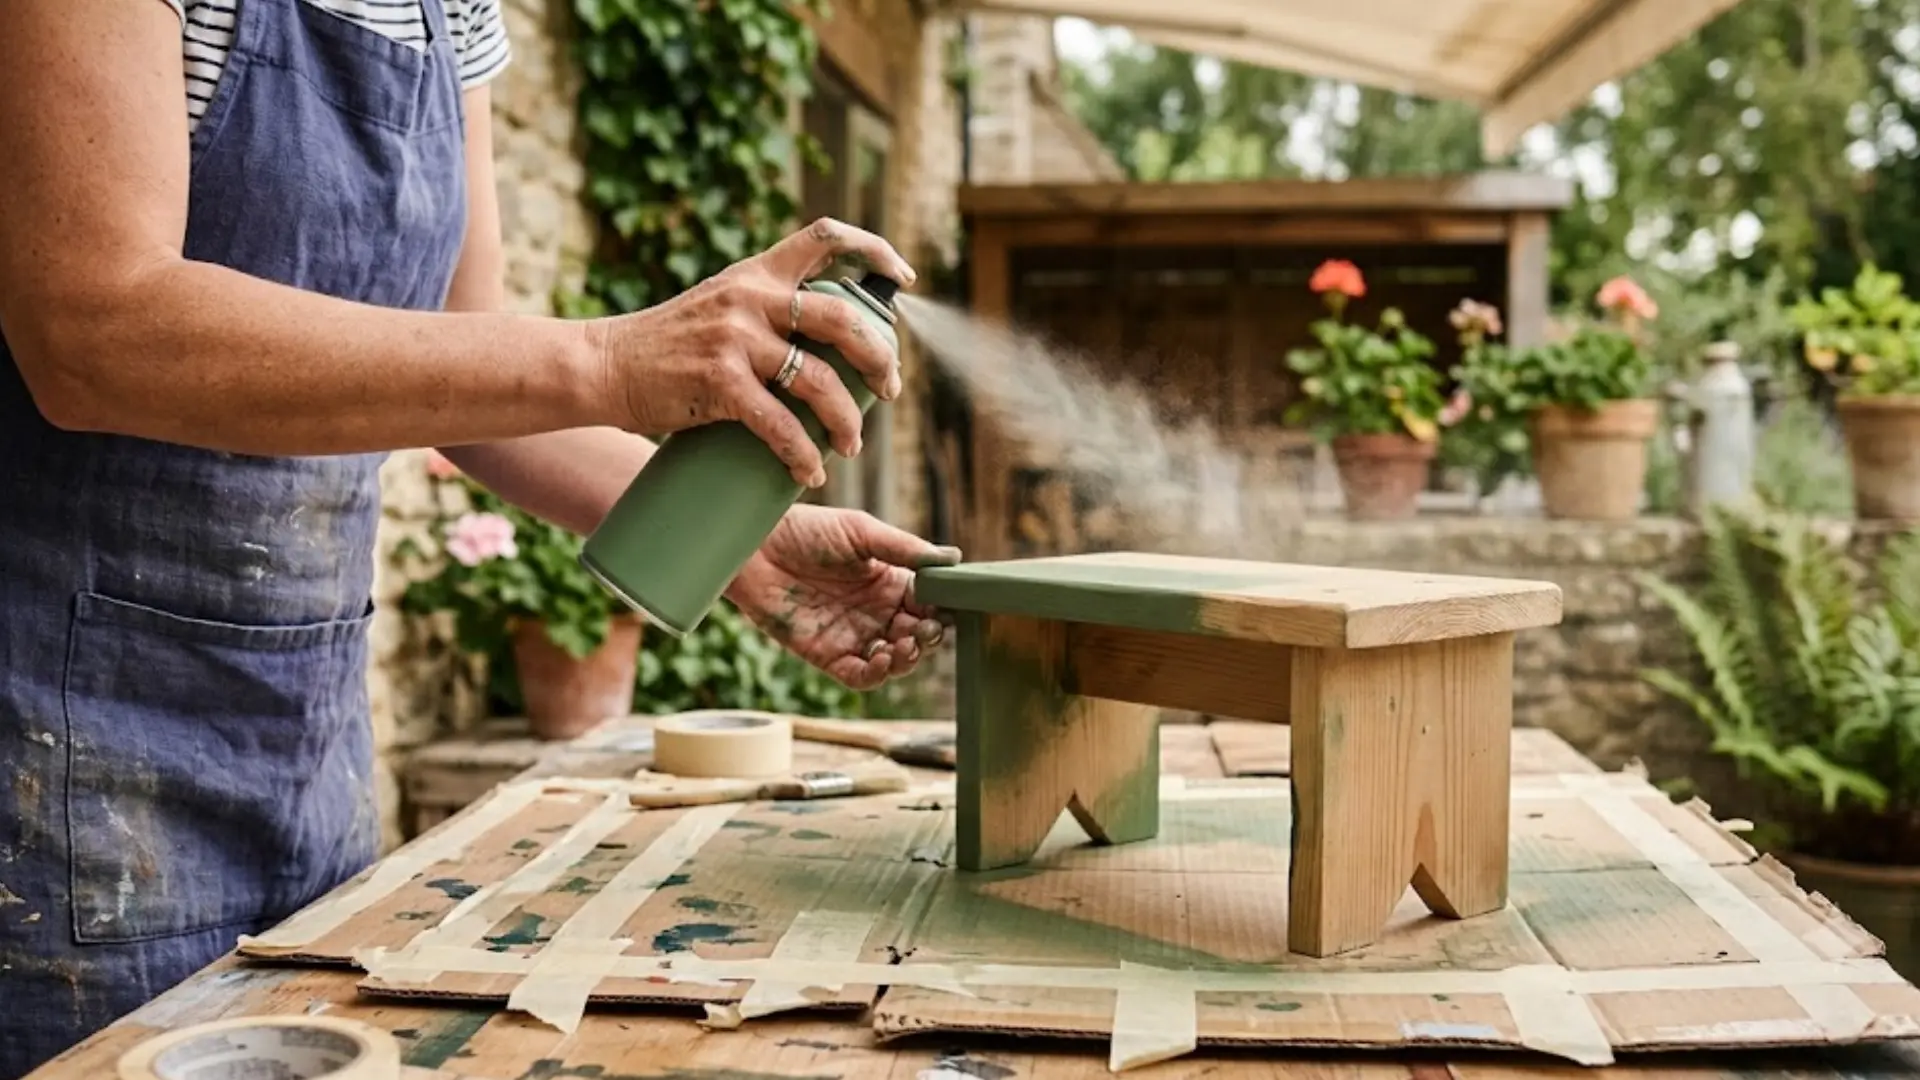
Spray paint can turn my tired piece into something I’d want to show off. A few simple habits make all the difference, so here are the tips I keep in mind before I pick up a can:
1. Warm the Can First
Cold spray paint tends to atomize poorly, coming out thick and sputtery instead of smooth. Try setting the can in a sunny spot for a few minutes before you begin.
If it’s chilly out, warming it gently in your hands works just as well. Warmer paint sprays finer and spreads more evenly across whatever you’re working on.
Just be careful not to leave the can in direct heat too long, since that creates a real safety risk.
2. Build a Simple Stand
Laying your piece flat on cardboard is tempting, but it almost always sticks as the paint dries. A better move is propping it up on wood scraps, small blocks, or a few nails through a board.
Raising it this way lets air circulate underneath, so the bottom edge never bonds to the surface below.
It also makes life easier later, since flipping the piece over becomes simple when you need to reach every side.
3. Test the Spray Pattern
Before aiming at your actual project, spray a quick test burst onto scrap cardboard. This little test shows you how wide the fan pattern is and whether the nozzle sputters or clogs.
A clogged nozzle can wreck an otherwise careful paint job with sudden blobs or streaky lines. If the spray looks rough or uneven, don’t fight it; just swap in a spare nozzle and try again.
4. Prime Before You Paint
Bare wood and MDF soak up paint fast, so a sandable primer seals the surface first, letting color sit on top instead of sinking into the grain, much like choosing the best paint for plywood surfaces makes a real difference on sheet material.
This one extra step saves real time, real paint, and the frustration that comes with patchy results. It matters most on porous materials like raw wood or particle board.
5. Take Apart Multi-Part Pieces
Spraying something while it’s still assembled often leaves thin gaps wherever parts overlap or touch. It pays to take a few extra minutes to remove hinges, knobs, or drawer pulls before I start.
I wipe each piece down with solvent first to remove oils and grease that keep paint from sticking. Handling parts separately gives me full, even coverage everywhere, including angles I’d otherwise miss entirely.
6. Protect Screw Threads First
Once paint dries on screw threads, they won’t turn cleanly back into their holes anymore. A simple fix is poking a small piece of thick cardboard onto the screw, leaving only the head exposed.
This keeps the functional threads paint-free while the visible surface still gets finished completely. It’s a tiny extra step now, but it saves you a much bigger headache during reassembly later.
7. Watch the Weather Closely
Spray paint behaves very differently depending on the temperature and humidity outside that day. Look for a dry day somewhere in the middle range, not too hot or cold, with low humidity and little wind.
Painting under direct sunlight can make the paint set too fast, drying unevenly across the surface. A calm, overcast afternoon almost always gives the most forgiving conditions for a smooth result.
8. Keep a Steady Distance
Holding the can too close causes drips and heavy buildup fast. Spraying from too far away leaves thin, spotty coverage instead.
The sweet spot is usually around eight inches between the nozzle and your surface, kept consistent throughout.
Start and stop your motion off to the side of the piece, never directly over it, so you avoid leaving sudden blobs at either end of each pass.
9. Overlap Each Pass Evenly
Move the can in a straight line across your project instead of sweeping it in an arc. Overlap each pass by about half over the one before it, keeping the coverage consistent.
Skip this overlap, and you’ll likely end up with faint stripes or lighter bands once everything dries.
It’s tempting to rush through this part, but a steady, even pace beats any fancy technique for a clean finish.
10. Rotate Between Light Coats
Instead of stretching awkwardly to reach every angle, I just rotate the object between coats. After my first full pass, I turn it about a quarter turn and spray again.
This keeps my coverage even and solid without straining to hit hard-to-reach spots or tight corners. It also helps me spot thin patches or missed areas I overlooked the first time around.
11. Change Direction Each Coat
Spraying every coat in the exact same direction can leave subtle streaking, especially visible under certain light. Try alternating your strokes instead, horizontal on one coat and vertical on the next.
This simple crisscross approach fills in any gaps a single direction tends to leave behind. The payoff is a smoother, more uniform look once each coat has fully dried and cured.
12. Clean the Nozzle After
A clogged nozzle causes more frustration than almost anything else in spray painting, but it’s genuinely easy to prevent.
Just turn the can upside down and spray onto scrap cardboard until only clear gas comes out. Wipe the tip afterward with a rag to clear away any leftover paint residue near the opening.
Doing this every time you finish keeps the can ready to go next time around.
13. Fix Runs by Dabbing
Drips happen even to careful painters, especially on vertical surfaces where gravity pulls the paint downward. If you catch a run while it’s still wet, dab at it gently with a rag rather than wiping.
Wiping just smears the paint further across the surface, while dabbing lifts the excess cleanly away. For runs that have already dried, a light sanding followed by a fresh coat usually fixes the spot.
Frequently Asked Questions (FAQs)
Can I Spray Paint Plastic Without Primer?
Most plastics need a primer made for plastic surfaces, or paint won’t stick well. Skipping it usually leads to chipping, peeling, or a finish that scratches off easily over time.
Do I Need a Clear Coat After Painting?
A clear coat isn’t always required, but it adds extra protection against scratches, fading, and moisture. It’s especially worth using on items that get handled often or sit outdoors.
How Long Does Spray Paint Last in Storage?
Unopened spray paint typically lasts two to three years if stored somewhere cool and dry. Shake it well before use, since older cans need extra mixing to spray smoothly again.
Can I Spray Paint Over Rust?
You can, but rust needs to be sanded down first and treated with a rust-inhibiting primer. Painting directly over active rust usually causes the new coat to fail quickly.
Final Words
This is all it takes to get a clean, lasting finish. You just need patience and the right prep. I learned that skipping steps always shows up in the final coat.
Following the right spray-painting steps keeps every coat smooth and even from start to finish. Take your time with each coat and let it dry properly before moving on.
Small habits like shaking the can and keeping a steady distance matter more than you’d think. They turn a rough attempt into a finish you’re proud of.
Every piece you paint teaches you something new along the way. Share your own spray painting tips in the comments below!