

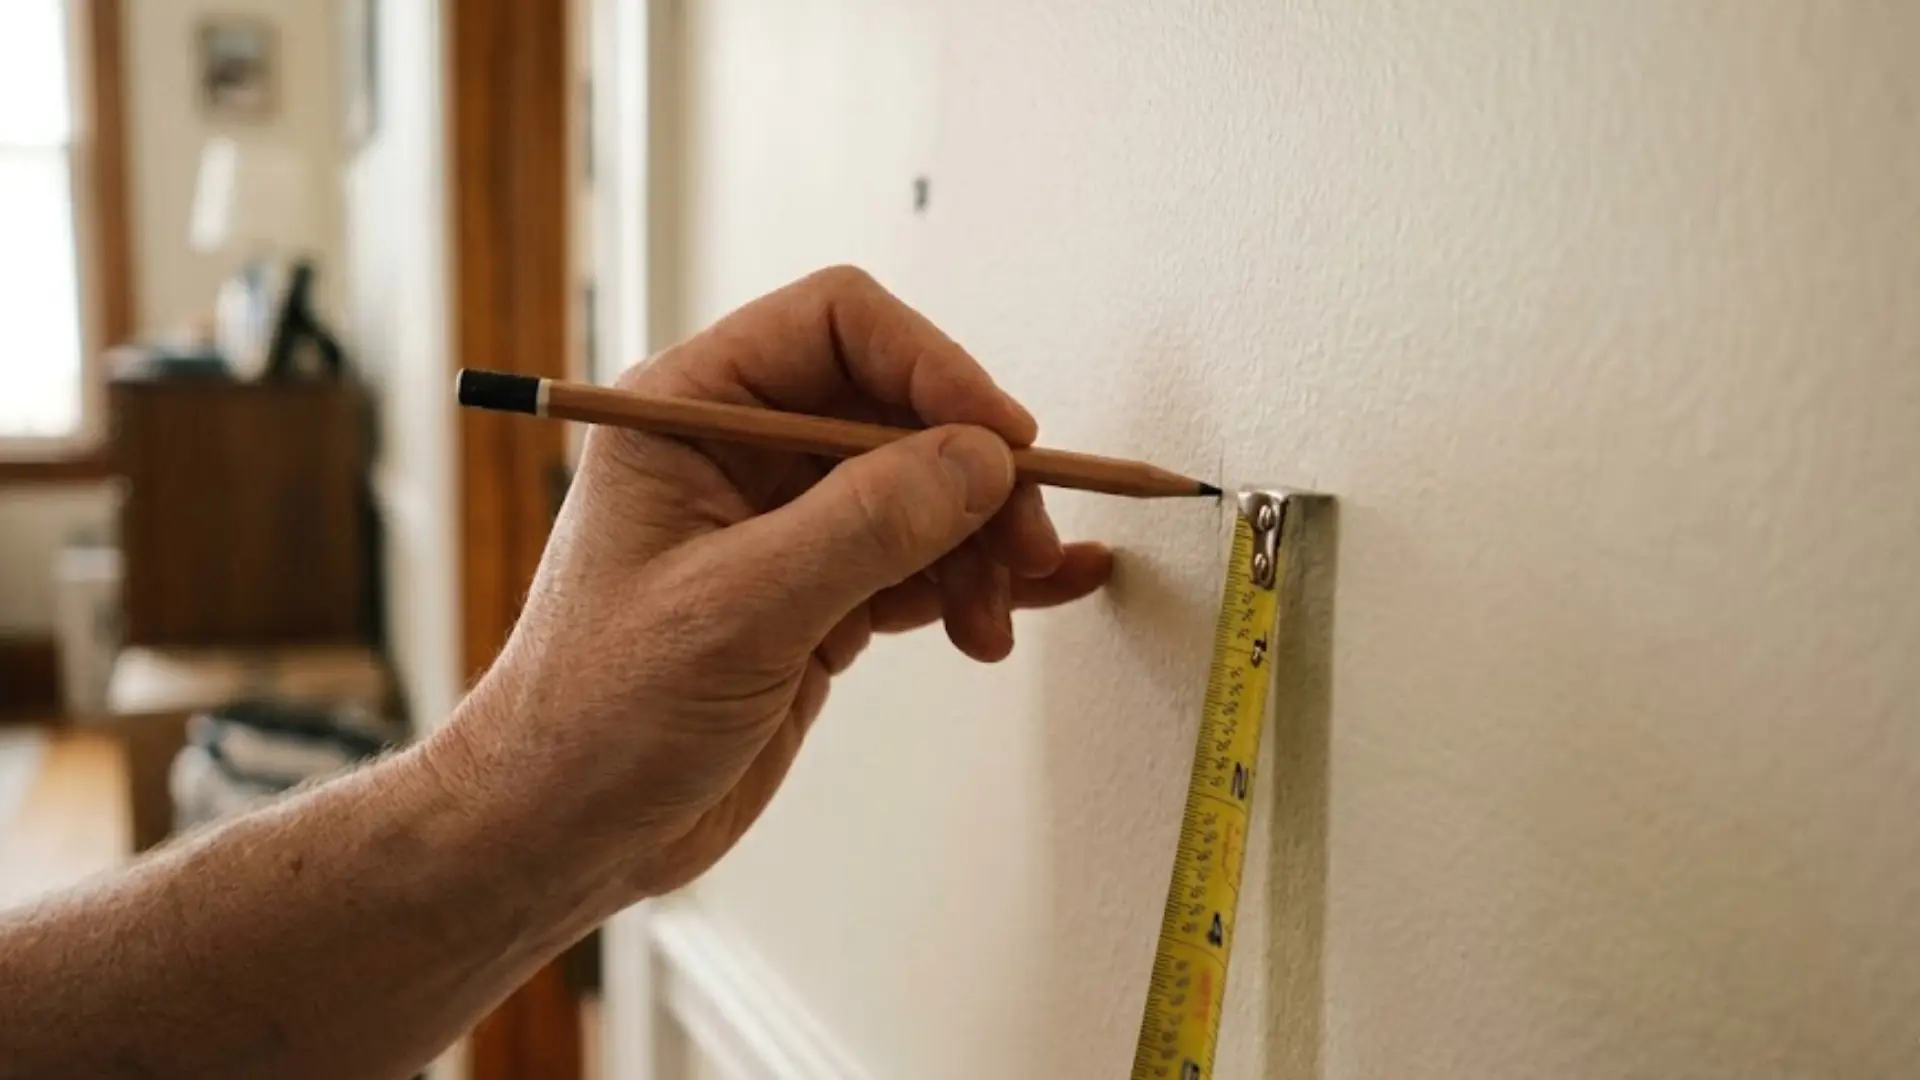
Every wall has a hidden frame holding it together from the inside. That frame is made of wood studs strong enough to hold real weight.
Knowing how to find a stud in the wall keeps your walls neat and damage-free. I’ve hung a shelf on empty drywall before, and the crash still makes me wince.
That mistake taught me to always check for a stud first. You don’t need special skills or fancy tools for this. A few simple steps and a bit of patience get you there.
Grab a pencil, and stick around to learn every trick that works.
What Is Actually Behind Your Wall?
A finished wall is not just one flat surface. It hides several layers stacked behind the drywall or plaster. Vertical studs form the main frame, spaced evenly apart.
Between those studs sit empty cavities, sometimes filled with insulation. Electrical wires often run through these spaces to outlets and switches.
Some walls also carry plumbing pipes, especially near kitchens or bathrooms. You might also find horizontal blocking in spots built for extra support.
The studs are what give your wall its real strength. Every home is different, so wall layouts can vary a lot. Think about this hidden structure before you start searching for a stud.
How to Find a Stud in the Wall: Simple Ways That Work
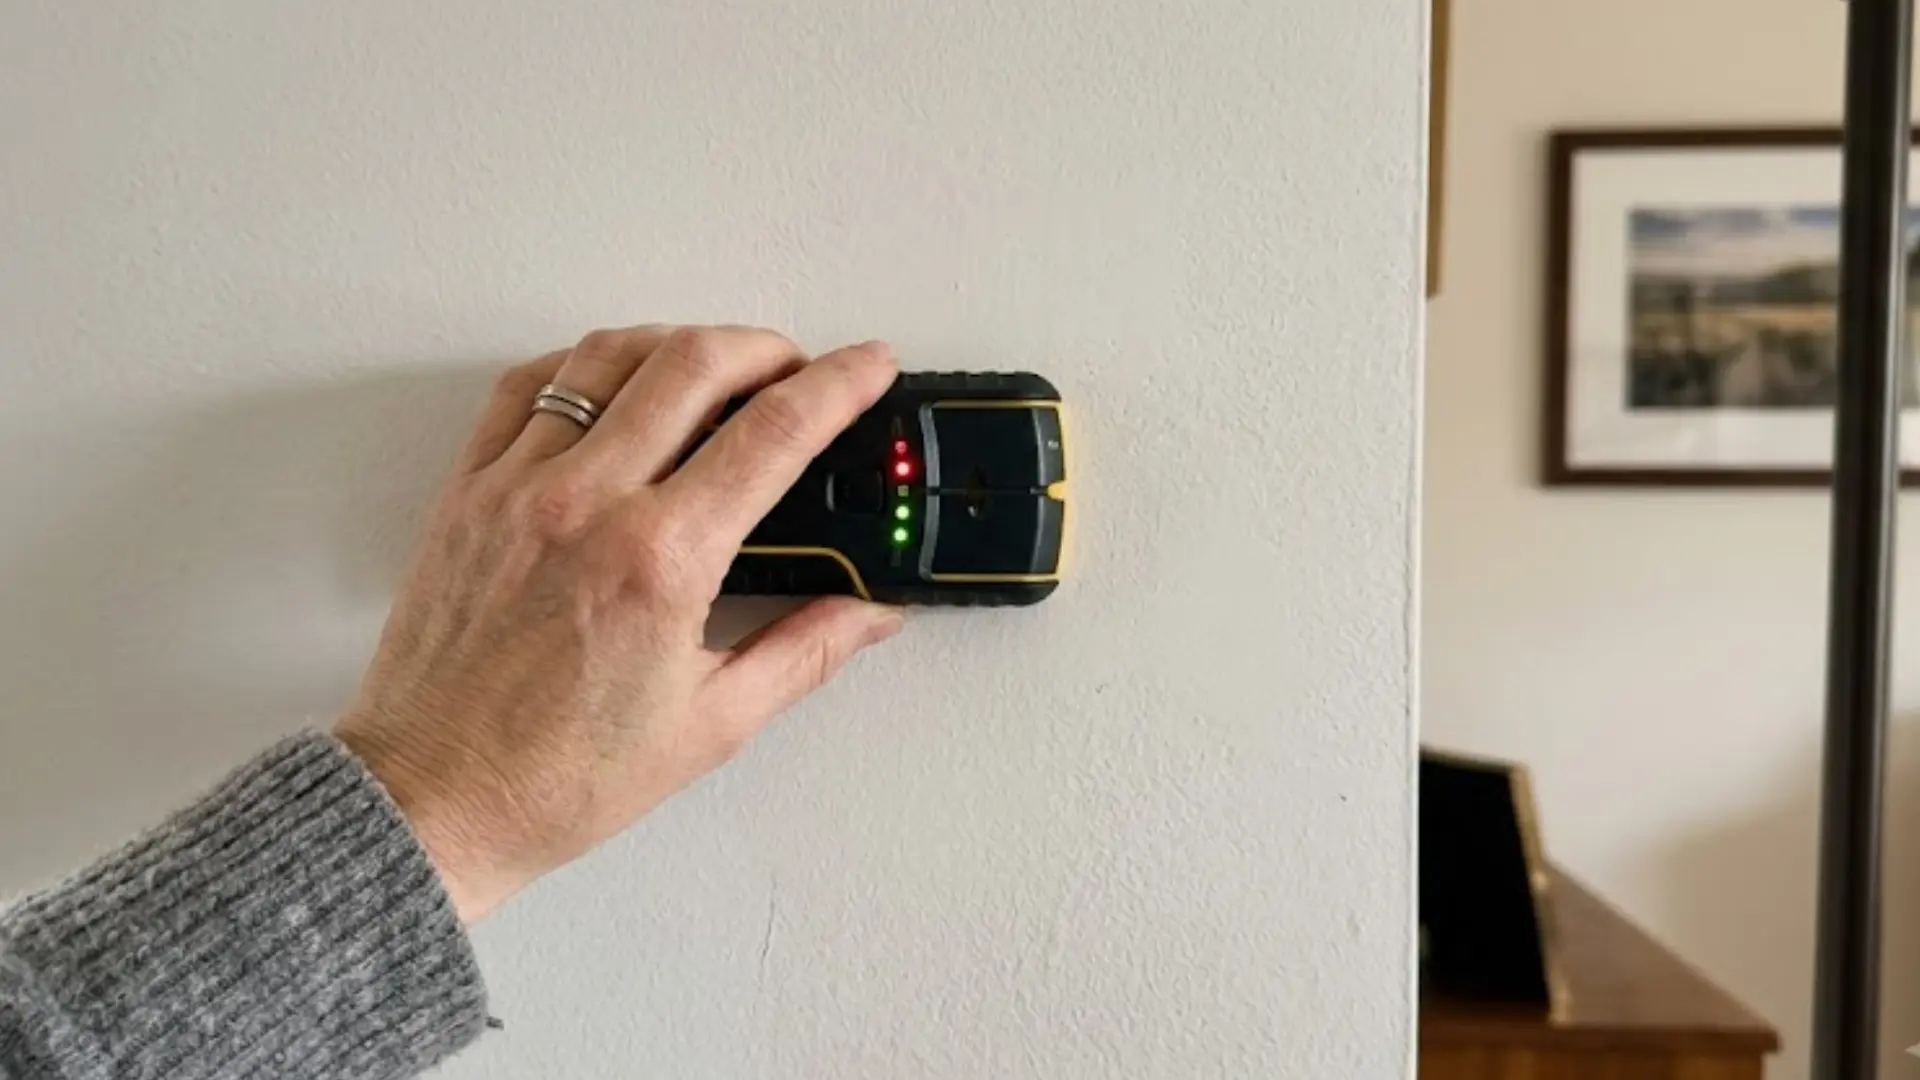
The methods below cover different ways to locate or confirm a wall stud. I’ve tried most myself, and here’s what actually works:
1. Use an Electronic Stud Finder
Place the stud finder flat against your wall. Calibrate it first, following the maker’s instructions. Slowly move it sideways across the wall surface.
Mark each spot where it beeps or lights up. Find the midpoint between those two marks. Scan again from the other direction to double-check.
Try the same test at a different height too. This method is usually the easiest on standard drywall.
Note: If your stud finder keeps giving false readings, recalibrate the tool, replace weak batteries, and scan more slowly while keeping it flat. Avoid pipes, wiring, metal beads, or dense materials, and confirm results with a magnet.
2. Use a Magnetic Stud Finder
A magnetic stud finder locates the metal screws or nails holding up your drywall. Slowly glide the tool across the wall’s surface. Mark every spot where the magnet pulls hard.
Check above and below that same spot too. Several fasteners lined up vertically usually mean a stud. Remember, the magnet finds fasteners, not the wood itself.
I keep one of these in my toolbox since it never needs charging. The best part is, it works every time without batteries at all.
3. Tap or Knock on the Wall
Knock across the wall using your knuckle. Listen closely for changes in the sound. Hollow sounds usually mean empty space between studs. A firmer, duller sound often means solid framing.
Narrow down the area instead of trusting just one knock. Lightly mark the spot you suspect. Confirm it with another method before you drill.
This trick can be tricky on plaster or thick insulation.
4. Check Beside an Electrical Outlet or Switch
Many electrical boxes get fastened to the side of a stud. Remove only the cover plate if needed. Never stick fingers or tools inside a live box.
Look for clues showing which side has support. Use that spot as your starting point. Confirm it using a magnet or stud finder. Some newer boxes attach differently, so treat this as a clue, not proof.
5. Look for Drywall Screw or Nail Marks
Shine a light across the wall at a low angle. Look closely for tiny dimples, nail pops, or slight bumps. Small circular dents often mean a screw underneath.
These fasteners are usually driven straight into the framing. Look for several marks lined up vertically. Mark the likely center of that line. Always confirm before hanging anything heavy on it.
6. Measure From a Wall Corner
Start measuring from an inside or outside corner. Move outward using common framing spacing as your guide. Sixteen inches is a common starting assumption.
Some homes use 24-inch spacing instead, so stay flexible, since this is especially common in older house foundation types where framing standards varied.
Always confirm your guess using another method too.
7. Follow Nails in the Baseboard or Trim
Look closely at your baseboard for small nail heads. Filled nail holes can be a helpful clue too. Finish carpenters usually nail trim straight into the studs.
Look for nails that line up vertically. Trace that spot straight up the wall. Confirm it before you drill. Not every trim nail hits a stud, so treat this as a hint.
8. Make a Small Test Hole
Only try this after narrowing down the spot. Pick a spot that is easy to patch later. Use a thin nail or a very small drill bit. Gently push or drill through the drywall.
Sudden looseness usually means an empty cavity behind it. Steady resistance often means you hit solid framing. Stop right away if you feel unexpected metal.
Avoid areas near wiring or plumbing.
9. Check Beside Doors and Windows
Doors and windows need extra framing around their edges. Studs usually run along the sides of these openings. Use the opening’s edge as your clue.
I once drilled into trim casing, thinking it was solid framing. That mistake taught me to measure past the trim first. Account for casing, drywall, and any added framing.
Use a stud finder to pinpoint the true center for further measurements.
10. Look for a Drywall Panel Seam
Drywall sheets usually get fastened to studs along their edges. This means seams often line up over a stud. Check the wall’s surface under angled lighting for clues.
Look for raised lines or slight changes in compound. Repeated fastener marks along one line are a good sign. Confirm the seam using a magnet or stud finder. Not every bump on the wall is a real seam.
11. Use a Thermal Imaging Camera
Studs can sometimes create small temperature changes on your wall. Scan the wall when it’s cold or hot outside. Look for a pattern that repeats in straight lines.
Use that pattern to guess where the studs sit. Insulation, plumbing, and sunlight can all throw off your reading.
This trick works best on exterior walls with clear temperature contrast. Always confirm the result before you drill.
12. Inspect the Other Side of the Wall
Try this if the other side is easy to reach. Garages, basements, and utility rooms often work well here. Look for exposed framing or visible fastener patterns.
Measure from a fixed point like a corner or door. Carry that same measurement over to the finished side. Don’t forget to account for wall thickness and trim. This method is often one of the most reliable options.
How to Confirm You Found the Center of a Stud?
One mark on the wall does not always mean you found the stud. Finding both edges gives you a much more reliable answer:
- Mark the left edge where the tapping sound changes.
- Mark the right edge where the solid sound stops.
- Measure the midpoint between those two marks for the true center.
- Check that the stud continues in a straight line above or below.
- Confirm the same spot at two different heights on the wall.
Fastening too close to an edge, I’ve noticed, can miss the solid wood inside. That weak grip, in my experience, can lead to a screw or nail pulling loose over time.
How to Find Studs in Different Wall Types?
I’ve noticed that walls don’t all behave the same way when you’re trying to find a stud. The material behind your wall changes which method works best:
|
Wall Type |
Best Tool |
Main Challenge |
Tip |
|---|---|---|---|
|
Drywall |
Electronic or magnetic stud finder |
Usually none; easiest surface to scan |
Fastener marks and standard measuring also help |
|
Plaster Walls |
Strong magnet |
Lath can confuse electronic finders |
Confirm your findings at least twice |
|
Textured Walls |
Magnetic stud finder |
Texture stops finders from lying flat |
Place thin cardboard over the surface first |
|
Tile Walls |
Framing clues from the other side |
Thick tile and backer board block readings |
Get professional help for heavy installs |
Knowing your wall type saves you time and frustration. Pick the right approach first, and the rest of the job gets much easier.
Frequently Asked Questions (FAQs)
Do All Stud Finders Work the Same Way on Wood versus Metal Studs?
No. Magnetic stud finders only sense metal fasteners in wood studs, while electronic capacitance models detect density changes and can locate both wood and metal studs directly.
How Far Apart Are Studs Usually Spaced?
Studs are typically spaced sixteen inches on center in most homes, though older houses or custom builds sometimes use twenty-four-inch spacing instead, so measurements can vary.
Can I Use a Stud Finder on Textured or Uneven Walls?
Textured surfaces like popcorn ceilings can interfere with sensor contact and produce unreliable readings. Lightly sanding a small test area often improves accuracy significantly before scanning further.
The Bottom Line
Learning how to find a stud in the wall turns a tricky task into a simple one. Tap, measure, and double-check before you drill near wiring. Your walls hold small clues once you know where to look.
I always confirm with a second method before I trust my first mark. That extra step has saved me from a few crooked shelves. Magnets, cameras, and a little patience each help in their own way.
Once you locate a solid stud, hanging shelves becomes quick and simple. A few careful checks now save you extra patchwork later.
Grab your stud finder, try these steps, and tell me what you find below!