

| Difficulty | Easy |
| Estimated Cost | $0 to $10 (dish soap, wire brush, comb) |
| Time | 10 to 20 minutes per brush |
| DIY or Professional | DIY, no special skills needed |
| Tools Needed | Dish soap, warm water, wire brush, brush comb, cling wrap |
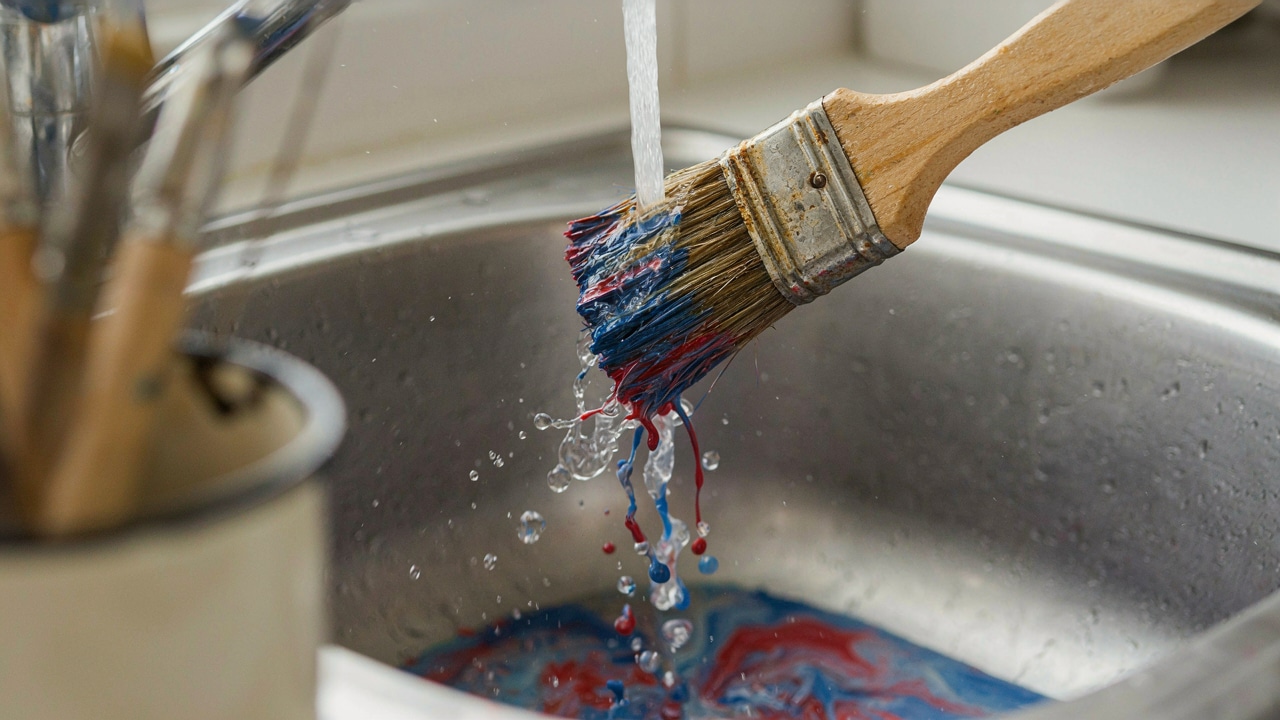
The fastest way to clean paint brushes is to rinse them before the paint sets, work dish soap into the bristles near the ferrule, then reshape and dry the brush before it goes back into storage.
I’ve watched plenty of good brushes get thrown out early, and almost every time, the real problem wasn’t the paint. It was a rinse that stopped too soon.
A brush that feels stiff after only a few uses usually still has paint hiding where you can’t see it. Once that residue hardens, it changes how the brush holds paint and how evenly it applies a coat. The steps below cover what actually gets a brush clean, not just rinsed until the water runs clear.
The Mistake That Ruins Most Brushes Before the Steps
Before you touch a sink, it helps to know where most people go wrong. I’ve fixed enough stiff, ruined brushes to know the failure point is almost always the same spot, and it’s rarely the one homeowners check first.
- Cleaning Only the Tips: The visible ends of the bristles can look spotless while paint still sits closer to the ferrule.
- Ignoring the Ferrule: Dried buildup around the metal band stiffens the brush and spreads the bristles apart over time.
- Trusting Clear Water: Clear rinse water doesn’t prove the base of the brush is actually clean.
- Using the Wrong Cleaner: Soap and water handle most water-based paints, but oil-based coatings need a compatible solvent instead.
- Leaving Paint Residue: Even a small amount left behind can harden during storage and stiffen the whole brush.
- Scrubbing Too Hard: Aggressive scrubbing splits bristles that would have been fine with a gentler touch.
A brush that repeatedly stiffens after only light use almost always has hidden buildup near the ferrule. Quality tools matter here too. The same principle shows up in trim work, where choosing a sturdier brush from the start saves cleanup headaches later.
What You Need to Clean a Paint Brush
Getting supplies together before you start keeps paint from drying while you search the garage. The right cleaner depends mostly on the paint type. Water-based paints clean up with warm water and dish soap, while oil-based paints need a solvent that matches the coating.
| Tool or Material | Purpose |
|---|---|
| Deep sink or utility sink | Gives enough room to rinse and work paint out of the bristles. |
| Warm to hot water | Loosens water-based paint during rinsing. |
| Dish soap | Breaks down residue that water alone leaves behind. |
| Mason jar or small container | Holds soapy water for a short soak on stubborn buildup. |
| Cling wrap or Press’n Seal | Keeps a wet brush from drying when you can’t clean it right away. |
| Wire brush | Loosens dried buildup near the ferrule when used carefully. |
| Brush comb | Separates and straightens bristles after cleaning. |
| Paper towel or shop towel | Soaks up extra moisture before storage. |
| Original brush cover | Holds bristles in their proper shape during storage. |
| Compatible solvent | Removes oil-based paint that soap and water can’t touch. |
Matching the cleaner to the paint matters more than most people expect. Using the wrong product can leave residue behind or make the bristles harder to work with later. If you’re stocking up for a bigger job, a full trim project supply list includes most of the same supplies plus a few extras worth having on hand.
How to Clean a Paint Brush Step by Step
The process itself isn’t complicated, but each step solves a different problem. Clearing excess paint first also keeps the later washing stages from doing more work than they need to.
Step 1: Keep the Brush Wet Until You Can Clean It
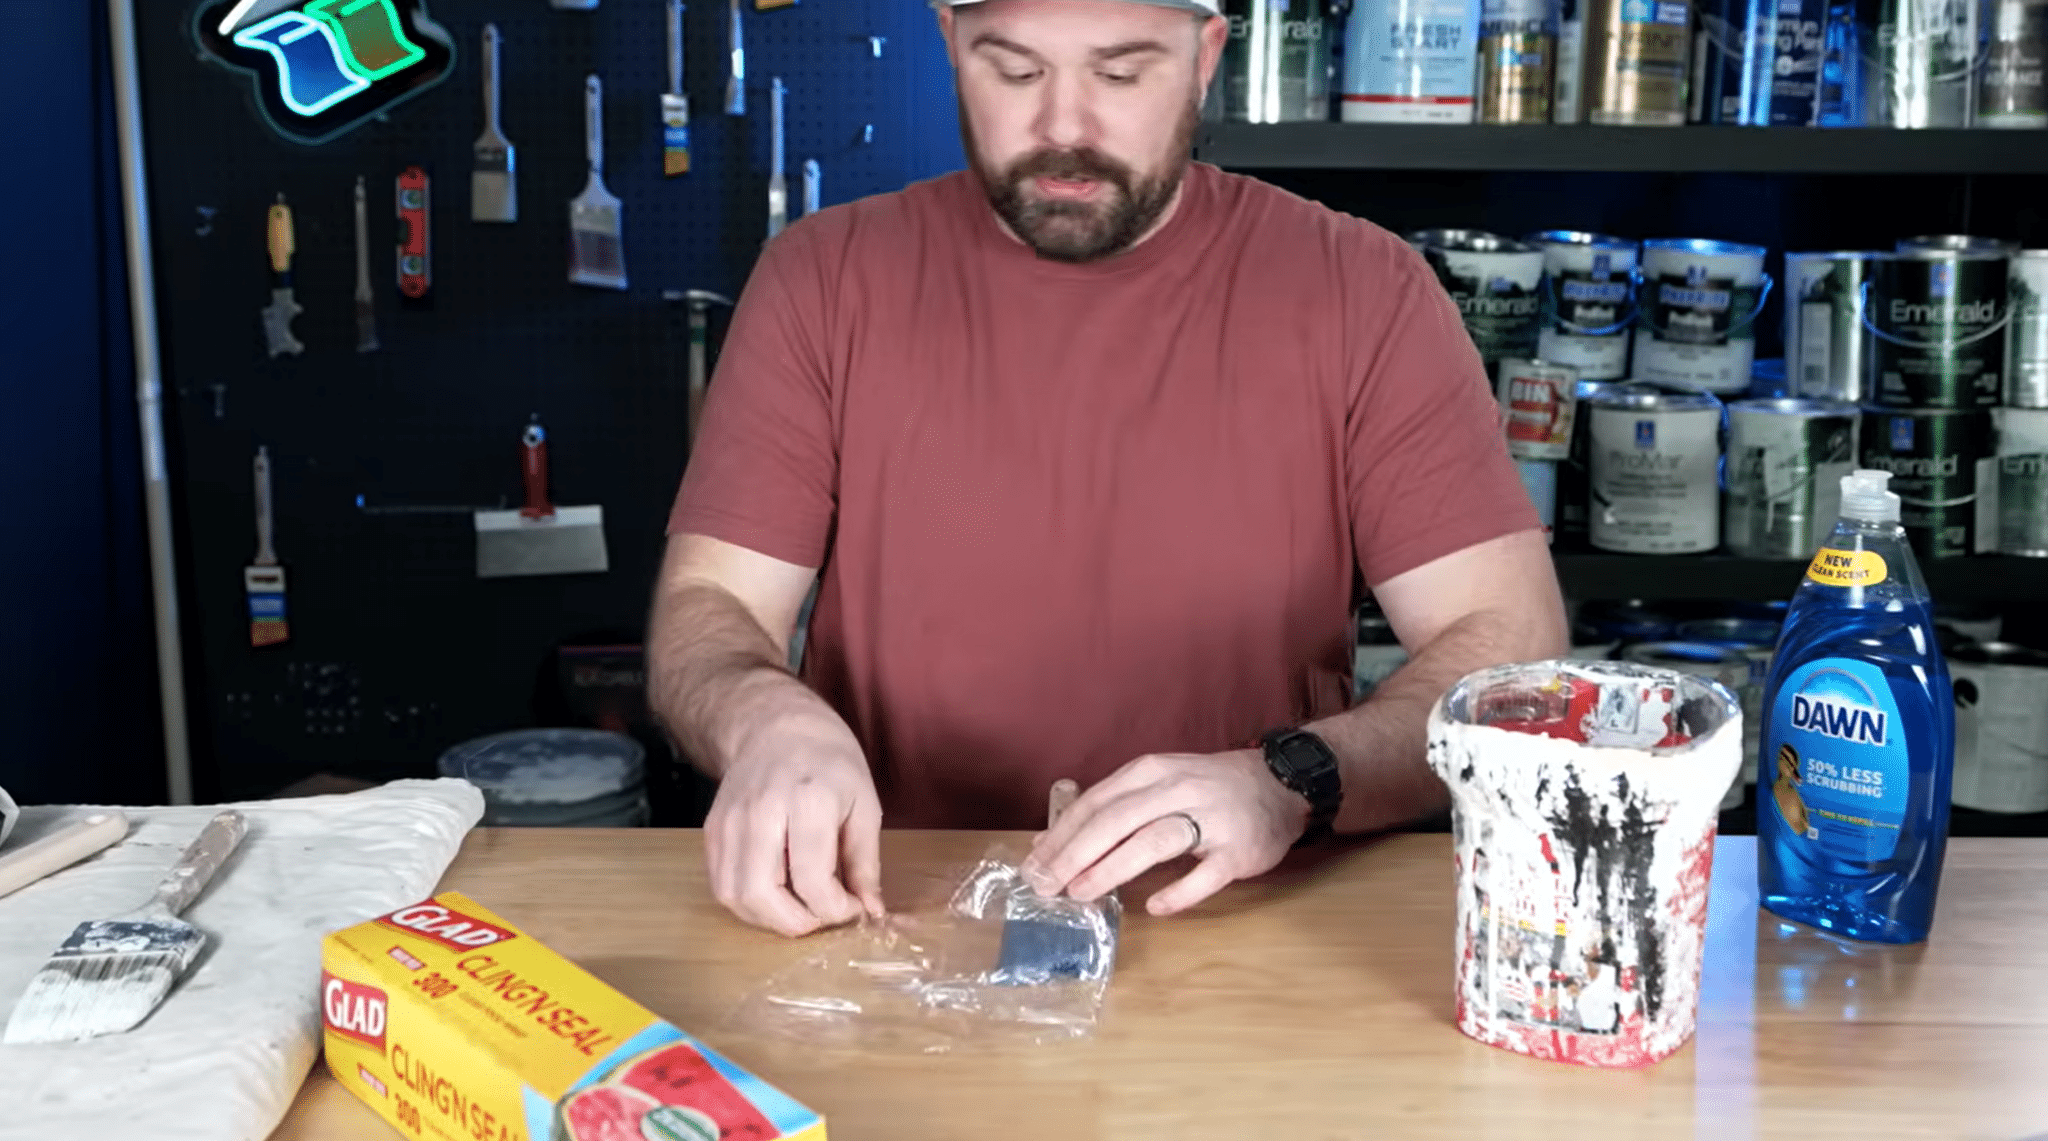
The best time to clean a brush is while the paint is still wet. Once it starts to set, cleaning gets a lot harder. If a sink isn’t close by, wrap the brush tightly in cling wrap or Press’n Seal. That seal keeps paint from drying deep inside the bristles, since once it hardens there, it’s tough to remove and can damage the brush for good.
If you’re mid-project and thinking through the rest of your supply run, a quick look at beginner wall prep basics is worth bookmarking for next time.
Step 2: Rinse and Work Paint Out of the Bristles
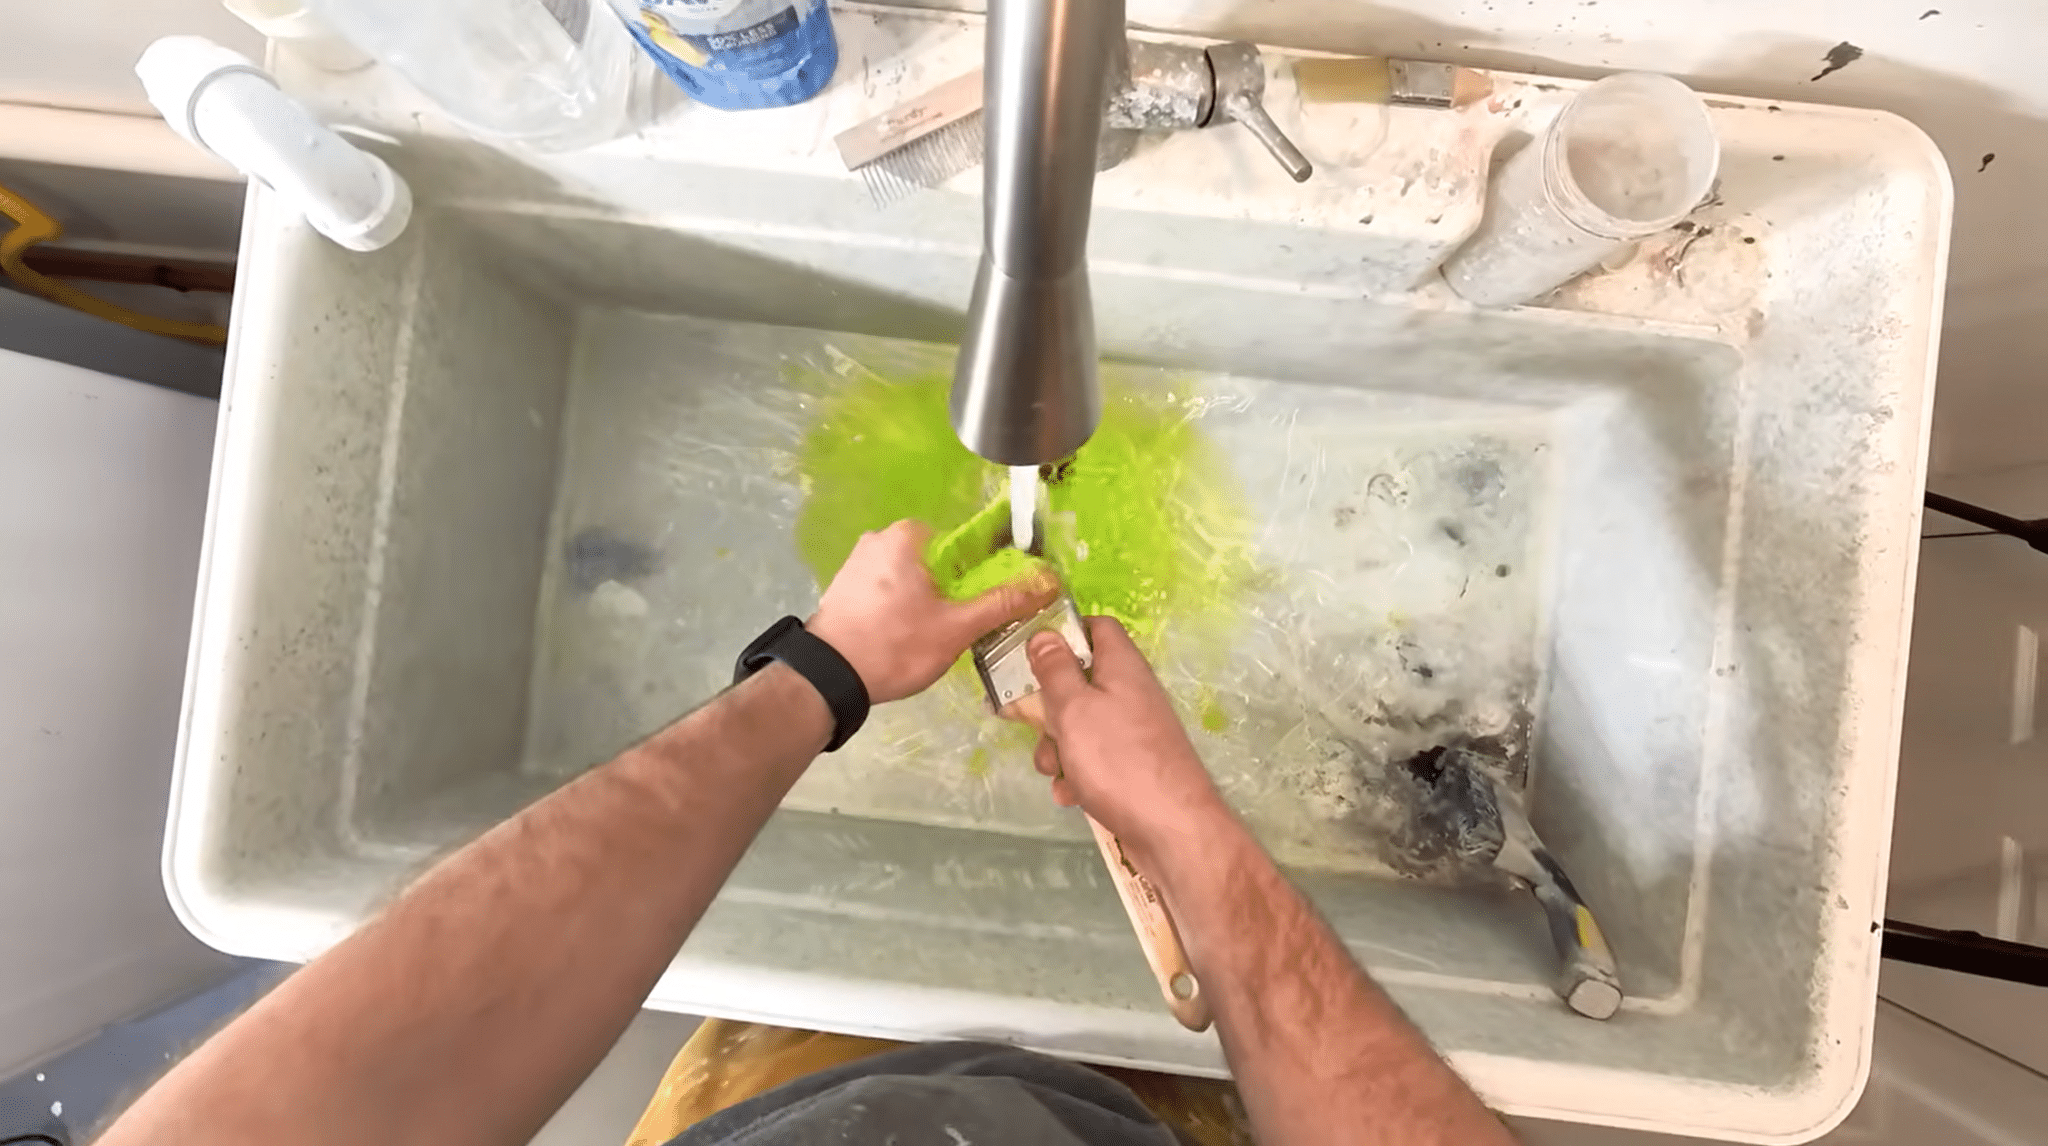
Hold the brush bristles-down and run warm to hot water over the base. Keep the handle above the waterline, so paint doesn’t work its way further in. Massage and squeeze the bristles between your thumbs, rotating the brush to reach both sides.
Pay close attention to the area near the ferrule, since that’s where paint collects and causes stiffness. Clear rinse water isn’t proof the brush is clean; the bristles should feel soft and flexible with no paint trapped near the base.
Step 3: Use Dish Soap for a Deeper Clean
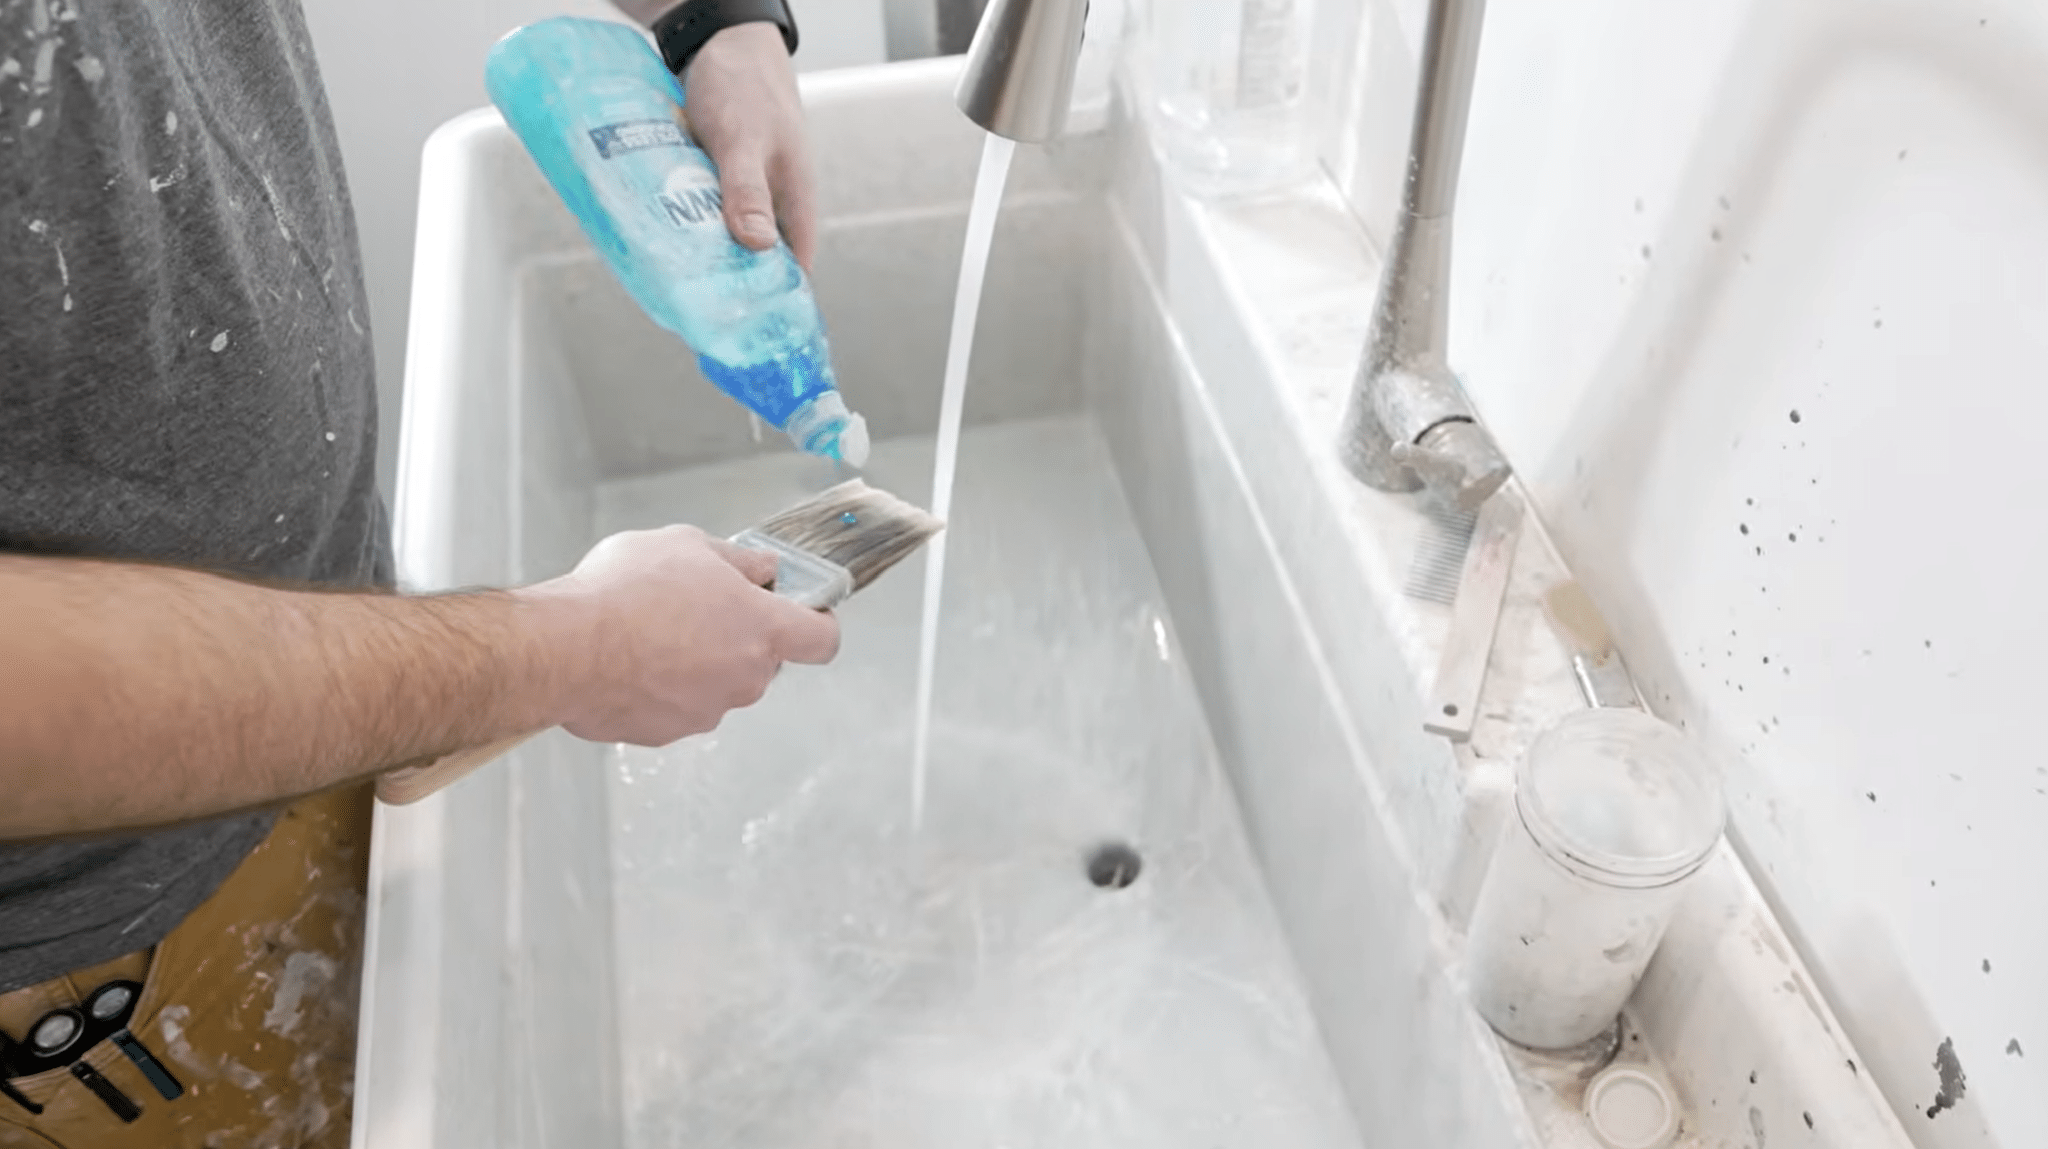
Add a small amount of dish soap directly to the bristles and work it into the base. Soap breaks down residue that plain water won’t touch. For stubborn buildup, soak the bristles in a mason jar with water and a little soap for a few minutes, then massage the brush under running water until every trace of paint and soap is gone.
The same soap-and-water logic applies before a fresh coat goes on, which is why prepping plaster surfaces early makes such a difference in how the finished paint job turns out.
Step 4: Remove Dried Paint Near the Ferrule
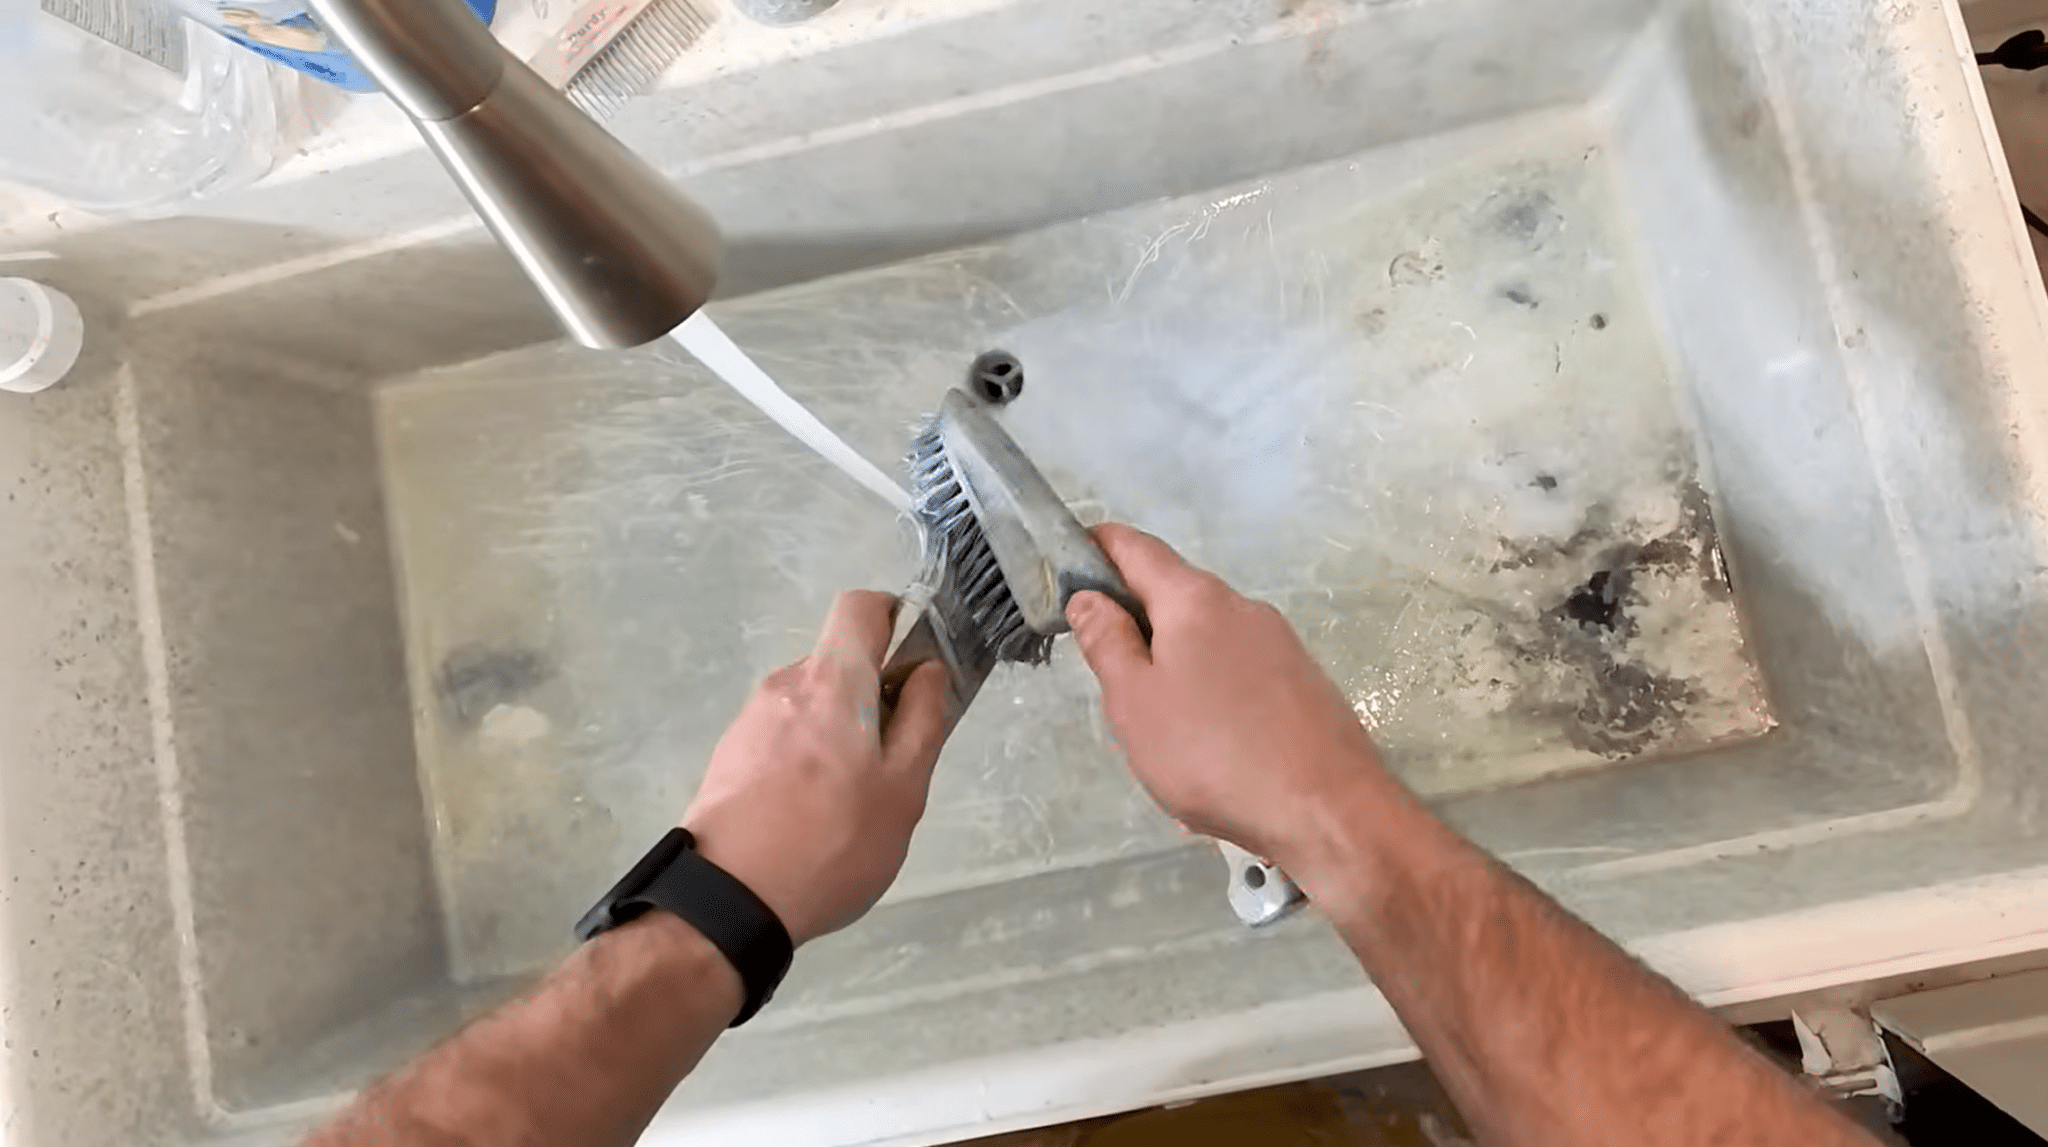
Dried paint often builds up near the ferrule, the metal band holding the bristles in place. That buildup stiffens the brush and throws off how it applies paint. Use a wire brush carefully on the buildup near the base, then lift it away before it reaches the tips. Don’t force it or drag it down the full length of the bristles; too much pressure splits them apart.
| Note: Never pour leftover solvent or oil-based paint residue down the drain. The EPA advises against disposing of household hazardous waste like paint and solvents down a drain or storm sewer; check with a local household hazardous waste collection program for proper disposal. |
Step 5: Spin Out Water and Reshape the Bristles
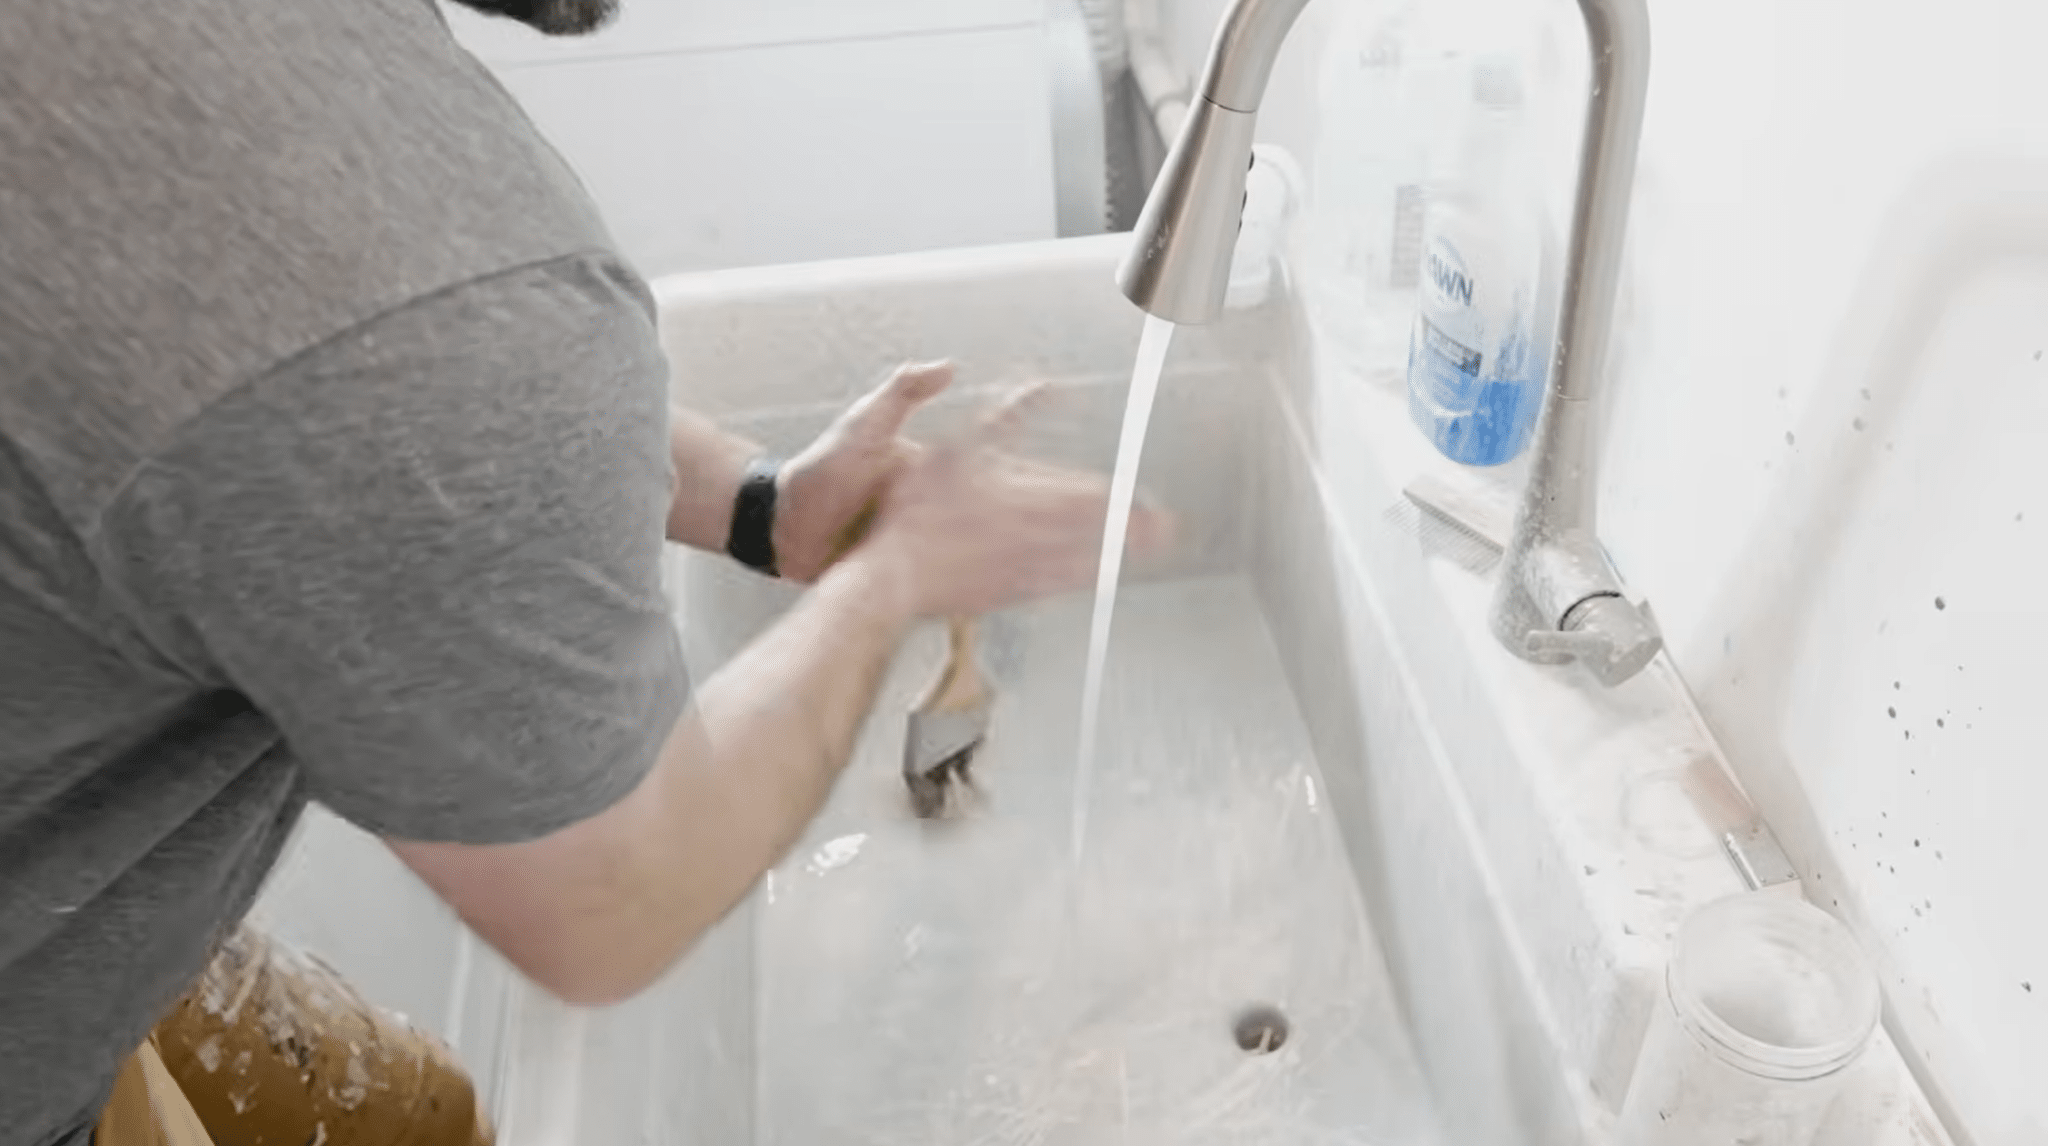
Once the brush is clean, roll the handle between your palms to spin out the water, working over the sink since water sprays out as it spins. After most of the moisture is gone, reshape the bristles with your hands or a comb. A paper towel can soak up whatever’s left. The brush can go into storage slightly damp, as long as the bristles are back in shape first.
Step 6: Put the Brush Back in Its Cover and Hang It
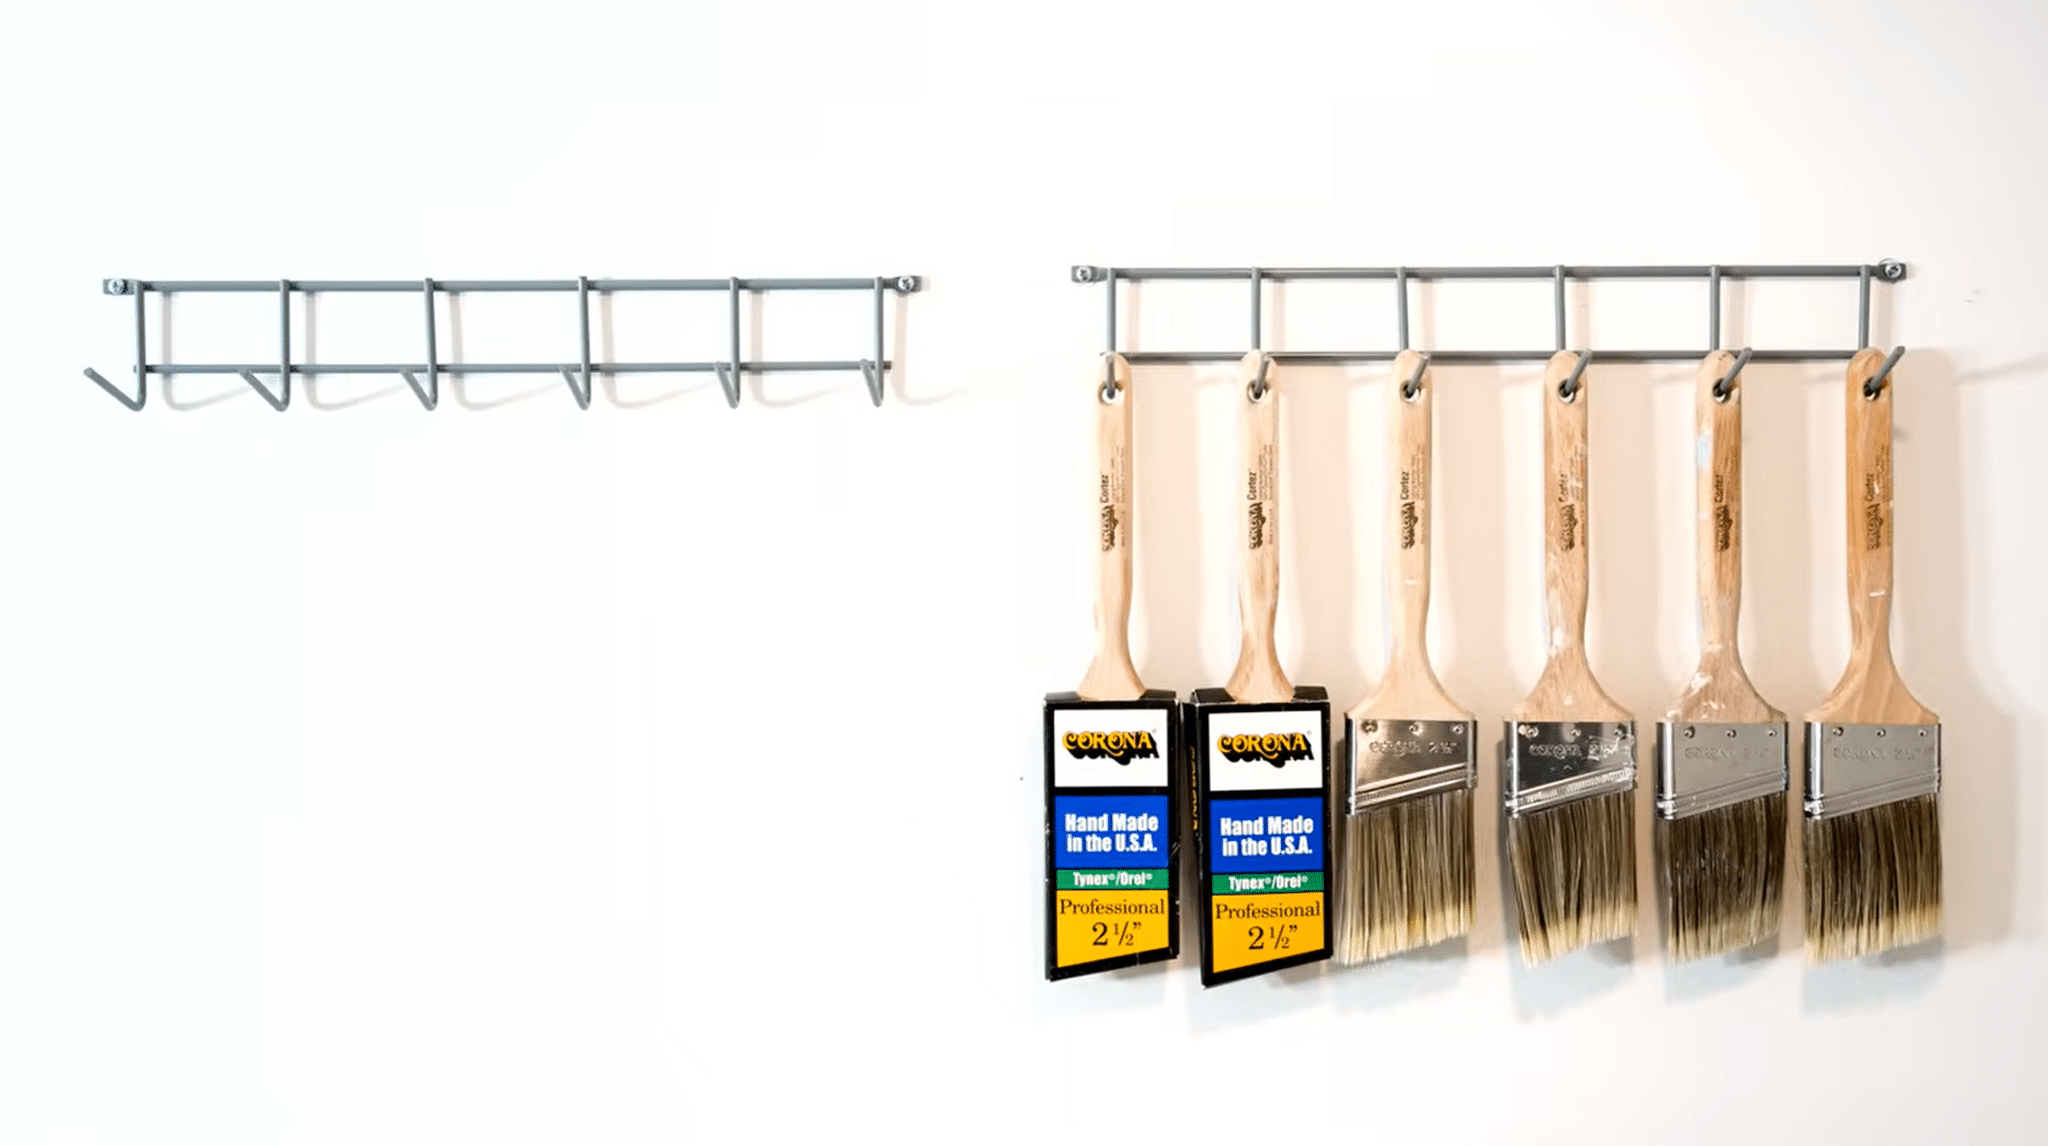
Slide the reshaped brush back into its original cover. The cover holds the bristles in place while the last bit of moisture dries out. For storage, hang the brush using the hole in the handle when possible, since that position lets moisture move toward the bristle tips instead of sinking deeper into the ferrule. Too much trapped moisture there can swell the wooden spacer inside, which pushes the bristles outward and throws off the brush’s shape for good.
For a complete walkthrough of the process, check out the video tutorial below:
How to Keep a Paint Brush Fresh Between Coats
A short break between coats doesn’t always call for a full wash. Remove excess paint from the brush, then wrap the bristles tightly in cling wrap or Press’n Seal. Keeping air away from the paint slows drying and keeps the brush usable for the next coat.
| Tip: Don’t stretch a wrapped brush past one work session. I’ve seen homeowners wrap a brush on Friday expecting to finish “this weekend” and come back to a stiff mess on Monday. Wrapping buys hours, not days. |
Before using the brush again, spread the bristles apart gently and feel for any stiff areas near the base. Once the painting session is finished, remove the wrap and clean the brush completely. Wrapping only delays drying for a limited period; it doesn’t replace a proper cleaning.
Can You Rinse Paint Brushes in the Sink?
Yes, but the method depends on the paint. Remove as much excess paint as possible before rinsing so less material goes down the drain.
For water-based paint, using a separate container first can help catch paint solids before the brush gets its final rinse under the tap.
Oil-based paint needs different handling entirely. Use a compatible solvent rather than rinsing the paint straight into a household sink, and follow local disposal requirements for any leftover solvent or paint residue.
When to Replace a Paint Brush Instead of Cleaning It
Sometimes cleaning cannot save a worn brush. Check these signs before spending time trying to restore damaged bristles or handles.
- Frayed Bristles: Replace the brush when the bristles stay bent, split, or spread apart even after careful cleaning and reshaping.
- Heavy Shedding: A brush that keeps losing bristles can leave hairs in wet paint and make smooth application much harder.
- Loose Ferrule: If the metal ferrule moves or separates from the handle, the brush may no longer hold its shape properly.
- Hardened Paint: Deep paint buildup that remains stiff after soaking and cleaning can prevent the bristles from moving freely.
- Damaged Handle: Cracks, loose parts, or severe wear can make the brush uncomfortable to control and less reliable during painting.
Replacing a badly damaged brush can save time, prevent uneven paint coverage, and make the next painting job much easier.
Final Takeaway
Good brush care comes down to cleaning at the right time and paying attention to the spots paint hides. I find that rinsing early, working soap into the bristles, cleaning near the ferrule, and reshaping the brush makes a difference.
You also need the right cleaner for the paint type and safe handling for oil-based residue. Short breaks between coats are easier when the brush stays wrapped, but full cleaning still matters afterward.
Knowing when damage is beyond repair can also save you time. Once you know how to clean paint brushes properly, your tools stay softer, work better, and last longer.
Try these steps on your next project, then check out more painting tips.
Frequently Asked Questions
How Long Should You Soak a Paint Brush Before Cleaning It?
A few minutes is usually enough for water-based paint. Oil-based paint may need 15 to 30 minutes in the appropriate solvent to loosen the coating. Longer soaking doesn’t always improve the result and just leaves the brush sitting in liquid unnecessarily.
Can You Use Vinegar or Fabric Softener to Clean Paint Brushes?
Vinegar can help soften dried latex paint when warmed slightly. Fabric softener works differently and may restore some flexibility to bristles after cleaning. Neither replaces the correct cleaner for oil-based paint; treat both as extra steps, not the main solution.
How Do You Clean a Paint Brush With Dried, Hardened Paint?
Soak the bristles in the appropriate cleaner or solvent so the hardened paint can soften, then work through them with a brush comb. Some paint never fully releases. If bristles stay stiff or damaged afterward, replacing the brush is usually the smarter move.
How Often Should You Clean Paint Brushes?
Clean a brush after every painting session. Paint left inside the bristles gradually starts to set, even when the brush has been wrapped temporarily. Skipping cleanup repeatedly shortens the brush’s useful life and makes future cleaning harder.
Do Paint Rollers Need the Same Cleaning Steps?
Rollers follow the same basic idea: rinse or solvent-wash before the paint dries, then work cleaner through the nap instead of just the surface. Spin out water outdoors, reshape the nap, and stand the roller on its end to dry fully before storage.
Can a Stiff, Dried Paint Brush Be Saved?
Sometimes. Soak the bristles in warm soapy water or the correct solvent for 15 to 30 minutes, then work through the buildup with a wire brush near the ferrule only. If bristles stay bent or brittle after soaking, replacing the brush is usually easier than fighting it.