

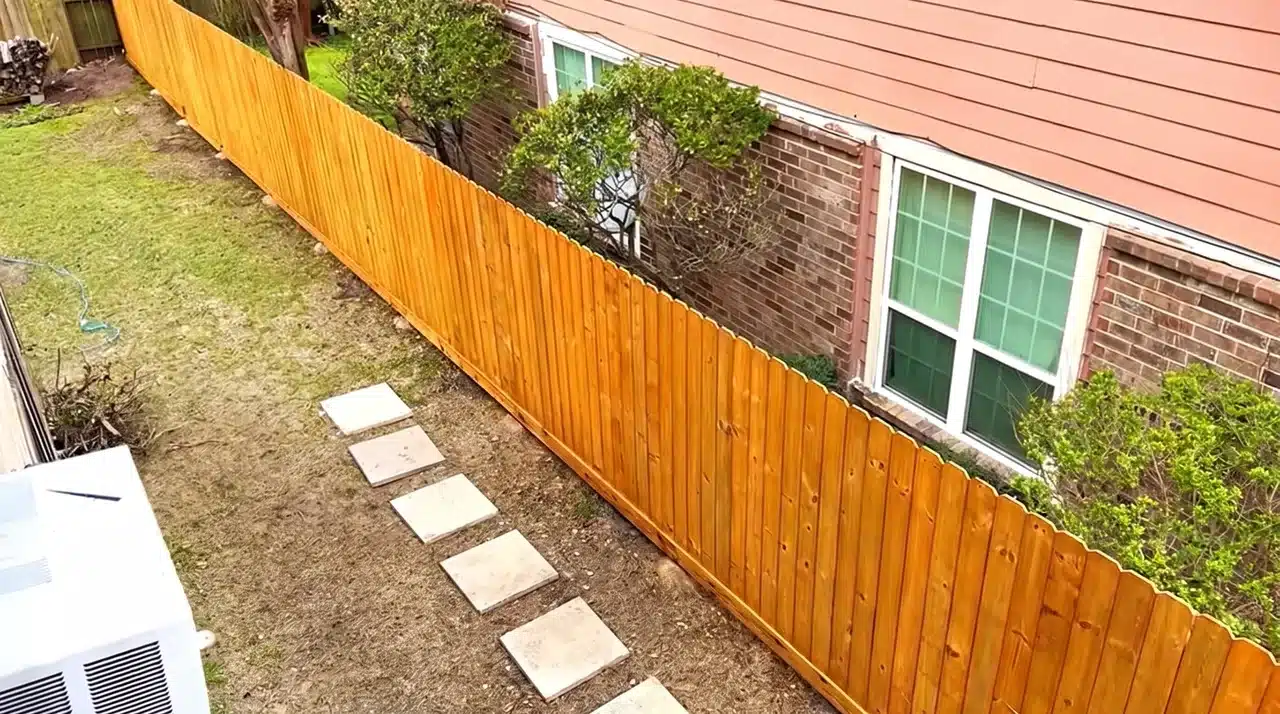
A strong fence starts long before the first picket goes up. One poor measurement can leave you with leaning posts, uneven rails, or a gate that drags.
If you want to learn how to build a fence, the process may seem difficult at first. I understand why each step can feel confusing when post depth, spacing, concrete, and hardware all need careful decisions.
You need a clear order that makes the work easier to manage. Here, you can learn how to plan the layout, gather materials, set stable posts, attach rails and pickets, hang a gate, stain the wood, and avoid common building mistakes.
Check Boundaries, Permits, and Utilities First
Confirm the property boundary before marking the fence line. A survey map can help, but hire a licensed surveyor if the boundary is unclear or disputed. Reviewing key fence planning requirements can also help you catch permit, setback, and placement concerns before digging.
Check local building rules for permit requirements, fence height limits, setbacks, and restrictions near streets or driveways. If your property belongs to an HOA, review its rules for approved materials, colors, and fence styles.
Contact the local utility-marking service before digging so underground gas, water, electrical, and communication lines can be identified. In the United States, call 811 several days before work begins.
Post depth also depends on local frost levels, soil type, fence height, and wind exposure.
Loose or wet soil may require wider holes or added support. These checks may delay digging briefly, but they help prevent boundary disputes, damaged utility lines, unstable posts, fines, and expensive changes after construction has already started.
Steps to Build Your Fence from Start to Finish
Building a fence yourself requires careful planning, accurate measurements, and strong construction methods. From setting posts and attaching pickets to building a sag-resistant gate and protecting the wood, each step affects the fence’s strength and lifespan.
Before starting, gather all tools and materials, check your property boundaries, and mark underground utilities. A proper layout and solid foundation will make the rest of the project much easier
Tools and Materials Needed
The required tools and materials depend on the height, purpose, and selected wood fence layout. Gate size, soil conditions, and installation methods can also affect the final supply list.
| Tools | Materials |
|---|---|
| Post hole digger or powered auger | 4×4 fence posts |
| Steel tamper | 4×6 corner and gate post |
| Shovel and hand trowel | Concrete mix |
| Wheelbarrow | 2×4 middle and top rails |
| Post level and standard level | 2×6 footer boards |
| Tape measure | Fence pickets |
| String line and stakes | Exterior deck screws |
| Drill or impact driver | Carriage bolts and washers |
| Circular saw | Waterproof wood glue |
| Jigsaw | Wood preservative for cut ends |
| Hammer and chisel | Heavy-duty gate hinges |
| Clamps | Gate latch hardware |
| Framing square | Fence stain |
| Pressure washer or stiff brush | Plastic sheeting for overspray protection |
| Paint sprayer, roller, or brushes | Safety glasses, gloves, and dust mask |
Step 1: Plan the Fence Layout and Install the Posts
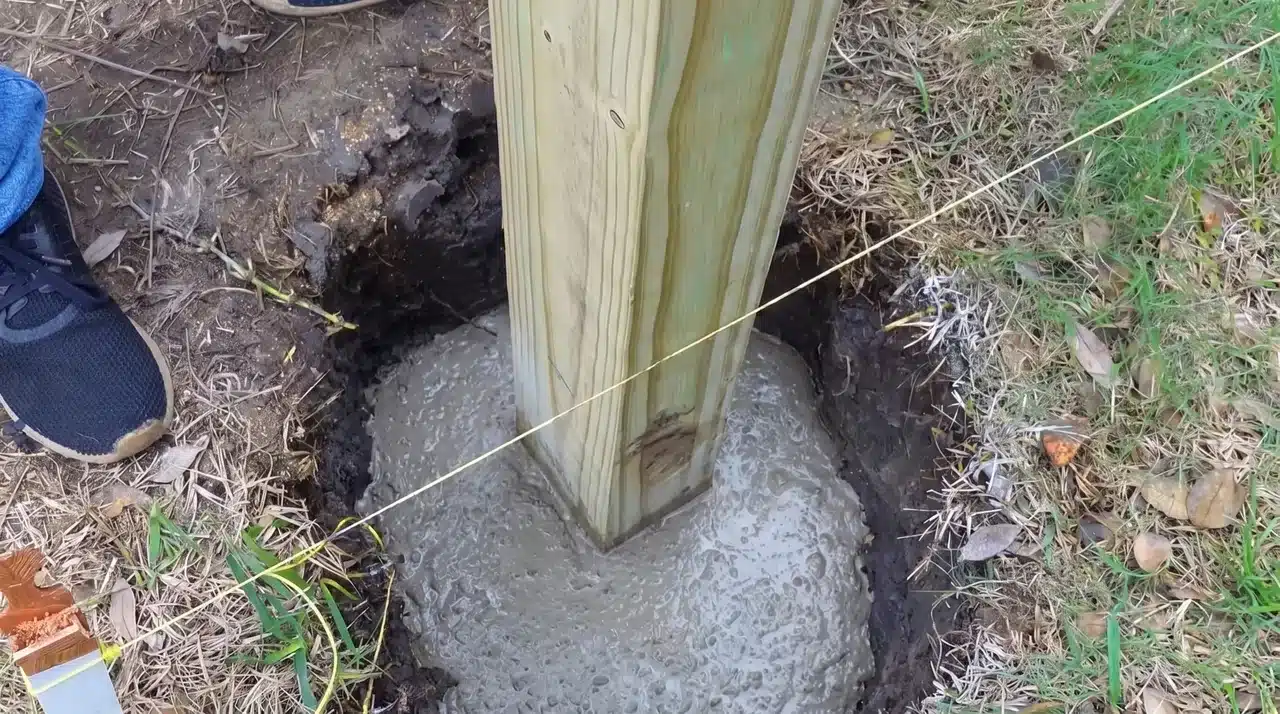
Start by marking the fence location with a string line. Check your property boundaries before digging, especially if the fence will be close to a neighbor’s yard. Contact utility marking services before digging to locate underground gas, electrical, and internet lines.
Mark each post location along the line and dig holes based on your post size. A typical 4×4 post needs a hole around 12 inches wide and 2 feet deep, while stronger gate posts may require larger holes. Compact the bottom of each hole before adding concrete.
Place the corner and gate posts first because they carry more weight. Add concrete around each post, keep it level, and slope the concrete surface away from the post so rainwater drains away instead of collecting around the wood.
Step 2: Set Remaining Posts and Build the Fence Frame
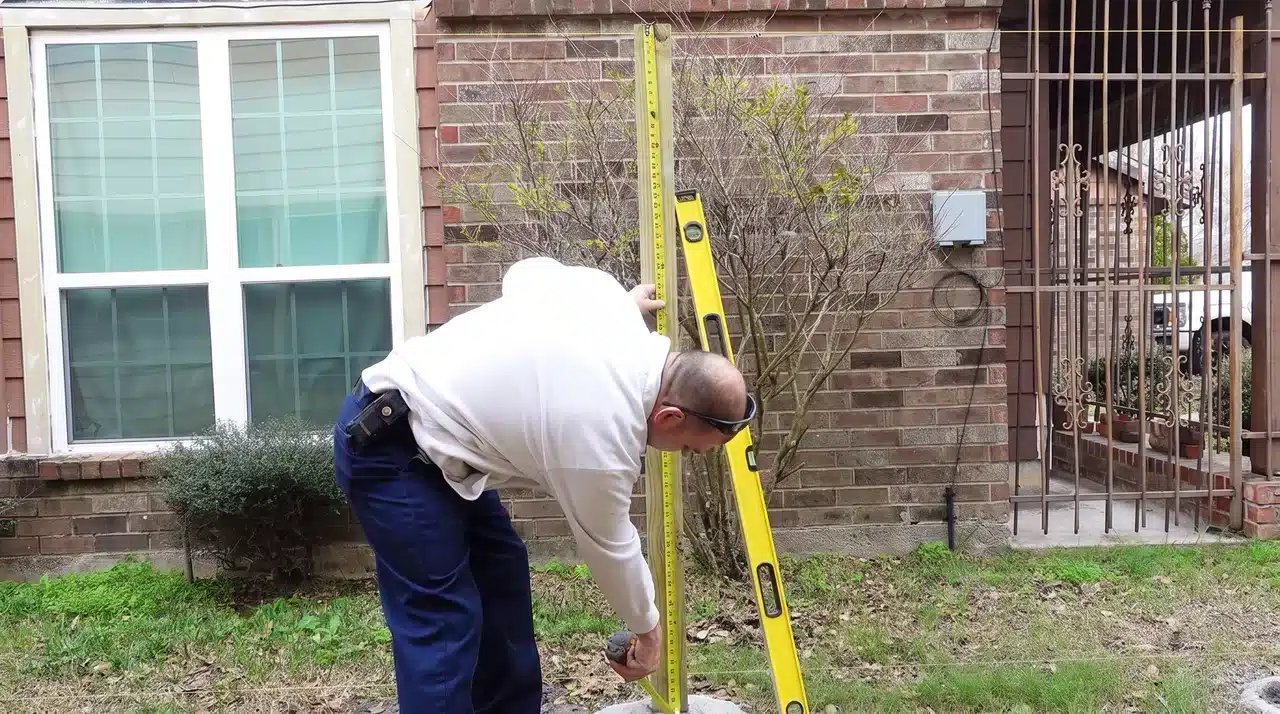
After the first post sets, use a string line to keep all remaining posts at the same height. Mark a consistent height on each post and use temporary braces if needed to keep posts steady while the concrete cures.
Install the middle rails, bottom rails, and top rails between the posts. Measure rail positions based on the finished fence height, not just the exposed post length. Use clamps to hold boards in place, check for level, then secure them with exterior screws.
For sloped areas, adjust the rails or cut boards to follow the yard’s shape. Keep small gaps between wood and concrete surfaces where possible to reduce moisture buildup and help prevent rot.
Step 3: Attach Fence Pickets and Finish the Fence Panels
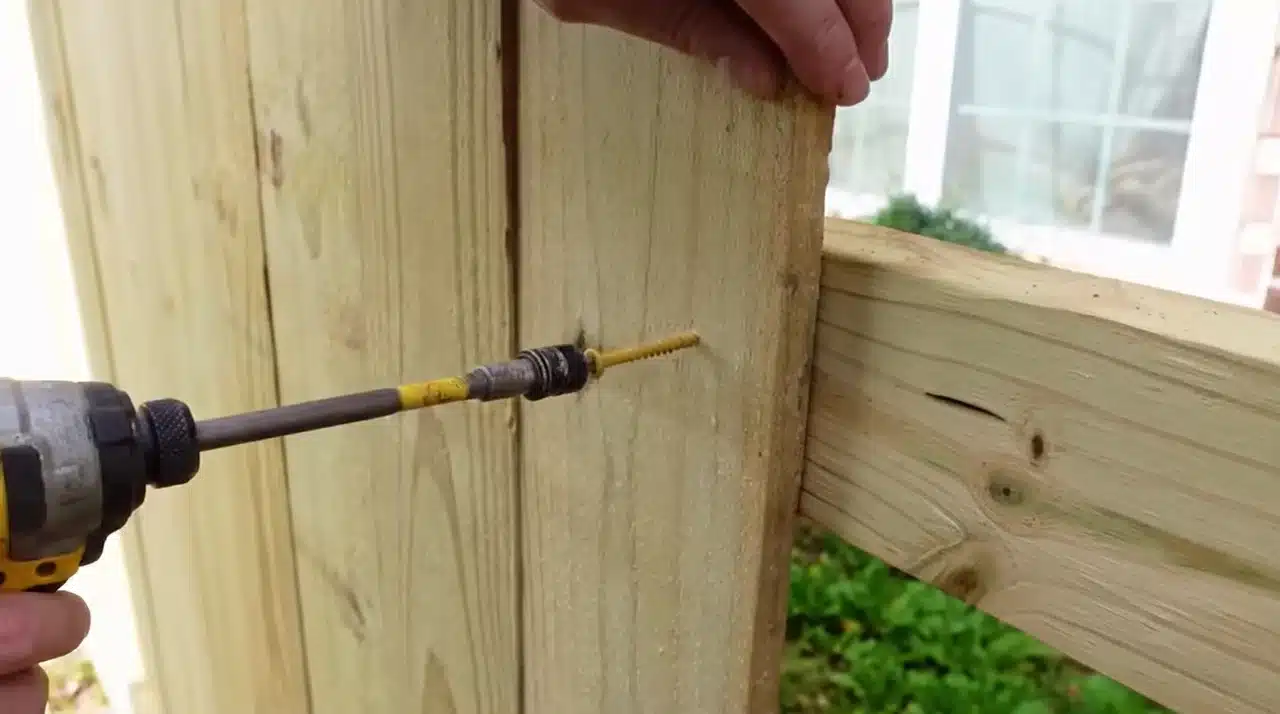
Begin installing pickets from the lowest section of the fence. Place each board on the footer, check that it is level, and attach it with exterior screws. Pre-drilling holes helps prevent boards from splitting.
When the ground changes height, adjust pickets by trimming the bottom or cutting notches around raised sections. Keep the tops aligned for a cleaner appearance and continue checking spacing as you move along each section.
For the final picket in a section, measure the remaining gap carefully and cut the board to fit. Secure every picket firmly so the fence stays straight and stable over time.
Step 4: Build and Install a Strong Fence Gate
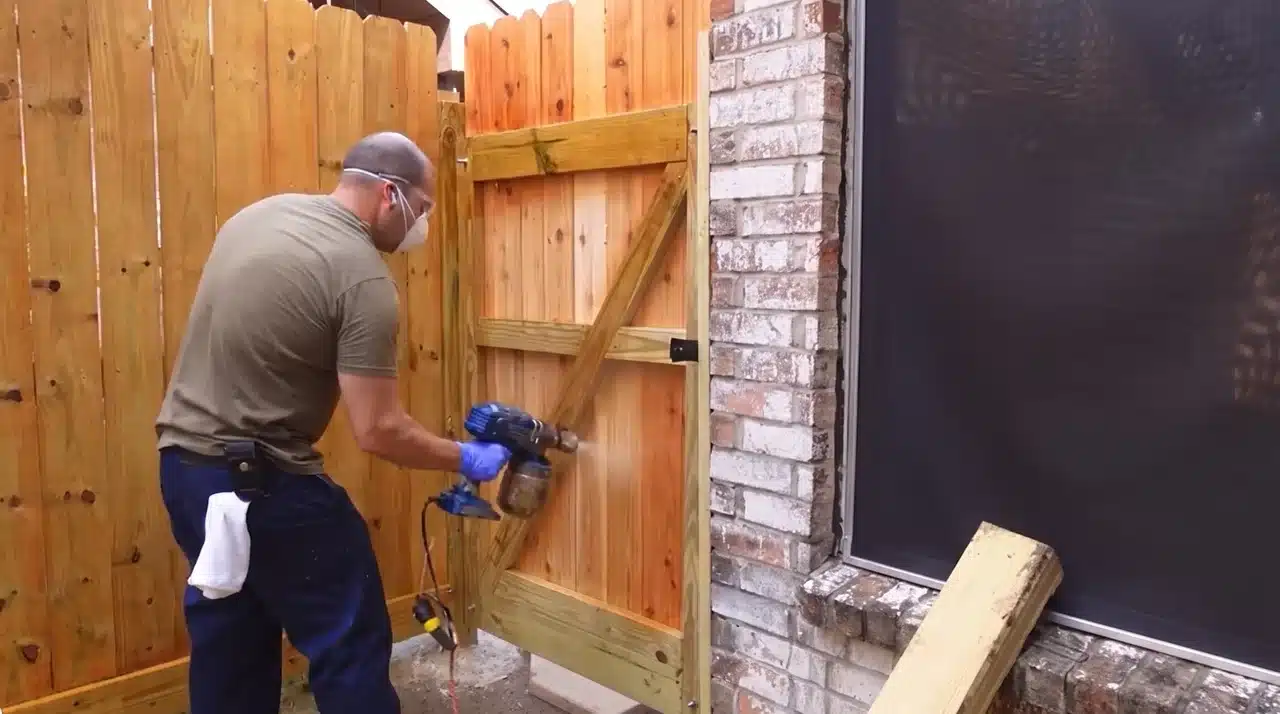
Measure the opening between the gate posts and leave enough clearance for hinges and smooth movement. Build the frame with straight, sturdy boards. Half-lap joints can provide added strength, but securely screwed corner joints also work for a simple wooden garden entry. Place the frame on a flat surface and confirm that each corner is square before tightening the fasteners.
Install a diagonal compression brace from the lower hinge corner to the upper latch corner. This direction transfers the gate’s weight toward the hinge post and helps prevent sagging.
Attach the pickets with even spacing, then mount heavy-duty hinges to the gate and post. Maintain suitable clearance beneath the gate so it does not drag. Open and close it several times before installing the latch. Make final adjustments until the gate hangs level, moves freely, and closes securely.
Step 5: Prepare and Stain the Finished Fence
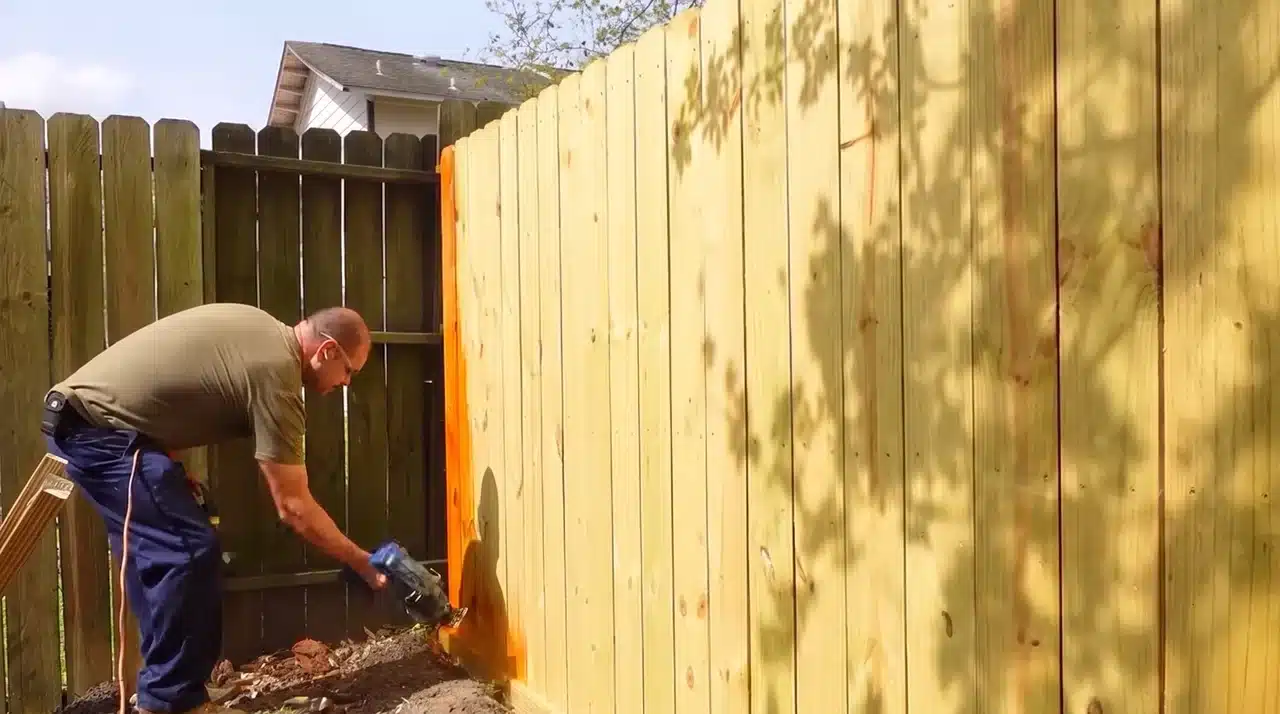
Before staining, clean the fence surface to remove dirt, mud, and debris. A pressure washer can help with heavy buildup, but allow the wood to dry completely before applying any stain.
Test the wood by sprinkling water on the surface. If the water absorbs into the boards, the fence is ready. If it beads up, wait longer for the wood to dry.
Protect nearby surfaces with plastic sheeting before staining. Apply the stain using a sprayer, roller, or brush, working evenly across the boards. Apply additional coats if you want a darker finish while following the stain manufacturer’s drying instructions.
Step 6: Maintain the Fence for Long-Term Durability
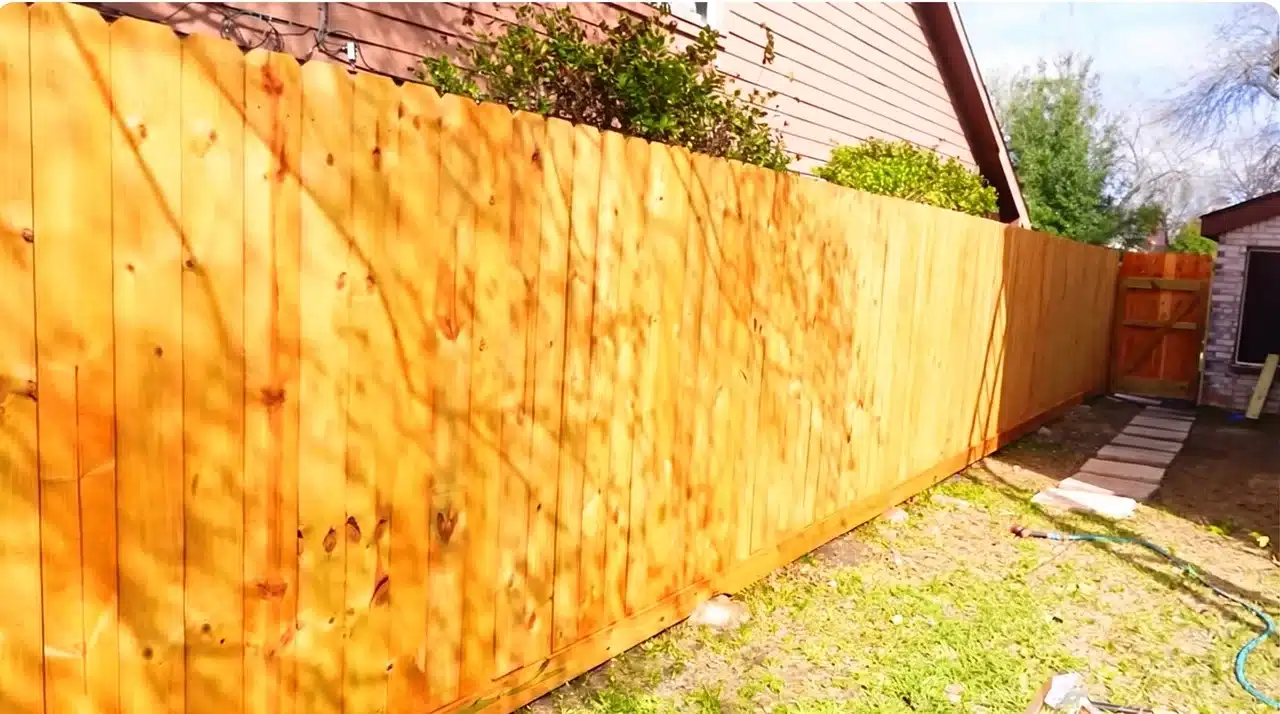
A properly built fence can last for years with regular care. Inspect the posts, rails, pickets, and gate hardware occasionally to catch loose screws, cracks, or moisture damage early.
Keep dirt and leaves away from the bottom of the fence because constant moisture can speed up wood decay. Touch up worn stain areas to continue protecting the wood from water and UV damage.
Clean the fence when needed and reapply stain when the finish begins fading. Regular maintenance helps protect the boards, keeps the gate working properly, and extends the life of the entire fence structure.
Once the fence is complete, regular maintenance will help protect the wood from moisture, sunlight, and wear. Inspect the boards, hardware, and gate occasionally to keep the structure strong for years.
For a complete walkthrough of the process, check out the video tutorial below
How to Inspect the Finished Fence
Inspect every part of the finished fence before removing your tools. A careful check can reveal problems before they worsen.
- Check Every Post: Hold a level against two sides of each post. All posts should remain plumb, firm, and properly aligned.
- Review Rail Alignment: Confirm the rails are level on flat ground or follow the planned angle across sloped sections.
- Test All Fasteners: Tighten loose screws, bolts, hinges, and brackets without driving them so deeply that they damage the wood.
- Compare Picket Spacing: Look along the entire fence to confirm the gaps between pickets remain even and visually consistent.
- Operate the Gate: Open and close the gate several times. It should swing freely, latch correctly, and avoid dragging on the ground.
- Protect Cut Ends: Seal exposed cuts with a suitable wood preservative to limit moisture absorption and early decay.
- Check Ground Clearance: Make sure pickets and rails do not sit directly against soil, standing water, or damp vegetation.
Correct any problems while tools are nearby. Early repairs help the fence remain straight, secure, and easier to maintain later.
Common DIY Fence-Building Mistakes
Several common errors can weaken a fence or shorten its useful life. The table explains what causes these problems and how to prevent them.
| Common Mistake | Why It Causes Problems | How to Prevent It |
|---|---|---|
| Ignoring Local Rules | Fence height, setback, and post-depth requirements vary by location. Breaking these rules may lead to fines or required changes. | Check local permits, property boundaries, HOA requirements, and building rules before buying materials or marking the fence line. |
| Rushing Concrete Curing | Adding rails and pickets too soon can shift the posts before the concrete has gained enough strength. | Follow the concrete manufacturer’s curing instructions and keep each post braced until it can safely carry weight. |
| Using Weak Gate Posts | Gate posts carry repeated movement and more weight than standard line posts, making them more likely to lean. | Use properly sized posts, suitable hole dimensions, strong concrete footings, and secure gate hardware. |
| Spacing Posts Too Far Apart | Long rail spans can bow, twist, or sag under the weight of pickets and exposure to strong wind. | Follow the spacing recommended for the chosen fence style, rail size, material, and local conditions. |
| Skipping Plumb Checks | A slight lean may seem minor at first but becomes clear after rails and pickets are attached. | Check every post from two sides with a level before the concrete sets and again before installing rails. |
| Leaving Wood Against Soil | Damp soil holds moisture against the boards, increasing the chance of swelling, staining, insect damage, and decay. | Maintain suitable ground clearance and prevent soil, leaves, mulch, or standing water from collecting beneath the fence. |
Avoiding these mistakes creates a straighter, stronger fence and reduces the need for later repairs. Check each stage carefully before moving to the next task.
Final Fence
A lasting fence depends on careful planning, solid posts, accurate spacing, and steady checks during construction.
You now know how to mark the layout, choose tools, set posts, attach rails and pickets, build a supported gate, and protect the wood.
I also recommend checking local rules, underground utilities, soil conditions, and curing times before adding weight to the structure. These details may seem small, but they help prevent leaning sections, loose boards, and expensive repairs.
Once you understand how to build a fence in the correct order, the project becomes easier to manage. Use these steps to plan your fence, then share your results or read more DIY project tips.
Frequently Asked Questions
Is it cheaper to build your own fence?
Yes, in most cases. You save on labor, which is often the biggest chunk of a fencing quote. You still pay for posts, concrete, rails, and pickets though. If you already own basic tools, the savings are bigger. Renting a post hole digger or auger can eat into that a bit.
How to build a fence for beginners?
Start with planning. Check your property line, call 811, and mark your layout with stakes and string. Then dig and set your posts in concrete, letting them cure fully. Once the posts are solid, attach the rails, then the pickets. Check plumb as you go so mistakes get caught early, not after the fence is done.
What is the hardest part of building a fence?
Setting the posts. This is where soil type, hole depth, and curing time all matter, and getting any of them wrong shows up later as a lean or sag. Rails and pickets are more forgiving since small errors are easy to spot and fix as you attach each one.
What is the easiest fence to build?
A simple picket or panel fence is easier than a full privacy fence. Panels come pre-built, so you’re mainly setting posts and attaching sections rather than measuring and cutting every board. Fewer rails and lighter materials also mean less weight for each post to carry.