
Working with electrical wiring can feel intimidating at first, especially if you have never handled a switch before. I remember feeling unsure the first time I opened a switch box and saw several wires inside.
The good news is that with the right steps and safety precautions, the process becomes much easier to understand.
In this guide, I’ll show you how to wire a light switch safely and correctly.
You’ll learn the tools you need, basic wiring steps, common switch types, and important safety tips to help you avoid mistakes.
By the end, you’ll have a clear understanding of how light switch wiring works and what to do before starting your project.
Quick Answer: How to Wire a Light Switch?
To wire a light switch, first turn off the power at the breaker and verify the circuit is not live with a voltage tester.
Remove the old switch and identify the hot, load, and ground wires. Connect the ground wire to the green screw, then attach the hot and load wires to the switch terminals.
Secure all connections, place the switch back into the electrical box, install the wall plate, and restore power.
Finally, test the switch to confirm it operates the light correctly and safely.
What Cable Do You Need for a Light Switch?
The cable you need for a light switch depends on your wiring setup and local electrical codes. In most homes, a standard light switch uses 14/2 or 12/2 electrical cable.
A 14/2 cable contains one black wire, one white wire, and a ground wire and is commonly used on 15-amp circuits.
A 12/2 cable has the same wires but is thicker and is used on 20-amp circuits. If you are installing a two-way or three-way switch, you may need a 14/3 or 12/3 cable.
This cable includes an extra red wire that allows multiple switches to control the same light fixture.
Before choosing a cable, check the circuit breaker size and follow local building codes.
Using the correct cable size helps keep the electrical system safe and working properly. If you are unsure about the wiring requirements, consult a licensed electrician.
Tools and Supplies Needed to Wire a Light Switch
Before you begin, gather all the tools and materials you need. Having everything ready will make the installation process smoother and help you work safely.
| Tools and Materials | Purpose |
|---|---|
| New Light Switch | Replaces the old or faulty switch |
| Screwdriver | Removes and secures screws |
| Voltage Tester | Checks that power is turned off |
| Wire Stripper | Removes insulation from wires |
| Needle-Nose Pliers | Helps bend and position wires |
| Electrical Tape | Adds extra wire protection |
| Wall Plate (if replacing) | Covers the switch and improves appearance |
Understanding Light Switch Wire Colors
Wire colors help identify the purpose of each conductor inside the electrical box. Knowing what each color represents can make installation safer and easier.
- Black Wire: Carries electrical power from the circuit breaker to the switch or light fixture and is commonly referred to as the hot wire.
- White Wire: Returns electrical current to the electrical panel, completing the circuit and allowing electricity to flow properly.
- Green or Bare Copper Wire: Acts as the ground wire, providing a safe path for excess electricity and helping protect against electrical shock.
- Red Wire: Serves as an additional hot wire and is often used in three-way switches, ceiling fan installations, or other specialized wiring configurations
How to Wire a Light Switch By Yourself?
Installing a new light switch is a simple task when you follow proper wiring steps and safety precautions. Always switch off the power supply before handling any electrical wires.
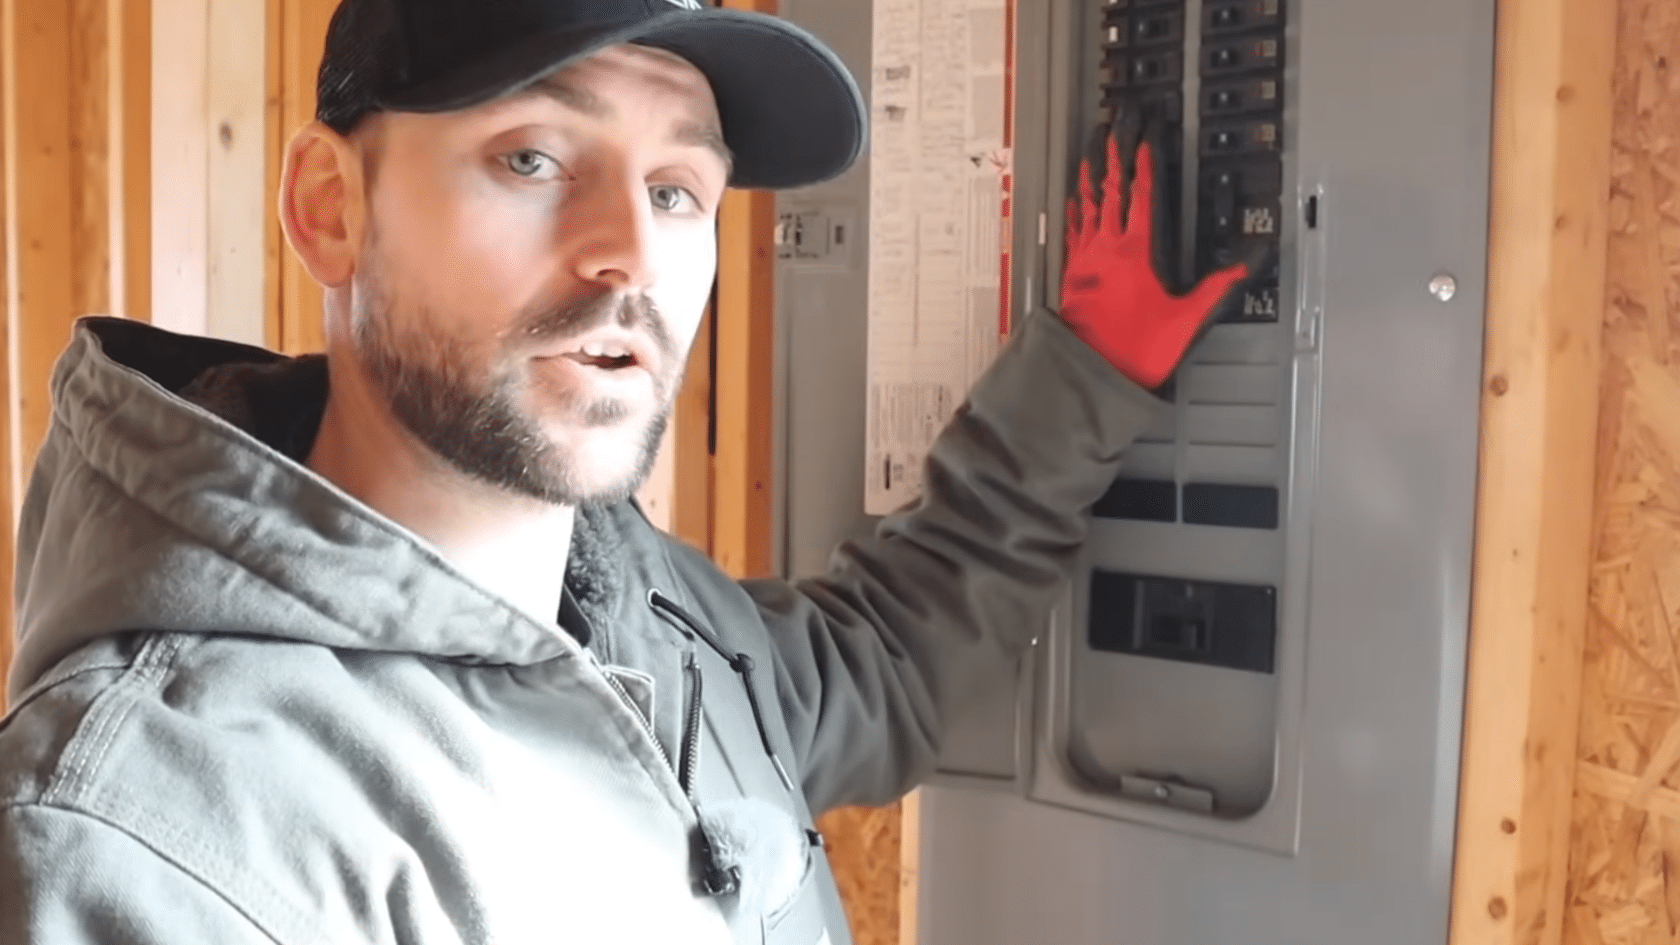
Step 1: Turn Off the Power and Gather Tools
Before starting any electrical work, turn off the power at the circuit breaker that controls the light switch. This prevents electrical shock and creates a safer work area.
After switching off the breaker, use a voltage tester to confirm that no electricity is present in the switch box.
Gather all necessary tools, including a screwdriver, wire stripper, voltage tester, needle nose pliers, and the new switch.
Having everything ready before beginning helps the project move smoothly and reduces interruptions during installation.
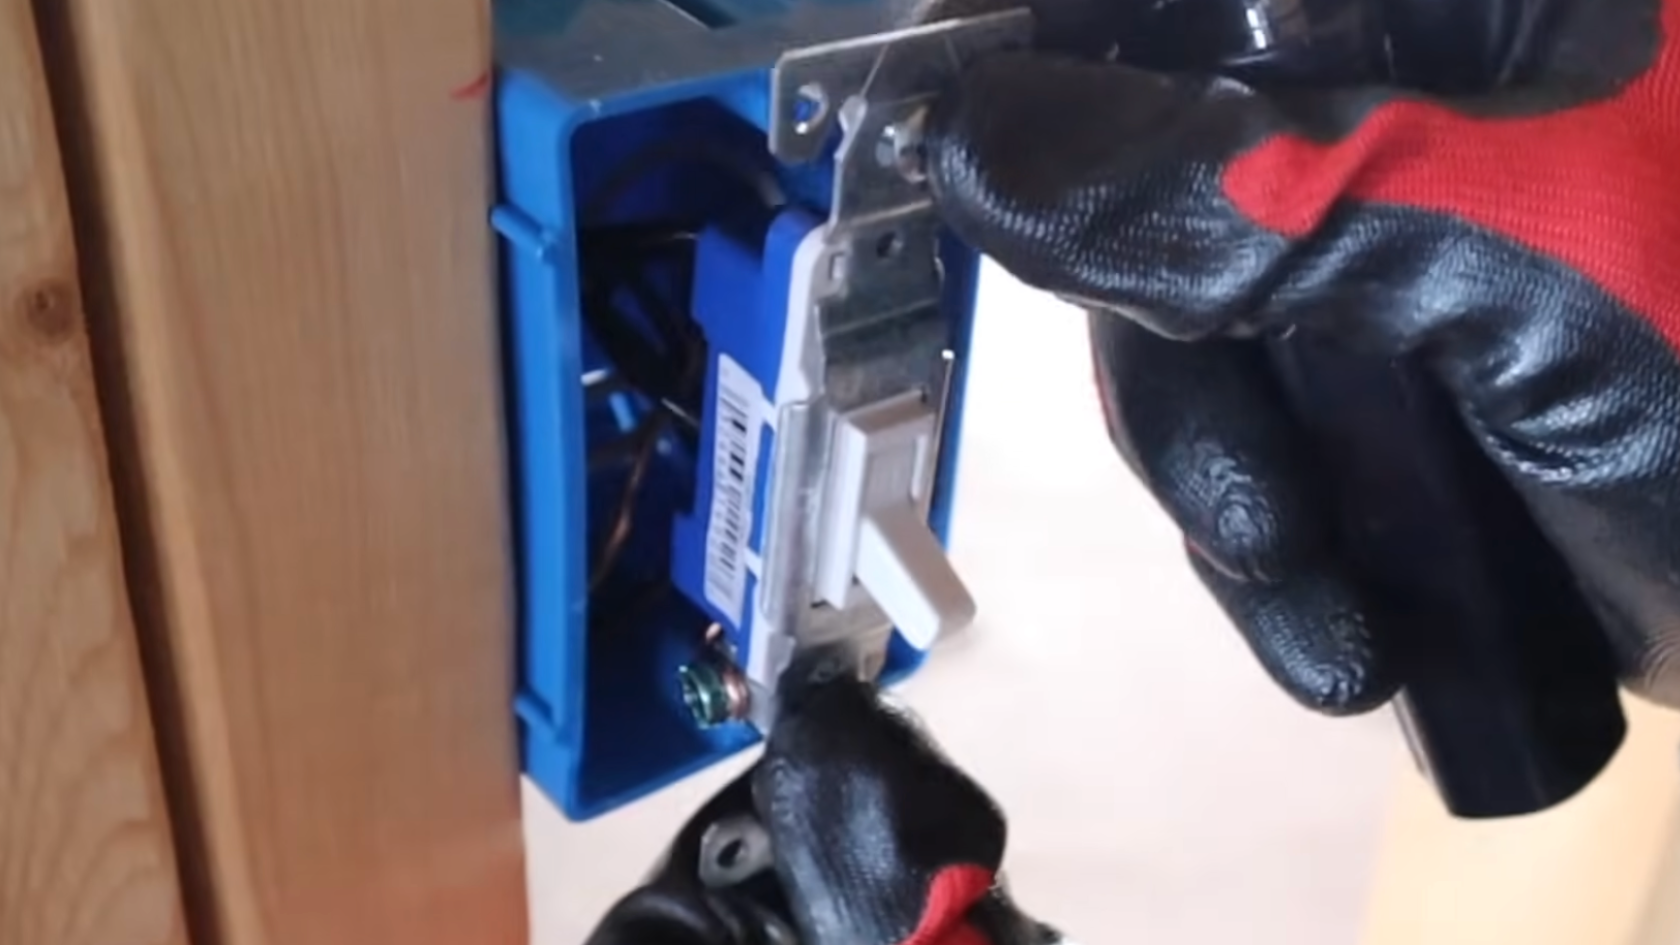
Step 2: Remove the Existing Switch and Inspect the Wiring

Remove the wall plate covering the switch and unscrew the switch from the electrical box. Gently pull the switch outward to expose the wiring connections behind it.
Take a clear photo of the wire placement before disconnecting anything.
This reference can be helpful later if questions arise during installation.
Inspect the wires for signs of damage, corrosion, or loose connections. Understanding how the old switch is wired makes it easier to install the replacement correctly.
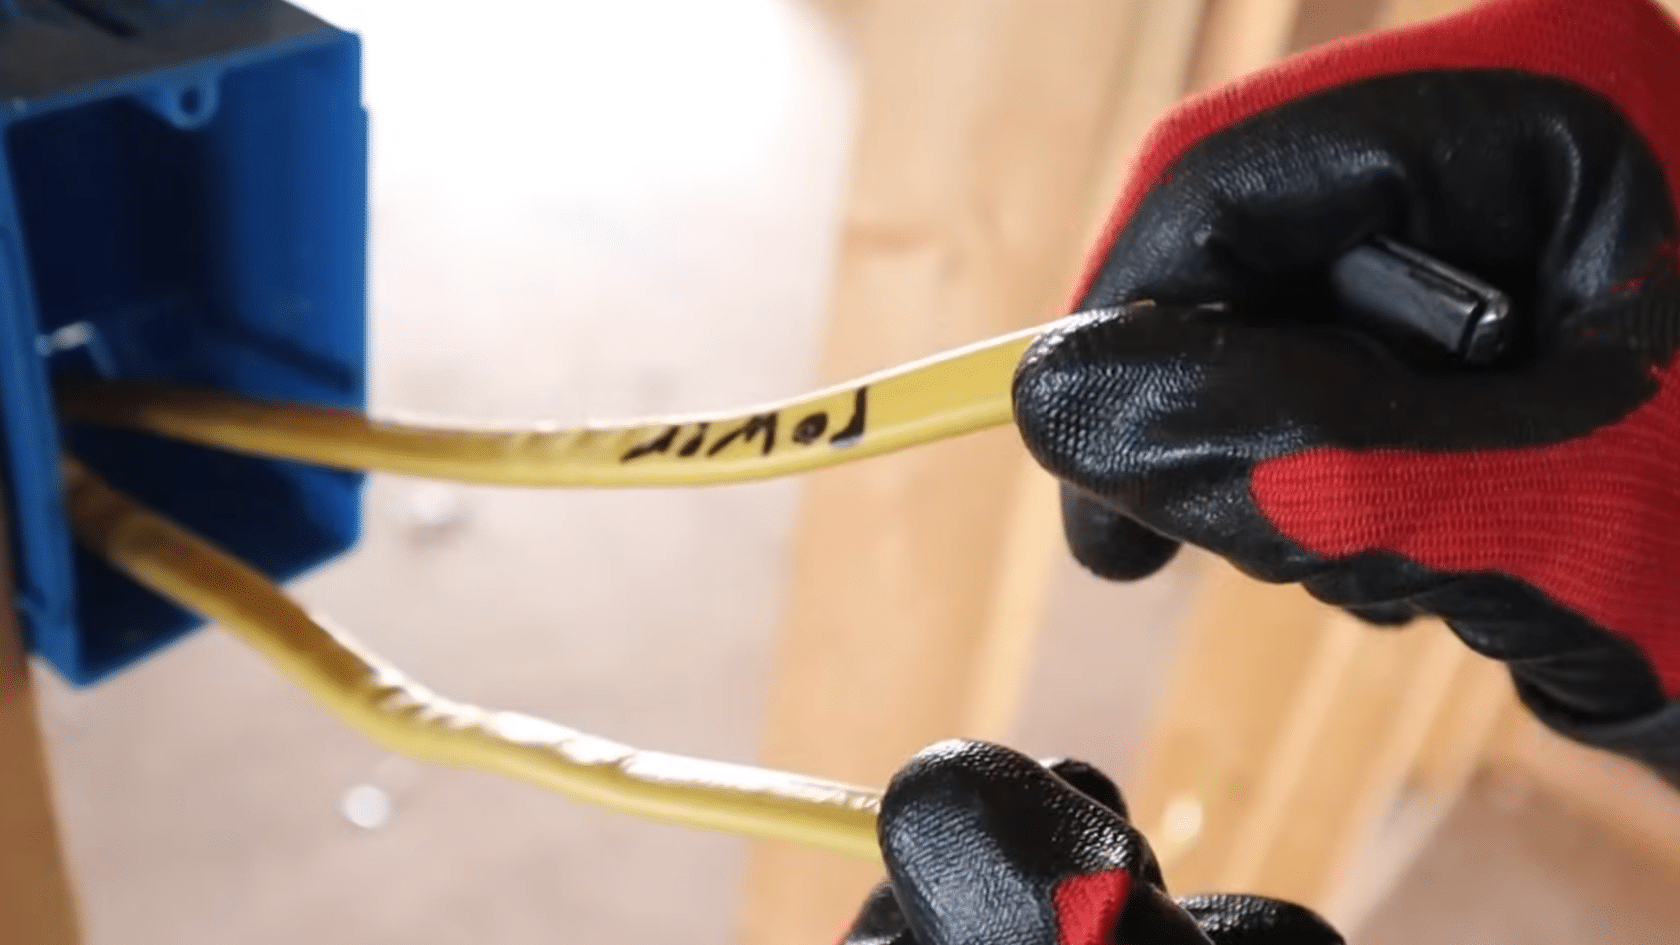
Step 3: Identify the Hot, Load, and Ground Wires
Carefully examine the wires inside the electrical box and determine their purpose. In most standard light switch installations, one wire brings power from the breaker and is known as the hot wire.
Another wire carries power to the light fixture and is called the load wire. Bare copper or green wires serve as grounding wires.
Correctly identifying these wires is important because the switch controls the flow of power between the hot and load wires. Misidentification can cause the switch to malfunction.
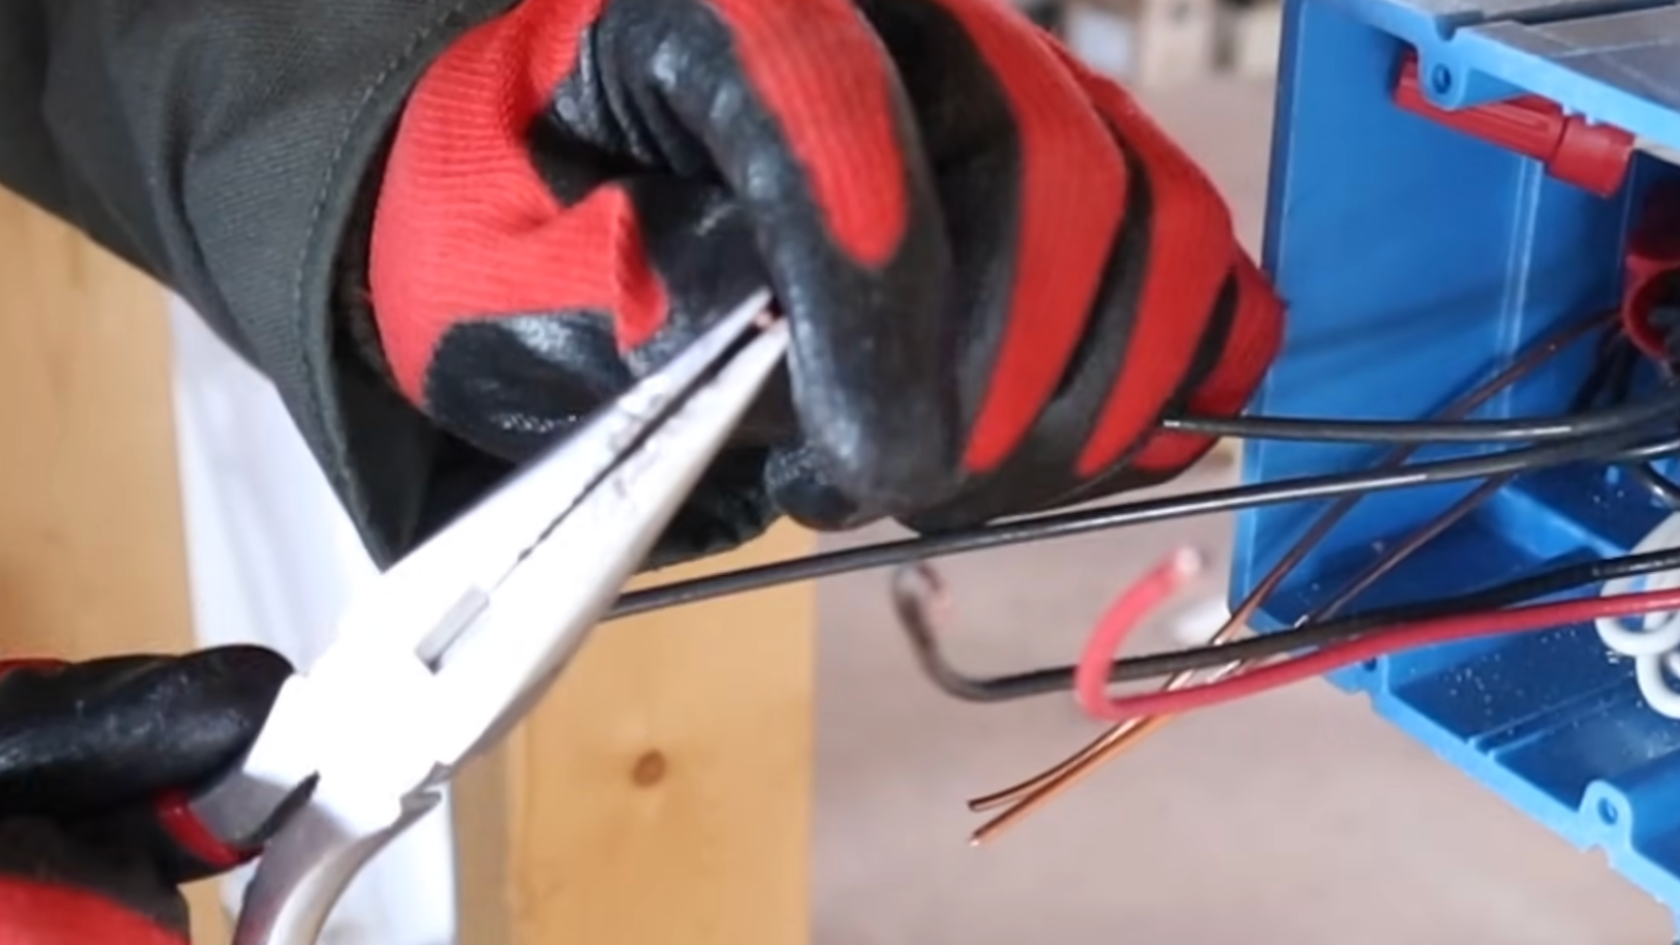
Step 4: Disconnect the Old Switch and Prepare the Wires
Loosen the terminal screws holding the wires to the old switch and carefully remove each wire. Inspect the exposed wire ends for damage or excessive wear.
If the wire ends are bent, damaged, or too short, trim them slightly and strip about three-quarters of an inch of insulation to create fresh connections.
Use pliers to form small hooks at the ends of the wire if screw terminals are used.
Proper wire preparation helps create secure electrical connections and improves long-term reliability.
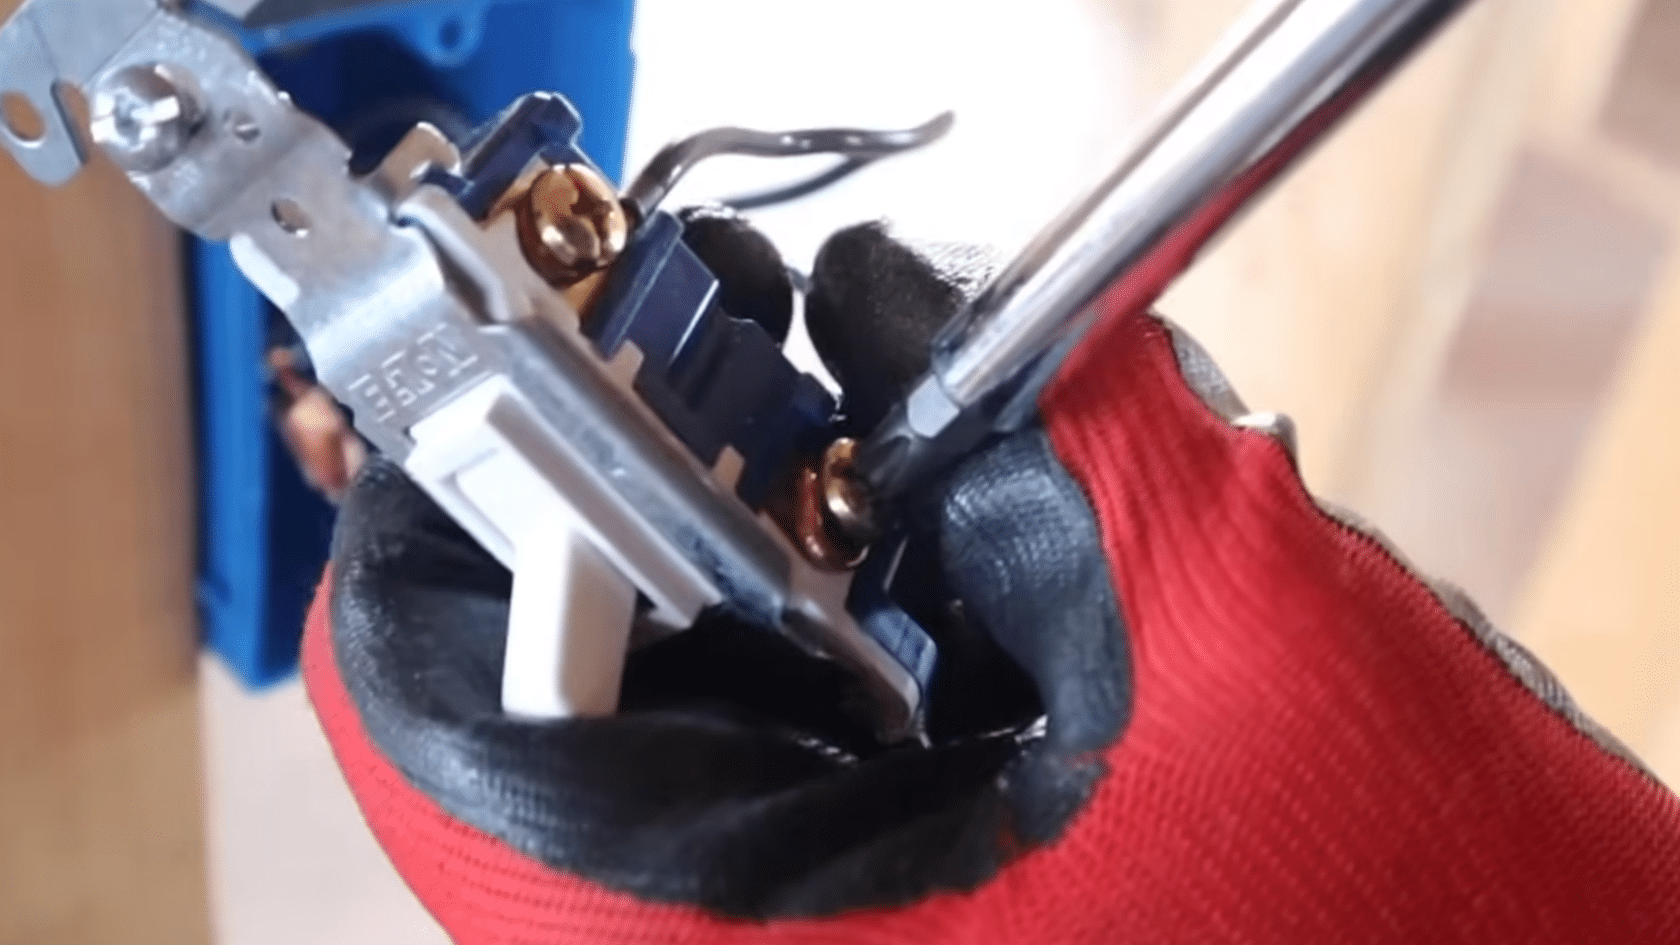
Step 5: Connect the Ground Wire and Attach Switch Wires
Begin by attaching the ground wire to the green grounding screw on the switch.
Tighten the connection securely. Next, connect the hot wire to one brass terminal and the load wire to the remaining brass terminal.
For a standard single-pole switch, the order of these two wires usually does not matter. Make sure each wire wraps clockwise around the screw so that tightening the screw pulls the wire into place.
Firm connections help prevent loose wiring and future electrical issues.
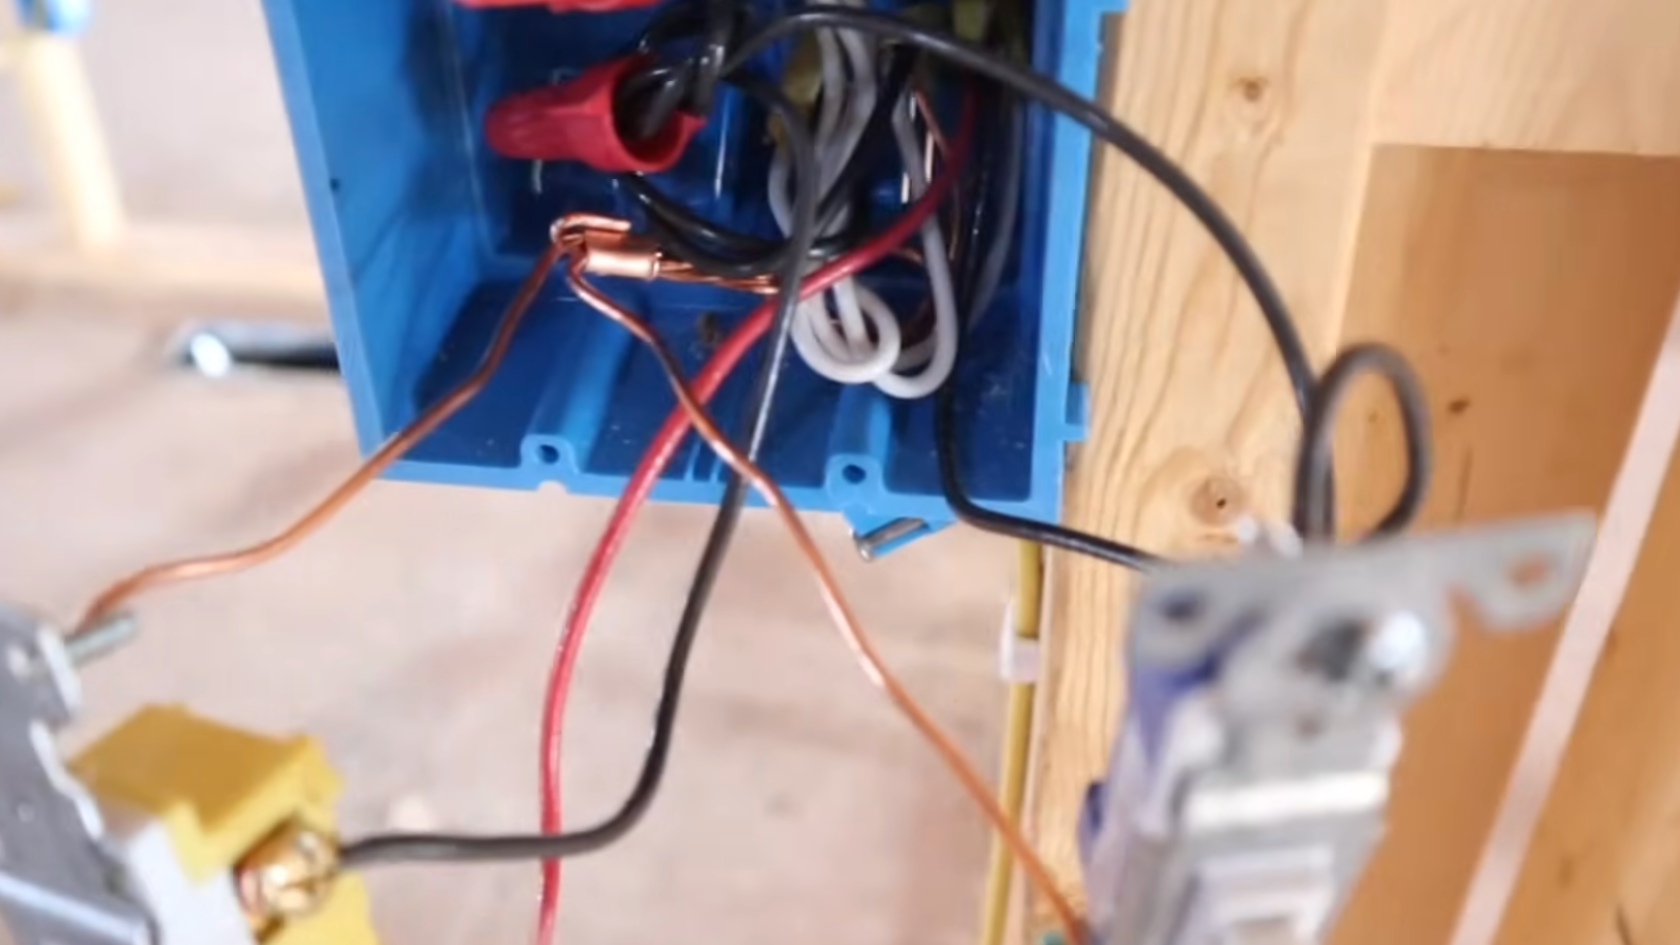
Step 6: Organize the Wires and Secure the Switch
Once all wire connections are complete, carefully fold the wires back into the electrical box.
Arrange them neatly to avoid unnecessary pressure on the terminals. Position the switch inside the box and fasten it with the mounting screws.
Check that the switch sits level and aligns properly with the wall surface.
Taking time to organize the wires not only improves appearance but also makes future maintenance easier if the switch ever needs replacement.
Step 7: Install the Wall Plate and Complete the Assembly
Place the wall plate over the switch and secure it using the provided screws. Tighten the screws gently to avoid cracking the plate or causing it to sit unevenly.
Verify that the switch moves freely without rubbing against the cover.
The wall plate protects the wiring from accidental contact while giving the installation a clean, finished appearance. A properly installed cover also helps keep dust and debris away from the electrical components.
Step 8: Restore Power and Test the Installation
Return to the breaker panel and switch the circuit back on. Test the light switch several times to ensure it controls the fixture correctly.
Check that the light turns on and off smoothly without flickering.
Listen for unusual sounds and make sure the switch feels secure when operated.
If everything works as expected, the installation is complete. A final test confirms that the wiring connections are correct and the switch is operating safely.
Watch the tutorial from The Excellent Laborer below to see each step of the light switch wiring process in action.
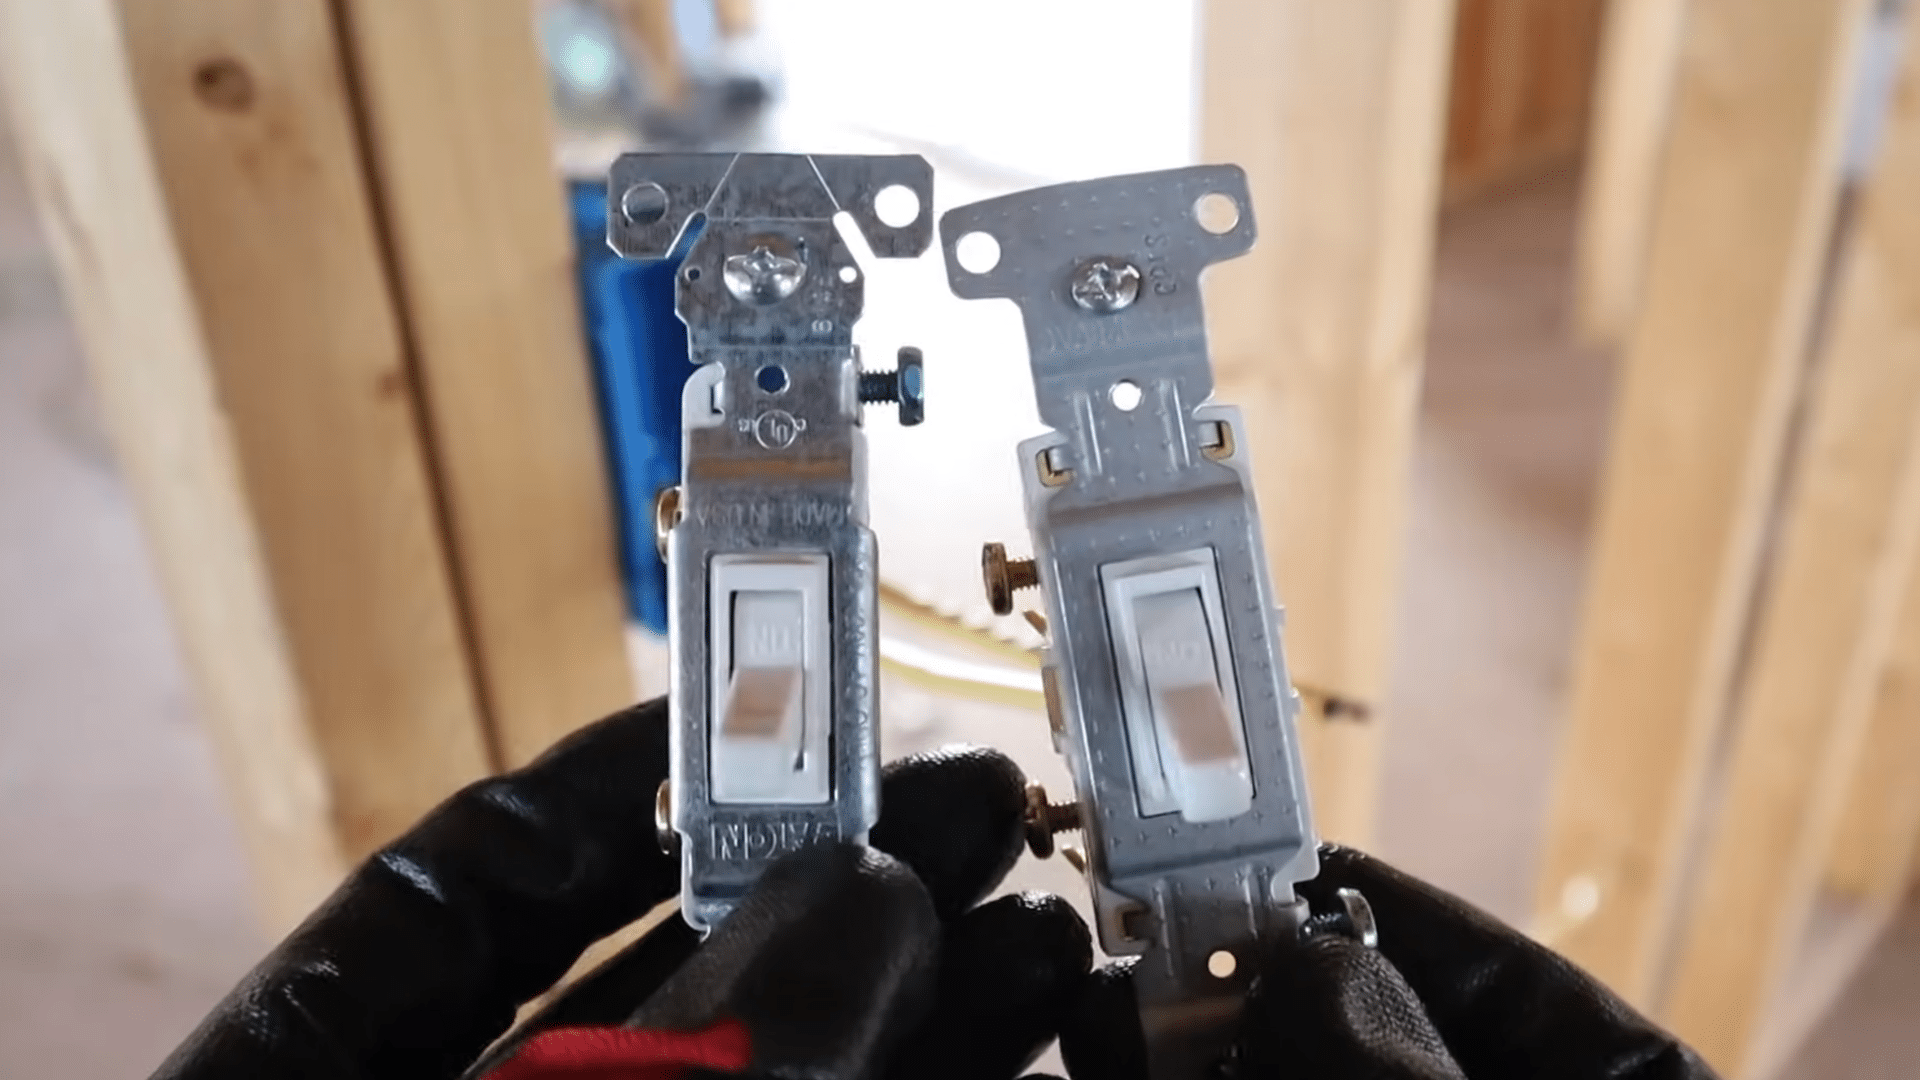
How a Single-Pole Light Switch Works?
A single-pole light switch is the most common type of switch found in homes. It is designed to control one light fixture from a single location. The switch works by opening and closing an electrical circuit.
When the switch is turned on, electricity flows from the power source through the switch and to the light fixture.
When the switch is turned off, the circuit is broken, stopping the flow of electricity and turning the light off. A standard single-pole switch typically connects to a hot wire, a load wire, and a ground wire.
Understanding how these wires work together makes installation easier and helps ensure safe and reliable operation.
Important Safety Tips when Wiring a Light Switch
Working with electrical wiring requires caution. Follow these safety tips before and during installation to reduce risks and help ensure a safe project.
- Turn Off Power at the Breaker Box: Always switch off the circuit supplying power to the switch. This helps prevent electrical shock while working.
- Test Wires Before Touching Them: Use a voltage tester to confirm that no electricity is present. Never rely only on the breaker position.
- Follow Local Electrical Codes: Electrical codes help ensure safe installations. Following them can prevent hazards and keep your work compliant.
- Stop If Wiring Looks Damaged: If you notice burnt, cracked, or frayed wires, stop immediately and contact a qualified electrician for assistance.
What Is a Pigtail and When Do You Use One?
A pigtail is a short piece of electrical wire used to connect multiple wires to a single device, such as a light switch or outlet.
Instead of attaching more than one wire directly to a terminal screw, electricians join the wires together with a wire connector and add a short pigtail wire that connects to the device.
This creates a cleaner and more secure connection. Pigtails are commonly used when a switch box contains multiple hot, neutral, or ground wires.
They help maintain power flow through the circuit while providing a single point of connection for the switch.
Using a pigtail also makes future repairs and replacements easier since the device can be removed without disconnecting other wires.
In many situations, pigtailing is considered a safer and more code-friendly wiring method.
What Happens If a Light Switch Is Wired Incorrectly?
Incorrect wiring can cause several problems, ranging from a non-working switch to safety hazards. Understanding these issues helps prevent mistakes during installation.
- The Switch May Not Work at All: Incorrect wire connections can prevent electricity from flowing properly, causing the switch to fail completely.
- The Light May Remain On Constantly: A wiring error can bypass the switch, leaving the light powered even when switched off.
- The Breaker May Trip: Faulty wiring can create a short circuit, causing the breaker to trip and shut off power.
- Sparks May Occur When Operating the Switch: Loose or incorrect connections can create electrical arcing, which may produce visible sparks during use.
- Electrical Shock Risks May Increase: Improper wiring can leave energized parts exposed, increasing the chance of accidental electrical shock.
- Damage to the Switch or Fixture Can Occur: Incorrect connections may overheat components, causing permanent damage to the switch or fixture.
When to Call an Electrician?
Some light switch projects are simple, but others are best left to a licensed electrician. If the breaker keeps tripping after you install a switch, there may be a wiring problem that needs professional testing and repair.
You should also call an electrician if you notice burn marks, melted insulation, or a burning smell near switches or electrical boxes.
These signs can point to overheating and should not be ignored.
Another reason to seek help is when the wire colors do not follow standard wiring patterns.
Misidentified wires can create safety risks and make installation more difficult. Professional assistance is also recommended for three-way or four-way switch setups.
These systems use more complex wiring and can be challenging for someone without electrical experience.
Common Light Switch Installation Mistakes
Understanding common mistakes before you begin can help prevent wiring problems, improve safety, and ensure the light switch works properly.
- Working on a Live Circuit: Never assume the power is off. Always test the wires with a voltage tester before touching them.
- Mixing Up Wire Connections: Incorrect wire placement can prevent the switch from working and pose safety risks.
- Leaving Terminal Screws Loose: Loose screws can cause weak connections. This may create heat and increase fire risk.
- Ignoring Ground Wires: Ground wires help protect against electrical shock. Always connect them properly when installing a new switch.
- Overstuffing the Electrical Box: Crowded wires can damage insulation and loosen connections. Fold the wires neatly into the box.
- Using Damaged Wires: Do not connect a new switch to damaged wires. Replace or repair the wiring before continuing.
Conclusion
Wiring a standard light switch is a project many homeowners can handle. The key steps are turning off the power, testing the wires, identifying each connection, and securing the wiring before restoring power.
Taking your time helps prevent mistakes and improve safety. When installed correctly, a light switch can work reliably for years.
If you find damaged wiring, unusual wire setups, or ongoing electrical issues, contact a licensed electrician.
Need more home electrical tips and DIY guides? Browse our latest articles for practical advice, step-by-step tutorials, and helpful maintenance tips for your home.
Frequently Asked Questions
Does Wire Placement Matter on a Light Switch?
Yes. The hot and load wires must connect to the correct terminals. Incorrect placement can prevent the switch from operating properly.
What Happens if Live and Neutral Are Mixed Up?
Mixing live and neutral wires can pose safety hazards, lead to improper operation, and increase the risk of electric shock.
Does a Backwards-Wired Light Switch Matter?
For most standard single-pole switches, the switch may still work. However, incorrect wiring can cause confusion and pose safety risks.