
A mirror can make a room feel brighter, larger, and more stylish. However, hanging it the right way is important, especially if it is large or heavy.
A poorly installed mirror can damage your wall or even become a safety hazard over time.
I know that choosing the right hardware, finding wall studs, and making sure everything stays level can seem confusing at first.
In this guide, I will share the tools you need, how to prepare your wall, and the best methods for hanging both standard and heavy mirrors.
By the end, you will know how to install a mirror safely and confidently in any room of your home.
Quick Answer: Why Does Proper Mirror Installation Matter?
Proper mirror installation is important because it keeps the mirror secure, protects your walls, and helps prevent accidents.
A correctly mounted mirror is also more likely to stay level and last for years without issues.
Mirrors can be surprisingly heavy, especially large decorative or full-length models.
If the wrong hardware is used or the mirror is not properly supported, it may shift, loosen over time, or even fall from the wall.
This can result in broken glass, damaged walls, and potential injuries.
Proper installation also improves the overall appearance of a room. A securely mounted mirror sits straight and remains stable, creating a cleaner, more polished look.
Things to Consider Before Hanging a Mirror
Taking a few minutes to plan ahead can help you choose the right installation method and avoid common mistakes.
- Mirror Weight: Knowing the mirror’s weight helps you select appropriate anchors, screws, and mounting hardware that can safely support it.
- Wall Type: Drywall, plaster, brick, and concrete walls require different installation techniques and hardware for secure mirror mounting.
- Mirror Size: Larger mirrors distribute weight differently and may need multiple mounting points for better balance and stability.
- Placement Location: Consider room layout, lighting, furniture positioning, and viewing angles before deciding where to hang the mirror.
- Wall Stud Availability: Studs provide stronger support than drywall alone and are especially important when hanging heavy mirrors.
- Hanging Hardware: Check whether the mirror includes D-rings, wire, brackets, or clips to determine the best installation method.
- Height and Positioning: Proper height improves functionality and appearance while ensuring the mirror complements surrounding décor and furniture.
- Safety Requirements: Homes with children, pets, or high-traffic areas may require additional security measures to prevent accidents.
Understanding Different Wall Types Before Installation
The type of wall you have determines the anchors, screws, and mounting methods needed for a secure mirror installation.
| Wall Type | How to Identify It | Best Hardware Option |
|---|---|---|
| Drywall | Thumbtack enters easily | Wall anchors, toggle bolts, or studs |
| Plaster | Hard surface with some resistance | Plaster anchors or wall studs |
| Brick | Exposed brick pattern | Masonry anchors and screws |
| Concrete | Solid, dense surface | Concrete anchors and masonry screws |
| Stone | Natural stone appearance | Masonry anchors with specialty drill bits |
| Tile | Ceramic or porcelain finish | Tile anchors and carbide drill bits |
Tools and Materials Needed to Hang a Mirror
Before hanging a mirror, gather all the necessary tools and materials to ensure a smooth and secure installation.
- Level
- Stud Finder
- Bathroom Scale
- Wall Anchors
- Mirror Hanging Hooks
- Heavy-Duty Screws
- D-Rings
- Hanging Wire
- French Cleat System
- Angle Brackets
- Adhesive Bumpers
- Safety Glasses
How to Hang a Mirror Safely?
Proper preparation and accurate measurements help ensure the mirror is mounted securely and positioned correctly on the wall.
Step 1: Identify Your Wall Type
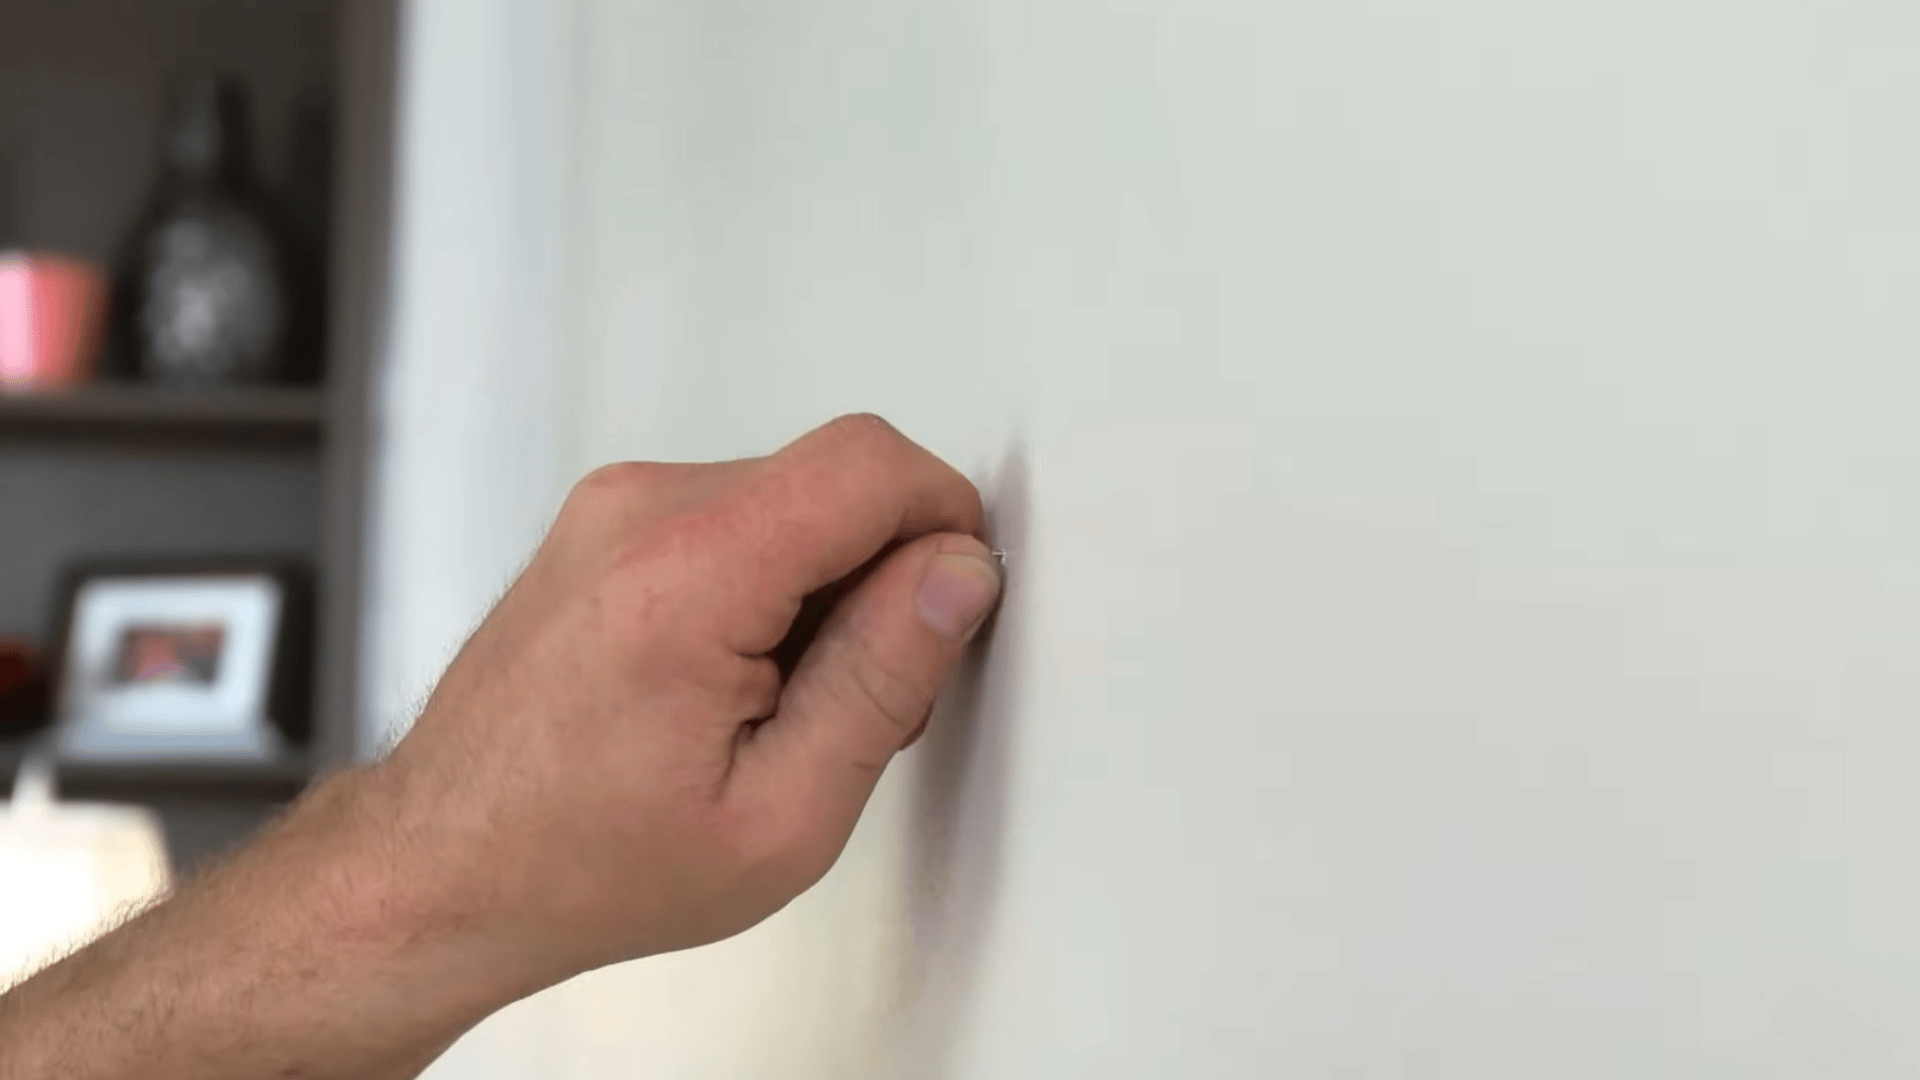
Before installing a mirror, identify your wall type: drywall, plaster, or masonry. A simple way to check is by pressing a thumbtack into the wall.
If it slides in easily, the wall is likely drywall. Plaster and masonry are much harder and may require specialized anchors or drilling.
Knowing the wall material helps you select the right mounting hardware, ensuring the mirror stays secure and preventing unnecessary wall damage during installation.
Pro Tip: Always choose anchors rated to support more than your mirror’s weight for added safety.
Step 2: Check the Mirror Frame and Hardware
Before hanging a mirror, inspect the frame carefully to ensure it is sturdy enough to support the mirror’s weight. Check for loose joints, cracks, or signs of wear that could compromise stability.
If the mirror already includes secure hanging hardware, it is typically ready for installation.
For older or heavier mirrors, reinforcing the frame with metal angle brackets can provide extra strength and peace of mind, helping prevent accidental damage or falls over time.
Pro Tip: Tighten all frame screws and hardware before mounting to improve overall stability and safety.
Step 3: Weigh the Mirror
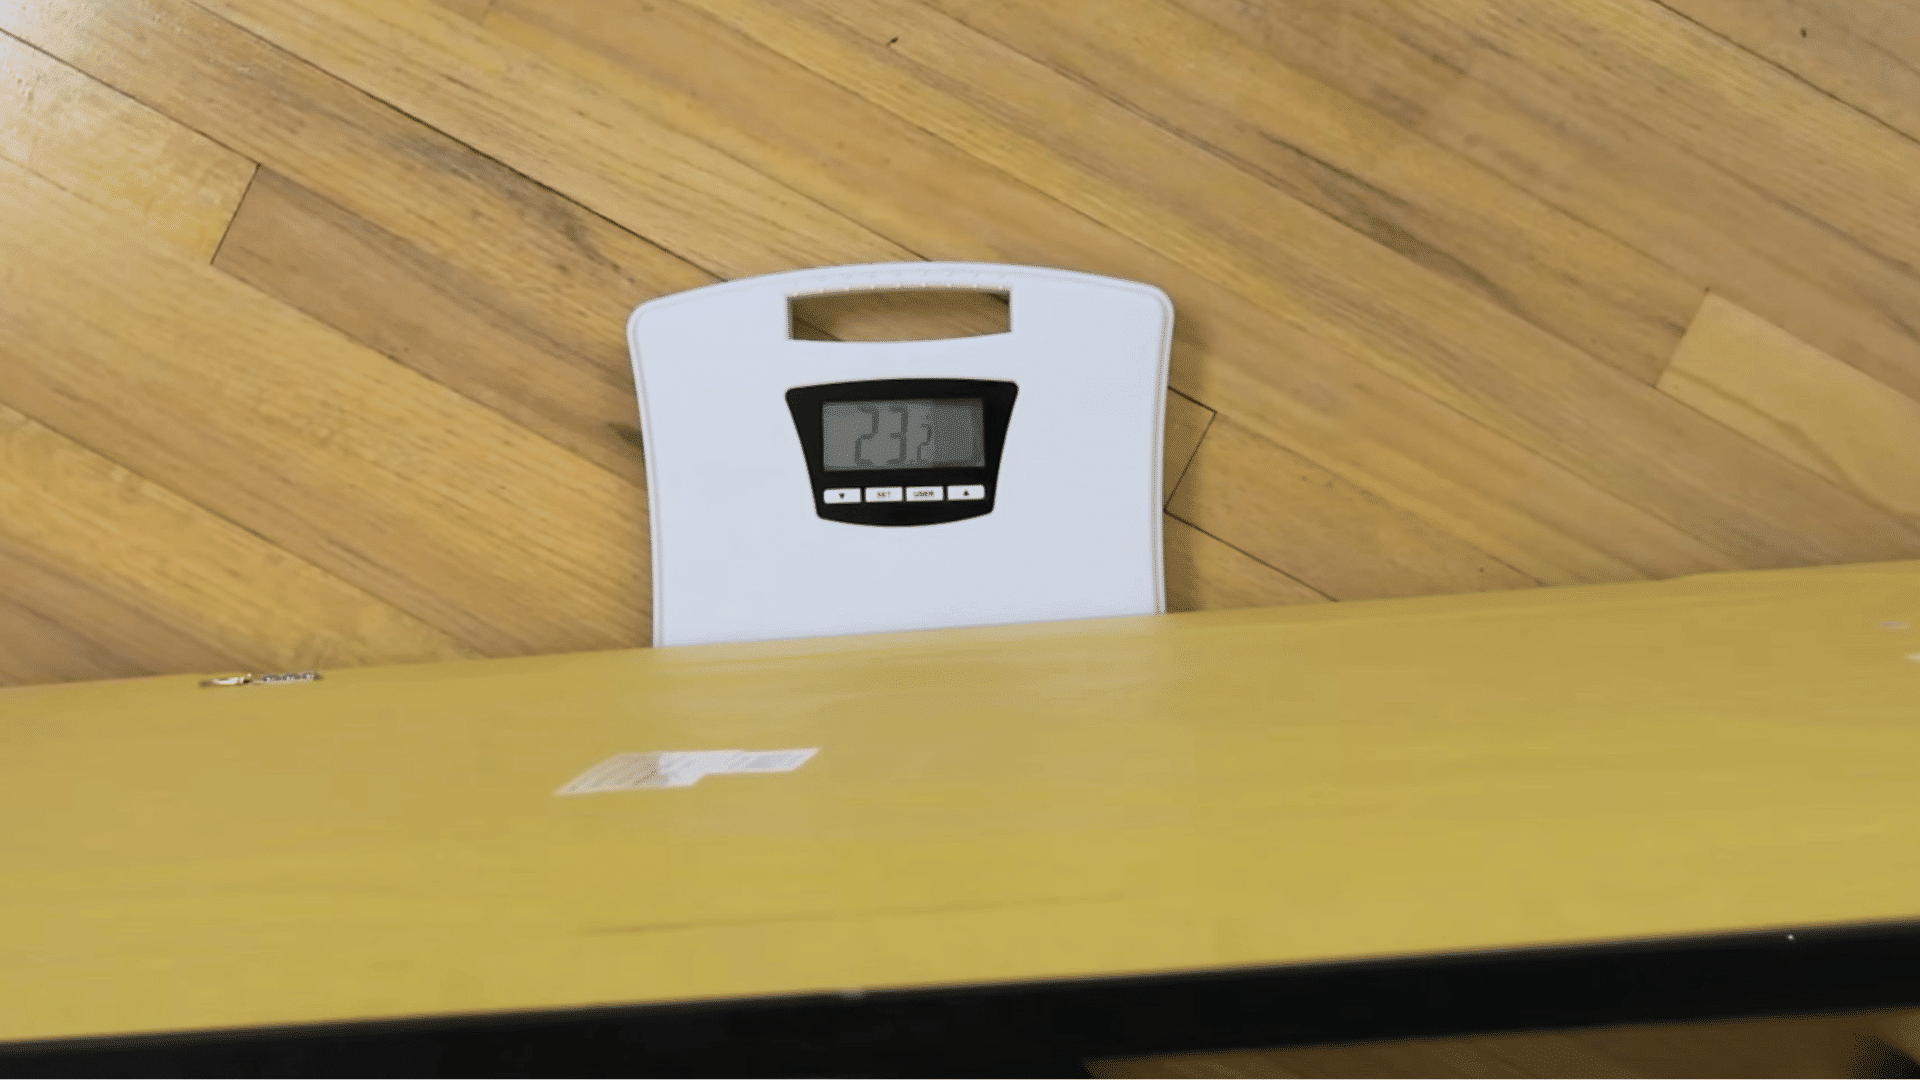
Use a bathroom scale to measure the mirror’s weight before choosing hanging hardware. This step helps you select anchors, hooks, or brackets with the right weight rating for safe installation.
Place the mirror carefully on the scale, or weigh yourself while holding it, and subtract your body weight.
Always choose hardware rated to support more than the mirror’s actual weight.
This added capacity provides a safety buffer and helps prevent the mirror from shifting, loosening, or falling after installation.
Pro Tip: Select hardware rated for at least 25–50% more weight than your mirror to account for wall conditions and long-term wear.
Step 4: Choose and Mark the Installation Location
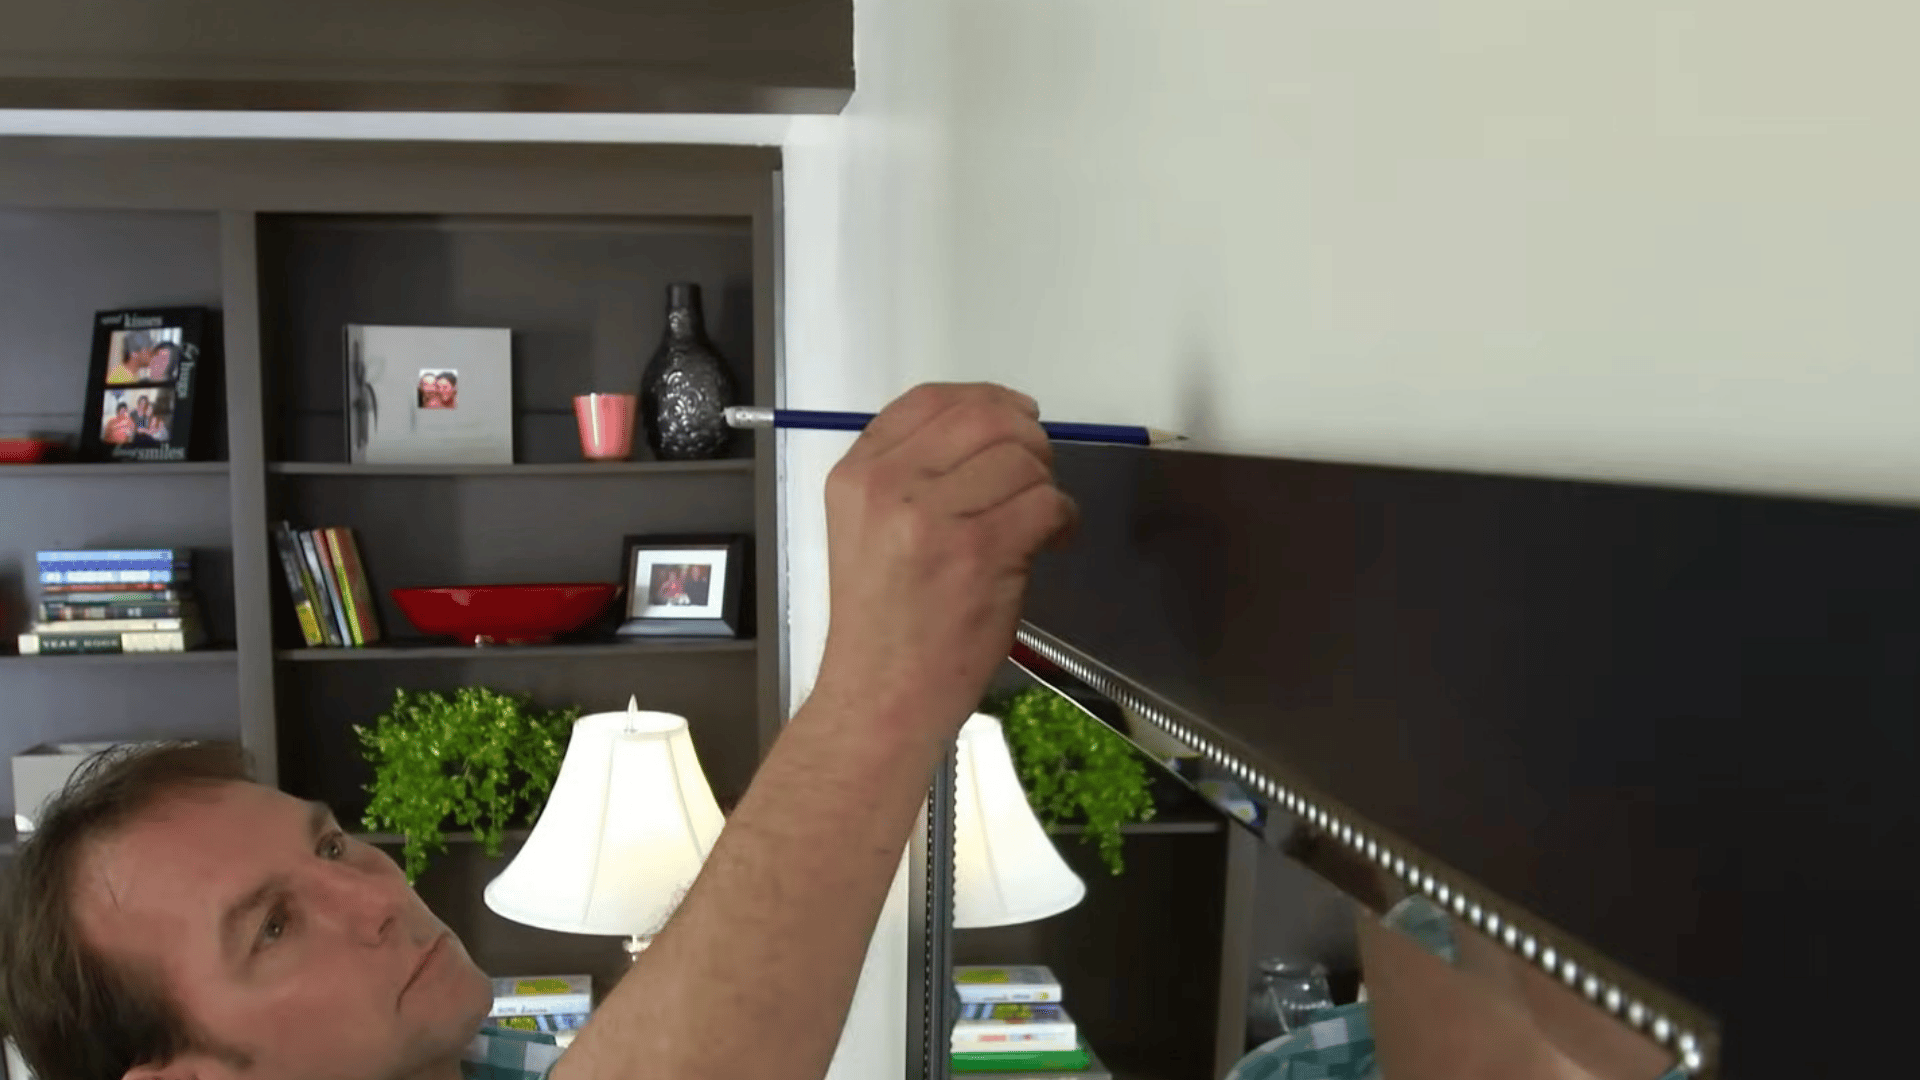
Choose the desired location for your mirror and hold it against the wall at approximately eye level to visualize the placement.
Once you are satisfied with the position, mark the center point of the mirror’s top edge using a pencil or a piece of painter’s tape. These reference marks will help guide accurate installation.
Whenever possible, align the mirror with a wall stud, as studs provide stronger support and improve stability, especially for larger or heavier mirrors.
Pro Tip: Step back several feet before marking the wall to confirm the mirror looks centered and balanced within the room.
Step 5: Locate Wall Studs and Check for Utilities
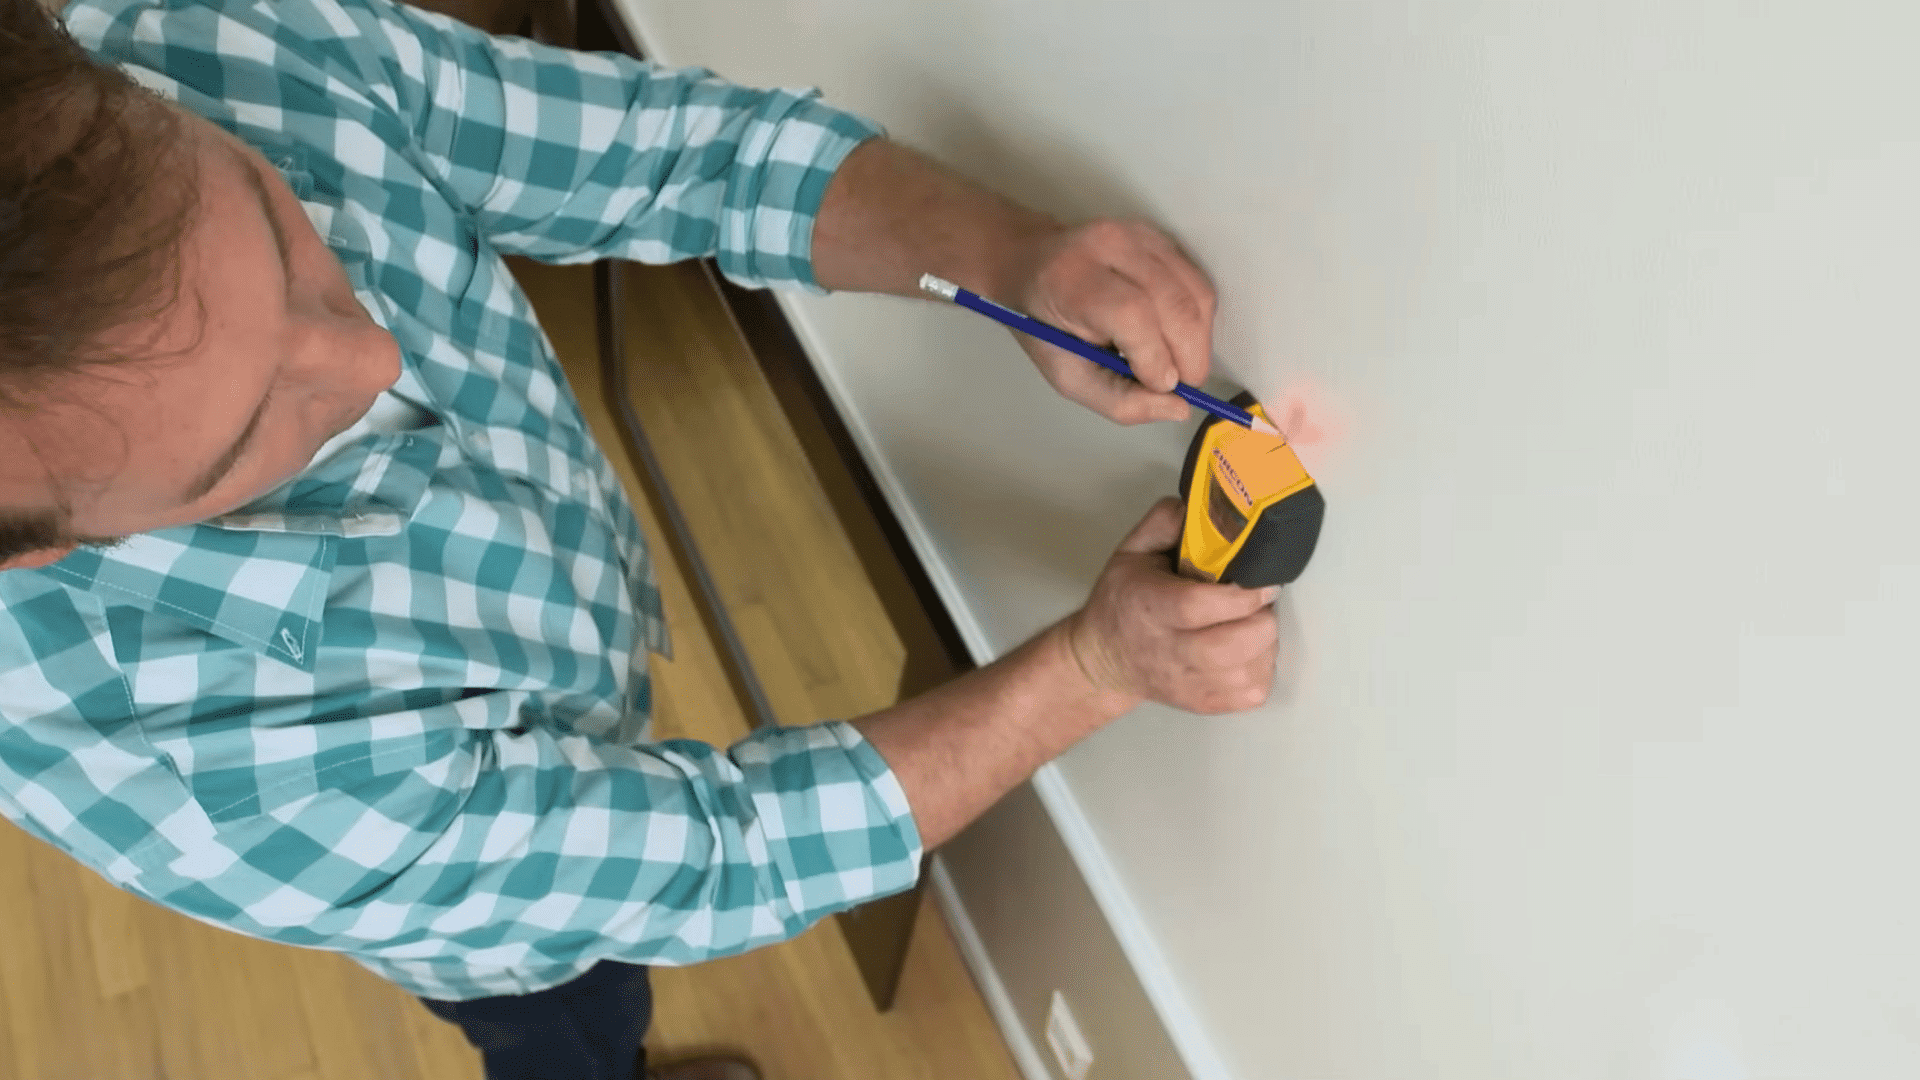
Use a stud finder to locate the wall studs before hanging your mirror, then mark the center of each stud with a pencil or painter’s tape.
Studs provide stronger support than drywall alone, making them ideal for heavier mirrors.
However, use caution when studs are near electrical outlets, light switches, or plumbing fixtures, as wires or pipes may run through that section of the wall.
Avoid drilling until you are confident the area is clear and safe.
Pro Tip: Scan the wall twice from different directions to confirm stud locations before marking or drilling.
Step 6: Measure the Hanging Points
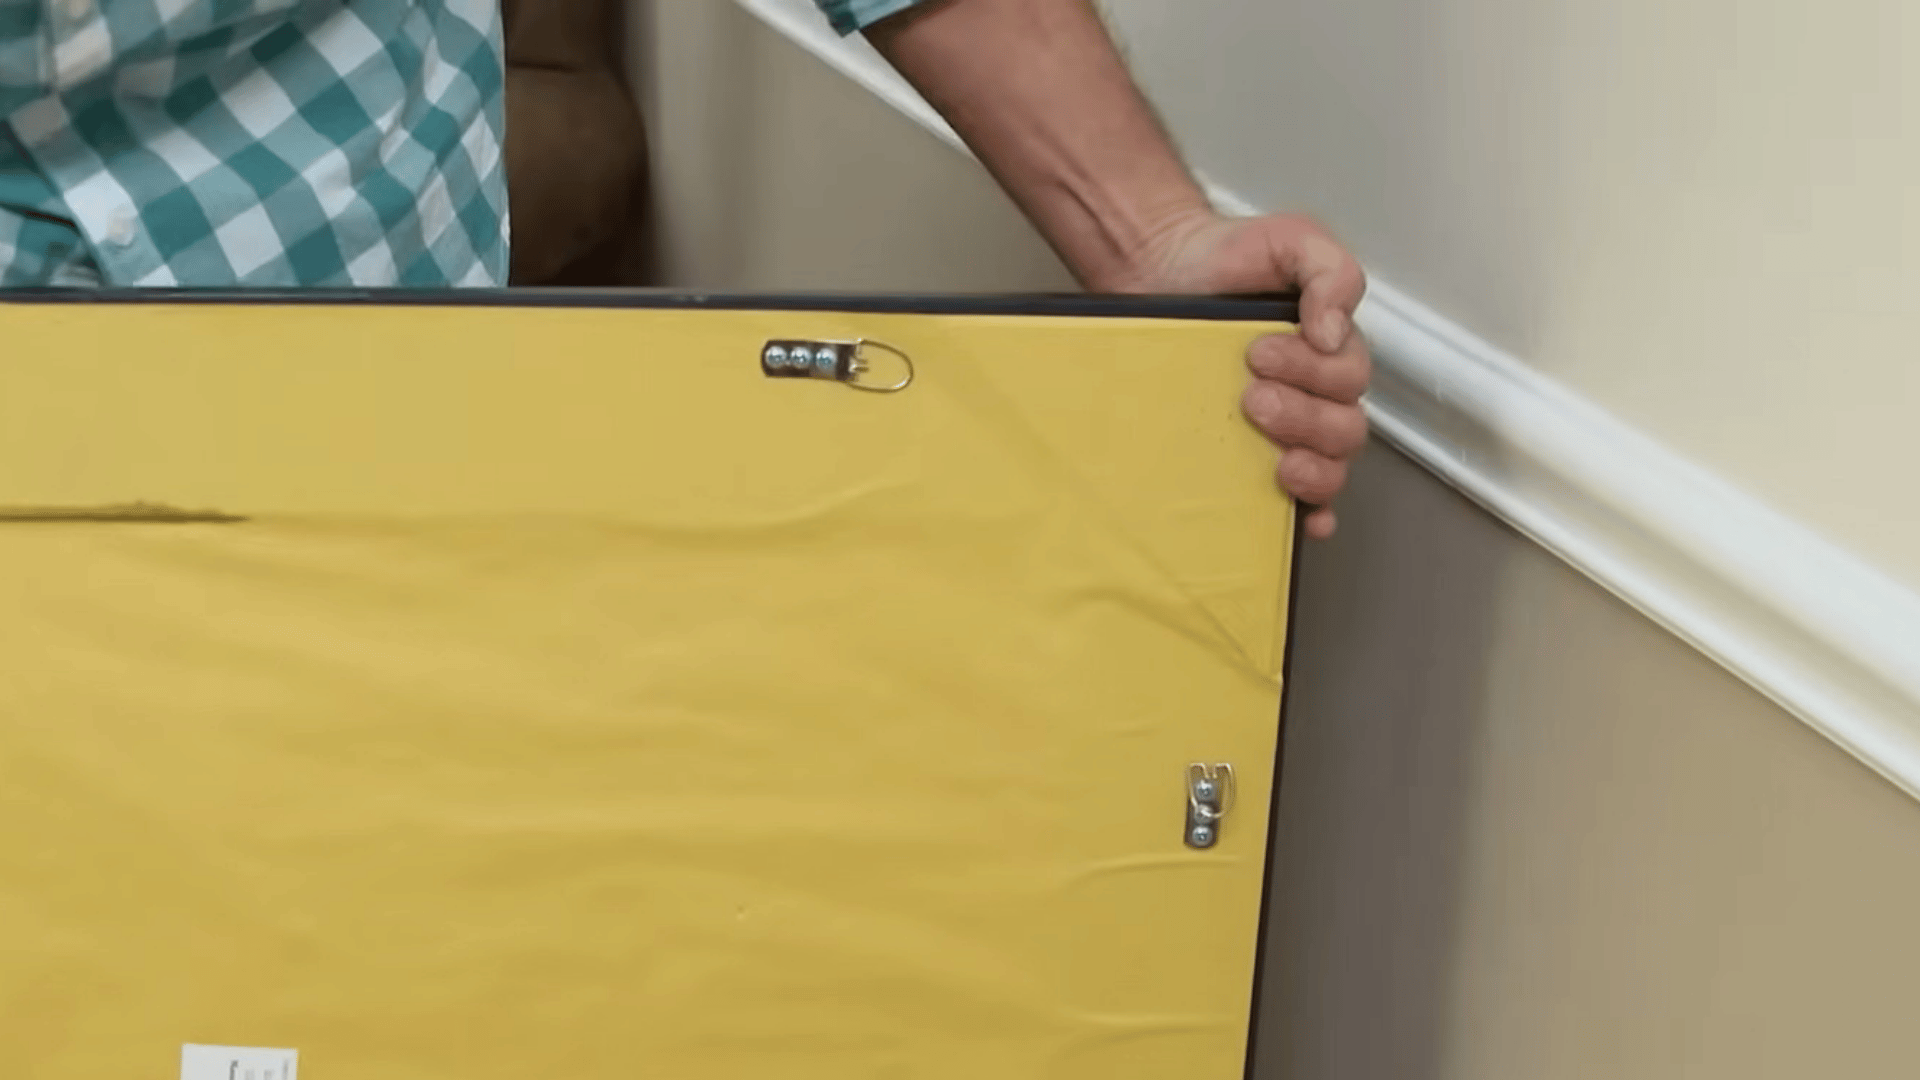
Inspect the back of the mirror to identify the hanging hardware, such as D-rings, keyhole brackets, or hanging wire. Measure the distance between the hanging points and note how far they sit below the top edge of the frame.
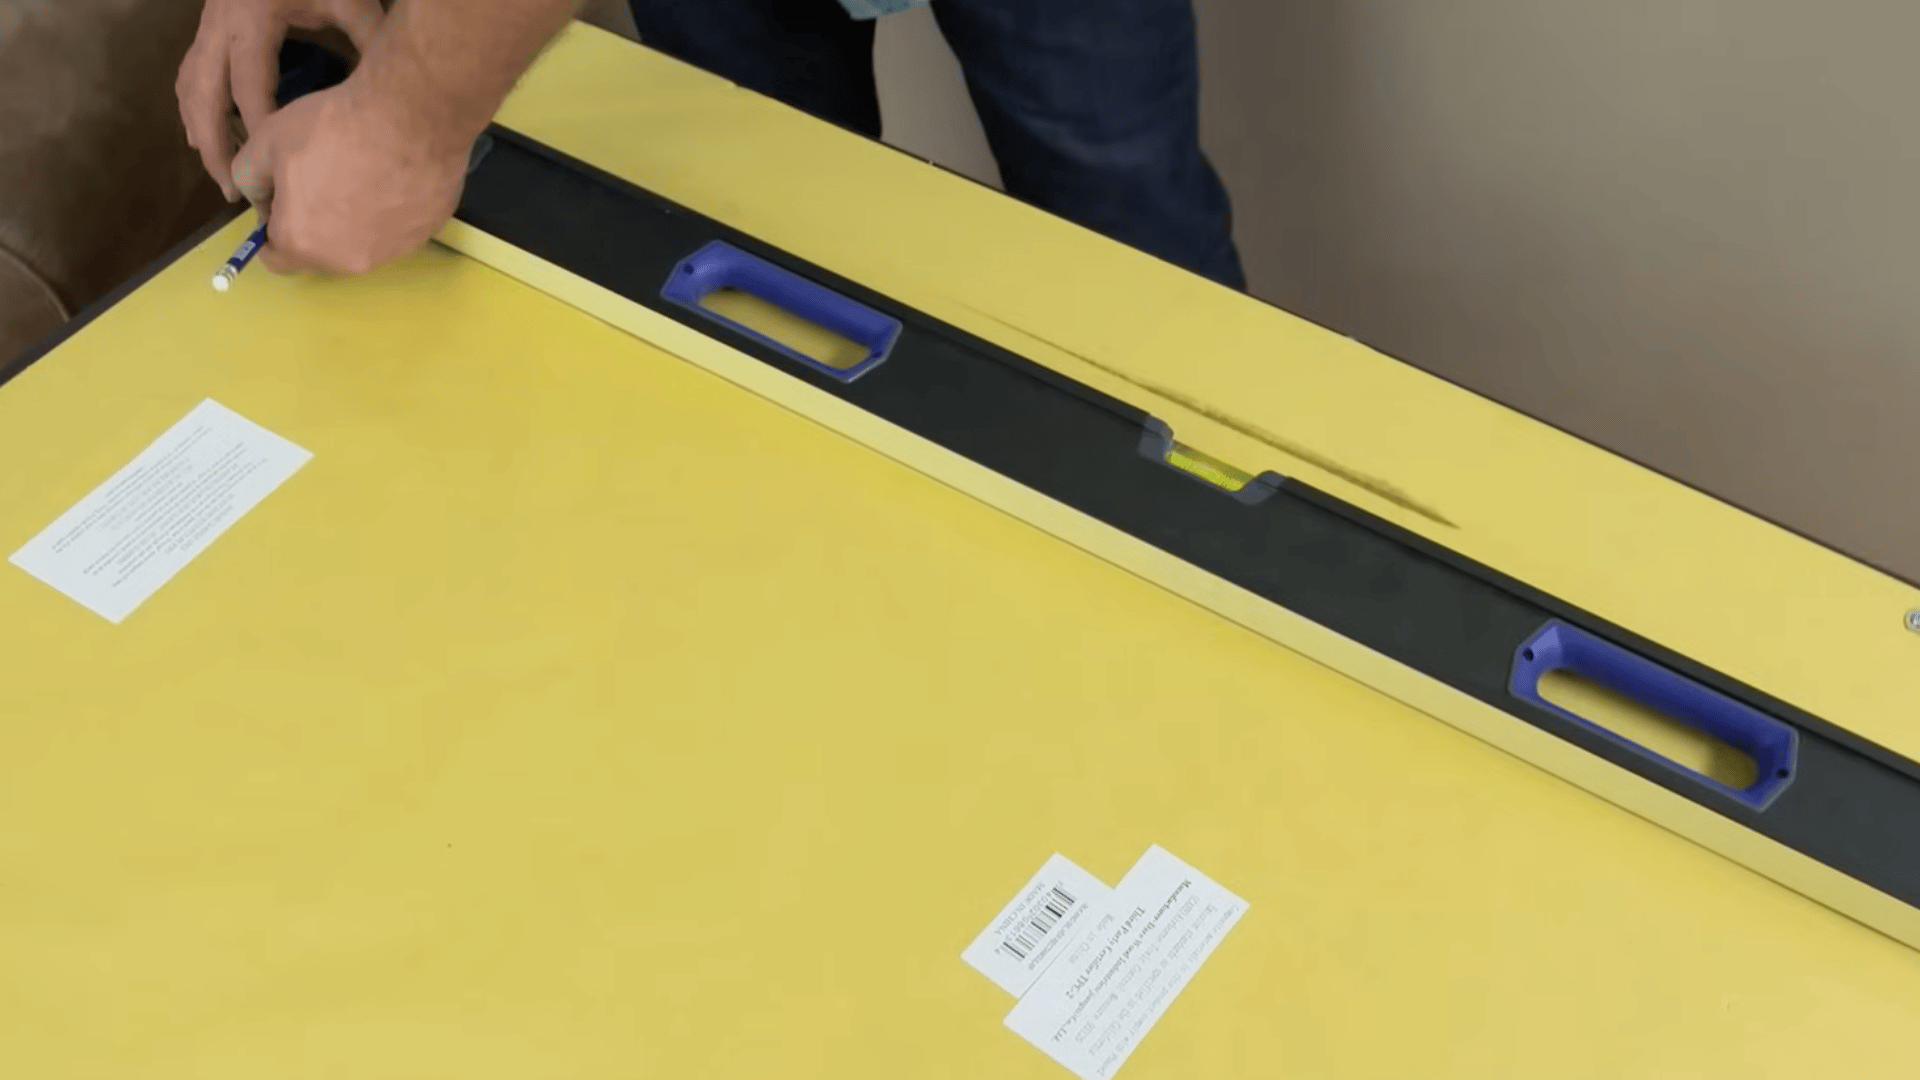
Use a level and tape measure to transfer these measurements accurately to the wall.
Precise marking ensures the hooks align correctly with the mirror hardware, helping the mirror hang securely, evenly, and at the desired height.
Pro Tip: Double-check all measurements before drilling, as even a small error can leave the mirror off-center or uneven.
Step 7: Transfer Measurements to the Wall

Attach a mounting hook to one of the mirror’s D-rings and measure the distance from the hook hole to the top edge of the frame.
Transfer this measurement to the wall from your previously marked mirror position.
Next, mark the locations for both mounting points and use a level to ensure they are perfectly aligned.
Accurate measurements and level marks help prevent the mirror from hanging crooked and reduce the need for adjustments after installation.
Pro Tip: Mark your drill points with painter’s tape first, so you can verify placement before drilling permanent holes in the wall.
Step 8: Install Hooks or Anchors
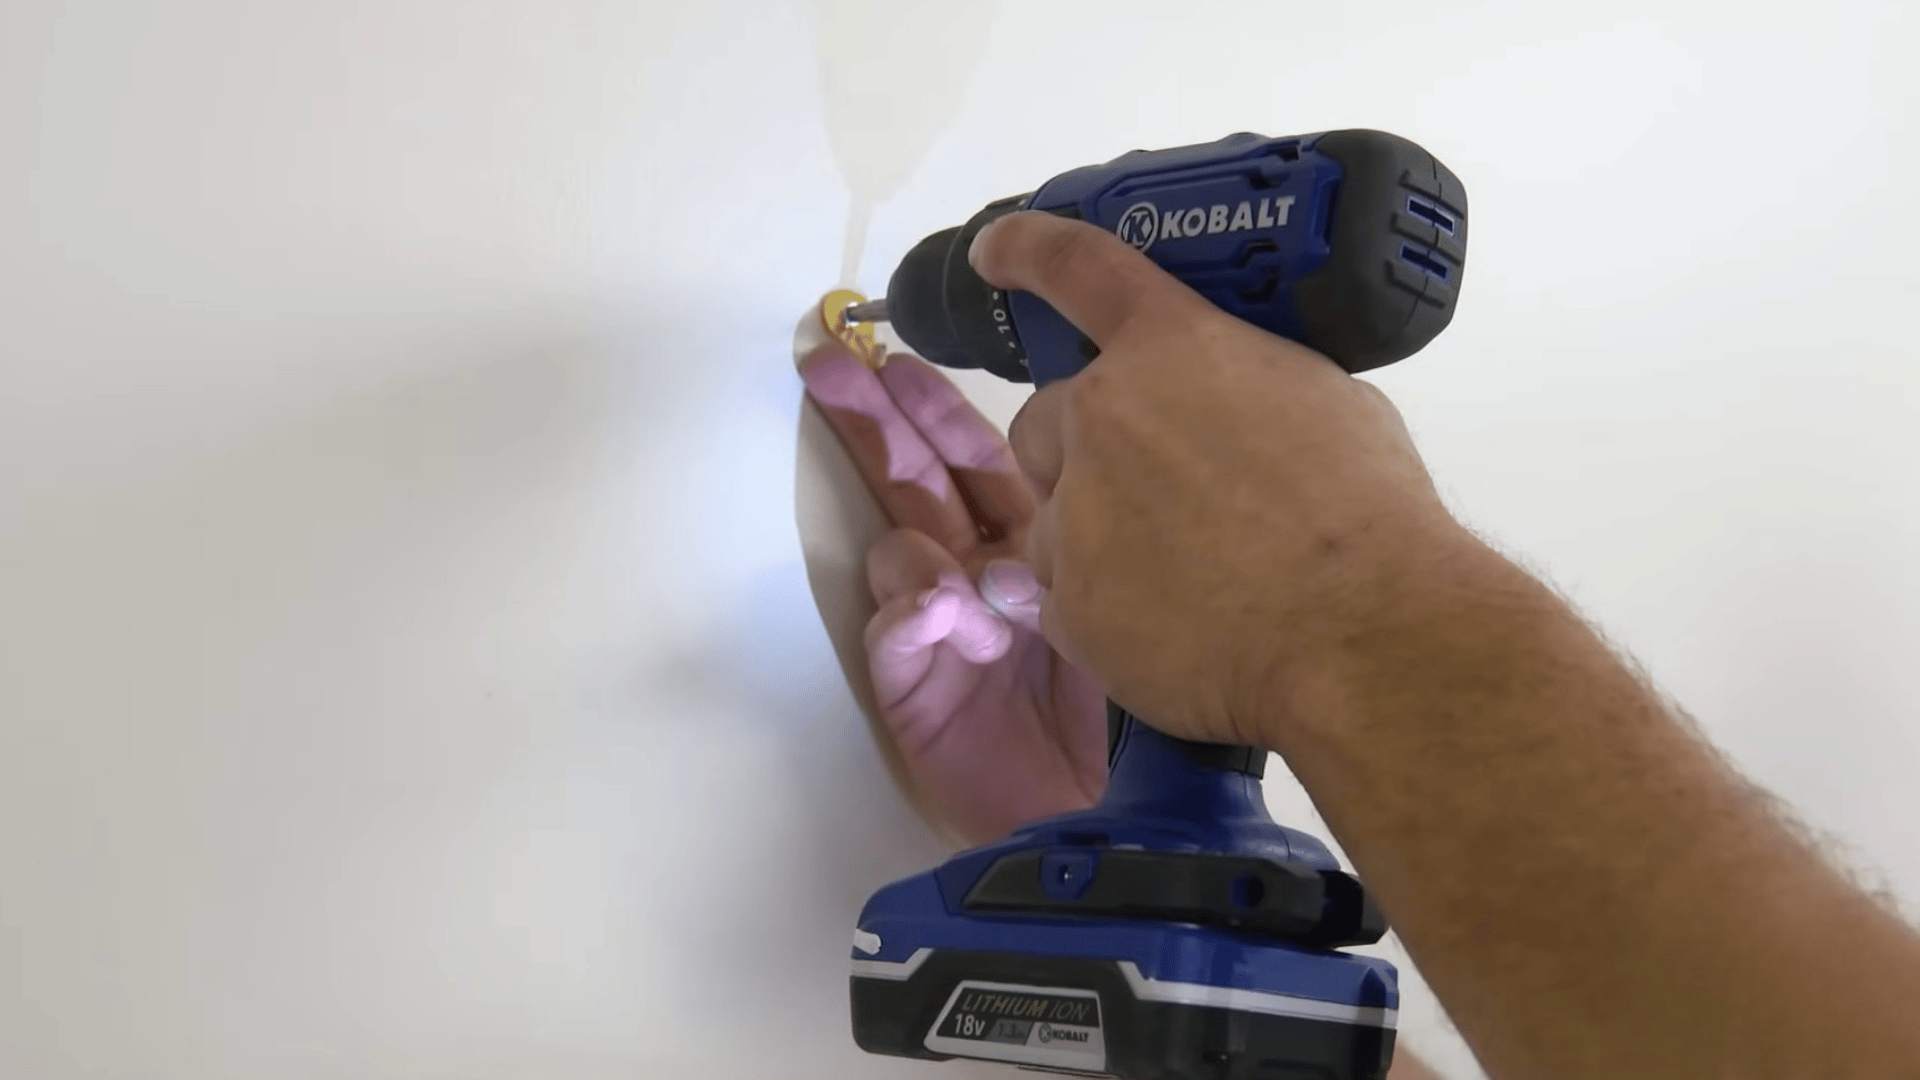
If your mounting marks line up with a wall stud, install the mounting hardware directly into the stud for maximum strength and stability.
When no stud is available at the desired location, use wall anchors that are rated for your mirror’s weight.
Install the anchors according to the manufacturer’s instructions, then attach the mounting hooks securely.
Properly installed anchors help distribute the load evenly and reduce the risk of the mirror pulling away from the wall over time.
Pro Tip: Always verify the weight ratings of both the anchors and hooks, and choose hardware rated for more than your mirror’s weight for added safety.
Step 9: Add Protective Bumpers
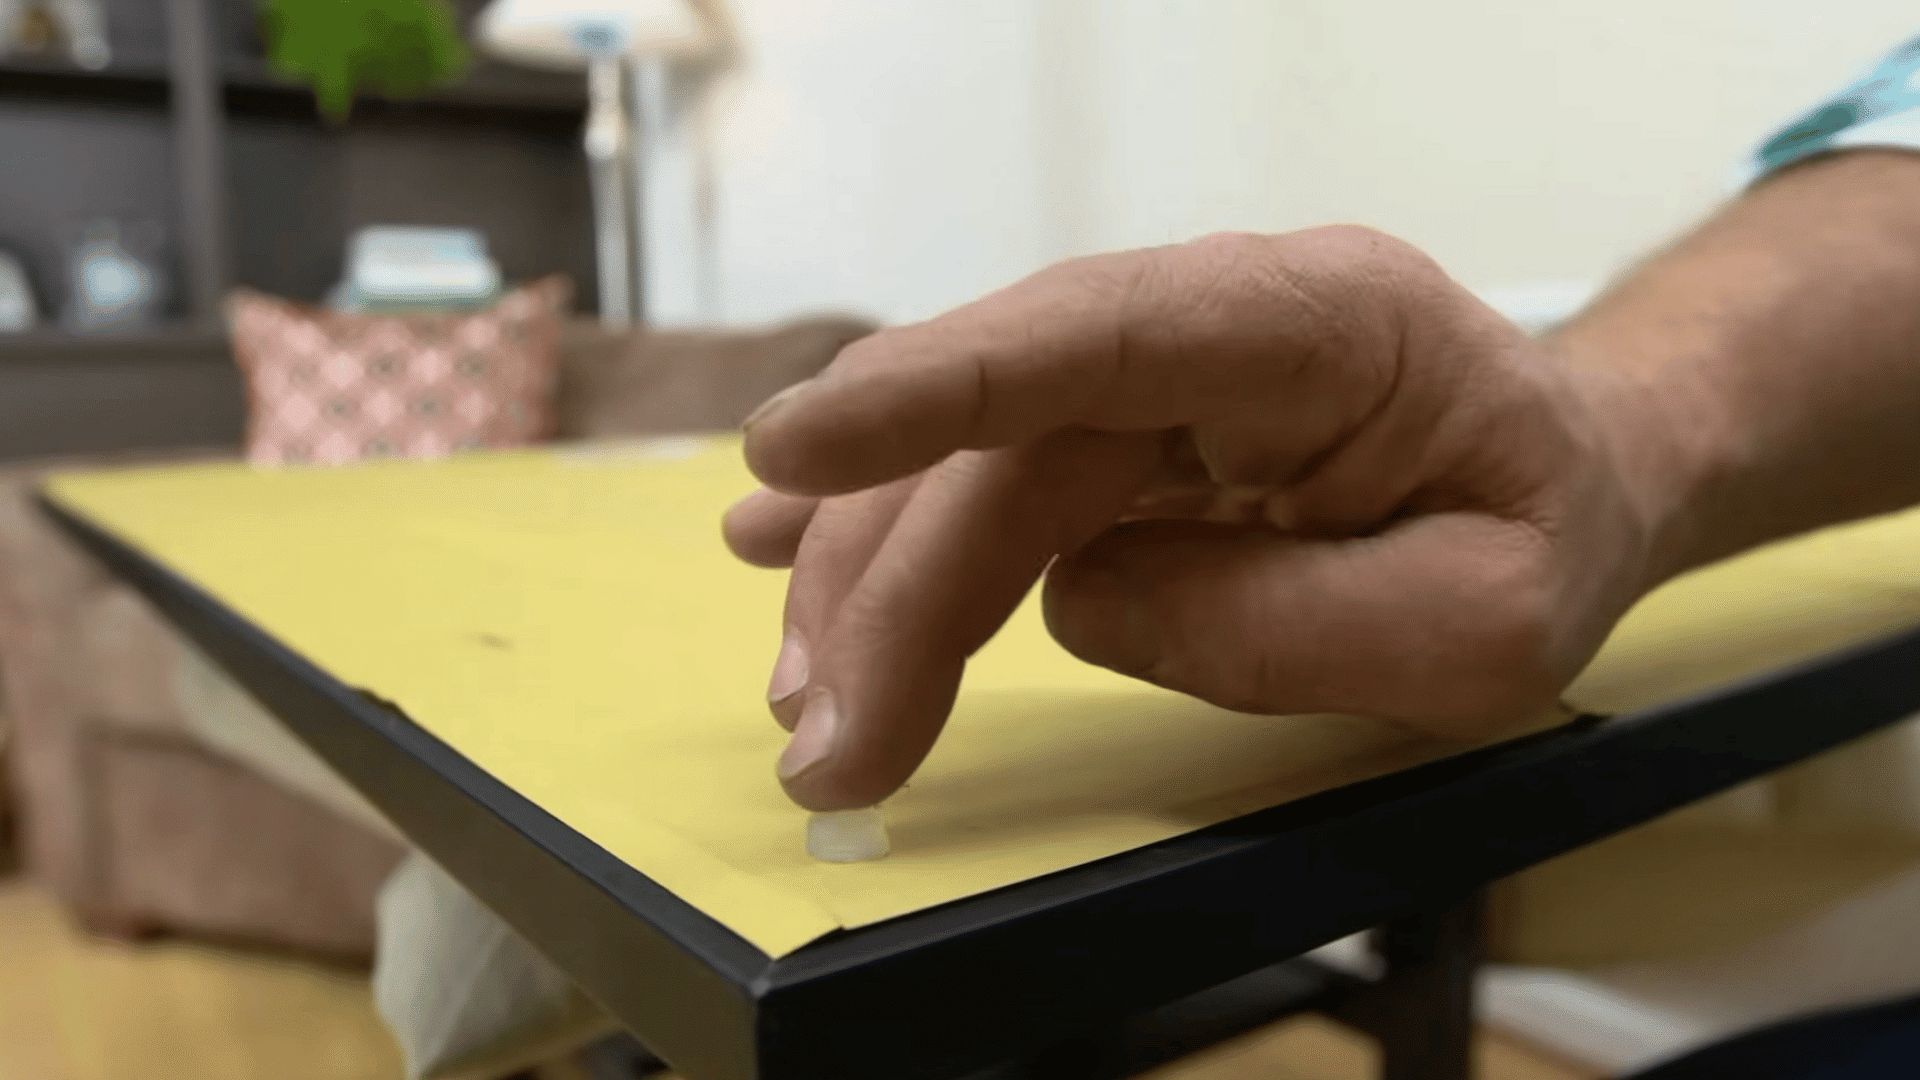
Apply adhesive bumpers to the bottom corners of the mirror before hanging it.
These small, cushioned pads create a slight gap between the mirror and the wall, helping prevent scratches, scuffs, and unwanted movement.
They also improve stability by reducing the chance of the mirror shifting or tilting over time.
Adhesive bumpers are inexpensive, easy to install, and can help protect both the mirror frame and the wall surface while giving the installation a more secure, finished appearance.
Pro Tip: Use clear rubber bumpers so they remain virtually invisible while still providing effective protection and support.
Step 10: Hang and Level the Mirror

Carefully lift the mirror and place it onto the installed hooks, ensuring the hanging hardware is fully engaged and seated properly.
Once the mirror is mounted, step back and check that it sits level and appears centered in the desired location.
Gently test its stability to confirm it is secure and does not shift or wobble.
Making these final adjustments helps ensure a safe installation and gives the mirror a clean, professional appearance on the wall.
Pro Tip: Have a second person assist with lifting and positioning large or heavy mirrors to improve safety and achieve more accurate placement.
This tutorial is based on a helpful video by Lowe’sHome Improvement. You can check out the original video on their YouTube channel here or watch it below.
How Does Mirror Weight Affect Installation Requirements?
Mirror weight directly affects the type of hardware and support needed for safe installation. Choosing the right mounting method helps prevent wall damage and keeps the mirror securely in place.
| Mirror Weight | Recommended Hanging Method | Best Hardware Options |
|---|---|---|
| Up to 10 lbs (4.5 kg) | Simple wall mounting | Picture hooks, adhesive strips (for suitable surfaces), small wall hooks |
| 10–25 lbs (4.5–11 kg) | Standard wall mounting | Wall anchors, heavy-duty picture hooks, D-rings |
| 25–50 lbs (11–23 kg) | Reinforced mounting | Toggle bolts, heavy-duty anchors, mirror mounting brackets |
| 50–100 lbs (23–45 kg) | Stud-mounted installation | Lag screws, French cleats, heavy-duty mirror brackets |
| Over 100 lbs (45 kg) | Professional-grade installation | Commercial mounting systems, reinforced French cleats, structural fasteners |
Best Practices for Mounting a Heavy Mirror
Heavy mirrors require extra planning, stronger hardware, and careful installation to ensure they remain secure and stable over time.
- Choose Heavy-Duty Mounting Hardware: Select hooks, brackets, anchors, and screws specifically rated to support the mirror’s weight with a safety margin.
- Locate and Use Wall Studs: Mounting directly into wall studs provides maximum support and reduces the risk of hardware pulling loose.
- Verify the Mirror’s Weight First: Weigh the mirror accurately before installation to ensure all mounting hardware meets load requirements.
- Inspect the Frame and Hanging Hardware: Check for loose screws, damaged brackets, or weakened frame joints that could affect stability.
- Use Appropriate Wall Anchors: When studs are unavailable, install heavy-duty wall anchors designed for your wall material and mirror weight.
- Measure and Mark Carefully: Accurate measurements help position mounting points correctly and prevent uneven hanging or unnecessary wall damage.
- Get Assistance During Installation: A second person can help lift, align, and secure the mirror, reducing the risk of injury.
- Test Stability After Hanging: Gently check for movement or wobbling to confirm the mirror is securely mounted and properly supported.
Installing a Frameless Mirror Securely
To hang a frameless mirror, use mirror clips, J-channels, or a manufacturer-approved mounting system designed for the mirror’s size and weight.
Measure the mirror and mark its position on the wall before installation. Proper support helps keep it secure.
Use a level to ensure the markings are straight. Locate wall studs whenever possible, or install wall anchors appropriate for the wall material and the mirror’s weight.
Attach the bottom clips or channel first, then carefully place the mirror into position.
Install the side and top clips without tightening them too much, as this can crack the mirror.
Some frameless mirrors may also need mirror adhesive for extra support. Once installed, check that the mirror is level and firmly secured to the wall.
Best Hardware Options for Hanging Heavy Mirrors
Different mounting hardware options provide varying levels of support depending on the mirror’s weight and wall type.
| Hardware Option | Best For | Key Benefit |
|---|---|---|
| Wall Stud Screws | Heavy mirrors on framed walls | Provides the strongest support |
| Heavy-Duty Wall Anchors | Drywall without studs | Distributes weight securely |
| Toggle Bolts | Very heavy mirrors on drywall | High weight-bearing capacity |
| D-Rings and Hooks | Framed mirrors | Creates a stable hanging system |
| French Cleats | Large or oversized mirrors | Evenly distributes mirror weight |
| Masonry Anchors | Brick, concrete, or stone walls | Ensures a secure hold on solid surfaces |
| Metal Mirror Clips | Frameless mirrors | Holds the mirror firmly in place |
| Picture Hanging Systems | Decorative heavy mirrors | Allows easy leveling and adjustment |
How to Hang a Mirror without Nails or Drilling?
For renters or anyone looking to avoid wall damage, hanging a mirror without drilling can be a practical solution for mirrors weighing under 20 pounds.
The most effective no-drill options are adhesive mirror-mounting tape and mounting strips, which bond directly to the wall and the mirror.
For a secure hold, use them on smooth, clean, and primed surfaces, avoiding glossy finishes unless lightly sanded first.
Apply adhesive strips vertically across the mirror back, spacing them evenly and keeping them away from the edges.
Press the mirror firmly against the wall and allow the adhesive to cure for 24 hours. This method works best for lightweight mirrors and low-humidity environments.
Common Mistakes to Avoid when Hanging a Mirror
Avoiding a few common installation errors can help keep your mirror secure, level, and properly positioned.
- Skipping Weight Verification: Failing to weigh the mirror beforehand may result in using hardware that cannot safely support its load.
- Using Incorrect Wall Anchors: Choosing anchors that are unsuited to the wall material can weaken support and increase the risk of failure.
- Ignoring Wall Studs: Overlooking available studs may reduce mounting strength, especially when hanging large or particularly heavy mirrors.
- Taking Inaccurate Measurements: Small measurement errors can lead to misaligned hooks, uneven placement, and unnecessary wall repairs afterward.
- Overtightening Hardware: Excessive tightening can damage mirror frames, crack glass edges, or weaken mounting components over time.
- Hanging the Mirror Too High: Improper placement can create a visual imbalance and reduce the mirror’s practical functionality in the space.
- Skipping Final Stability Checks: Failing to test stability after installation may leave unnoticed issues that could worsen later.
When to Hire a Professional?
Consider hiring a professional if your mirror is exceptionally heavy, oversized, or difficult to handle. Mirrors over 50 pounds need secure anchors and proper support for safe installation.
Professional help is recommended for frameless or custom mirrors and for installation on tile, brick, concrete, or masonry walls.
Mirrors placed above fireplaces, staircases, or other high-risk areas may need additional expertise.
If there is a possibility of hidden electrical wiring, plumbing, or utilities behind the wall, a professional can help prevent costly damage and ensure a secure, long-lasting installation.
Conclusion
Hanging a mirror may seem like a simple project, but taking the time to measure carefully, choose the right hardware, and understand your wall type can make a significant difference.
I’ve found that proper planning creates a cleaner look and helps avoid mistakes.
Following the right steps improves both safety and appearance. A well-placed mirror can brighten a room, make it feel larger, and improve your decor.
With these tips, you can install it with confidence and get lasting results.
Have you recently hung a mirror at home? Share your experience, tips, or questions in the comments below.
Frequently Asked Questions
Why Do Carpenters Use Nails and Not Screws?
Carpenters often use nails because they install faster, cost less, and handle wood movement and shear forces better than screws.
Do Screws Crack Wood More than Nails?
Yes. Screws are more likely to split wood if pilot holes are not drilled, while nails typically displace wood fibers.
Why Is It Not Good to Have Mirrors in the Bedroom?
There is no proven health risk. Concerns mainly come from Feng Shui beliefs and personal preferences about sleep and reflections.
What Is the Finger Trick for Mirrors?
Place your fingertip against the mirror. If there is a gap, it is likely a standard mirror. No gap may indicate a two-way mirror.