
Building a DIY dog house is a simple and affordable way to give your dog a comfortable outdoor shelter. You can choose the size, design, materials, and features to fit your dog’s needs and your backyard space.
I love DIY projects like this because they combine practicality with creativity and result in something both you and your dog can enjoy for years.
If you’re looking for a simple weekend build or a modern dog house with custom upgrades, this step-by-step guide will walk you through the entire process.
Follow along to learn how to build a durable, weather-resistant dog house that keeps your pet safe, comfortable, and happy.
Key Considerations Before Building a Dog House
A little planning before you start building can help you create a dog house that is comfortable, durable, and perfectly suited to your pet’s needs.
- Dog Size and Measurements: Measure your dog’s height, length, and shoulder width to determine the ideal dimensions and doorway size for comfortable movement.
- Best Location: Place the dog house on a level, well-drained area that offers some natural shade and protection from strong winds.
- Climate and Weather: Consider local weather conditions when choosing materials, roofing, ventilation, and insulation to keep your dog comfortable year-round.
- Budget Expectations: Most DIY dog house builds cost between $100 and $300 in materials. The total depends on size and any upgrades you add.
- Build Time: A basic dog house can usually be completed in a weekend, while custom features may require additional time and finishing work.
- Material Safety: Avoid pressure-treated lumber for interior surfaces. Chemicals used in older treatment processes can be harmful to dogs. Cedar is a safer, naturally rot-resistant alternative for walls and floors
What You’ll Need to Build a DIY Dog House?
Gather all the essential tools and supplies before starting your project. Having everything ready beforehand will help streamline the build process and prevent unnecessary interruptions once construction begins.
- Measuring Tape: Helps you measure wood pieces accurately and keep all dimensions consistent.
- Circular Saw or Hand Saw: Used to cut lumber and plywood to the correct sizes for the dog house.
- Drill and Drill Bits: Create pilot holes and drive screws into the wood during assembly.
- Hammer: Useful for securing nails and making small adjustments while building.
- Pressure-Treated Lumber: Forms the base and frame, providing strength and support for the structure.
- Plywood Sheets: Used for the walls, floor, and roof panels of the dog house.
- Wood Screws: Hold the pieces together securely and help create a sturdy finished shelter.
How to Build a DIY Dog House as a Beginner?
Building a dog house involves creating a sturdy frame, adding protective walls and roofing, and finishing the structure with weather-resistant materials
Step 1: Build the Base for the Dog House
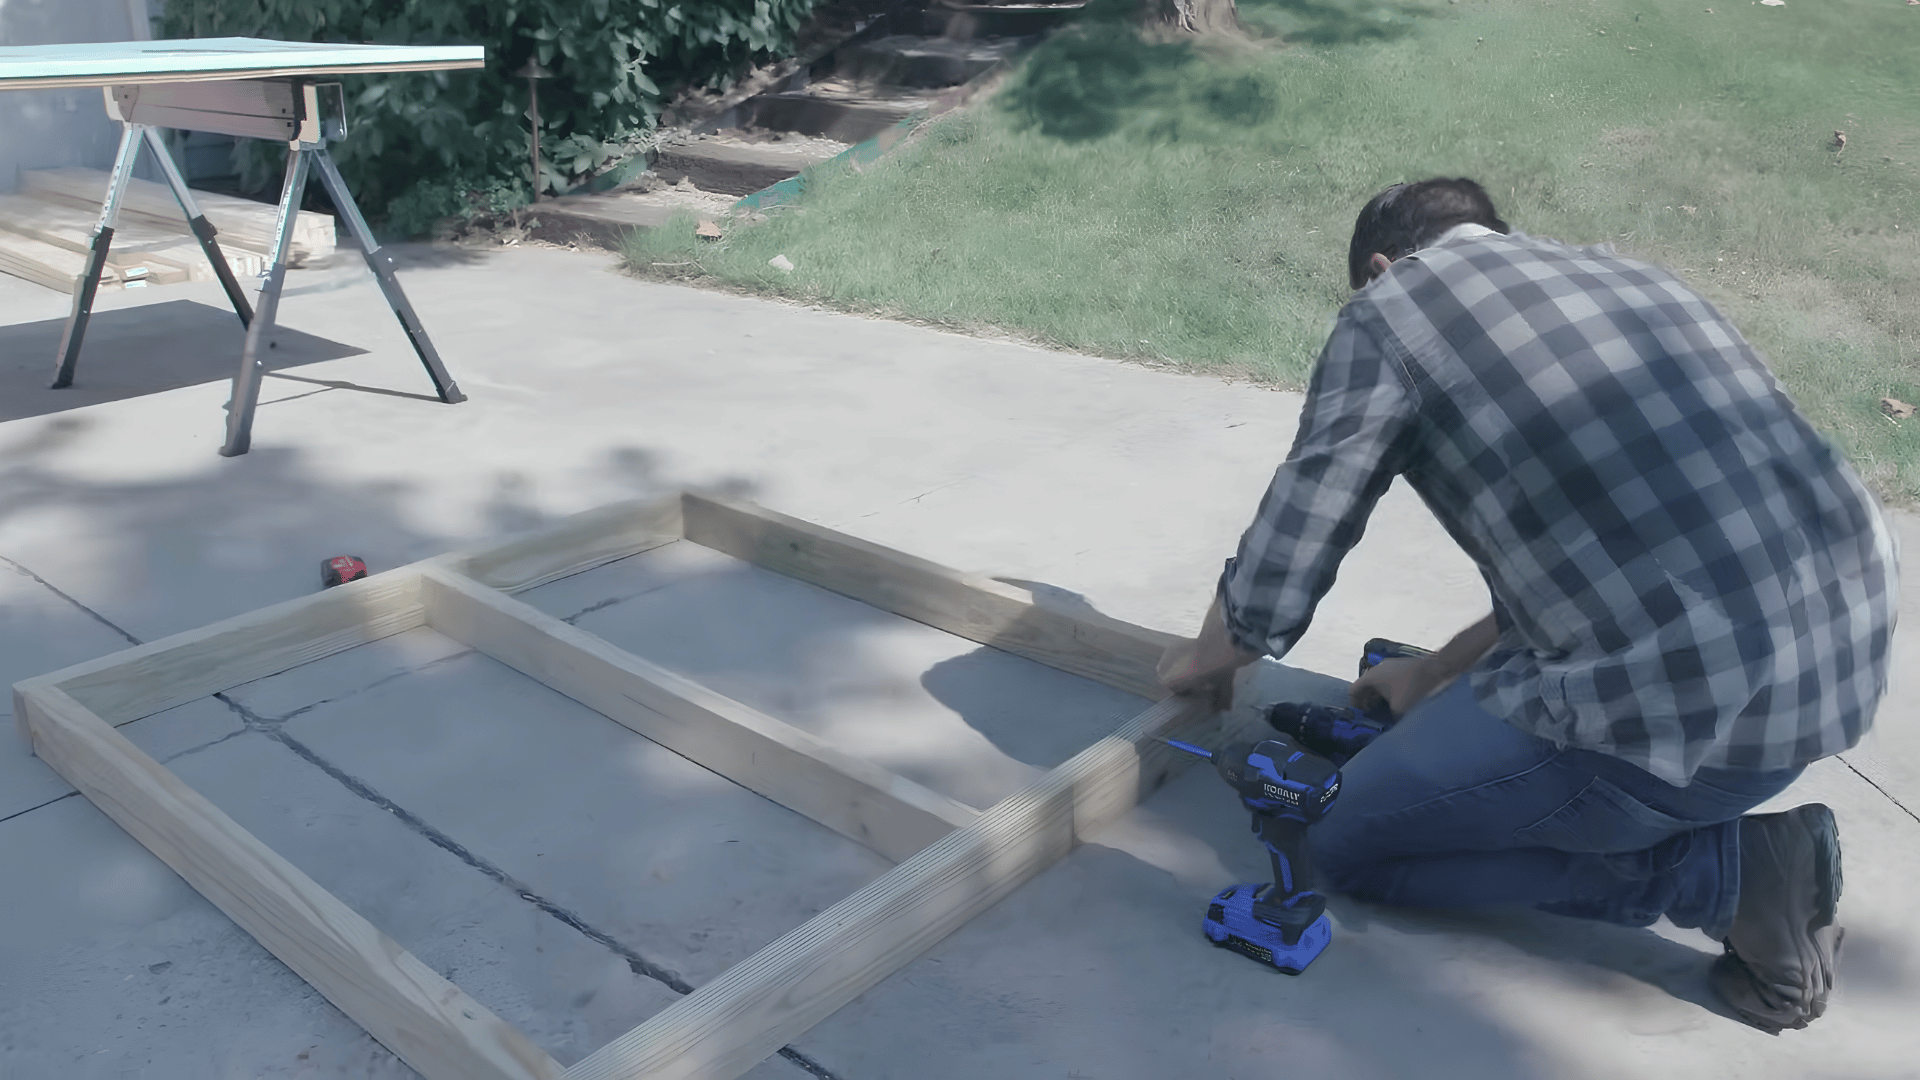
Start by constructing a sturdy base that will support the entire dog house.
Measure and cut the framing lumber according to your desired dimensions, ensuring the size suits your dog’s breed and sleeping habits.
Assemble the frame using deck screws, checking that all corners are square before tightening.
A raised base helps protect the structure from ground moisture and improves airflow underneath, keeping the interior dry and comfortable throughout different weather conditions.
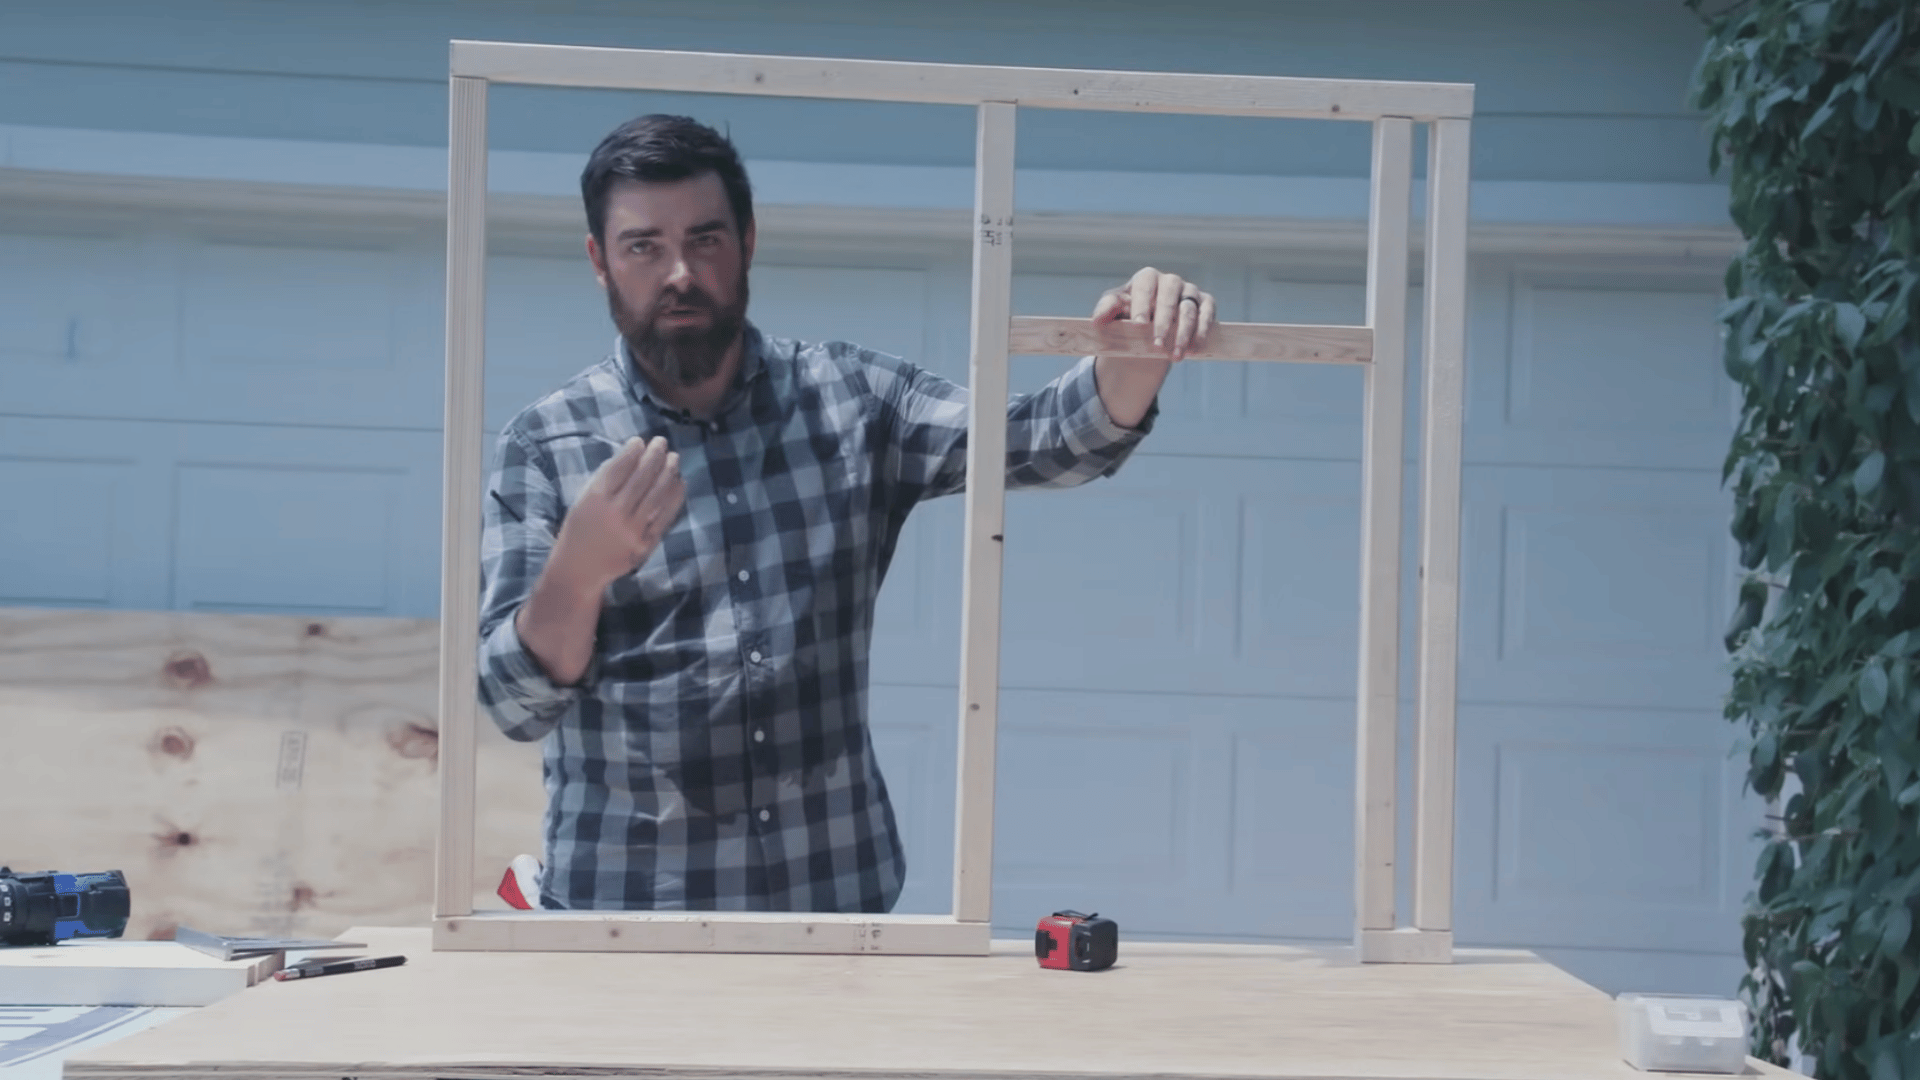
Step 2: Construct the Side and Back Wall Frames
Once the base is complete, build the wall frames using 2×2 lumber. Cut the boards to size and assemble the side walls and back wall separately.
If your design includes a sloped roof, create angled cuts at the top of the wall framing to support it. Drill pilot holes before inserting screws to prevent the wood from splitting.
These framed sections form the main structure and provide strength for attaching the plywood siding later.
Step 3: Create the Front Wall and Door Opening
The front wall requires special attention because it includes the entrance. Measure your dog’s shoulder width and height to determine an appropriately sized doorway.
Cut and assemble the front frame, leaving enough clearance for your pet to move comfortably. Secure the frame to the base and connect it to the side walls.
Double-check alignment before fastening everything together.
A properly sized entrance improves accessibility while helping retain warmth and shelter inside the dog house.
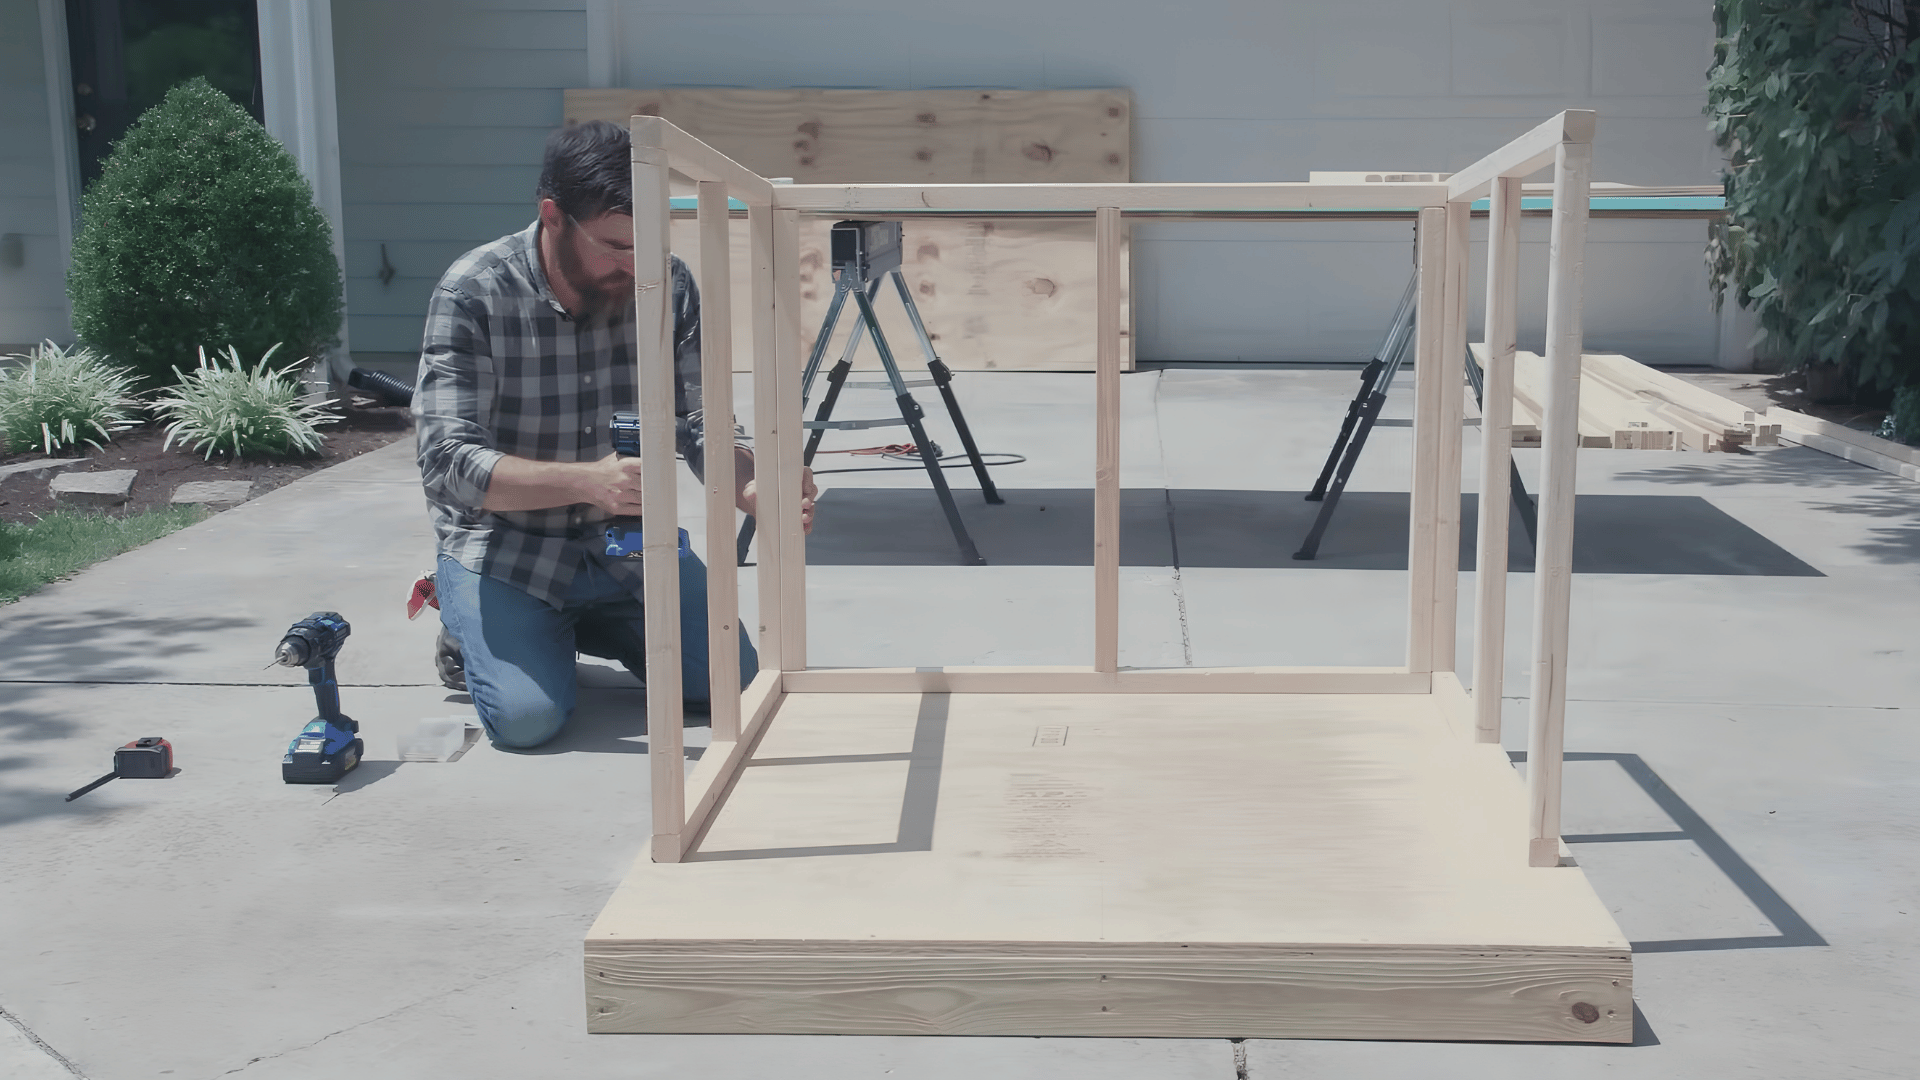
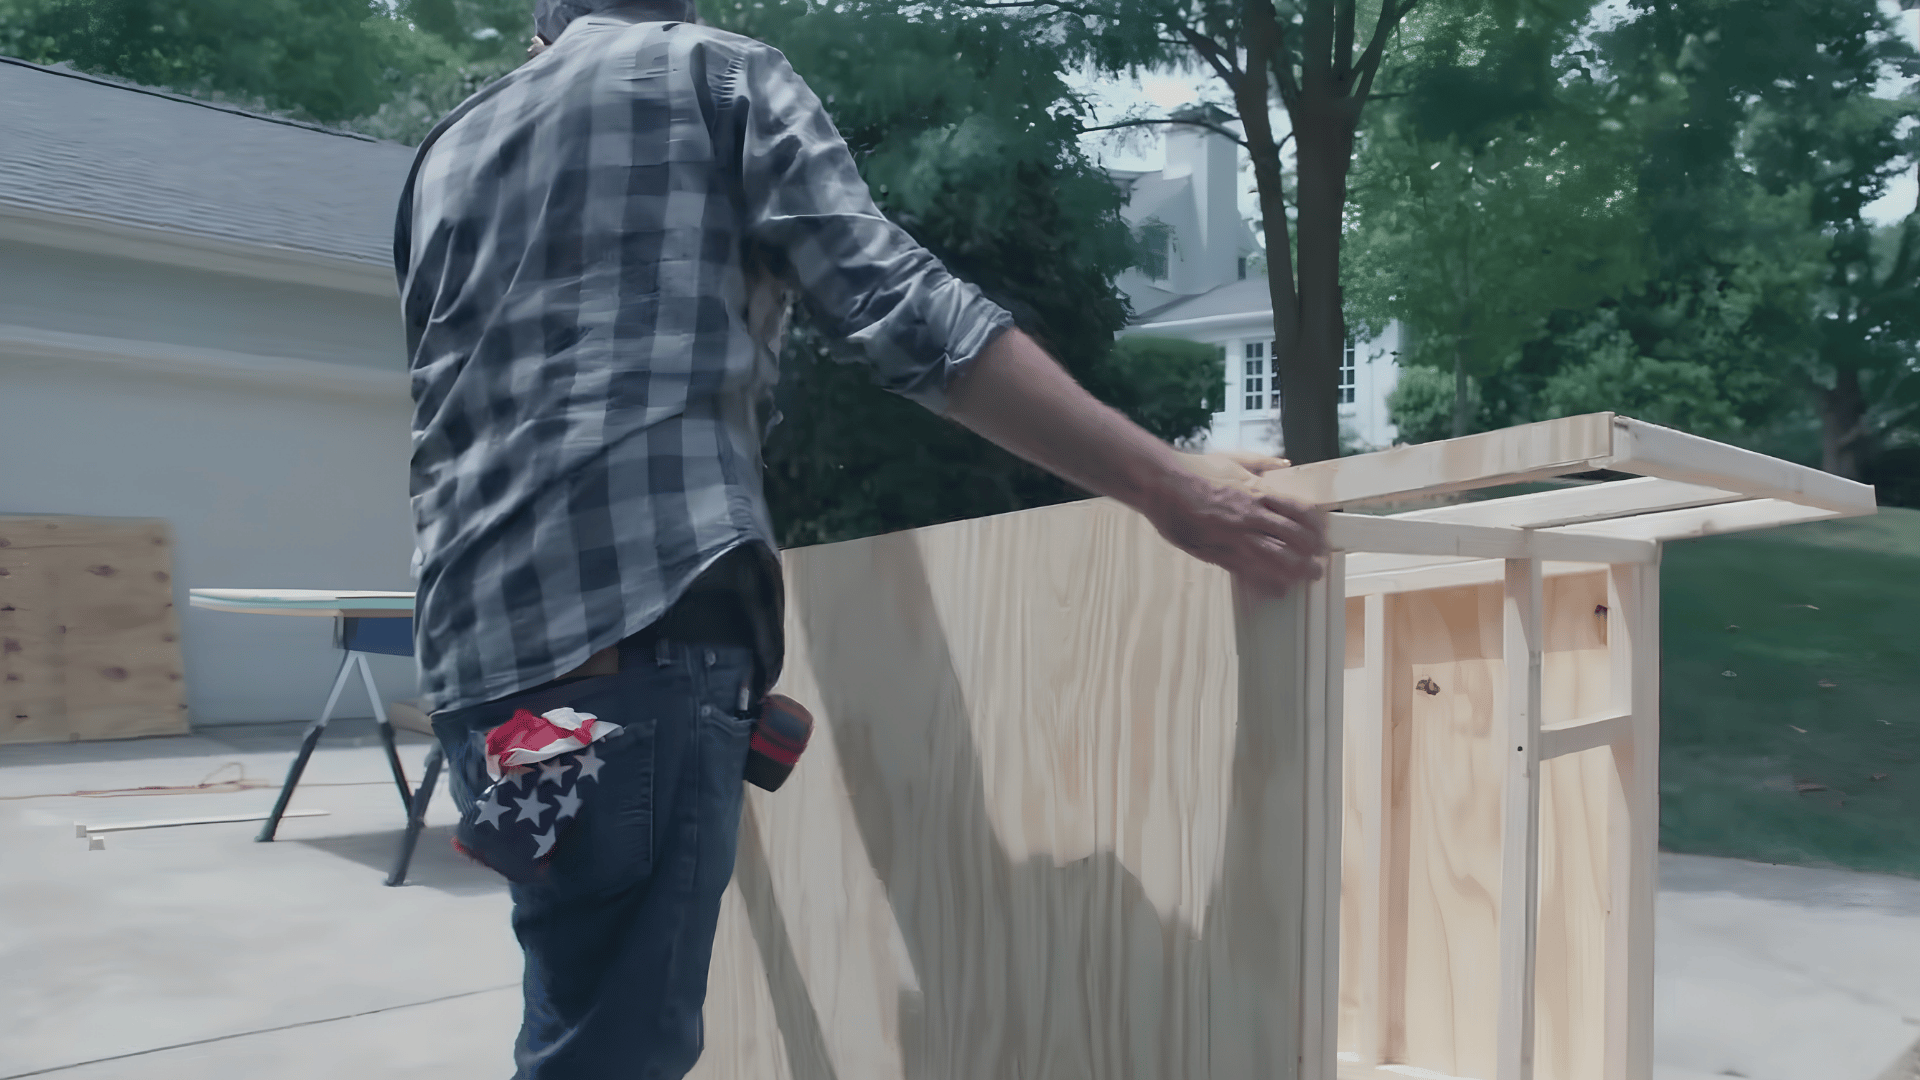
Step 4: Assemble the Main Dog House Structure
Attach all wall frames to the base and secure them to one another to create a solid structure. Start with the back wall, then install the side walls before attaching the front frame.
Use a level to ensure everything remains straight and square during assembly.
Once connected, the framework becomes much more stable and rigid.
Taking time to align the walls correctly at this stage will make installing plywood panels and roofing materials much easier later.
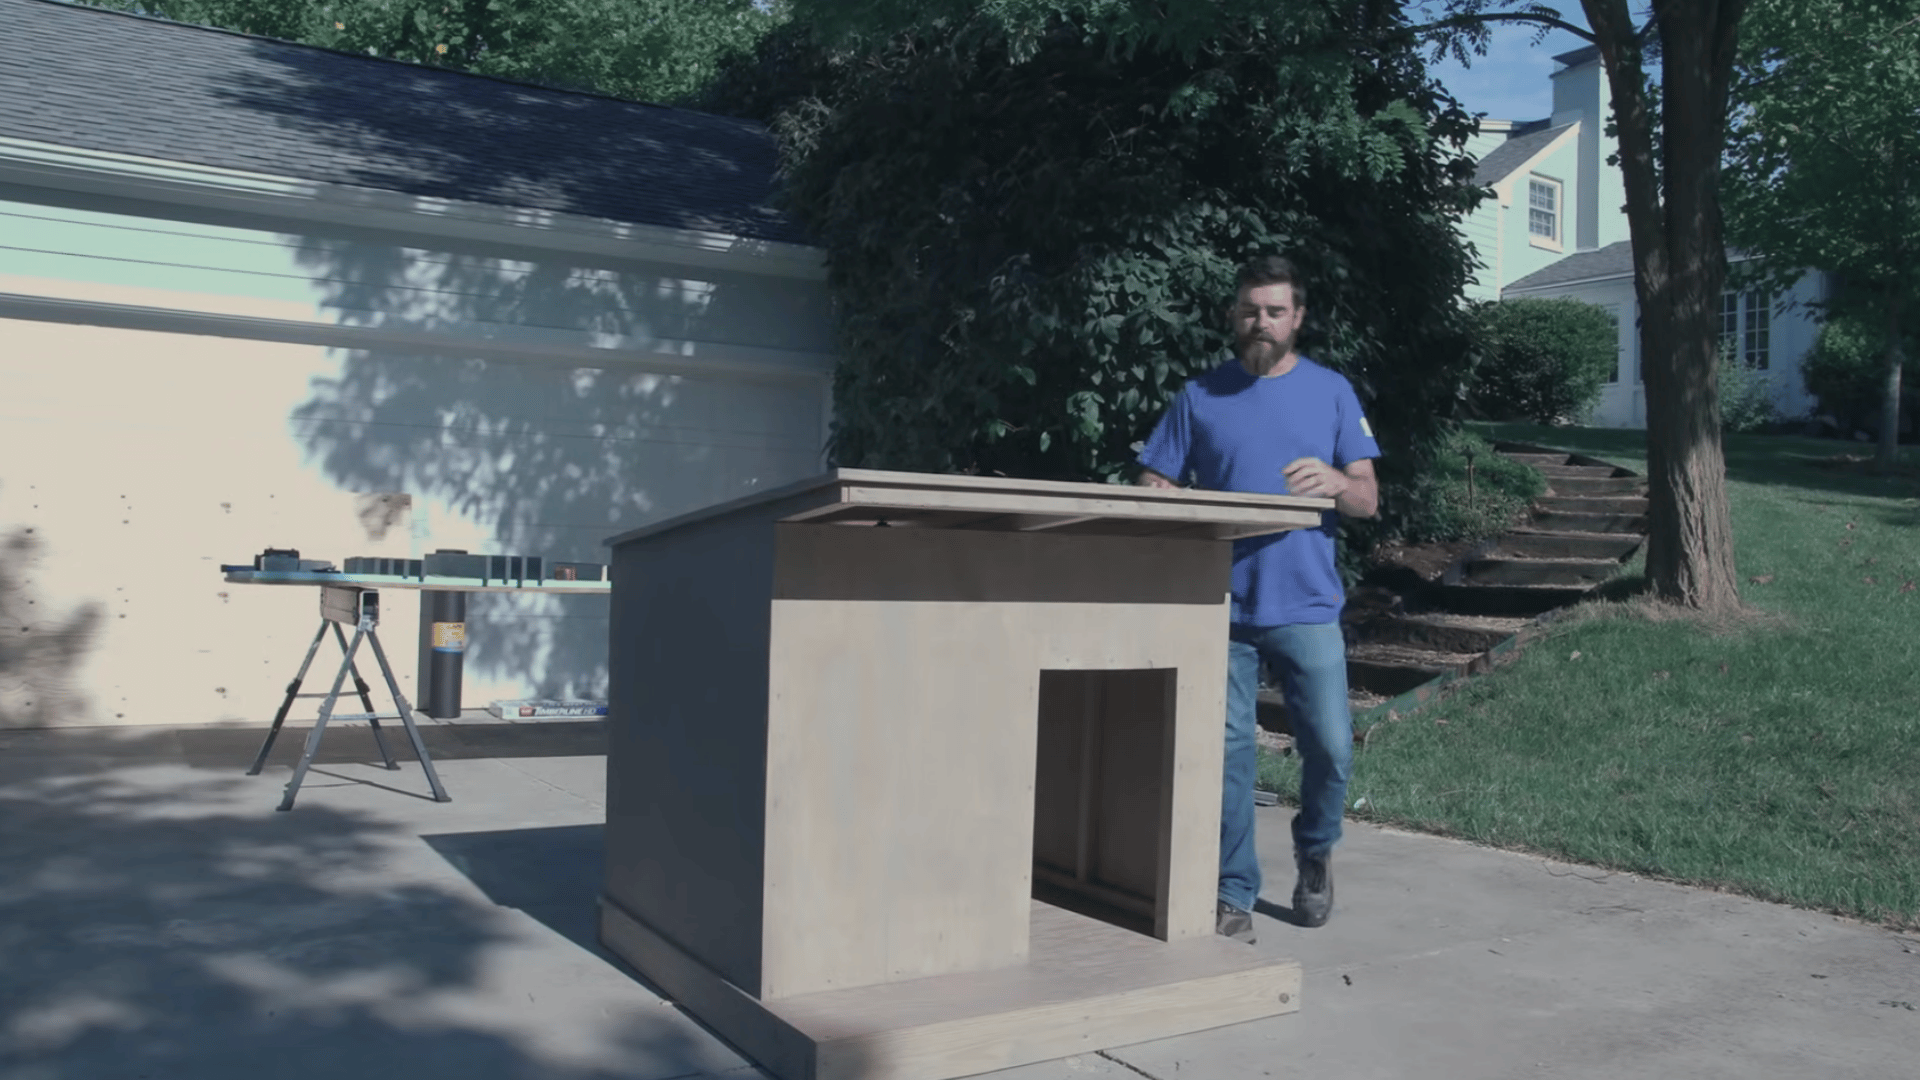
Step 5: Install Plywood Walls and Floor Panels
Measure each wall section carefully and cut plywood panels to fit. Attach the panels to the framing using exterior-grade screws, ensuring the edges align neatly with the structure.
For a cleaner appearance, keep the wood grain running in the same direction on all visible sides. Cut out the doorway opening after securing the front panel.
These plywood sections provide durability, weather protection, and additional structural support for the entire dog house.
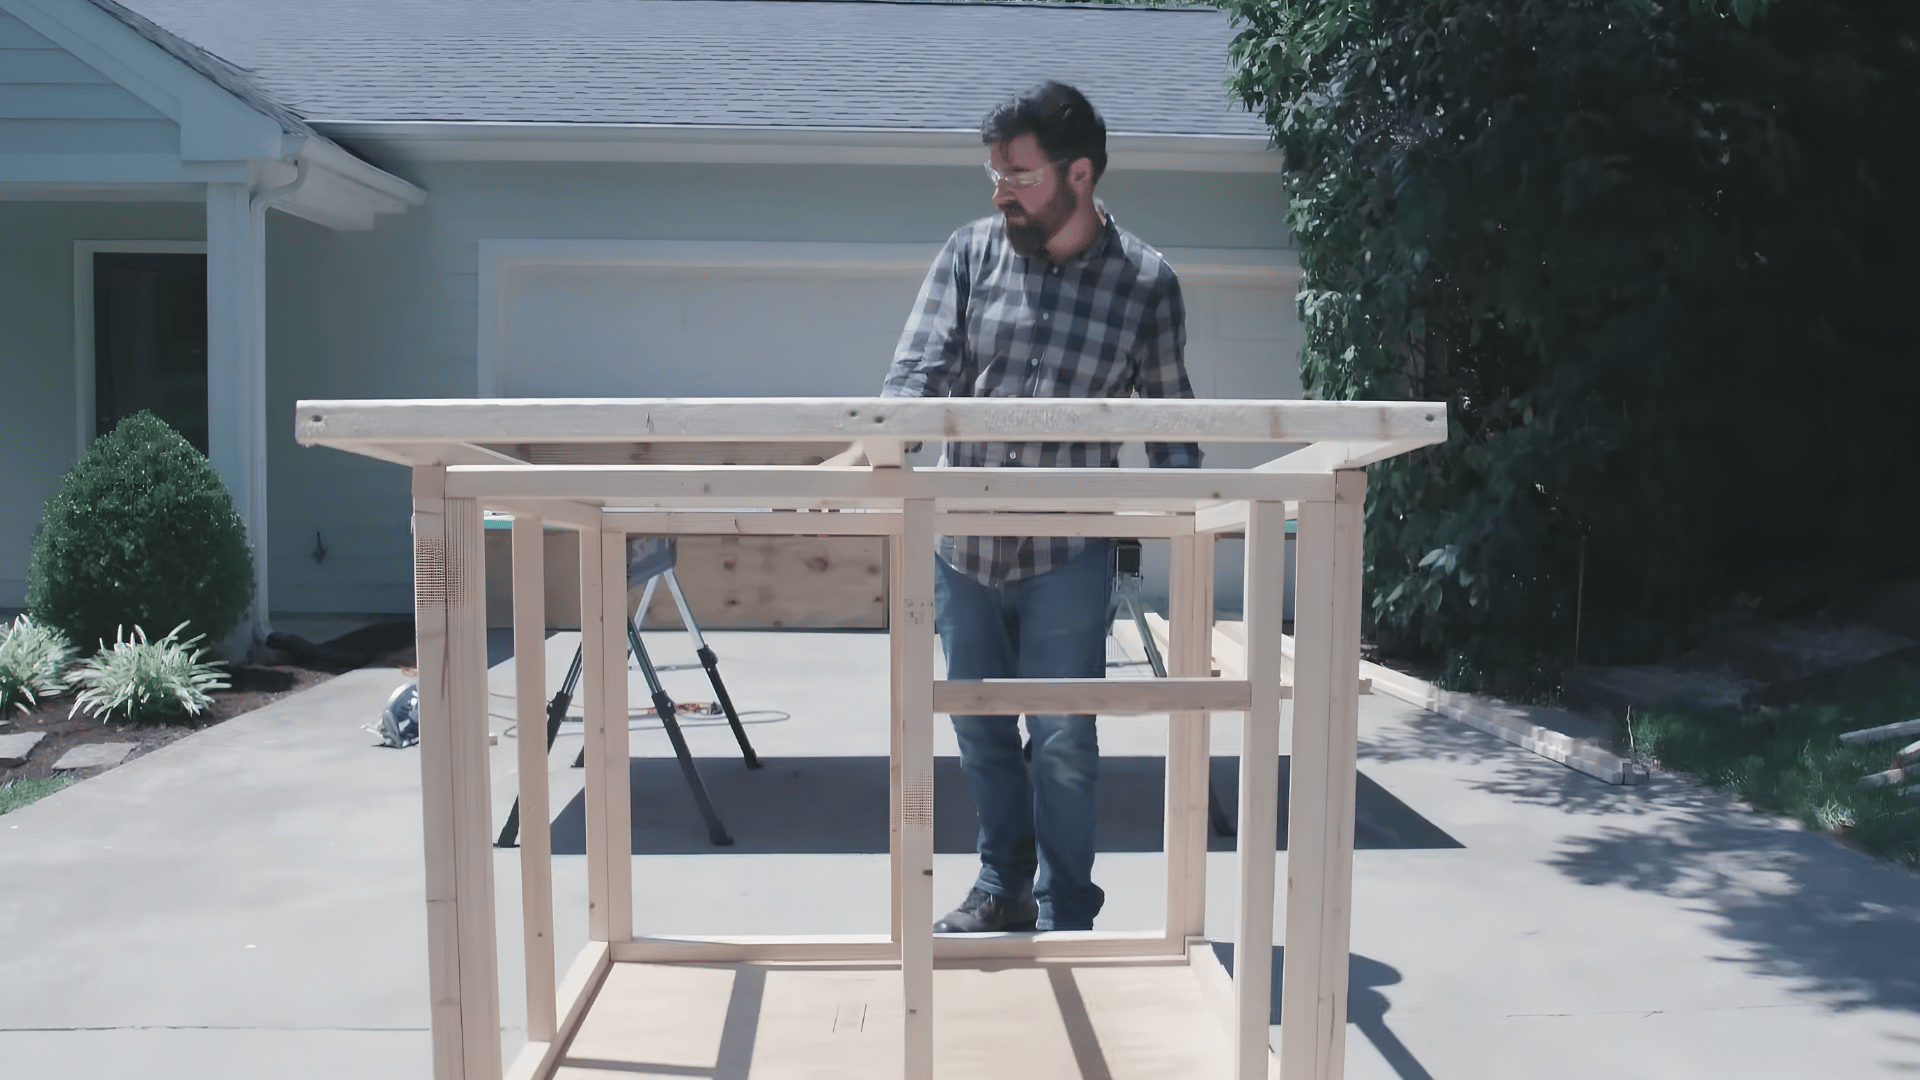
Step 6: Build and Attach the Roof Panels
Measure the roof dimensions and cut plywood sheets accordingly. Allow a slight overhang on all sides to improve rain runoff and provide extra protection for the walls below.
Attach the roof panels securely to the roof frame using screws spaced evenly along the edges.
The overhang also creates room for trim and drip-edge installation later. A properly fitted roof is essential for protecting the interior from rain, sunlight, and other outdoor elements.
Step 7: Add Roofing Felt and Shingles
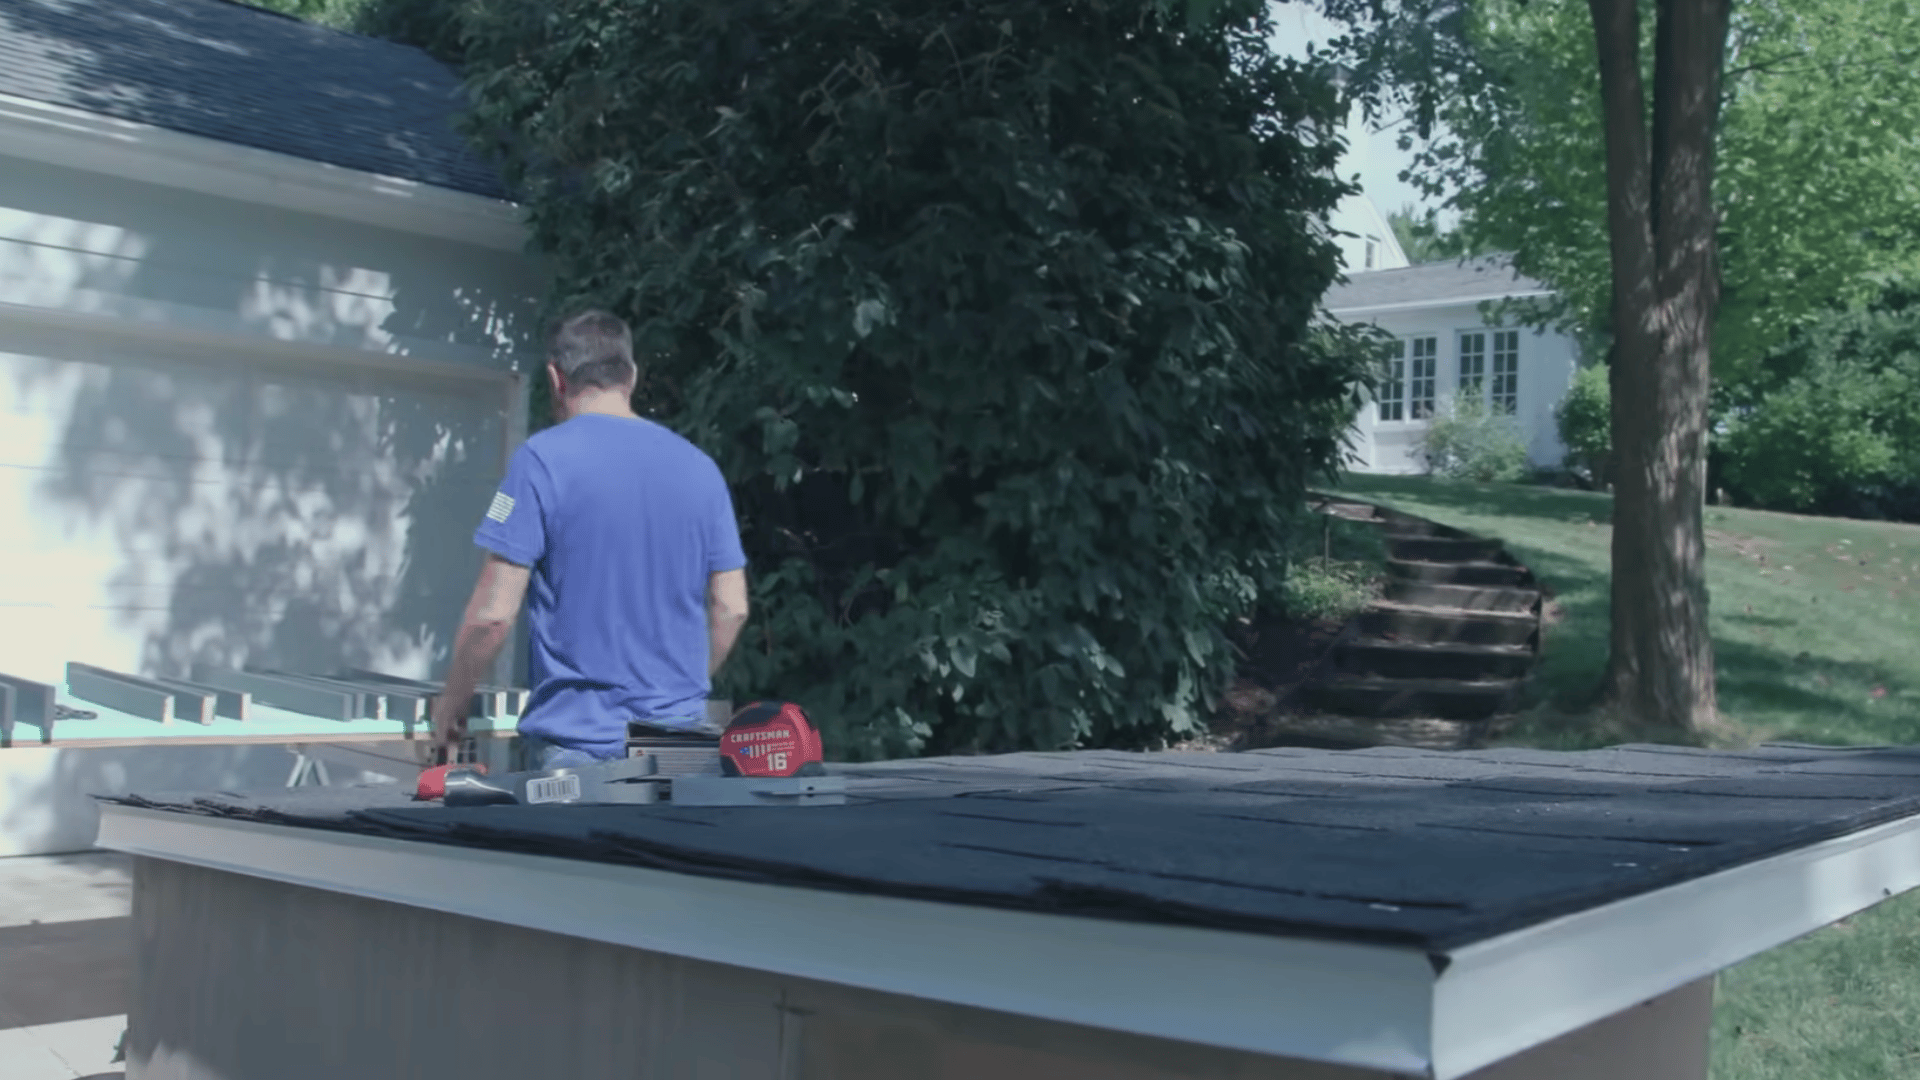
Cover the plywood roof with roofing felt to create a moisture barrier. Secure the felt carefully, keeping it smooth and wrinkle-free.
Next, install shingles from the bottom edge upward, overlapping each row according to the manufacturer’s instructions.
Add drip edge flashing around the roof perimeter to direct water away from the structure.
This roofing system significantly improves durability and helps protect the dog house from leaks, extending its lifespan in various weather conditions.
Step 8: Install Trim and Apply Exterior Finish
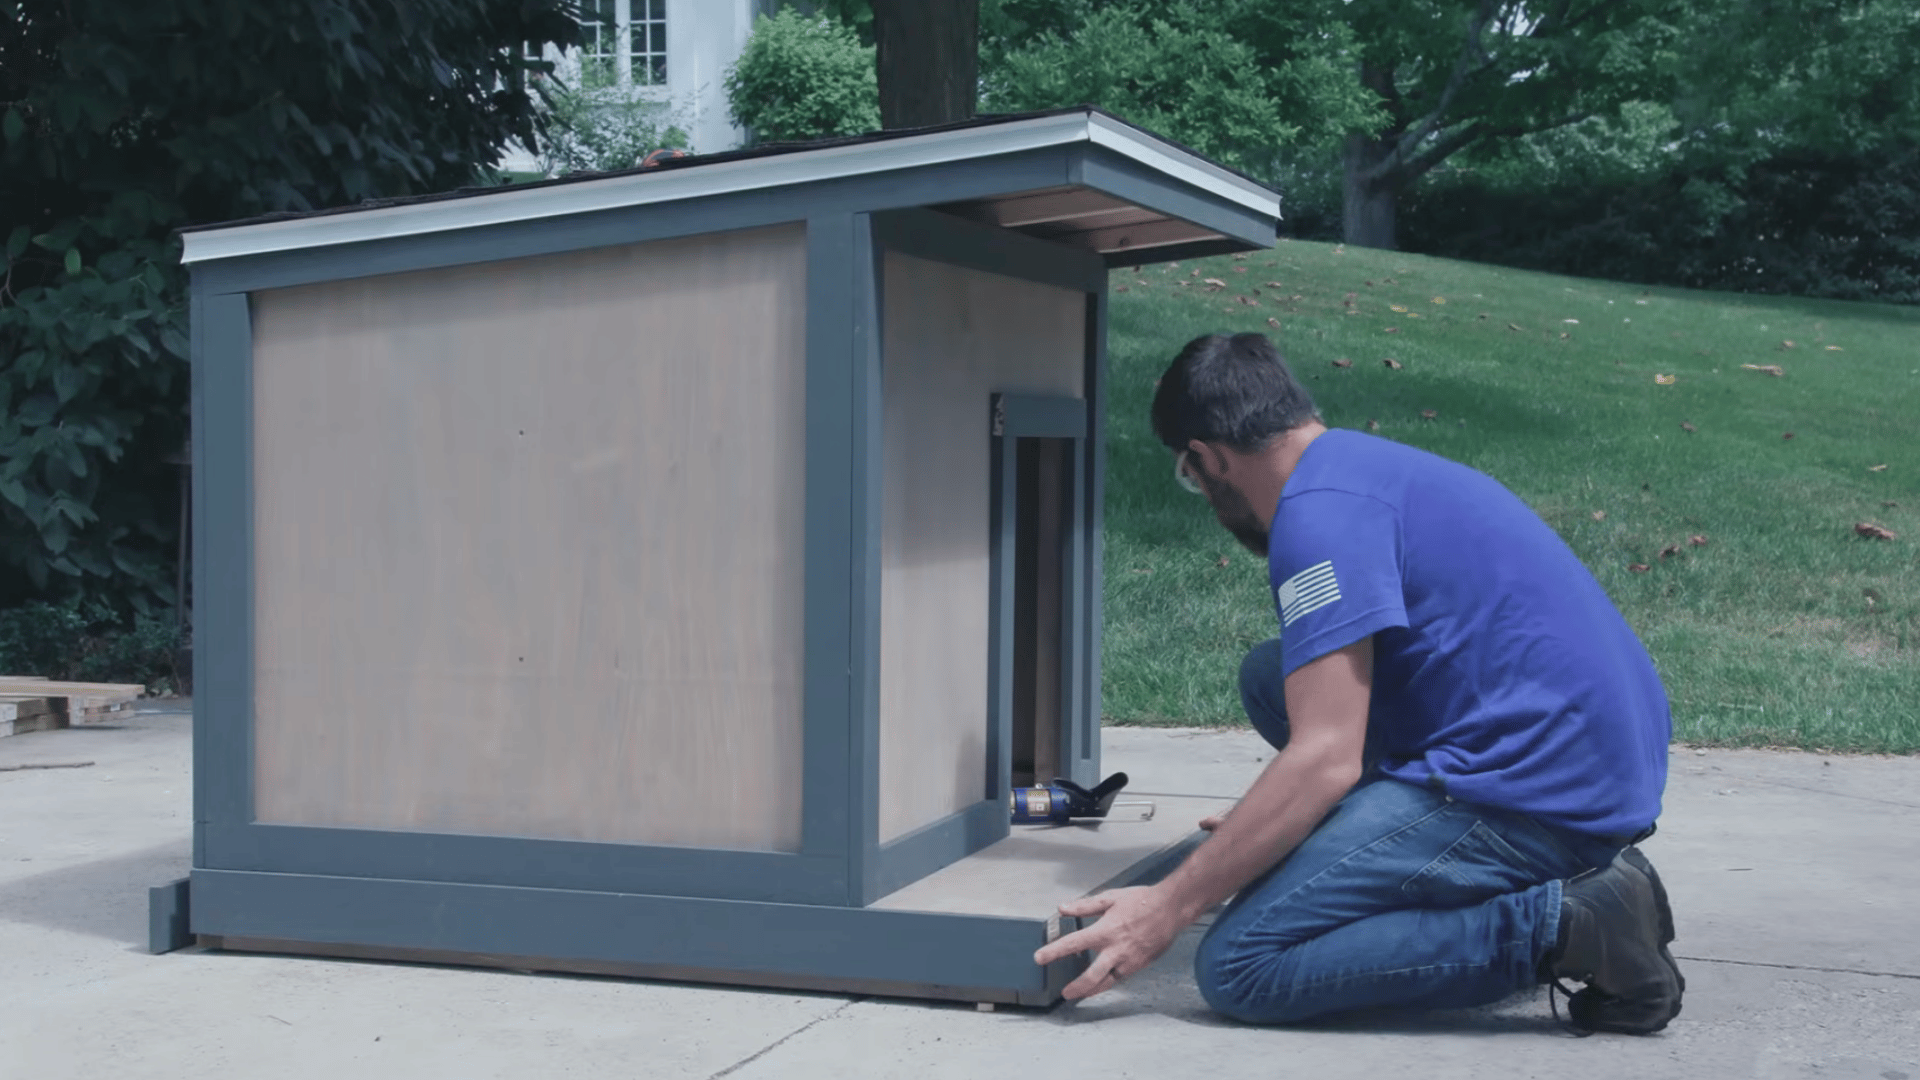
Attach trim boards around corners, roof edges, and door openings to improve appearance and seal exposed plywood edges.
Use construction adhesive and finish nails for a secure fit. After installation, sand rough surfaces and apply an exterior-grade stain or paint.
This finishing layer protects the wood from moisture, UV exposure, and everyday wear.
Choose colors that complement your outdoor space while ensuring the dog house remains attractive and weather-resistant for years.
Step 9: Add Optional Upgrades and Comfort Features
Enhance your DIY dog house with additional features to improve comfort and functionality. Consider installing a hinged side panel for ventilation and shade, or build a removable ramp for easier roof access.
Some owners add artificial turf on the roof to create a lounging area for their pets.
You can also include insulated walls, elevated flooring, or a washable bedding area. These upgrades make the dog house more practical and enjoyable for your furry companion.
This tutorial is based on a helpful video by Lowe’s Home Improvement. You can check out the original video below for a more detailed visual guide:
How to Choose the Right Dog House Size?
The right size helps your dog stay comfortable throughout the year. A well-sized shelter also makes it easier for your dog to rest, turn around, and stay warm.
- Measure Your Dog: Measure your dog’s height, length, and width while standing to determine the minimum space needed inside the house.
- Allow Room to Turn Around: The interior should provide enough space for your dog to stand, sit, lie down, and turn comfortably.
- Match the Door Opening: The doorway should be slightly taller and wider than your dog’s body to allow easy entry and exit.
- Avoid Oversized Dog Houses: A house that is too large can be harder to keep warm during cold weather and may feel less secure.
- Consider Future Growth: If you have a puppy, choose a size based on its expected adult dimensions rather than its current size.
- Add Space for Bedding: Leave extra room for a dog bed, blanket, or insulation materials without making the shelter cramped.
- Check Breed Recommendations: Many dog house plans include suggested dimensions based on breed size, making it easier to choose the right fit.
Recommended Dog House Dimensions by Dog Size
Selecting dimensions that match your dog’s size helps create a comfortable, secure shelter while improving temperature regulation and overall usability.
| Dog Size | Example Breeds | Recommended Interior Size | Suggested Door Opening |
|---|---|---|---|
| Small | Beagle, French Bulldog, Dachshund | 24″ L × 24″ W × 25″ H | 10″ W × 14″ H |
| Medium | Border Collie, Cocker Spaniel | 30″ L × 30″ W × 32″ H | 12″ W × 18″ H |
| Large | Labrador Retriever, Golden Retriever | 36″ L × 36″ W × 38″ H | 14″ W × 22″ H |
| Extra Large | German Shepherd, Great Dane | 42″ L × 42″ W × 44″ H | 16″ W × 26″ H |
How to Weatherproof and Insulate a Dog House?
Weatherproofing and insulation help keep your dog comfortable in every season. Use a waterproof roof, weather-resistant paint, and sealed gaps to protect the dog house from rain and moisture.
Raising the dog house slightly off the ground also helps prevent water from entering and damaging the floor.
For insulation, rigid foam boards, insulated panels, or reflective insulation work well, depending on the climate.
Foam insulation keeps the house warm in winter, while reflective materials help reduce heat in summer. Proper ventilation improves comfort year-round.
Small vents near the roof or on opposite walls improve airflow, reduce moisture, and keep the air fresh without creating strong drafts. This combination keeps the interior dry, comfortable, and protected in all weather conditions.
DIY Dog House Design and Upgrade Ideas

Upgrading a basic dog house with thoughtful design features can improve comfort, functionality, and visual appeal. These creative ideas can transform a simple shelter into a cozy and attractive space your dog will enjoy year-round.
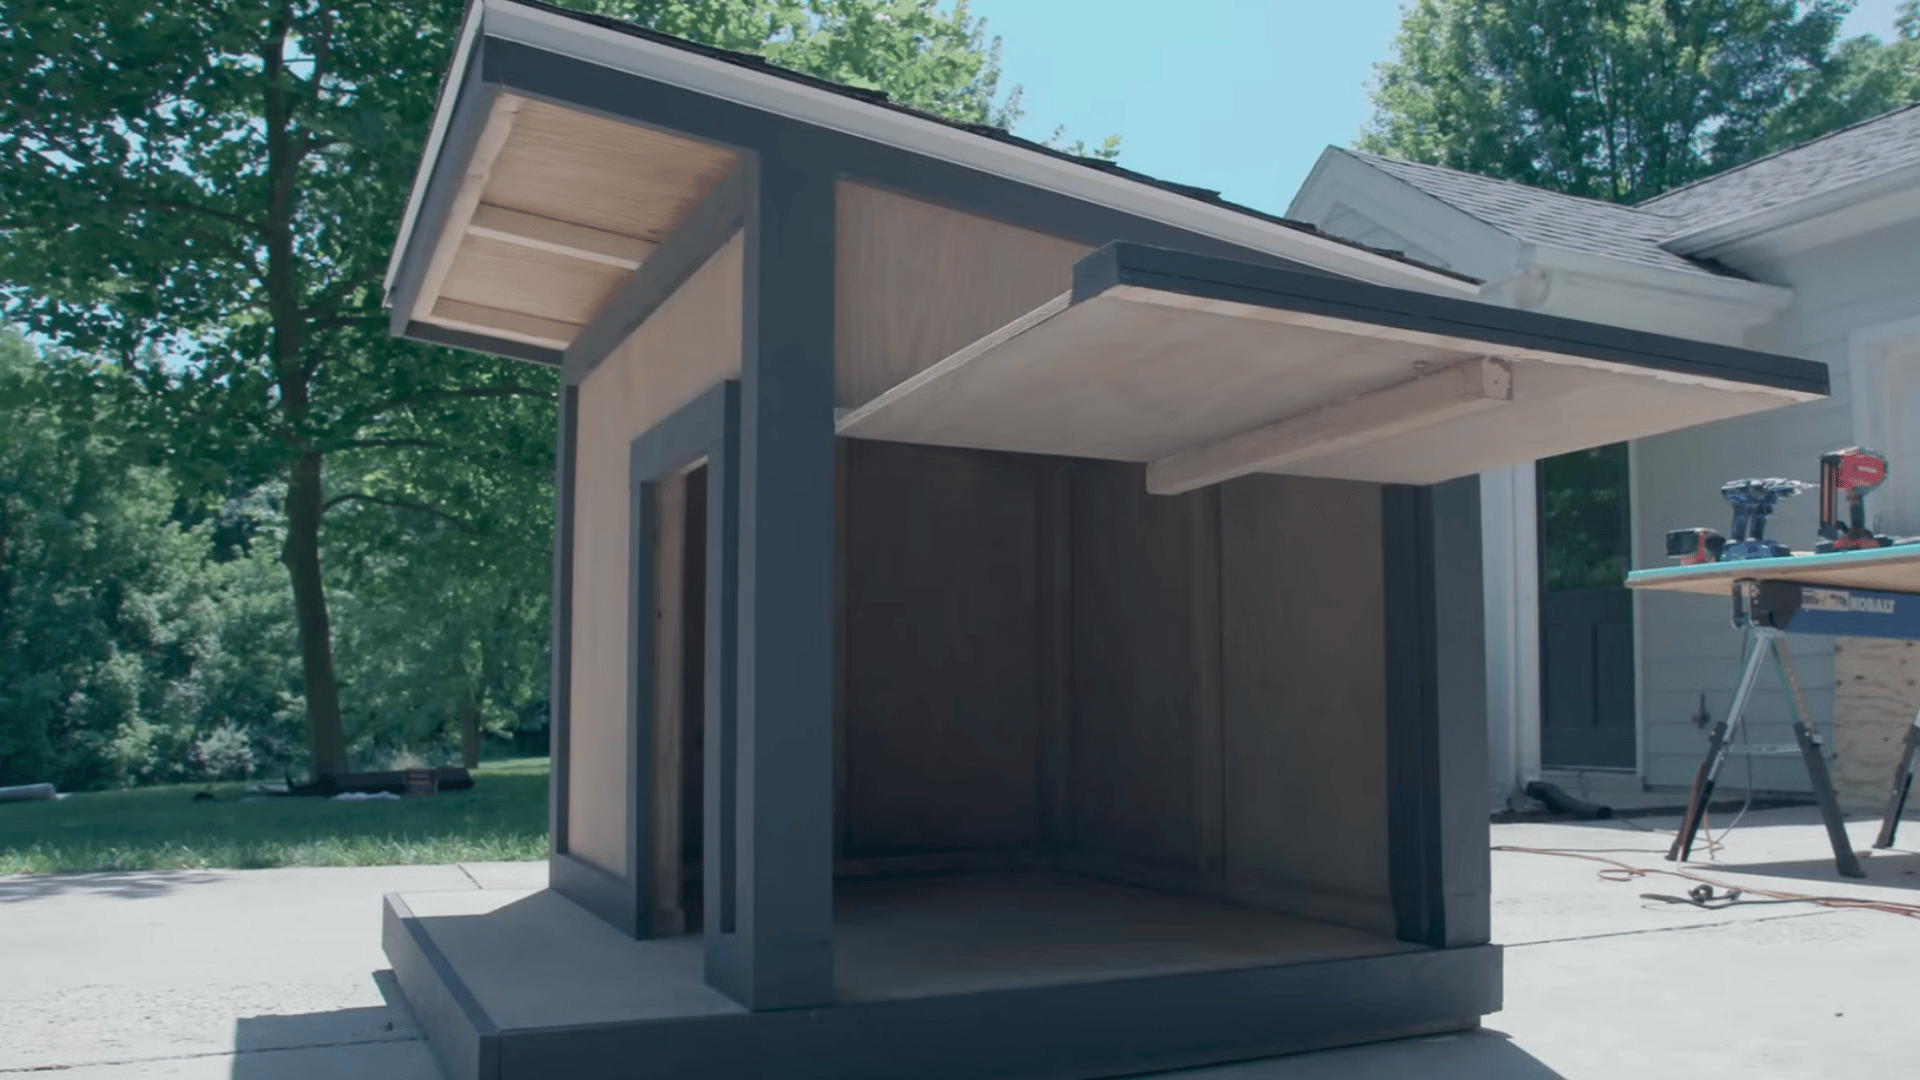
1. Modern Dog House Design
A modern dog house combines clean lines, durable materials, and practical features to create a stylish outdoor retreat.
Popular designs include sloped roofs, neutral color palettes, and weather-resistant wood or composite materials.
Large door openings provide easy access, while minimalist construction helps the dog house blend seamlessly with outdoor décor.
Adding insulated walls and a removable roof can further improve comfort and maintenance.
This design approach balances aesthetics with functionality, making it suitable for both small and large backyards.
2. Hinged Side Door for Ventilation
A hinged side door is a practical upgrade that improves airflow and simplifies cleaning. When opened, the door allows fresh air to circulate throughout the dog house, helping reduce heat, moisture, and odors during warmer months.
It also provides convenient access for replacing bedding, inspecting the interior, or performing routine maintenance.
Choose sturdy hinges and secure latches to ensure safety and durability. This simple addition can make the dog house more comfortable while making upkeep much easier for pet owners.
3. Rooftop Lounge Area with Artificial Grass
Transforming the roof into a lounge area adds both function and fun to a dog house.
A flat or gently sloped roof covered with artificial grass creates a comfortable spot where dogs can relax, sunbathe, or observe their surroundings.
Artificial turf is durable, easy to clean, and remains attractive throughout the year.
For safety, ensure the roof structure is strong enough to support your dog’s weight and include non-slip surfaces if needed.
This upgrade adds a unique feature that many active and curious dogs enjoy.
4. Raised Flooring and Shade Features
Raised flooring helps protect dogs from damp ground conditions while improving insulation and airflow beneath the structure.
Elevating the floor a few inches can keep the interior drier during rainy weather and cooler during hot seasons.
Pairing this feature with built-in shade elements, such as extended roof overhangs, side awnings, or nearby shade panels, provides additional protection from direct sunlight.
Together, raised flooring and shade features create a more comfortable environment and help regulate temperature throughout the day.
Common DIY Dog House Mistakes to Avoid
Even a well-built dog house can become uncomfortable or unhygienic if important design details are overlooked.
- Choosing the Wrong Size: A dog house that is too small restricts movement, while one that is too large may not provide adequate warmth. Incorrect sizing can also make cleaning and sanitation more difficult.
- Poor Roof Drainage: Inadequate roof drainage can lead to water leaks, damp bedding, mold growth, and structural damage, creating unsanitary conditions inside the shelter.
- Lack of Ventilation: Poor airflow can trap heat, moisture, and odors, increasing the risk of mold, bacteria, and an unhealthy environment for your dog.
- Using Unsafe or Untreated Materials: Toxic, rough, or moisture-absorbing materials can cause injuries, harbor germs, and deteriorate quickly, reducing both safety and cleanliness.
- Lack of Sanitation: Failing to clean the dog house regularly can lead to the buildup of dirt, bacteria, parasites, and unpleasant odors.
- Skipping Pilot Holes: Driving screws without pre-drilled pilot holes, especially near board edges or into end grain, splits the wood and weakens the joints.
- No Interior Liner Over Insulation: Foam insulation exposed on the interior walls is a chewing hazard. Always cover insulation with a thin plywood liner before your dog uses the house
Conclusion
Building a DIY dog house is a rewarding project that allows you to create a safe, comfortable, and personalized shelter for your pet.
By choosing the right design, incorporating proper insulation and ventilation, and maintaining good sanitation practices, you can provide a space that supports your dog’s well-being throughout the year.
I believe a well-designed dog house gives your dog a safe and comfortable place to rest.
With careful planning and regular maintenance, your DIY dog house can remain a clean, functional, and inviting retreat for many years.
Frequently Asked Questions
What Is the Best Wood for a DIY Dog House?
Cedar is widely considered the best wood for a DIY dog house because it is naturally resistant to rot, insects, and moisture while providing long-lasting durability outdoors.
How Long Does a Wooden Dog House Last?
A well-built wooden dog house can last 10 to 20 years with proper maintenance, weatherproofing, routine cleaning, and protection from excessive moisture exposure.
Is a Raised Dog House Better?
Yes, a raised dog house improves airflow, reduces moisture buildup, enhances insulation, and helps maintain cleaner, more sanitary conditions throughout the year.
Is It Cheaper to Build or Buy a Dog House?
Building a dog house is often more cost-effective when basic materials and tools are available, while also allowing greater customization and quality control.
How Cold Is Too Cold for a Dog House?
Temperatures below 45°F (7°C) may become uncomfortable for some dogs, while temperatures below 32°F (0°C) typically require insulation and additional cold-weather protection.