
Building a retaining wall might seem daunting, but it’s a project that anyone can tackle with patience and the right approach.
A properly constructed wall does more than hold soil; it transforms a slope, prevents erosion, and adds structure to your outdoor space.
I’ll walk you through what you truly need to know, from choosing the right blocks to managing drainage, and share practical tips that make installation smoother.
Along the way, you’ll learn how small details affect long-term stability and how to avoid mistakes that can compromise your wall. Let’s start by understanding the essentials behind a strong, durable retaining wall.
What Triggers the Need for a Retaining Wall
A retaining wall isn’t just a decorative feature. Its main purpose is to control soil movement, manage water, and make sloped areas usable.
On hillsides or uneven terrain, walls prevent soil from sliding downhill, especially during heavy rain, which can damage plants, pathways, or structures. They also create flat, stable spaces for gardens, patios, or walkways, turning otherwise difficult terrain into functional areas.
Many homeowners assume retaining walls are only for looks, but poor planning or shallow construction can lead to collapse, erosion, or costly repairs over time.
Understanding the reasons for building a wall before starting makes sure it addresses the actual problem, supports the landscape, and lasts for years without unexpected issues.
Properly designed walls balance structural stability with practical use, making them essential in any sloped yard or area prone to erosion.
How to Build a Retaining Wall: Step-By-Step Guide
Building a retaining wall at home is a step-by-step process. Each step ensures stability, proper drainage, and a wall that lasts for years.
Tools and Materials You’ll Need
Before you start, gather the essential tools and materials. Each plays a key role in stability, alignment, or drainage, so skipping any of them can lead to problems later.
- Retaining wall blocks and concrete adhesive: Blocks provide structure; adhesive secures caps and corners.
- Crushed gravel or paver base with landscape fabric creates a level foundation and keeps soil from clogging drainage.
- Perforated 4-inch drain pipe: Directs water away to reduce pressure behind the wall.
- Level and string line: Ensure your wall and base are perfectly level and aligned.
- Tamper or mechanical plate compactor: Compresses gravel to prevent settling over time.
- Shovel and rubber mallet: Dig trenches, adjust block placement, and protect blocks while aligning.
Step 1: Plan and Mark Your Wall
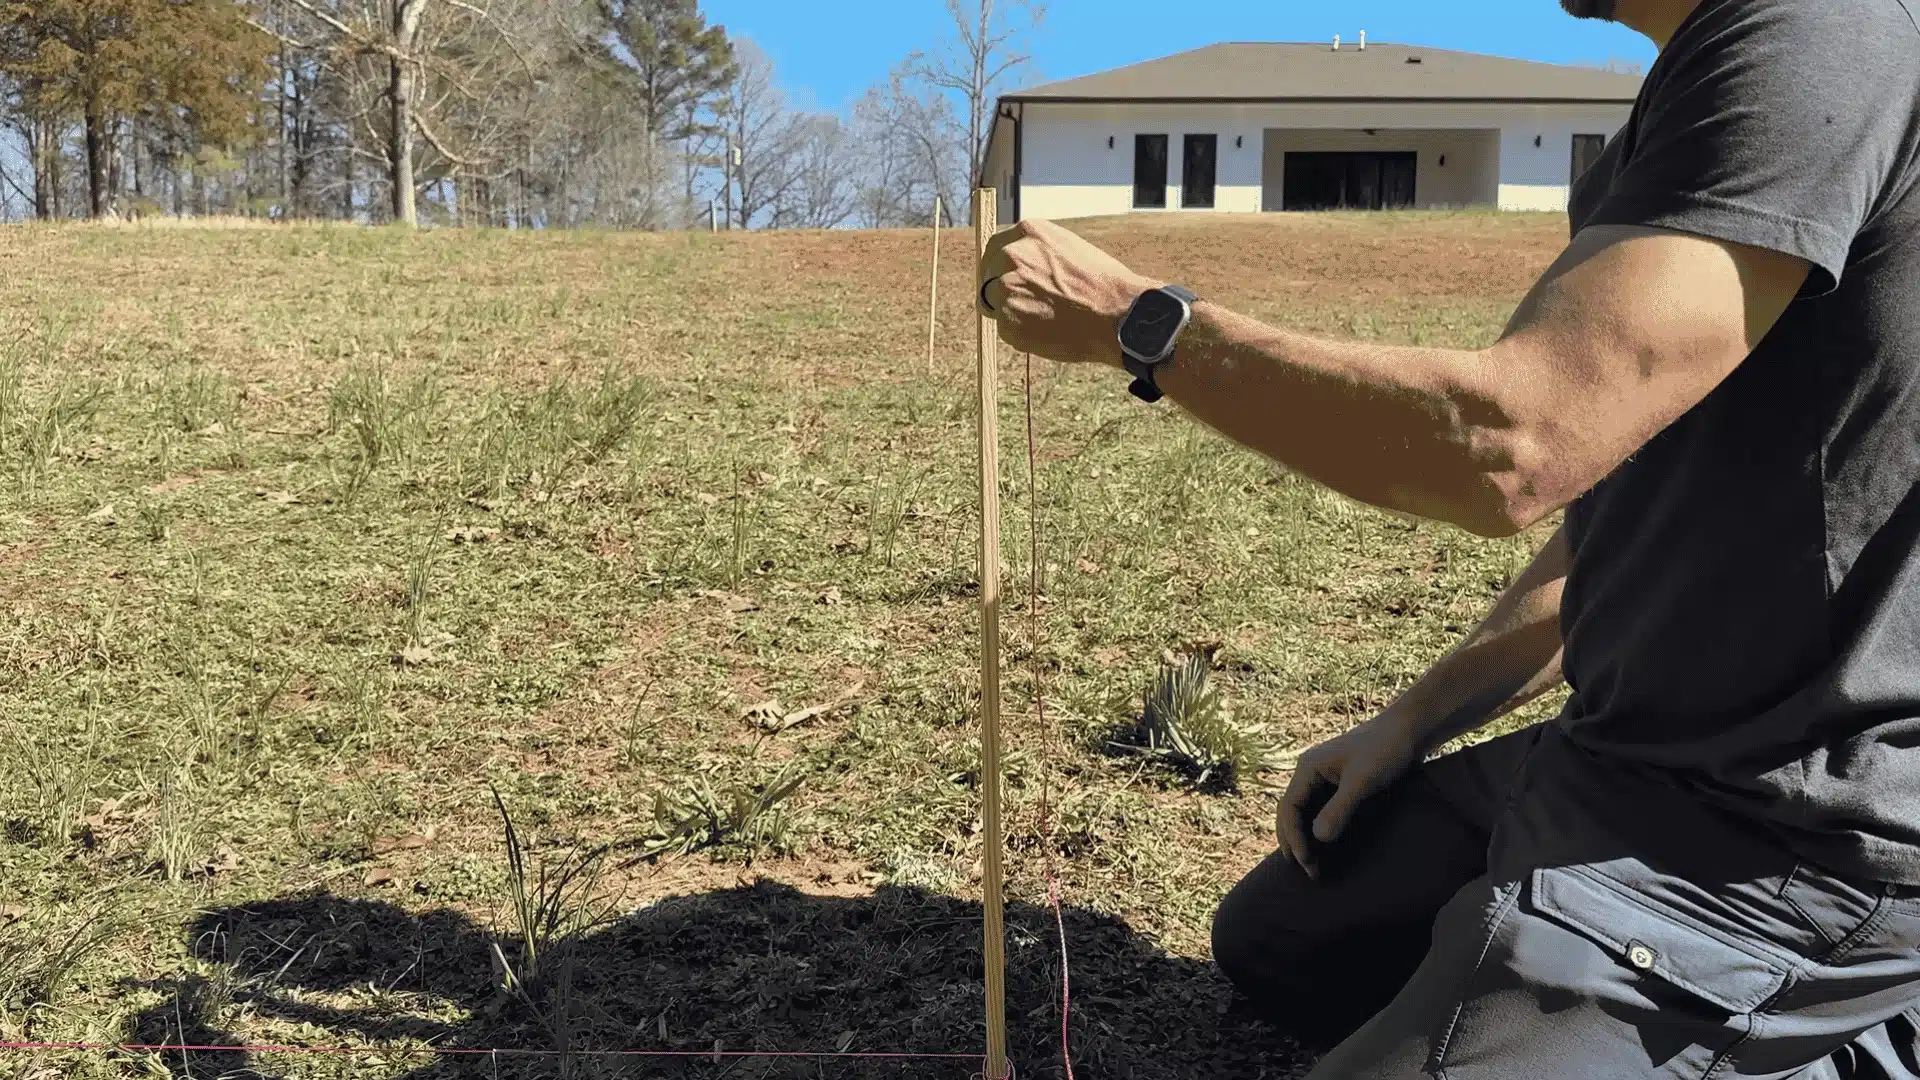
Start by staking out the corners of your wall and connecting them with string. Use a line level to check height across the area.
Note the lowest and highest points to determine how tall each section will be. Measure carefully to account for offsets from property lines. Good planning now saves hours of adjustment later.
Step 2: Dig the Trench
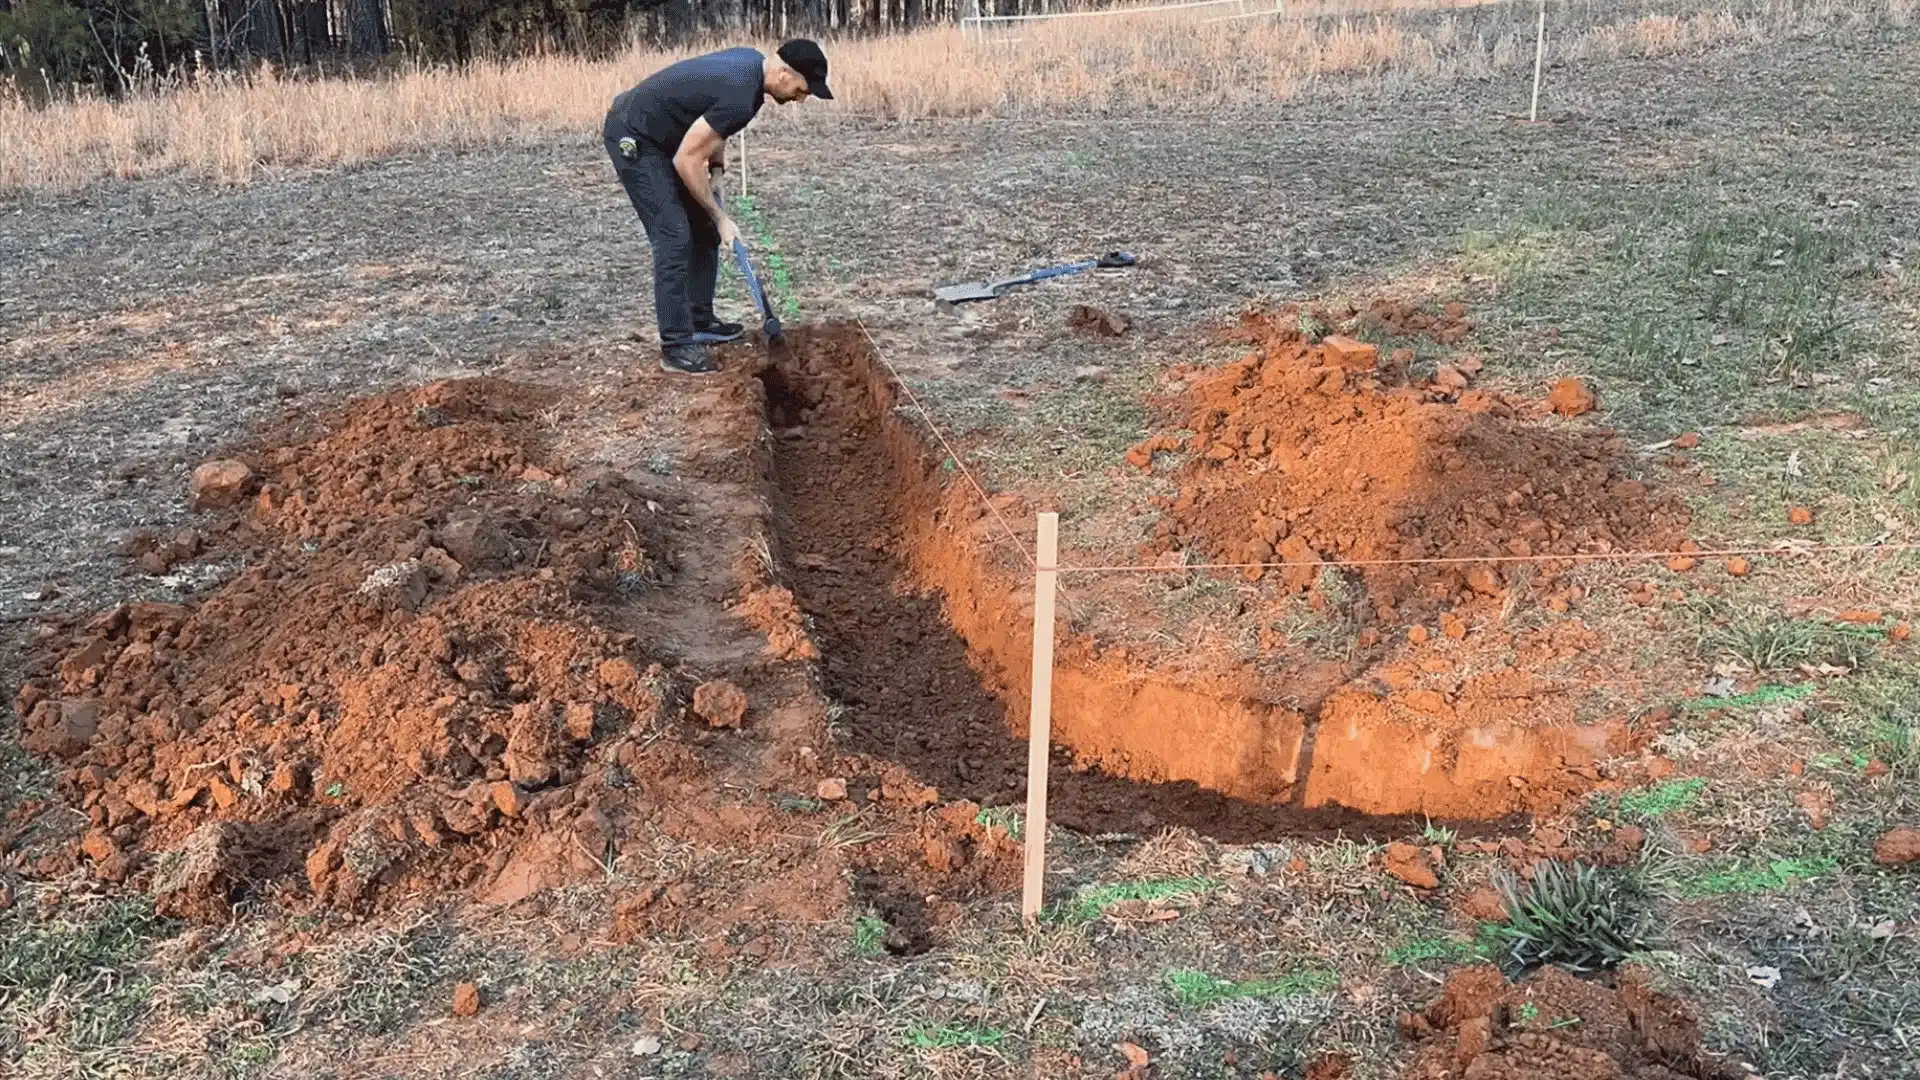
Use a flat-bottomed shovel to dig the trench to solid ground below the topsoil. Make the bottom level and remove any rocks or roots.
The trench should be wide enough for your blocks and drainage pipe. Keep the sides straight for easier block placement. A clean, level trench is the backbone of your wall.
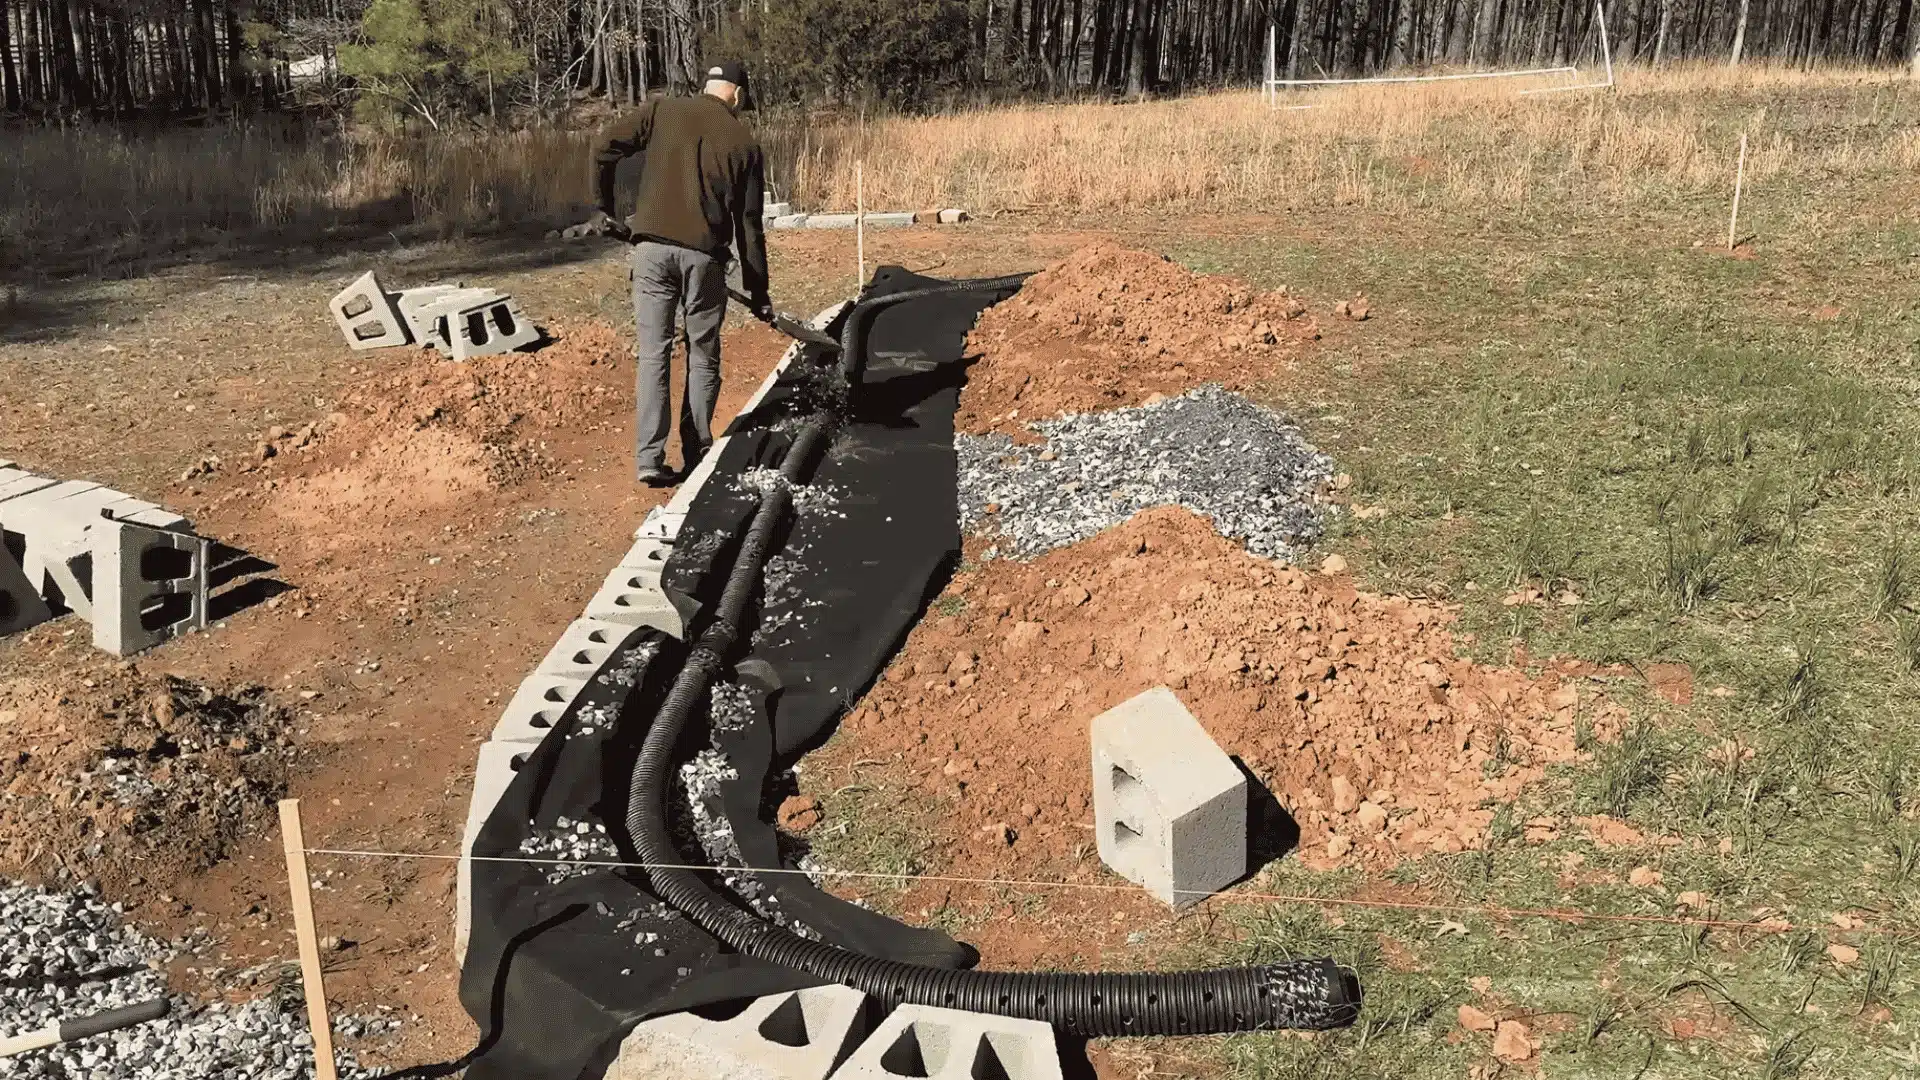
Step 3: Lay Geotextile and Drainage
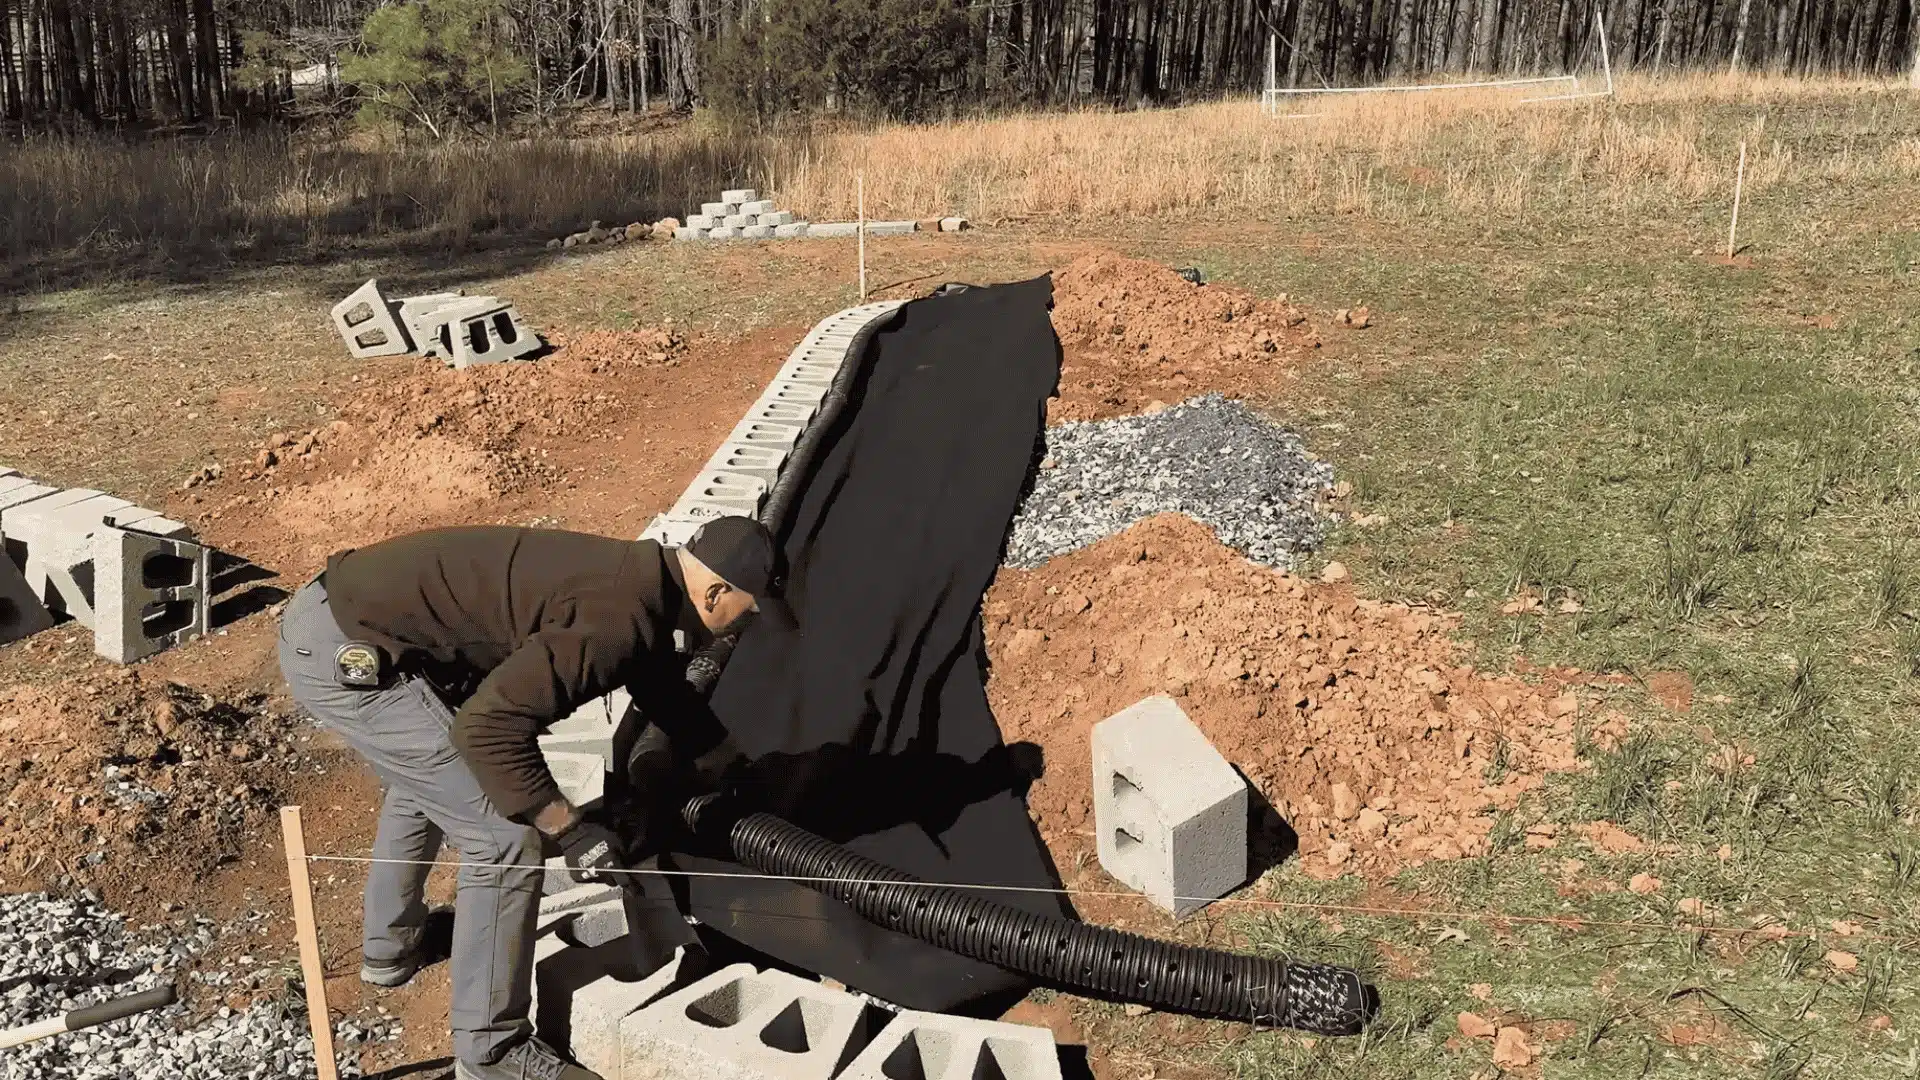
Line the trench with thick landscape fabric to separate soil from gravel. Install a perforated weeping pipe behind the wall and cover it with 3/4-inch gravel.
Make sure the fabric wraps around the pipe to filter dirt. Position the pipe so water flows to your drainage outlet. This step prevents frost, erosion, and wall movement over time.
Step 4: Add and Level the Gravel Base
Pour crushed stone mixed with fines into the trench to create a base. Compact it using a hand tamper or plate compactor. Check it with a long level front-to-back and side-to-side.
Fill low spots until the surface is perfectly flat. A level base ensures every block above sits square and secure.
Step 5: Lay the First and Additional Courses
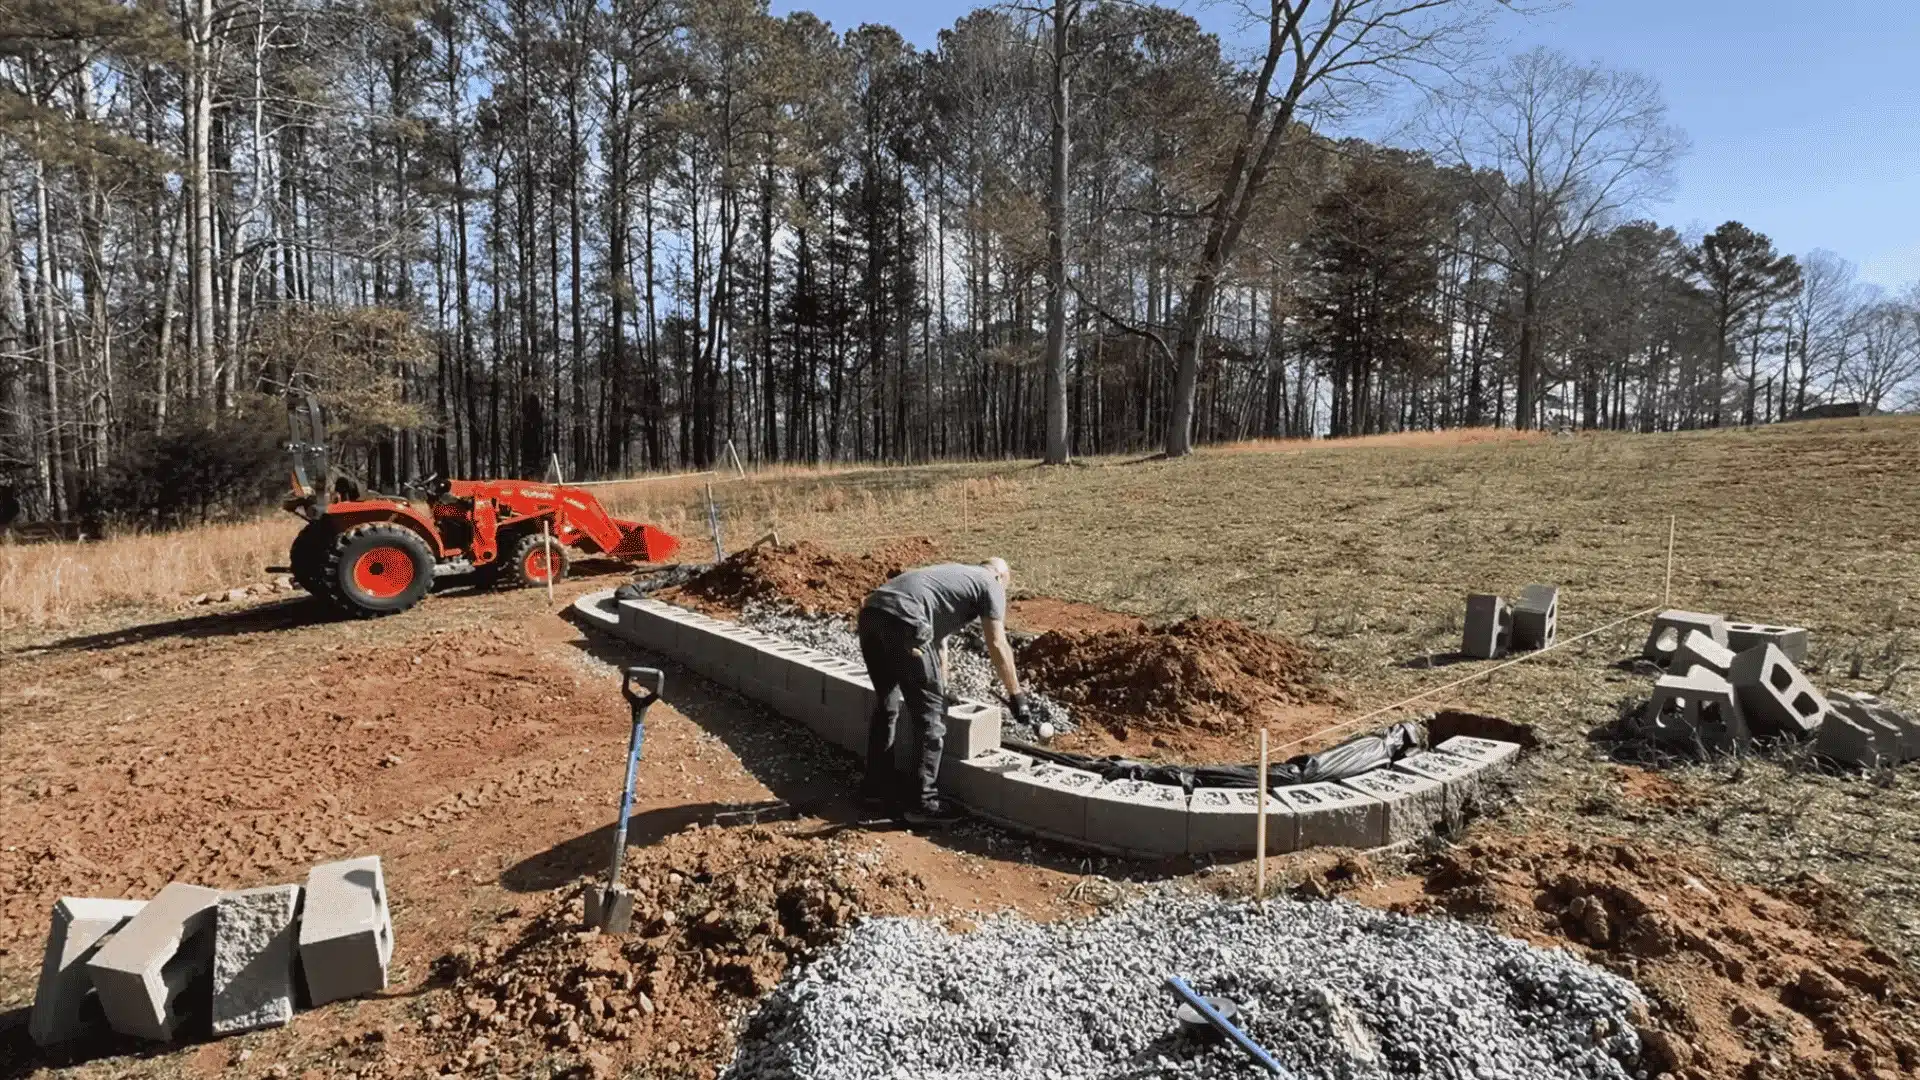
Place the first row of blocks carefully, tapping each into place with a rubber mallet. Fill behind the blocks with gravel as you go. Stack additional rows, staggering seams and applying adhesive between layers.
Step each course slightly back to correct minor alignment errors. Always double-check your level to keep the wall straight.
Step 6: Finish Corners, Caps, and Backfill

Cut corner blocks to fit tight joints and use adhesive for top caps. Backfill behind the wall with gravel, compacting in layers. Make sure water can flow away freely from the wall.
Check your level regularly so the wall stays straight and stable. Add topsoil or decorative gravel for a clean, finished look.
For a deeper look at the whole thing, check out the video tutorial below:
Common Mistakes to Avoid
Even small errors can shorten the life of your retaining wall. Watch for these mistakes to save time, money, and frustration.
- Rushing the Foundation: Skipping careful leveling or compacting leads to crooked walls and uneven gaps. Take time to prepare a solid, level base.
- Ignoring Drainage: Skipping the pipes, gravel, or fabric allows water to build up behind the wall, leading to frost damage and shifting.
- Using Wrong Blocks: Lightweight or decorative blocks cannot hold soil weight and may crack, tip, or fail over time.
- Skipping Compaction and Layering: Not compacting backfill in layers creates settling, uneven pressure, and weak spots behind the wall.
Following these tips helps keep your wall stable and prevents common problems. A little care now saves big repairs later.
Wrapping Up
Creating a DIY retaining wall blends careful planning with hands-on effort. From selecting heavy, interlocking blocks to ensuring proper drainage and compacted backfill, every choice shapes stability and longevity.
Paying attention to corners, staggering seams, and maintaining level courses prevents costly setbacks. Even small errors can create big problems, so a steady, methodical approach is key.
With these techniques, your wall will hold soil securely, manage water efficiently, and enhance your outdoor space for years to come.
Frequently Asked Questions
How deep should I dig for a DIY retaining wall?
Dig past topsoil to reach firm ground, usually 4–6 inches deeper than your block height. This ensures a stable foundation and prevents settling or leaning over time.
Do I need drainage behind my wall?
Yes, a perforated pipe with gravel and fabric is essential. It prevents water buildup, frost damage, and soil pressure that could shift or collapse the wall.
Can I use decorative landscaping blocks for a retaining wall?
No, lightweight or decorative blocks can’t hold soil weight. Use heavy, interlocking blocks to ensure stability and prevent cracking, tipping, or failure over time.
How do I prevent gaps or uneven layers?
Stagger seams, level each course carefully, and compact backfill in layers. Proper alignment and layering keep the wall straight, strong, and resistant to soil pressure.