

| Difficulty | Beginner |
| Estimated Cost | $15-$40 for tints and a test board |
| Time | 30-45 minutes, plus dry time for testing |
| DIY or Professional | DIY-friendly for furniture, trim, and accent pieces |
| Tools Needed | Base paint, universal tints, mixing stick, scrap board, small containers |
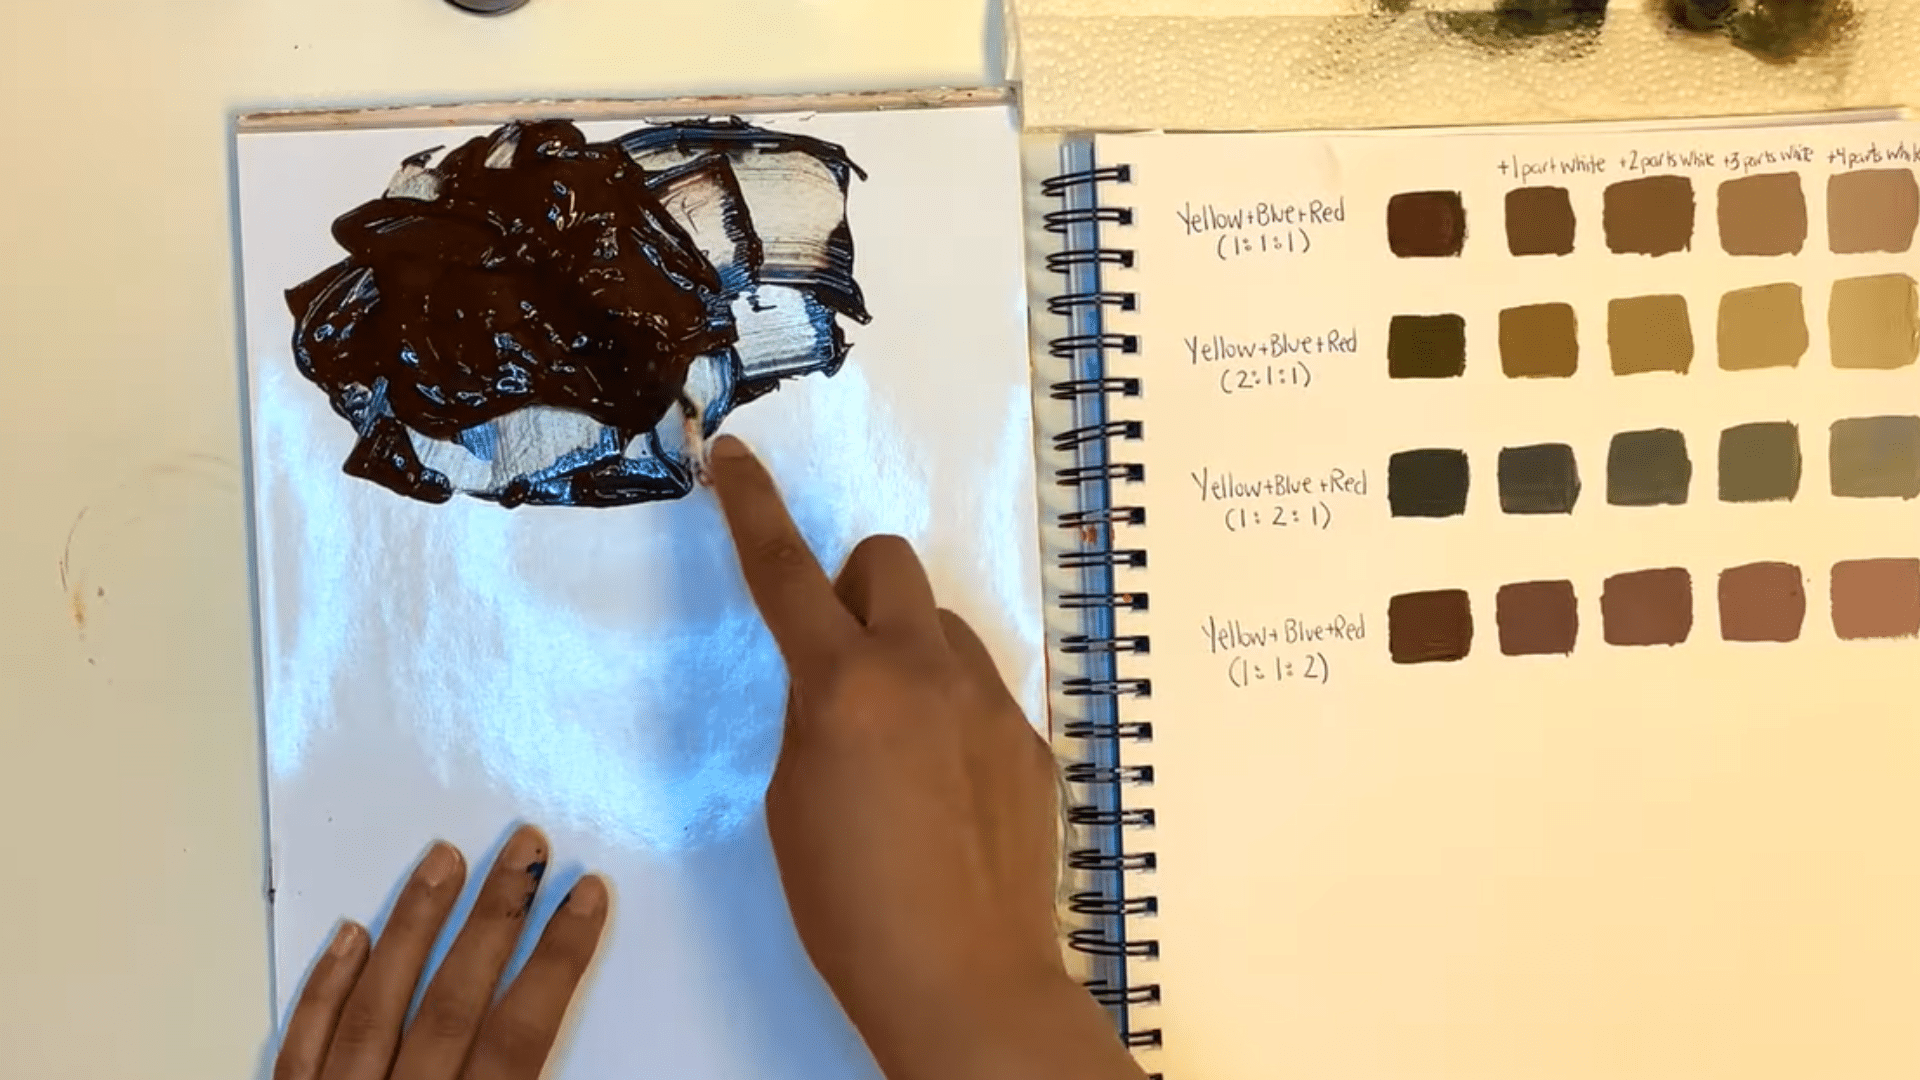
If you want a brown that matches your trim, a piece of furniture, or a decor accent exactly, you mix it yourself by combining a base paint with red, yellow, and blue tint in small ratios, then adjusting warmth or depth from there.
I’ve matched enough banged-up furniture and mismatched trim to know the fastest way to ruin a custom brown is adding too much color at once.
Most of these mixes come up right after properly repainting old furniture, when the base coat is already down, and you just need the right accent tone to finish it off. So we’re going to slow this down and do it in a way that actually holds up once it dries.
| Common Mistake to Avoid: Most DIYers dump red, yellow, and blue into the base paint at the same time and in equal amounts. Wet paint always looks darker and more saturated than the dried, cured color, so a mix that looks perfect on the stir stick often dries muddy or gray. Mix in stages, test a dried swatch, and only add more color once you’ve confirmed the dry shade. |
What Colors Make Brown Paint
Brown comes from combining all three primary colors, or from pairing two colors that sit opposite each other on the color wheel.
Which route you take depends on the base paint you’re starting with and how much control you want over the final tone. This matters just as much when you’re coordinating paint with trim as it does when you’re matching a stained tabletop, since warm and cool undertones behave differently depending on the wood grain you’re working against.
| Brown Shade | Starting Colors | Best For |
| Basic brown | Red, yellow, and blue tint | Matching a general wood tone or trim color |
| Warm brown | Orange tint plus a small amount of blue | Cedar, oak, and honey-toned wood furniture |
| Reddish brown | Red tint plus a small amount of green | Cherry or mahogany furniture pieces |
| Cool brown | Blue tint plus a larger amount of orange | Weathered wood, shadowed trim, and rustic accents |
| Light brown or greige | Brown mix plus white base paint | Taupe walls, cabinets, and light furniture |
Once you know which family of brown you’re after, gathering the right supplies keeps the process from turning into a guessing game halfway through.
What You Need Before You Start Mixing
- Base paint (interior latex, chalk paint, or acrylic craft paint, depending on the surface)
- Universal or manufacturer-approved tints in red, yellow, and blue
- White base paint for lightening
- Mixing stick or a small drill-mounted paddle for larger batches
- Small measuring spoons for consistent ratios
- Scrap wood, cardboard, or a sample board that matches your final surface
- Painter’s tape and a notebook for recording ratios
Universal tints are worth the extra stop at the hardware store. Artist acrylics can work in small doses for water-based paint, but they aren’t formulated to stay stable in a full can, so they’re better saved for accent pieces rather than the kind of surface you’d tackle when prepping exterior trim surfaces for a full repaint.
How to Mix Custom Brown Paint Step by Step
Making brown paint is easier than it looks. You only need a few basic colors and a little patience while mixing different ratios.
By changing the amount of each color, you can create warm browns, dark chocolate shades, soft taupes, and earthy tones for different painting styles.
Step 1: Mix Equal Parts of Red, Yellow, and Blue
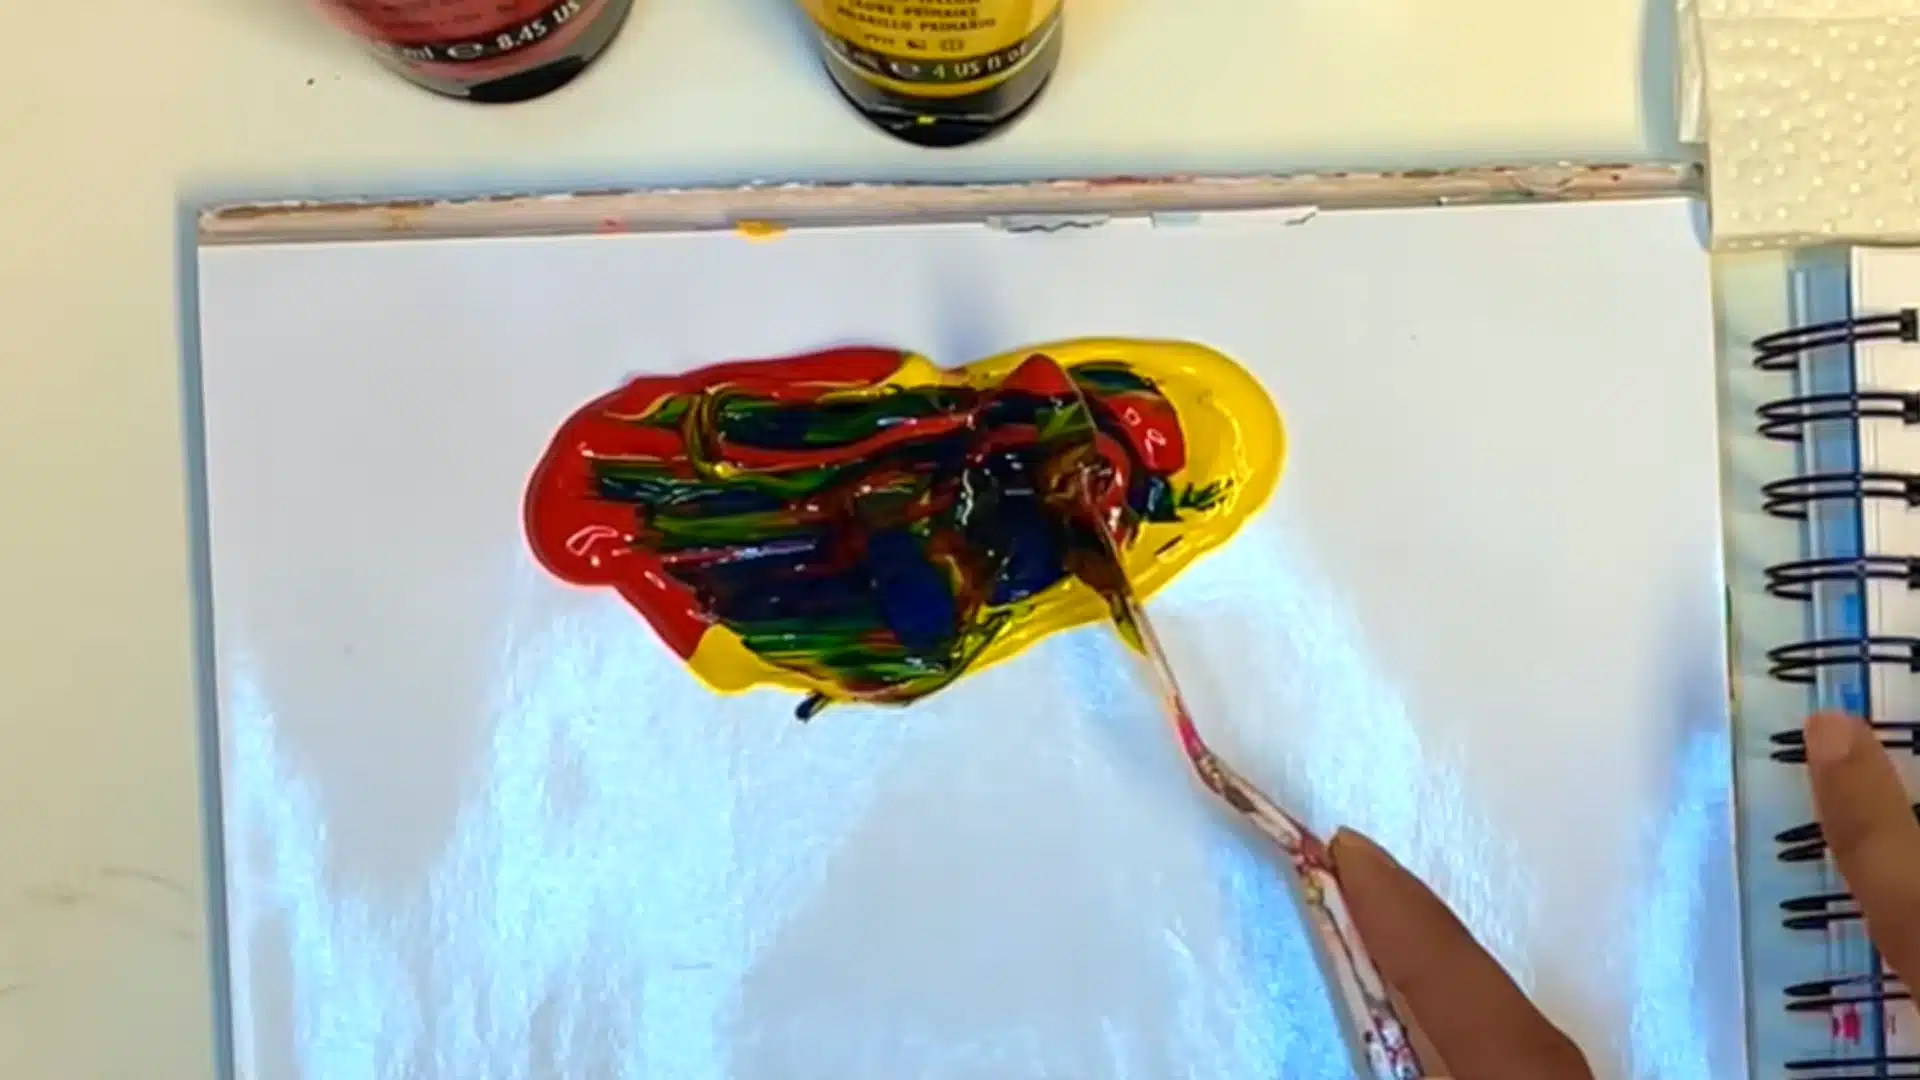
Start by placing equal amounts of red, yellow, and blue paint on your palette. These three primary colors combine to create a basic brown shade.
Use a palette knife to mix the colors slowly until they blend into a deep chocolate brown. Take your time because uneven mixing can leave small patches of the original colors behind.
Once the paint looks consistent, brush a small sample onto paper. This gives you a reference point before creating different brown variations.
Step 2: Create a Golden Brown by Adding More Yellow
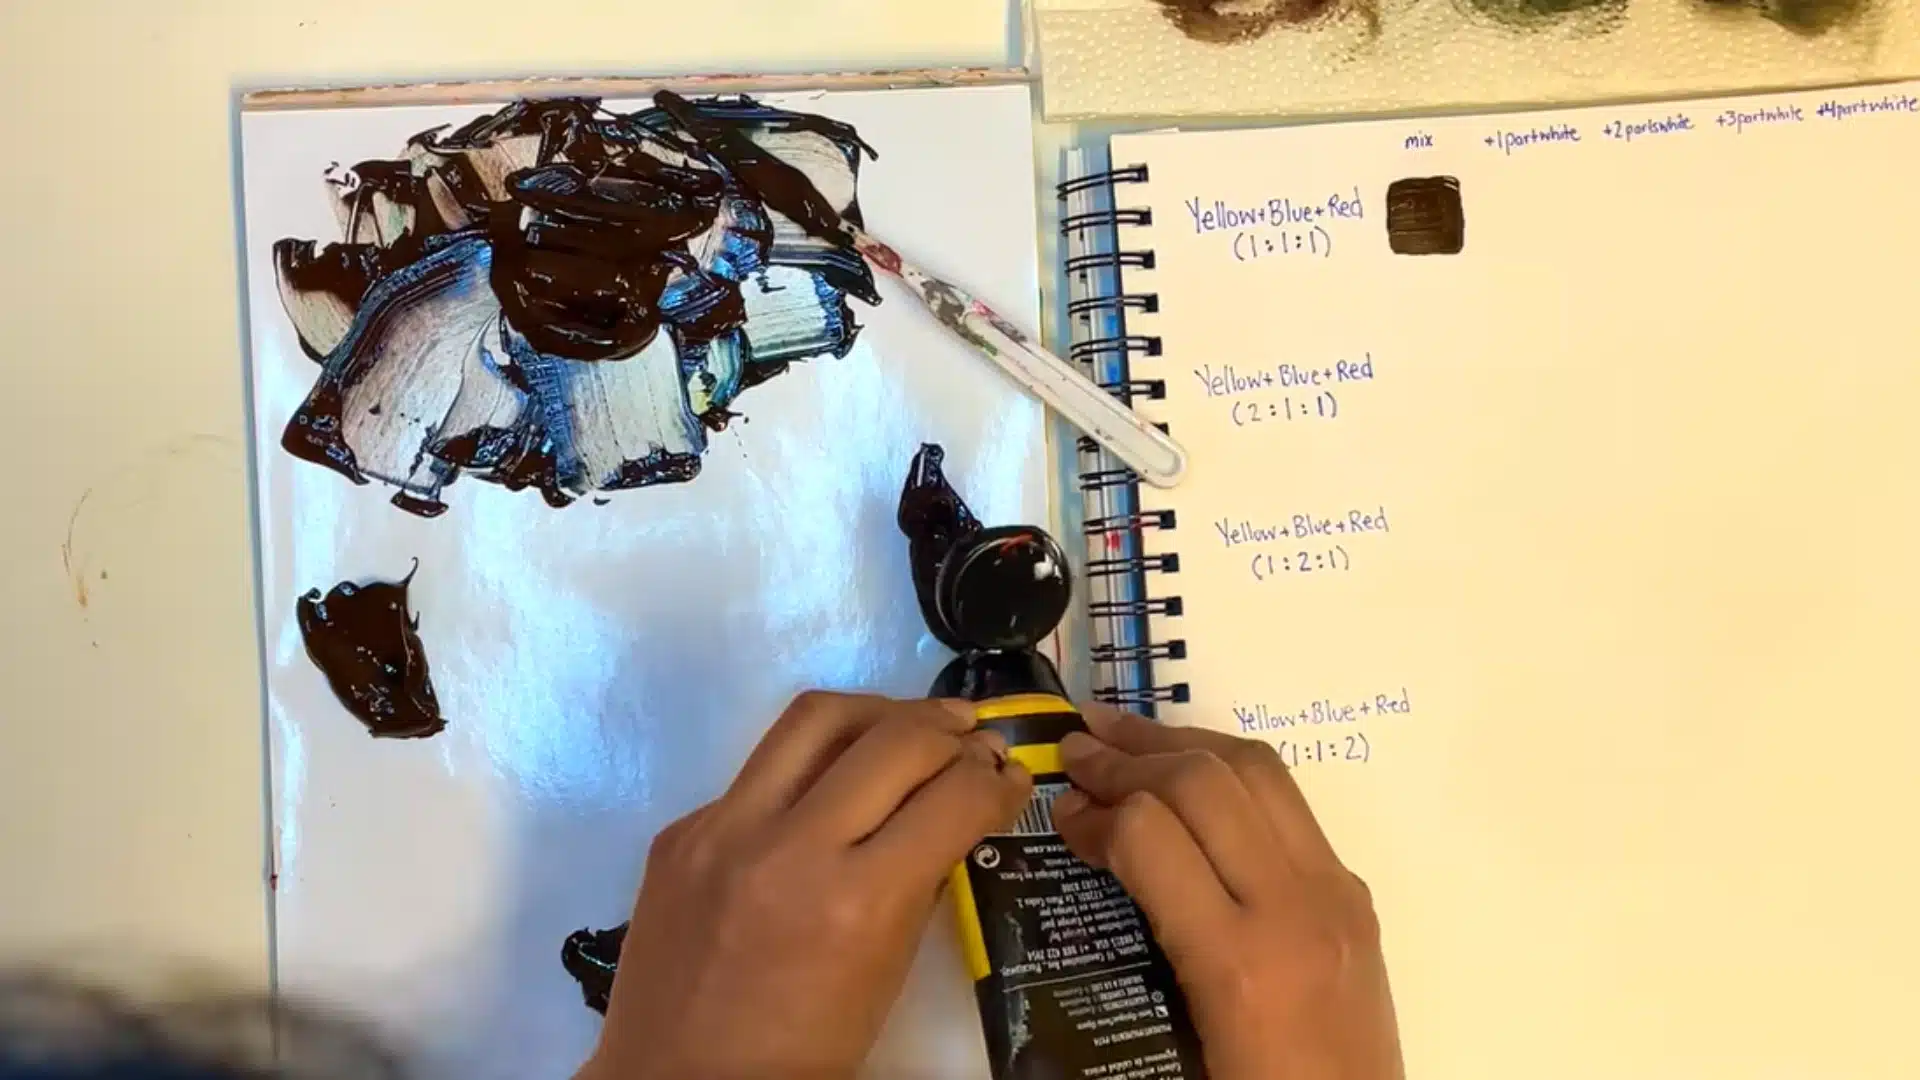
Take a small portion of your base brown mixture and add a little extra yellow paint. Start with a small amount because you can always add more later.
Mix the colors together and notice how the brown becomes lighter and warmer. The extra yellow creates a golden brown that works well for sandy shades, sunlit wood, and earthy colors.
Test the new shade on paper beside your original brown. Comparing the two makes it easier to see how small color changes affect the result.
Step 3: Make a Warm Red Brown by Adding More Red
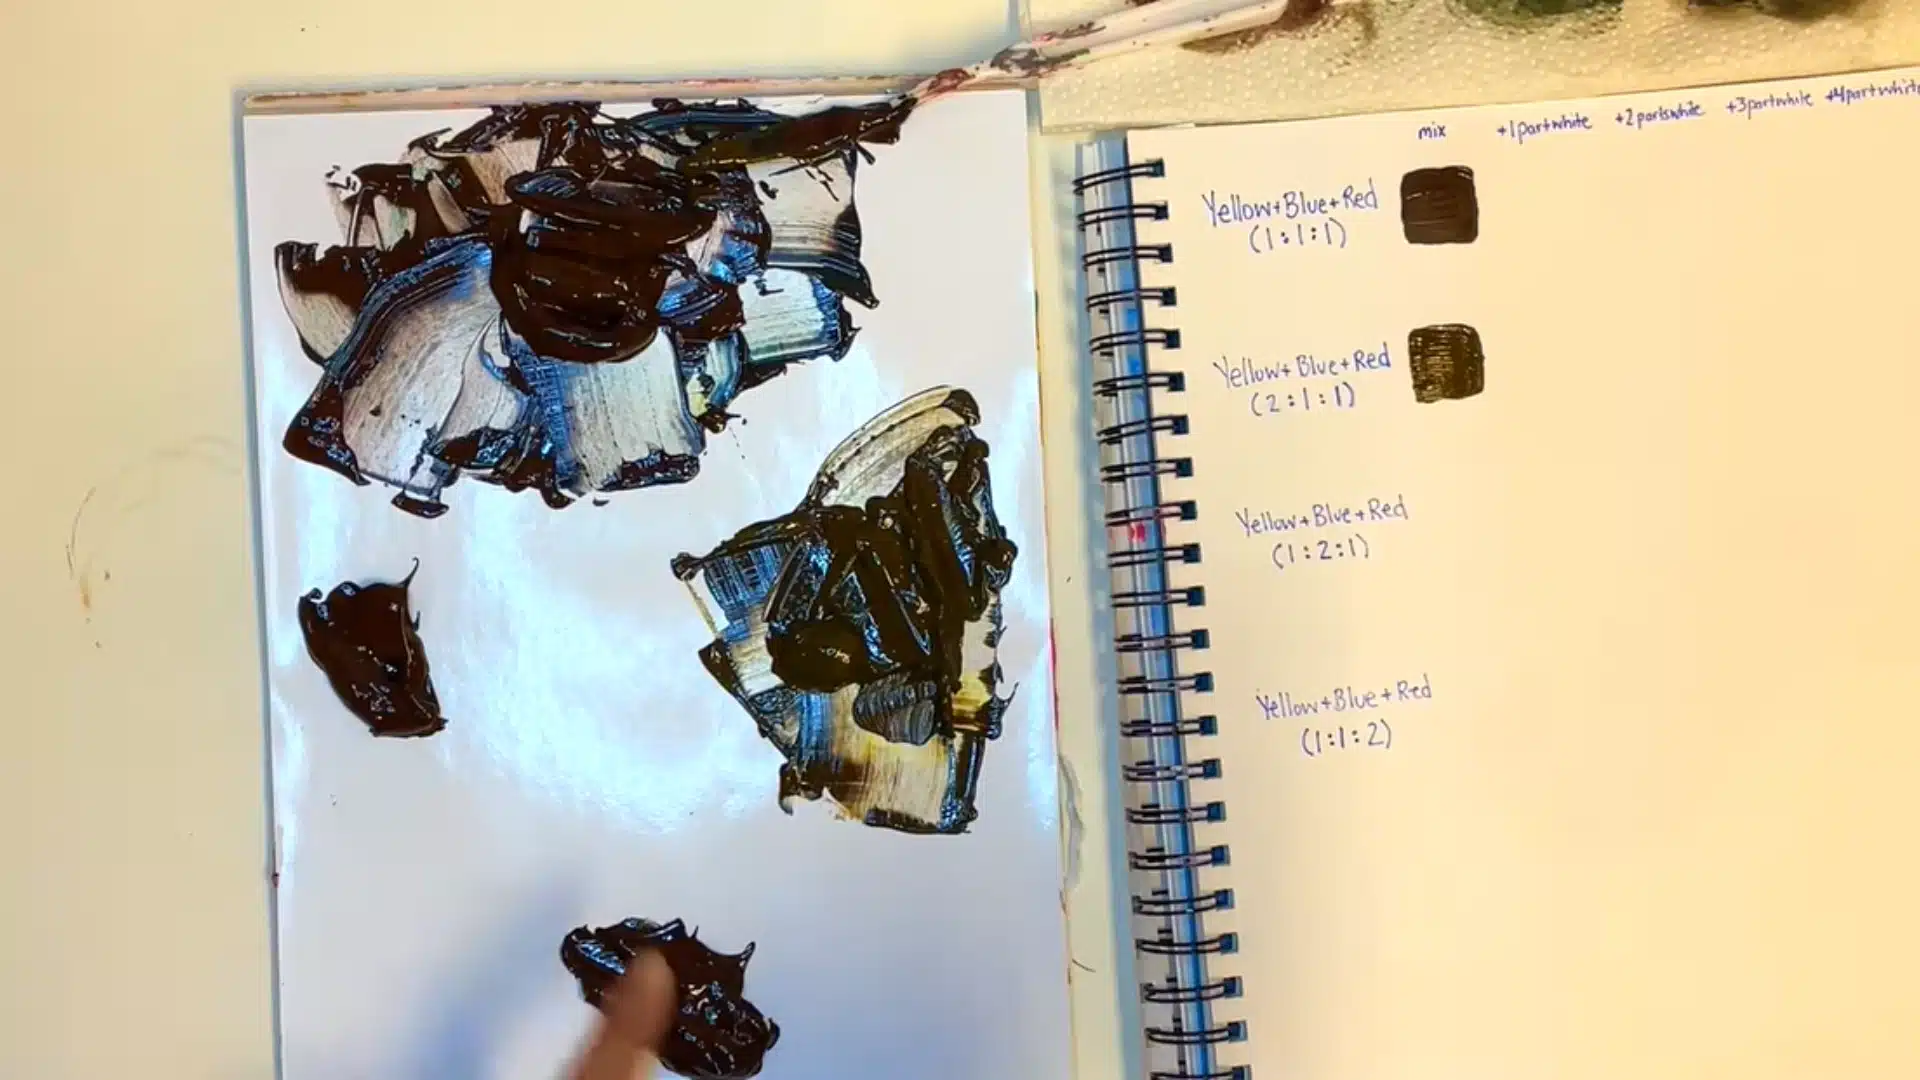
Use another portion of your brown mixture and add a small amount of red paint. Mix it thoroughly until the color changes.
Adding more red gives the brown a warmer appearance with a slightly reddish tone. This type of brown works well for colors like cedar wood, coffee shades, and warm skin tones.
Avoid adding too much red at once. Small changes create more control over the final color.
Step 4: Create a Cooler Brown by Adding Blue Carefully
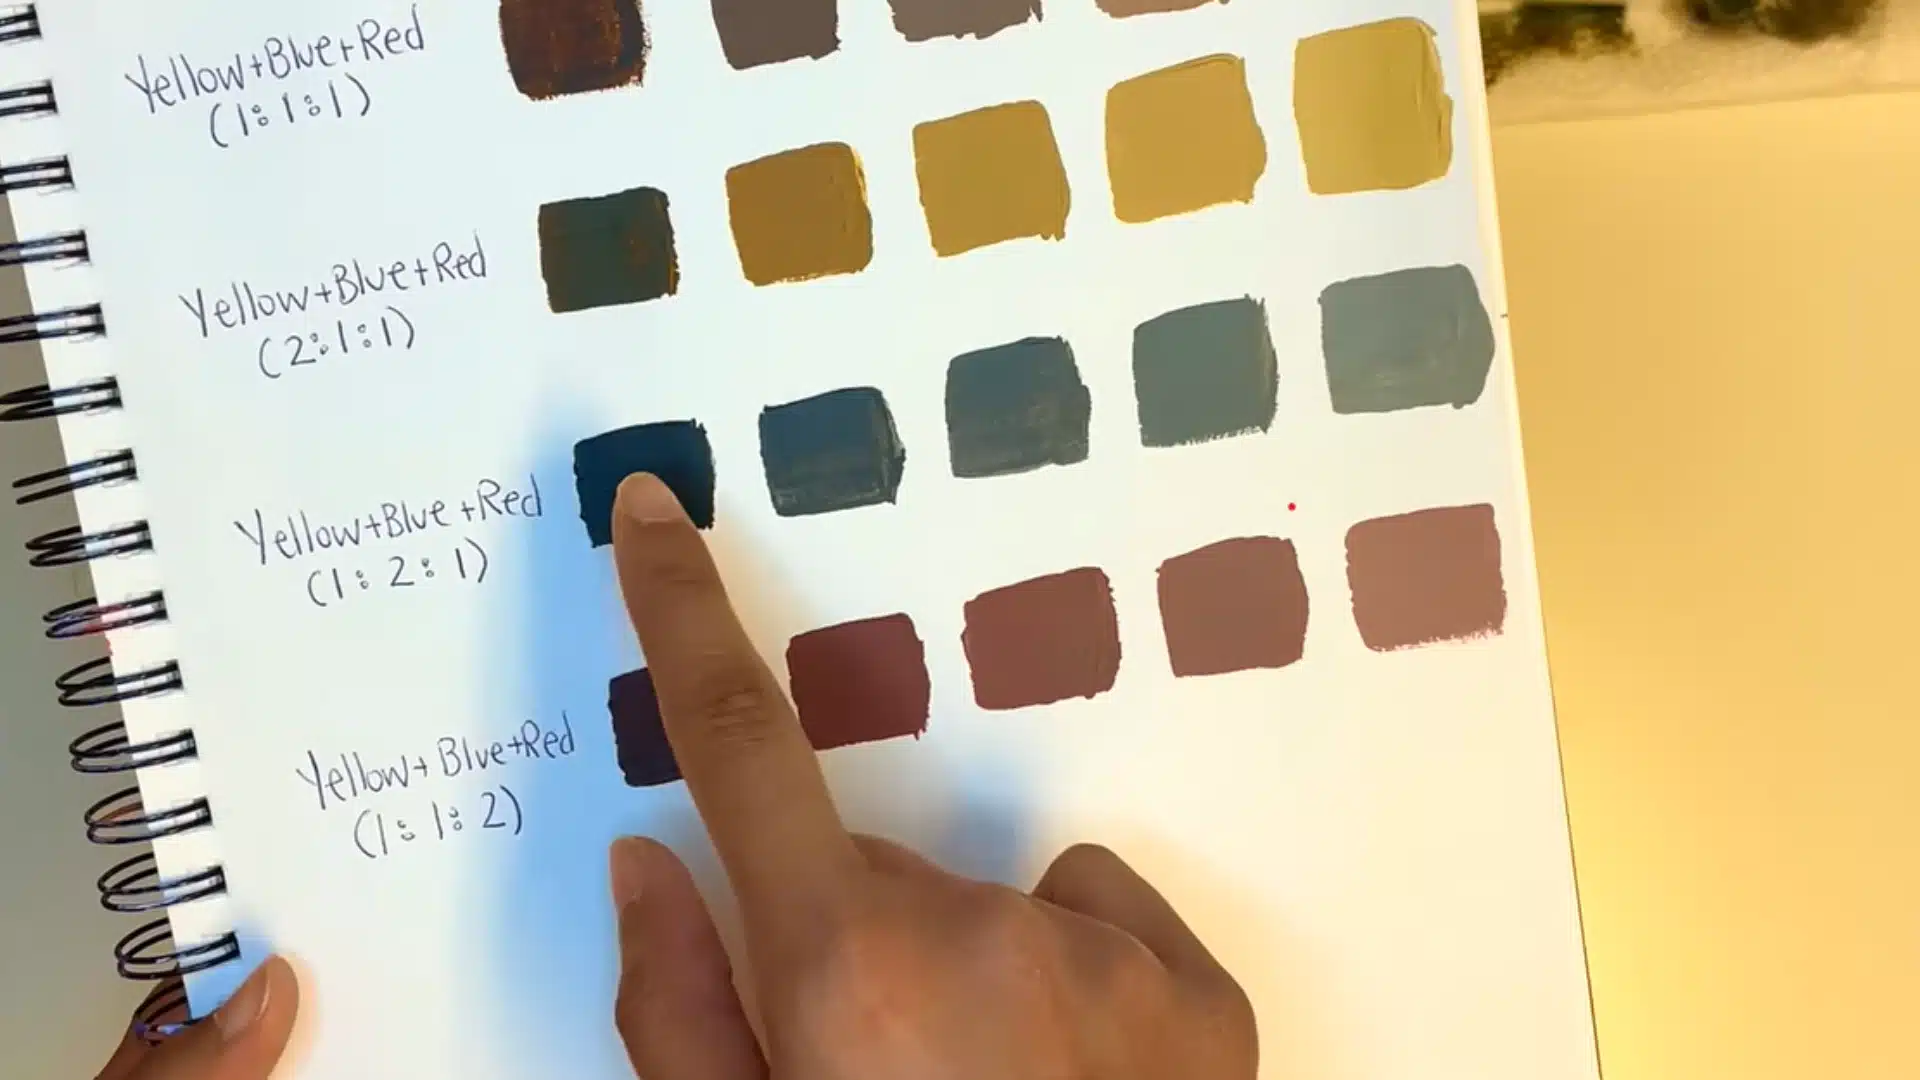
Take another portion of your brown mixture and add a tiny amount of blue paint. Blue is stronger than it may seem, so a small amount can change the entire shade.
Mix the paint and check the result. A little extra blue creates a deeper, cooler brown that can work well for shadows, rocks, and darker natural colors.
If the mixture starts looking gray instead of brown, balance it by adding a little more red or yellow to bring back warmth.
Step 5: Lighten Brown Paint by Adding White
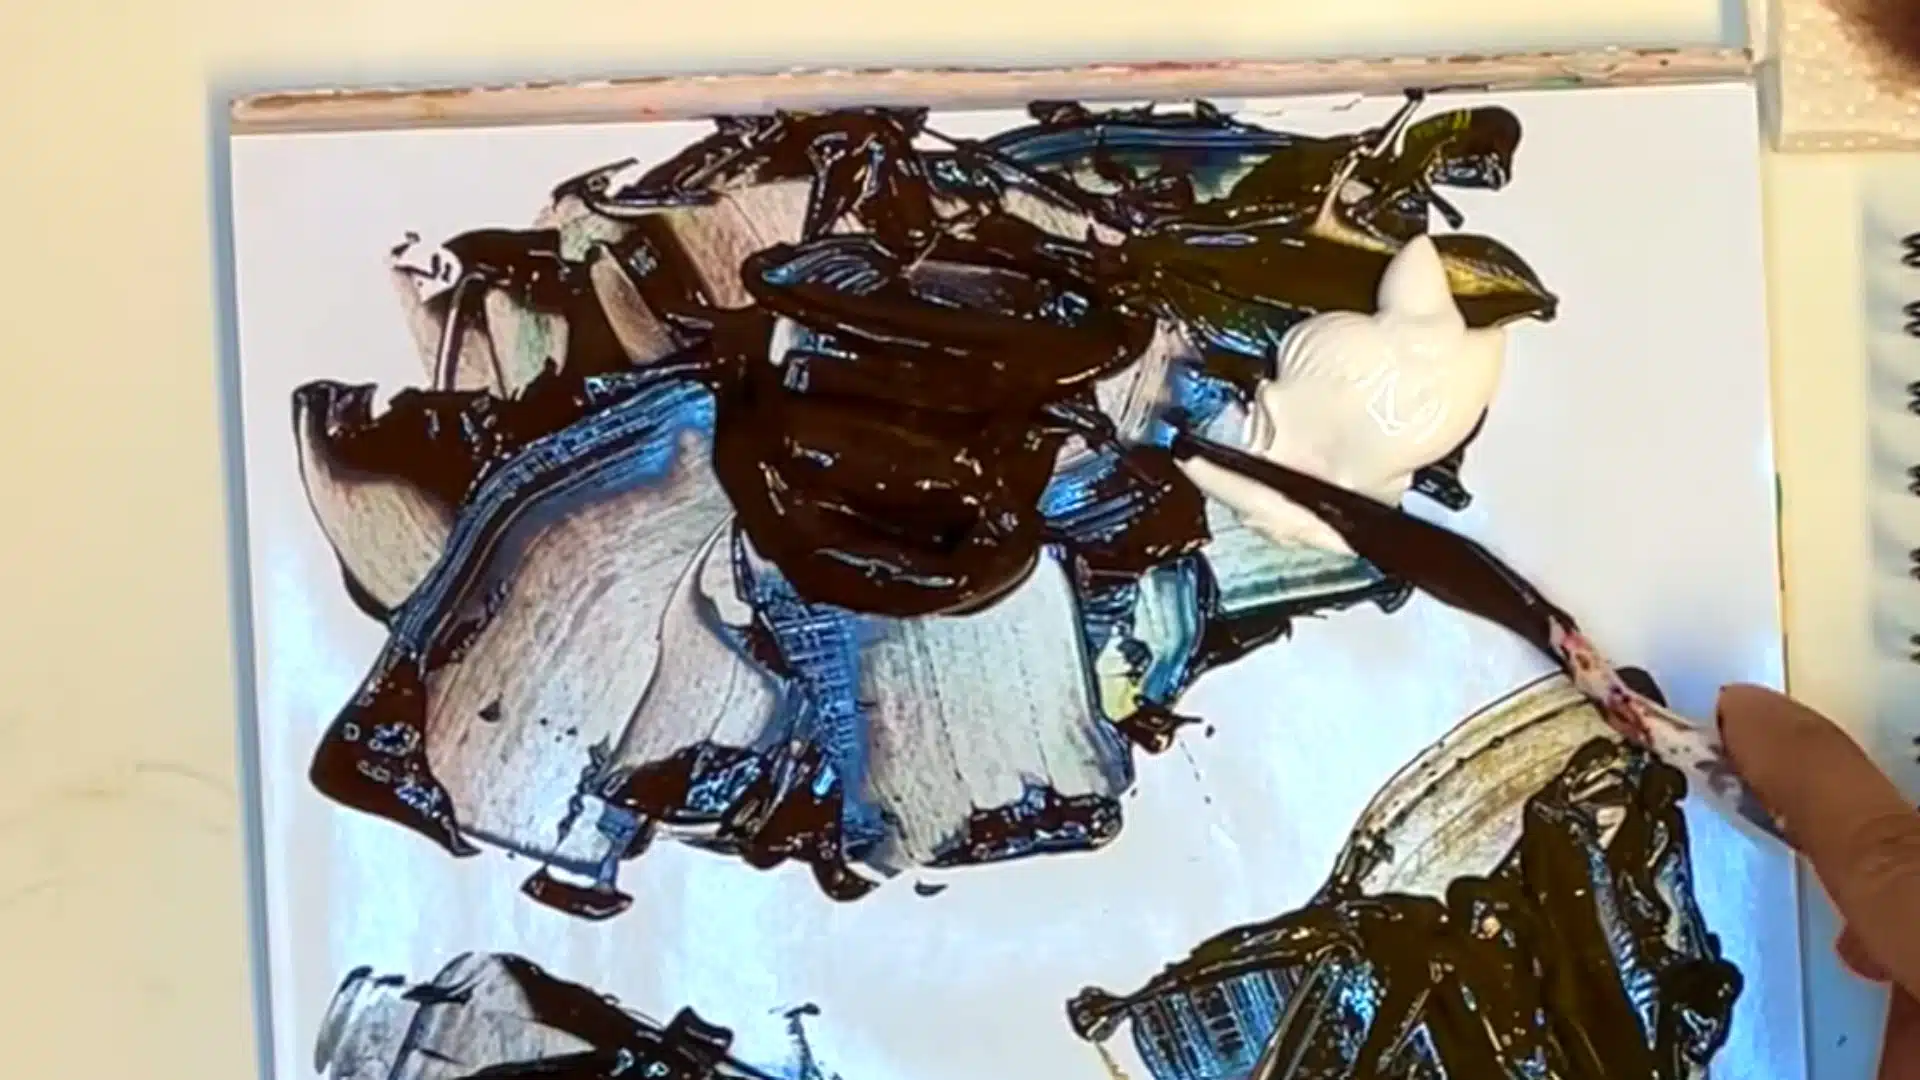
Once you have your brown shades, you can create lighter versions by mixing in white paint. Add a small amount of white to your brown and blend it completely.
Continue adding small amounts of white to create several lighter shades. More white will gradually turn dark brown into softer colors like tan, beige, and taupe.
Testing each shade on paper helps you keep track of the different tones. Labeling each mixture can also make it easier to recreate your favorite colors later.
Step 6: Adjust and Create Your Own Brown Shades
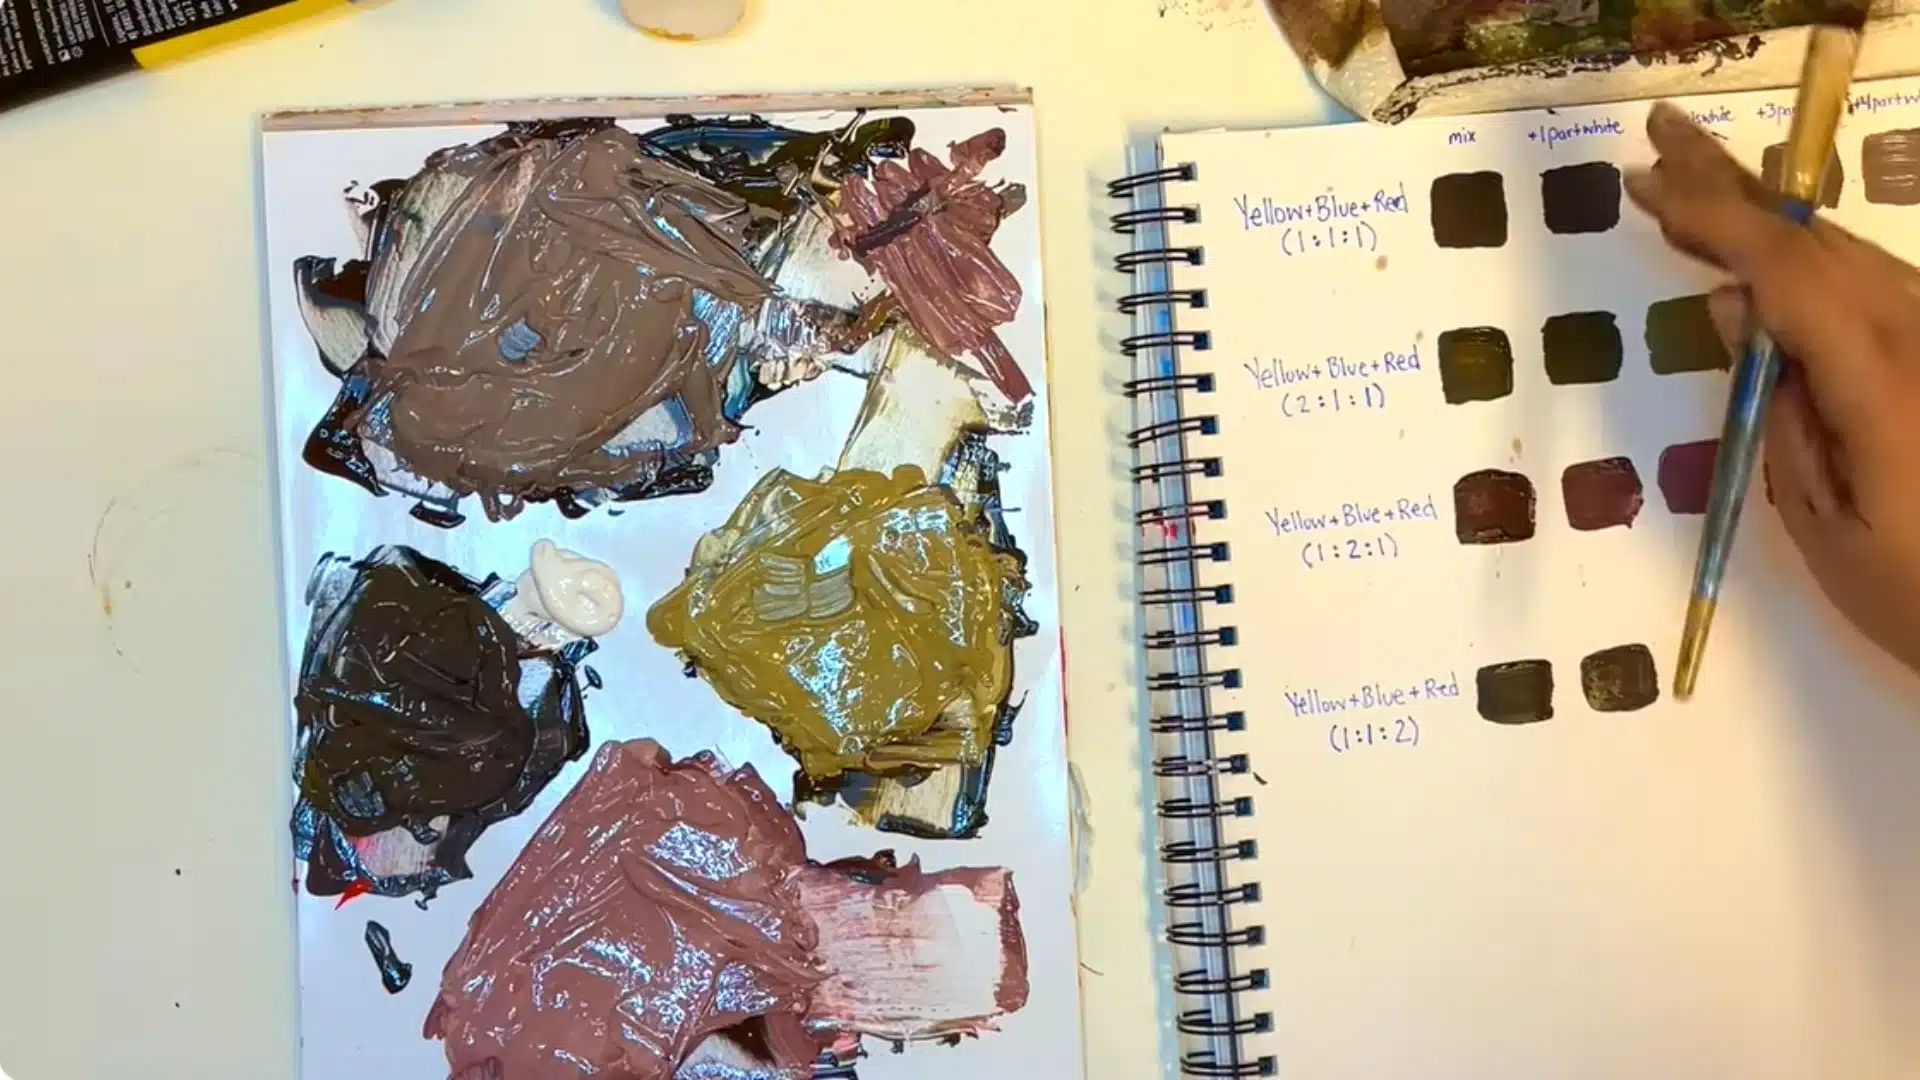
After creating different brown mixtures, experiment by changing the balance of colors. Add more yellow for warmer browns, more red for richer tones, or a little blue for cooler shades.
Keep adding colors slowly and mix after each change. Small adjustments give you better control than adding large amounts at once.
Save the shades you like by writing down the color ratios. This helps you create the same brown again when working on future paintings.
Creating brown paint is all about balance. Red and yellow usually create warmer tones, while blue helps add depth and cooler shades.
With a few basic colors, you can build a wide range of browns for wood, landscapes, shadows, portraits, and many other painting projects.
For a complete walkthrough of the process, check out the video tutorial below:
| Tip: Label your test swatch with the exact tint ratio and the paint brand before you toss it. Touch-ups on furniture and trim usually happen a year or two later, and a labeled swatch saves you from remixing a brown from memory. |
Checking Your Brown Before You Commit to the Full Project
A test swatch on paper doesn’t always tell the full story once the paint is on your actual surface. Before committing a full can to your furniture or trim, check the color under a few different conditions.
- Let it fully cure: Some paints continue to shift slightly for 24 to 48 hours after they feel dry to the touch.
- Test on the real surface: Bare wood, primed trim, and painted furniture all absorb color differently than a cardboard swatch.
- View it in natural light: Warm artificial bulbs can hide a gray undertone that shows up clearly by a window.
- Compare it beside existing colors: Hold the swatch next to your flooring, wall color, or the furniture piece you’re matching.
Once the color checks out in real lighting on the real surface, mix enough for the entire project in one batch. Custom browns are notoriously hard to match a second time, so running short mid-project is the mistake that causes the most redo work.
My Take on DIY Brown Paint Mixing
Brown starts with balanced colors and careful adjustments. You can mix red, yellow, and blue or use complementary pairs such as orange and blue.
White creates lighter shades, while blue or purple adds depth without the flat effect that black may cause. Testing the paint after it dries also helps you catch unwanted undertones before covering an area.
For me, keeping notes is the easiest way to repeat a successful mix. I prefer adding strong pigments in tiny amounts for better control.
Now that you know how to make brown paint, choose one formula and test it on scrap paper. Try these tips today, then share which brown shade worked best for your project.
Frequently Asked Questions
What paint colors make brown?
Brown comes from mixing red, yellow, and blue together, or from pairing complementary colors like orange and blue or red and green. The exact shade depends on how much of each color goes in and which specific pigments are on your palette, since not every red or blue behaves the same way.
Which two colors make brown?
The fastest route to a two-color brown is pairing complementary colors, since they cancel each other into a neutral tone. Orange and blue is a common pairing, and red and green work well too. Add one color in small amounts until the shade looks right, then stop adjusting.
Do red and green make brown?
Yes, red and green combine into brown because they sit opposite each other on the color wheel and neutralize one another. The exact tone depends on how warm or cool each color is to start, so two different reds paired with two different greens will not land on the same brown.
How do you get chocolate brown?
Chocolate brown starts as a base brown from primary or complementary colors, then gets warmed with a touch more red and darkened with a small amount of black. Add each in tiny amounts and mix fully before adding more, since chocolate brown sits closer to dark than to warm.