
Want to change your kitchen without spending a lot of money? Painting your cabinets might be just what you need.
It’s one of the easiest and most affordable ways to update your space. A few cans of paint and some weekend work can make old cabinets look brand new.
I’ve helped lots of homeowners give their kitchens a fresh, clean look with just this simple project. And now I want to help you do the same.
In this guide, I’ll walk you through everything step by step. You’ll learn which tools to use, how to prep your cabinets the right way, and how to get a smooth, professional-looking finish.
Even if you’ve never painted anything before, don’t worry. I’ll break it down in a way that’s easy to follow.
I’ve made the mistakes so you don’t have to. With a little time and patience, you’ll have cabinets you love—and a kitchen that feels brand new.
Why Paint Your Kitchen Cabinets?
Painting your kitchen cabinets is a simple way to give your space a fresh new look. You don’t need to tear out anything or spend thousands of dollars.
It’s one of the most budget-friendly ways to update your kitchen. A few cans of paint can make old cabinets look clean and modern.
You can change the whole style of your kitchen. Go from dark and dated to bright and fresh. White, navy, and soft green are popular choices that make the room feel bigger and brighter.
Paint also helps your kitchen feel more personal. You can choose a color that fits your taste instead of living with the old one.
It’s also a smart way to be more eco-friendly. You reuse what you already have instead of throwing it away. That saves money and helps the planet too.
A well-painted kitchen looks more cared for. It may even make your home more appealing to future buyers.
Step-By-Step Guide to Painting Cabinets
Ready to give your cabinets a makeover? This process takes time, but the results are worth it. Follow these steps carefully for a smooth, durable finish that will last for years.
Remember: proper prep is the secret to success!
1. Choose the Right Paint and Finish
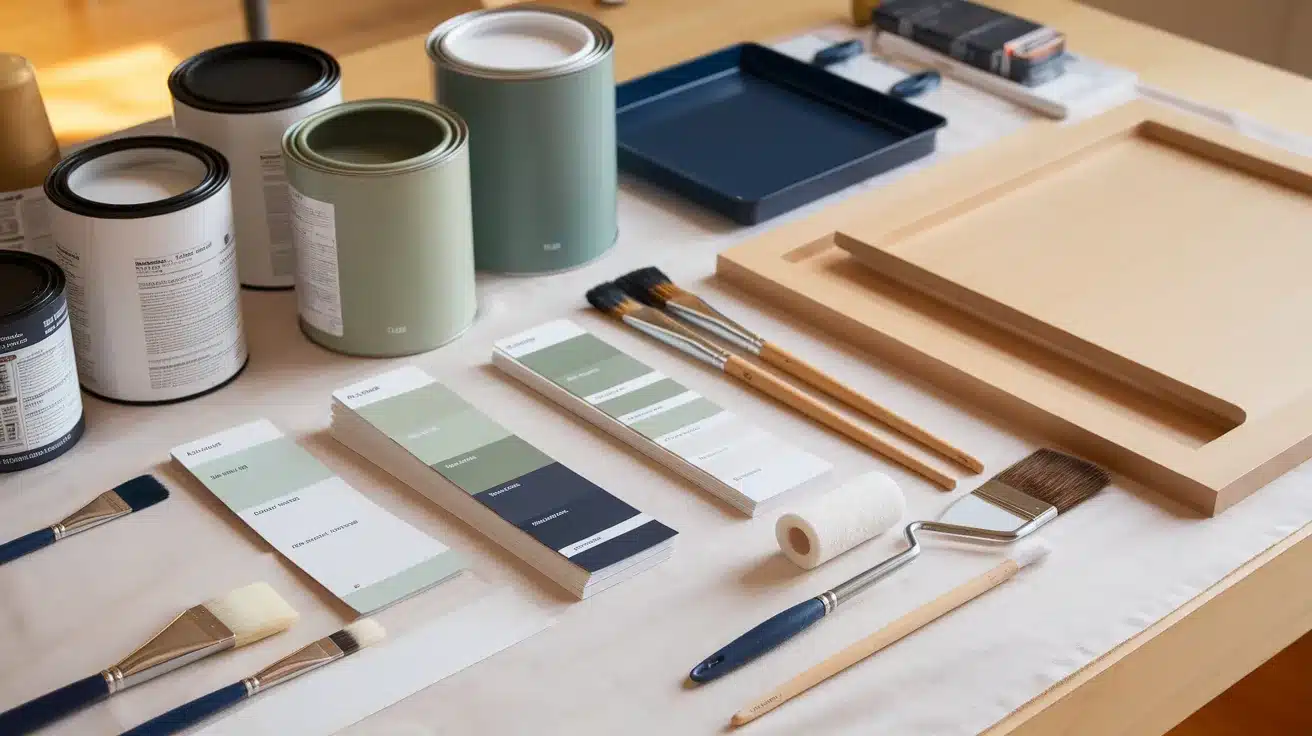
Not all paints are created equal when it comes to cabinets. You need something tough enough to handle daily wear and tear. Look for paints specifically labeled for cabinets or trim.
Oil-based paints were once the gold standard, but they’re smelly and hard to clean up. Today’s water-based options are much better. I recommend alkyd enamel or acrylic enamel paints. They dry harder than regular latex and resist chipping.
For a finish, semi-gloss or satin works best in kitchens. They’re easier to wipe clean than flat or eggshell finishes. Avoid high-gloss unless you’re extremely confident in your painting skills, as it shows every imperfection.
2. Pick Your Color
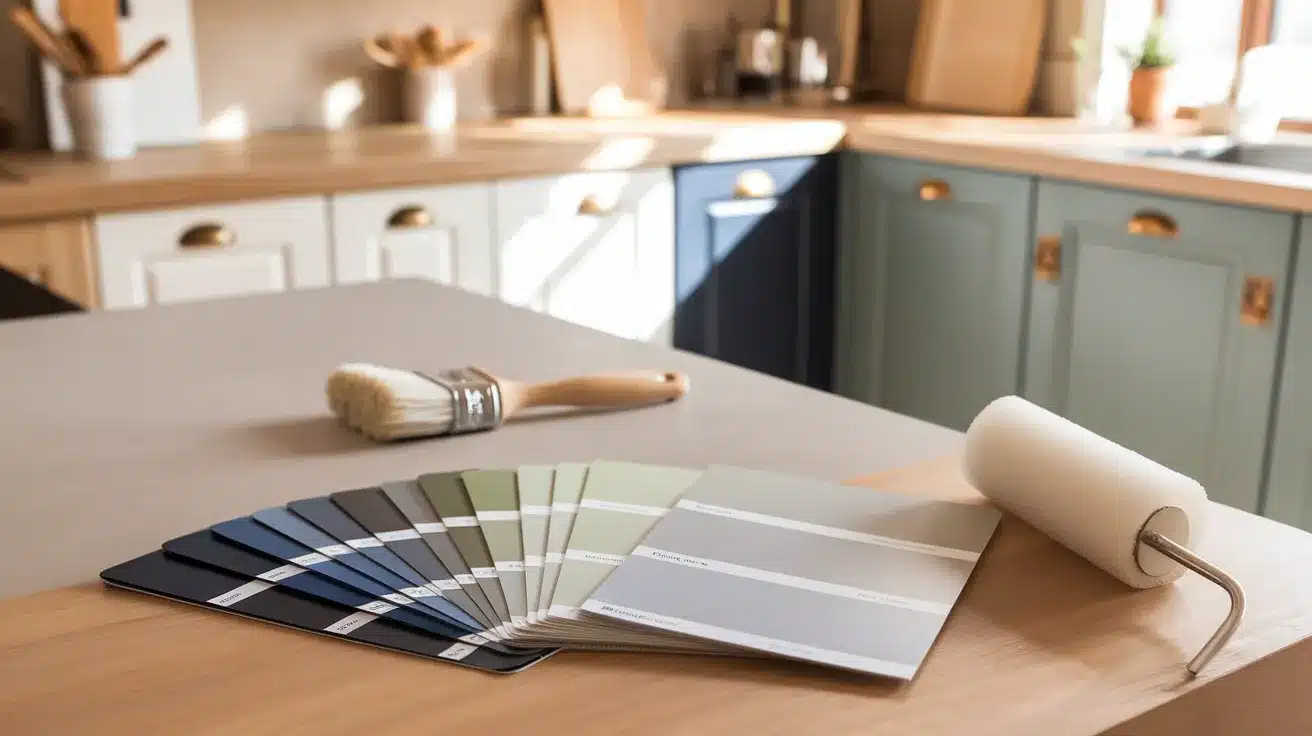
White remains the most popular choice for kitchen cabinets, and for good reason. It brightens spaces and matches everything. But don’t be afraid to try something bolder.
Navy blue, sage green, and even black cabinets can look beautiful in the right kitchen. If you’re nervous about color, try painting just the lower cabinets or island in a darker shade, with white uppers.
Always test your color first. Paint a small section or a removed door and live with it for a few days. The color will look different in your lighting than it did in the store.
3. Gather Your Supplies
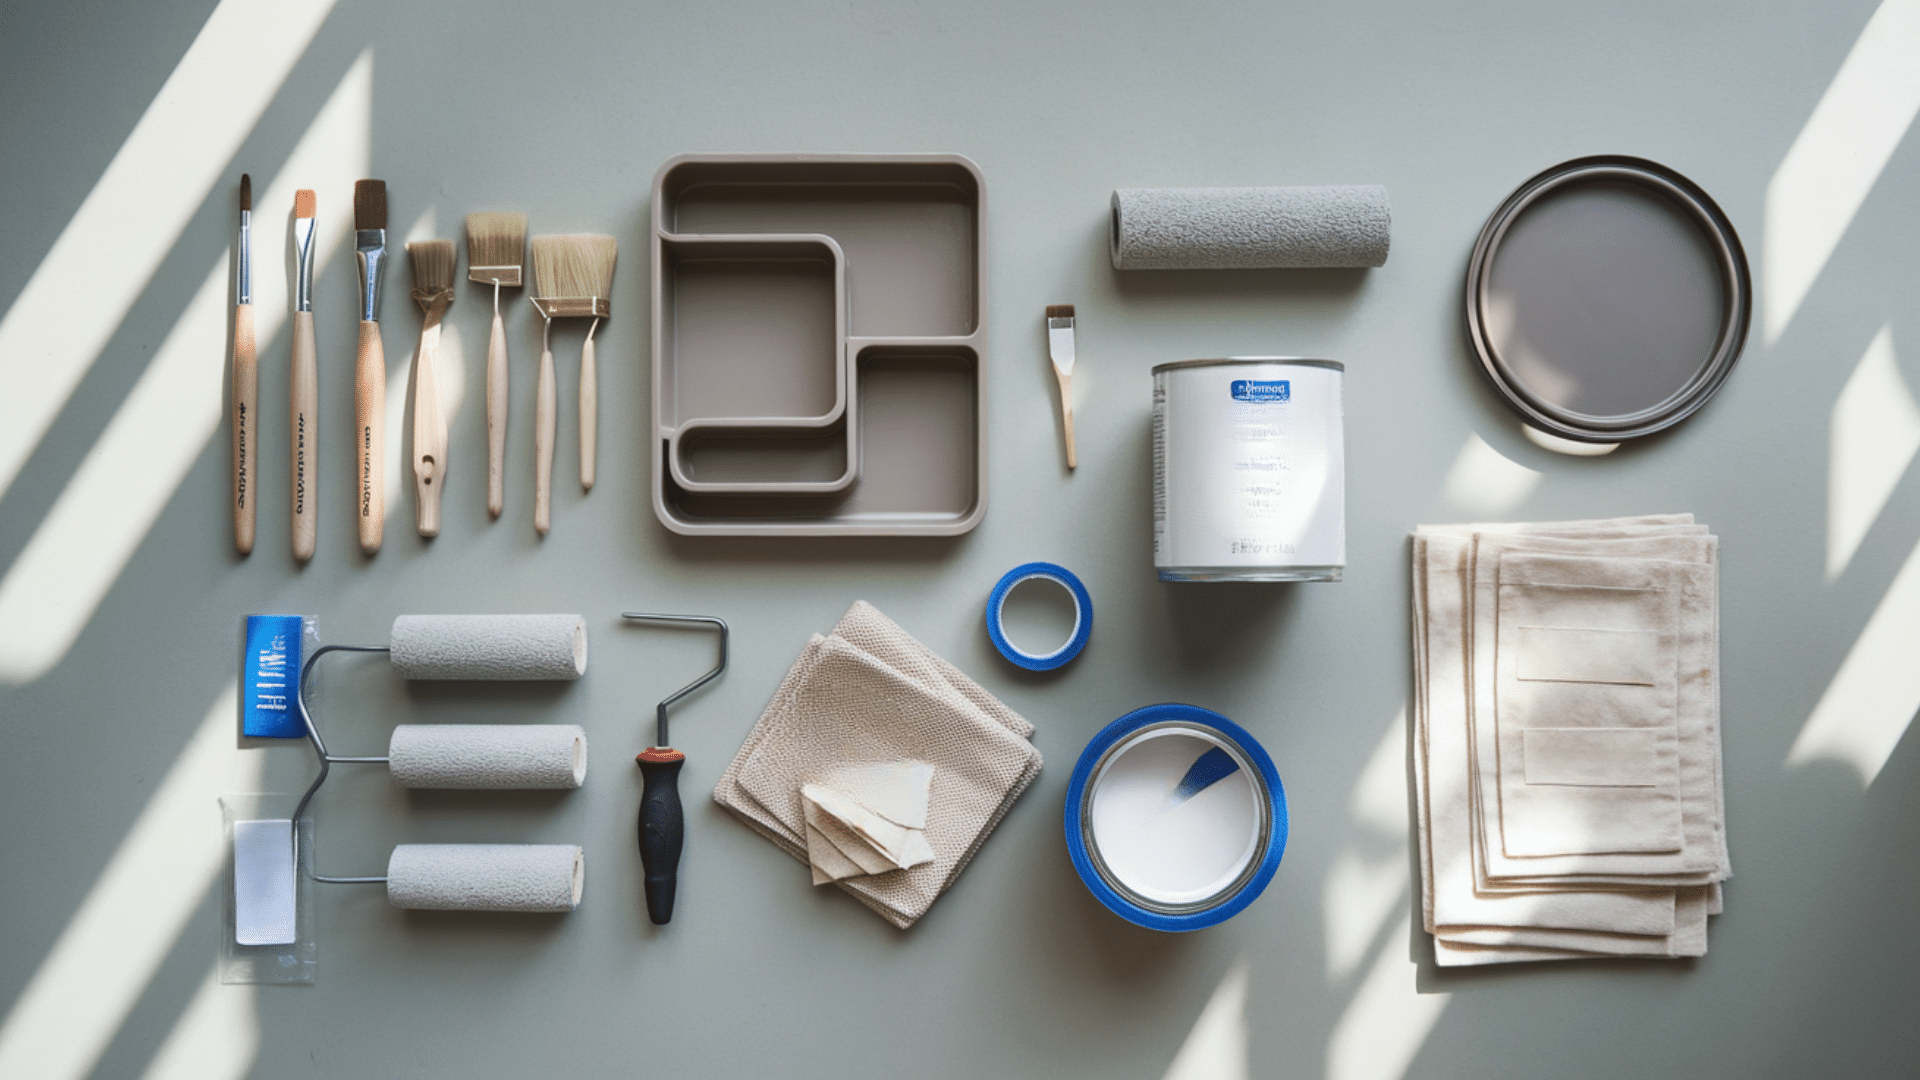
Before starting, make sure you have everything you need. Nothing’s worse than stopping mid-project for a store run.
You’ll need:
- Quality paintbrushes (2-inch angled for detail work)
- Small foam rollers and trays
- Sandpaper (150-grit and 220-grit)
- Tack cloths
- Primer designed for cabinets
- Your chosen paint
- Screwdriver for hardware removal
- Drop cloths
- Painter’s tape
- Wood filler (if needed)
- Cleaning supplies
- Labeled bags for hardware
Don’t skimp on brushes and rollers. Quality tools give better results and save you time and frustration.
4. Clear out The Cabinets

Empty all your cabinets completely before starting. This includes dishes, food, and everything in between. It’s a great chance to declutter.
Find a temporary storage space for these items—a dining room table, spare bedroom, or garage works well. You might be without your kitchen for several days, so plan meals accordingly.
Cover your countertops and appliances with drop cloths to protect them from dust and paint splatters. Remove everything from your workspace that might get in your way.
5. Remove the Doors and Hardware
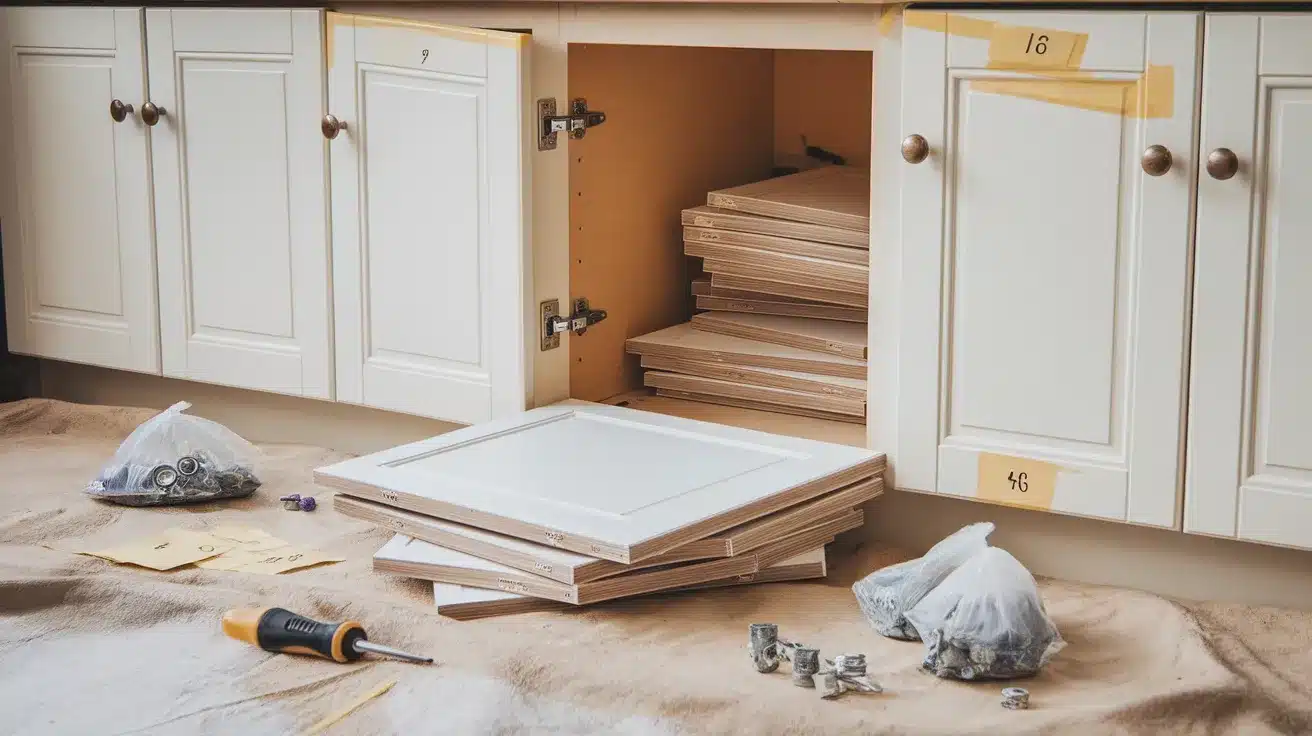
Take off all cabinet doors and drawers. Most cabinets have simple hinge systems that come apart easily with a screwdriver. Number each door and its corresponding spot with painter’s tape so you know where everything goes back.
Remove all handles, knobs, and hinges. Place hardware in labeled plastic bags to keep everything organized. Trust me—this step saves enormous headaches later.
If you plan to reuse your hardware, clean it thoroughly while it’s off. Soaking in vinegar can remove years of grime from metal pieces.
6. Clean All Surfaces Thoroughly

Cabinets collect years of grease, especially near the stove. This grime will ruin your paint job if not removed completely.
Wash all surfaces with a degreasing cleaner like TSP substitute. For really tough grease, you might need to clean twice. Rinse thoroughly with clean water afterward to remove any cleaning residue.
Let everything dry completely before moving to the next step. Even small amounts of moisture can affect how well your primer adheres.
7. Fill Holes and Repair Damage

Examine all surfaces for dents, scratches, or holes. If you’re changing hardware styles, you’ll need to fill the old holes.
Use wood filler for any imperfections. Apply it with a putty knife, slightly overfilling each hole. Once dry, sand it flush with the surrounding wood. For deeper damage, you might need to apply filler twice.
This is also the time to fix any loose joints or other structural issues. Tighten screws and use wood glue for any separating pieces.
8. Sand All Cabinet Surfaces
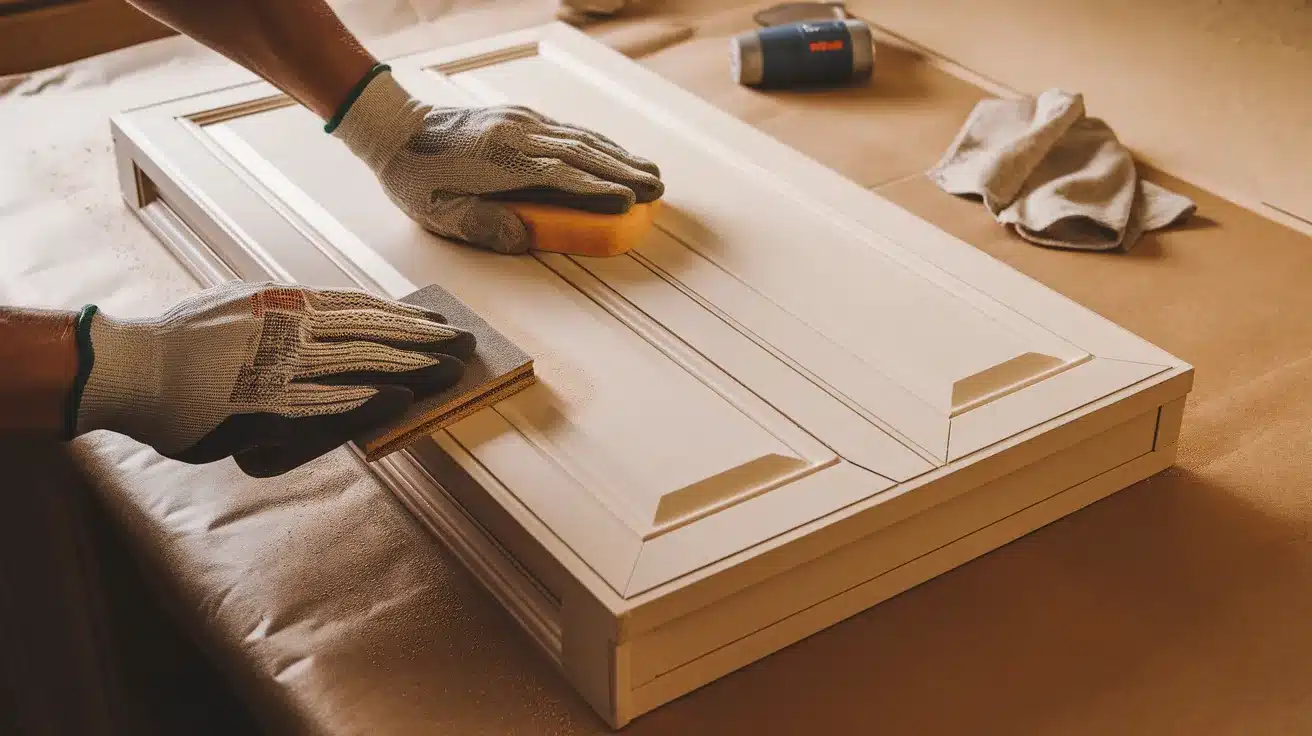
Sanding might seem tedious, but it’s crucial for good paint adhesion. You’re not trying to remove the existing finish completely—just scuff it up so the primer can grip.
Start with 150-grit sandpaper for the initial pass. Then do a final pass with 220-grit for smoothness. Sand in the direction of the wood grain whenever possible.
After sanding, vacuum all surfaces to remove dust. Then wipe with a tack cloth to pick up any remaining particles. Your cabinets should feel smooth but slightly rough to the touch.
9. Apply Painter’s Tape
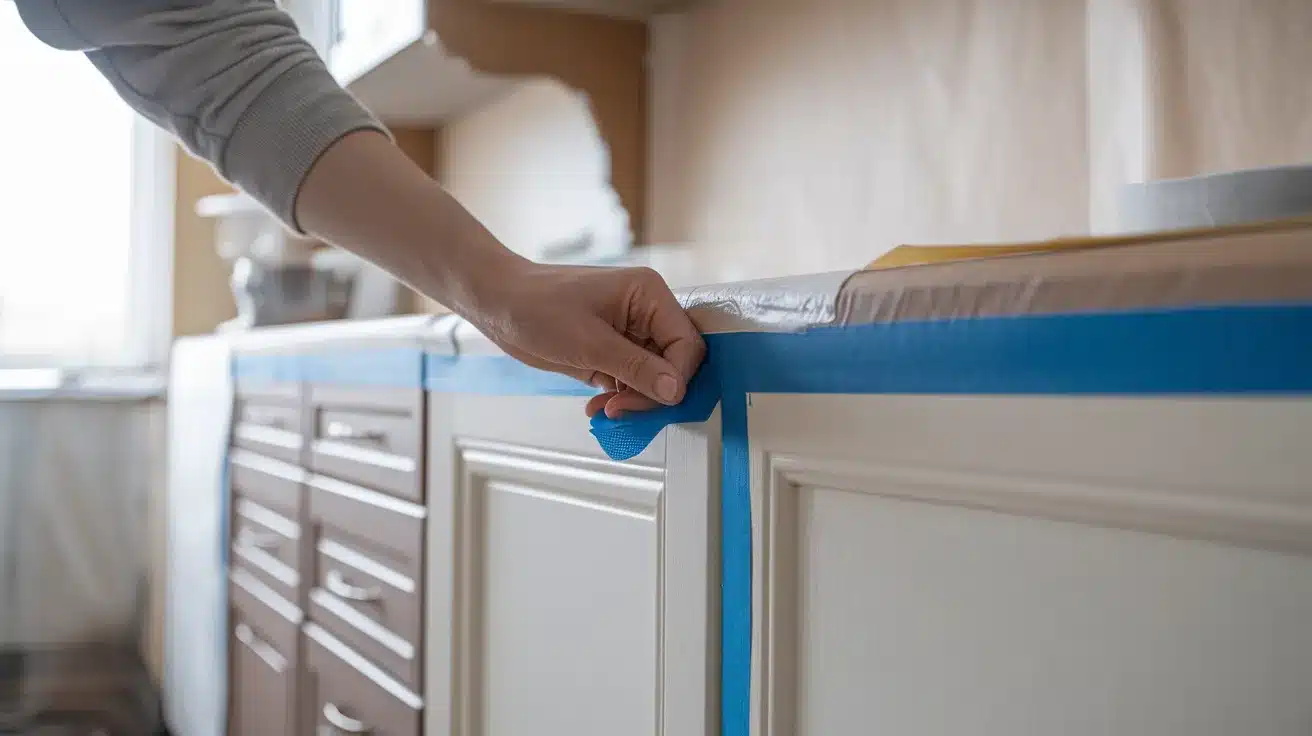
Tape off any areas you don’t want painted—walls, countertops, or inside edges of cabinet frames. Use high-quality painter’s tape and press down firmly along the edges to prevent bleeding.
If you’re not removing your toe kicks or crown molding, tape those carefully as well. Take your time with this step. Clean lines make a huge difference in the final look.
Consider if you want to paint the insides of your cabinets too. Most people don’t, as it’s rarely seen and adds significant time to the project.
10. Prime the Cabinets
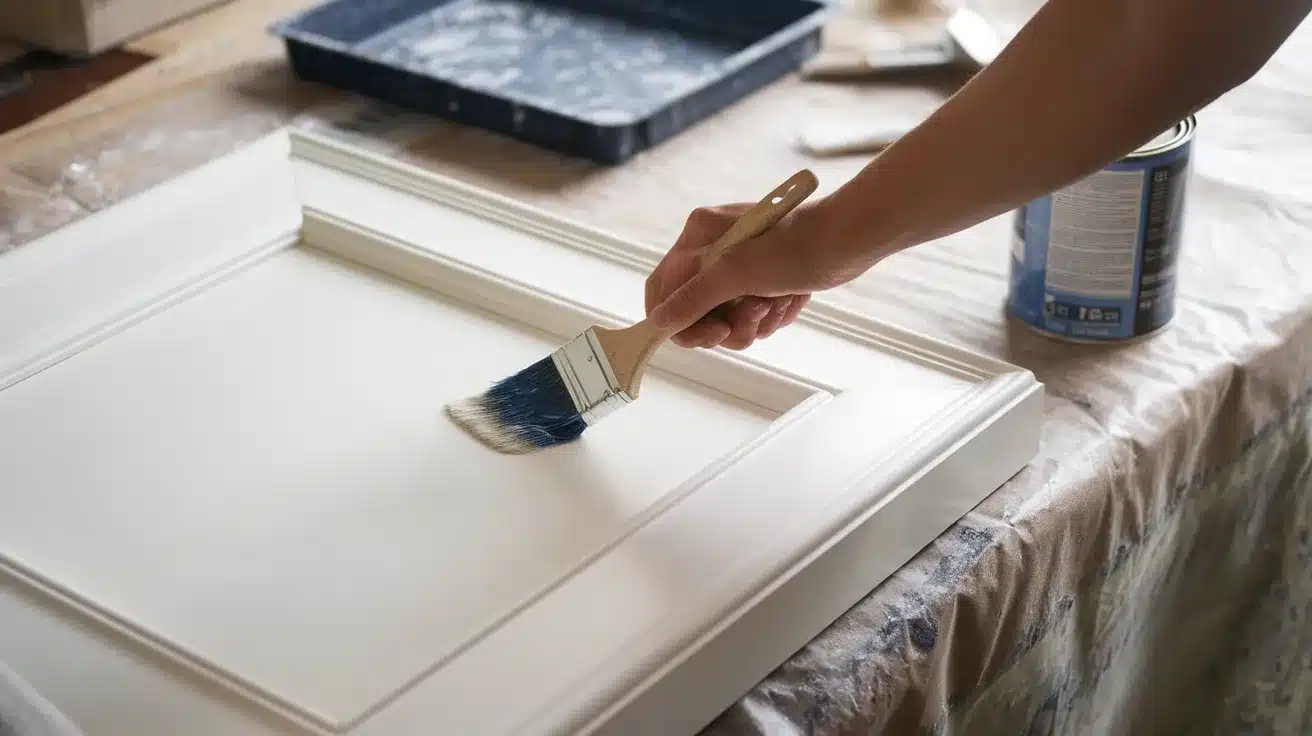
Primer creates a consistent base for your paint and improves adhesion. Use a primer specifically designed for cabinets or all-purpose bonding primer.
For dark cabinets that you’re painting light, ask the store to tint your primer closer to your final color. This might help you use fewer coats of the more expensive paint.
Apply primer with a brush first for edges and details, then use a foam roller for flat surfaces. Work in thin, even coats—primer doesn’t need to look perfect, but it shouldn’t have drips or heavy buildup.
Let the primer dry completely according to the manufacturer’s instructions. In humid conditions, this might take longer than the label suggests.
11. Reattach Doors and Hardware
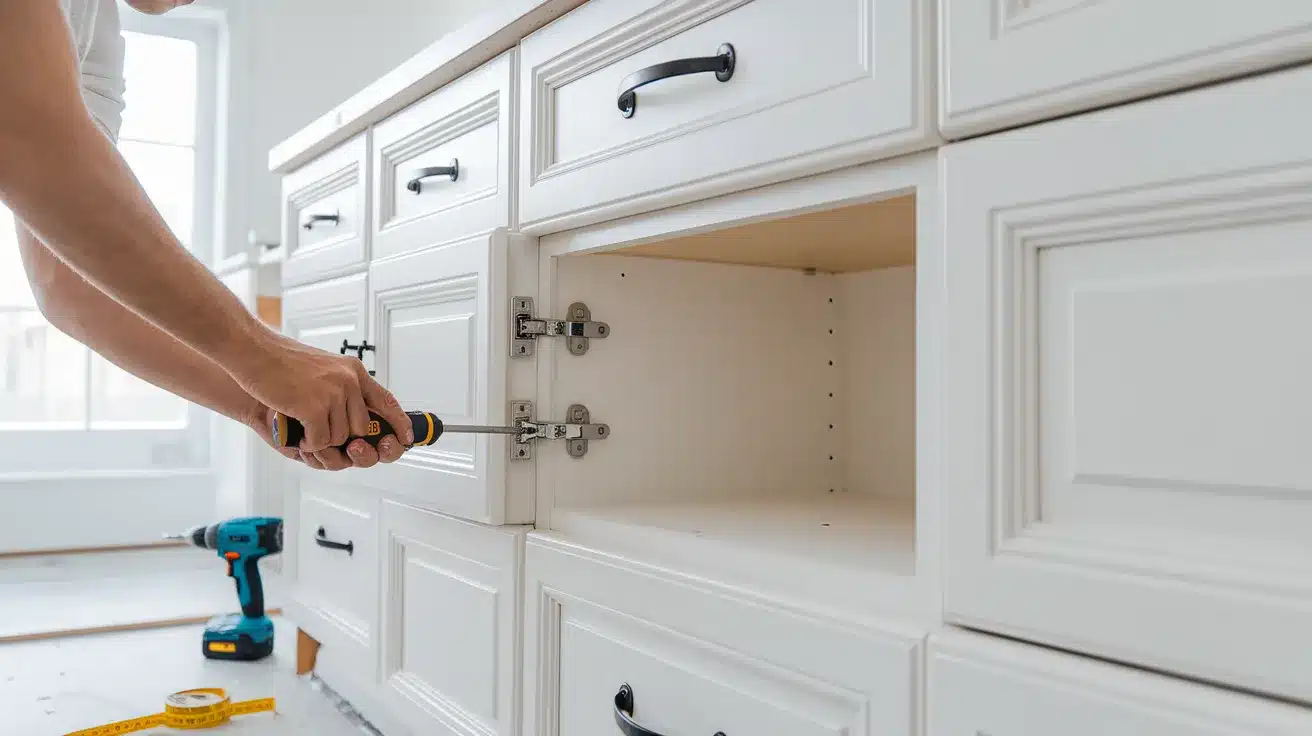
Once fully cured, it’s time to put everything back together. Refer to your numbering system to return doors to their original positions.
If you’re adding new hardware, measure and drill holes carefully. For handles with two screws, create a template from cardboard to ensure consistent placement.
Attach hinges to doors before hanging them on the frames. Work methodically, adjusting as needed for proper alignment. Cabinet doors should hang straight with even gaps all around.
Conclusion
Painting your cabinets might not be the fastest weekend project. But the change it brings is worth every minute.
Take your time with the prep. That’s where most of the magic happens. Clean, sand, and label everything carefully. That way, you won’t run into problems later.
The smoother your surface, the better your finish will look. Don’t skip steps just to save time. You’ll be much happier with the results in the end.
Mistakes are normal, even for people who paint all the time. Just keep going. You’ll learn as you go and build confidence with each step.
I hope this guide helped you feel more ready to start. Cabinet painting can feel like a big job at first. But once you begin, you’ll see it’s totally doable.
If you enjoyed this guide, be sure to check out a few more posts. I’ve got tips on choosing the right cabinet hardware. I also share pantry organizing ideas and my favorite tools for beginners.
You don’t need to spend thousands to love your kitchen. Sometimes, all it takes is a paintbrush, a plan, and the courage to get started.