
Is your RV feeling old or dark inside? Want to brighten things up without spending a ton of money?
Painting your camper cabinets is a simple DIY project that can completely change the look of your space.
You don’t have to be an expert to get great results- follow a few easy steps and take your time.
In this article, I’ll show you exactly how to paint RV and camper cabinets the right way.
You’ll learn how to take off the doors, clean and sand everything, and apply paint that looks smooth and lasts.
I’ll also share tips I learned from painting my own RV cabinets, like how to label the doors so reattaching them is easy.
This guide is for anyone who wants their camper to feel fresh, bright, and more like home. If your cabinets are old, scratched, or just not your style, don’t worry’ve been there.
With this step-by-step guide, you can fix that. Let’s get started!
Why Painting Camper Cabinets or RV Is a Great Idea
Painting your RV or camper cabinets is one of the best ways to give your space a fresh, clean look without spending a lot.
Old cabinets can make your camper feel dark, small, or outdated. But with just some paint and a little time, you can make it feel new again.
This project is perfect if your cabinets are still strong but look worn or scratched. Instead of replacing them, painting saves money and allows you to choose the color and style you prefer.
Additionally, painting adds a personal touch to your camper. You can make it bright and fun or calm and cozy- it’s up to you.
I painted mine and was amazed at how different the space felt. If you want an easy update that really works, painting your camper cabinets is a smart choice.
Tools You’ll Need to Paint Camper Cabinets
Before you start painting your RV or camper cabinets, it’s a good idea to gather all your tools and supplies.
This will help the project go faster and feel less stressful. The best part? You don’t need any fancy equipment- just simple tools you can find at most hardware stores.
What you’ll need:
- Screwdriver
- Painter’s tape and plastic or paper for masking
- 180–220 grit sandpaper
- Degreaser or dish soap
- Primer
- Foam roller or paint sprayer
- High-quality cabinet paint
- Labeling tape and pen
- Soft cloths or tack cloths
Step-by-Step: How to Paint Camper Cabinets
Step 1: Remove the Cabinet Doors and Hardware
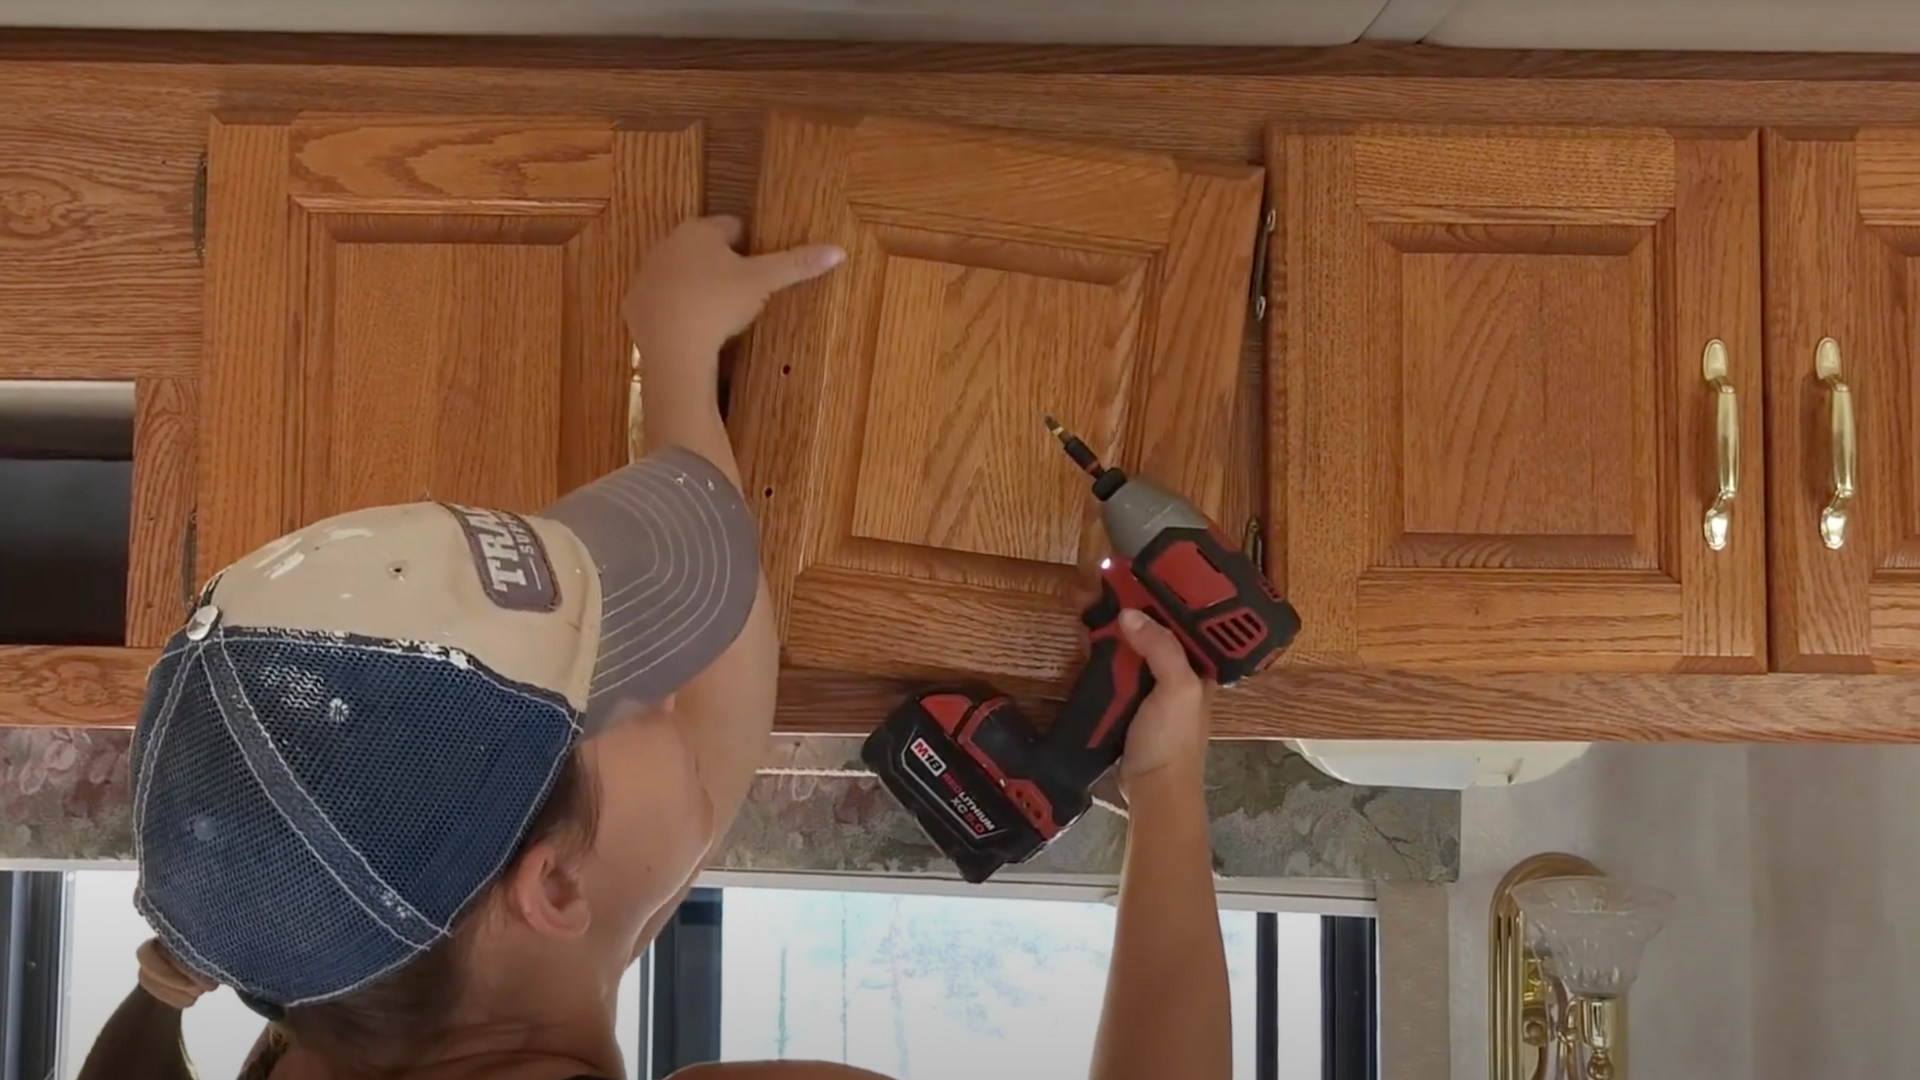
Start by taking off all your RV or camper cabinet doors, shelves, and hardware like handles and hinges. This might feel like a lot of work, but it makes painting much easier and cleaner.
Use a screwdriver and put all the screws, knobs, and hinges into labeled baggies. Write where each door came from (like “top left” or “under sink”) on a piece of painter’s tape and stick it to the back of the door.
This helps you remember where everything goes later. Keeping things organized now will save you a big headache during reassembly.
Step 2: Sand the Surfaces for Better Paint Stick
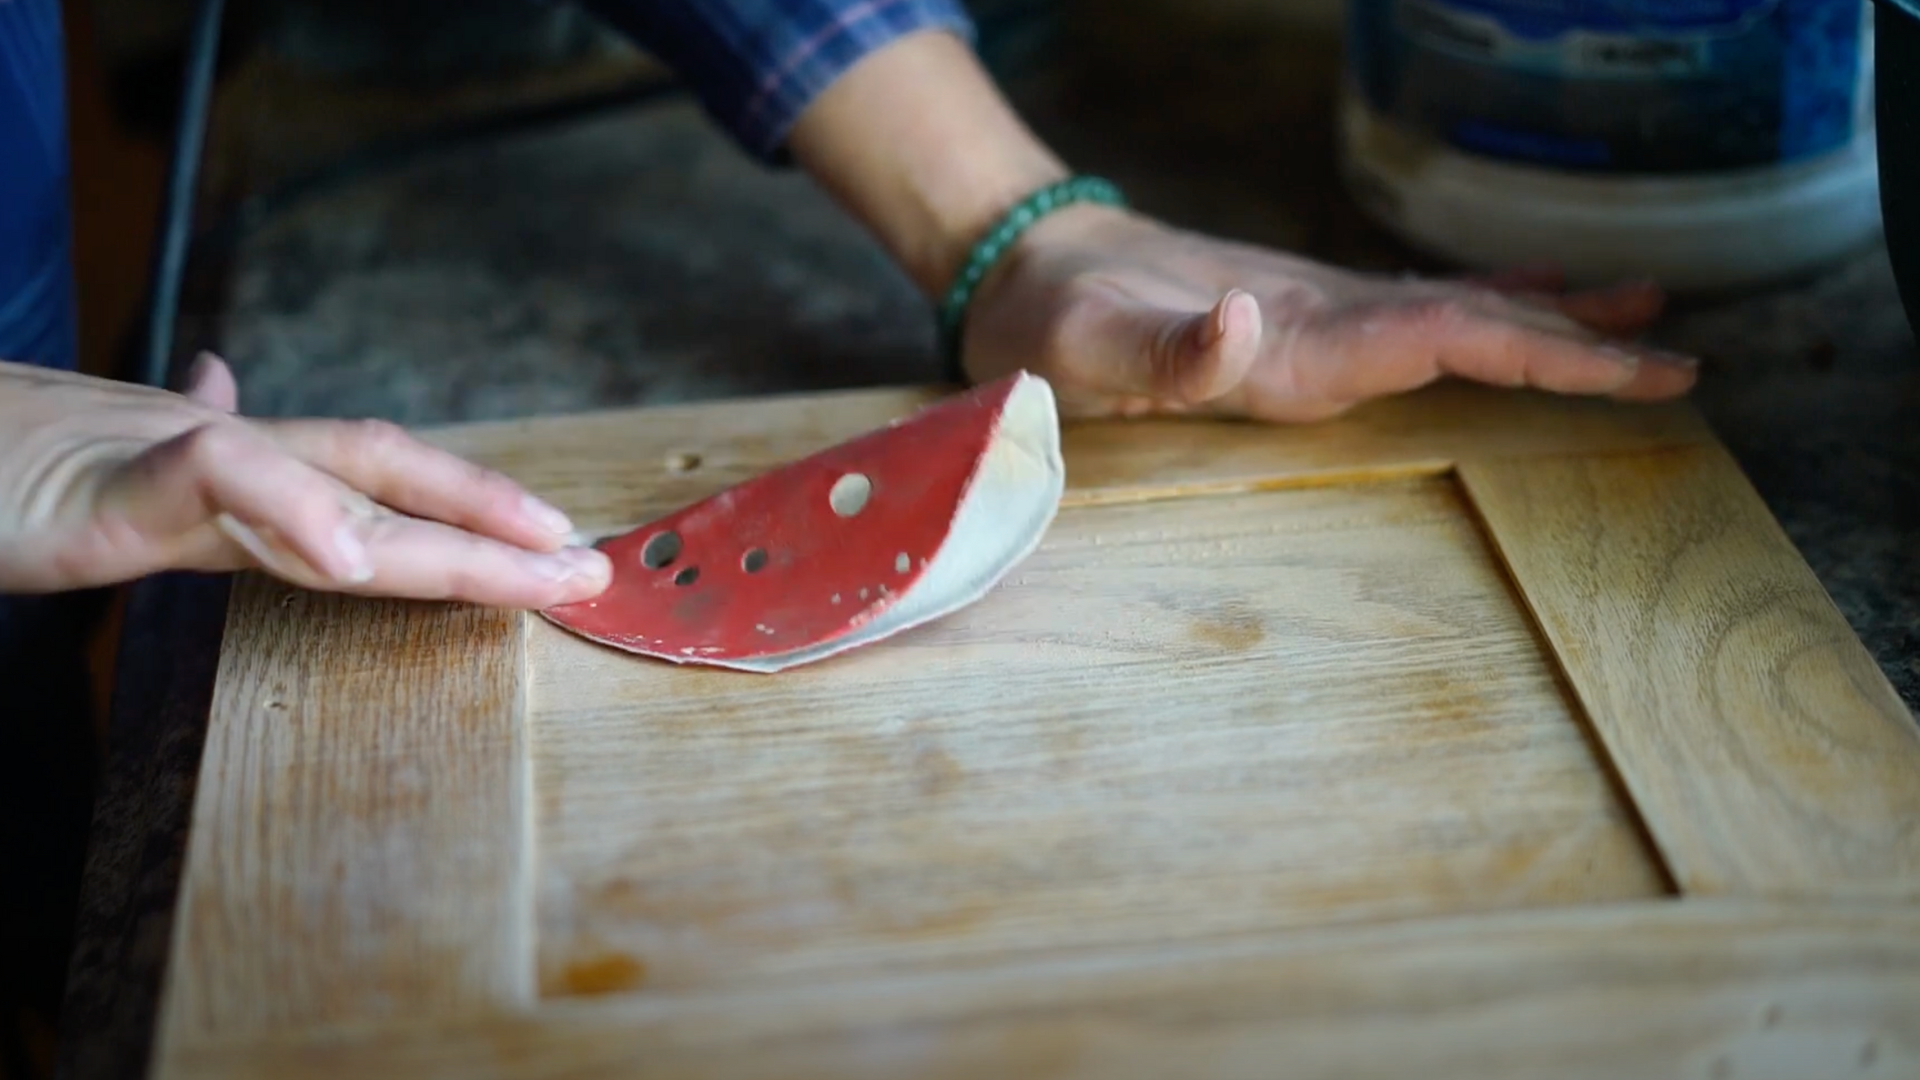
Sanding is a super important step! Most camper cabinets have a slick finish that paint doesn’t stick to well. Use 180- to 220-grit sandpaper to lightly scuff up the surface.
You can use an orbital sander for big flat spots and a small hand sander or folded sandpaper for corners and detailed edges.
If your cabinets have a thin wood veneer, be extra gentle so you don’t sand through it.
The goal is just to roughen the surface a little so your primer and paint will stick better later on.
Step 3: Clean and Degrease Everything
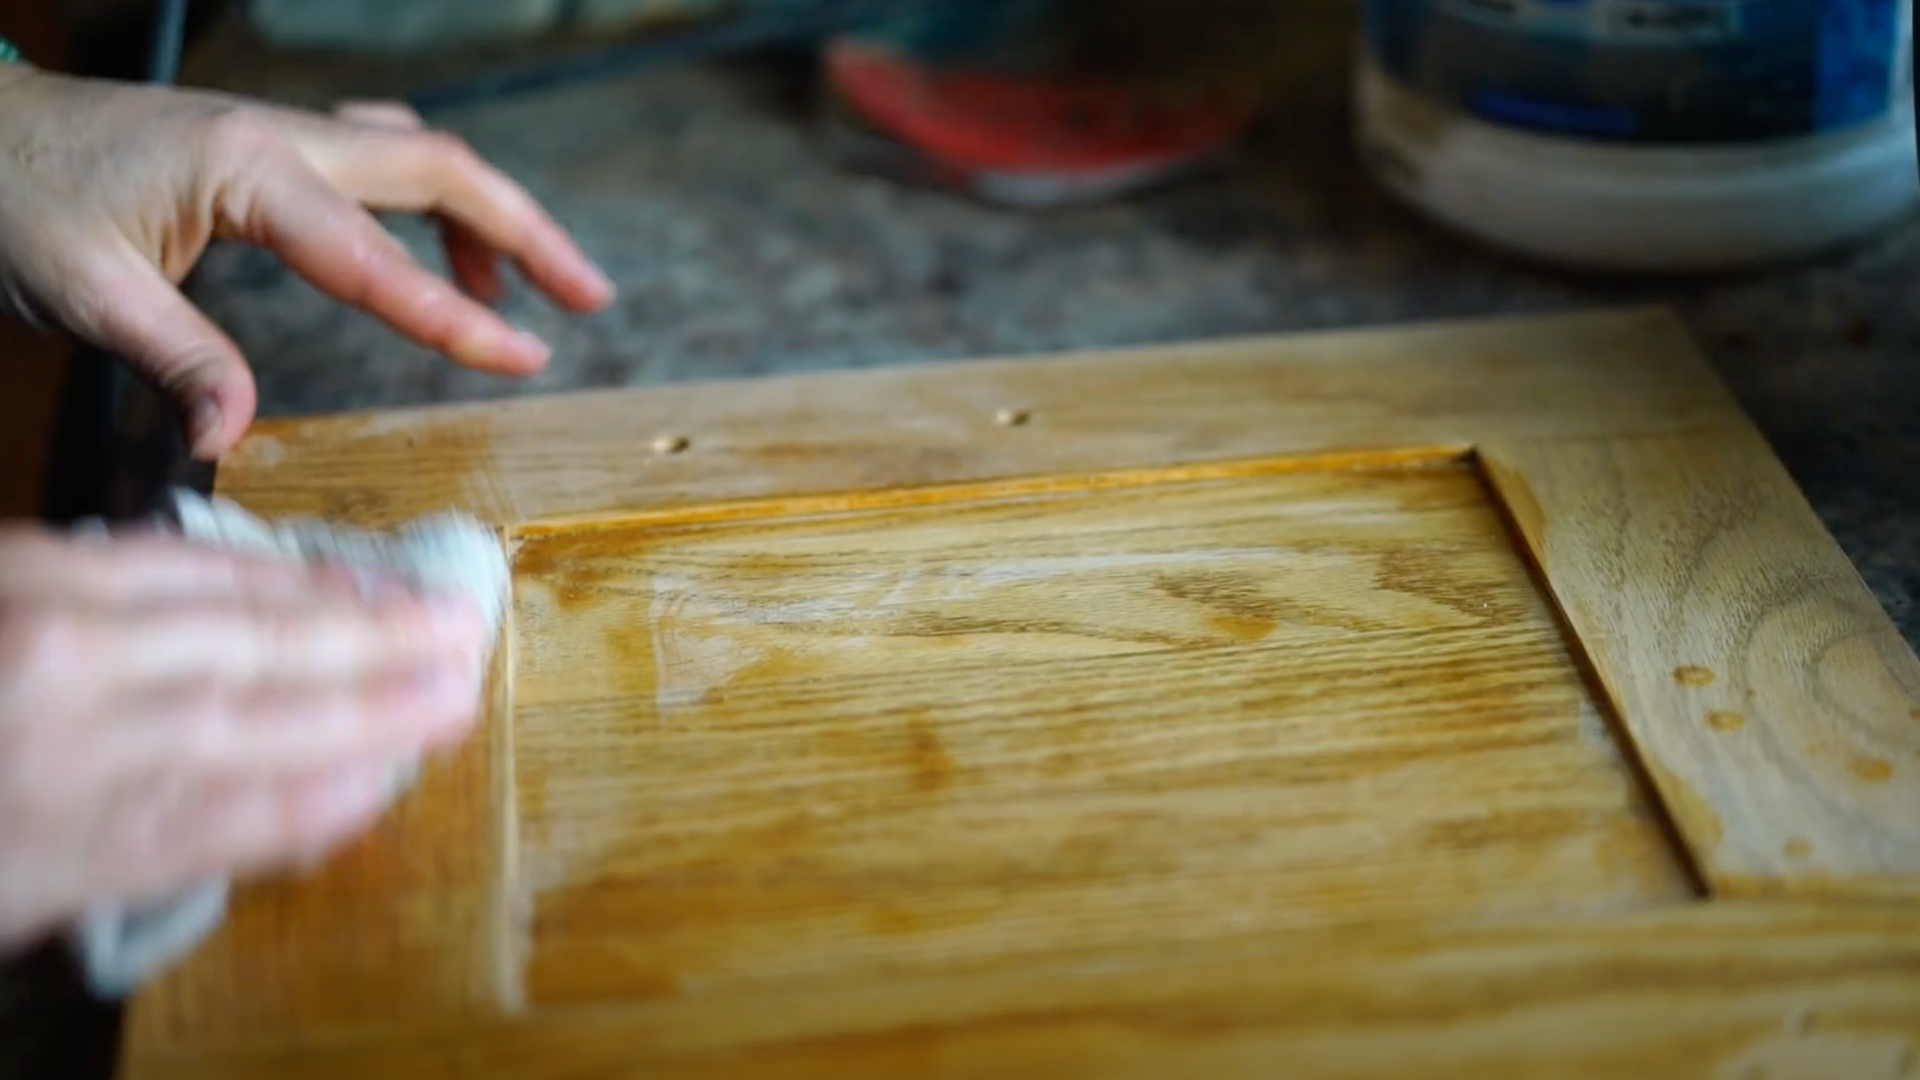
After sanding, it’s time to clean. Cabinets, especially near the stove, can be greasy and sticky. If you skip cleaning, your paint might not stick.
Use a mix of dish soap and warm water or a store-bought degreaser. Wipe down every surface you plan to paint using a soft cloth.
Get into the corners and edges too! Cleaning helps remove dust, grease, and leftover sanding bits. Let everything dry completely before moving to the next step.
A clean surface is the best base for smooth, long-lasting cabinet paint.
Step 4: Mask Off Areas You Don’t Want Painted
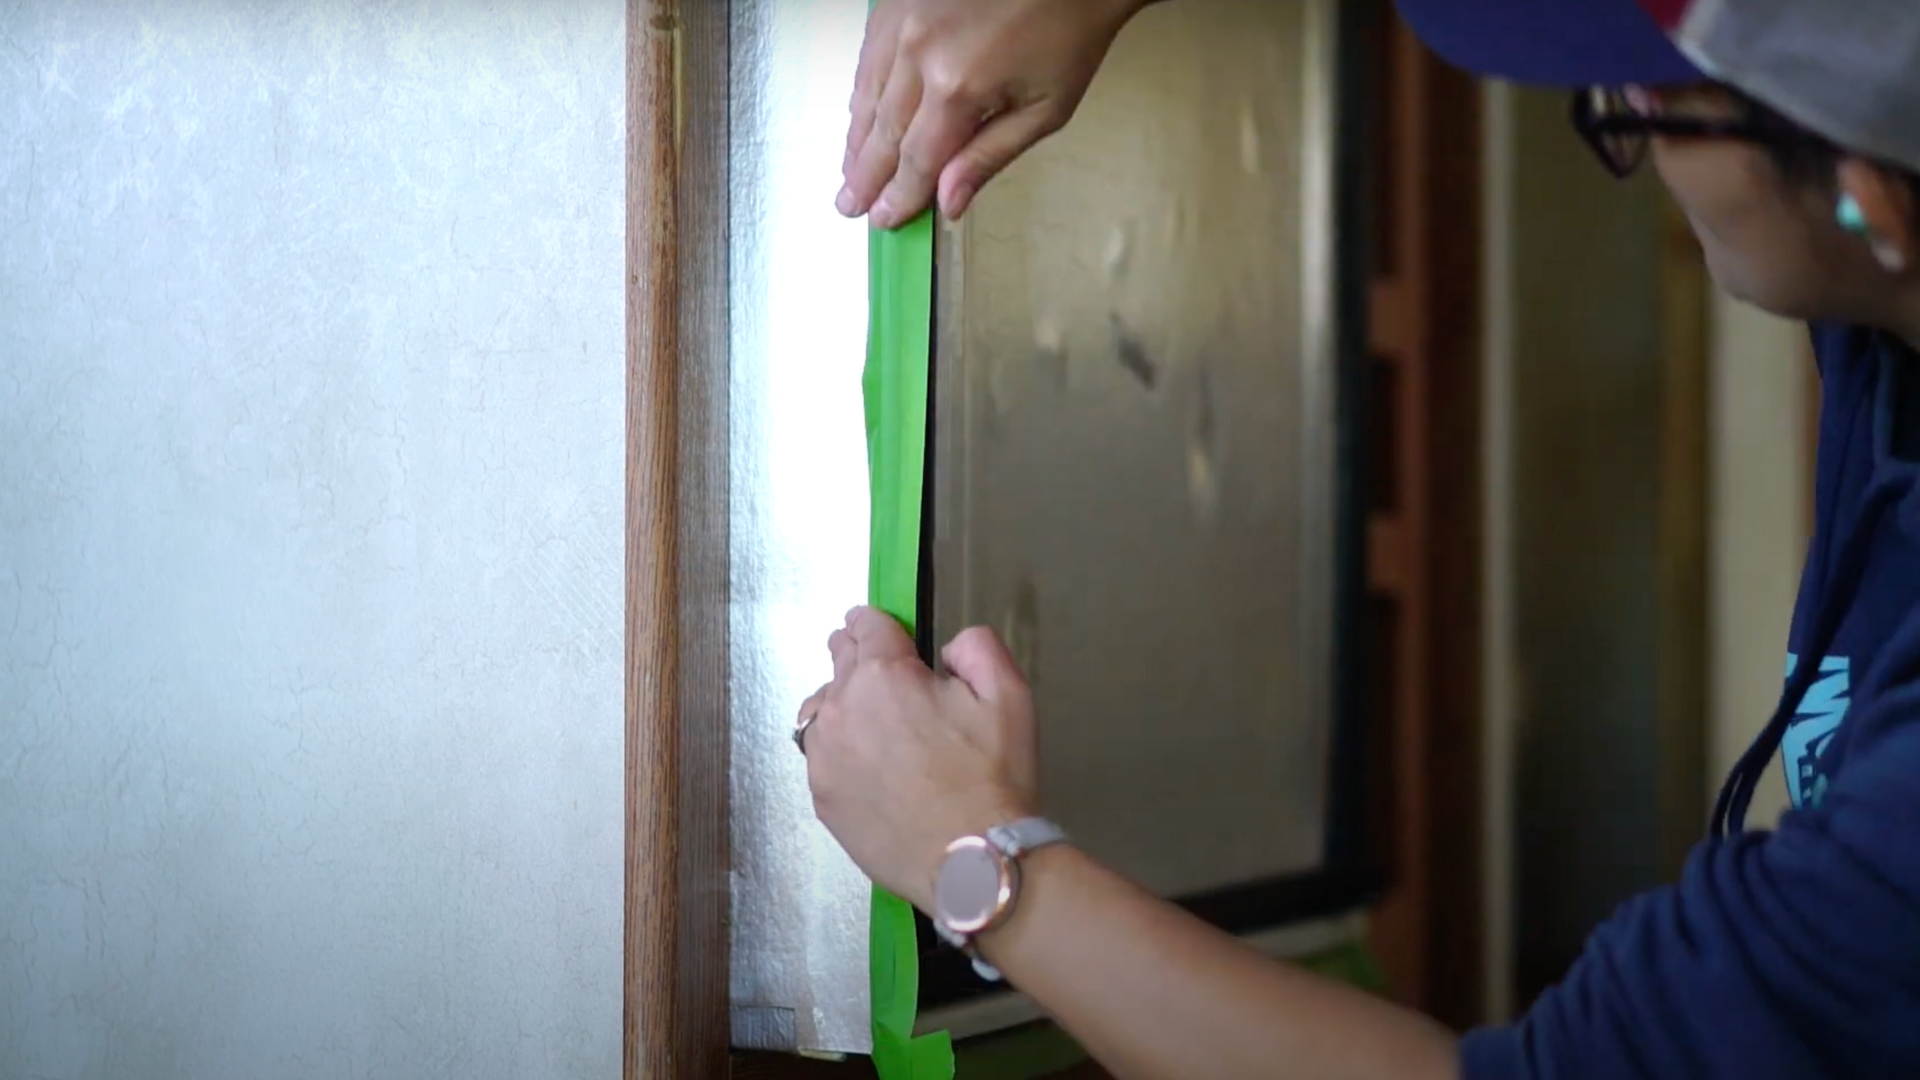
Now it’s time to tape! Use painter’s tape and paper or plastic to cover areas you don’t want paint on.
This includes the inside of cabinets, walls, floors, or nearby counters. A cool trick: if you’re not painting the inside of the doors, tape the inside edge and tuck paper slightly inside for a clean line.
Buy good-quality tape so it sticks well and doesn’t pull off your new paint later.
Taking time to mask carefully makes your project look neat and professional in the end.
Step 5: Prime the Cabinets for a Strong Finish
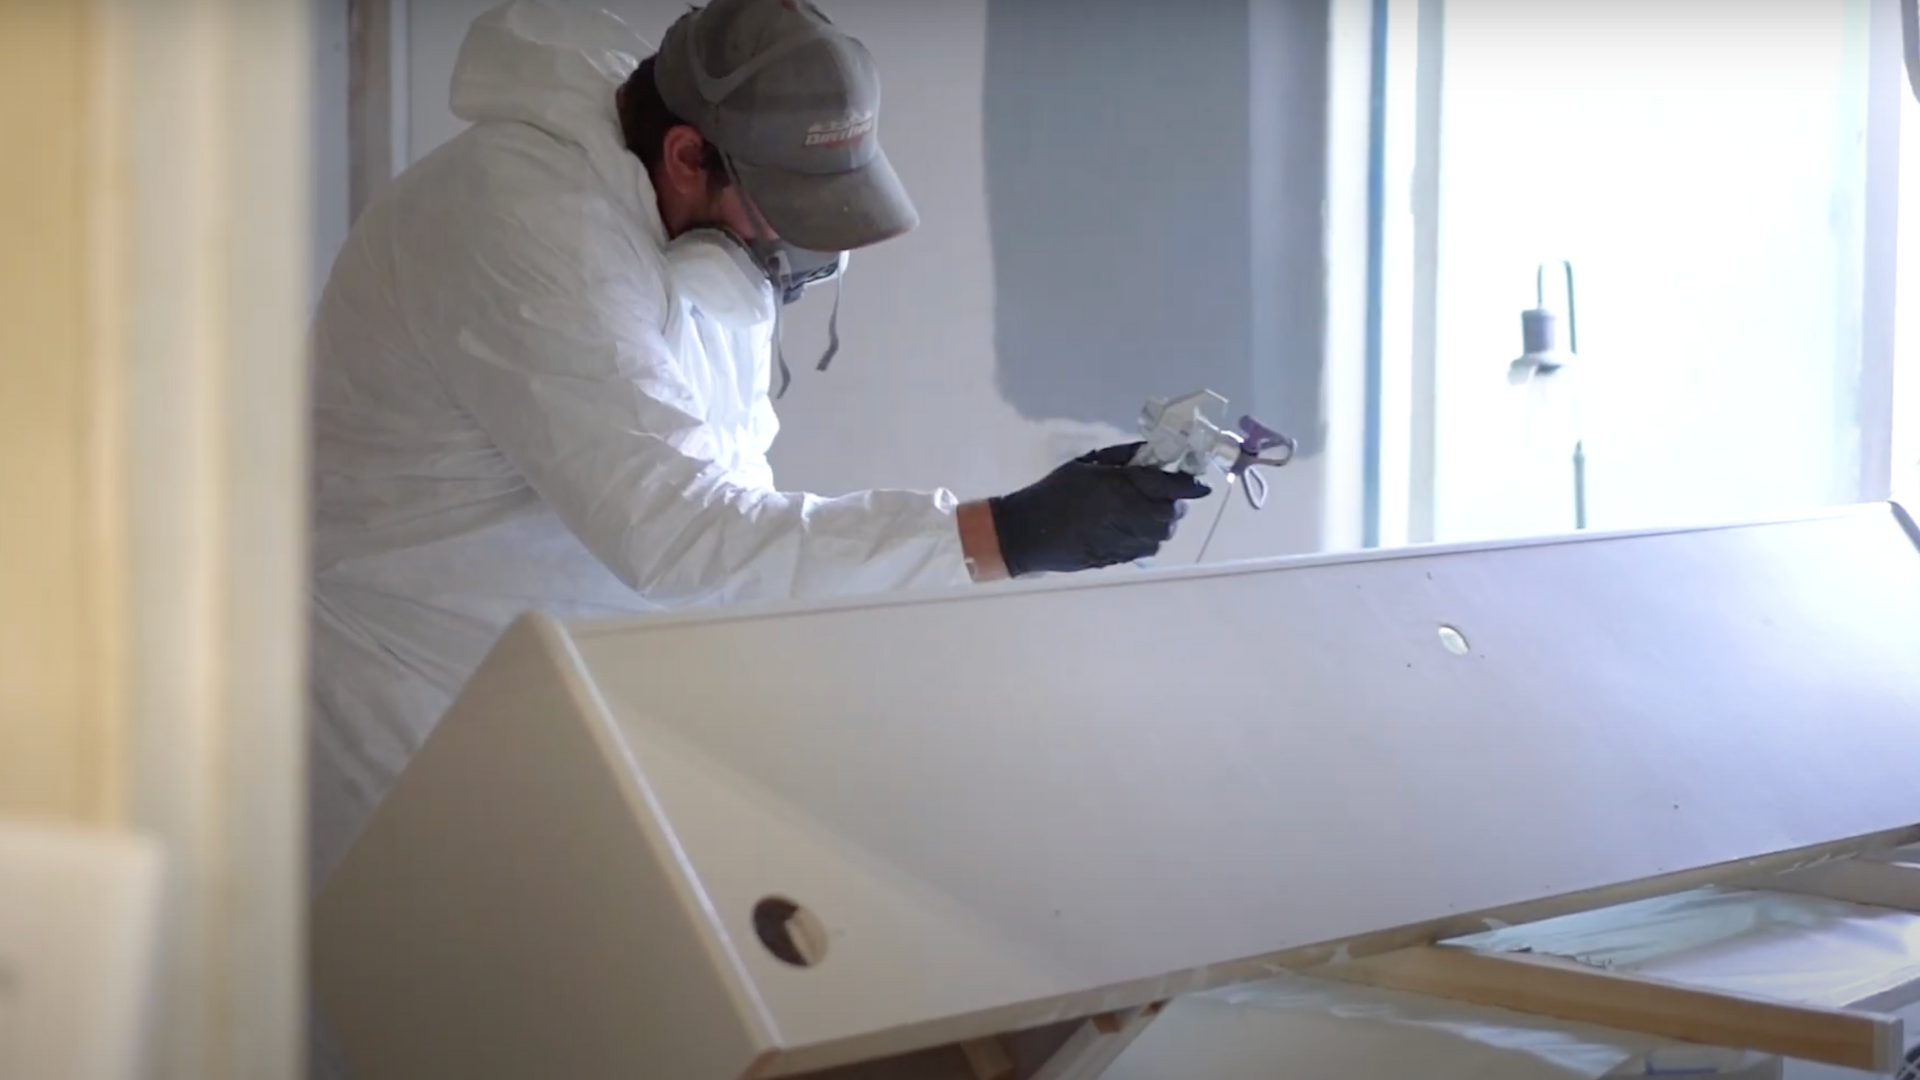
Primer helps your paint stick and gives a smooth surface to work with. Use a bonding or “gripper” primer made for cabinets.
You can apply it with a foam roller or a sprayer. Foam rollers are great if you don’t have a sprayer- they’re easy to use and don’t leave brush marks.
Start by priming the backside of the cabinet doors, let them dry, then flip and prime the front. Prime the cabinet boxes, too.
Make sure to let the primer dry completely before painting. It makes your paint last longer and look better.
Step 6: Apply Your Cabinet Paint
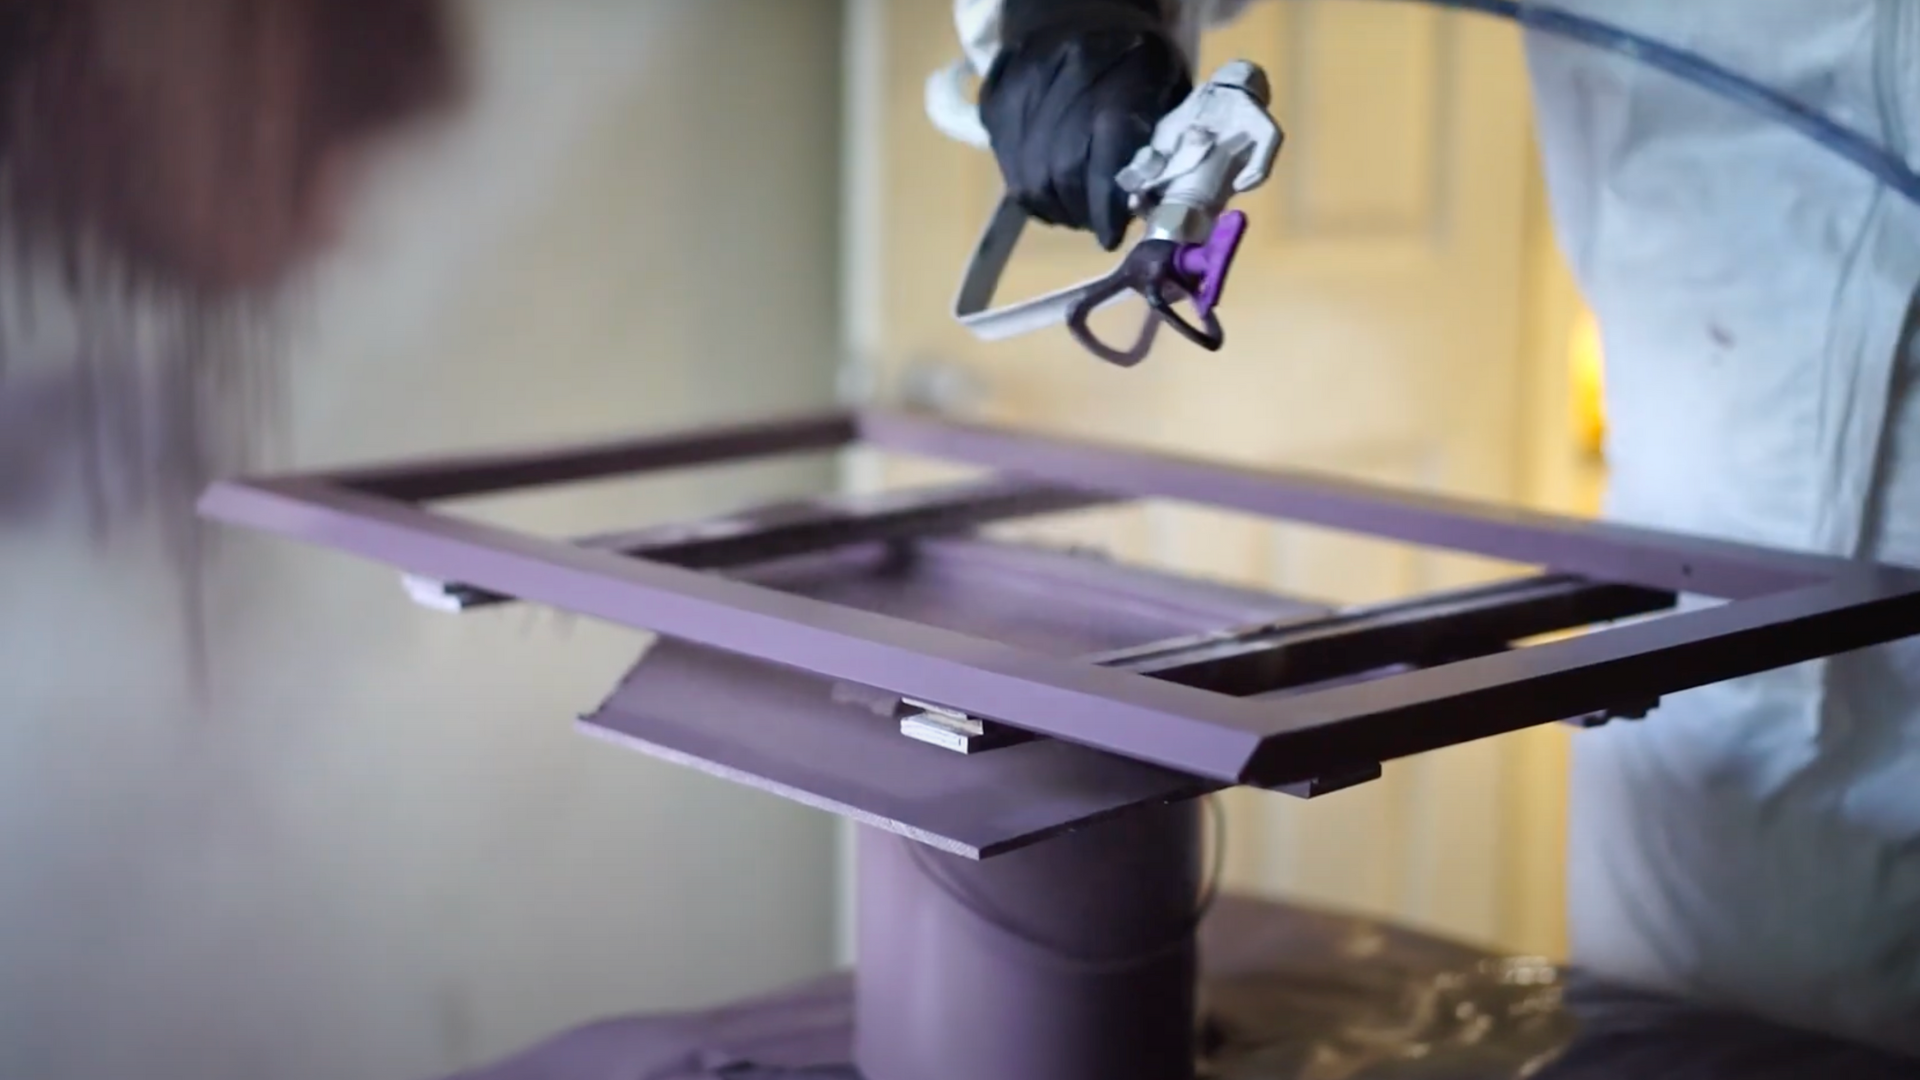
After the primer dries, it’s time to paint! Choose a cabinet paint like Benjamin Moore Scuff-X or another strong paint made for furniture.
Use the same method as the primer-foam roller or sprayer works best. Start with the cabinet boxes, then paint the backs of the doors, let them dry, and finish with the fronts.
Don’t go on thick paint. Use thin, even coats and take your time. Let the first coat dry completely before adding a second coat.
This helps your finish stay smooth and chip-free for the long run.
Step 7: Reinstall Cabinet Hardware and Doors

When everything is fully dry, it’s time to put your camper cabinets back together! Lay a soft blanket on a table to protect your painted doors.
Then, carefully screw the hinges, knobs, and handles back on. If you’re using new hardware, measure the hole spacing from your old handles so everything fits right.
RV cabinets can have smaller sizes than regular kitchen ones, so double-check before buying replacements.
Take your time lining everything up straight.
This last step makes your whole project feel complete and polished.
Step 8: Add Final Touches and Remove Masking
Last step- finishing touches! Stick felt pads to the corners on the inside of each door. This keeps them from slamming shut and protects your new paint.
When removing painter’s tape, use a utility knife to gently cut along the edge between the tape and the painted surface.
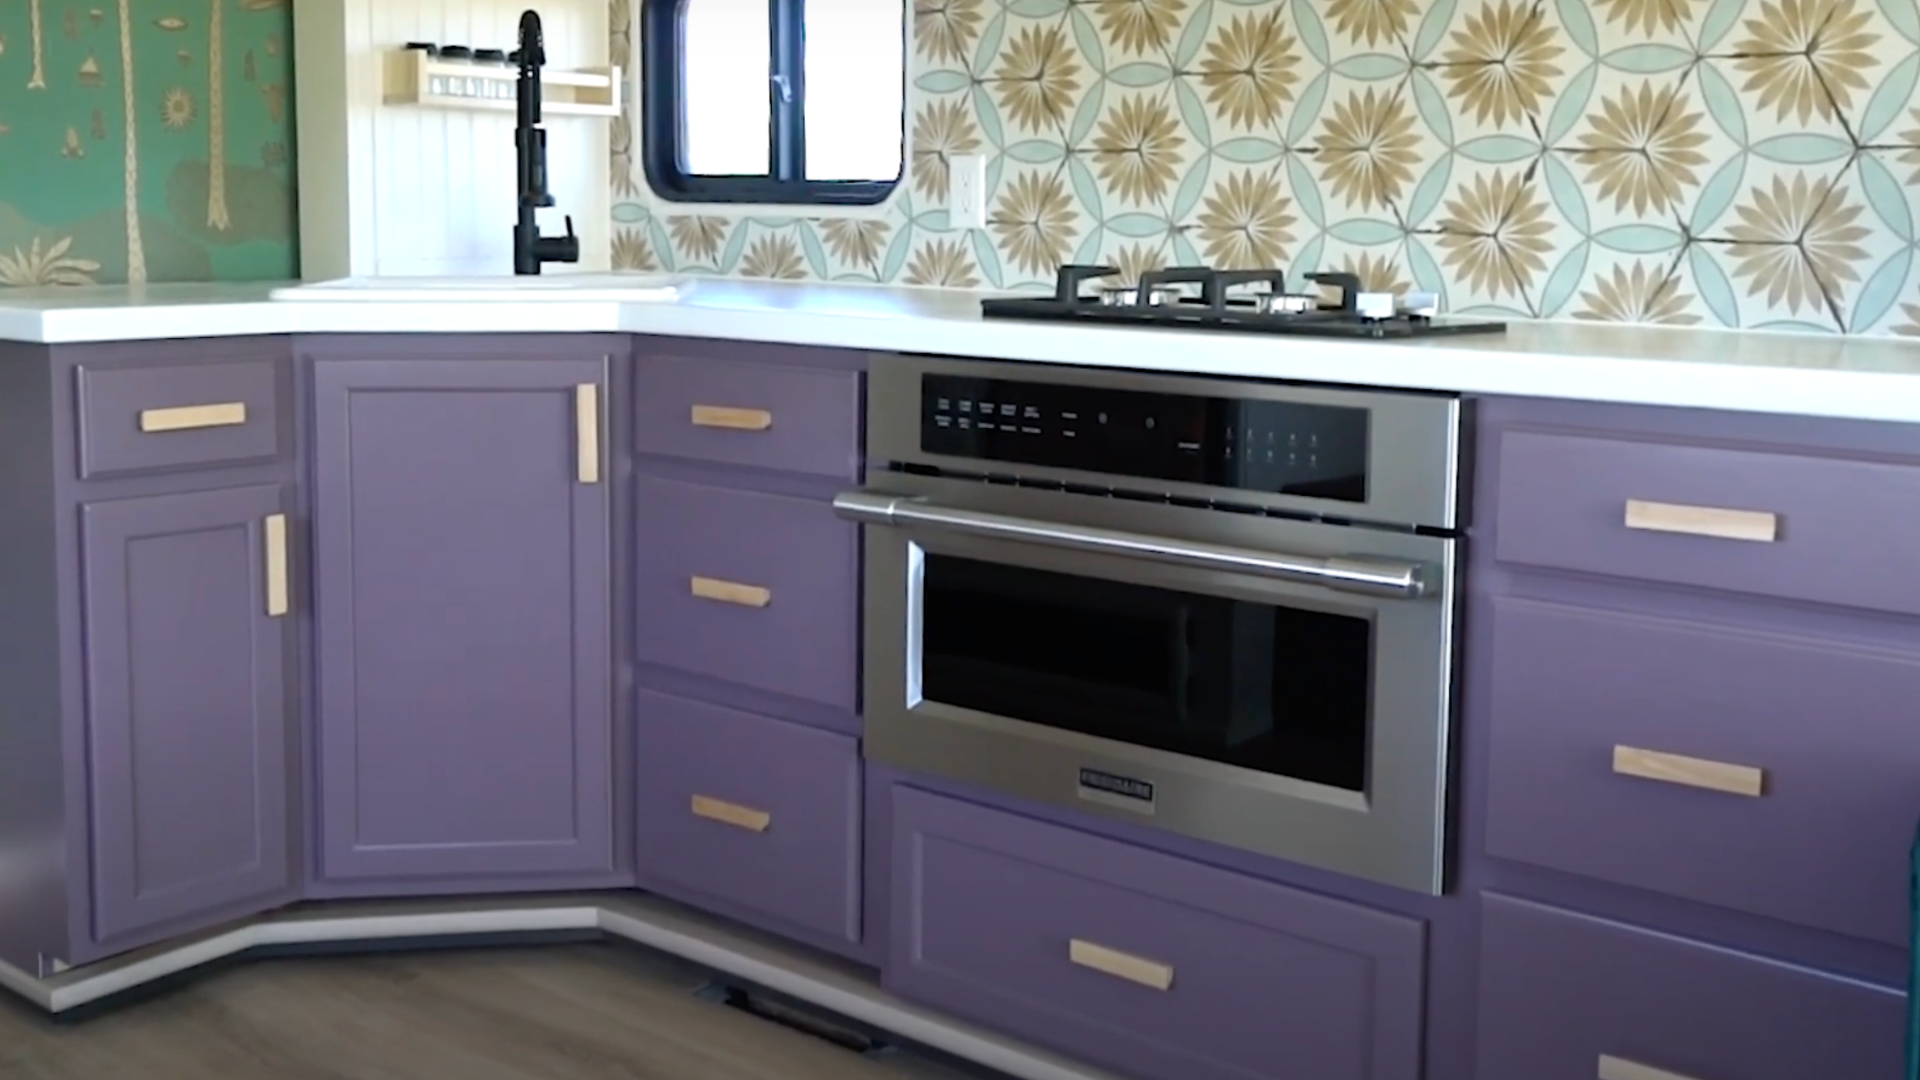
This keeps the tape from pulling paint off with it. Take your time removing the tape and masking. Once it’s all off, step back and admire your freshly painted camper cabinets.
You did, and now your RV looks bright, clean, and completely refreshed!
Want to see how it’s really done? Check out the step-by-step video by @The Flippin’ Tilbys– it’s super easy to follow and will help you feel more confident before you start!
Tips to Make Painting Your Camper Cabinets Easier
Painting camper cabinets might seem overwhelming at first, but with a few smart steps, you can make the process much simpler. Some tips to help everything go more smoothly:
- Label everything: Mark doors, screws, and handles so reassembly is quick and stress-free.
- Take your time: Let each coat of primer or paint dry completely before adding another to avoid smudges or peeling.
- Do a small test first: Try your paint and tools on a hidden area to check the finish and fix any issues early.
- Start small: If you’re feeling unsure, begin with just one cabinet to build confidence.
With a little preparation and patience, painting your camper cabinets can be a rewarding update. Once you see that fresh coat of paint, you’ll be motivated to finish the rest.
Conclusion
When I first thought about painting my camper cabinets, I wasn’t sure if I could really pull it off.
However, once I got started and followed the steps, everything fell into place. It took some time and patience, but the results were totally worth it.
My RV feels brighter, cleaner, and more like home now.
If you’re thinking about doing this project, I say go for it. You don’t need to be a pro; you just need to take it one step at a time.
Label your parts, let the paint dry, and proceed with caution. I made sure to prep everything the right way, and it made a huge difference.
Now, every time I walk into my camper, I smile. I did this myself, and you can too.
So grab your paint and get started, you’ll be surprised how much a fresh coat can change your space!