
Old furniture often has strong bones but a tired finish. Instead of throwing it away, many people choose to refresh it with chalk paint.
Chalk paint has become popular for its soft, matte look and easy application. It can give dressers, tables, and cabinets a clean, updated style without complex tools.
Painting furniture with chalk paint is a practical way to change the feel of a room. The process does not have to feel overwhelming.
With the right approach, even a first project can turn out well. This guide walks readers through the full process step by step, giving them confidence and clear direction.
What is Chalk Paint and Why Use it on Furniture?
Chalk paint is a water-based decorative paint known for its flat, velvety finish. It dries quickly and adheres well to many surfaces, including wood, laminate, and even metal.
Many people choose chalk paint because it usually requires little sanding or priming compared to traditional paints. This makes it a practical option for furniture projects.
The finish has a soft, powdery look that works well with farmhouse, vintage, and modern styles. It creates a smooth, matte surface that can easily be customized.
Chalk paint can also be layered or lightly sanded to achieve a distressed effect.
Chalk paint stands out for several clear reasons:
- It sticks to most surfaces with minimal preparation.
- It dries faster than many standard furniture paints.
- It offers a clean, matte appearance.
- It works well on detailed or carved pieces.
- It allows for simple distressing to achieve an aged look.
For beginners, chalk paint makes furniture refinishing feel more manageable. The thicker texture helps hide small brush strokes.
Tools and Materials Required
| Item | Purpose |
|---|---|
| Chalk paint (any color) | Main paint for the furniture |
| Clear chalk paint wax | Seals and protects the paint |
| Round or oval paintbrush | Applies chalk paint smoothly |
| Small detail brush | Reaches tight corners and grooves |
| Wax brush (optional) | Applies wax evenly |
| Lint-free cloths (several) | Wiping off excess wax and buffing |
| Mild soap and water | Basic surface cleaning |
| TSP (optional) | Removes grease and heavy grime |
| Separate paint container | Keeps the paint can clean |
| Hot water and dish soap | Cleaning wax brushes |
Paint Furniture with Chalk Paint: Step-by-Step Guide
Chalk paint makes furniture updates simple and approachable, and by following these clear steps, you can achieve a smooth, durable finish even on your first project.
Step 1: Clean the Furniture Thoroughly
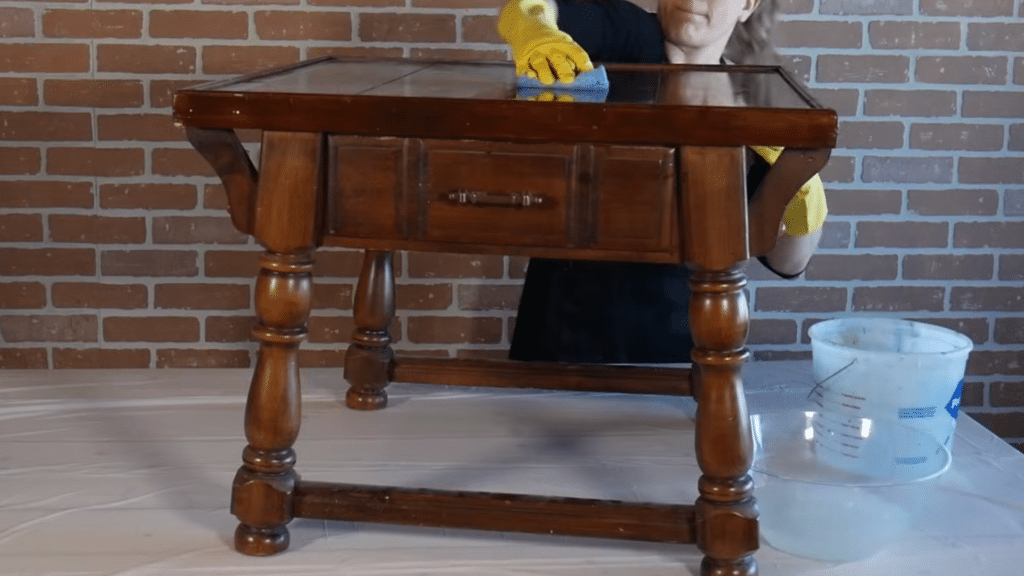
Chalk paint does not require sanding or priming in most cases, but cleaning is essential. Start by wiping the entire piece with warm, soapy water to remove dust and surface dirt.
If the furniture has grease, polish buildup, or heavy grime, use a stronger cleaner such as TSP. Pay attention to corners, edges, and detailed areas where residue tends to collect.
Allow the furniture to dry completely before moving forward. A clean surface ensures the paint bonds properly and creates a smooth, even finish that lasts.
Step 2: Apply the First Coat of Chalk Paint
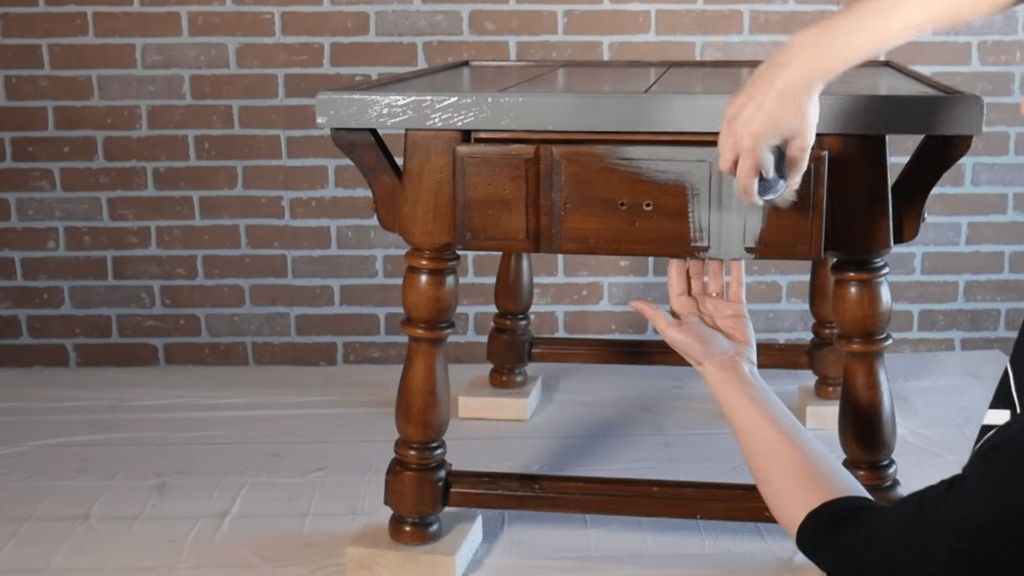
Pour a small amount of chalk paint into a separate container instead of dipping your brush directly into the can. This prevents contamination and keeps the remaining paint clean.
Load your brush lightly, then apply the paint with long, steady strokes. Move the brush in different directions to spread the paint evenly. Avoid overworking the surface.
Chalk paint is forgiving and meant to look slightly textured. Watch for drips and smooth them out while still wet. Allow the first coat to dry for about 30 minutes.
Step 3: Apply the Second Coat for Full Coverage
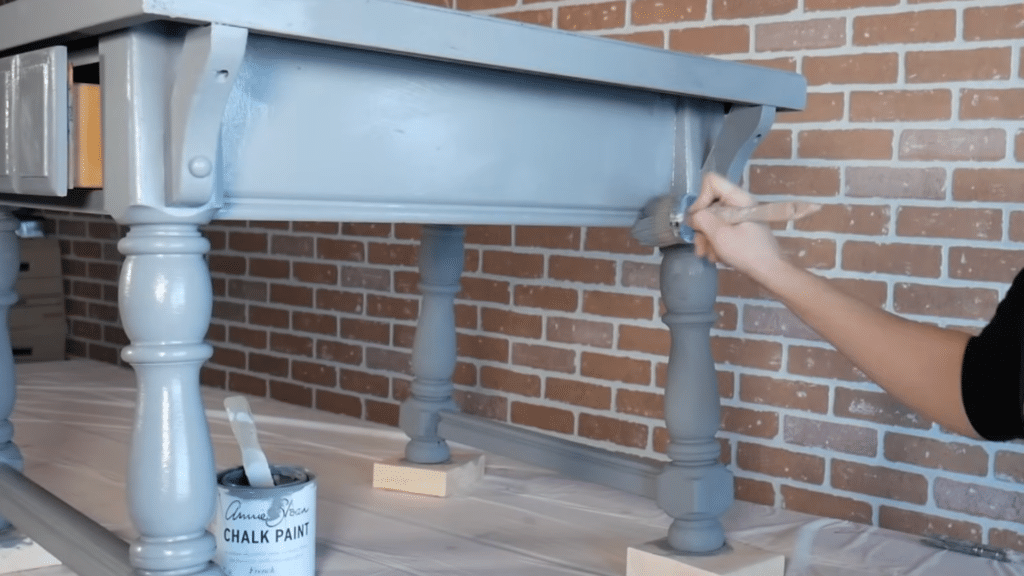
Once the first coat feels dry to the touch, apply a second coat using the same technique. This layer improves coverage and creates a richer, more solid color.
Use consistent pressure and avoid applying the paint too thickly. Most furniture pieces require two coats for even coverage.
If you still notice the original finish showing through, a third thin coat may be added. After finishing the final coat, allow the piece to dry for a few hours so the paint hardens before sealing.
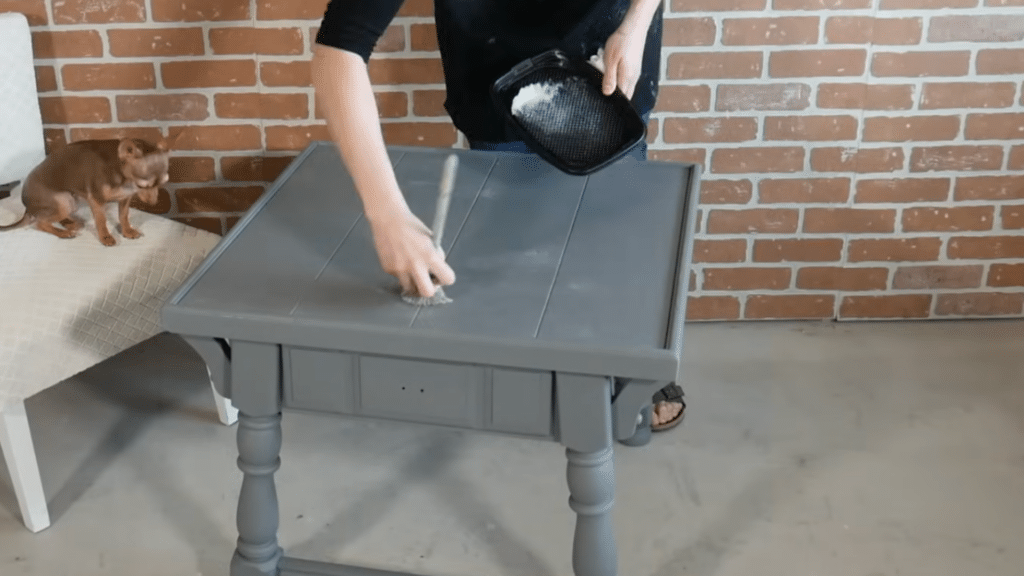
Step 4: Seal the Paint with Clear Wax
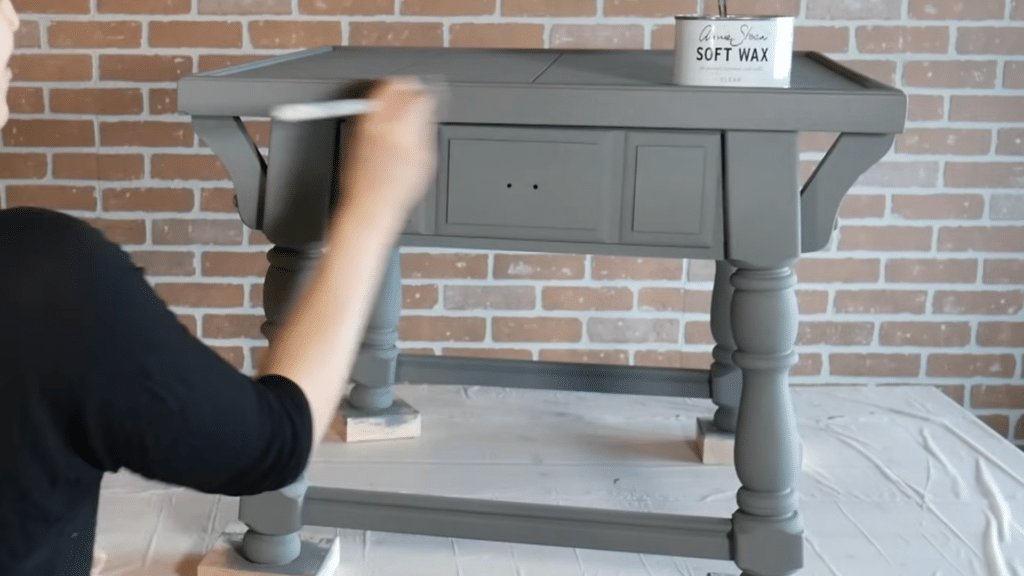
Chalk paint is porous, so sealing it is necessary for durability. Use clear chalk paint wax as your protective topcoat. Apply a small amount of wax to a wax brush or lint-free cloth.
Work in small sections, rubbing the wax into the surface evenly. After coating one section, wipe away excess wax with a clean, dry, lint-free cloth.
The surface should feel smooth, not sticky. Make sure every area is covered, especially corners and edges. This creates a water-resistant and scuff-resistant finish.
Step 5: Allow the Finish to Cure and Maintain It
Although the wax will feel dry to the touch right away, it needs time to fully cure. Allow the furniture to sit undisturbed for a couple of weeks so the finish can reach maximum strength.
During this time, handle it gently and avoid heavy use. Clean your wax brushes with hot water and dish soap to remove residue.
To maintain the finish, dust regularly and wipe up spills quickly. If the surface becomes dull over time, apply a light coat of wax to refresh it.
For a more detailed guide, watch this YouTube tutorial by @DIYDeanna:
Common Mistakes to Avoid
Even though chalk paint is beginner-friendly, small mistakes can affect the final result. Keep these common issues in mind before and during your project:
- Skipping proper cleaning: Dirt, grease, or residue can prevent the paint from sticking well.
- Applying thick coats: Heavy layers can lead to drips, uneven drying, and visible brush marks.
- Overworking the paint: Brushing too much while it dries can create texture problems.
- Ignoring drips: Wet runs are easier to fix immediately than after they dry.
- Rushing between coats: Not allowing enough drying time can cause lifting or streaking.
- Waxing too soon: Applying wax before the paint fully dries may wear through the finish.
- Leaving excess wax: Failing to wipe off extra wax can leave a sticky surface.
- Using lint-heavy cloths: Lint can get trapped in the wax and ruin the smooth finish.
- Skipping the sealer: Unsealed chalk paint is more vulnerable to stains and scratches.
- Using the piece too soon: The finish needs time to cure for full strength and durability.
Is Chalk Paint Right for Every Piece?
Chalk paint works well for:
- Dressers
- Nightstands
- Cabinets
- Side tables
- Decorative shelves
For outdoor furniture, use a topcoat designed for exterior protection. For high-moisture areas, choose a durable sealer to prevent damage.
Final Thoughts
Painting furniture with chalk paint is a practical way to refresh old pieces. The process is direct and manageable when broken into steps. Careful preparation, thin coats, and proper sealing make the biggest difference.
The first project may feel uncertain at the start. With steady hands and patience, the transformation becomes rewarding.
A simple piece can turn into a focal point in the room. Over time, each project builds confidence and skill.
Chalk paint offers flexibility in style and finish. Following the steps in this guide helps ensure the final piece looks intentional, smooth, and built to last.