
Painting over wallpaper can feel like a shortcut, but it can work when done right.
Many people choose this option to save time, avoid mess, or refresh a room fast without tearing walls apart.
Still, it is not always the best move, and mistakes can lead to peeling paint and wasted effort. In this guide, I shared how to paint over wallpaper using clear and simple steps.
You will learn when painting over wallpaper makes sense and when removing it is the smarter choice.
I also shared prep work, tools, common problems, and tips that help the paint hold up longer.
This article is written for homeowners and renters who want clean results without stress. By the end, you will know what to do before picking up a roller and how to get a smooth finish that lasts.
Can You Paint Over Wallpaper Safely?
Yes, you can paint over wallpaper safely, but only in the right conditions.
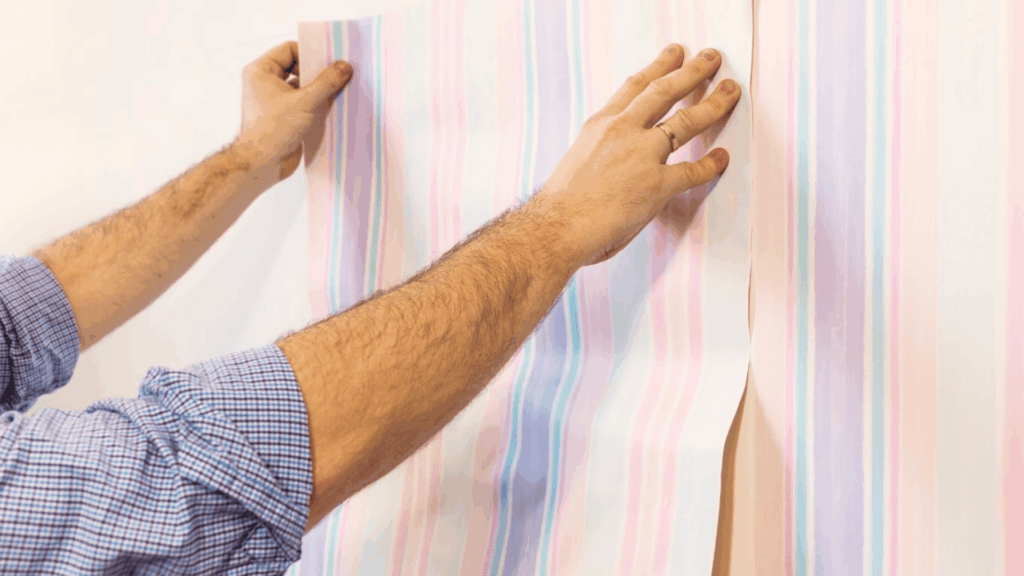
The wallpaper must be firmly attached to the wall with no bubbling, lifting edges, or moisture damage.
If the surface feels smooth and solid, painting is often possible. Clean and dry walls are important, since dust or grease can stop paint from sticking.
You also need to fix loose seams and small tears before starting. Using the right primer matters just as much as the paint.
Oil-based or shellac primer helps seal the wallpaper and keeps patterns from bleeding through.
Painting over wallpaper works best in low-humidity rooms like bedrooms or living areas. It is not a good idea in bathrooms or kitchens with steam.
When these conditions are met, painting can be a safe and practical option for many homeowners willing to prepare carefully first.
Supplies Needed to Paint Over Wallpaper
Having the right supplies makes the job easier and helps the paint last. This list covers prep, sealing, and painting for clean results.
- Drop Cloths or Plastic Sheets: Protect floors and furniture from spills and splatter.
- Mild Cleaner and Sponge: Removes dust, grease, and residue from the surface.
- Putty Knife: Presses down loose seams and smooths small tears.
- Joint Compound or Spackling Paste: Fills gaps, seams, and minor wall damage.
- Fine-Grit Sandpaper: Smooths, repairs, and dulls the surface for better grip.
- Oil-Based or Shellac Primer: Seals wallpaper and blocks patterns from showing through.
- Paint Roller and Tray: Helps apply paint evenly across large areas.
- Angled Paint Brush: Makes cutting in corners and edges easier.
- Interior Wall Paint: Choose a finish that fits the room and use.
How to Paint Over Wallpaper?
Following the right order helps avoid peeling, bubbles, and uneven paint. Each step builds on the last, so do not rush the process.
Step 1: Clean and Inspect the Wallpaper
Start by cleaning the wallpaper with a mild cleaner and a damp sponge. This removes dust, grease, and residue that can block adhesion.
Let the wall dry fully before moving on. Take time to inspect the surface closely.
Look for loose seams, bubbles, or peeling edges. Small problems may seem harmless, but paint will highlight them later. Press down on any lifting areas and mark spots that need repair.
A clean, solid surface is the base for everything that follows.
Step 2: Repair Seams and Damage
Fixing problem areas helps the wall look smooth after painting. Use a putty knife to apply joint compound or spackling paste over seams, small tears, and dents.
Keep layers thin so they dry evenly. Let the repairs dry fully, then lightly sand the area until it feels smooth to the touch.
Wipe away dust with a clean cloth.
Skipping this step often leads to visible lines or rough patches once paint goes on, especially in bright light.
Step 3: Sand the Surface Lightly
Light sanding helps the primer grip the wallpaper better. Use fine-grit sandpaper and apply gentle pressure.
You are not trying to remove the wallpaper, only dull the surface and smooth repaired spots. Focus on seams and patched areas first.
After sanding, wipe the wall with a damp cloth to remove dust.
Let it dry fully. This step may feel small, but it helps prevent peeling and improves how even the final paint looks.
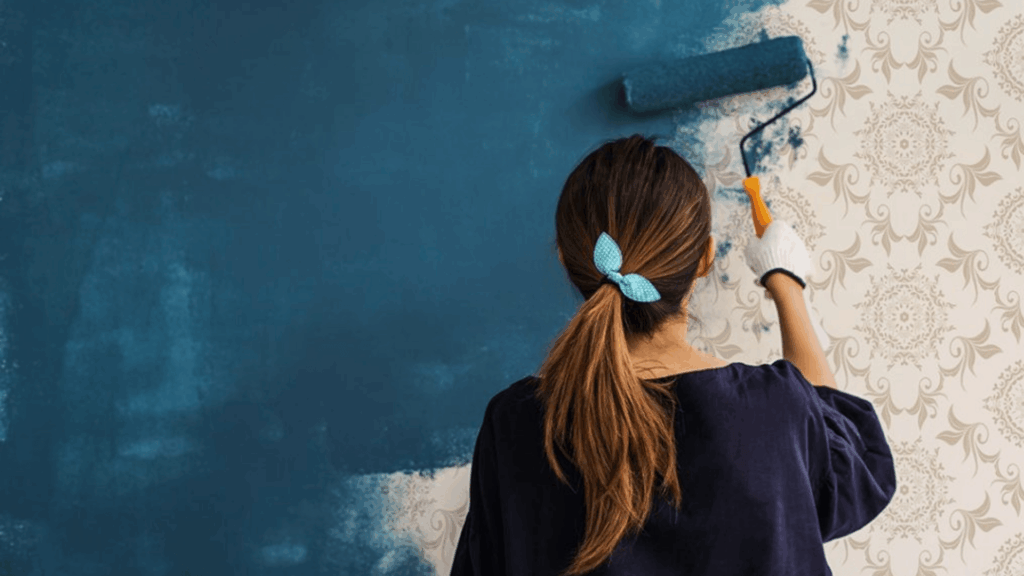
Step 4: Apply the Right Primer
Primer is one of the most important steps. Use an oil-based or shellac primer to seal the wallpaper and block patterns or glue stains.
Apply it evenly with a roller, then use a brush for corners and edges.
Avoid heavy coats, which can soak the paper and cause lifting.
Let the primer dry as long as the label suggests. A proper primer creates a stable surface so the paint stays smooth and holds longer.
Step 5: Paint with Care and Patience
Once the primer is fully dry, you can start painting. Use interior wall paint suited for the room.
Apply the first coat evenly and avoid overloading the roller. Let it dry fully before adding a second coat. Two thin coats work better than one thick one.
Watch for bubbles or lifting as you work and stop if you notice issues.
Taking your time during painting helps the finish look clean and last longer.
When Painting Over Wallpaper Works Best?
Painting over wallpaper can be a smart choice in the right setup. The key is checking the wall condition before you commit.
- Wallpaper Is Firmly Attached: The paper sits flat with no bubbles, loose edges, or peeling seams.
- Surface Is Smooth and even: Flat wallpaper without heavy texture gives better paint coverage.
- Wallpaper Is Thin: Thin paper is easier to seal and less likely to show lines.
- No Moisture or Mold Issues: Dry walls help paint stick and last longer.
- Room Has Low Humidity: Bedrooms, living rooms, and offices work better than steamy spaces.
- You plan to use a proper primer: Sealing the surface helps block patterns and improves adhesion.
- You want a Faster Update: Painting saves time when full removal is not practical.
When Should You Remove Wallpaper First?
Removing wallpaper first is the better choice in certain situations. If the wallpaper is loose, bubbling, or peeling, paint will not hold well and may crack or lift.
Walls with water damage or mold should never be painted over, since moisture problems will keep spreading.
Heavily textured or thick wallpaper can show seams and patterns even after painting.
You should also remove wallpaper if there are multiple layers, as paint will not seal them evenly. Old wallpaper with weak glue may pull away once it gets wet from primer or paint.
Bathrooms and kitchens with high humidity are another concern, since steam can loosen painted wallpaper over time.
In these cases, removal takes more effort upfront but leads to cleaner walls and longer-lasting paint results overall. It can also be a good opportunity to switch to Sustainable wallpaper if you want an eco-friendly and modern alternative.
Pros and Cons of Painting Over Wallpaper
This side-by-side view makes it easier to weigh your options. Use it to decide if this approach fits your walls and timeline.
| Pros | Cons |
| Saves time compared to full wallpaper removal | Paint may peel if the paper is not secure |
| Less mess and dust during the project | Seams and texture can still show through |
| Lower cost since removal tools are not needed | Moisture can loosen wallpaper over time |
| Works well when the wallpaper is smooth and intact | Not ideal for bathrooms or kitchens |
| Quick way to update a room’s look | Future wallpaper removal becomes harder |
| Can hold up well with a proper primer | Mistakes are harder to fix later |
How Long Does Painted Wallpaper Last?
Painted over wallpaper can last several years when done the right way. The biggest factor is the condition of the wallpaper before painting. A paper that is flat and secure holds paint much longer.
Using a proper primer also plays a major role, since it seals the surface and prevents peeling.
Room type matters too. Low-humidity areas help paint stay intact, while steam can shorten its life.
Over time, signs like cracking, peeling, or visible seams may appear. These often mean the wallpaper is loosening under the paint. Fading paint or small bubbles are also warning signs.
In many homes, painted wallpaper can last five to ten years with good prep and stable conditions.
If problems show early, repainting may not fix them. Removing the wallpaper may be the better long-term solution at that point.
Final Tips for a Smooth Finish
Small details can make a big difference in how the wall looks. These tips help avoid common problems and improve results.
- Test a Small Area First: Check for bubbling or peeling before committing to the full wall.
- Use Thin, Even Coats: Heavy layers can soak the wallpaper and cause lifting.
- Let Each Layer Dry Fully: Rushing leads to poor adhesion and uneven texture.
- Avoid High-Humidity Days: Dry conditions help paint and primer set properly.
- Roll in One Direction: Keeps the finish even and reduces visible lines.
- Watch Seams as You Work: Stop and fix lifting areas right away.
- Use Quality Tools: Good brushes and rollers improve coverage and control.
Conclusion
Painting over wallpaper can work well when you take the time to do it right. The key is knowing what your walls can handle and not skipping the prep steps.
Clean surfaces, solid repairs, and the right primer make a big difference in how the paint looks and how long it lasts.
In some cases, removal is still the better choice, and that is okay too.
What matters most is choosing the option that fits your space, time, and comfort level. If you slow down and follow each step carefully, you can avoid common problems and get results you feel good about.
Every wall is a little different, and real experiences help others decide.
If you have painted over wallpaper before, share what worked for you or what you would do differently in the comments below.