
Tired of your outdated kitchen cabinets but can’t afford to replace them? You’re not alone. In this guide, I’ll walk you through each step to transform those worn wood cabinets into something beautiful, without hiring expensive professionals.
I’ve painted dozens of cabinets over 15 years of home renovations, making every mistake possible so you don’t have to. You’ll learn exactly what supplies to buy, how to prep surfaces properly, and techniques that ensure a smooth, lasting finish.
Many DIY cabinet painting jobs fail because of poor preparation or using the wrong products. That won’t happen to you. By the end of this article, you’ll have the knowledge to tackle this project confidently, save thousands of dollars, and end up with cabinets that look factory-finished.
Let’s turn those eyesores into showstoppers!
How to Know If Your Cabinets Are a Good Candidate for Paint
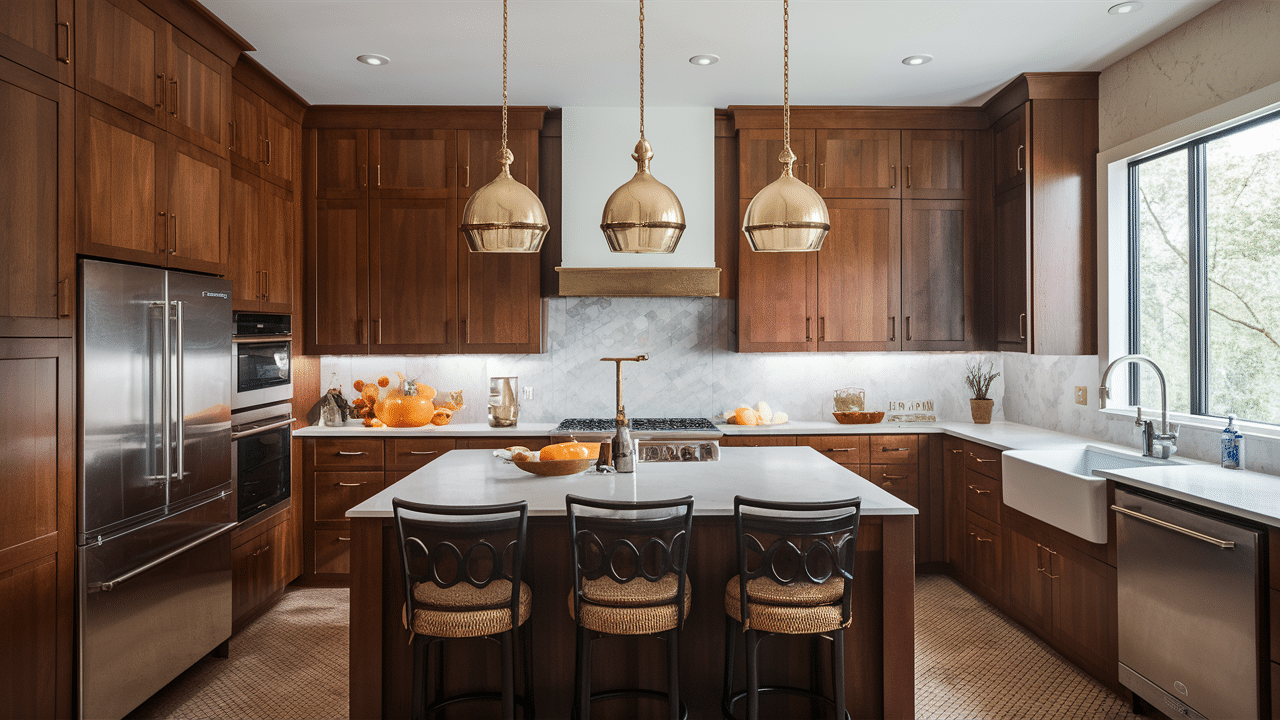
I’ve seen too many homeowners replace cabinets that just needed a fresh coat of paint. Not every kitchen needs a complete overhaul!
Your cabinets might be perfect for painting if:
- They’re made of solid wood or wood veneer – these surfaces accept paint beautifully
- They’re structurally sound – no major warping or damage
- You like your current layout – why change what works?
Paint laminate cabinets only if you’re committed to using a special bonding primer. Even then, the results can be disappointing.
Before you grab that paintbrush, take a close look at your cabinets.
Do you see:
- Peeling finishes?
- Water damage?
- Warped wood?
Fix these issues first! Paint won’t hide structural problems.
The good news is that if you’re happy with your cabinet layout and they’re in decent shape, a fresh coat of paint can transform your kitchen for a fraction of replacement costs.
What You’ll Need: Tools and Materials
I’ve painted dozens of cabinets, and having the right supplies makes all the difference. Don’t start without these basics!
Paint and Primer
- Paint – I recommend satin or semi-gloss finishes for cabinets
- Primer – Get an oil-based or shellac primer to block stains
- You’ll thank me later when those food stains don’t bleed through!
Cleaning and Prep Tools
- Strong degreaser to cut through kitchen grime
- Various grits of sandpaper (120, 150, and 220)
- Tack cloth to wipe away dust before painting
Application Tools
- Quality paintbrushes for edges and details
- Small foam rollers for flat surfaces
- A paint sprayer gives the smoothest finish, but it’s optional
Protection Items
- Painter’s tape to protect walls and counters
- Drop cloths because drips happen to everyone
Hardware Management
- Screwdriver to remove all hardware
- Small plastic bags and labels to keep track of screws
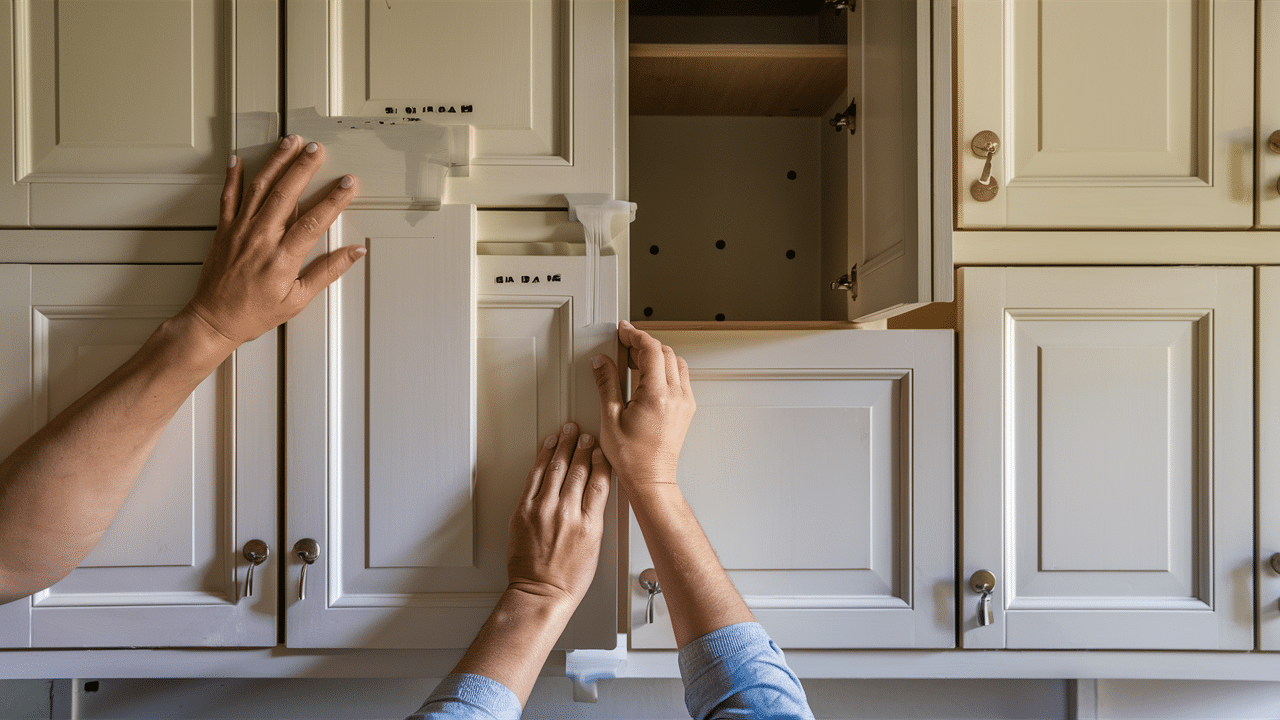
Remember: Remove ALL hardware before painting. No shortcuts here!
The right tools might seem like a big investment, but they’ll save you time and frustration. Trust me on this one.
Your Cabinet Painting Game Plan: Every Step Made Simple
Step 1: Prep Like a Pro
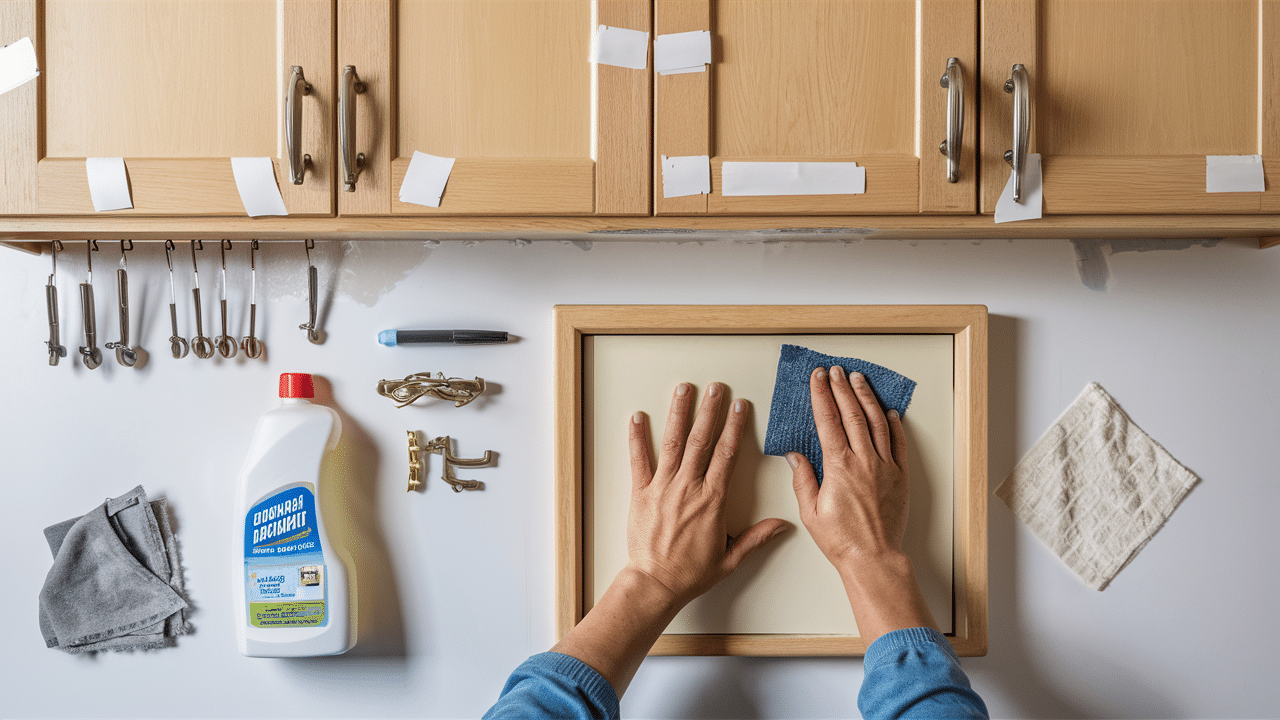
I can’t stress this enough: proper prep determines your success.
Here’s what you need to do:
- Take off all cabinet doors, drawers, and hardware
- Use masking tape and a marker to label everything
- Clean every surface with a strong degreaser
- Sand lightly with medium-grit sandpaper
- Wipe away all dust with a tack cloth
Why all this work? Because paint won’t stick to grease, dust, or glossy surfaces. Trust me—rushing through prep will ruin your results.
Step 2: Prime the Right Way
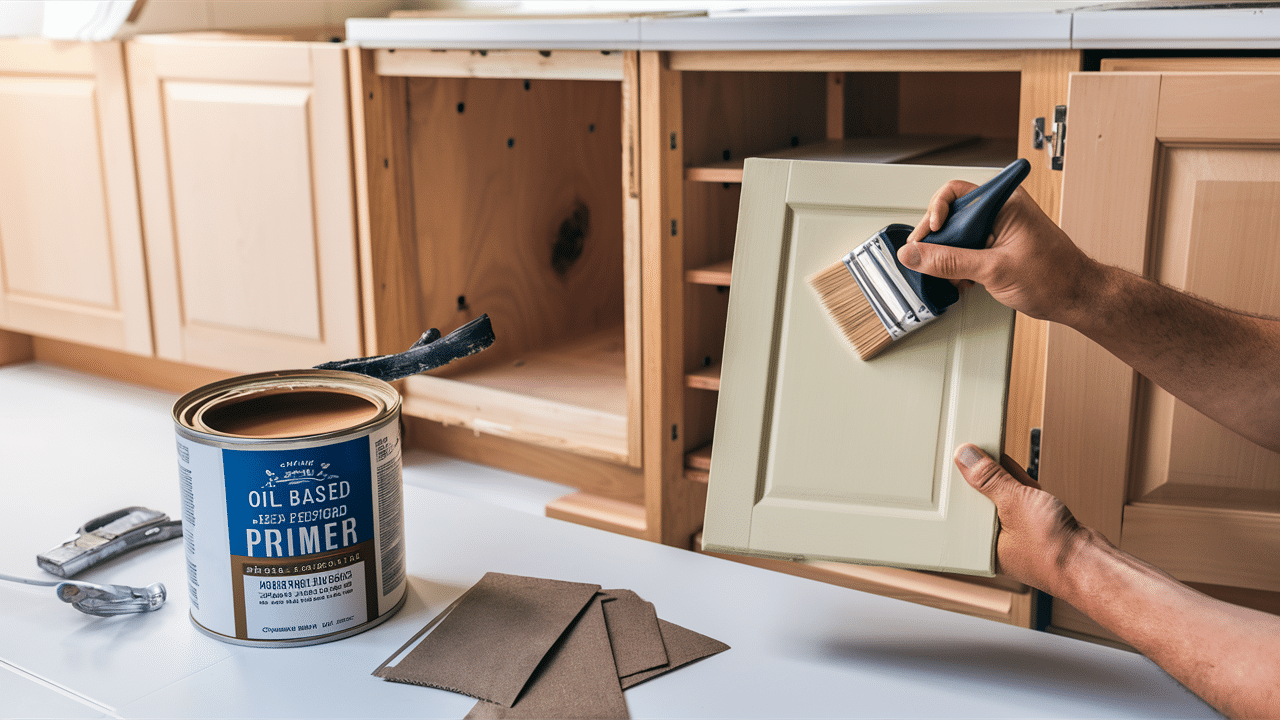
Primer isn’t optional. It’s your secret weapon for a professional finish.
- Choose oil-based or shellac primer for wood cabinets
- Apply thin, even coats with a quality brush
- Let each coat dry completely (check the can for timing)
- Lightly sand between coats with fine-grit paper for an ultra-smooth finish
A good primer means fewer paint coats and better adhesion. Don’t skip this step!
Step 3: Time to Paint
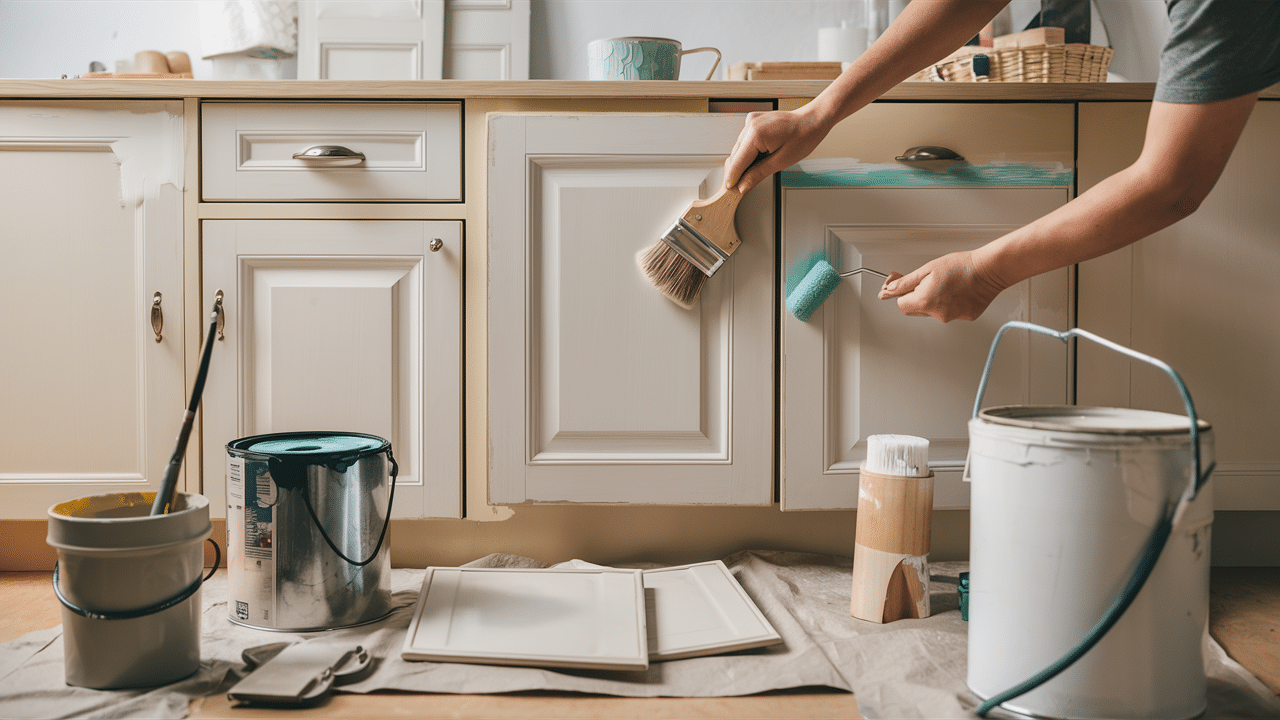
Now for the fun part! But patience is still key.
- Apply in thin coats—thick paint leads to drips and bubbles
- Use a brush for corners and details
- Switch to a roller for flat surfaces
- Wait the full drying time between coats
- Plan on two coats minimum for solid coverage
Thin, even layers always beat one thick coat. Always.
Step 4: Finishing Touches
You’re almost there! These final steps make all the difference:
- Carefully check for drips or missed spots in good lighting
- Let everything cure for 3-7 days before heavy use
- Reattach hardware and doors according to your labels
- Add small bumper pads where doors meet frames to prevent sticking
Patience during curing prevents damaged finishes and disappointment.
Pro Tips for a Flawless Finish
Hey, want to know what really takes your cabinet painting from “DIY job” to “wow, did you hire someone?” It’s these little tricks!
You might be tempted to stick with brushes and rollers, but if you’re after that ultra-smooth finish, a paint sprayer is totally worth considering. I borrowed one from my neighbor for my last kitchen project, and what a difference! No brush marks anywhere.
Here’s a mistake I made my first time around – I painted the fronts first! Don’t do that. Always paint the backs of your doors first. That way, when you flip them over to do the fronts (the part everyone sees), any little touch-up marks end up on the back where nobody looks.
Your workspace matters so much! Try painting in a dusty garage, and you’ll be picking fuzz out of your finish all day. Find a clean, well-ventilated area – your lungs and your cabinets will both appreciate it.
Let’s talk about paint choice. Regular wall paint just won’t cut it in the kitchen. Enamel paint costs a bit more, but it holds up to all that scrubbing and cleaning you’ll do over the years. Trust me, you don’t want to repaint because you went cheap on the paint!
What’s worked best for you in past painting projects? Sometimes, the simplest tips make the biggest difference!
Common Mistakes to Avoid
Let me tell you, cabinet painting goes wrong fast if you’re not careful! Learn from others’ mistakes instead of making your own.
People skip cleaning properly, and the paint won’t stick to kitchen grease. What a waste!
Sanding seems tedious, but it creates essential grooves for paint adhesion. Skip it, and you’ll be repainting next year.
Using water-based primers? They won’t block wood tannins. Soon, you’ll have yellow stains bleeding through your white cabinets.
Weather matters more than you think! Humidity keeps paint tacky for days. Dust creates a gritty finish.
I know you’re excited to finish, but rushing the drying time ruins everything. Give each coat the time it needs, and your cabinets will thank you with lasting results.
Conclusion
Painting your cabinets is one of the most rewarding DIY projects you can tackle in your home. I’ve seen outdated kitchens completely transformed with just a few gallons of paint and some weekend work.
The secret isn’t magic—it’s preparation and patience. Follow the steps I’ve outlined, avoid those common mistakes, and you’ll end up with cabinets that look professionally finished for a fraction of replacement costs.
Don’t let those dated cabinets bring down your home’s value or your everyday enjoyment any longer! Take a weekend, gather your supplies, and refresh your kitchen with a new coat of paint. Then send me a photo of your transformation—I’d love to see what you create!