
Many kitchens have cabinets that work fine but look tired. A fresh coat of white paint can change the whole space without the cost of new cabinets.
That is why learning how to prep and paint old kitchen cabinets white easily has become such a popular DIY project for homeowners.
In this guide, I walk through every step, from cleaning and prep to painting and drying.
You will learn what tools you need, how much prep really matters, and what kind of results you can expect at the end.
Painting cabinets is not about rushing. Good prep, steady coats, and enough drying time make all the difference. The process may seem overwhelming at first, but it is very manageable when broken into clear steps.
If you can use basic tools and follow simple directions, you can handle this project confidently.
Why White Kitchen Cabinets Are a Smart Choice?
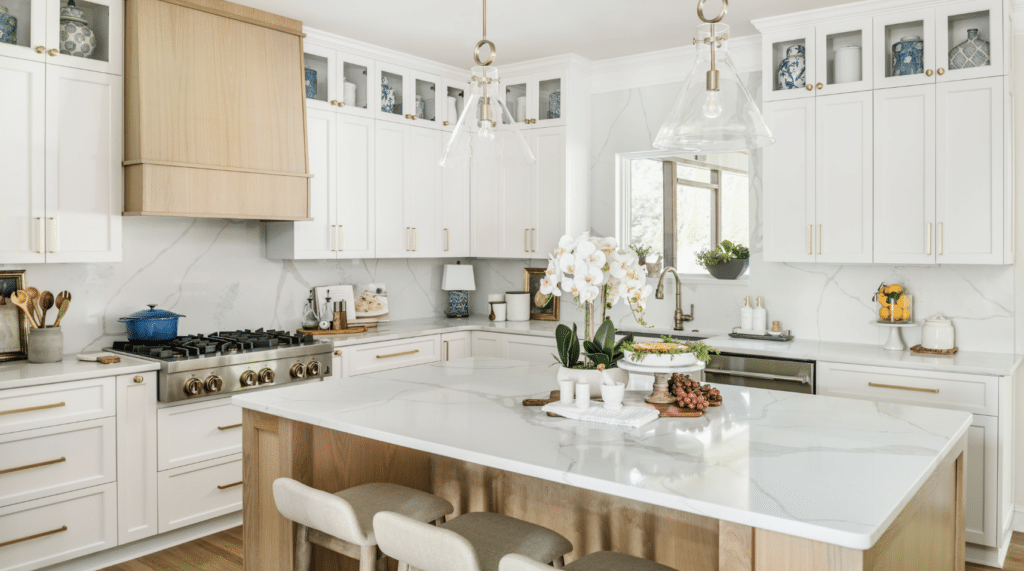
White kitchen cabinets are a smart choice because they make the space feel clean and easy to live in.
They help reflect light, which can make a small or dark kitchen feel brighter and more open without changing the layout.
White also works well with most countertops, backsplashes, and wall colors, so it is easier to update other parts of the kitchen later. You do not need to match everything perfectly, which takes pressure off design choices.
Another reason many people choose white is cost. Painting old cabinets white refreshes their look without paying for new cabinets or major changes.
This simple update can make cabinets look newer, even when they show signs of age.
Overall, white cabinets offer flexibility, savings, and a clean look that fits many homes.
Tools and Supplies Needed Before You Start
Having the right items ready helps the job move faster and avoids delays once painting begins. This also helps you get cleaner results and fewer mistakes along the way.
- Basic cleaning supplies: Degreaser, warm water, and clean rags to remove grease, dirt, and buildup.
- Sandpaper or sanding tools: Fine to medium grit sandpaper or a sanding sponge to help paint stick better.
- Primer and white cabinet paint: A good bonding primer and paint made for cabinets ensures long-lasting results.
- Brushes, rollers, or sprayers: Use quality tools to apply smooth, even coats without heavy streaks.
- Drop cloths and painter’s tape: Protect floors, counters, and walls from paint drips and spills.
How to Paint Old Kitchen Cabinets White Easily?
Painting cabinets works best when you follow clear steps and do not rush the process. Each step builds on the last and helps the paint last longer and look cleaner.
1. Remove Doors and Other Hardwares
Start by removing all cabinet doors, drawers, hinges, and handles. This makes painting easier and helps you reach every surface without obstruction.
Label each door and its location using tape, so reassembly stays simple later.
Place the doors flat in a clean, dust-free area to prevent drips and uneven drying. Taking everything apart may feel slow at first, but it allows for smoother paint coverage.
This step also helps prevent missed edges, buildup around hardware areas, and rough spots once the paint dries.
2. Clean Cabinets Thoroughly
Old cabinets often collect grease, dust, and food residue that can stop paint from sticking well.
Use a strong cleaner or degreaser mixed with warm water and scrub all cabinet surfaces thoroughly. Focus on areas near the stove, sink, and handles, since these spots build up the most grime.
Rinse everything with clean water to remove leftover cleaner.
Let the cabinets dry fully before moving on. Skipping this step can lead to peeling paint later, so patience here helps the finish last longer.
3. Sand the Surfaces Lightly
Sanding helps the primer and paint stick better to the cabinet surface.
Use fine to medium grit sandpaper and lightly sand the doors, frames, and drawers. The goal is not to remove the old finish but to dull the shine so the new layers can grip properly.
After sanding, wipe away all dust with a damp cloth and let the surface dry.
This step creates a smooth base and helps reduce brush marks, bubbles, and uneven paint during application.
4. Apply Primer Evenly
Primer plays a major role when painting cabinets white, especially on dark or stained surfaces. Choose a quality bonding primer and apply it in thin, even coats for better adhesion.
Allow the primer to dry fully before adding a second coat if needed.
Primer helps block stains from bleeding through, improves paint coverage, and keeps the white color looking clean.
Rushing this step can lead to uneven results. A properly applied primer creates a smooth base that helps the final paint coats last longer and wear better over time.
5. Paint with Thin and Steady Coats
Use a quality brush, roller, or sprayer to apply the white paint smoothly. Apply thin, even coats instead of thick layers to avoid drips, streaks, and uneven spots.
Let each coat dry fully before adding the next one, even if it feels dry to the touch.
Most cabinets need two to three coats for solid coverage. Rushing this step can ruin the finish.
Taking your time allows the paint to settle evenly and creates a clean, durable surface that holds up well to daily kitchen use.
Reddit Reviews on Painting Kitchen Cabinets White
Homeowners on Reddit share mixed but honest thoughts about painting kitchen cabinets white after living with them for years.
Many say the kitchen feels brighter and more open, especially when switching from dark cabinets.
Several users liked the lower cost compared to full cabinet replacement and felt the update impressed guests. However, upkeep comes up often.
White cabinets tend to show grease, fingerprints, and spills more easily, especially on lower cabinets.
Some users said regular cleaning is needed, and satin finishes can show marks faster than gloss. Prep quality also matters.
People who cleaned, sanded, primed, and used good paint reported better results and fewer chips.
Others admitted skipping prep led to peeling or wear. Overall, many would do it again, but with better prep, better paint, and realistic expectations about cleaning and touch-ups over time.
Drying and Curing Tips for Painting Kitchen Cabinets White
Proper timing helps protect the finish and keeps the surface from damage. Simple care during this stage improves how the cabinets hold up over time.
- Dry Between Coats: Follow the paint can instructions and let each coat dry fully
- Handling Time: Wait at least 24 hours before touching or moving doors
- Full Cure Period: Allow 7 to 14 days before regular kitchen use
- Hardware Reinstall: Reattach handles and hinges only after paint feels firm
- Air Flow: Keep windows open or fans running for even drying
- Cleaning Wait: Avoid wiping or scrubbing until the paint has fully cured
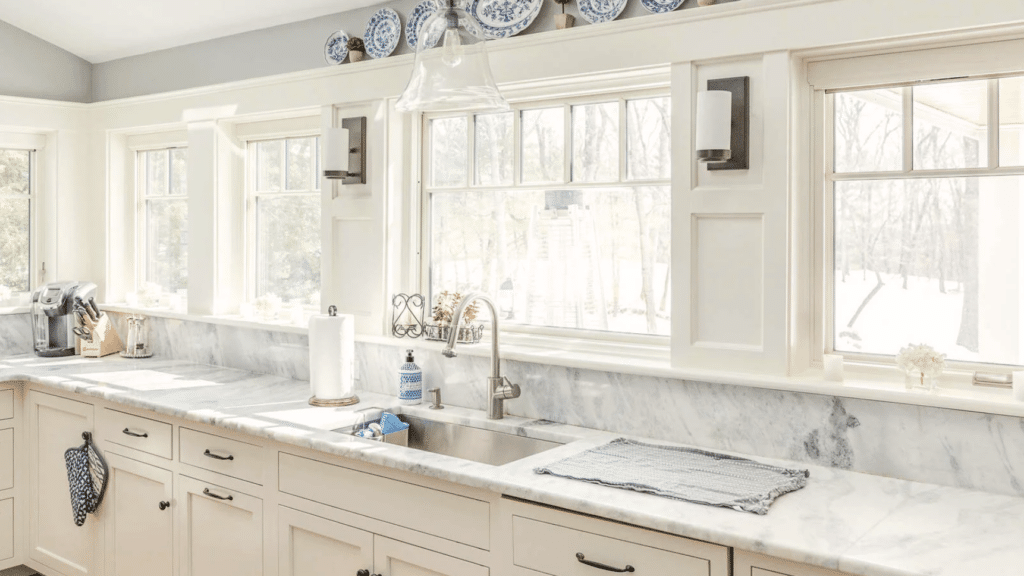
How to Keep White Cabinets Looking Clean?
Keeping white cabinets clean is easier when you stay consistent. Wipe surfaces daily with a soft cloth to remove dust, splashes, and fingerprints before they build up.
For deeper cleaning, use gentle cleaners made for painted surfaces.
Avoid harsh chemicals, bleach, or rough scrubbers since they can dull the finish over time. Warm water with mild soap often works well.
Clean spills as soon as they happen, especially near handles and lower cabinets where grime shows faster.
To prevent yellowing, keep cabinets away from heavy heat and steam when possible, and use your range hood while cooking. Touch up small chips early so dirt does not settle in.
With simple habits and the right products, white cabinets can stay fresh and clean without constant heavy scrubbing or extra effort.
Conclusion
Painting old kitchen cabinets white is a project that rewards patience and care. With proper prep, steady sanding, good primer, and thin paint coats, even worn cabinets can look clean and refreshed.
Each step matters, and rushing often leads to problems later. Taking your time helps the paint last longer and keeps the finish looking smooth.
If you have been putting this project off, know that it is very doable with basic tools and clear steps.
You do not need to be an expert to get solid results. Start slow, follow the process, and trust yourself along the way.
Have you painted your cabinets white, or are you planning to? Share your experience, tips, or questions in the comments below.
Your input may help someone else get started with confidence.