
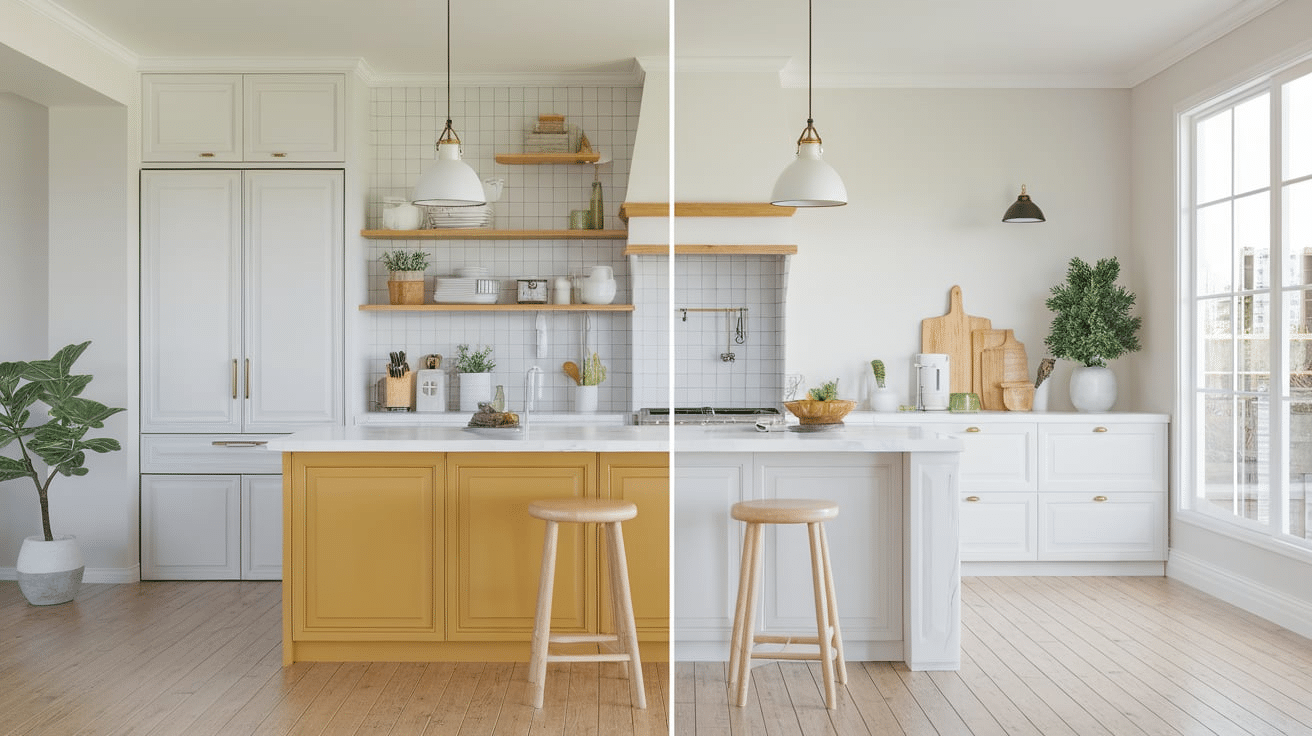
Sealing painted cabinets is an important step to keep them looking fresh and protected. If you’ve just painted your cabinets, you don’t want all that hard work to go to waste. Sealing helps protect the paint from scratches, stains, and wear over time.
It also makes cleaning easier. In this guide, I’ll walk you through the simple steps to seal your painted cabinets. Don’t worry; it’s easier than it sounds. All you need are a few supplies and some patience.
By the end, your cabinets will look great and be ready to handle daily use without damage. So, let’s get started! You’ll see just how easy it is to give your cabinets a long-lasting finish.
Why Sealing Painted Cabinets Is Important
Sealing your painted cabinets is not just about making them look good; it’s about protecting them. When you paint cabinets, the paint gives them a fresh look. But without a sealant, the paint can start to wear down over time. Here are a few reasons why sealing is important:
-
Protection from Scratches: Cabinets are used every day, and sometimes rough handling can leave scratches. A good seal will protect the paint and keep it from being damaged quickly.
-
Prevents Stains: Kitchens and bathrooms are areas that can get dirty quickly. A sealant will help protect the paint from grease, water, and food stains, making cleaning easier.
-
Durability: A sealed surface is much stronger than an unsealed one. It can stand up to more wear and tear, so your cabinets will last longer.
-
Easier Cleaning: Sealed cabinets are easier to wipe down and keep clean. The surface becomes smooth and resistant to dirt, oil, and dust.
-
Smooth Finish: Sealing gives your cabinets a beautiful, shiny finish. It helps even out the paint, creating a soft, professional look.
Choosing the Right Sealer for Painted Cabinets
Before you start sealing your cabinets, it’s important to choose the right product. There are different types of sealers, and picking the right one can make a big difference in the final result. Here are some options to consider:
Polyurethane
Polyurethane is one of the most common types of sealers. It creates a strong, durable finish and works well on both painted and unpainted surfaces. Polyurethane comes in different finishes, including glossy, satin, and matte. Choose a finish that complements your look.
Polycrylic
Polycrylic is another type of sealer that is often used for painted wood. It dries quickly and provides a clear, smooth finish. It’s a good option for cabinets in areas where you want a low-gloss or satin finish.
Wax
Wax sealers provide a soft, matte finish. They work best for painted cabinets that need light protection and a smooth, soft finish. However, wax is not as durable as polyurethane or polycrylic and may need to be reapplied over time.
Oil-Based vs. Water-Based Sealers
Oil-based sealers are stronger and more durable, but they take longer to dry and have a stronger smell. Water-based sealers are easier to clean up, dry faster, and have less odor, but they may not be as durable as oil-based options.
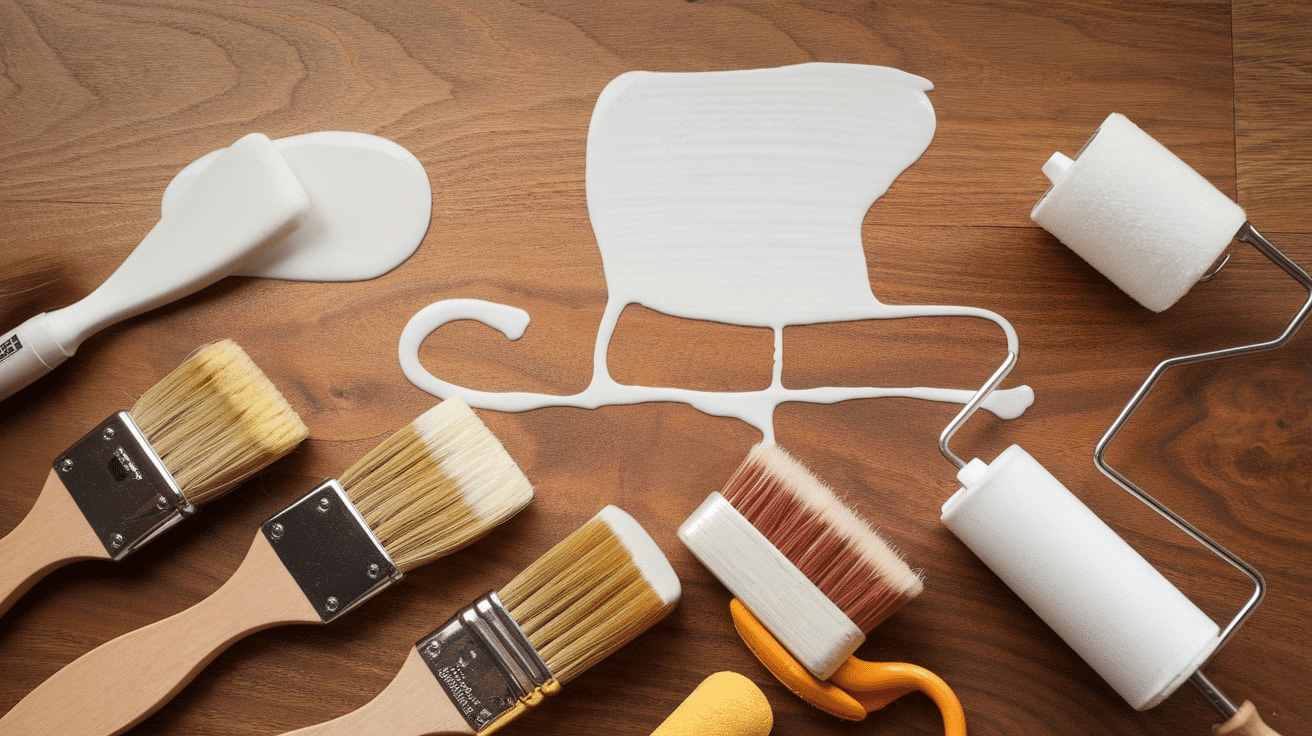
Spray or Brush-On Sealers
Sealers come in both spray cans and liquid that you can brush on. Spray sealers are easier to apply and often provide a smoother finish, but they can be messy if you’re not careful. Brush-on sealers give you more control but require more time and patience to apply.
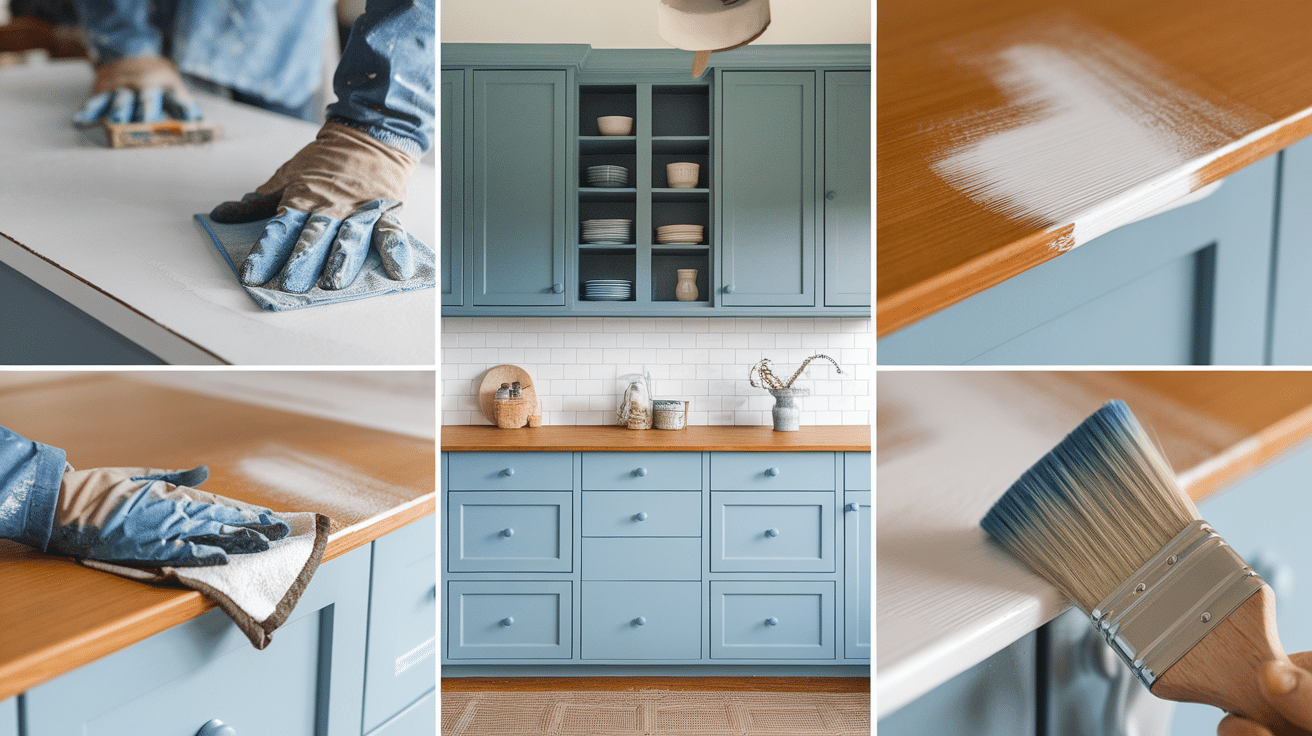
How to Prepare Cabinets for Sealing

Before you can seal your painted cabinets, there are a few important steps to take to ensure the best results. Proper preparation is key to getting a smooth, durable finish.
Clean the Cabinets
Dirt, dust, and grease can prevent the sealer from sticking properly to the surface. Wipe down your cabinets with a clean, damp cloth to remove any dust or debris. For tougher grime, you can use a gentle cleaning solution.
Sand the Surface
Sanding the painted surface lightly helps the sealer stick better. Use fine-grit sandpaper (around 220-grit) and gently sand the cabinets in the direction of the wood grain. Don’t press too hard; you want to scuff the surface enough to make it slightly rough. After sanding, wipe away any dust with a damp cloth.
Let the Paint Dry Completely
Make sure the paint is completely dry before sealing it. If you seal too soon, the paint may not adhere properly. Follow the drying times suggested by the paint manufacturer.
Tape Off Areas You Don’t Want to Seal
If you have hardware or areas you don’t want to seal, tape them off with painter’s tape. This will keep the sealer from getting on handles, hinges, or other parts of the cabinet.
Step-by-Step Guide to Sealing Painted Cabinets
Now that everything is ready, it’s time to start sealing your cabinets. Follow these simple steps for a smooth, long-lasting finish.
Step 1: Choose Your Sealer
Start by selecting the right sealer for your cabinets. As mentioned earlier, polyurethane, polycrylic, and wax are common options. Make sure to pick a sealer that fits your style and needs.
Step 2: Apply the Sealer
There are two main ways to apply the sealer: using a brush or spraying it on.
Using a Brush:
-
Dip your brush into the sealer and apply a thin, even coat over the cabinet surface.
-
Work in small sections to avoid drips or uneven coverage.
-
Brush in the direction of the wood grain, and make sure to cover every area.
-
Don’t overwork the sealer. Apply just enough to cover the surface evenly.
Using Spray Sealer:
-
Hold the can about 6 to 8 inches away from the cabinet surface.
-
Spray a light, even coat of sealer over the entire cabinet.
-
Move the spray can back and forth to avoid pooling or drips.
Step 3: Let the Sealer Dry
Allow the first coat of sealer to dry completely. Drying times will vary depending on the type of sealer you use, but it usually takes a few hours. Check the manufacturer’s instructions for the exact drying time.
Step 4: Sand Between Coats
Once the first coat is dry, lightly sand the surface with fine-grit sandpaper. This step helps create a smooth surface for the next layer of sealer. Sand gently, and make sure not to remove too much of the previous coat. Wipe away any dust before applying the next coat.
Step 5: Apply Additional Coats
Most cabinets will need two or three coats of sealer for full protection. Repeat the process of applying, drying, and sanding between each coat. The more coats you apply, the stronger the finish will be. Be sure to follow the drying times suggested by the sealer manufacturer.
Step 6: Let the Final Coat Dry
After applying the final coat, let the cabinets dry for at least 24 hours before using them. This allows the sealer to cure and harden fully. Don’t rush this step, as the longer the sealer dries, the better the protection will be.
Caring for Sealed Painted Cabinets:
Now that your painted cabinets are sealed, it’s important to take care of them to maintain their look and protection.
-
Clean Gently: Use a soft cloth or sponge to wipe down your cabinets. Avoid using harsh chemicals that can damage the sealer. Mild soap and water are usually all you need to keep them clean.
-
Avoid Abrasive Tools: Don’t use abrasive sponges or scrubbing pads, as they can scratch the surface of the sealer. Stick to soft cloths for regular cleaning.
-
Fix Any Chips or Scratches Quickly: If you notice any chips or scratches in the sealer, touch them up right away. This will prevent the damage from spreading and keep your cabinets looking their best.
-
Reapply Sealer When Needed: Over time, the sealer may wear off in high-traffic areas. If you notice any areas looking dull or scratched, it’s time to apply another coat of sealer.
When to Seal Painted Cabinets
Knowing when to seal your painted cabinets is key to getting the best results. Here’s when you should seal:
1. After Paint Has Fully Dried
Make sure the paint is completely dry before sealing. Drying can take a few hours to a few days, depending on the paint type. Don’t rush this step to avoid damaging the paint.
2. Once the Paint Has Cured
Curing takes longer than drying. It’s when the paint fully hardens and becomes durable. It can take up to 30 days, especially for oil-based paints. Wait until the paint has cured to get the best seal.
3. After Light Sanding
Lightly sand the painted surface with fine-grit sandpaper before sealing. This helps the sealer adhere properly and creates a smooth surface. Always clean off any dust after sanding.
4. For Extra Protection
If your cabinets are in high-traffic or moisture-prone areas, sealing will provide extra protection. It helps protect against scratches, stains, and water damage.
How to Maintain Sealed Cabinets Over Time
Proper maintenance helps your sealed cabinets last longer. Some tips are:
1. Regular Cleaning: Clean your sealed cabinets with a soft cloth and mild soap solution. Avoid harsh chemicals and abrasive sponges to prevent damaging the surface.
2. Wipe Up Spills Quickly: Don’t let liquids like water or grease sit on the surface. Clean up spills right away to prevent damage.
3. Avoid Abrasive Tools: Use soft cloths or sponges to clean. Abrasive cleaning tools can scratch the surface and damage the sealant.
4. Inspect for Chips and Scratches: Check your cabinets for any small chips or scratches. Touch them up as soon as you spot them to prevent further damage.
5. Reapply Sealer When Needed: Over time, the sealer may wear down, especially in high-use areas. Reapply sealer when you notice areas looking dull or damaged. Sand lightly before reapplying.
6. Avoid Excessive Moisture: Prolonged moisture exposure can damage even sealed cabinets. Keep cabinets dry, especially in high-moisture areas like bathrooms.
Conclusion
Sealing your painted cabinets is an easy and important step to ensure they stay protected and look great for years. The right sealer will protect your cabinets from scratches, stains, and damage caused by daily use. By sealing them, you’re creating a strong barrier that keeps the paint safe and makes cleaning much easier.
Be sure to inspect for chips or scratches and reapply the sealer when necessary. If your cabinets are in high-moisture areas, like the kitchen or bathroom, be extra careful to keep them dry and well-ventilated.
With the right preparation, sealing, and ongoing care, your cabinets will maintain their beautiful finish and last longer. Sealing is an easy way to add value to your home and protect your hard work.