Are you stuck with furniture covered in old paint or varnish? My guide will solve your stripping problems step by step.
Here’s what you’ll learn:
- Three proven stripping methods (chemical, sanding, heat)
- Exactly which tools work for each job
- How to avoid damaging your furniture
- Simple cleanup tricks most guides miss
In my 15-year restoration career, I’ve stripped over 200 furniture pieces. The wrong method can ruin your project in minutes. Many people quit halfway through because they chose the wrong approach.
Trust me – with these steps, you’ll strip your furniture safely and effectively. I’ve made every mistake possible so you don’t have to.
Let’s turn that worn-out piece into something beautiful again!
Step-By-Step Guide to Stripping Furniture
Stripping furniture of old paint or finish can breathe new life into cherished pieces. If you’re restoring an antique or updating a thrift store find, my guide will walk you through the process from preparation to final cleanup.
Step 1: Gather Your Tools and Materials
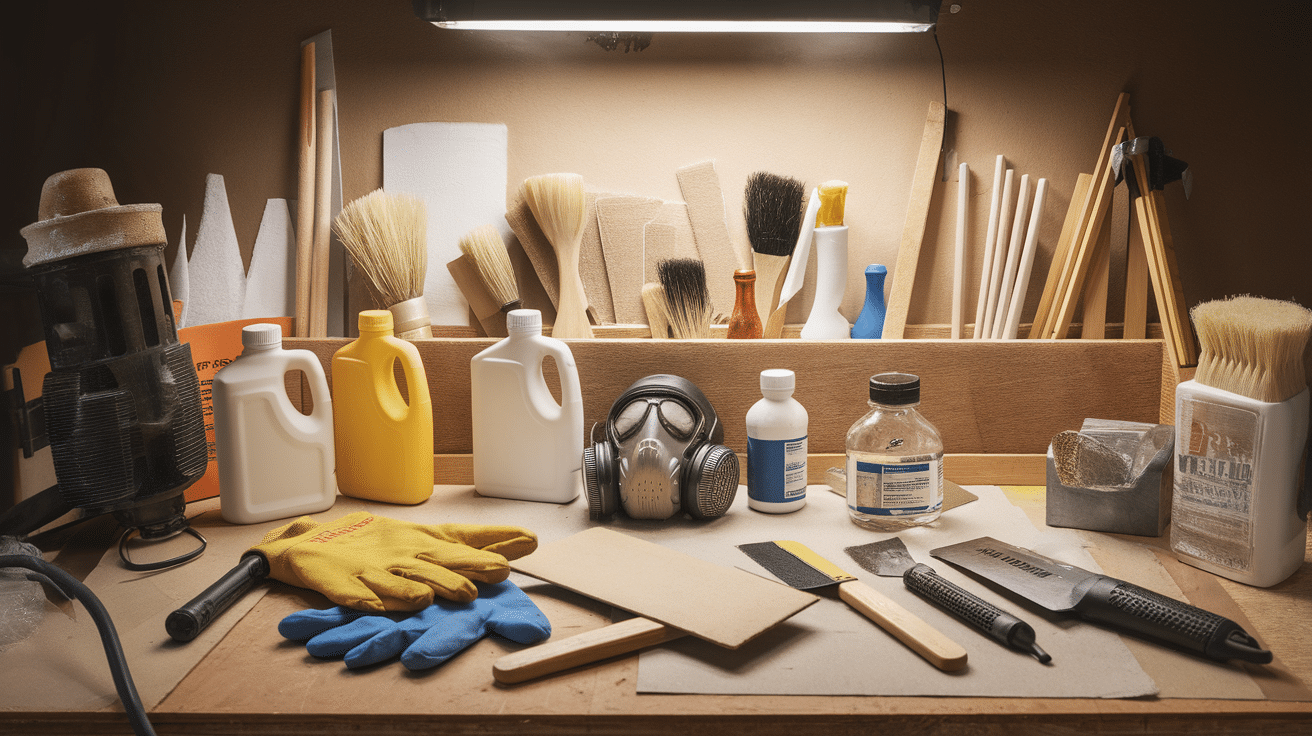
Before starting any furniture stripping project, gather these items:
- Work gloves (chemical-resistant if using strippers)
- Eye protection
- Respirator mask (not just a dust mask)
- Drop cloths (plastic for chemical methods, canvas for sanding)
- Scrapers (plastic and metal)
- Steel wool (0000 grade)
- Chemical stripper (if using that method)
- Sandpaper (various grits)
- Heat gun (if using heat method)
- Brushes (natural bristle for stripper)
- Clean rags
Step 2: Evaluate Your Furniture
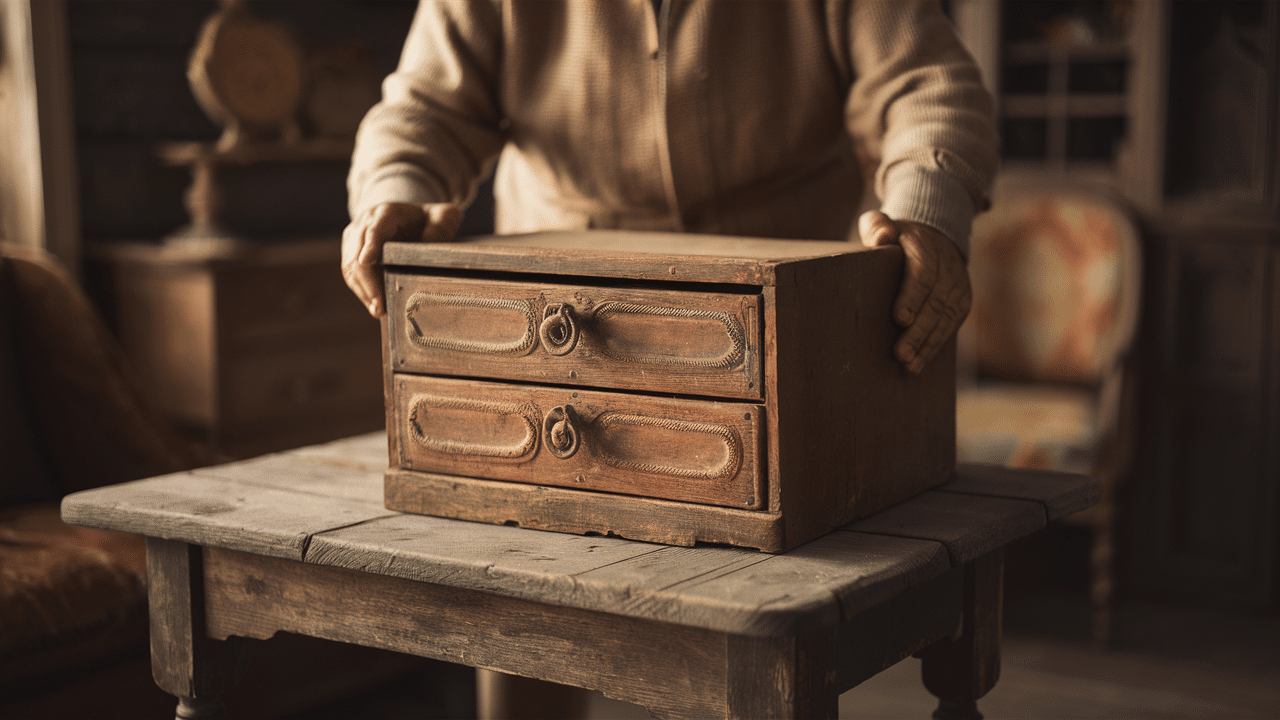
Check if the piece should be stripped at all. Antiques might lose value if stripped. Identify the material. Is it solid wood, veneer, or something else?
Test a small hidden spot to see how many layers you’re dealing with and look for detailed carvings, which may require chemical strippers instead of sanding.
Determine the current finish – paint, varnish, shellac, or polyurethane all come off differently.
Step 3: Choose Your Stripping Method
When it comes to removing paint from metal surfaces, selecting the right stripping method is crucial for success. Each technique offers different advantages depending on your specific situation.
Based on your evaluation, select the best method for your piece:
Method A: Chemical Stripper
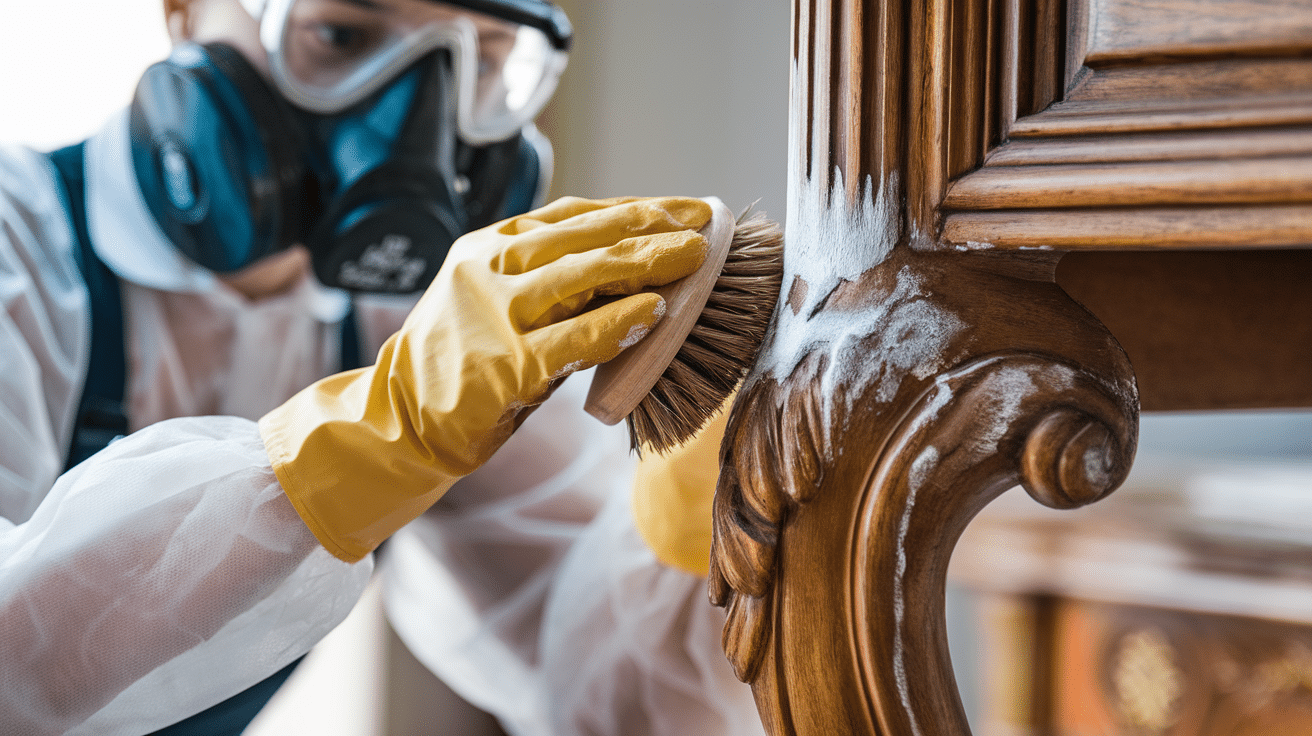
Best for: Detailed carvings, multiple layers of finish, delicate veneers
Prepare your workspace with proper ventilation, drop cloths, and safety gear (gloves, eye protection, respirator). Apply stripper using a natural bristle brush in one direction with even strokes.
Wait 15-30 minutes until bubbling occurs, keeping the stripper wet. Remove softened finish with a plastic scraper, working with the wood grain.
For stubborn spots, reapply stripper and wait longer. Finally, clean the surface with 0000 steel wool dipped in mineral spirits, wipe with clean rags, and allow 24 hours to dry completely before proceeding.
Method B: Sanding
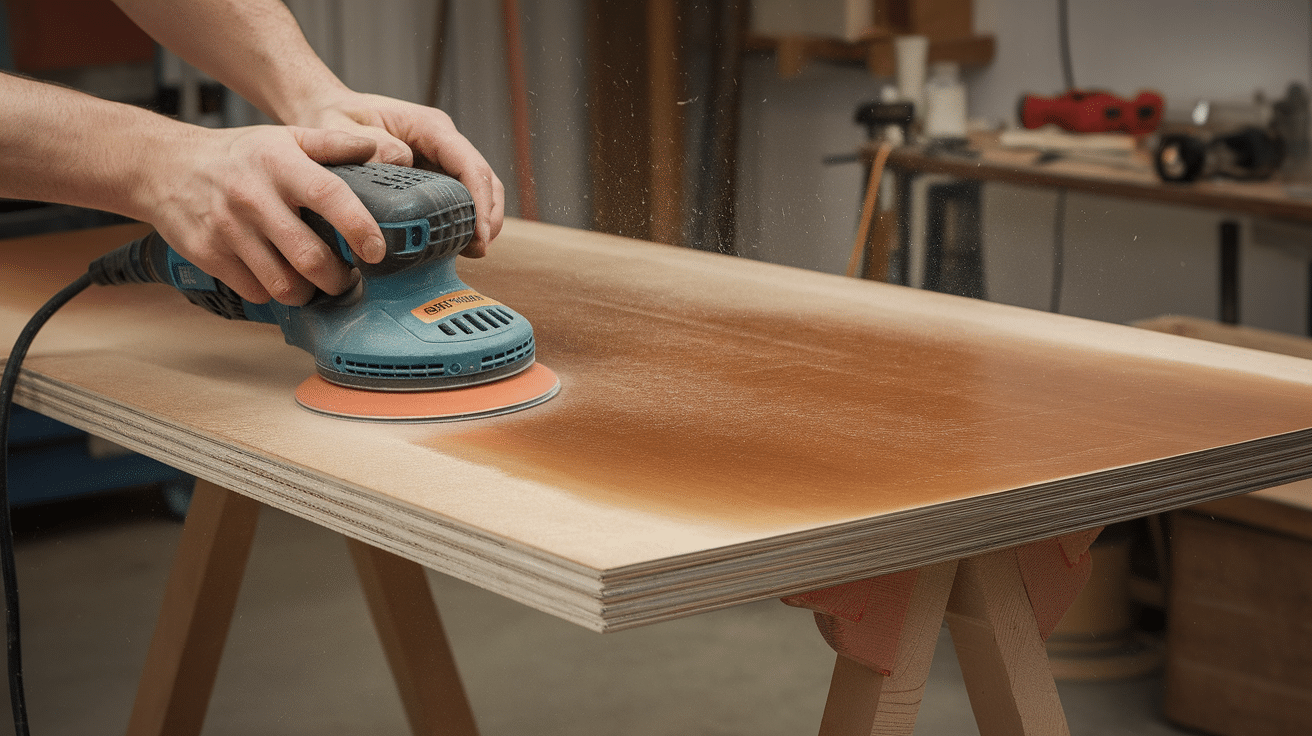
Best for: Flat surfaces with thin finishes, solid wood pieces without detailed work
To refinish furniture, start in a well-ventilated area with drop cloths, a dust mask, and eye protection. Begin sanding with 80-100 grit sandpaper, always moving with the wood grain and using medium pressure.
Progress to 120-150 grit for your second pass, maintaining even pressure and overlapping strokes to remove scratches from the first round.
Finish with 180-220 grit for final smoothing, frequently checking by touch for rough spots. Complete the prep by vacuuming thoroughly and wiping with a tack cloth to remove all dust before applying your new finish.
Method C: Heat Gun
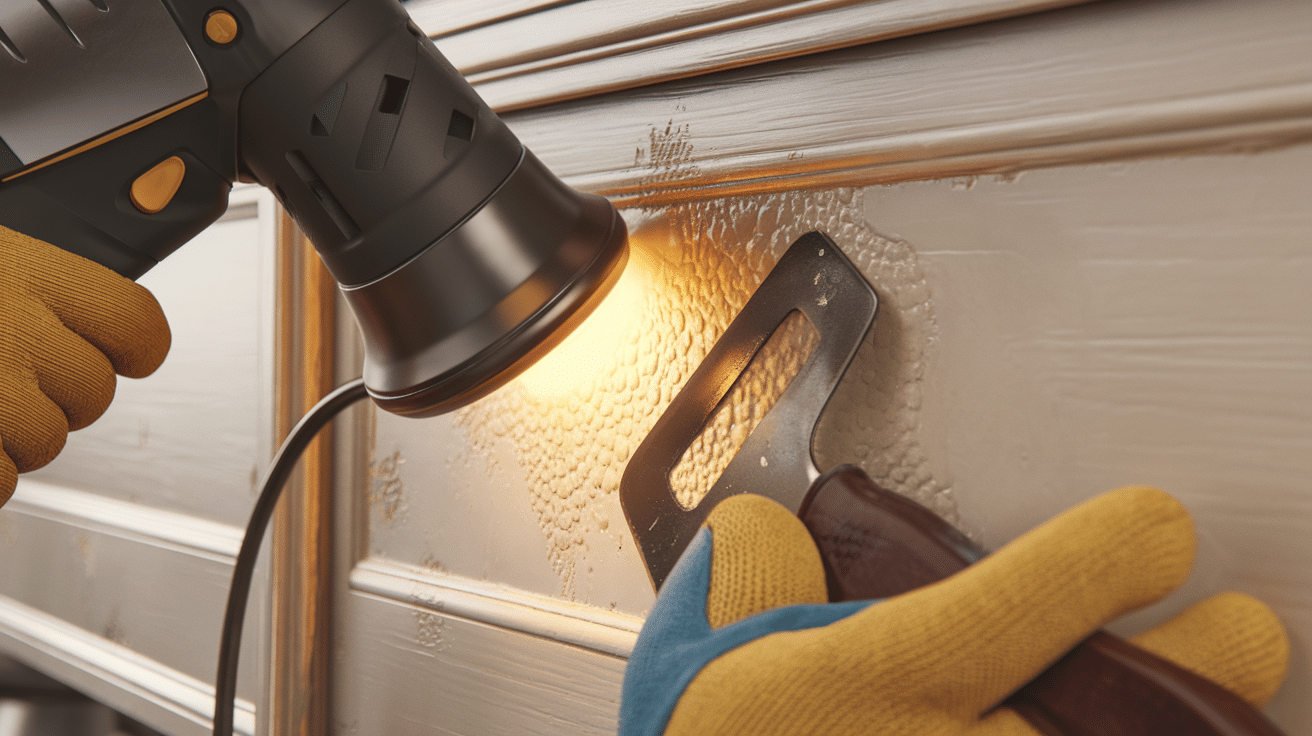
Best for: Medium-thickness finishes on solid wood, when chemicals aren’t preferred
Prepare your workspace in a well-ventilated area with a fire extinguisher nearby, wearing gloves and eye protection to protect against harmful chemicals and flammable vapors.
When using the spray can, hold it 2-3 inches from the surface, keep it moving constantly in small 4×4 inch sections to prevent drips and ensure even coverage. If the finish bubbles during application, immediately scrape it off with a metal scraper, being careful not to damage the wood underneath.
Before refinishing, sand the surface lightly with fine-grit paper, then thoroughly clean it with a tack cloth to remove all residue, ensuring proper adhesion and a smooth, professional finish.
Step 4: Clean Up After Stripping
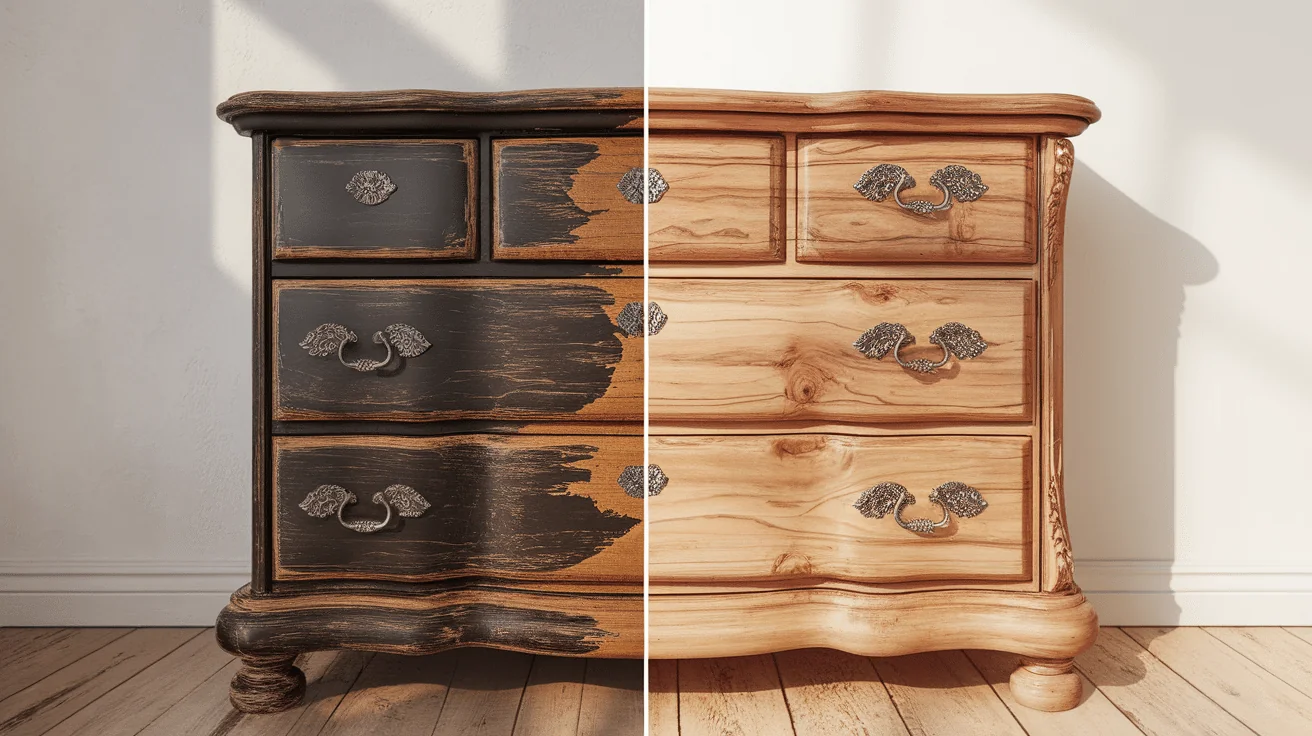
For chemical methods, neutralize the stripper according to the product instructions, wipe it down with mineral spirits or denatured alcohol, and let it dry 24-48 hours before sanding with fine-grit paper.
For sanding methods, vacuum all dust thoroughly, wipe with a tack cloth, and make sure all dust is removed. These steps ensure your surface is completely clean before applying any new finish.
For the heat gun method, set the wood to cool completely, sand lightly with fine-grit paper, and remove all residue. This careful approach prevents damage to the wood surface while ensuring that all loosened finish is properly removed before applying new treatments.
Step 5: Prepare for Refinishing
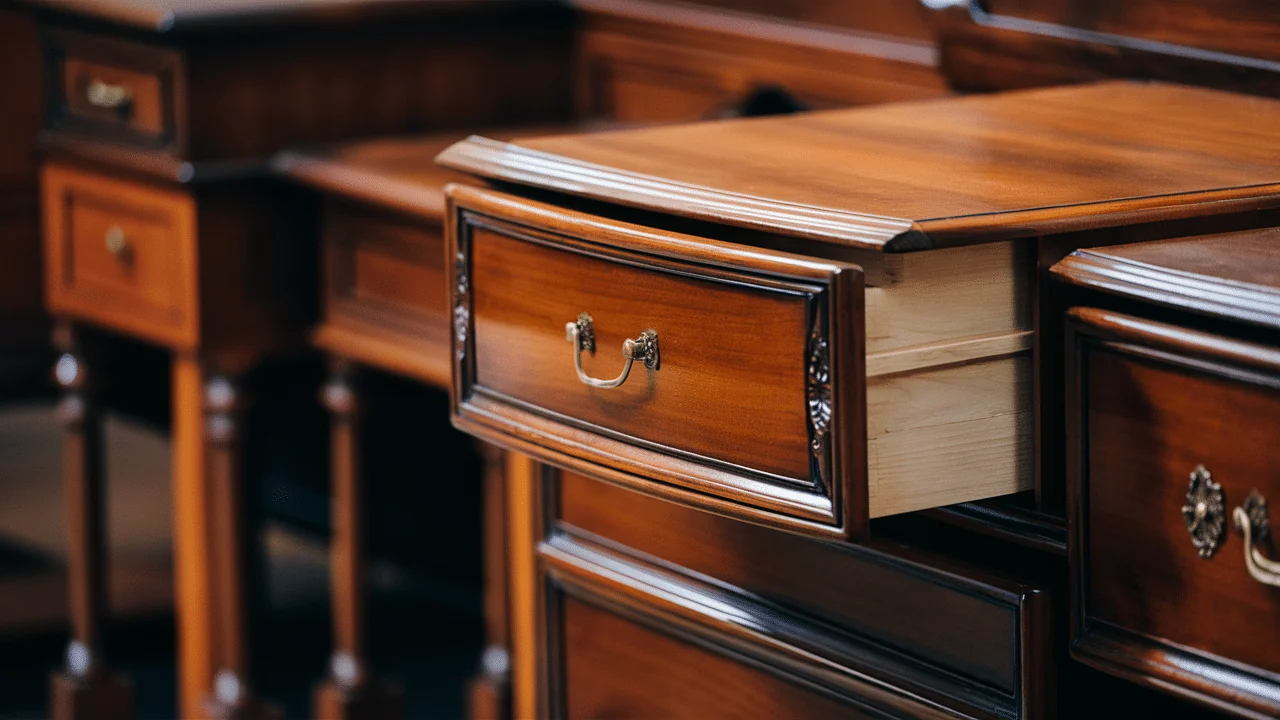
Once your piece is stripped and clean, you have several options:
- Apply stain and polyurethane
- Paint the piece with your chosen color
- Use natural oil finishes like tung or linseed oil
- Leave the wood natural with just a clear protective coat
- Try specialty finishes like milk paint or chalk paint
Types of Chemical Strippers
Not all chemical strippers are created equal. Let’s see what you need to know about each type:
Solvent-Based Strippers
- Methylene chloride strippers work the fastest but have serious health risks. I only use these outdoors with full protection.
- Acetone-based products are less toxic but still powerful. They dry quickly, so work in small sections.
- Mineral spirits formulas are gentler but take longer to work. Better for thin finishes.
Water-Based Strippers
- Citrus-based strippers use natural oils and are best for beginners. They’re less toxic but need more time.
- Soy-based products are eco-friendly and low-odor. Great for sensitive users but requires patience.
- Caustic strippers (with lye) work well on paint but can damage wood if left too long.
Common Mistakes to Avoid
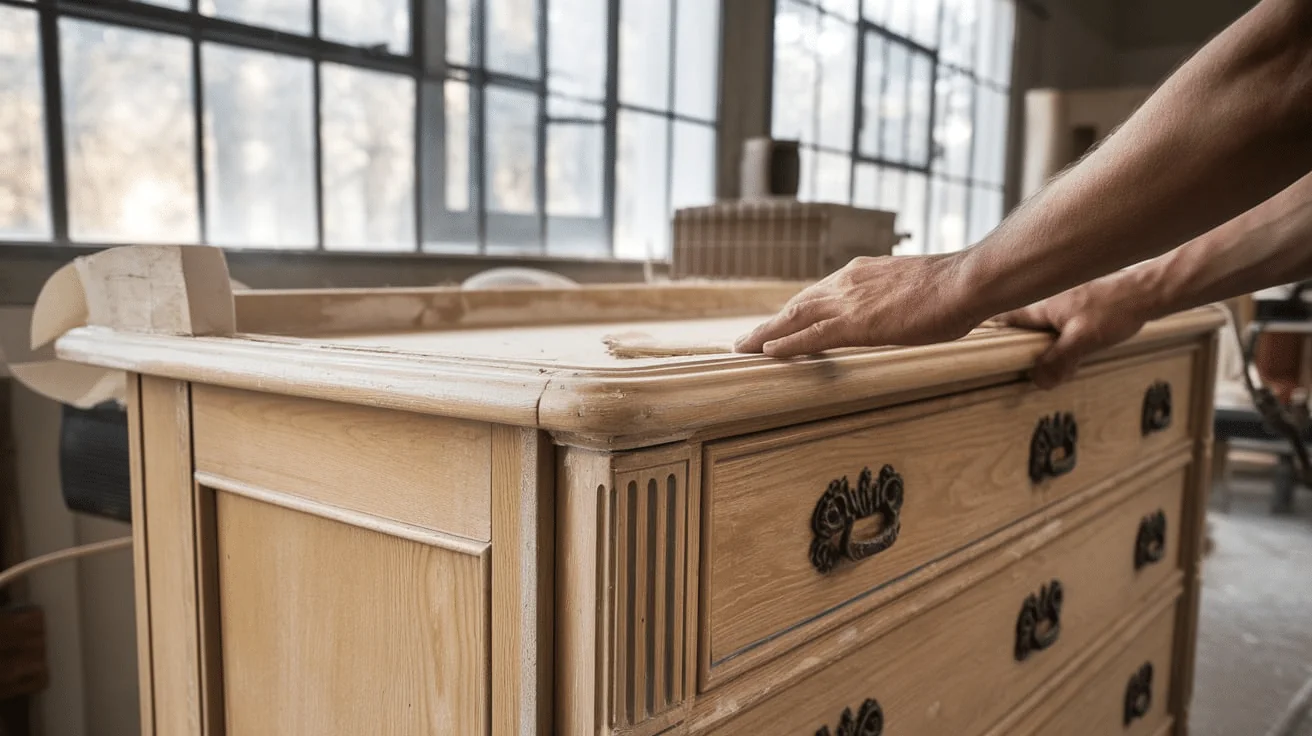
When stripping furniture, even experienced restorers can make errors. Let’s see some of the most common mistakes I’ve seen (and made) over the years:
1. Rushing the Process
Furniture stripping requires patience. Many people try to speed through it and end up with poor results. I once tried to strip a dresser in a single afternoon and ended up with patches of finish still clinging to the wood. The proper approach is to allow adequate time for each step.
Chemical strippers need time to break down finishes, and sanding requires methodical progression through different grits. Rushing often means starting over, wasting more time than you saved.
2. Choosing the Wrong Method
Not all furniture responds the same way to stripping methods. Using sandpaper on veneered surfaces can sand right through the thin veneer layer. Heat guns can loosen glue joints on antiques. Chemical strippers might be too harsh for some decorative elements.
Before starting, research your specific furniture type and test methods on hidden areas. I once ruined a valuable veneer by aggressive sanding when a gentle chemical approach would have preserved it.
3. Skipping the Test Spot
Always test your stripping method on a hidden area first. This reveals how many layers of finish you’re dealing with and how the wood responds to your chosen method.
The underside of a table, the back of a drawer, or the inside of a cabinet provides perfect test areas. This small step saves heartache later. When I skip testing, I almost always regret it.
4. Scraping Too Aggressively
Gentle pressure is key when removing a softened finish—aggressive scraping damages the wood underneath, leaving gouges that are difficult to fix. Use plastic scrapers when possible, and always scrape with the grain, not against it.
Hold your scraper at a low angle (about 30 degrees) to the surface for best results and least damage. Metal scrapers should be reserved for stubborn spots and used with extreme care.
5. Ignoring Safety Precautions
The chemicals and dust involved in furniture stripping can harm your health. Always wear appropriate protection: chemical-resistant gloves, eye protection, and a proper respirator (not just a dust mask).
Work in well-ventilated areas, preferably outdoors. Keep a first aid kit nearby. Safety seems inconvenient until you experience chemical burns or respiratory issues from improper protection.
Quick Tips for First-Timers
If this is your first furniture stripping project, these tips will help you succeed. Each comes from my years of experience and will save you time and frustration:
1. Start with A Small and Simple Project
Your first stripping project shouldn’t be a family heirloom or a complex piece. Choose something small with flat surfaces and minimal details – like a side table, stool, or simple shelf. A smaller project lets you learn the techniques without feeling overwhelmed.
My first project was a basic nightstand, which built my confidence for tackling larger pieces later. The skills you develop on simple pieces transfer to more complex projects.
2. Work in Proper Lighting
Good lighting reveals details you might otherwise miss. Natural daylight is best, but if working indoors, use bright, direct lighting that illuminates the entire piece—position lights to prevent shadows while you work.
I once missed patches of old finish because I was working in a dimly lit garage. When I brought the piece outside the next day, I discovered areas that needed more attention. Proper lighting ensures you catch every spot.
3. Take Before and After Photos
Document your project with photos. “Before” pictures help you remember how parts fit together if you disassemble anything. They also provide a rewarding comparison when you finish.
I take photos at each stage of the process – before starting, after stripping, after sanding, and after finishing. These images create a visual record of your work and highlight the transformation you’ve achieved. Plus, they’re great to share if you’re proud of your results.
4. Create a Dedicated Workspace
Please set up a specific area for your project where it can stay undisturbed. Cover the floor with drop cloths. Arrange your tools within easy reach. Having a dedicated space means you don’t need to clean up completely between work sessions.
My stripping station includes a sturdy table at a comfortable working height, good ventilation, and enough room to walk around the piece. Your back will thank you for working at proper height rather than hunching over.
5. Wear Clothes You Don’t Mind Ruining
Stripping is messy work. Wear old clothes you don’t care about. Chemical strippers, stains, and finishes permanently damage fabric. I keep a set of “workshop clothes” specifically for messy projects.
Long sleeves protect your arms when working with chemicals, and closed-toe shoes protect your feet from dropped tools. Remember that some materials, especially those with stripper residue, should be disposed of properly, not washed with regular laundry.
When to Call for Help:
- Valuable antiques
- Family heirlooms you can’t risk damaging
- Furniture with extensive veneer work
- Lead paint removal (requires special certification)
- When you’re not confident in your skills
Conclusion
After stripping hundreds of furniture pieces, I can tell you the key to success is matching the right method to your specific project. There’s no one-size-fits-all approach.
Chemical strippers excel at detailed carvings and thick finishes. Sanding works best on flat surfaces with thin layers. Heat guns offer a middle path when chemicals aren’t right.
Remember these core principles:
- Never rush the process
- Always protect yourself with proper safety gear
- Test in hidden areas first
The moment when the old finish comes off to reveal beautiful wood underneath makes all the effort worthwhile. Your patience will be rewarded with a piece that looks reborn and ready for its next chapter.
Now you’re ready to tackle that furniture with confidence!
Frequently Asked Questions
Is It Safe to Strip Furniture Indoors?
Do not use chemical strippers or heat guns. Always work in a well-ventilated area, preferably outdoors or in a garage with the doors open.
Do I Need to Remove All the Old Finish?
For best results, yes. Any remaining finish can cause problems with new stain or paint adhesion.
What’s the Easiest Method for Beginners?
Citrus-based chemical strippers are user-friendly and less toxic than traditional strippers.
How Do I Know Which Grit Sandpaper to Start With?
First, test with medium grit (120) in a hidden area. If it removes the finish easily, stick with it. If not, go coarser (80).
How Do I Dispose of Chemical Stripper Waste?
Let it dry completely in an open container, then dispose according to local hazardous waste guidelines. Never pour it down drains.

