
Painting plaster walls might seem challenging, but with the right steps, it’s totally doable, even for beginners.
Plaster walls are different from drywall, so they need a little extra care before you start painting.
If you skip the prep, you could end up with peeling paint, rough patches, or uneven color. But don’t worry, I am here to help you get it right.
In this guide, I’ll cover everything you need to know, from checking your wall’s condition to picking the best paint and tools.
You’ll learn how to clean, fix, prime, and paint your plaster walls the right way. Whether your walls are old or freshly plastered, these tips will help you get a smooth, long-lasting finish.
Why Paint Plaster Walls?
Painting plaster walls does more than just make a room look better; it also helps protect the surface. Over time, plaster can become stained, dusty, or lose its clean look.
A fresh coat of paint gives the wall new life and helps seal the surface, making it easier to clean and maintain.
Paint also covers up small cracks, patches, or repairs, making your walls look smooth and clean. It’s a simple way to make old walls look new.
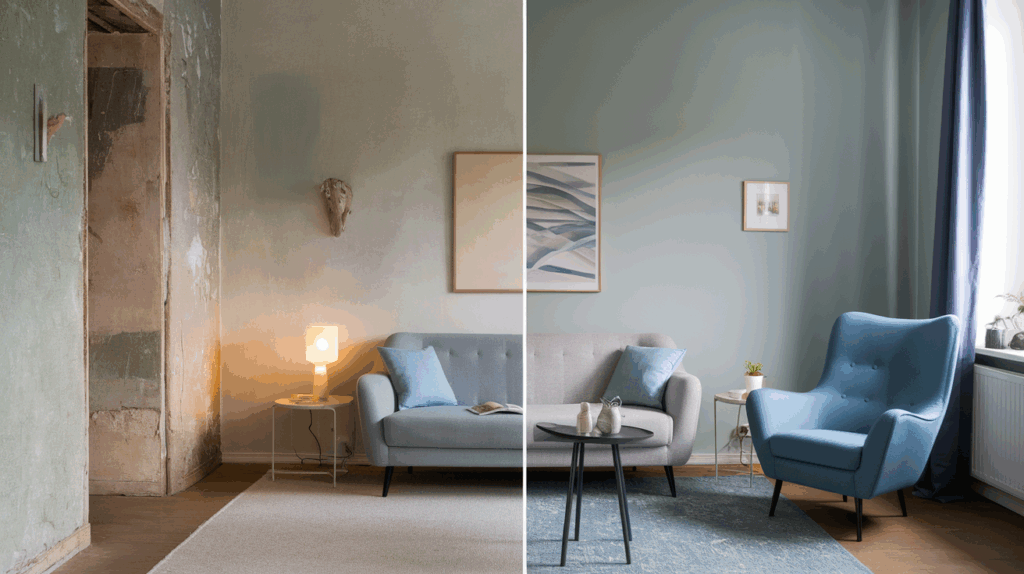
Paint also allows you to change how a room feels. Want a calm space? Try light colors like pale blue or soft gray.
Want something strong and full of energy? Go with darker shades or bright accent walls.
If your walls are older or have just been plastered, painting them the right way will help them stay strong and last longer.
It also helps protect them from future damage, such as stains or dust. Freshening up a space and making it feel like your own is one of the easiest and most affordable ways to do this.
Choosing the Right Paint and Tools
Picking the right paint and tools makes painting plaster walls easier and helps you get a better finish. This is what you need to know.
Selecting Paint Types
The type of paint you choose makes a big difference when painting plaster walls. Flat or matte paint is a good choice if you want a smooth, non-shiny look.
It helps hide small marks and looks soft on the wall. If you want something a little easier to clean, go with eggshell or satin finishes; they have a slight shine and are more washable.
For bathrooms, kitchens, or other rooms with lots of moisture, make sure to use moisture-resistant paint or one labeled for high-humidity areas. This helps stop mold and peeling paint.
Essential Tools
To do the job right, you’ll need a few important tools:
- Paintbrushes for corners and edges
- Rollers for big wall areas
- Paint trays to hold your paint
- Drop cloths or plastic sheets to protect floors and furniture
- Painter’s tape to cover edges
- Gloves and an old shirt to keep yourself clean
Step-by-Step Guide to Painting Plaster Walls
This guide will help you navigate easy and simple solutions while painting your plaster walls.
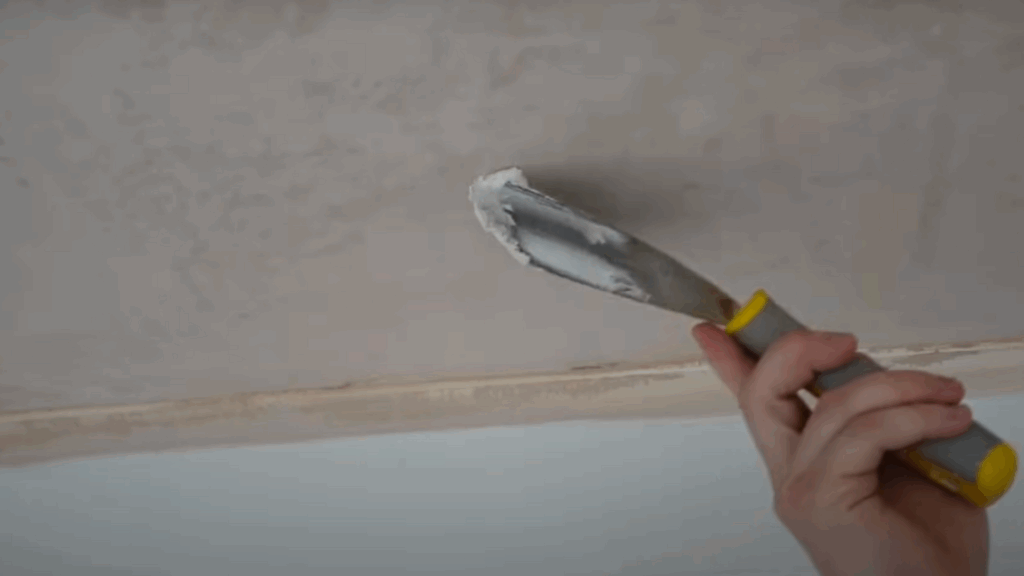
Step 1: Prepping the Plaster
Before any paint touches the new plaster, you need to prep it. This involves adding a little bit of filler to any minor discrepancies that might be present.
Even the most skilled plasterer, or if you’ve plastered yourself, will likely leave behind the odd little trowel mark or imperfection.
Go over the entire surface of your newly plastered wall or ceiling, carefully looking for any small trowel marks, indentations, or imperfections.
Grab a simple filling knife, and any general-purpose filler will do. Take a small amount of filler and apply it directly into any identified imperfections, ensuring it’s flush with the surrounding plaster.
Repeat this process for all the little discrepancies you find across the entire surface.
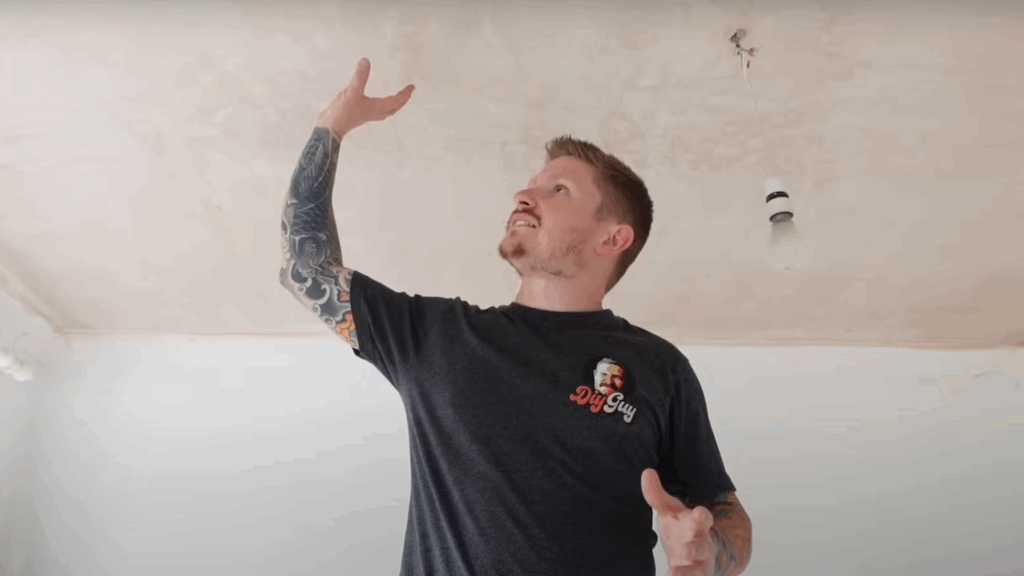
Step 2: Ensuring the Plaster is Fully Dry
Before you can proceed with mist coating or any other preparation, it is absolutely vital to ensure that your new plaster has dried out properly.
As the plaster begins drying, you will observe a change in its color, typically becoming lighter. Darker patches often appear in areas where moisture is still trapped within the plaster.
The plaster is considered fully dried and ready for the subsequent steps when it has achieved a consistent light color across the entire surface, and all those darker, damp-looking patches have completely disappeared.
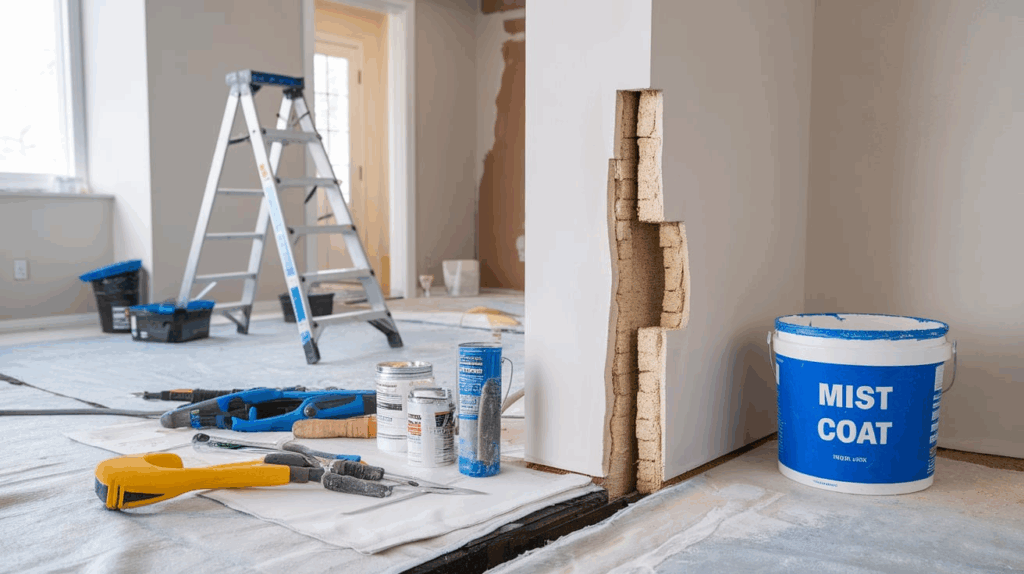
Step 3: Understanding Mist Coating
Mist coating is a crucial step that involves applying a diluted layer of emulsion paint, most often a white matte emulsion, onto the newly plastered surface.
The primary purpose of this mist coat is to act as a sealant for the naturally porous plaster.
It’s incredibly important not to skip this stage and proceed directly to applying your final coats of emulsion, as the paint will likely peel off over time.
This is because the unsealed plaster lacks a proper surface for the paint to adhere to effectively.
Think of the mist coat as creating a foundational layer, providing a “key” or grip for your subsequent decorative paint layers to bond to.
Step 4: Sanding the Filled Areas
Once the filler you applied in the initial preparation stage is completely dry, it’s necessary to lightly sand those specific areas to achieve a smooth and uniform surface.
While many individuals opt for standard 180-grit sandpaper for this purpose, it’s worth noting that this type of sandpaper tends to become clogged relatively quickly when used on new plaster due to the fine dust.
The mesh’s open weave design allows plaster dust to pass through, preventing clogging and making the sanding process significantly more efficient and less frustrating.
If you are working on a ceiling, consider utilizing a sanding pole with a sanding head attachment, which will allow you to remain comfortably on the floor during the sanding process.
For wall surfaces, a handheld sander equipped with sanding mesh is perfectly adequate.
Gently sand down the filled areas until they are smooth to the touch and perfectly level with the surrounding plaster surface.
Step 5: Mixing Your Mist Coat
Mixing the mist coat involves using a simple matte emulsion that can be watered down. A reliable ratio is a 50/50 mix of paint and clean water.
Use a paddle mixer in a large scuttle to blend thoroughly until it reaches a watery consistency.
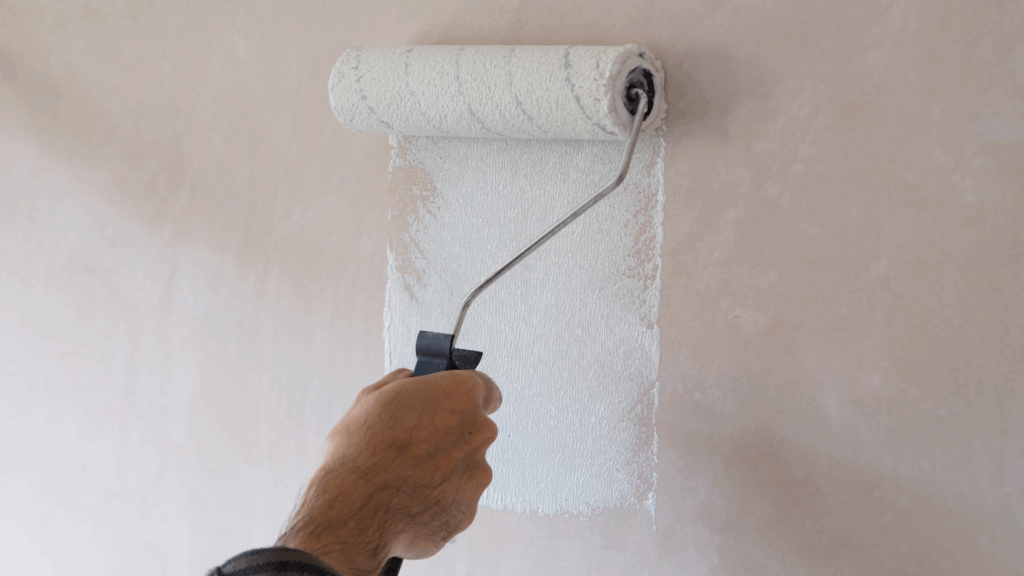
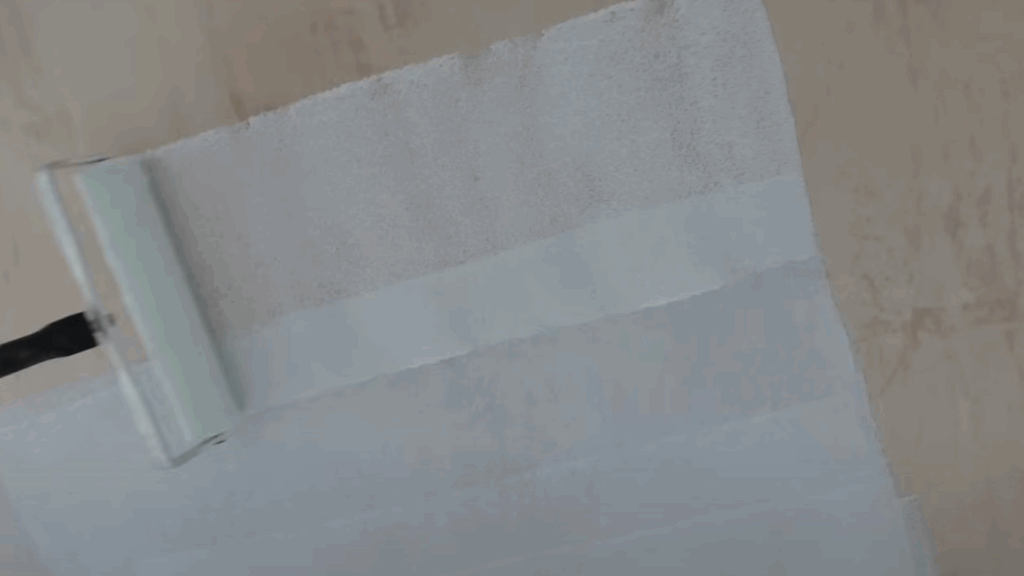
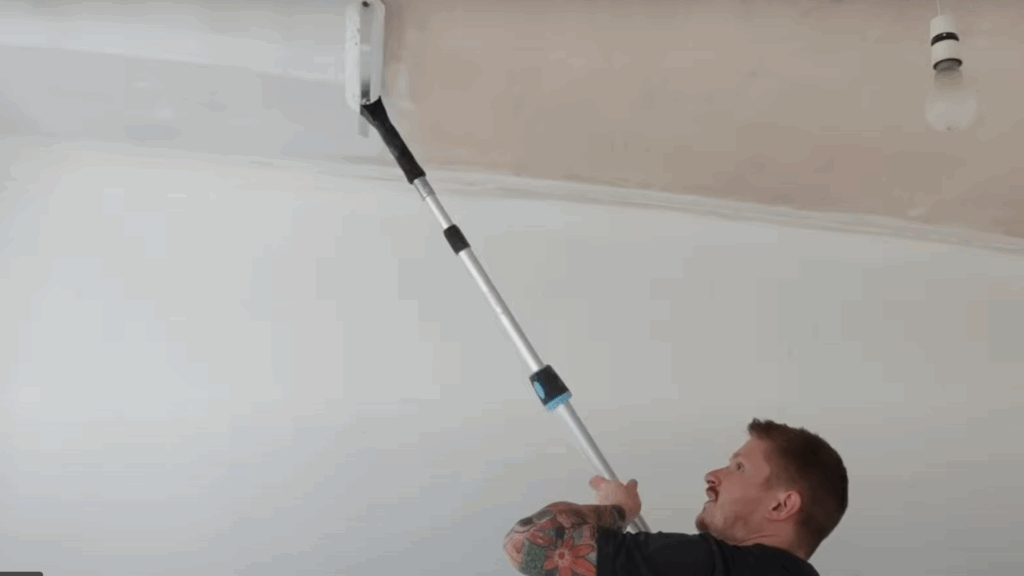
Step 6: Applying the First Mist Coat
First, use a brush to paint all the edges.
Then, apply the 50/50 mist coat to the main surface with a 12-inch roller (use a pole for ceilings for even coverage to seal the plaster.
Step 7: Applying a Second Mist Coat
While applying a single mist coat is essential for sealing new plaster, using a second coat is highly recommended as it provides even more thorough sealing.
It creates a more uniform and consistent base for your subsequent decorative topcoats of paint.
Once the first mist coat is touch-dry, which can often occur surprisingly quickly on porous fresh plaster, sometimes in just a few minutes.
Proceed to apply a second coat of your 50/50 mist coat mixture using the same techniques you employed for the first coat.
Step 8: Painting Your Top Coats
With your mist coats now completely dry, the plaster has been effectively sealed and you can now confidently.
You can now move on to applying your chosen emulsion color to the walls or a fresh coat of white paint to the ceiling.
You can check out the full video on YouTube by @TheDIYGuy1.
Painting Techniques
Painting takes some patience, but with the right method, your plaster walls will look great. Follow these easy steps to get a clean, lasting finish.
Applying the First Coat
Once your plaster wall is clean, fixed, and primed, it’s time for the fun part, painting! Start with the first coat using a roller for large areas and a brush for edges and corners.
To get an even finish, paint in long, smooth strokes and try to keep a “wet edge” so the paint blends nicely.
Make sure the room has good airflow, and don’t rush the drying. Most paints need about 4 to 6 hours to dry before you can add the next coat. Some brands might take longer, so check the label.
Helpful tip from sites like Novitas Decorators and Little House on the Corner: Always let the first coat dry all the way, or you might pull off the paint when adding the second.
Applying Subsequent Coats
When painting plaster walls, you’ll usually need two coats of paint to get good coverage.
If you’re changing from a dark color to a light one, or the other way around, you might need to add a third coat.
To make the walls look nice and smooth, use steady, even strokes with your roller or brush.
Try not to use too much paint at once, and always start painting from the top of the wall and work your way down.
It’s important to let each coat dry completely before you add another one.
Some experts, like Daniel Kanter and PaintSprayerJudge.com, recommend lightly sanding the wall between coats.
This can help smooth out any dust or drips that may have dried on the surface, making your final coat look clean and even.
Conclusion
Painting plaster walls may seem like a big job, but with the right steps, it’s actually pretty simple, even for beginners.
The most important part is prep. Cleaning the wall, fixing cracks, letting the plaster dry fully, and applying a mist coat all help your paint stick better and last longer.
Skipping these steps can lead to peeling, patchy paint, or uneven color.
Choosing the right paint for your space also makes a big difference.
Flat or matte paint is great for hiding marks, while satin or eggshell finishes are better for rooms that need easy cleaning.
Using the right tools, such as good rollers, brushes, and painter’s tape, helps you work faster and more neatly.
I always suggest taking your time with each coat of paint. Let it dry, sand if needed, and don’t rush.
When you do it right, you’ll end up with smooth, strong, and good-looking plaster walls that last for years.