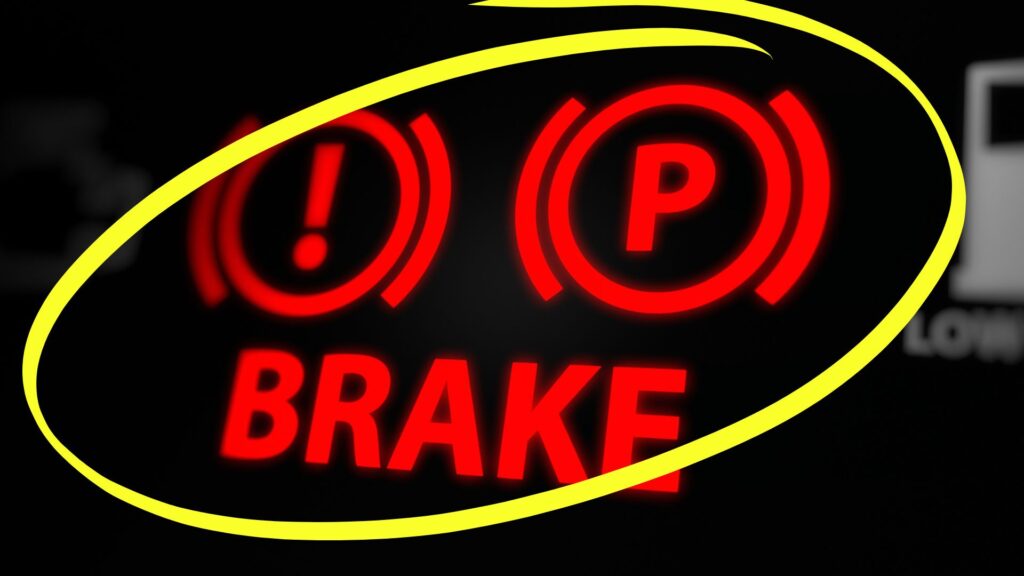
Is your parking brake light flashing, leaving you frustrated and concerned?
You’re not alone. This warning signal indicates an issue that needs immediate attention to ensure your vehicle’s safety and proper functioning.
But don’t worry; we’ve got you covered.
This blog post will reveal the top 7 replacement parts to help you quickly and effectively fix your flashing parking brake light.
We’ll dive into the most common causes, like faulty brake switches and worn-out brake pads, and recommend high-quality replacement components to get your parking brake system back in tip-top shape.
By the end of this article, you’ll be equipped with the knowledge and solutions you need to tackle this problem head-on.
So, let’s get started on your journey to a flashing-free parking brake light!
Best Replacement Parts For Flashing Parking Brake Light
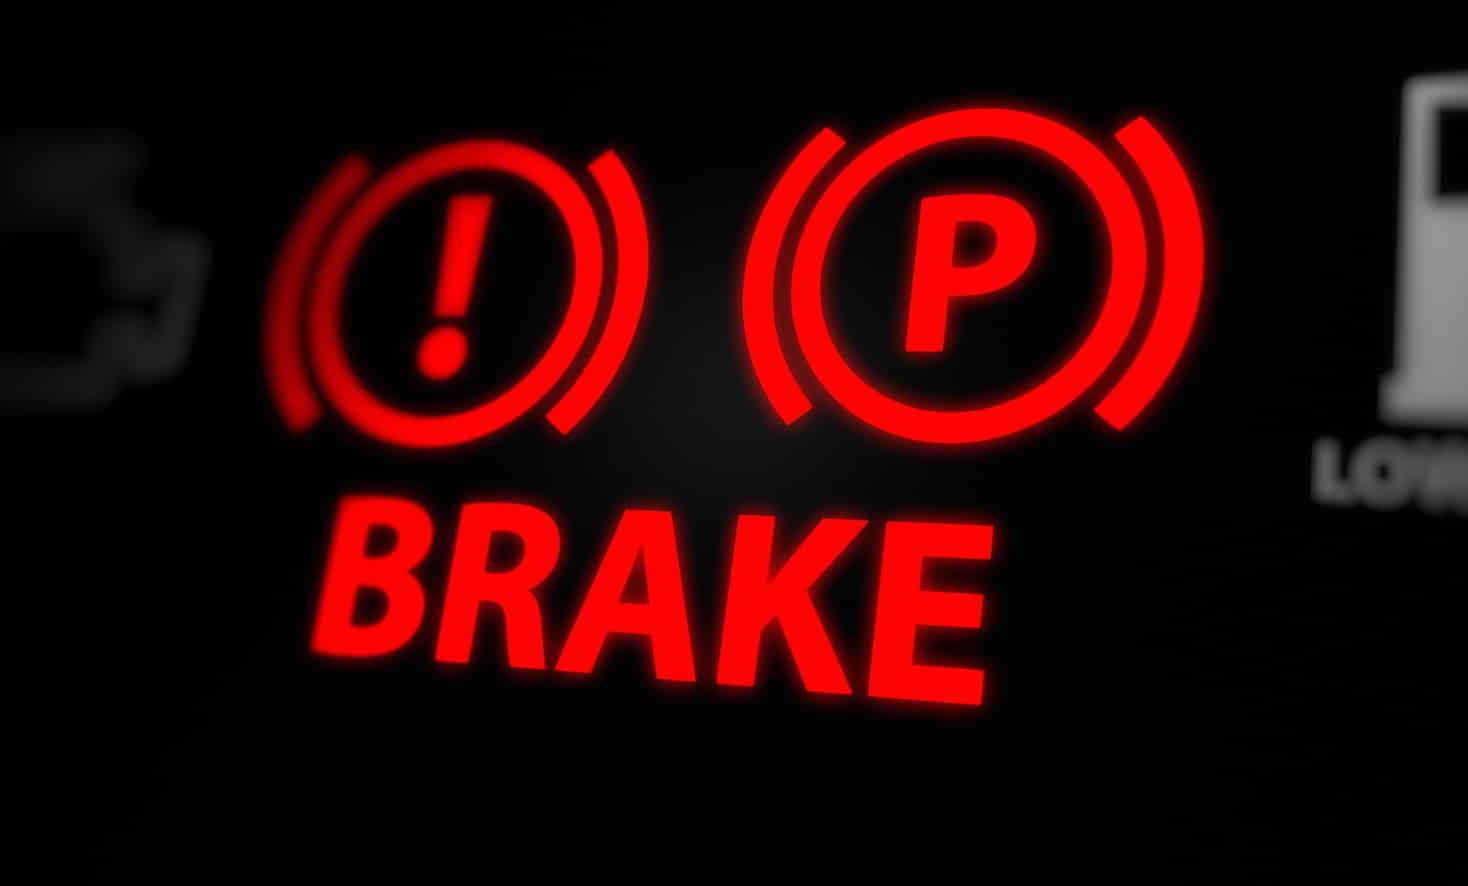
1. Brake Fluid Sensor
The brake fluid sensor monitors the brake fluid level.
How to Check?
- Locate the brake fluid reservoir and check the fluid level (top up if needed).
- Inspect the sensor and its wiring for damage or disconnection.
- Remove and clean the sensor with a rag.
- Test the sensor with a multimeter for continuity or correct resistance.
- Reinstall the sensor and check if the dashboard light is off
If the fluid is low, the sensor triggers the parking brake light.
A malfunctioning sensor can cause the light to flash erroneously.
Opt for sensors from reputable brands like ACDelco, Bosch, or Dorman for reliable performance.
2. Brake Fluid Reservoir Cap
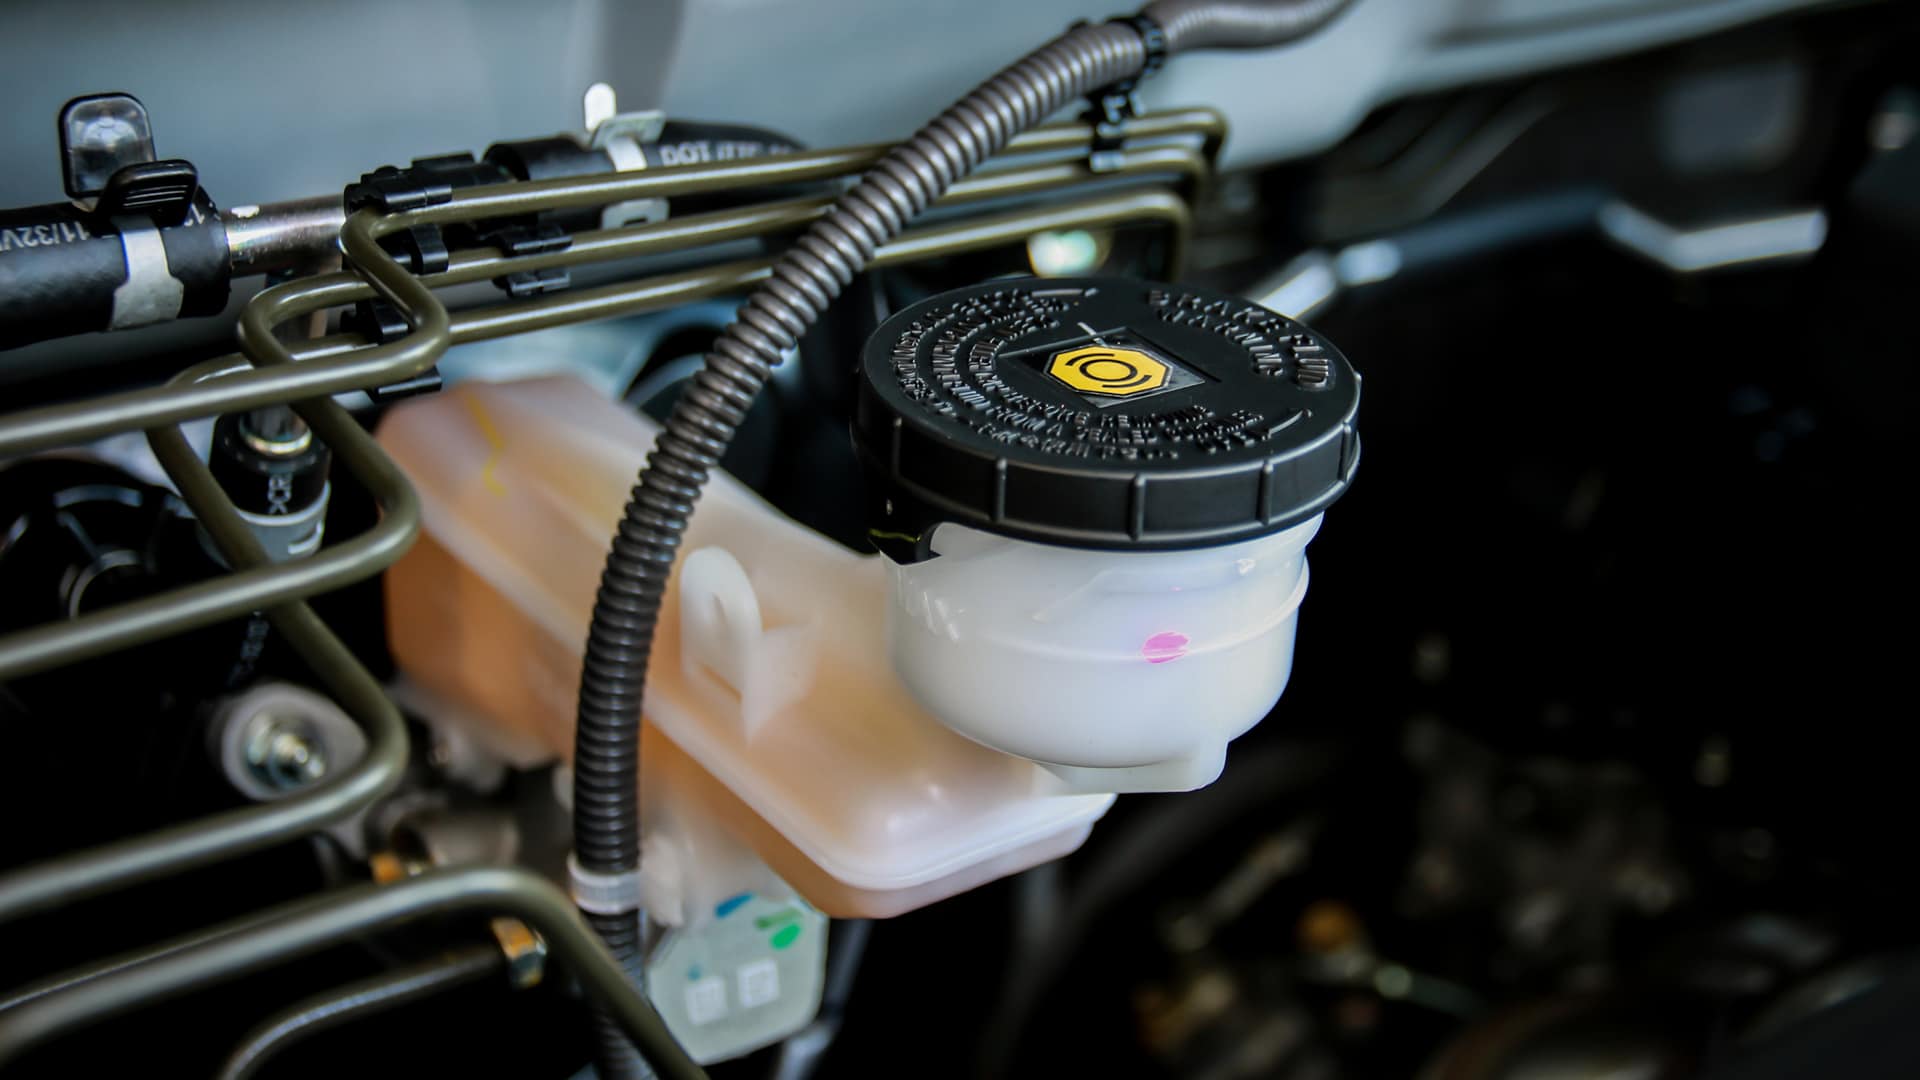
Brake fluid plays a vital role in the braking system, and neglecting its maintenance can lead to serious consequences.
Low or contaminated brake fluid can result in reduced braking performance or even complete brake failure.
How to Check?
- Locate the brake fluid reservoir near the back of the engine compartment on the driver’s side.
- Inspect the fluid level to ensure it falls between the minimum and maximum marks on the reservoir.
- If the level is low, carefully refill the reservoir with the recommended type of brake fluid.
- Also, assess the fluid’s color and consistency.
- It may be time for a complete brake fluid flush and replacement if it appears dark or contaminated.
The cap seals the brake fluid reservoir and often houses the brake fluid sensor.
If the cap is damaged or the sensor is faulty, replacing it can solve the flashing light issue.
Brands like Genuine, ATE, and Dorman offer high-quality reservoir caps.
3. Parking Brake Switch
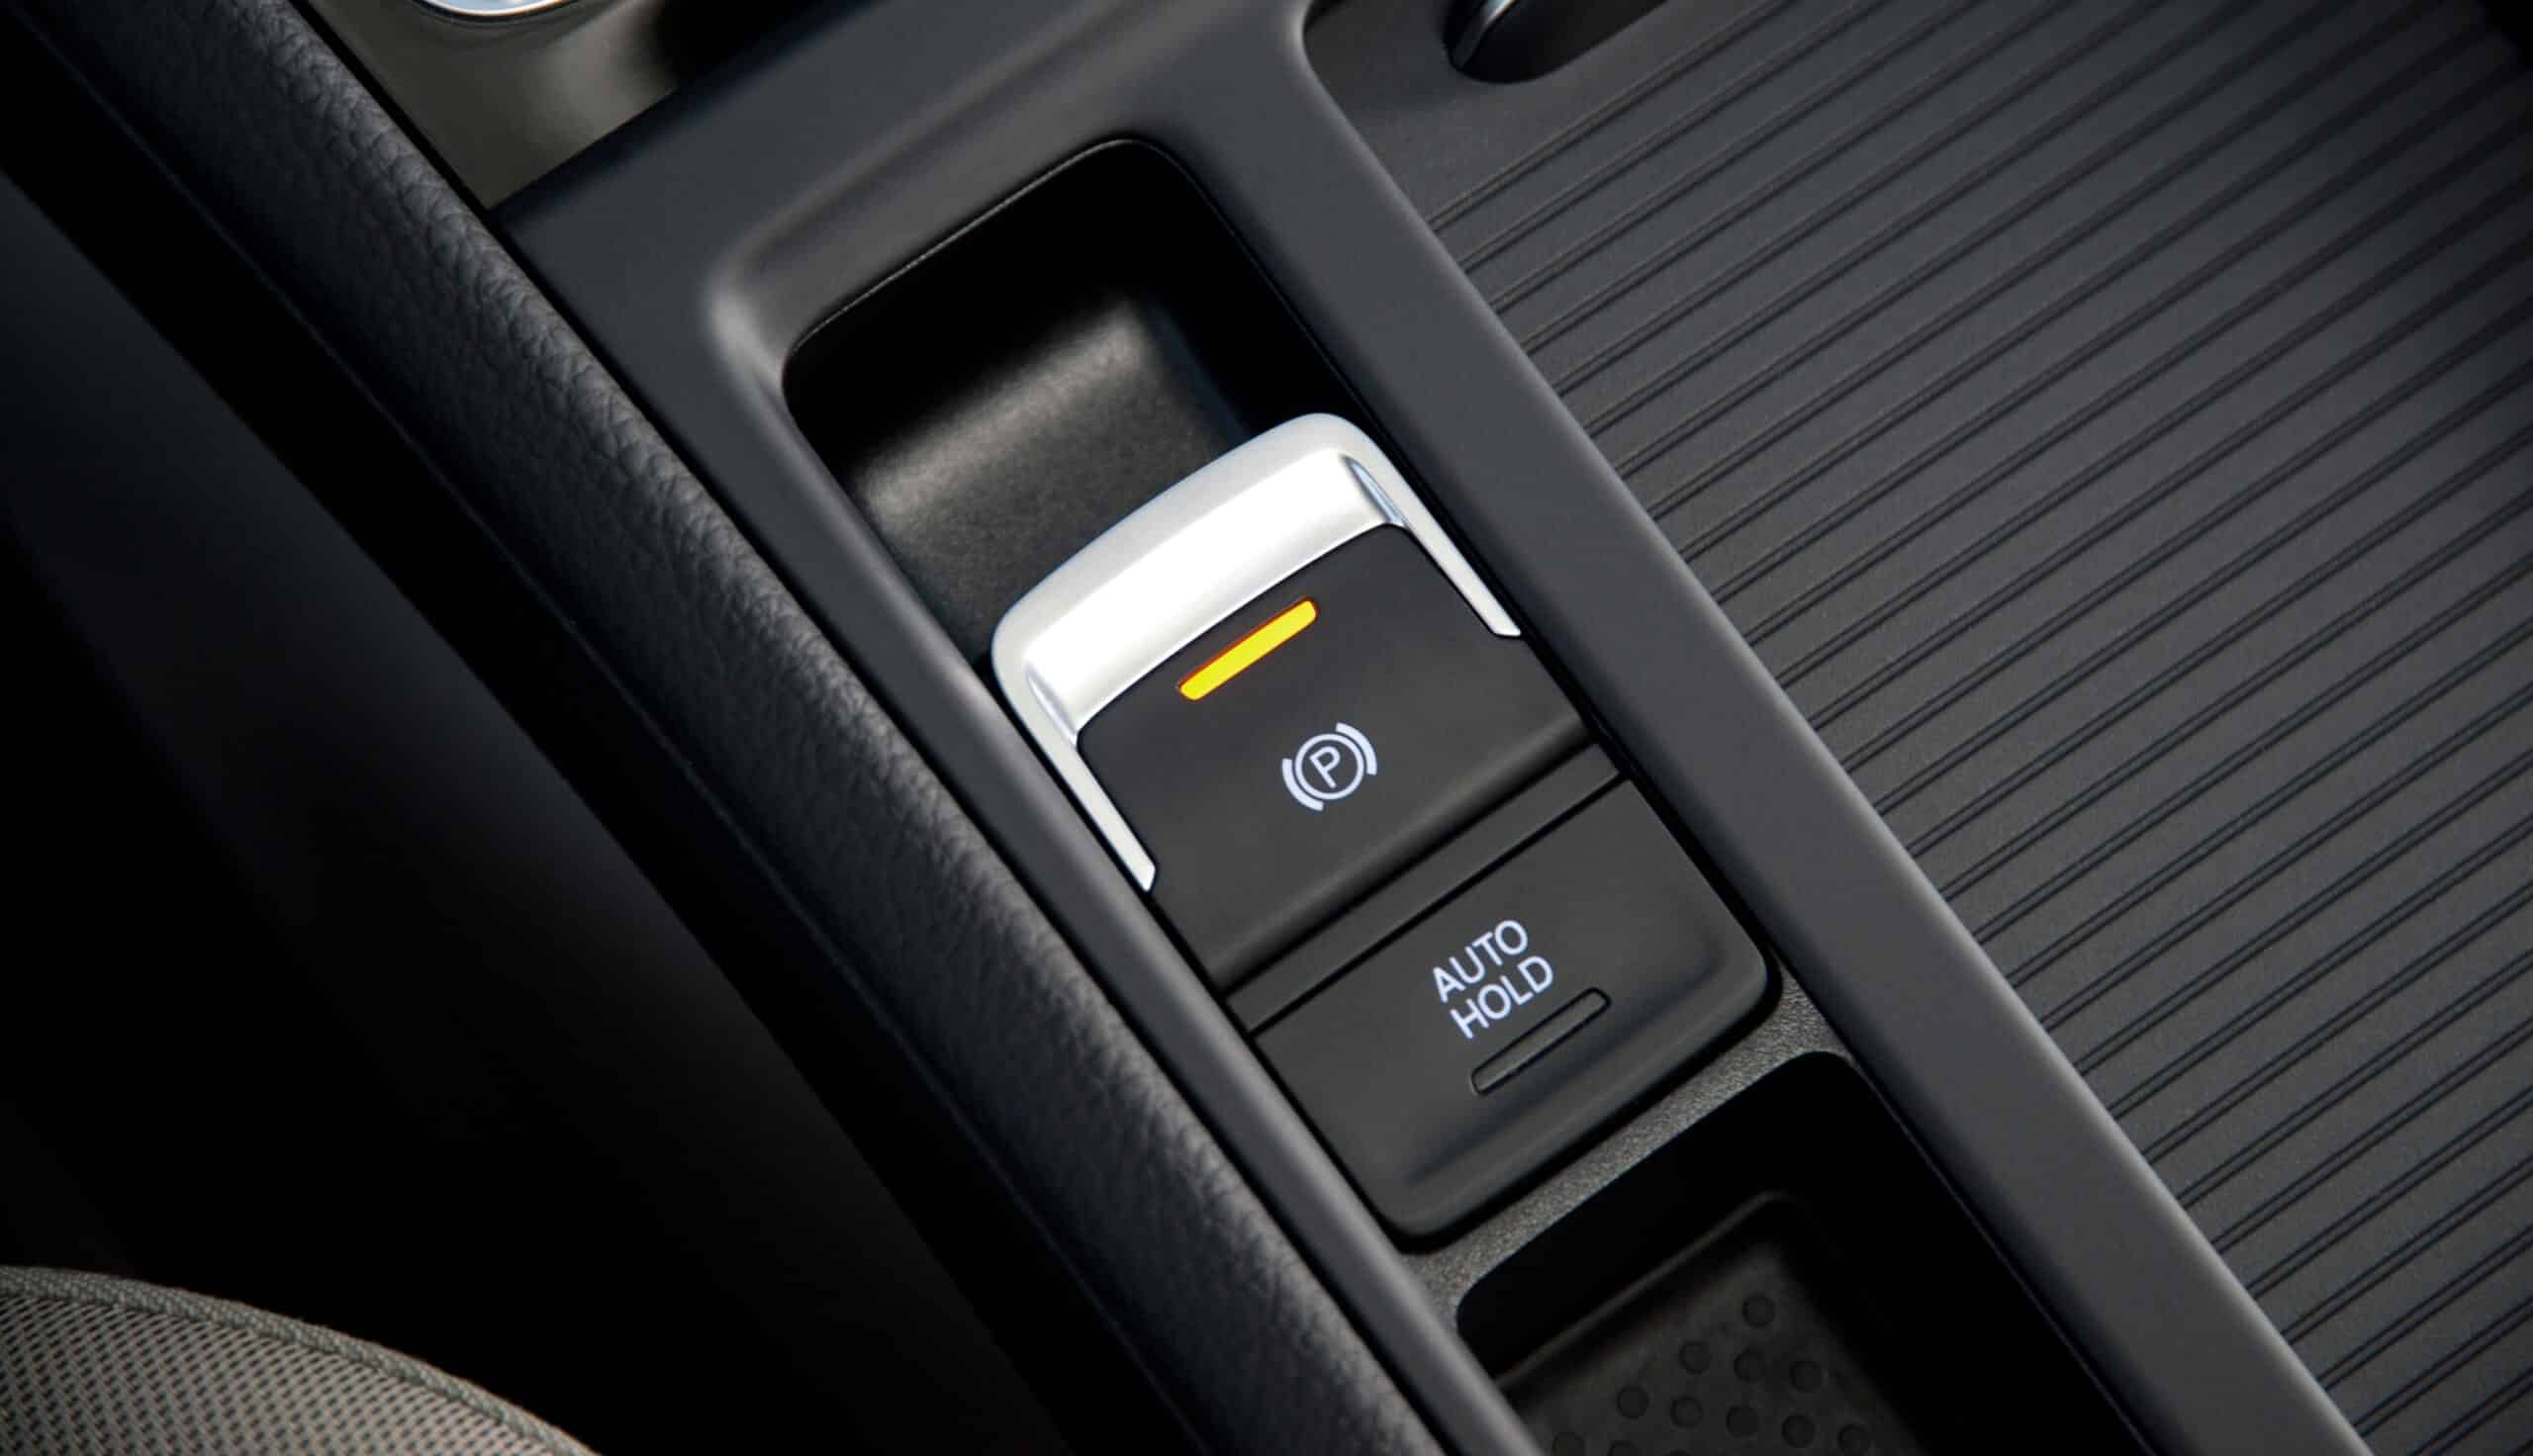
A partially engaged parking brake can cause the warning light to illuminate.
How to check?
- First, confirm that the parking brake is fully released.
- If the light persists after disengaging the parking brake, there may be an underlying problem with the parking brake system itself.
- Check for any signs of wear, damage, or misalignment in the parking brake components, such as the cables, levers, or pads.
- If any issues are found, they should be repaired or replaced by a qualified mechanic to ensure proper parking brake operation.
The parking brake switch activates the dashboard light when the parking brake is engaged.
A faulty switch can cause the light to flash even when the brake is released.
Replacements from manufacturers such as Standard Motor Products, Beck/Arnley, and Motorcraft are dependable.
4. Brake Pads and Shoes
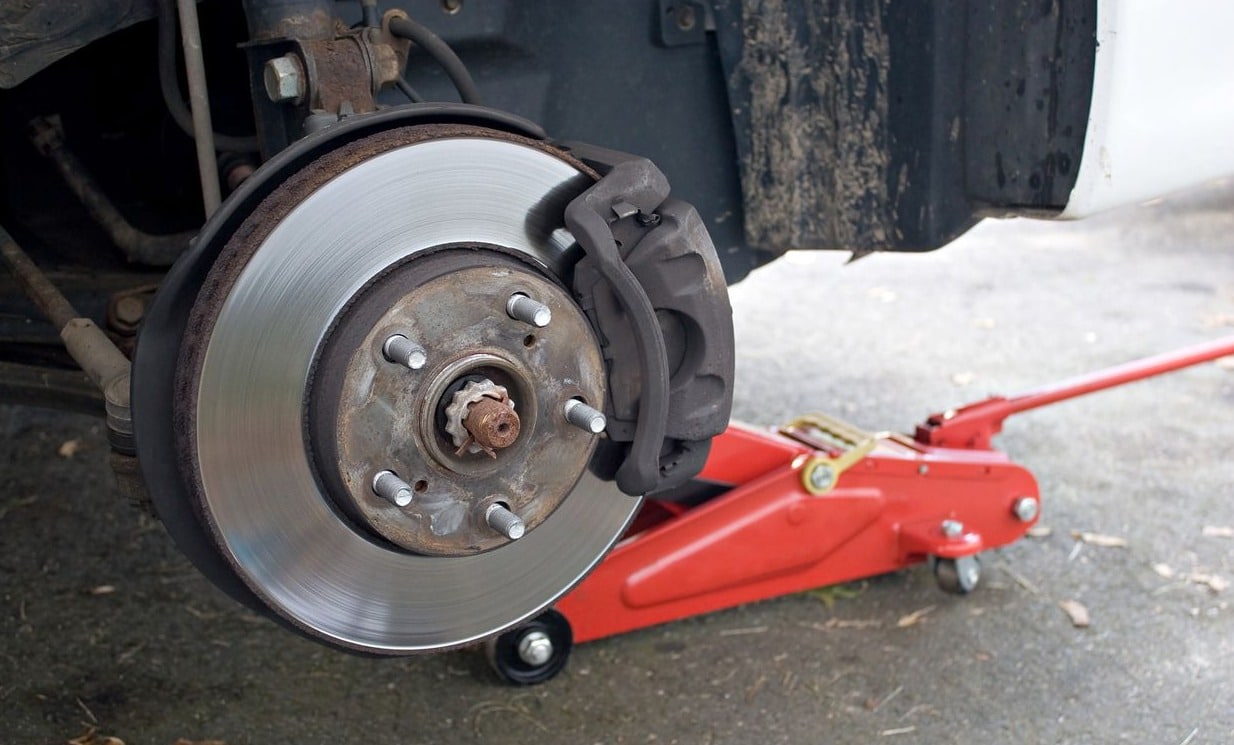
Brake pads and sensors are critical to maintaining safe and effective braking performance.
Worn-out brake pads can significantly reduce stopping power and increase stopping distances.
How to Check?
- Visually inspect the pads through the wheel spokes.
- If the pads appear thin or worn down to the wear indicators, it is time to replace them.
- When replacing brake pads, choose high-quality, compatible pads that meet the manufacturer’s specifications.
- Additionally, inspect the electronic sensor wires connected to the brake pads.
- These sensors alert the driver when the pads are nearing the end of their life.
- Ensure that the sensor wires are properly connected and functioning correctly.
Worn brake pads and shoes can cause brake fluid levels to drop as the calipers adjust to the increased distance.
This can trigger the parking brake light.
High-quality replacements from brands like Brembo, Wagner, and Akebono ensure optimal braking performance and longevity.
5. Brake Fluid
Low brake fluid levels can cause the parking brake light to flash.
How to Check?
- Park on a level surface and turn off the engine.
- Locate the brake fluid reservoir in the engine bay (refer to the manual if needed).
- Check the fluid level through the translucent reservoir (it should be between “MIN” and “MAX” marks).
- Clean the reservoir cap area if the fluid is low to prevent contamination.
- Add the recommended brake fluid to the reservoir until it reaches the “MAX” mark, then securely replace the cap.
Topping up with the correct brake fluid is crucial.
Choose fluids that meet or exceed DOT specifications, such as those from Castrol, Prestone, or Valvoline.
6. Brake Master Cylinder
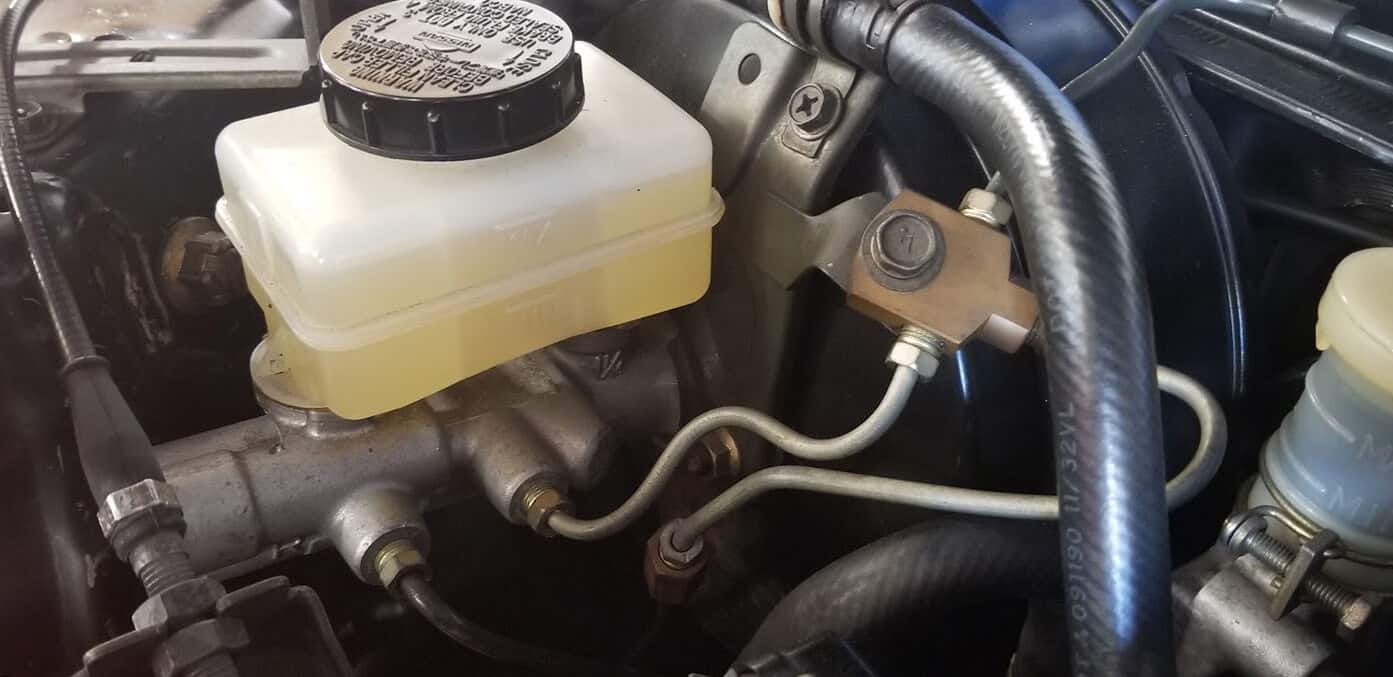
A leaking or failing brake master cylinder can cause a drop in brake fluid levels, triggering the parking brake light.
How Do You Check?
- Park on a level surface, turn off the engine and open the hood.
- Locate the brake master cylinder near the firewall on the driver’s side.
- Check the brake fluid level in the reservoir; it should be between “MIN” and “MAX” marks.
- Inspect the master cylinder and surrounding area for any signs of leaks or damage.
- Press the brake pedal; if it feels spongy or sinks slowly, it may indicate a faulty master cylinder.
Replacing the master cylinder with parts from trusted brands like ACDelco, Bosch, and Cardone ensures reliability and safety.
7. ABS Control Module
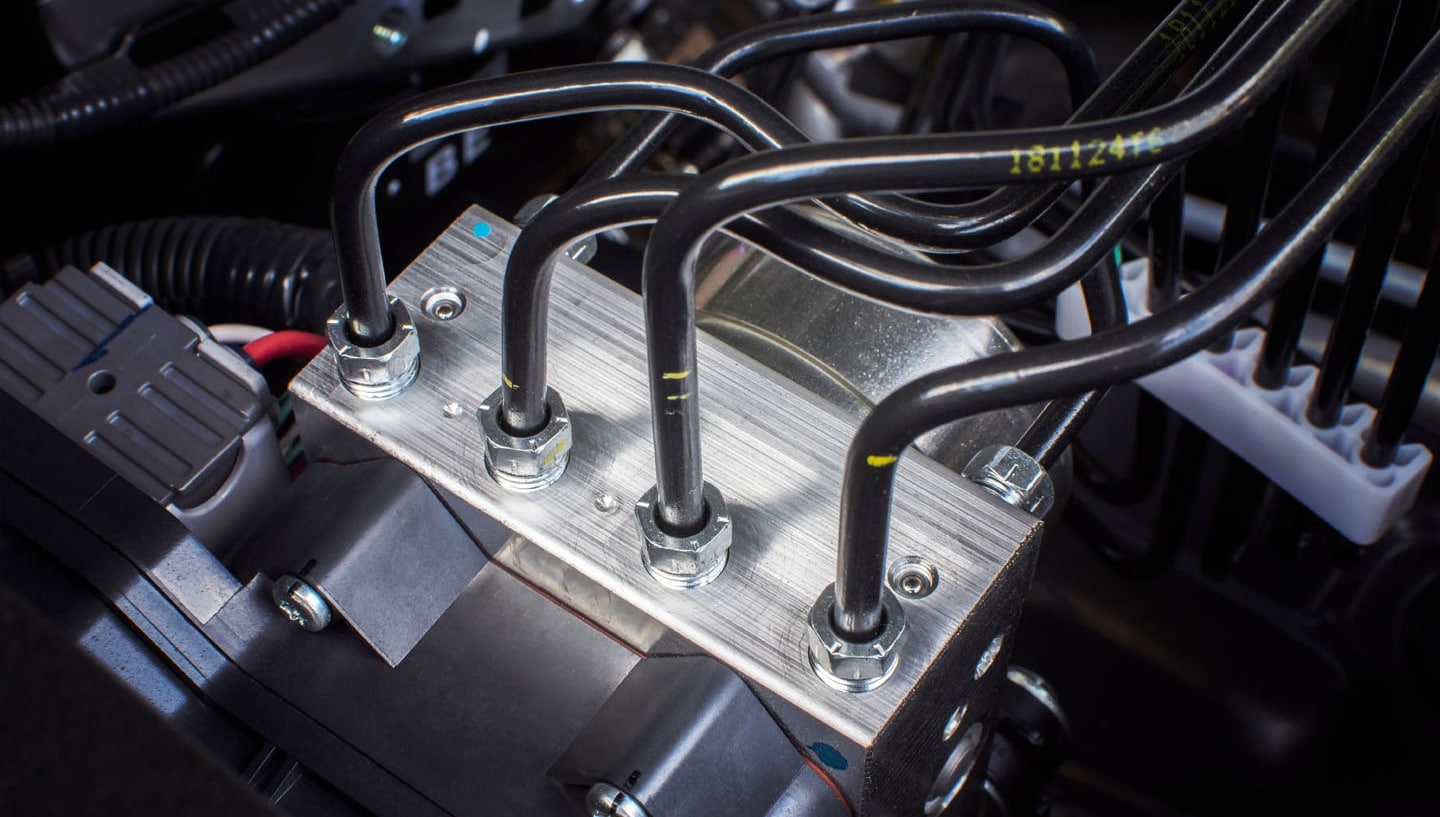
A faulty ABS control module can sometimes cause the parking brake light to flash in vehicles equipped with ABS.
How to Check?
1. Turn off the engine and locate the ABS control module (usually near the brake master cylinder).
2. Inspect the module and wiring for any signs of damage or corrosion.
3. Check for any error codes using an OBD-II scanner connected to the vehicle’s diagnostic port.
4. Test the electrical connections with a multimeter to ensure proper voltage and continuity.
5. Consult the vehicle’s manual for specific diagnostic procedures and error code meanings, or seek professional assistance.
Reliable replacements from Bosch, Dorman, and A1 Cardone can resolve this issue.
Understanding the Brake Warning Light
Brake warning lights on your dashboard are crucial indicators of potential issues within your vehicle’s braking system.
These lights alert you to problems requiring immediate safety and functionality attention.
Common brake warning lights include:
- Brake Pad Wear: Signals that brake pads are excessively worn and need inspection or replacement.
- Brake Fluid Level: Indicates low brake fluid levels, potentially pointing to leaks or hydraulic problems.
- Parking Brake Engagement: Remains lit if the parking brake is not fully disengaged or if there is a system fault
Always consult your vehicle’s owner’s manual to understand the specific warning lights for your model, as indicators can vary between makes and models.
Additionally, the parking brake engagement light remains lit if it is engaged or if the parking brake system itself is faulty.
By familiarizing oneself with these model-specific lights and their implications, drivers can more effectively diagnose and address potential braking system issues.
Moreover, preventative maintenance plays a vital role in ensuring the longevity and reliability of a vehicle’s braking system.
As the owner’s manual recommends, regular check-ups can help identify and resolve minor issues before they escalate into more serious, potentially dangerous problems.
By staying proactive and maintaining a consistent maintenance schedule, drivers can significantly reduce the risk of brake failure and enhance overall road safety.
Initial Assessment of the Warning Light
When a brake warning light illuminates your vehicle’s dashboard, it is crucial to identify the exact moment it appeared.
- This timing can provide valuable insights into the urgency and nature of the potential issue.
- If the light comes on when you start your vehicle, it may indicate a more fundamental problem within the braking system that requires immediate attention.
On the other hand, if the warning light appears while you are actively driving
- It could signal a sudden change or failure in the brakes, which poses significant safety risks.
- It is essential to understand the potential dangers associated with each scenario.
- A warning light at startup suggests a possible underlying issue that could compromise the entire braking system’s functionality.
- Attempting to drive a vehicle in this condition could lead to complete brake failure, putting yourself and others on the road at risk.
Similarly, if the light emerges while driving, it may indicate a rapid deterioration or malfunction of the brakes, resulting in reduced stopping power or total loss of brake control.
Such situations can greatly increase the likelihood of accidents, especially in high-traffic or high-speed conditions.
Immediate Actions to Take When a Brake Warning Light Appears
- Stay Calm: If driving, calmly steer your vehicle to a safe roadside location.
- Avoid Sudden Brakes: Do not slam on the brakes, which could worsen the problem.
- Use Hazard Lights: Once stopped, turn on your hazard lights to signal to other drivers.
- Do Not Continue Driving: Avoid driving further to prevent danger.
Taking these steps helps mitigate risks and ensures you manage the situation safely.
After securing your vehicle, the next step is to arrange for professional assistance.
Get a professional. Contact a trusted mechanic or utilize roadside assistance services to have your vehicle towed to a repair facility.
A trained technician can properly diagnose the issue and perform the necessary repairs to restore your braking system to optimal functioning.
Attempting to diagnose or fix the problem yourself may lead to further complications or even more dangerous conditions.
By relying on the expertise of professionals, you can ensure that your vehicle’s brakes are thoroughly evaluated and repaired, giving you peace of mind and ensuring your safety back on the road.
Finding Quality Replacement Parts
It is crucial to choose high-quality replacement parts when repairing or replacing components in your vehicle’s braking system.
Investing in superior brake components enhances your vehicle’s safety and reliability and ensures long-lasting performance.
Quality parts are designed to meet or exceed the original manufacturer’s specifications, providing the confidence and peace of mind you need while on the road.
Why to Use High-Quality Brake Components
- Superior parts offer enhanced safety features, ensuring your braking system performs optimally when needed.
- Quality materials and precise manufacturing processes make components more resistant to wear, tear, and extreme conditions, reducing the risk of brake failure or malfunction.
- High-quality parts often have a longer lifespan, saving you money in the long run by reducing the frequency of replacements.
- While it may be tempting to opt for generic, off-the-shelf parts to save money, this decision can come with significant risks.
- These parts may not meet your vehicle’s specific requirements, leading to suboptimal performance or even compromising your safety.
- Off-the-shelf components might not match the quality or durability of the original parts, resulting in a shortened lifespan and the need for more frequent replacements.
In conclusion, investing in quality replacement parts for your vehicle’s braking system is a wise decision, prioritizing safety, reliability, and long-term value.
Utilizing specialized tools and comprehensive kits simplifies the selection process and ensures you get the best components for your specific vehicle.
Remember, quality should never be compromised when it comes to your brakes.
Choose precision and performance to keep yourself and your passengers safe.
Installation and Professional Help
| Aspect | DIY Installation | Mechanic Installation |
|---|---|---|
| Advantages | – Cost savings by avoiding labor fees | – Expert handling by certified professionals |
| – Opportunity to gain hands-on experience | – Time-efficient and convenient | |
| – Greater control over the repair process | – Work is often guaranteed or comes with a warranty | |
| – Access to specialized tools and equipment | ||
| Challenges | – Potential for errors due to inexperience | – More expensive due to labor and part markup costs |
| – Requires specific tools and adequate workspace | – Dependence on finding a reputable and reliable mechanic | |
| – Can be time-consuming, especially for beginners | – Scheduling constraints | |
| Working with a Trusted Mechanic | – Not applicable | – Verify certifications and licenses |
| – Research customer reviews and seek recommendations | ||
| – Request a written estimate for clarity on costs and procedures | ||
| – Communicate openly about concerns and the scope of work |
Conclusion
Dealing with a flashing parking brake light can be stressful, but understanding the common causes and steps to resolve the issue can help you tackle the problem confidently.
Whether you attempt a DIY fix or seek professional assistance, it’s crucial to prioritize safety and use high-quality replacement parts.
Following the inspection process and making an informed decision based on your skills and resources can ensure your vehicle’s parking brake system functions optimally.
Regular maintenance and prompt attention to warning signs are key to preventing more serious issues.
If you found this article helpful, explore our other resources on brake maintenance and safety tips to keep your vehicle in top shape.
Drive safely and stay proactive in maintaining your vehicle’s health!
Frequently Asked Questions
What Are the Most Common Reasons for a Flashing Parking Brake Light?
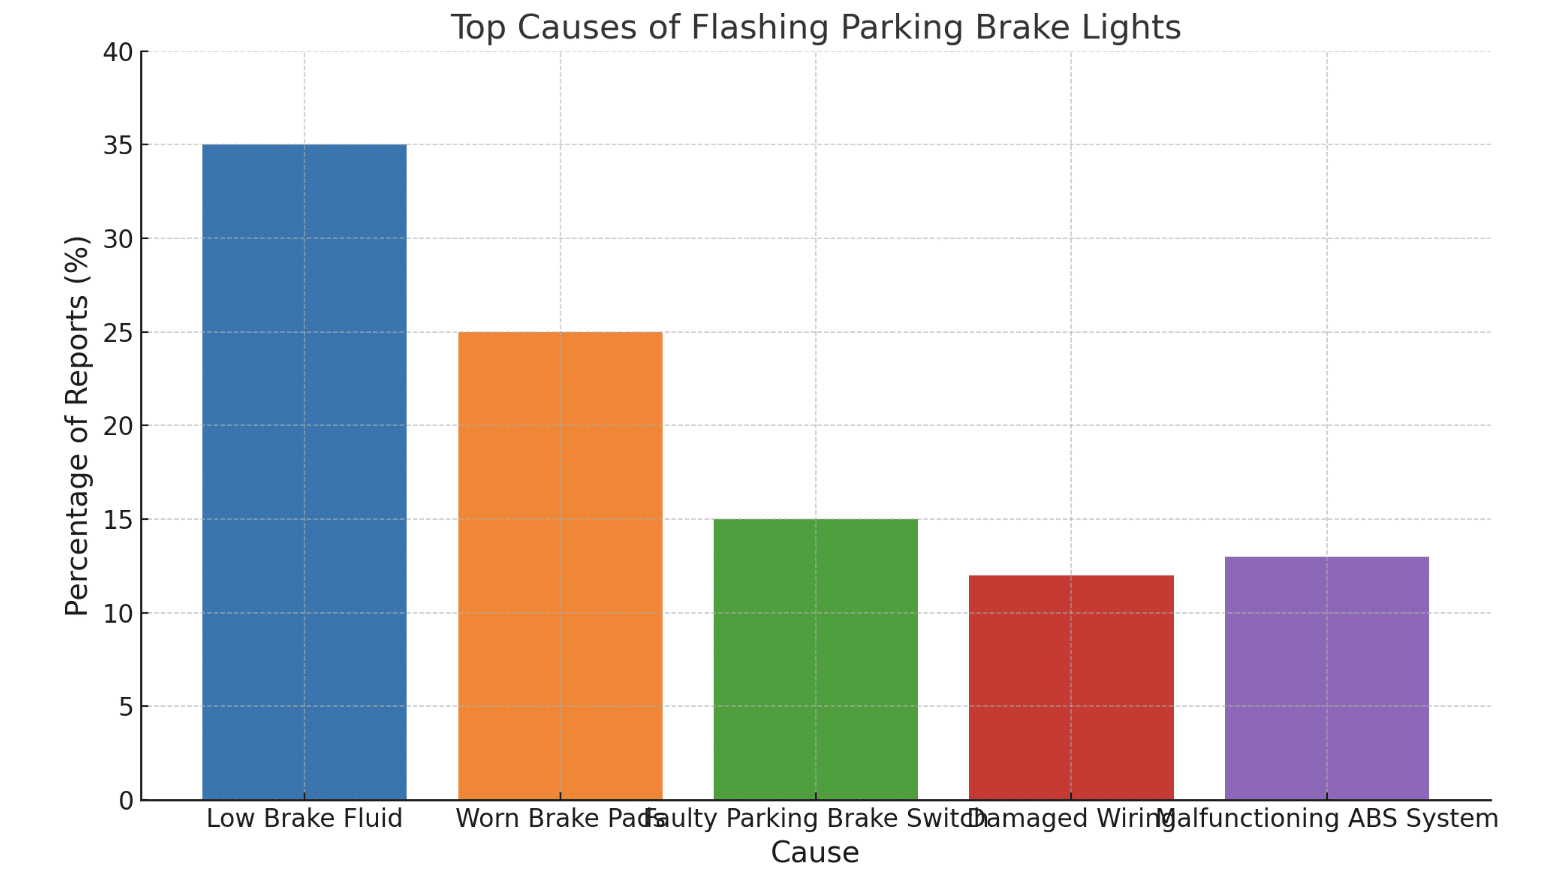
Low brake fluid, worn brake pads, faulty parking brake switch, damaged wiring, or a malfunctioning ABS.
Is It Safe to Drive with a Flashing Parking Brake Light?
No, driving with a flashing parking brake light is unsafe. It indicates a problem that could compromise braking ability. Have it checked by a mechanic promptly.
How Can I Determine Whether to Attempt a DIY Fix or Consult a Mechanic?
Consider your mechanical expertise, tool availability, and the issue’s complexity. Brake work is critical for safety. When in doubt, consult a professional.
What Tools Are Required for DIY Brake Repairs?
Jack, jack stands, lug wrench, brake tool kit, C-clamp, brake bleeding kit. Consult the vehicle manual for specifics. Proper safety equipment is a must.
How Do I Ensure High-Quality Replacement Parts for My Vehicle?
Buy from reputable suppliers or dealers. Ensure parts meet OEM specifications. Check compatibility with make/model/year. Read reviews and compare warranties. Prefer established brands over generic ones.

