Painting IKEA furniture sounds fun, but it can be frustrating if the paint won’t stick. I’ve been there, watching the paint chip off way too easily.
That’s because most IKEA pieces are made with a slick, non-absorbent surface. If you skip a few key steps, the paint won’t last.
I’ve found a simple way to make the paint stay on and look great.
I’ll show you how to get the surface ready, what tools to use, and how to finish it so your makeover holds up over time.
You won’t need fancy skills or expensive gear-just the right method. If you’ve searched for how to paint IKEA furniture without it peeling or scratching, this will give you what you need.
You’ll get clear steps that make the job easier and the results better. I’m here to help you get it right the first time.
Why Painting IKEA Furniture Is Tricky

IKEA furniture might look easy to paint, but it’s not built like solid wood.
Most pieces are made from particleboard with a smooth laminate layer on top. That top layer is slick and doesn’t soak in paint like real wood does.
If you try to paint it without doing the right prep, the paint will just slide off or peel later.
The problem is that the surface is non-absorbent. That means paint has nothing to grip onto. If you skip sanding or priming, your paint job won’t last.
It may look fine at first, but even a light touch can cause it to chip or flake.
One example showed a painted IKEA desk that wasn’t prepped right. The paint came off with just a finger swipe.
That’s why surface prep is so important-without it, you’ll waste time and end up with a mess instead of a fresh, clean finish.
Materials You’ll Need
Before you start painting, it’s important to gather the right tools and products. These will help the paint stick well and keep your furniture looking great for a long time.
- 120-Grit Sandpaper: This helps rough up the smooth surface so the primer and paint can grip better.
- BIN Shellac-Based Prime: A strong primer that sticks to slick surfaces and keeps paint from peeling.
- Paint (Preferably Eggshell Finish): A quart is usually enough. Eggshell gives a soft look that works well on furniture.
- Roller, High-Quality Brush, or Spray Gun: Use a roller for texture, a brush for smooth strokes, or a spray gun for a flawless finish.
- Polyacrylic Sealant: This clear topcoat protects the paint and adds durability.
- Sponge Brush or Clean Lint-Free Cloth: Helps smooth out bubbles when applying the sealant.
Step-by-Step Process to Paint IKEA Furniture
Now that you have your materials ready, it’s time to follow the process. These steps will help the paint stick properly and make your furniture look professionally finished.
Step 1: Sand the Surface

Sanding is the first thing you should do. Use 120-grit sandpaper and gently rub every part of the furniture you want to paint.
This roughs up the smooth surface and helps the paint stick better. Don’t press too hard-you’re just trying to remove the shine, not damage the piece.
After sanding, wipe everything down with a clean, dry cloth to remove dust. Leftover dust can mix with your paint and mess up the finish.
Take your time and make sure every part is clean and smooth before moving to the next step.
This will help your paint last longer.
Step 2: Apply the Primer

Primer is what helps paint stay on. After sanding, use a shellac-based primer like BIN and cover all the areas you want to paint.
Use a brush or roller to spread it in a thin, even layer. Let it dry for at least an hour, but overnight is even better.
This gives the primer time to fully cure and stick to the furniture. Don’t skip this step-without primer, the paint can peel right off later.
Once the primer is dry, check for drips or rough spots and lightly sand them if needed. Now your furniture is ready for color.
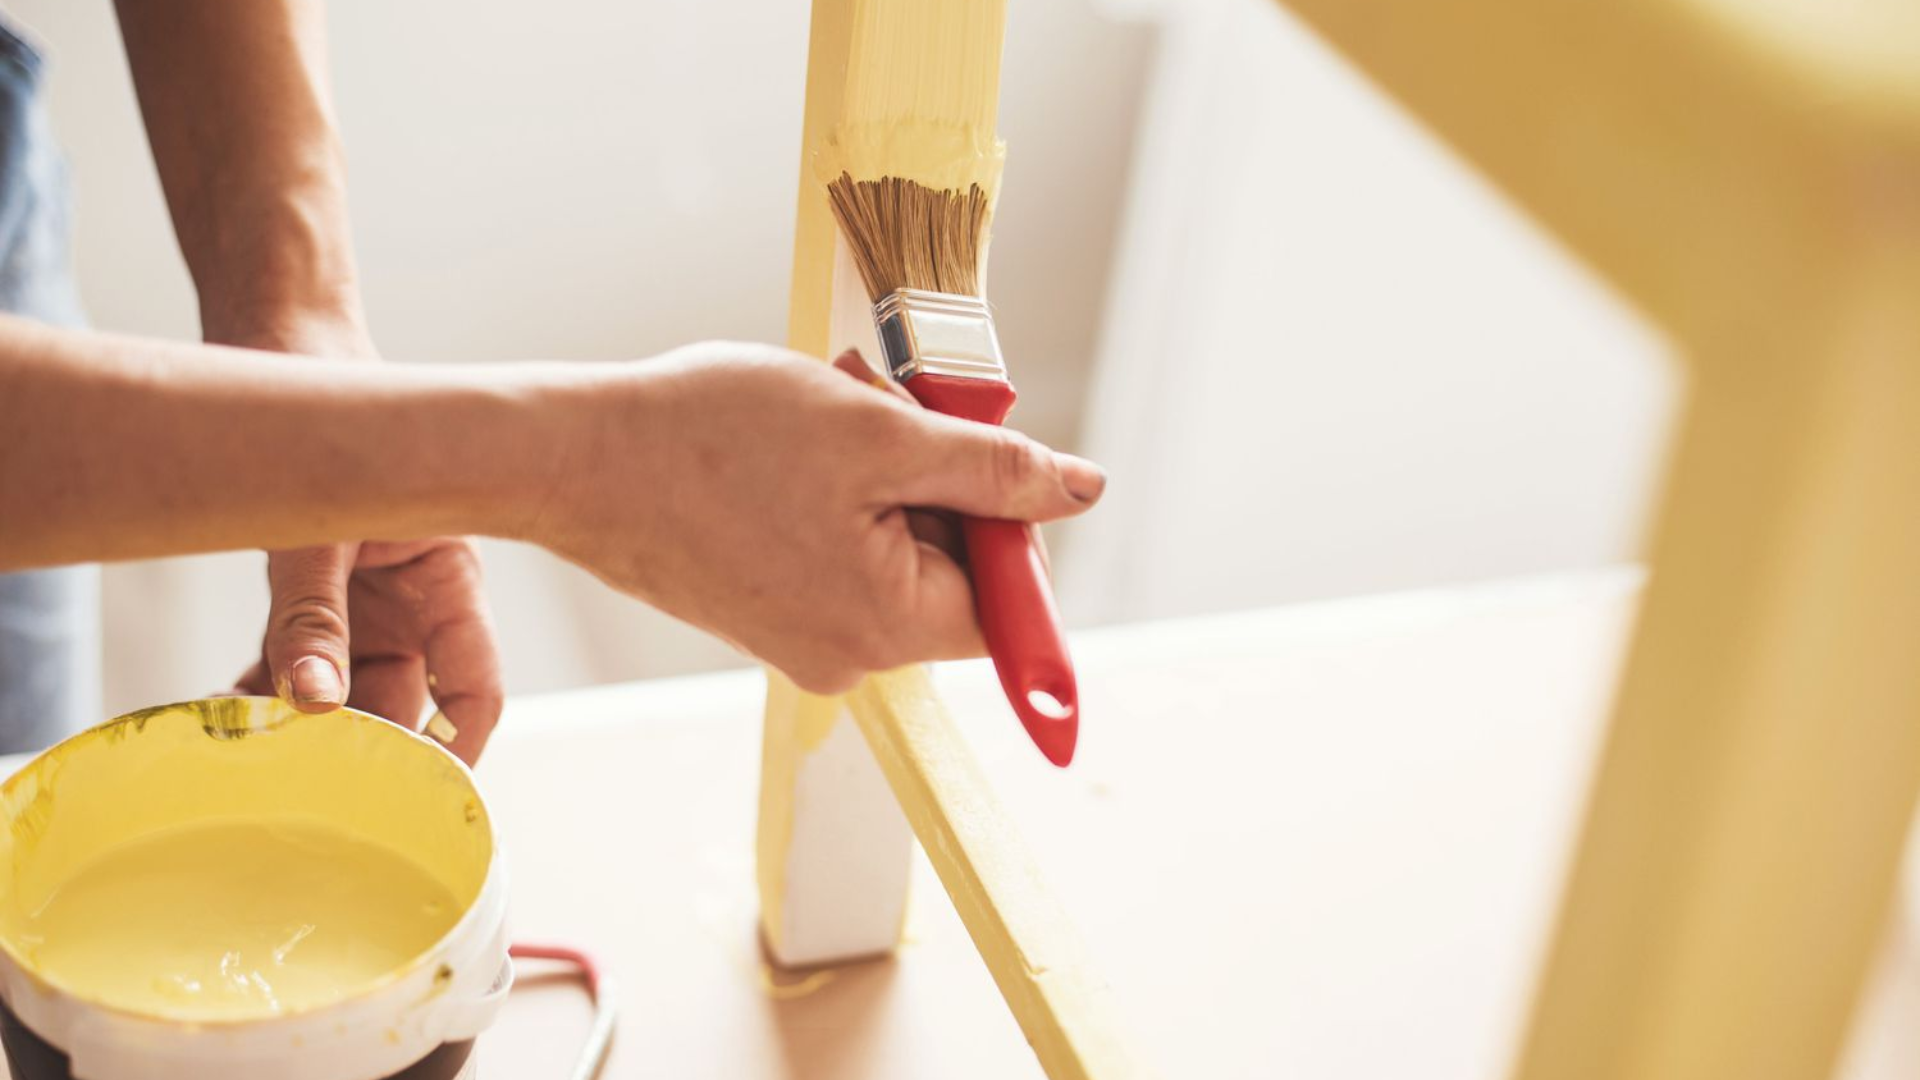
Step 3: Paint with Your Chosen Color

Pick a paint you like-an eggshell finish works well for furniture.
Use a roller for a textured look, a brush for smoother lines, or a spray gun for a clean, even coat.
Start with one thin layer of paint and let it dry fully before adding another.
Two coats are usually enough. If you miss any spots, just touch them up after the second coat dries. Be patient and don’t rush. Thick paint takes longer to dry and can leave marks.
Make sure the paint is smooth and even before moving on to the final sealing step.
Step 4: Seal with Polyacrylic

Sealing protects your paint job and keeps it from scratching or peeling. Use a polyacrylic sealant and apply a thin coat with a clean brush.
Let it dry fully. If you see bumps or rough spots, lightly sand them down once they’re dry. Then add a second coat.
You can also use a roller, but make sure to smooth out air bubbles with a sponge brush. Work in small sections and move quickly because polyacrylic dries fast.
This final layer makes your furniture stronger and gives it a nice finish that lasts through daily use.
If you want to see how each step looks in action, I recommend watching this helpful video by @The Crafted Life. It walks you through the whole process.
Final Tips for Best Results
These extra tips can help make the process smoother and your results even better. They’ll save you time, reduce mistakes, and keep your painted furniture looking great.
- Clean Before You Start: Always wipe the furniture to remove dust, oil, or grease. It helps the paint stick better.
- Don’t Skip the Primer: Primer is the key to making your paint last and not peel off later.
- Use Thin Coats: Apply paint in light layers to avoid drips and get an even finish.
- Let Everything Dry Fully: Be patient, drying time matters for strong, smooth results.
- Seal for Extra Protection: A clear sealant keeps your paint from scratching or fading over time.
Conclusion
Painting IKEA furniture takes a little time, but it’s totally worth it.
I’ve found that when you follow each step-sanding, priming, painting, and sealing-you end up with something that looks great and lasts a long time.
The key is not rushing. I know it can be tempting to skip a step or use whatever brush is nearby, but the right tools and prep really make a difference.
You don’t need to be a pro to do this. Just take it one step at a time, and you’ll feel proud of what you’ve made.
I hope this guide helped you feel more confident and ready to start. If you’re painting a small shelf or a big dresser, the method is the same.
Now that you know what works, you can turn any plain IKEA piece into something that fits your space and style. Just be patient, stay neat, and have fun with it.