
If you’ve noticed your roof’s shingles losing granules, you might worry about leaks or a full roof replacement. While granular loss is common, it doesn’t always mean you need a new roof.
With a few simple steps, you can fix it yourself and save money. In this guide, I’ll walk you through repairing granular loss with easy-to-follow steps and the right tools.
You don’t need to be an expert. I’ll cover safety tips and how to choose the right materials.
Once you understand the cause and how to fix it, you’ll feel more confident in keeping your roof in top shape. This guide will help you tackle the problem quickly and effectively.
Why Granular Loss Happens on Your Roof

Granular loss happens when the tiny granules on your roof shingles start to wear away or fall off.
These granules are what protect your shingles from the sun and weather. Over time, things like strong winds, rain, or even just age can cause the granules to loosen and fall off.
One of the main reasons for granular loss is improper nailing. If nails are placed too high or not securely, the shingles can shift, and the granules can wear off faster.
Another reason could be severe weather, like heavy rain or high winds, which can pull the granules off the shingles.
When this happens, the underlying layer of the shingles is exposed to more damage, which can lead to leaks or bigger roofing issues.
Understanding why granular loss happens is the first step in fixing it and protecting your roof from further damage.
Tools You’ll Need for the Repair
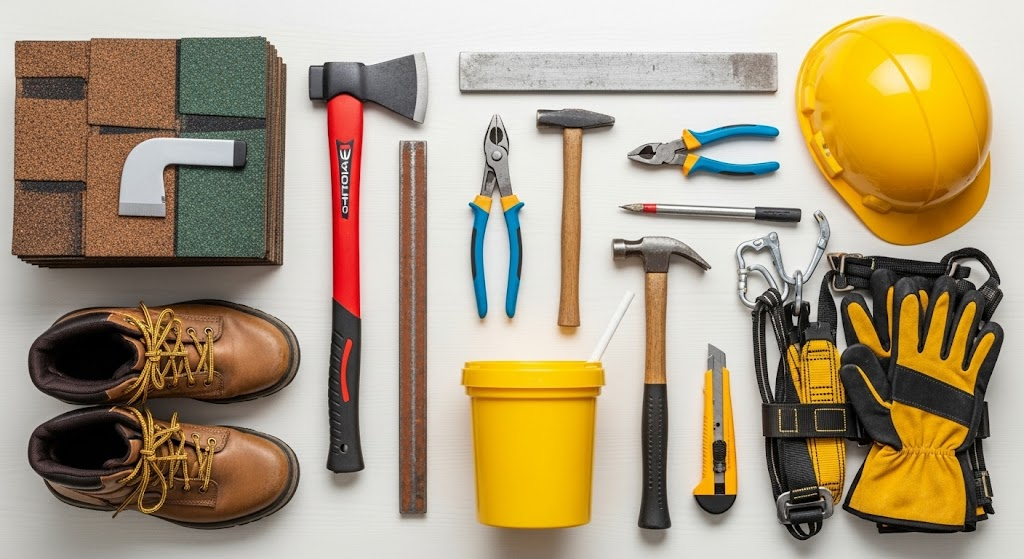
To repair granular loss on your roof, you’ll need a few basic tools. Here’s a list of what you’ll need:
- New Shingles: It’s best to match the color of your existing shingles, but if that’s not possible, choose a close color.
- Magnetic Hatchet: This tool helps hold nails in place, making the job easier, especially if you plan on doing repairs often.
- Flat Bar: Perfect for prying up shingles that are hard to reach or need cutting.
- Hammer: You’ll need this to pound down nails and secure shingles in place.
- Pliers/Claw Hammer: Use these to pull out nails from damaged shingles.
- Roofing Sealer/Cement: This is important for sealing shingles, especially in colder weather.
- Utility Knife: Helps cut shingles to fit properly during the repair.
- Safety Gear: Don’t forget gloves, sturdy shoes, and a harness if needed for safety.
Steps to Repair Granular Loss on Your Roof
Follow these simple steps to repair granular loss on your roof. Each step will guide you from identifying the damage to completing the repair, helping your roof stay in good condition longer.
Step 1: Assess the Damage and Understand the Cause
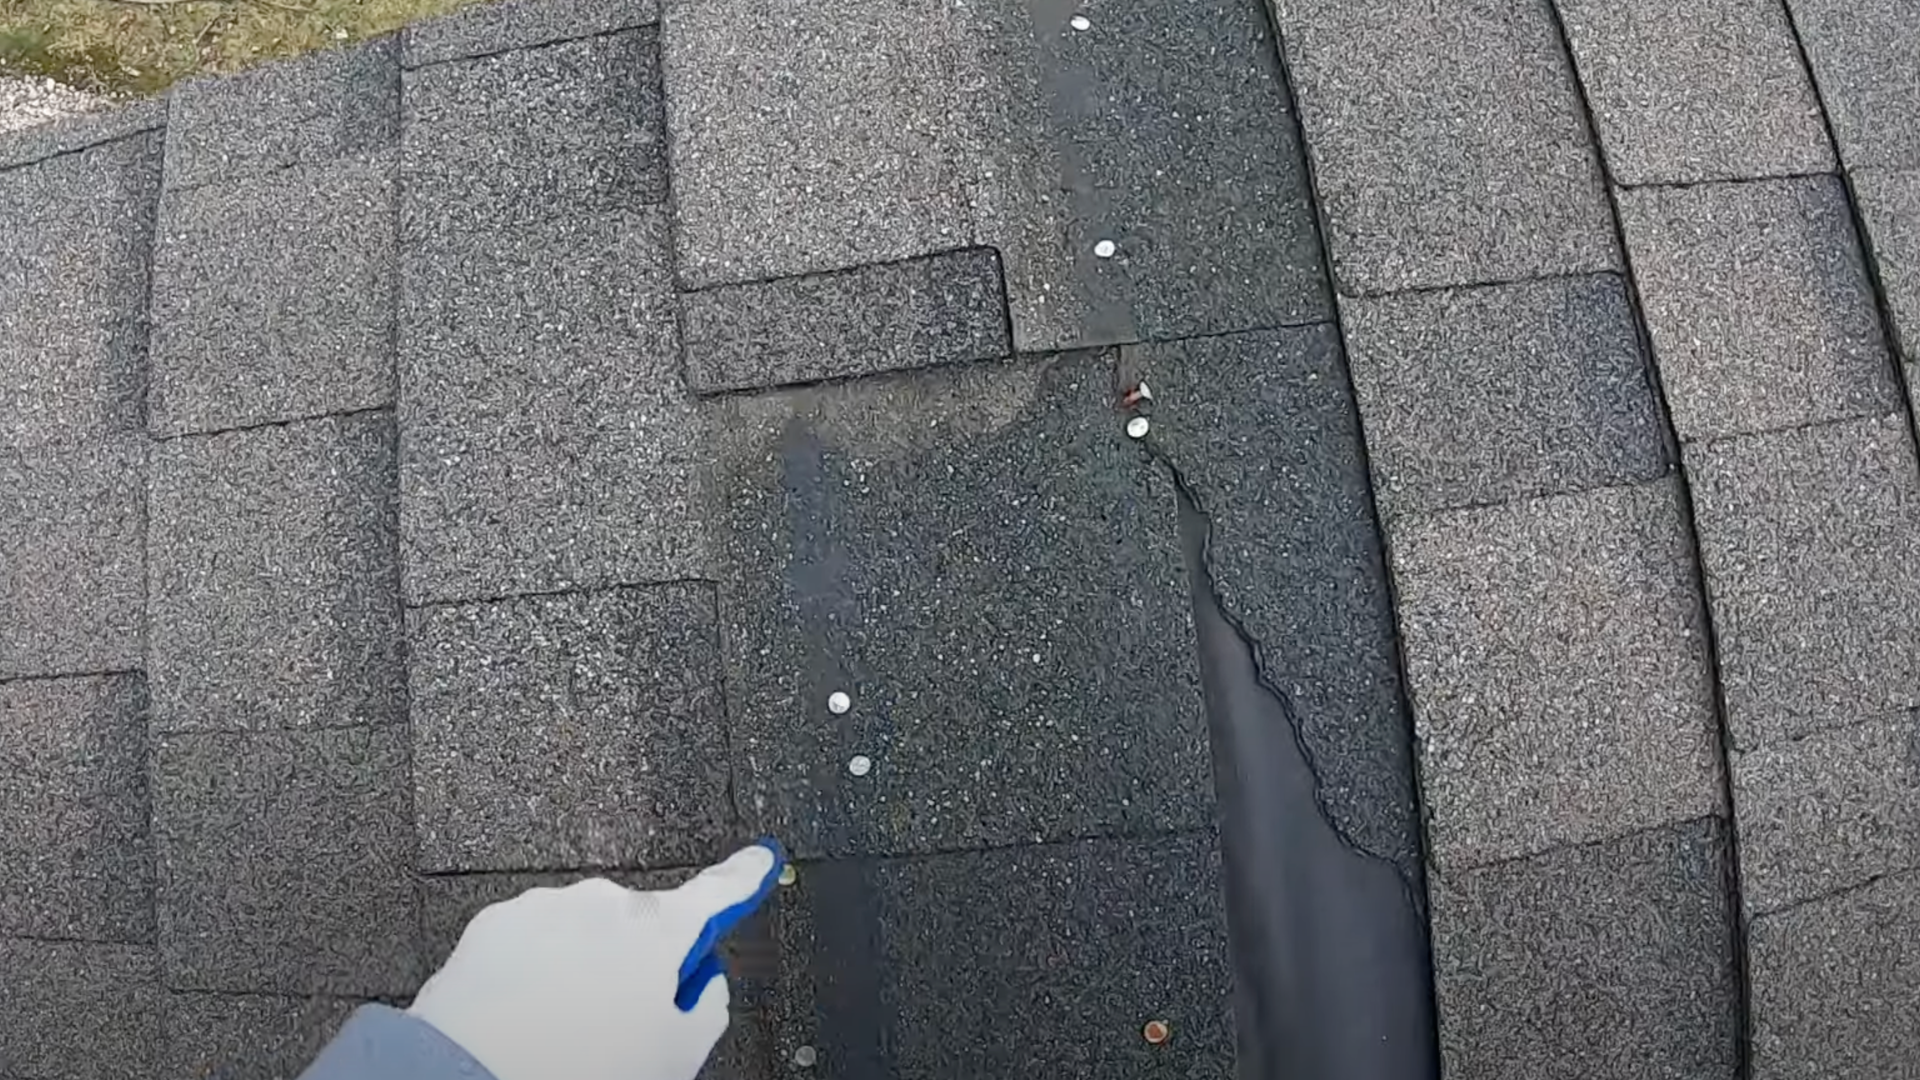
Before you start, take a good look at the damaged shingles. Check for missing granules, cracks, or areas where the shingles are lifting.
Granular loss is often caused by high winds or poor nailing. Nails placed too high or bent can cause the shingles to lift, allowing wind and rain to pull off the granules.
If you notice bent nails or improperly placed nails, this could be the cause of the problem.
Understanding the cause helps prevent the issue from happening again and ensures a better repair.
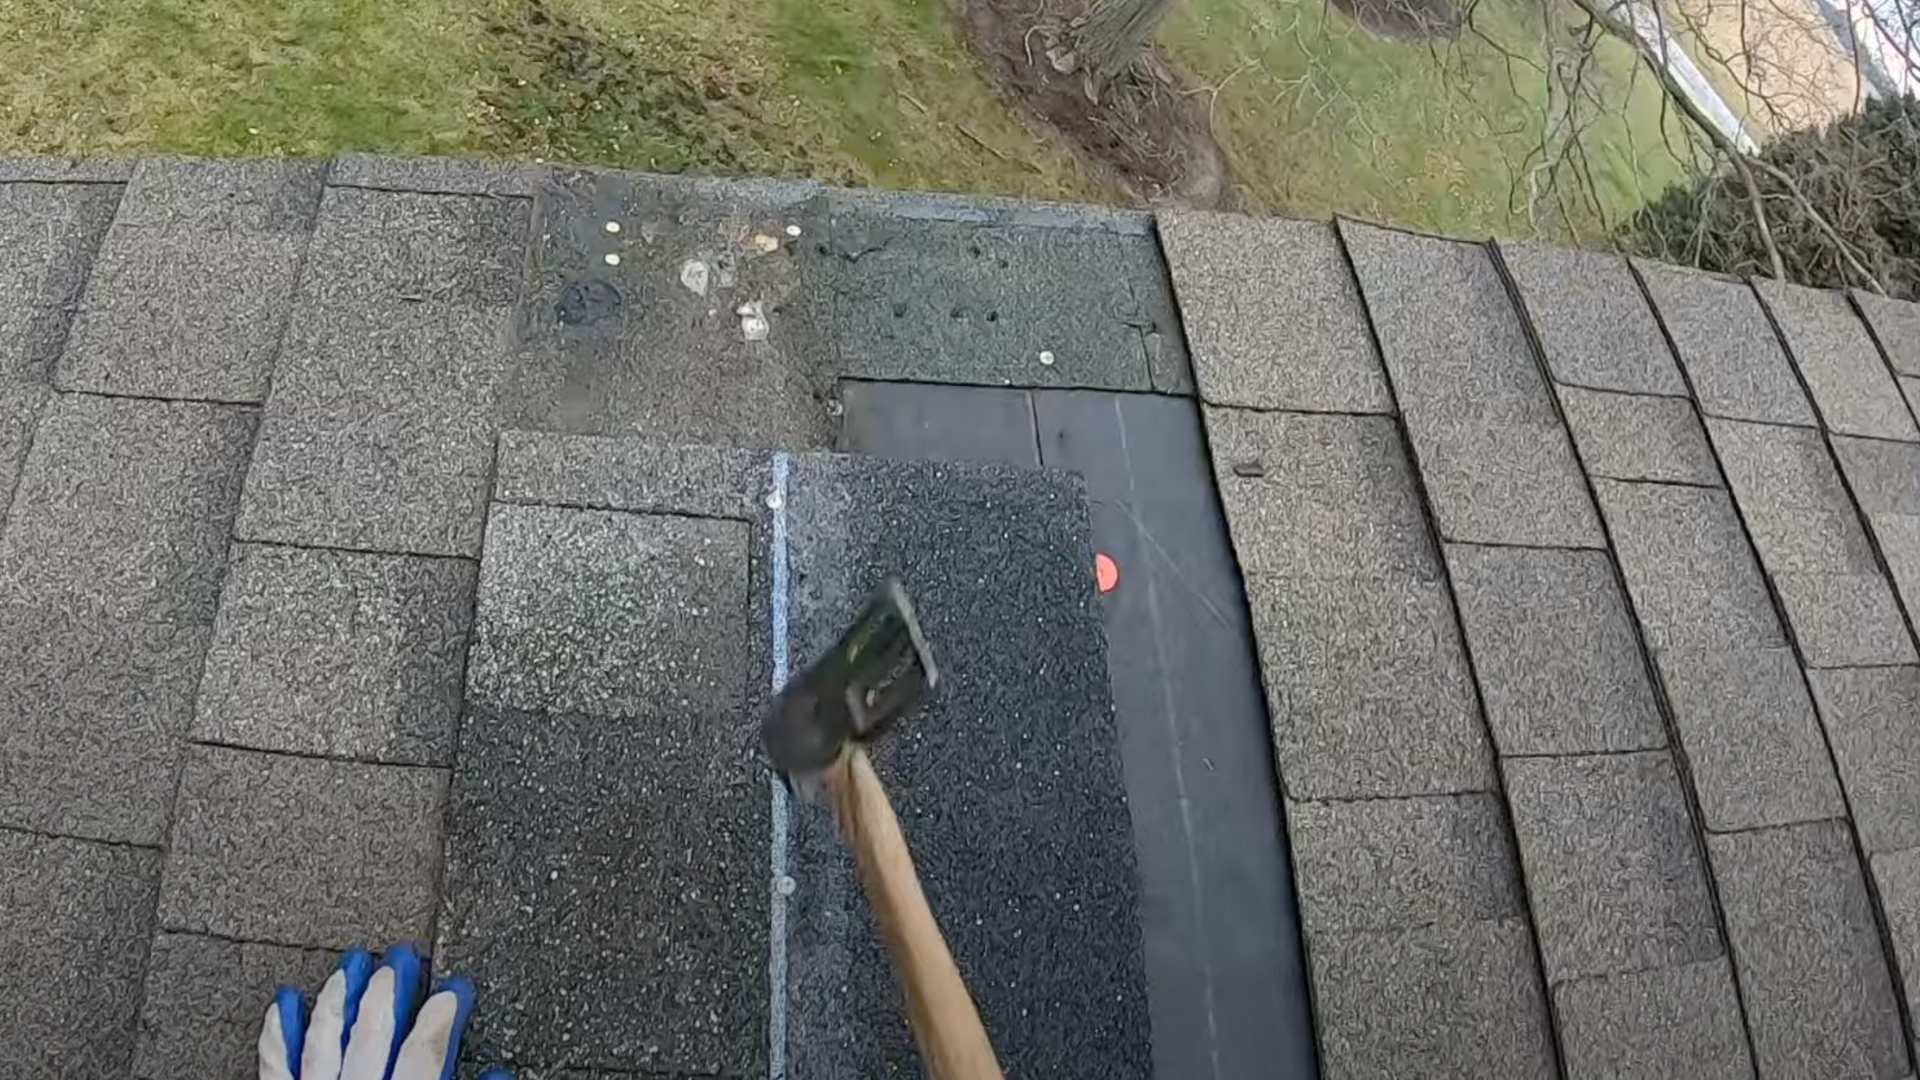
Step 2: Remove Damaged Shingles
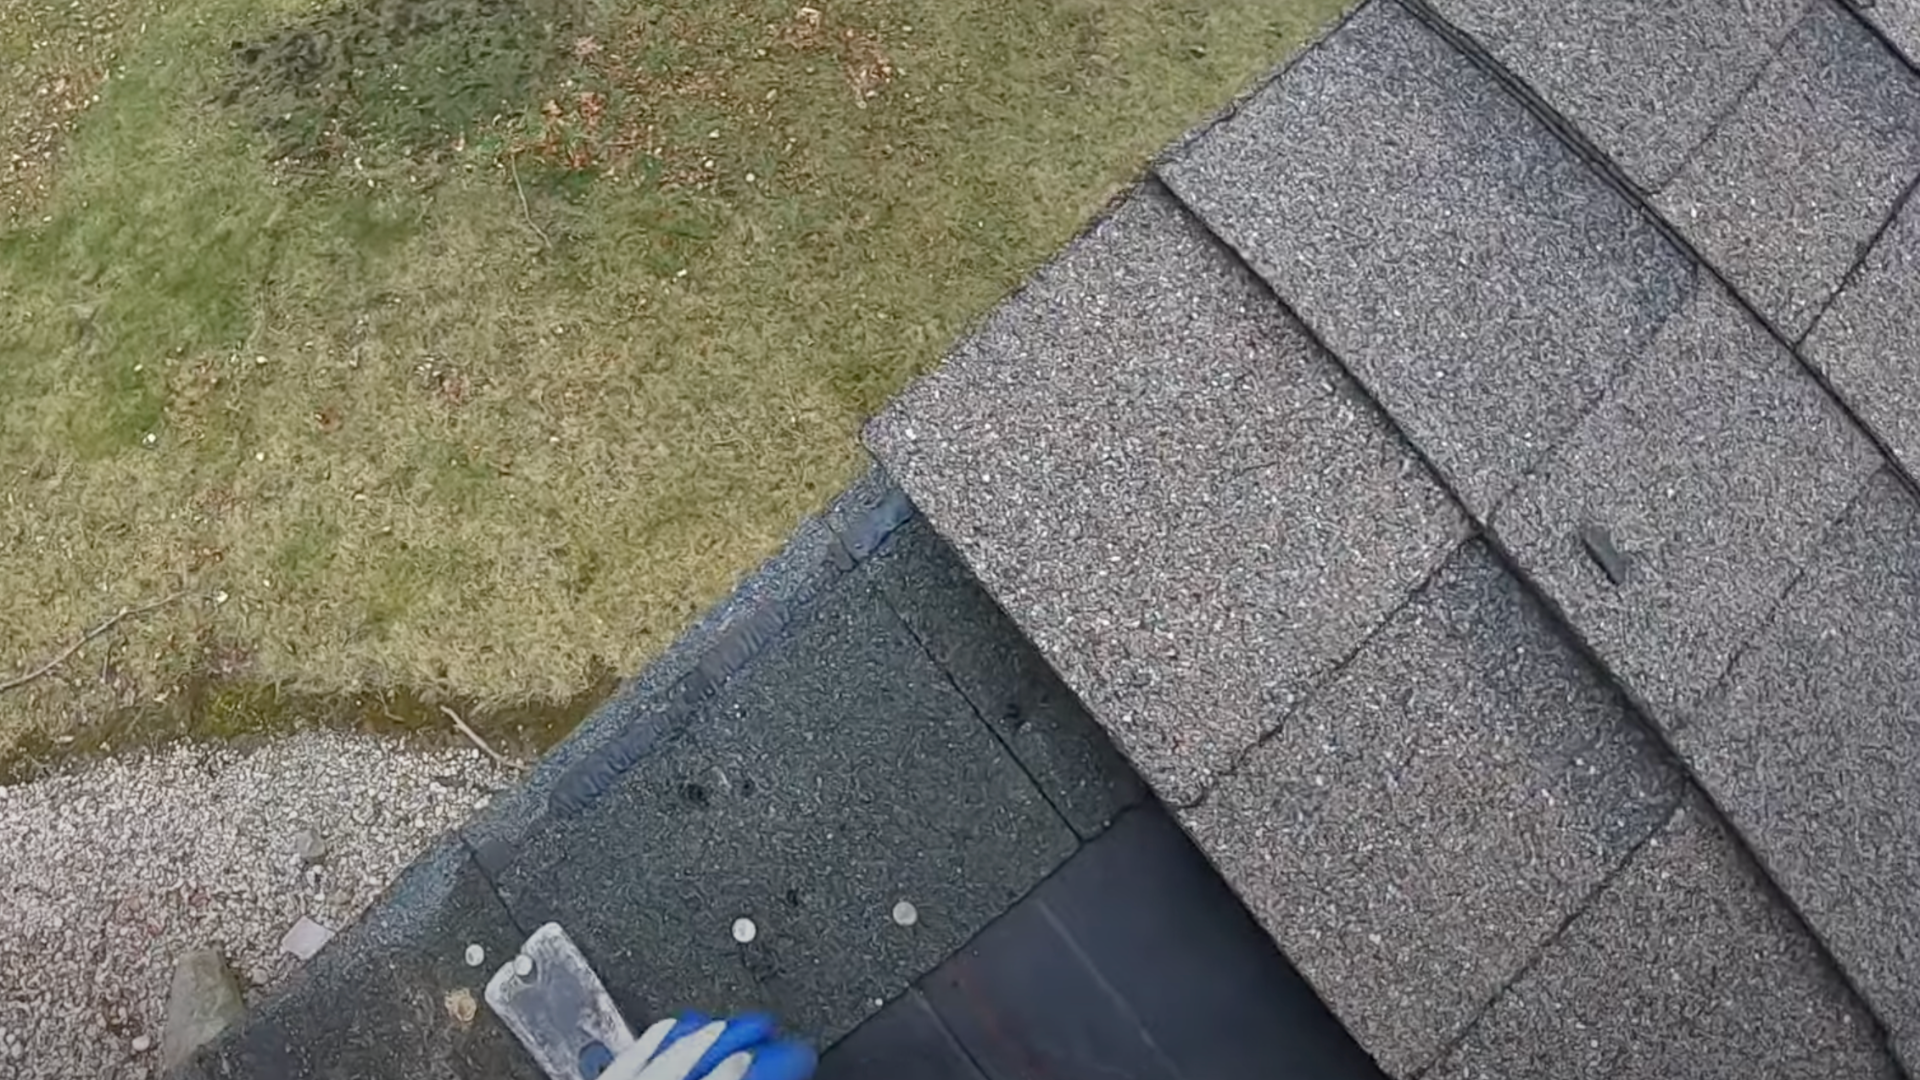
Once you’ve assessed the damage, carefully remove the affected shingles. Use a flat bar or a hammer to pry up the nails holding the shingles in place.
Remove the damaged shingles gently to avoid causing damage to the surrounding ones.
If the shingles are cracked or the granules have worn off completely, it’s best to replace them.
Be sure to remove any nails or debris from the roof to create a clean surface for the new shingles.
This step is crucial for ensuring a solid repair and preventing leaks.
Step 3: Prepare the Replacement Shingle
After removing the damaged shingles, prepare the new ones to fit the space.
If necessary, cut the new shingles to match the pattern of the old ones. Use a utility knife to trim the shingles to size.
If you’re working in cold weather, it can be harder to cut shingles because they become stiff. To make it easier, try cutting through just one layer at a time.
A flat bar can also help in cutting shingles in hard-to-reach areas.
Make sure the new shingle fits well and matches the surrounding shingles.
Step 4: Nail the New Shingle
Next, secure the new shingle in place. Make sure you place the nails in the correct spots.
Nails should be positioned near the edge of the shingle but not too close to the edge, as this can cause the shingle to blow off.
Offset the new nails from the existing ones to ensure a secure fit. If you run out of hand nails, you can use coil nails, but break them apart with a hatchet first.
Proper nailing ensures the new shingle stays in place and reduces the risk of future damage.
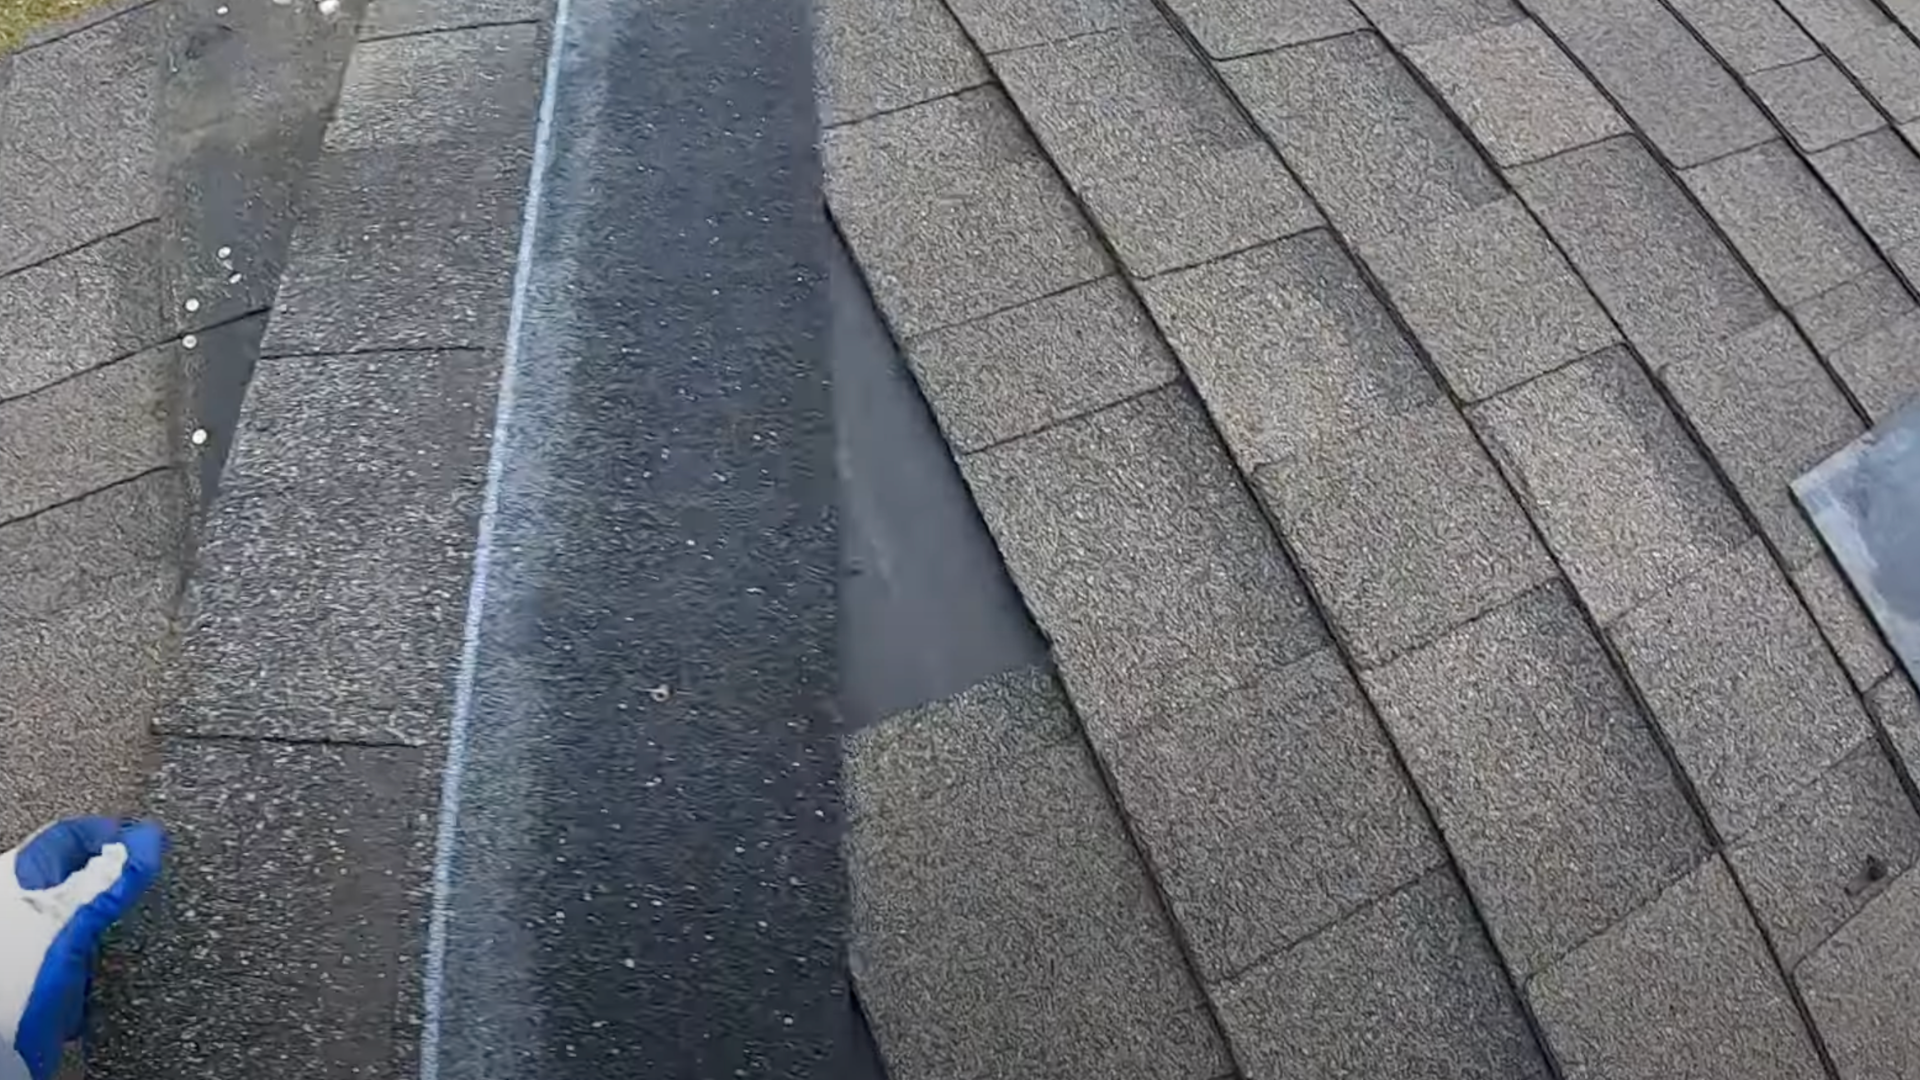
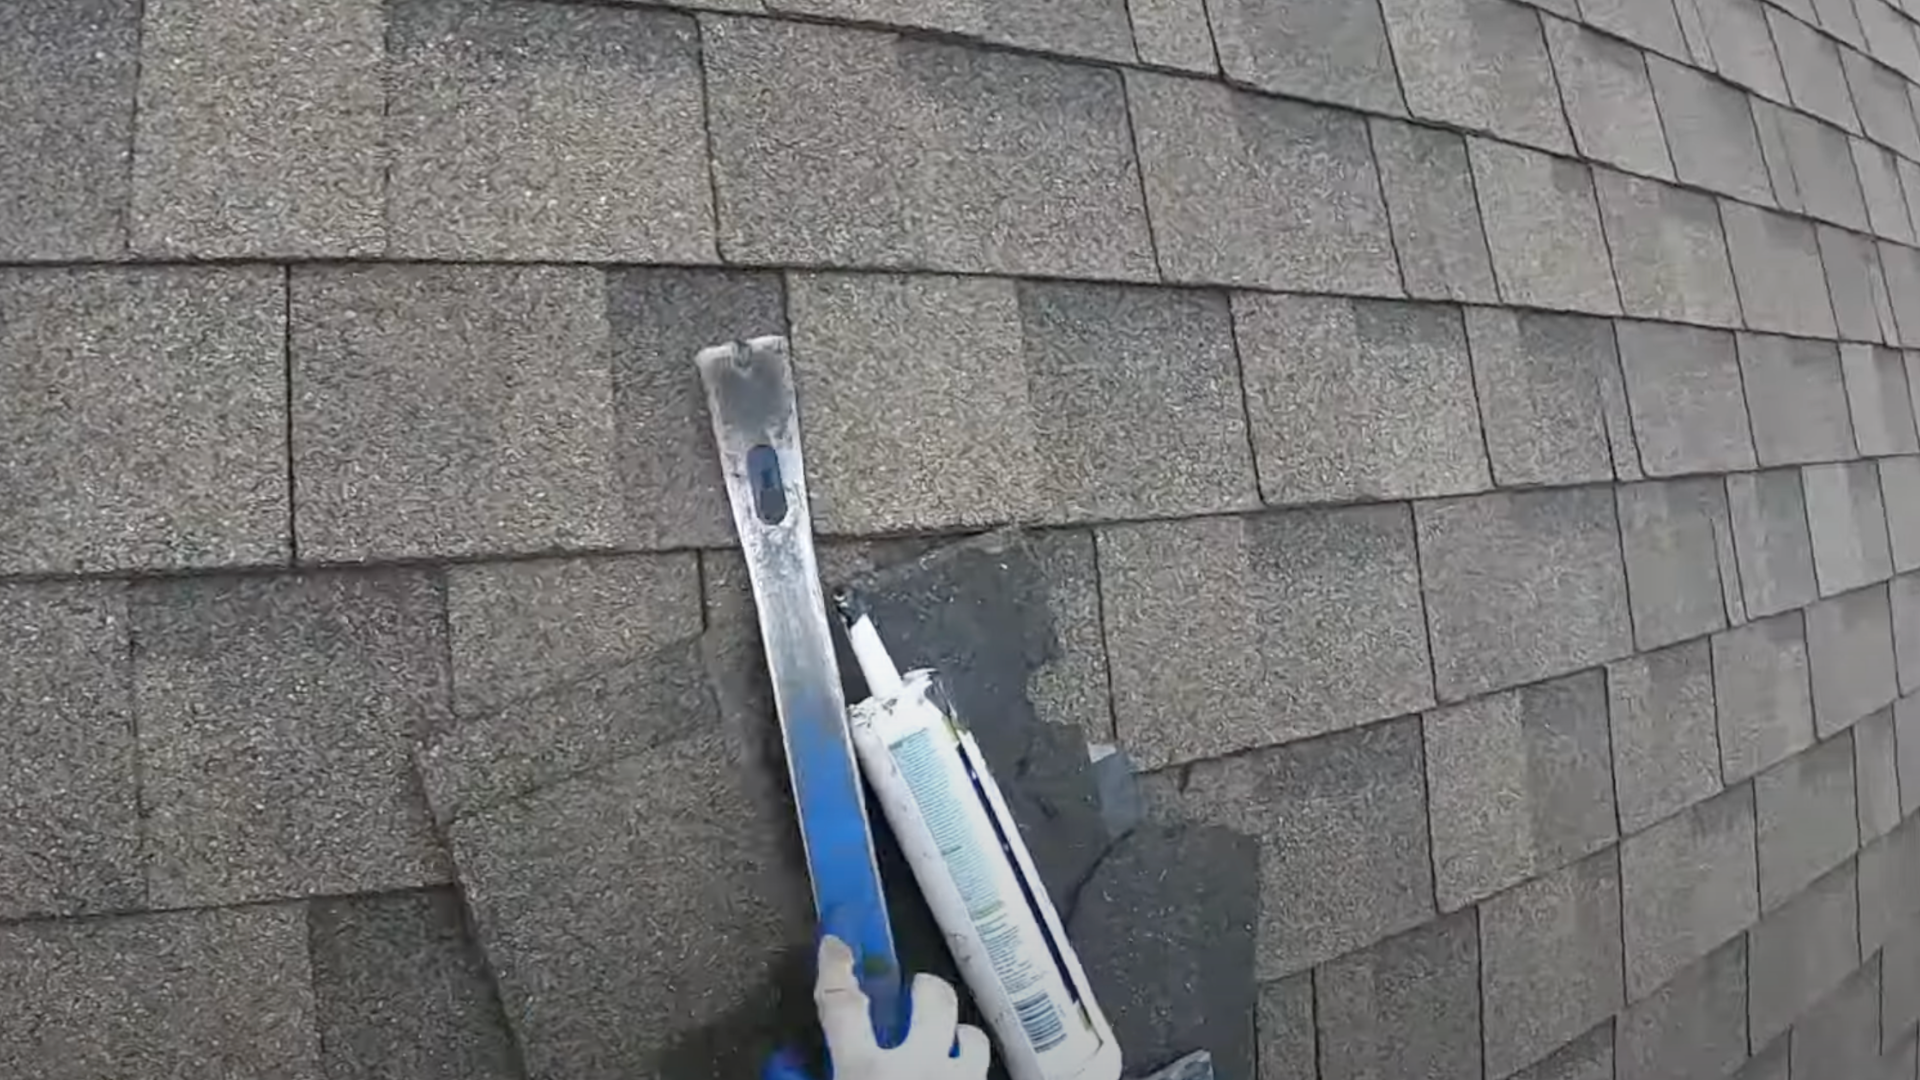
Step 5: Apply Roofing Sealer
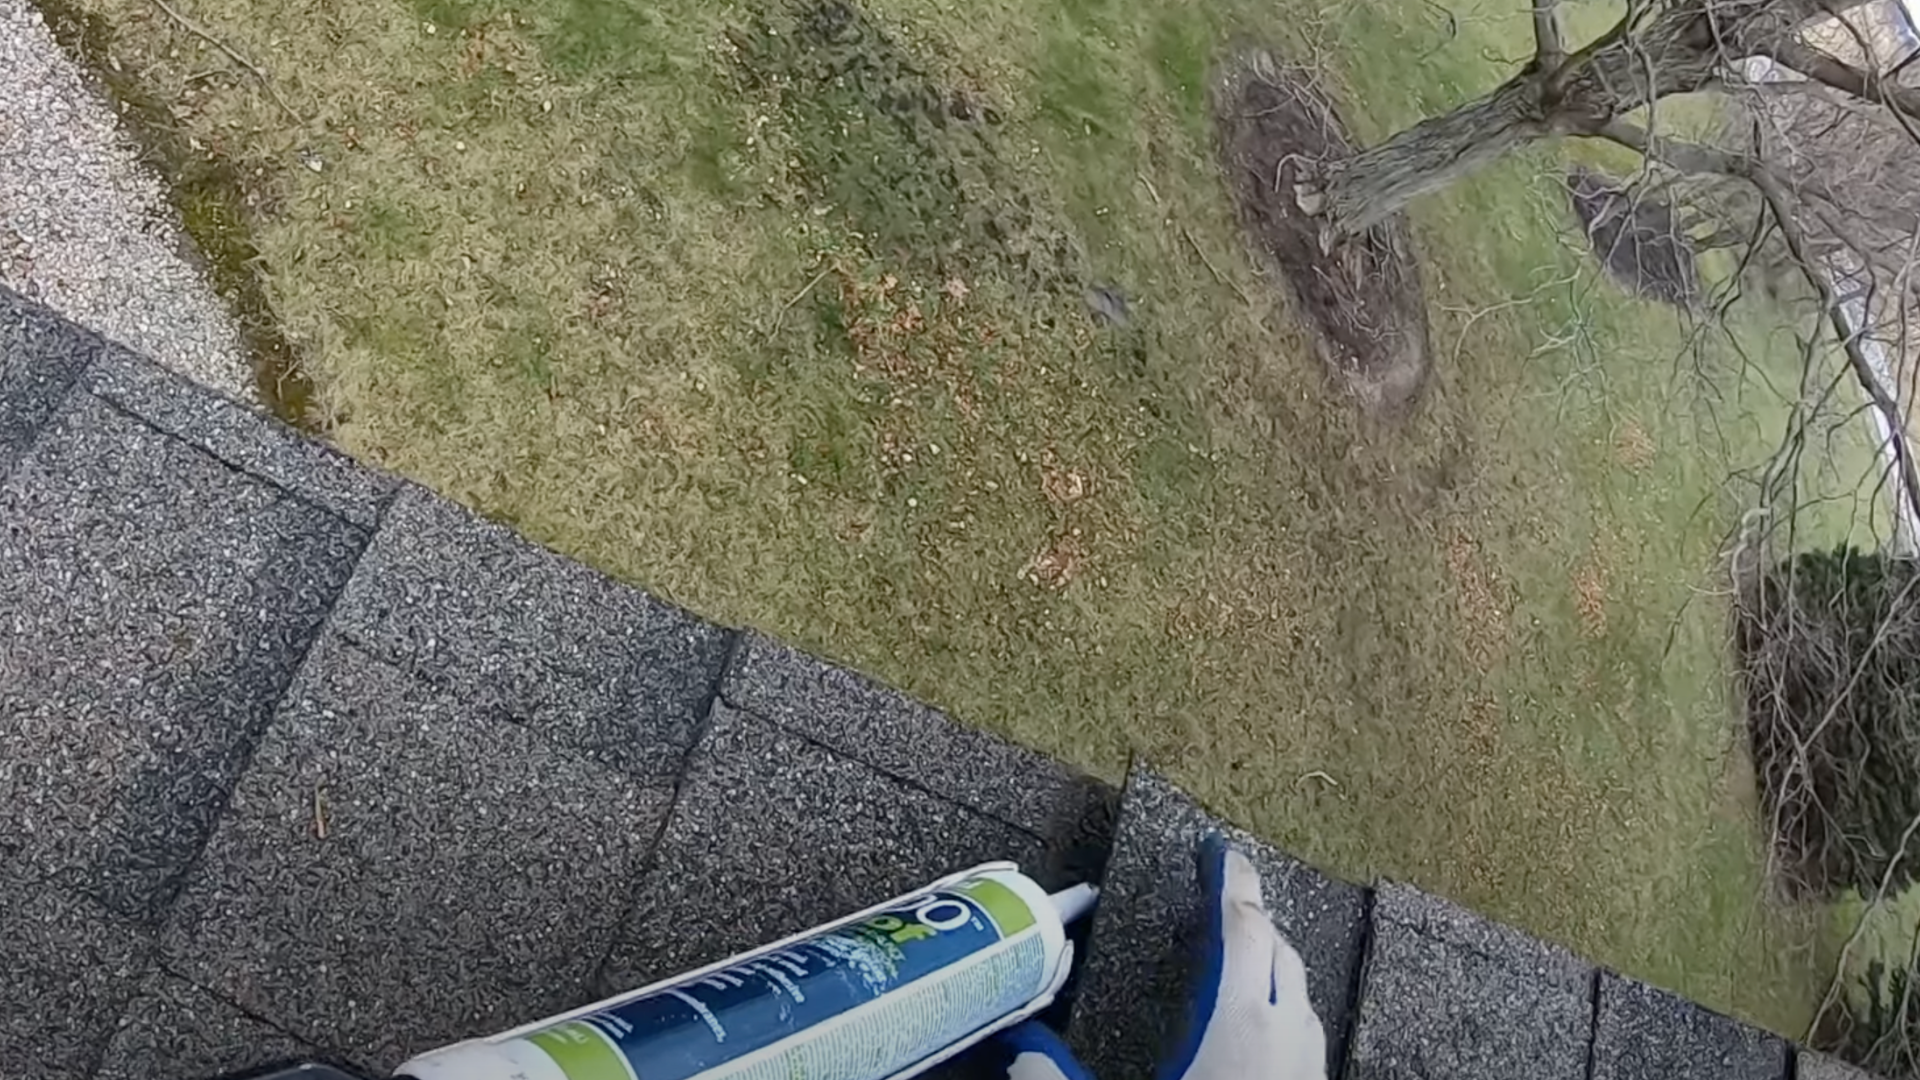
Once the new shingle is nailed down, apply roofing sealer to the edges and nails.
This step helps create a tight seal, especially in colder weather when shingles may not seal naturally.
Apply a small dab of roofing cement near the nails and along the edges where the new shingle meets the old one.
This will help prevent leaks and ensure the shingles stay securely in place.
Sealing also protects against water damage and helps prolong the life of your roof, so don’t skip this important step.
Step 6: Clean Up
Once your repair is complete, clean up the area. Remove any leftover shingles, nails, or debris to avoid damage to your roof or yard.
Be especially careful if you’re working on a multi-story house to ensure nothing falls below. Keeping your work area clean is important for safety and helps prevent any future problems.
Take a moment to inspect your work and make sure the new shingles are secure and the roof is properly sealed.
A clean, safe work area ensures the job is done right and helps maintain your roof’s condition.
To get a clearer idea of the steps and see the process in action, check out this helpful video from @Grand Roofing Inc. It’ll walk you through the entire repair, making it even easier to follow along!
Tips to Maintain Your Roof Over Time
Taking care of your roof regularly can help prevent granular loss and other issues in the future. Here are some maintenance tips to keep your roof in top shape:
- Inspect Regularly: Check your roof at least twice a year, especially after storms. Look for damaged shingles, missing granules, or areas where the shingles may be lifting. Early detection can save you from more expensive repairs later.
- Clean Gutters: Keep your gutters clean and free of debris. Clogged gutters can cause water to back up onto your roof, leading to damage over time.
- Trim Trees: Overhanging branches can scratch your roof and drop debris, which can cause wear on the shingles. Trim trees away from your roof to prevent this.
- Watch for Moss and Algae: Moss and algae growth can damage shingles. If you notice them, clean the area gently using a roof-safe cleaner or hire a professional to treat the roof.
- Address Issues Quickly: If you spot a small issue like missing granules or a loose shingle, take care of it right away. Delaying repairs can lead to bigger problems down the line.
Conclusion
Fixing granular loss on your roof doesn’t have to be complicated or expensive.
By following the simple steps I’ve shared, you can repair your roof and prevent further damage without needing a full replacement.
Safety is key when working on a roof, so make sure you have the right tools and gear.
Regular roof inspections are important, as spotting and fixing issues early can save you money and protect your home.
With the tips and techniques mentioned, you can extend the life of your roof and avoid larger problems in the future.
Roof repairs might seem intimidating at first, but with the right approach, you can tackle them yourself and feel confident about keeping your roof in great condition for years to come.