
Are your kitchen cabinets looking a bit tired or outdated? Maybe the old paint doesn’t match your style anymore, or it’s chipped and peeling.
You don’t need to replace them-removing the old paint can give your cabinets a fresh start and bring back the beauty of the wood beneath.
In this guide, I’ll show you simple, easy steps to remove paint from your cabinets. If you’re a beginner or have some experience with DIY projects, I’ll walk you through each step.
You’ll learn how to use the right tools and products safely, so you won’t risk damaging your cabinets.
By the end, you’ll have cabinets ready for a new coat of paint or stain, giving your kitchen a fresh new look. Trust me, with a little patience, you’ll get the job done. Let’s get started!
Why Remove Paint from Cabinets?
Removing old paint from cabinets can completely change your kitchen without the need for a costly remodel. Over time, paint can chip, fade, or become outdated, making your cabinets look worn.
Removing the old paint reveals the natural wood underneath, giving your kitchen a fresh and classic appearance.
It also allows you to customize the finish, whether you want to stain the wood, use a new color, or even try a trendy distressed look.
Not only does removing paint refresh the style of your cabinets, but it also saves you money. Instead of buying new cabinets, you can restore your existing ones, making them look as good as new.
Plus, it’s a rewarding DIY project. You’ll get to enjoy the satisfaction of bringing new life to your space, and the process is easier than you might think.
What You’ll Need
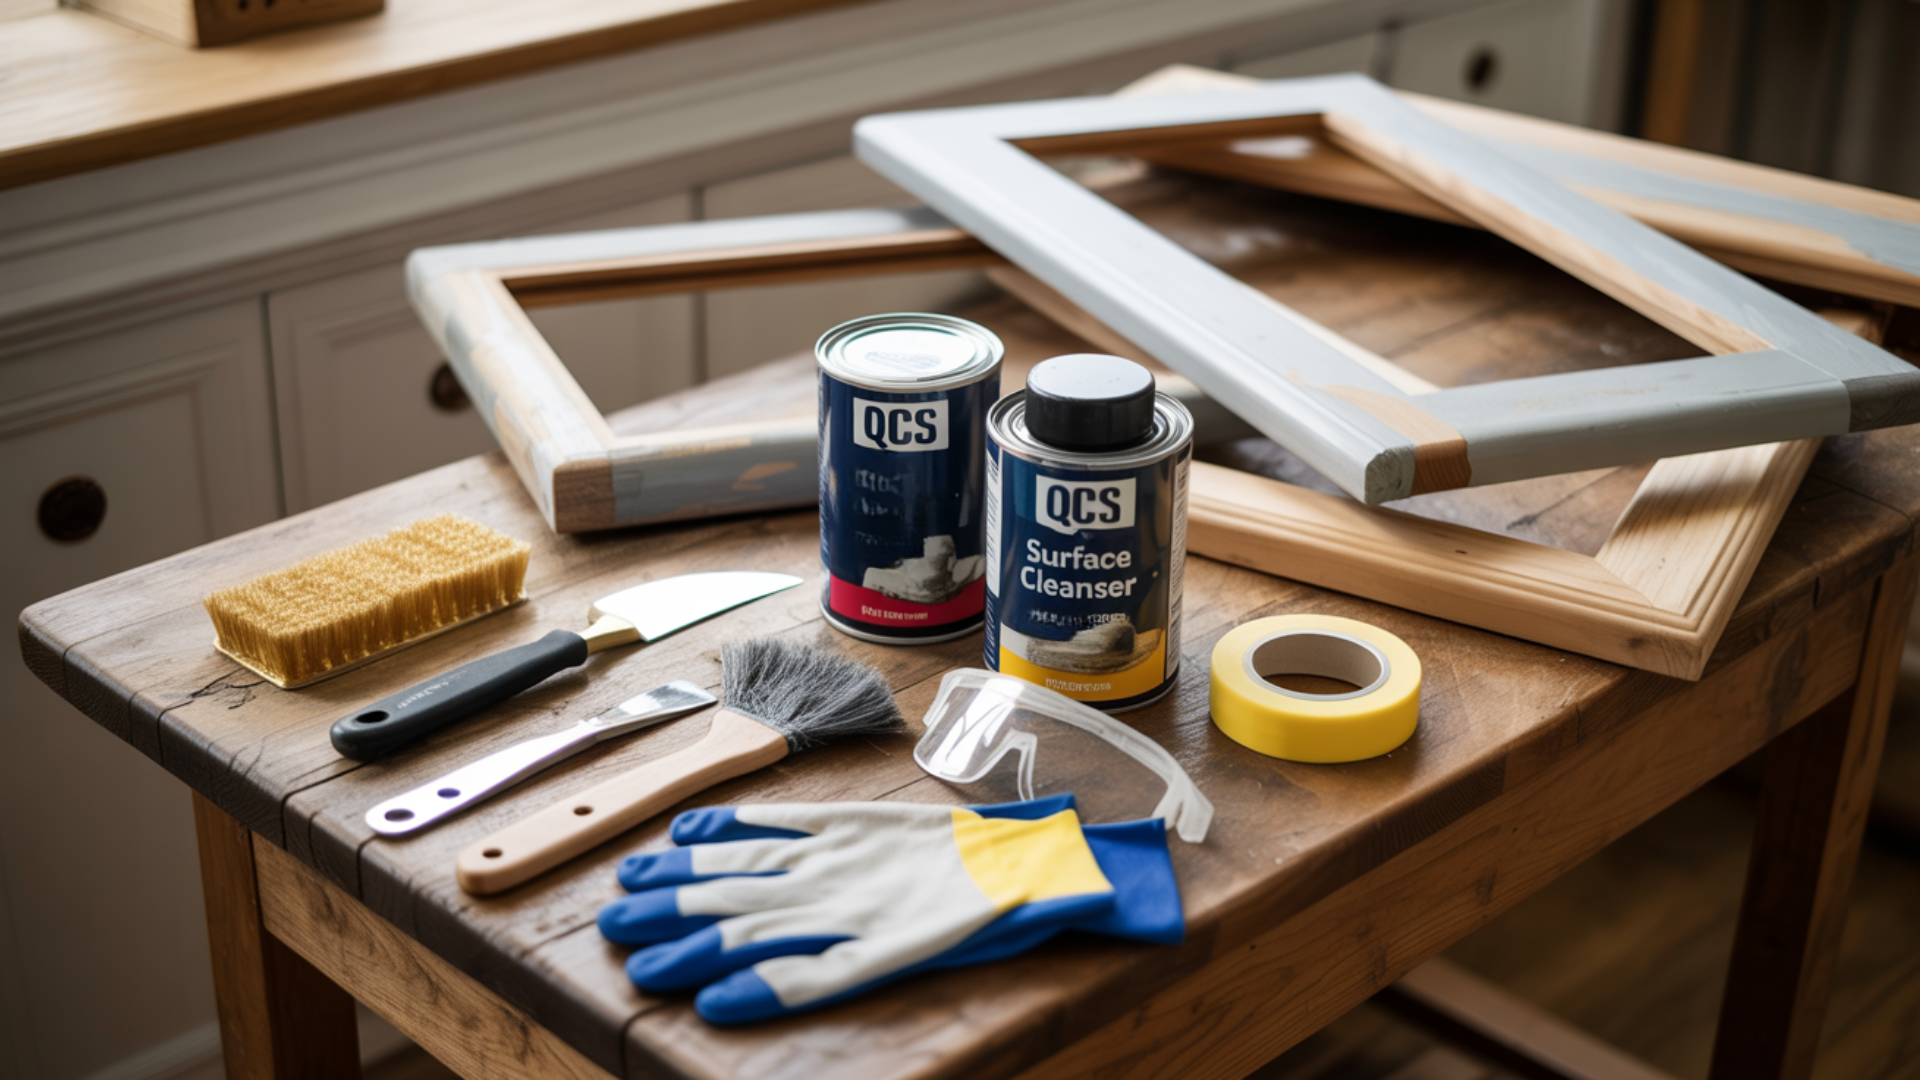
Ready to refresh your cabinets? This is a list of everything you’ll need, from paint remover to safety gear, for a smooth and easy paint removal process.
- Finish Remover: This product will help break down the old paint.
- Surface Cleanser: A cleanser to give your cabinets a final clean after removing the paint.
- Putty Knife or Scraper: This helps you gently scrape off the old paint.
- Steel Wool (Single Zero): A soft steel wool for cleaning up any remaining paint after scraping.
- Brass Bristle or Nylon Brush: Great for cleaning tough spots without damaging the wood.
- Painter’s Tape(optional): Use this if you want to compare the before and after on your cabinets.
- Gloves and Safety Glasses: Always stay safe when using chemicals.
Steps to Remove Paint from Your Cabinets
Removing paint from your cabinets is simple with the right approach. Follow these easy steps to achieve great results without hassle.
Step 1: Preparation
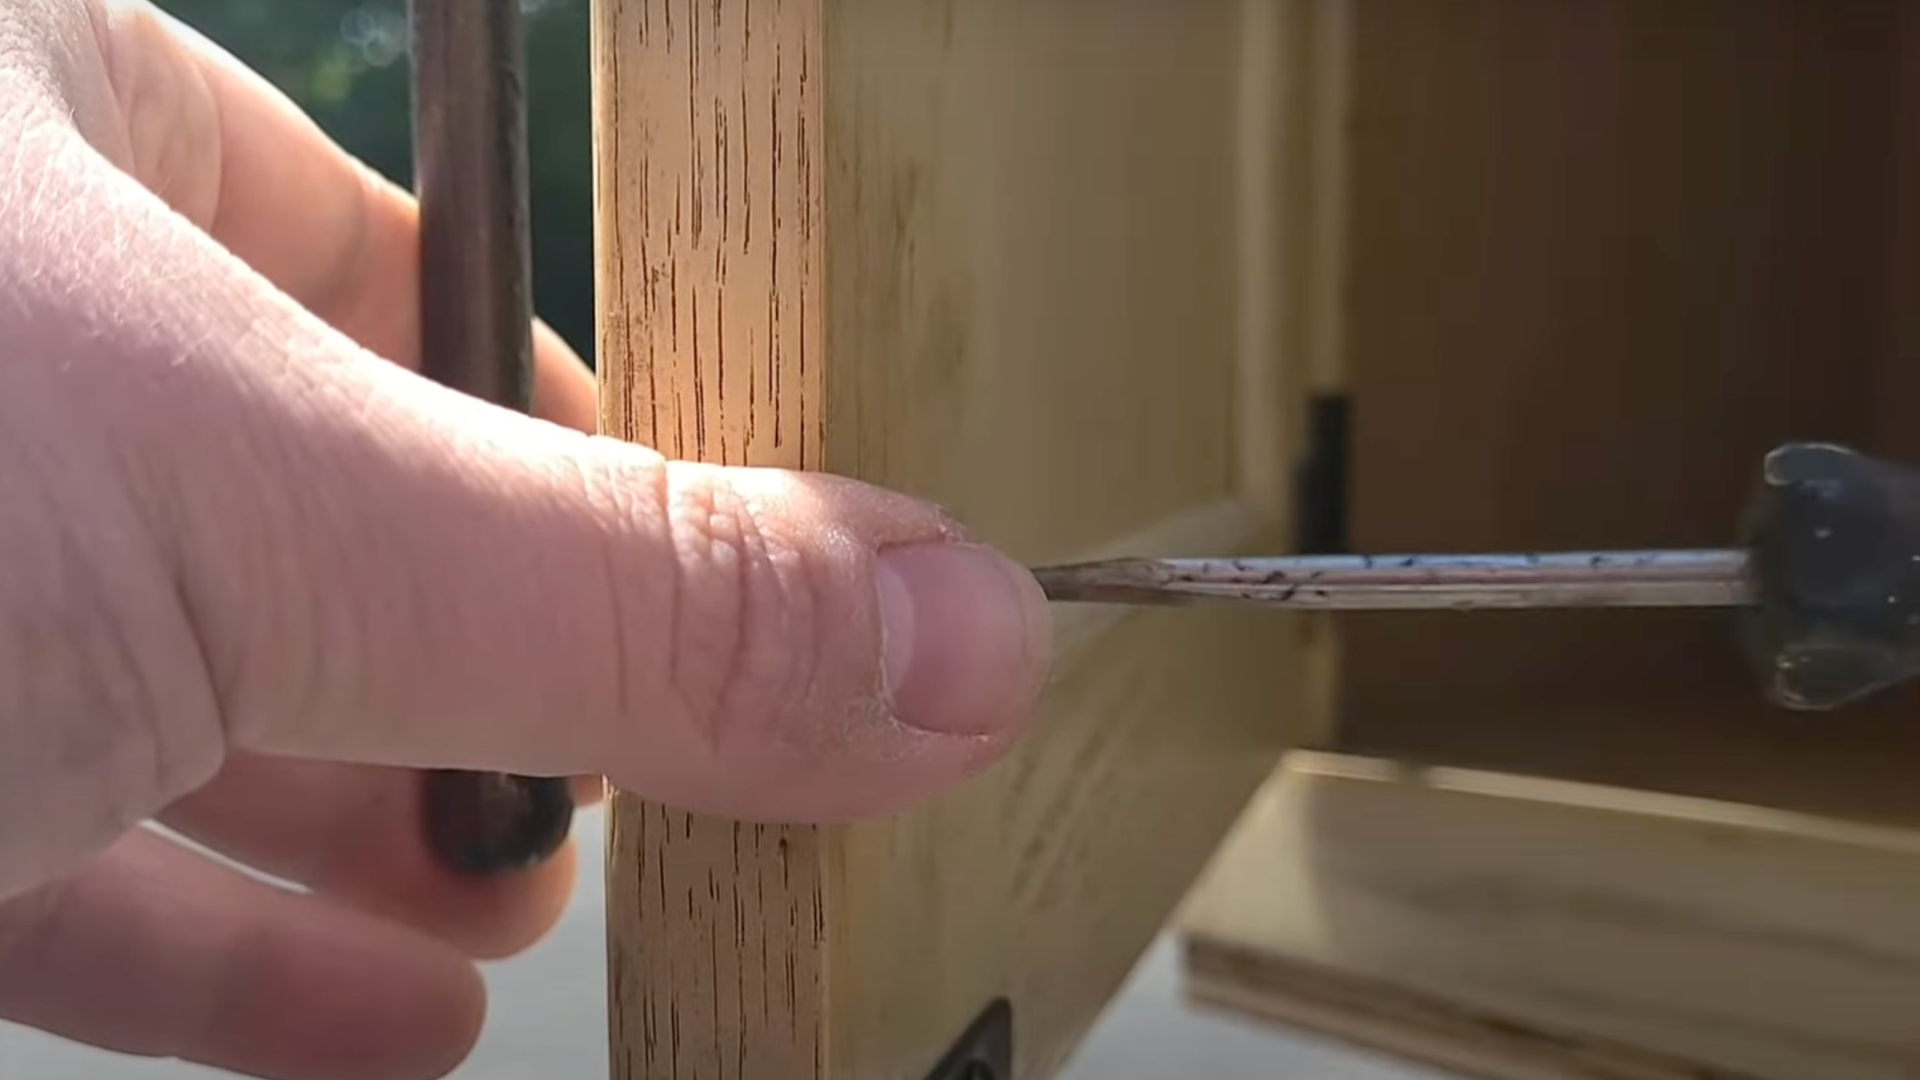
Before you start removing paint, it’s important to prepare your workspace. Begin by taking off any handles, knobs, or hardware from the cabinet doors. This makes it easier to work on the surface.
If you’re removing paint from cabinet doors, it’s a good idea to remove the doors entirely and number them.
This will help you put them back in the right place later. You might also want to tape off half of the cabinet if you want to compare the before and after results.
Preparing properly ensures that you don’t miss any spots and makes the process go smoothly.
Step 2: Apply Finish Remover
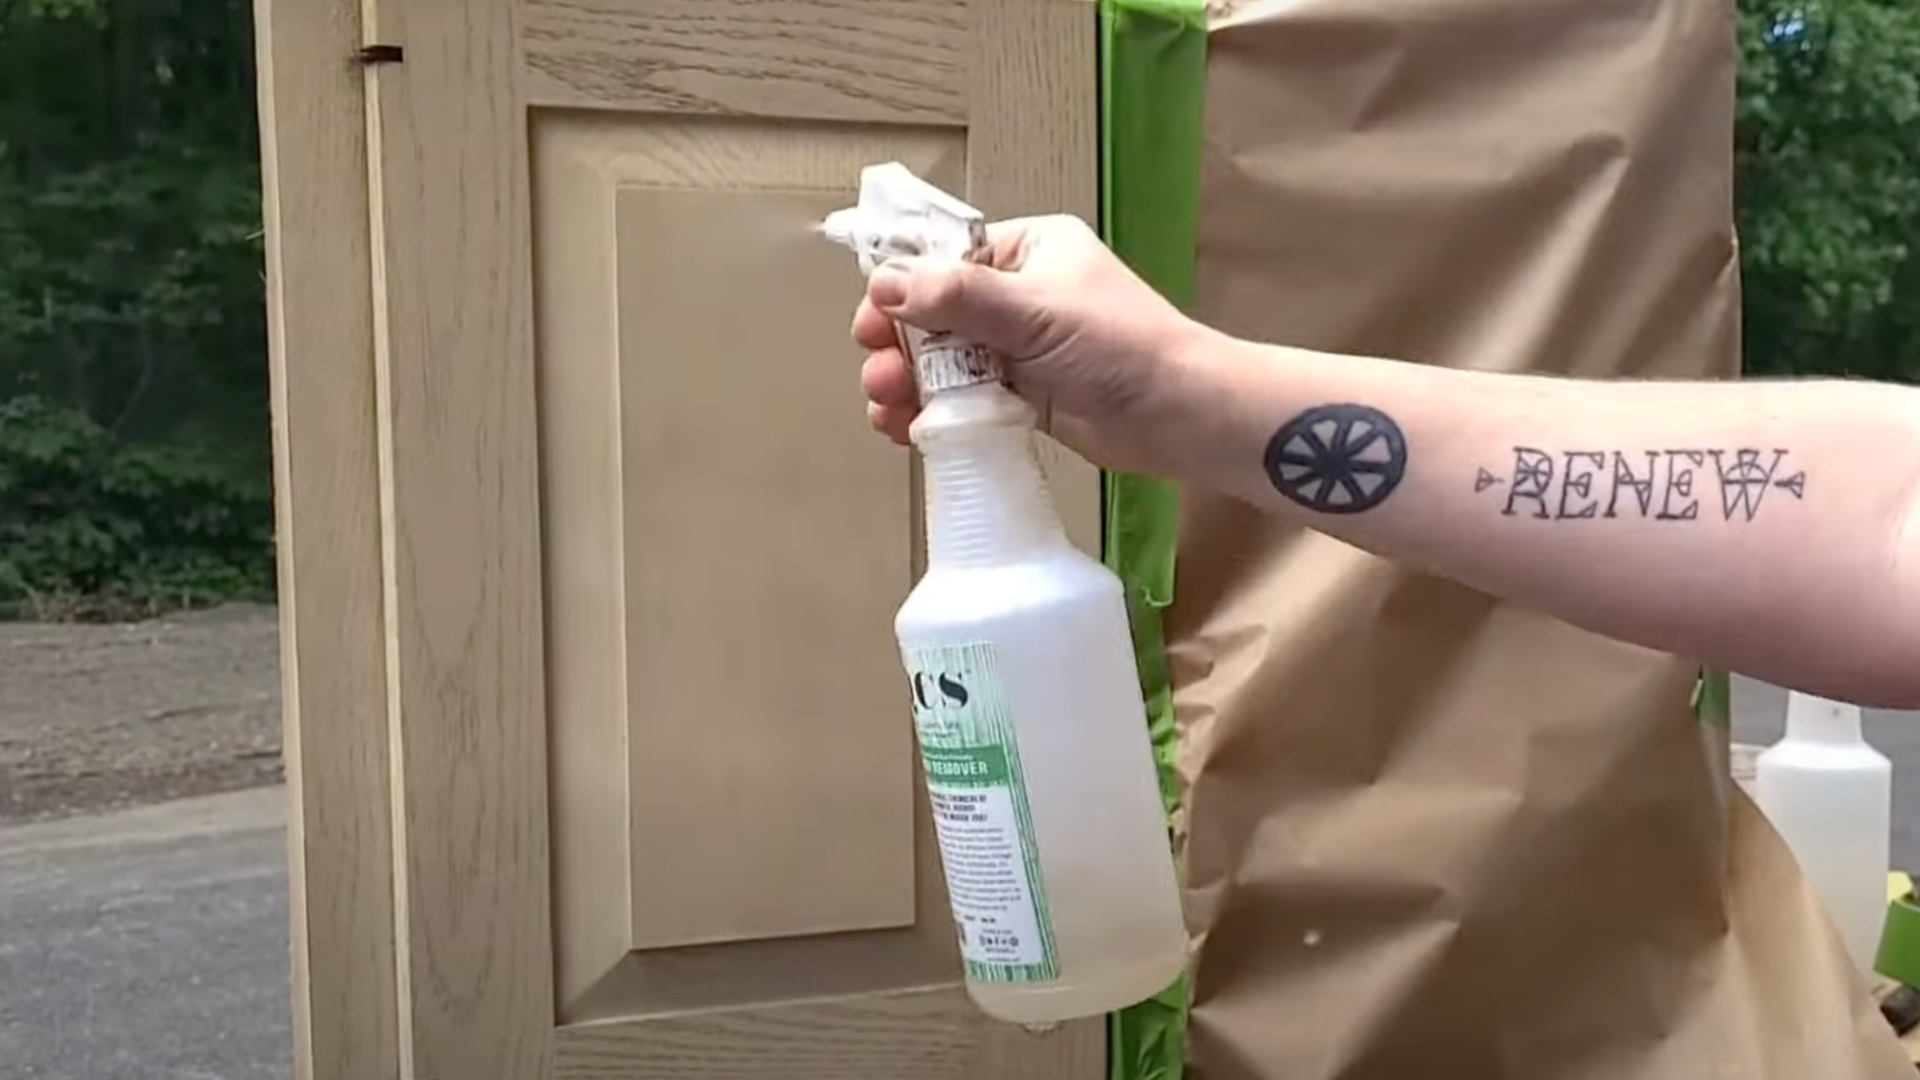
The next step is to apply Finish Remover to the cabinet surface. Spray it on generously, making sure to cover the entire area with an even coat.
Once you’ve applied it, let it sit for about 30 minutes. This gives the remover time to break down the paint, making it easier to scrape off later.
It’s important to be patient here. Don’t rush the process! If you’re removing paint from several cabinets. It’s helpful to work on one at a time to make sure each surface gets enough time with the remover.
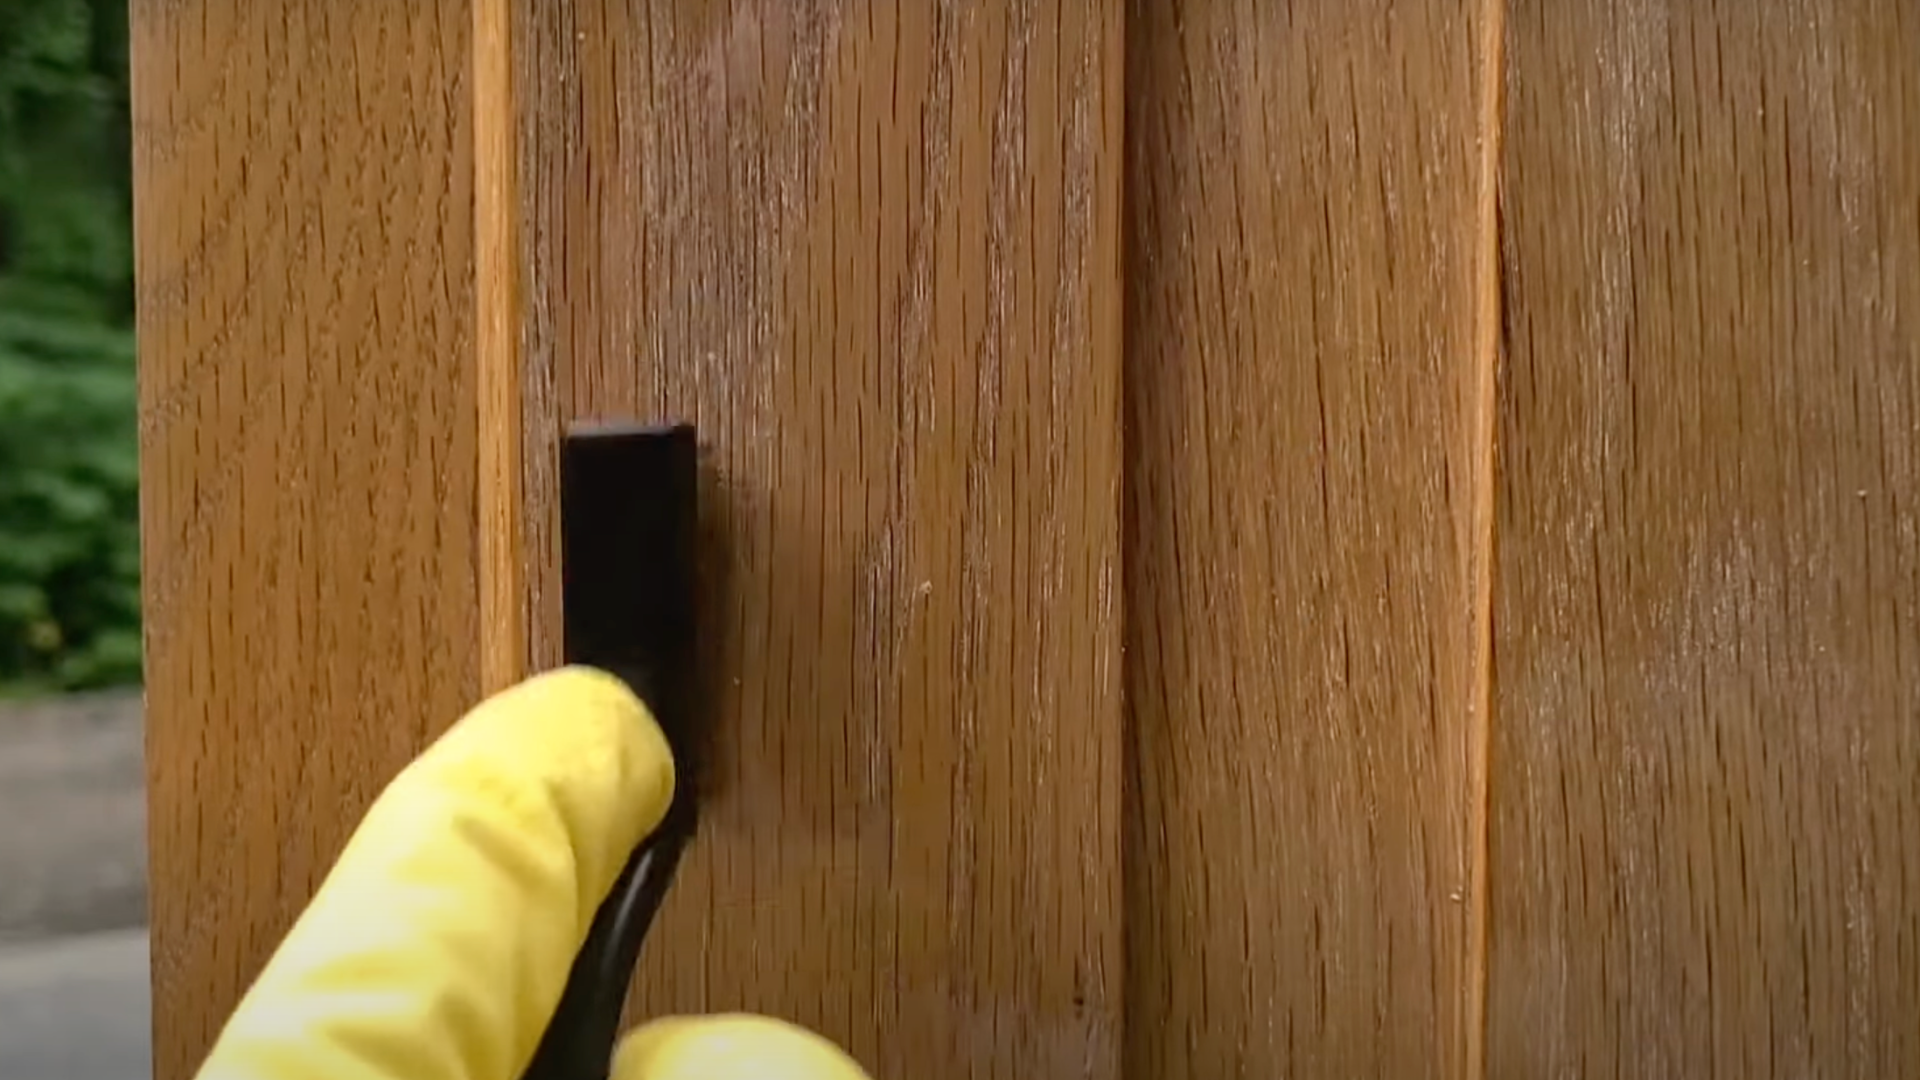
Step 3: Scrape Off the Old Paint
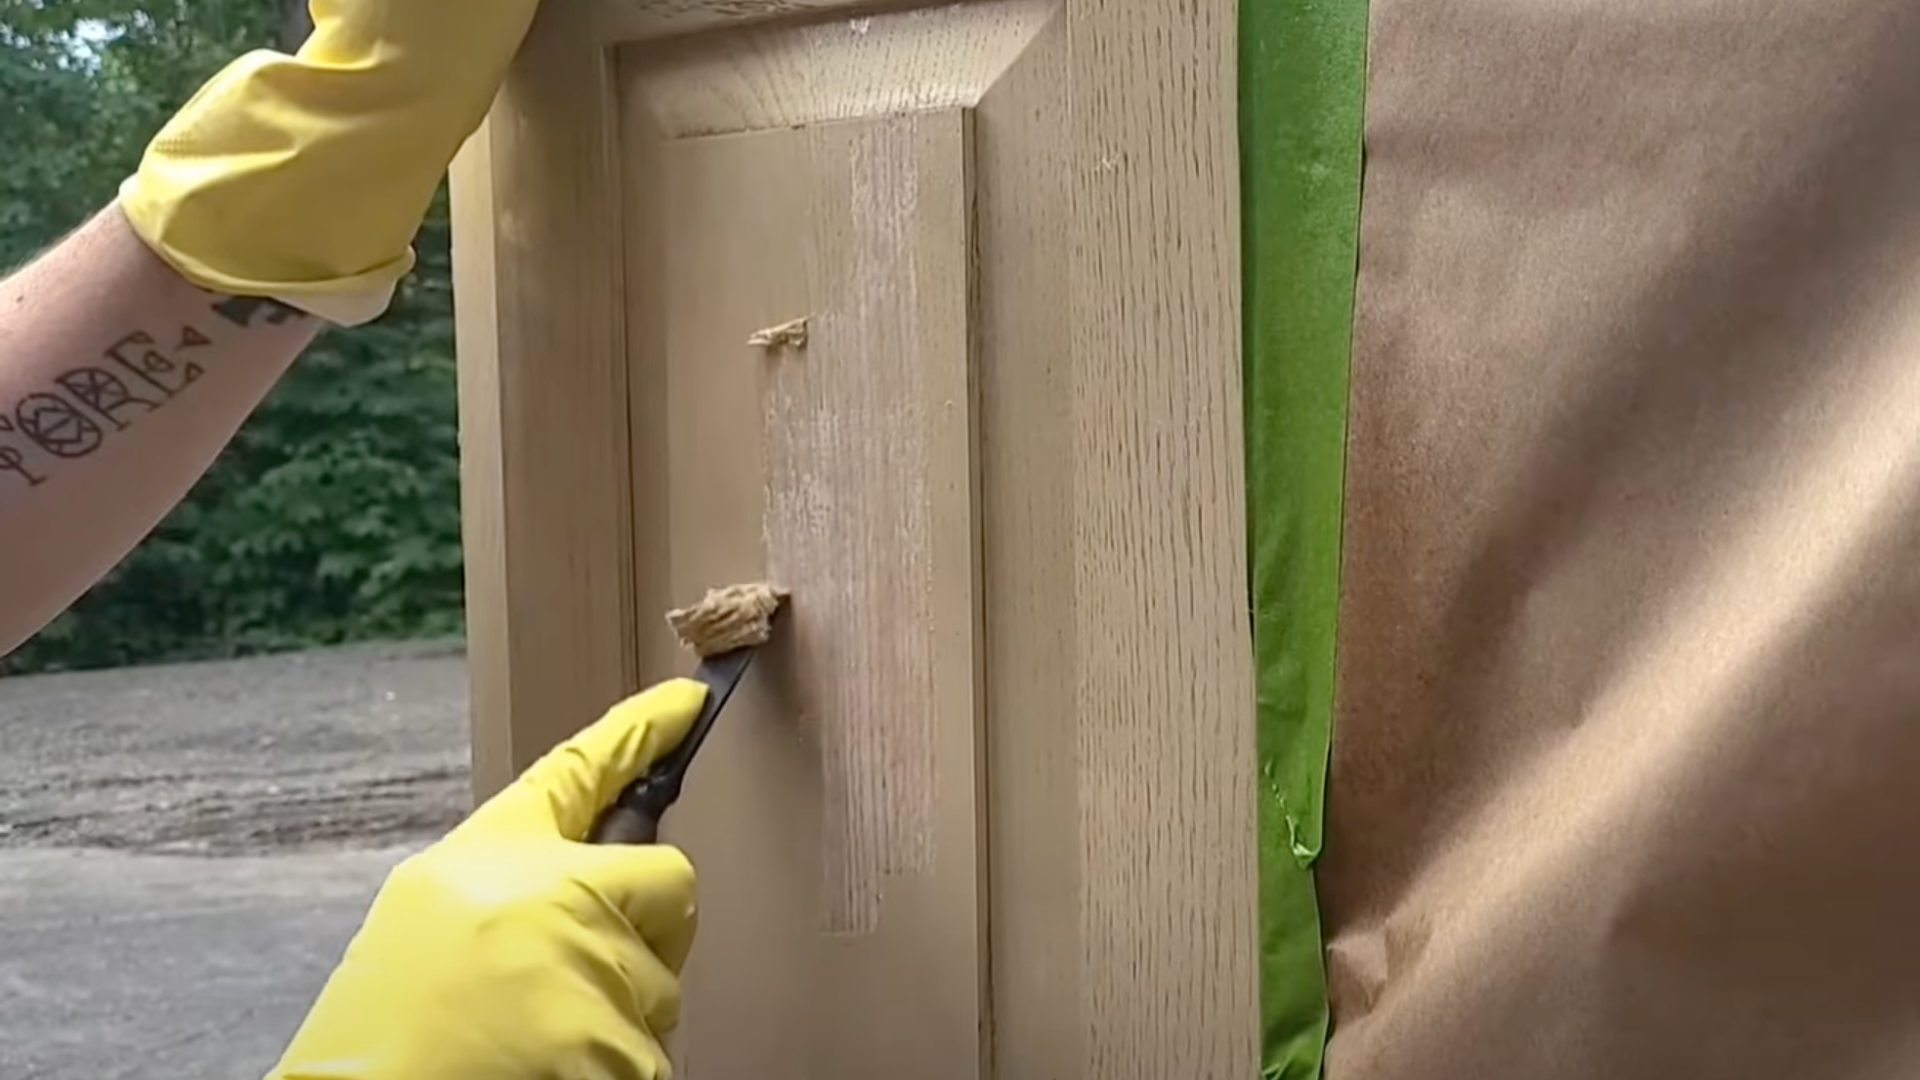
Once the paint begins to lift, it’s time to start scraping it off. Use a putty knife or scraper to gently remove the old paint.
Be careful not to gouge the wood underneath. Work in small sections, and always scrape with the grain of the wood to avoid damaging it.
If you come across areas where the paint is still stubborn, don’t force it-just apply a little more finish remover and let it sit for a bit longer. Taking your time with this step ensures you don’t cause unnecessary damage to the wood.
Step 5: Clean with Steel Wool
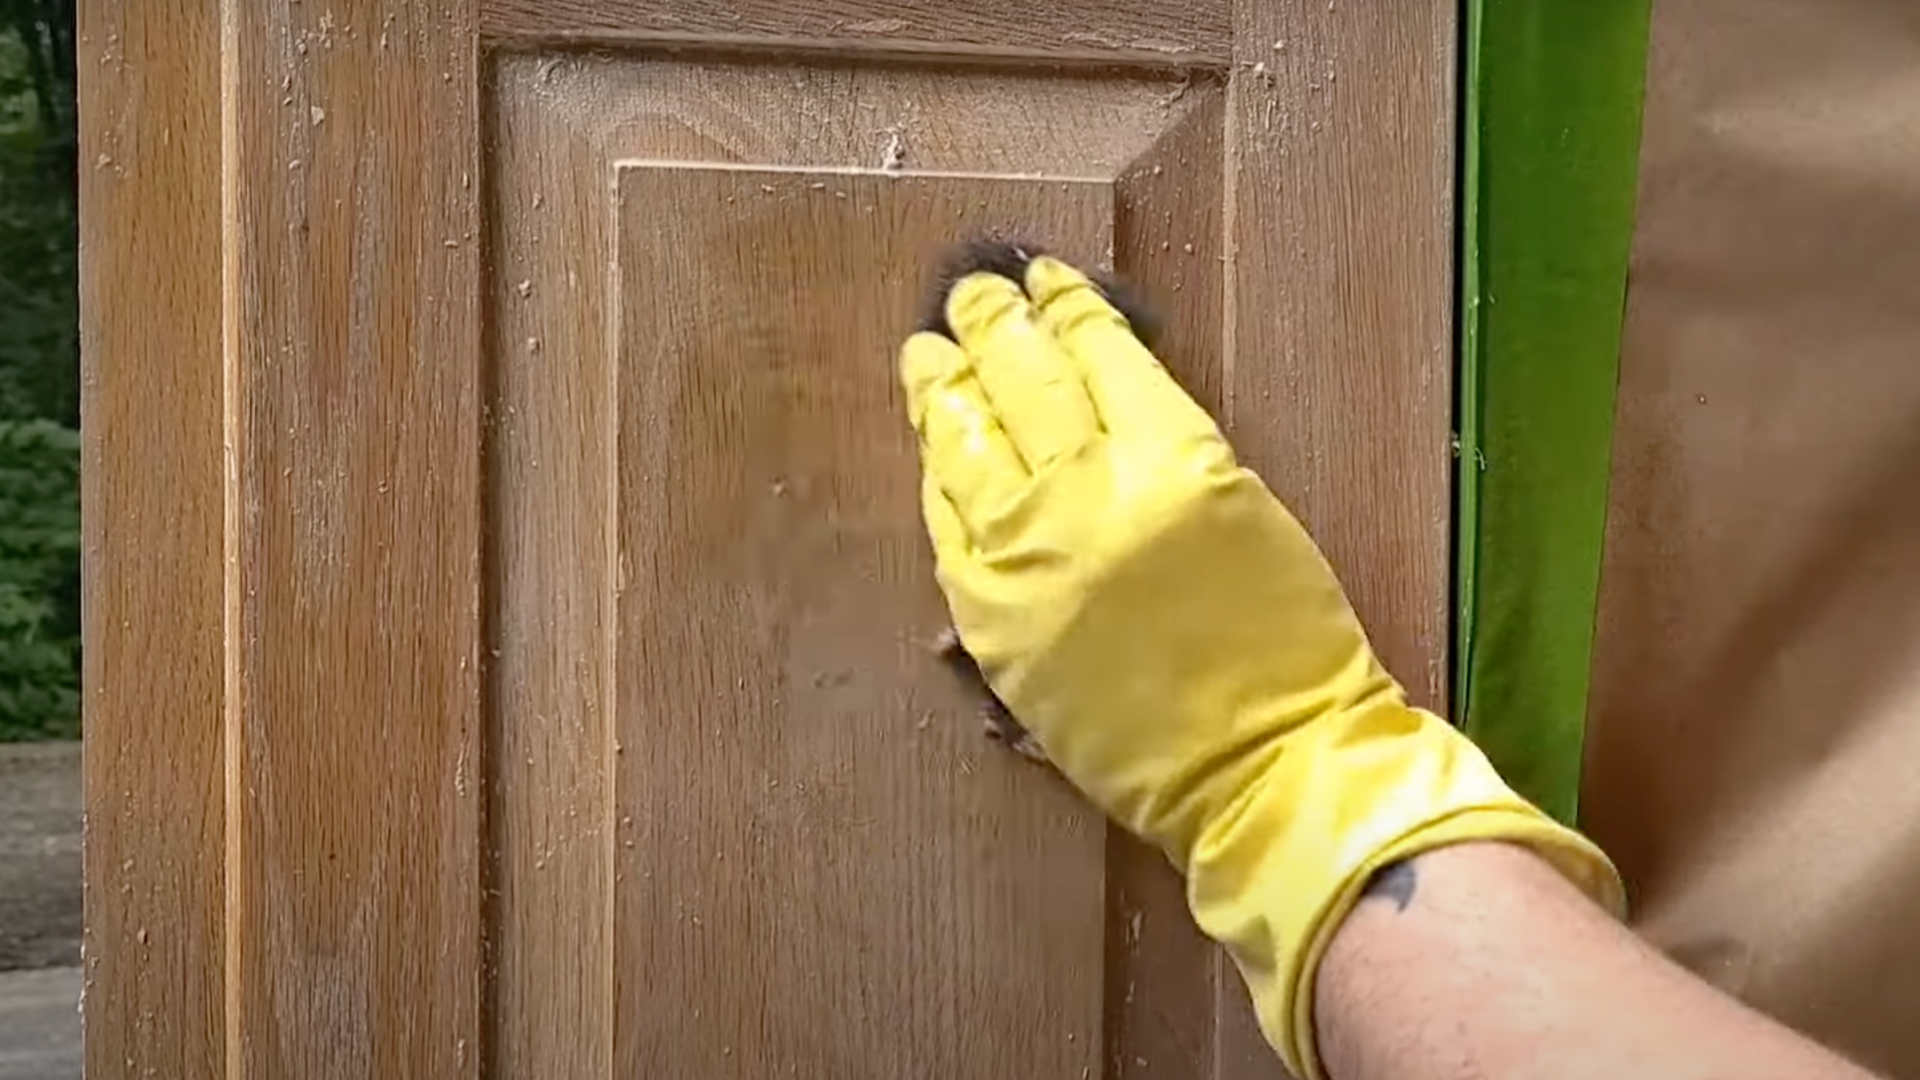
After scraping off the majority of the paint, you may still notice some residue or paint in hard-to-reach spots. To clean these areas, dip some steel wool into the QCS Finish Remover and gently scrub the cabinet surface.
The steel wool will help remove any leftover paint while being soft enough not to damage the wood.
Focus on areas that still have paint or buildup. This step ensures a smooth surface for sanding later and helps you get rid of any lingering residue before moving on to the next step.
Step 6: Treat Stubborn Spots
If there are still stubborn spots with leftover paint, don’t worry-you can tackle them.
Apply a bit more Finish Remover directly to those spots and give it about 10 minutes to work. Once the paint has loosened, use your putty knife or scraper to remove it gently.
After scraping, take your steel wool and scrub the area again to make sure all the paint is gone.
This step might take a little extra time, but it’s worth it to make sure your cabinets are fully stripped and ready for a new finish.
Step 7: Final Cleanse and Reveal
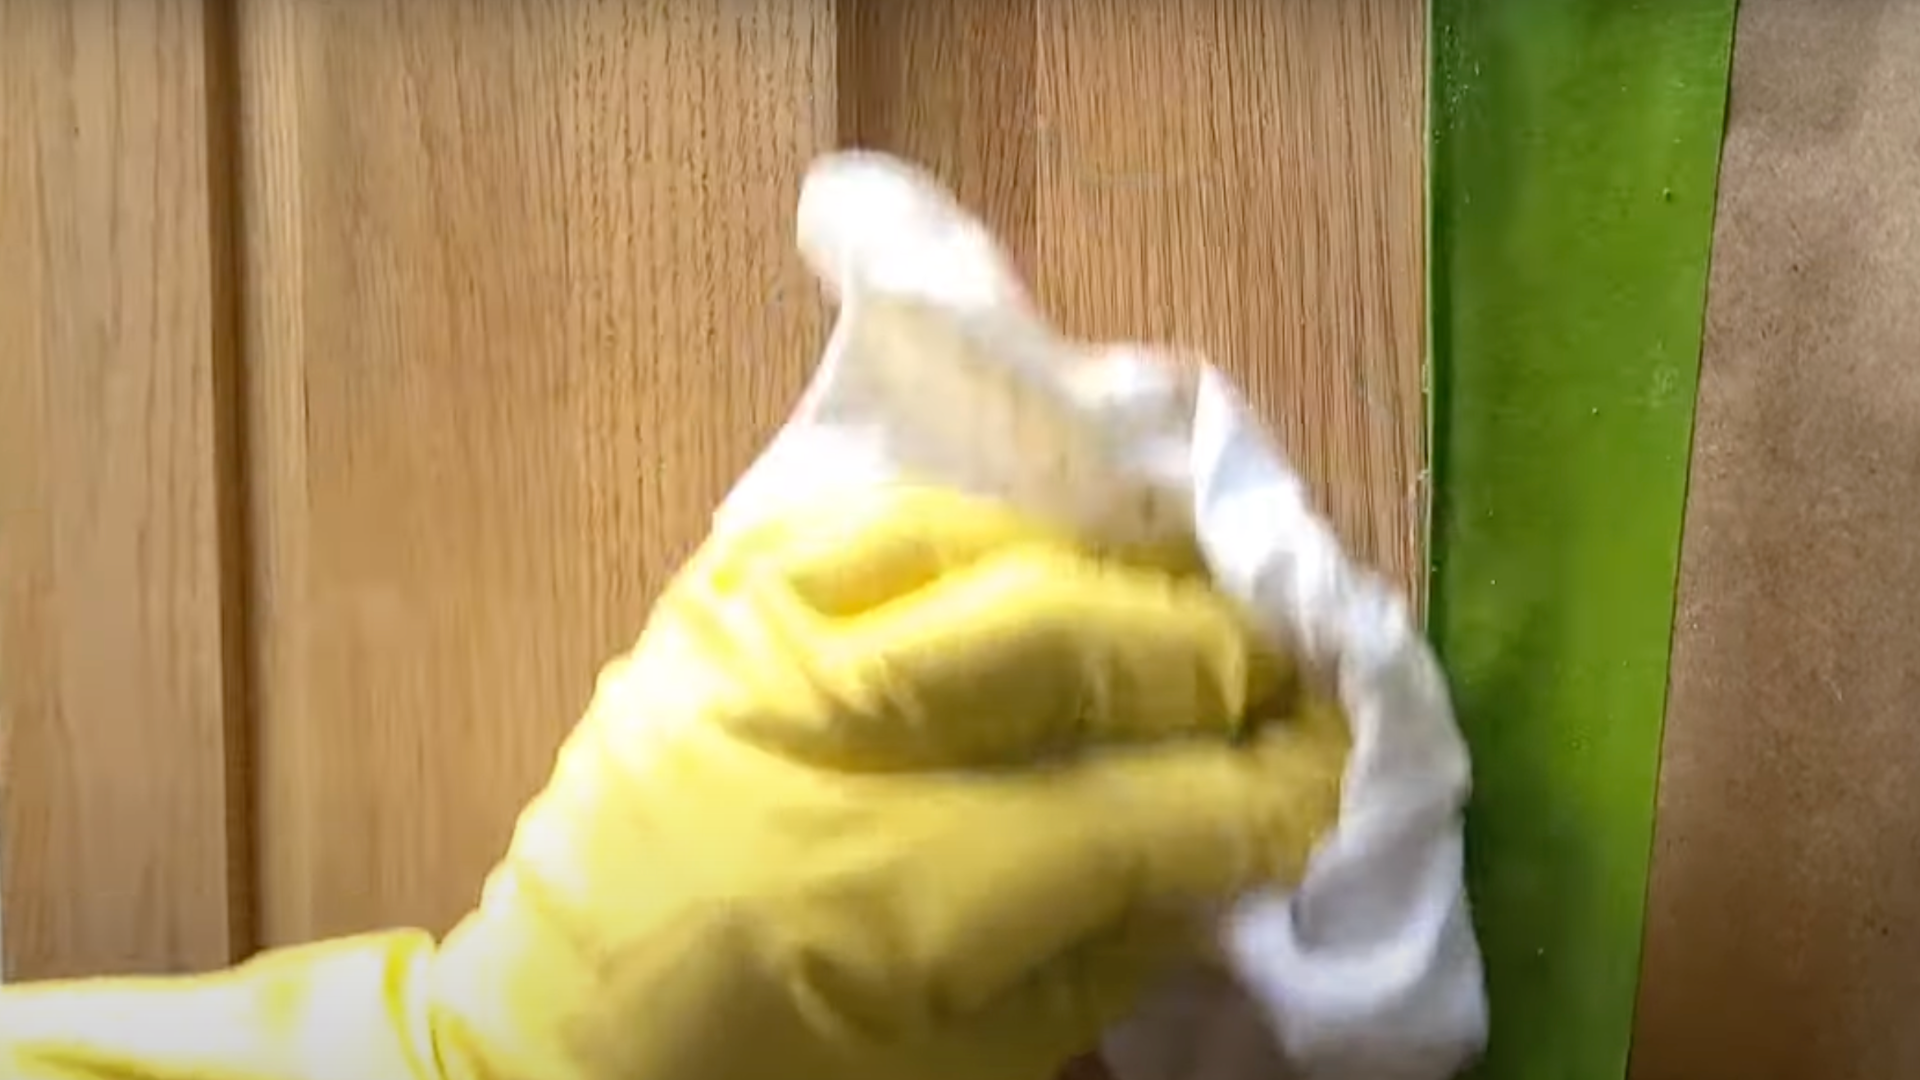
Now that all the paint is removed, it’s time for the final cleaning. Wipe away any paint chips or residue from the cabinet surface with a cloth. Next, apply Surface Cleanser to thoroughly clean the wood.
This product helps remove any leftover finish remover and ensures a clean surface for the next steps. If there’s still some leftover film, you can go over it with steel wool again.
Once the surface is clean, you’ll have beautiful raw wood, ready for your next paint or stain job.
If you want to see the process in action and get some helpful tips, check out this video from @Stripwell-it’ll walk you through the steps and make the whole project even easier!
Tips for a Smooth Paint Removal Process
- Work in a Ventilated Area: Open windows or use fans to keep the air fresh and safe from fumes.
- Test a Small Area First: Try the remover on a hidden spot to ensure it works without damaging the wood.
- Protect Surrounding Surfaces: Lay down plastic sheeting or drop cloths to catch any paint chips and drips.
- Be Patient: Allow enough time for the remover to break down the paint for easier removal.
- Use a Gentle Touch: Scrape with the grain of the wood to avoid gouging, and always use light pressure.
Conclusion
You’ve now got all the steps you need to remove paint from your cabinets and give them a fresh look. It might take some time, but with patience and the right tools, you’ll be able to reveal the beautiful wood underneath.
Don’t rush through the process; taking your time will lead to the best results.
Remember to be gentle while scraping and always protect your workspace and yourself with gloves and safety glasses.
Once the paint is gone, your cabinets will be ready for a new coat of stain or paint. It’s a great DIY project that can save you money and give your kitchen a whole new vibe.
So go ahead, take your time, and enjoy the satisfaction of making your cabinets look like new again!