
Timber floors can lose their shine over time. I’ve seen how scratches, stains, and daily wear can make them look dull.
But you don’t have to replace them. Sanding and polishing can bring back their beauty.
In this article, I’ll explain what timber floor sanding and polishing involves, why it matters, and how you can do it step by step.
I’ll also share the basic tools you’ll need, safety tips to follow, and easy ways to care for your floors afterward.
If your floor looks worn, this guide will help you improve it. You’ll know exactly what to do and when to do it, without any confusing terms or hard steps.
Many people worry that sanding and polishing are too challenging to do alone, but I’ve learned that with the right tools and clear steps, they’re manageable.
If you want clean, smooth timber floors, you’re in the right place. Let’s get started.
What Is Timber Floor Sanding and Polishing?
Timber floor sanding and polishing is the process of restoring worn or damaged wood floors. It involves removing the old, rough surface and applying a new finish.
This makes the floors smooth, clean, and shiny again. It also helps protect the wood so it lasts longer. Sanding comes first, followed by polishing.
Sanding
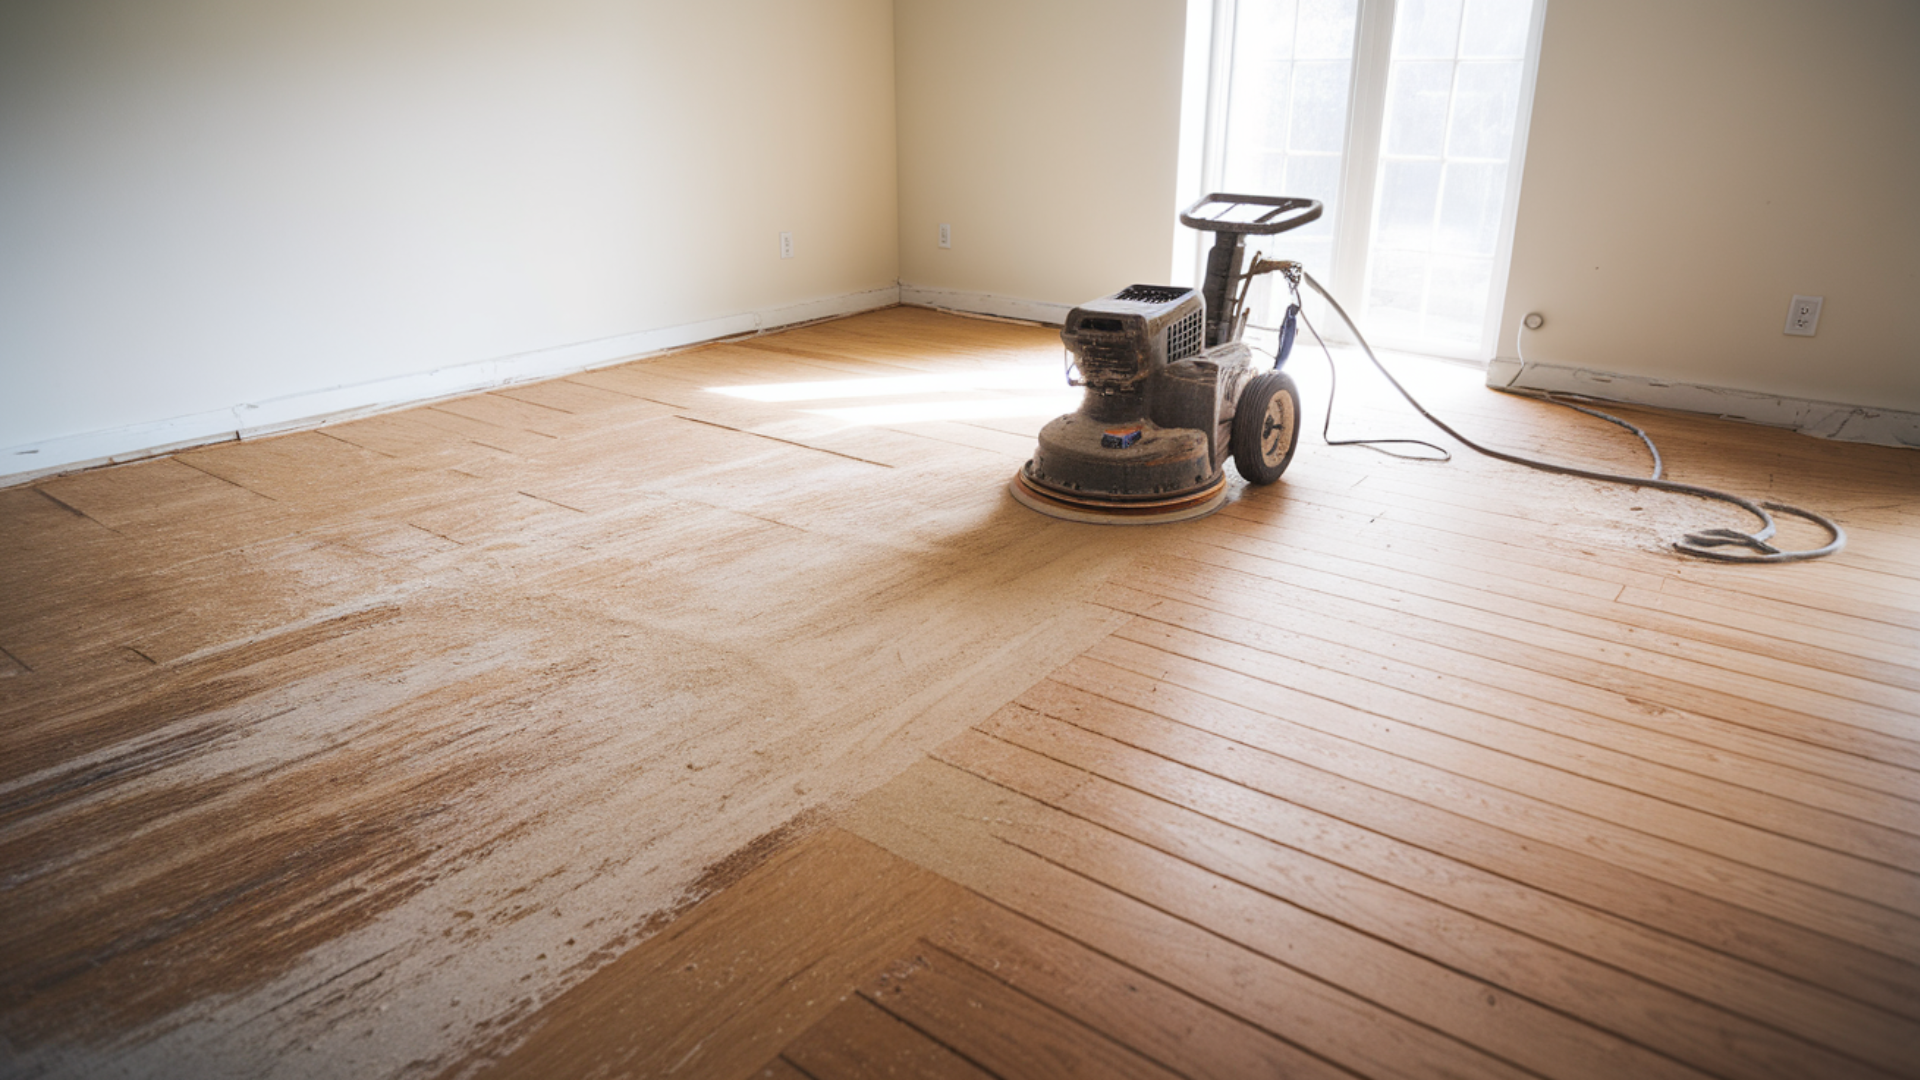
Sanding removes the damaged top layer of the timber floor, removing surface marks like dents, scuffs, or water stains.
It also smooths out uneven areas and prepares the floor for a new finish.
Sanding is usually done with a machine and rough sandpaper, which gradually transitions to finer grades.
Benefits of sanding include a smoother walking surface, fewer deep marks, and Better results when applying a new finish.
Polishing

Polishing adds a thin, clear coating to the sanded wood. This coating protects the floor from damage and gives it a clean and glossy appearance.
There are different polish types: some are shiny, some are matte, and some are in between.
Polishing benefits include Sealing and protecting the wood, making routine cleaning easier, and giving older timber a refreshed look.
Together, they restore the beauty and durability of timber floors. When you sand and polish your floors, they undergo a full restoration.
Scratches fade, and the natural wood color becomes more visible.
The new finish adds both shine and strength. This straightforward process makes your home feel cleaner and more updated, without the need for floor replacement.
Why Should You Sand and Polish Timber Floors?
I’ve found that sanding and polishing timber floors is a great way to keep them looking their best. Over time, wood floors can start to look dull, scratched, or stained.
This process helps fix those problems and adds a protective layer to the surface. When I want my home to feel clean and well-kept, sanding and polishing are steps I always consider.
- Improves Appearance: Sanding removes imperfections and restores a clean, bright finish. Old timber can look tired, and scratches, dull patches, and marks diminish its visual appeal. Polishing adds a smooth, glossy layer.
- Increases Durability: Shields wood from daily wear. Wood floors are tough, but everyday use can wear them down. Sanding strips away weakened layers, and polishing forms a coating that protects against moisture, dirt, and foot traffic.
- Enhances Value: Well-kept floors add market appeal. If you’re planning to sell or rent your home, high-quality floors can influence interest. Clean, polished timber surfaces leave a positive impression.
- Reduces Allergens: It makes cleaning more effective. Dust and dirt can settle into worn or uneven floors, triggering allergies. Sanding smooths the wood, and polishing seals it. This makes cleaning easier and helps reduce trapped particles.
When Should You Sand and Polish?
I know timber floors don’t stay perfect forever. Over time, they can get dull, scratched, or even damaged. That’s when sanding and polishing can really help.
But how do you know it’s time? Look for signs like wear, water damage, or fading. You don’t need to wait until the floor looks bad.
Doing it at the right time keeps the wood in better shape.
- Visible scratches or dullness: If your floor looks cloudy or has many scratches, it’s time to get it cleaned. These marks don’t go away with cleaning; they make the floor look old and uncared for. Sanding removes the damaged surface, and polishing brings back the shine.
- Water soaks into the wood instead of beading up: A polished floor should repel water. If drops soak in instead of sitting on top, the finish is worn out. This can lead to stains or swelling. It means your floor needs a new protective layer. Polishing helps seal the wood again.
- Maintenance: Even if your floor looks okay, regular care matters. Sanding and polishing every 7–10 years keeps the timber strong and prevents deeper damage. This schedule is a good rule to follow for most homes.
Tools and Materials Needed
Before sanding and polishing timber floors, you need the right tools. These help you work faster, safer, and with better results. Most of them are easy to use, even if you’ve never done this before.
- Drum or orbital sander
- Sandpaper
- Vacuum cleaner
- Wood filler
- Polish or finish
- Safety gear
Step-by-Step Process for Sanding and Polishing Timber Floors
Sanding and polishing timber floors takes time and care. Each step helps the next one work better.
You don’t need to rush. Follow each part in order to get the best results. These steps are simple and can be done with basic tools and a little patience.
1. Preparation
Start by clearing the space. Take out all furniture, rugs, and anything on the floor. Then, clean the floor well to get rid of dust and dirt.
Look for loose nails or squeaky boards and fix them before sanding. This gives you a safe and smooth surface to work on.
2. Sanding
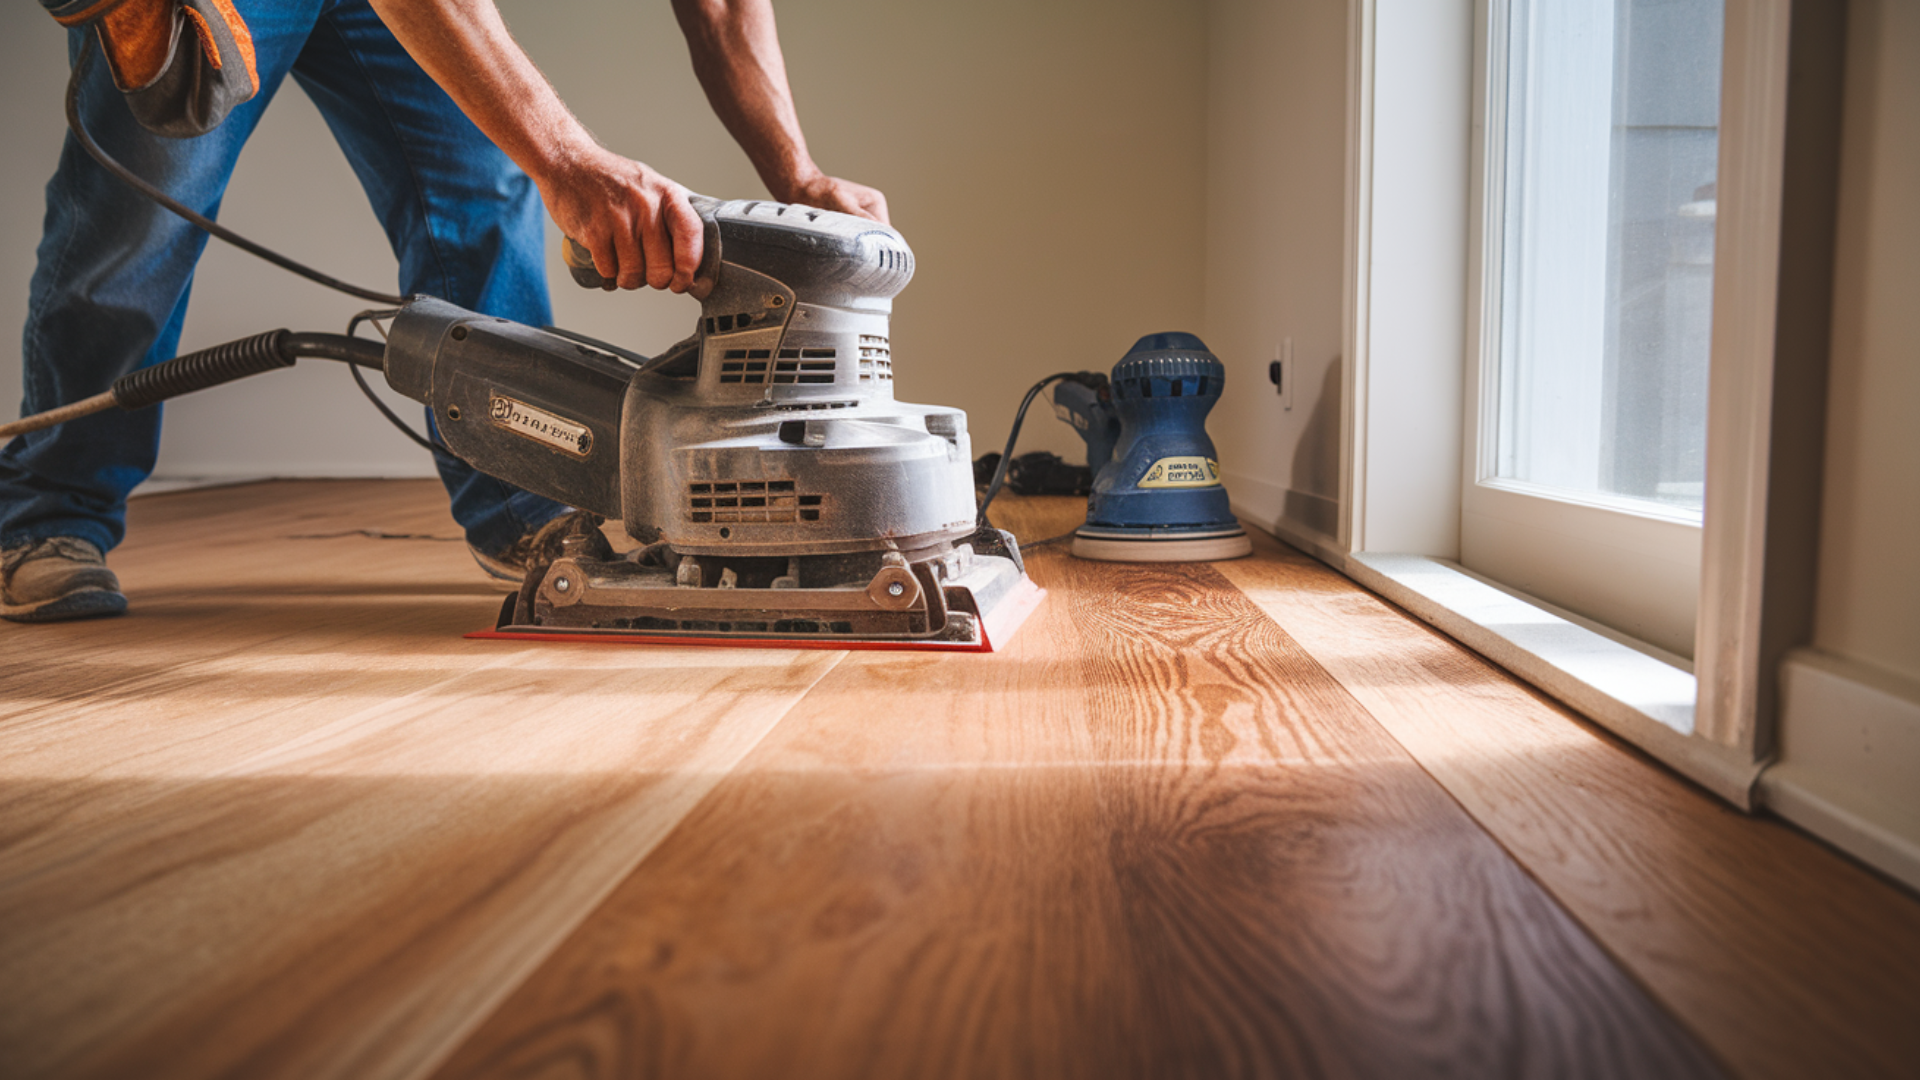
To begin, use coarse sandpaper, around 36 to 40 grit. Sand in the direction of the wood grain, not across it.
As you go, switch to finer grits: 60, 80, and finally 120. This helps the floor feel smooth and even. Don’t forget the corners; use a hand sander if needed.
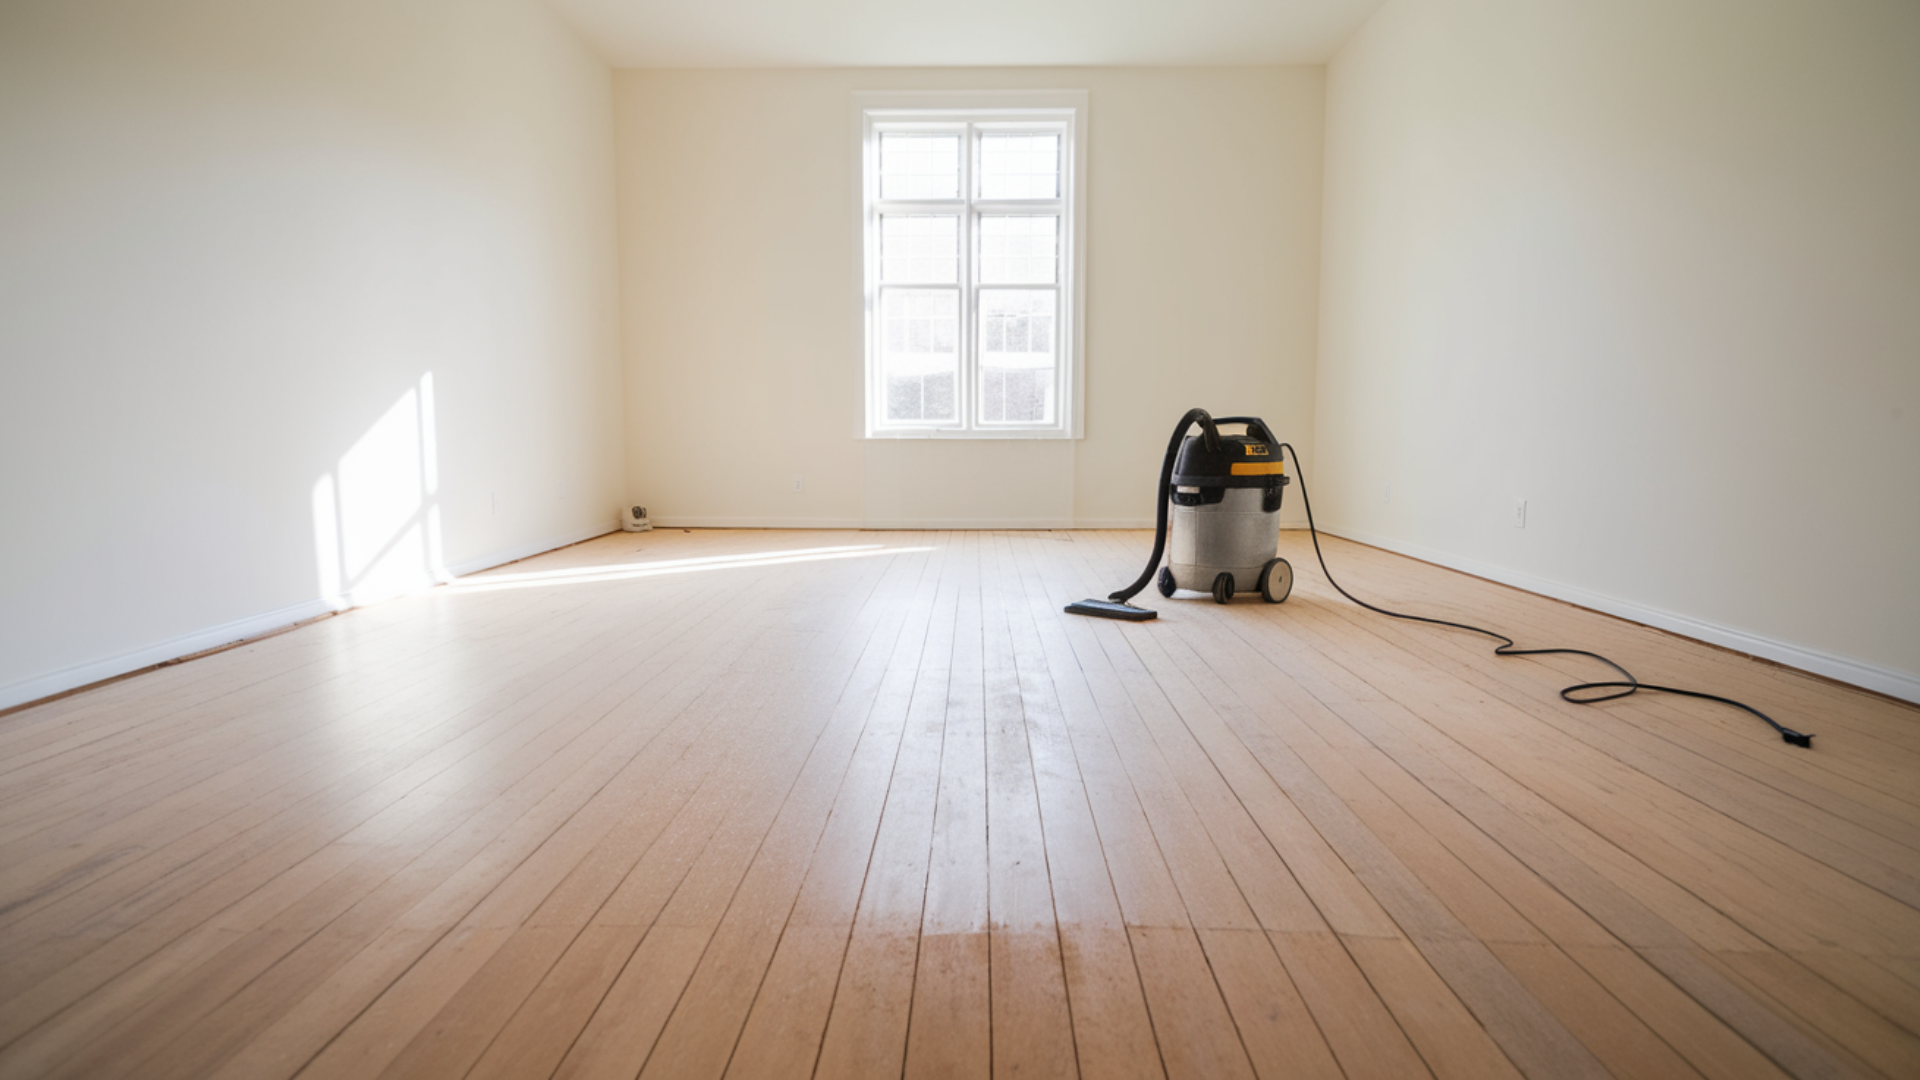
3. Cleaning
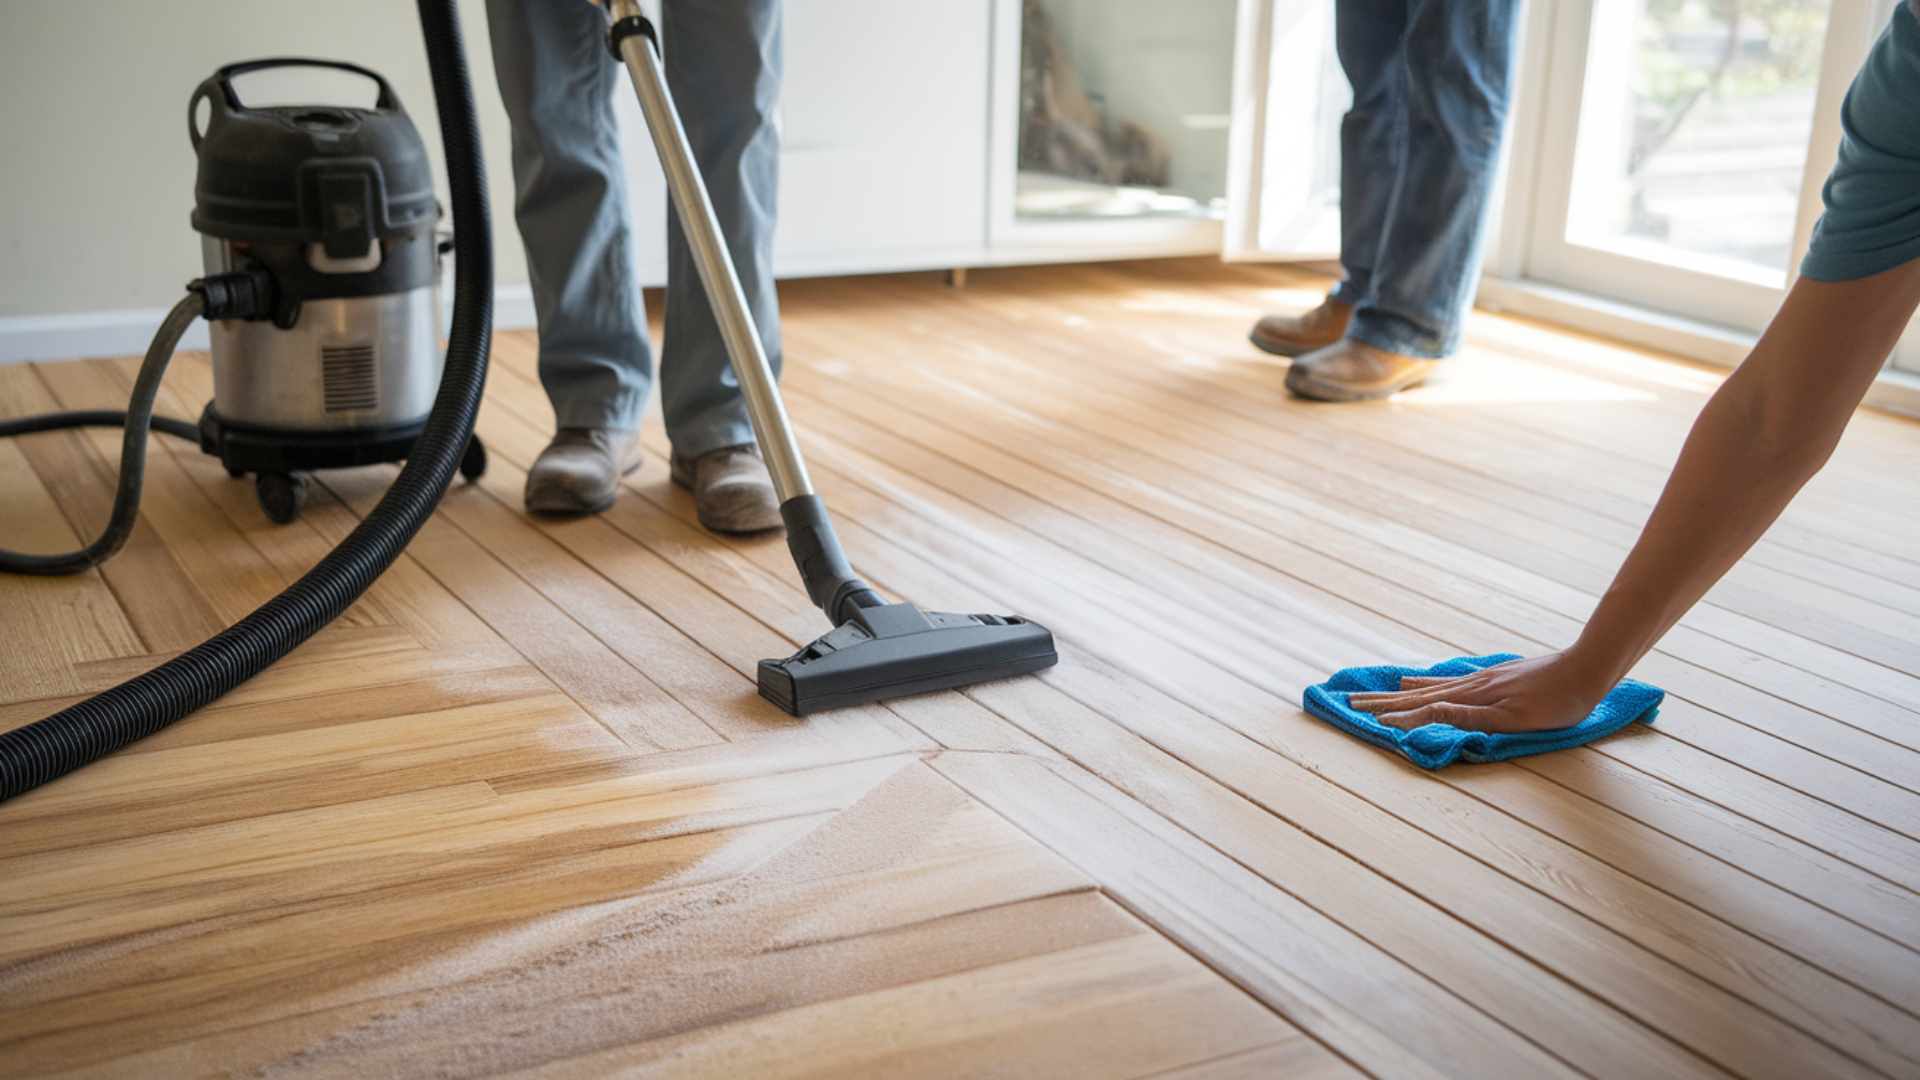
After sanding, the floor will be covered in dust. Vacuum all the dust carefully, including in corners and cracks.
Then, wipe the surface with a damp cloth to catch any leftover dirt. A clean floor helps the polish stick better and look nicer.
4. Polishing
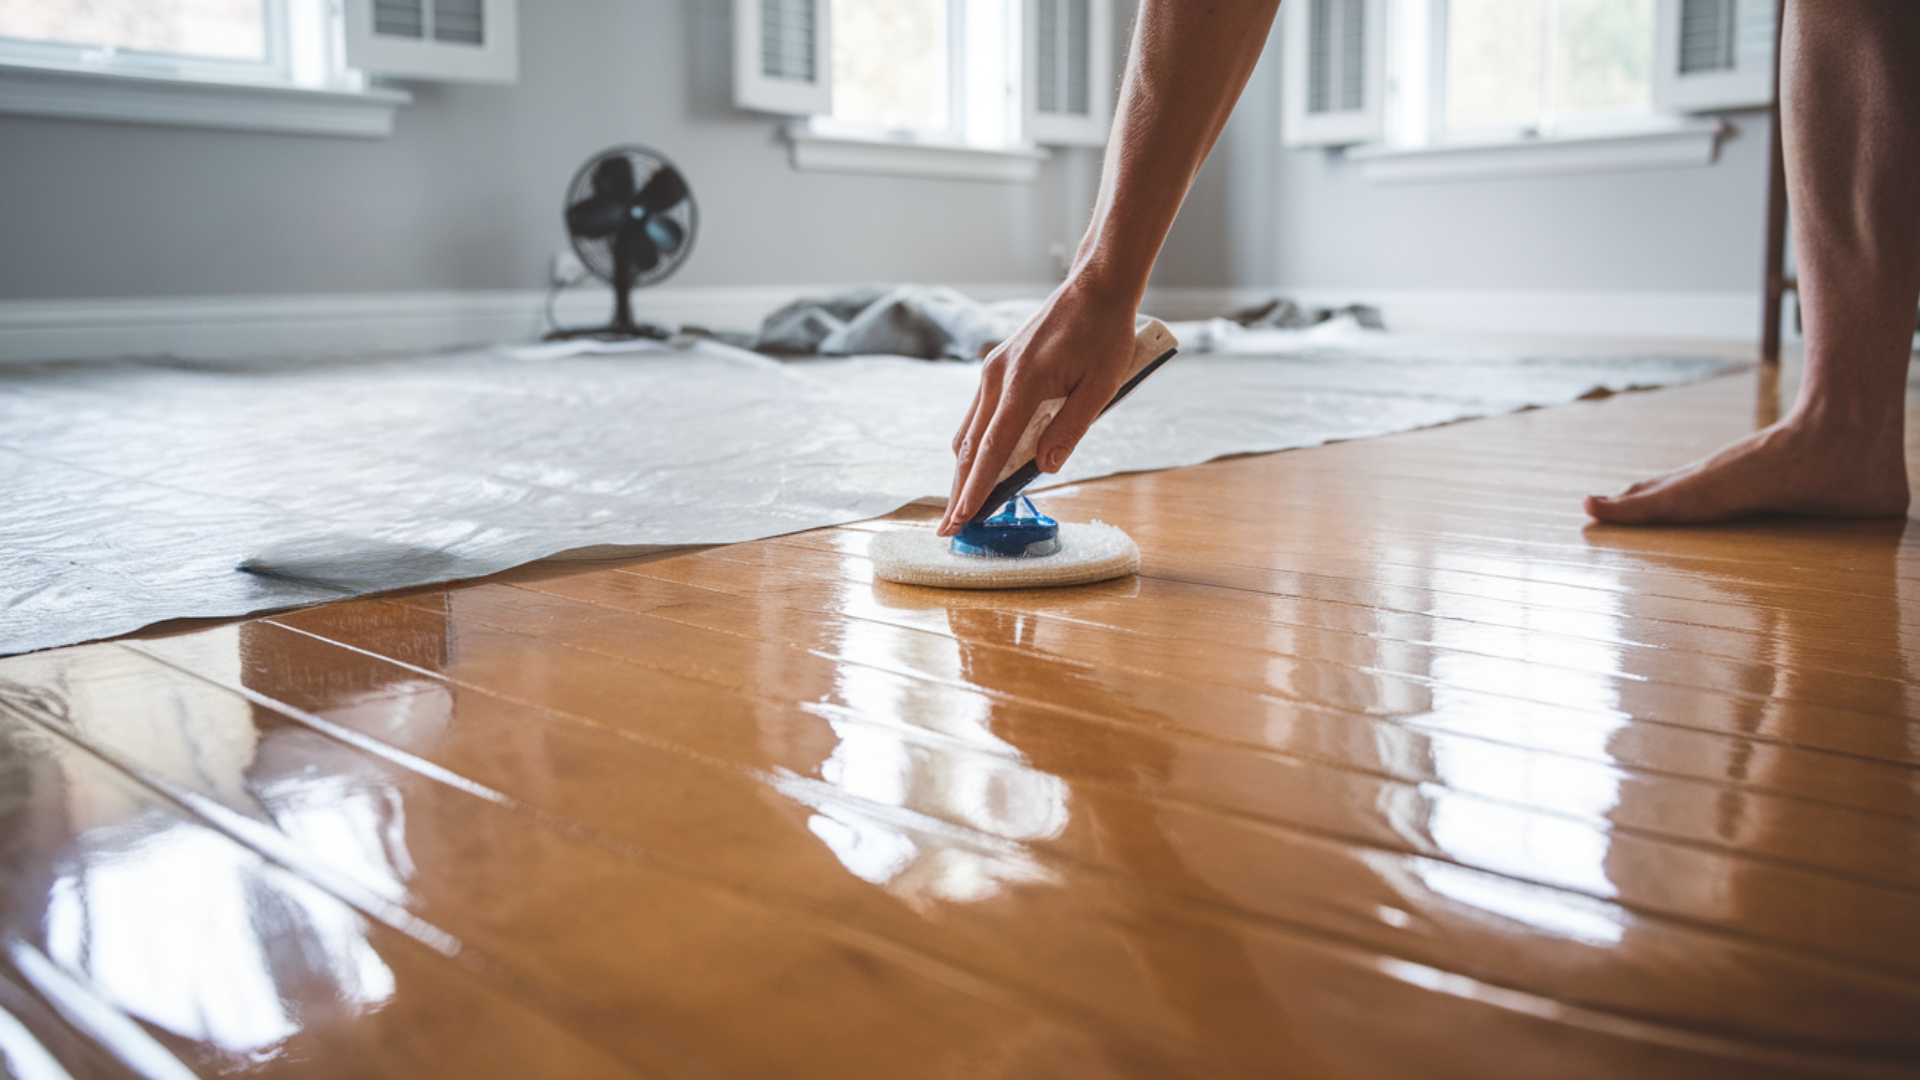
Pick a polish that fits your needs, water-based or oil-based. Apply it evenly using a brush, roller, or pad.
Let the first coat dry fully, following the directions on the label. If the floor needs more shine or protection, add another coat. Keep the room well-ventilated while polishing.
5. Finishing Touches
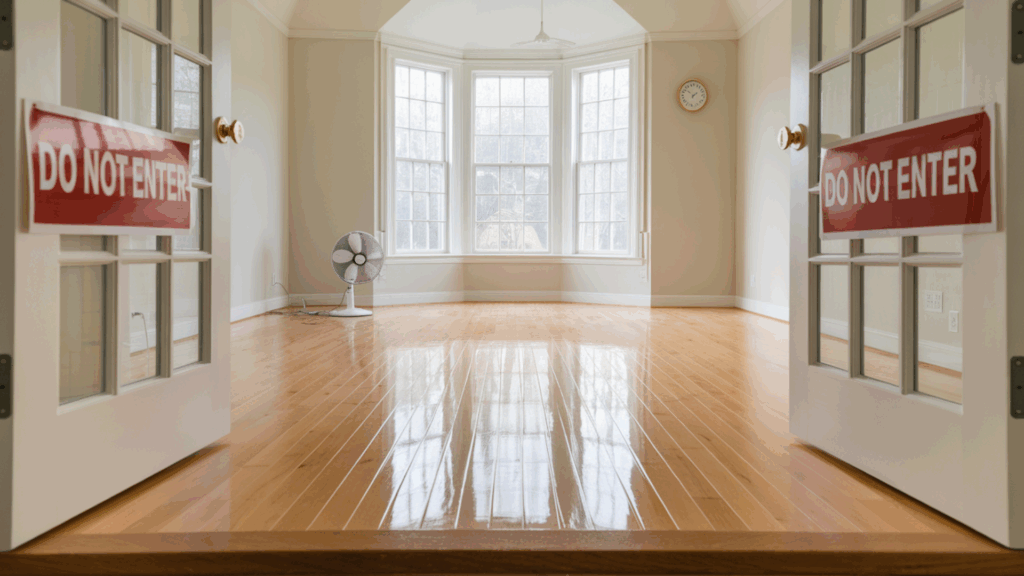
After polishing, let the floor cure for the full drying time. Depending on the polish used, this may take a day or more.
Do not move furniture back too soon, or you could mark the surface. Once it’s cured, your floor will be ready to enjoy.
Maintaining your Timber Floors
Taking care of your timber floors after sanding and polishing helps them last longer and keeps them looking smooth and shiny.
Simple habits can prevent damage and save you from doing major work again too soon. These tips are easy to follow and make a big difference.
- Place mats at entrances to reduce dirt: Dirt and small rocks from shoes can scratch the floor. A mat at the door catches most of it, stopping the grit before it gets to your timber. It’s a small step that protects the surface every day.
- Use furniture pads to prevent scratches: Chairs, tables, and heavy furniture can scrape the floor when moved. Soft pads on the bottom of the legs prevent this. They’re cheap, easy to use, and help keep your finish smooth.
- Clean spills immediately to prevent stains: Water and other liquids can soak into timber if left too long, causing stains or even damaging the wood. Wipe spills right away with a dry or slightly damp cloth. Quick cleaning keeps your floor safe.
- Regularly sweep or vacuum to keep floors clean: Dust and crumbs build up fast. If left alone, they can dull the finish or cause light scratches. Sweeping or vacuuming just a few times a week keeps the floor clean and looking good. Use a soft brush or a vacuum made for hardwood.
Conclusion
Sanding and polishing timber floors is a smart way to restore their clean, smooth look.
Over time, scratches and dull patches can make floors seem old or dirty, but with the right tools and a little time, you can fix that.
This guide taught you the basics, from what sanding and polishing mean to how and when to do them.
If you follow the steps carefully, you don’t need to hire someone. Just take it slow, work safely, and pay attention to the details.
Once the job is done, your floors will look brighter and feel better under your feet.
Good floor care doesn’t stop there; a few simple habits like sweeping often, using mats, and cleaning spills quickly can help protect your work.
With regular care, your timber floors can stay beautiful for many more years.