
Painting a room can be fun, but before you pick up a brush, you need to clean the walls. It might not sound exciting, but dirty walls can make your paint job look uneven or patchy.
In this guide, I’ll show you the fastest and easiest way to clean your walls so the paint sticks better and looks smooth.
You won’t need fancy supplies or hours of scrubbing, just a few simple items you probably already have at home.
I’ve broken it down step by step to make it easy. Trust me, this method works, and it will help you prep your walls quickly and stress-free.
Why Cleaning Walls Before Painting Really Matters?
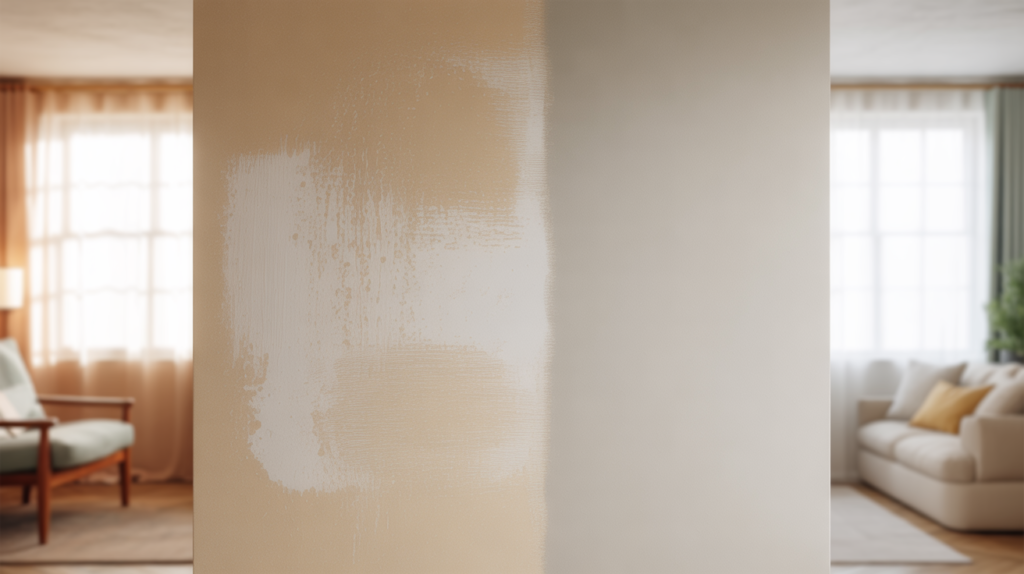
Cleaning your walls before painting might seem small, but it makes a big difference. Over time, walls collect dust, dirt, and grease, especially in busy areas like kitchens.
If you paint over this, the paint won’t stick well and can peel, bubble, or streak. A clean wall ensures the paint goes on smoothly and lasts longer.
Even if the walls don’t look dirty, dust can still affect the finish.
Taking a little time to clean prevents mistakes and gives you a sharper, more professional result. It’s worth the effort for a better, longer-lasting paint job.
What You’ll Need to Get Started
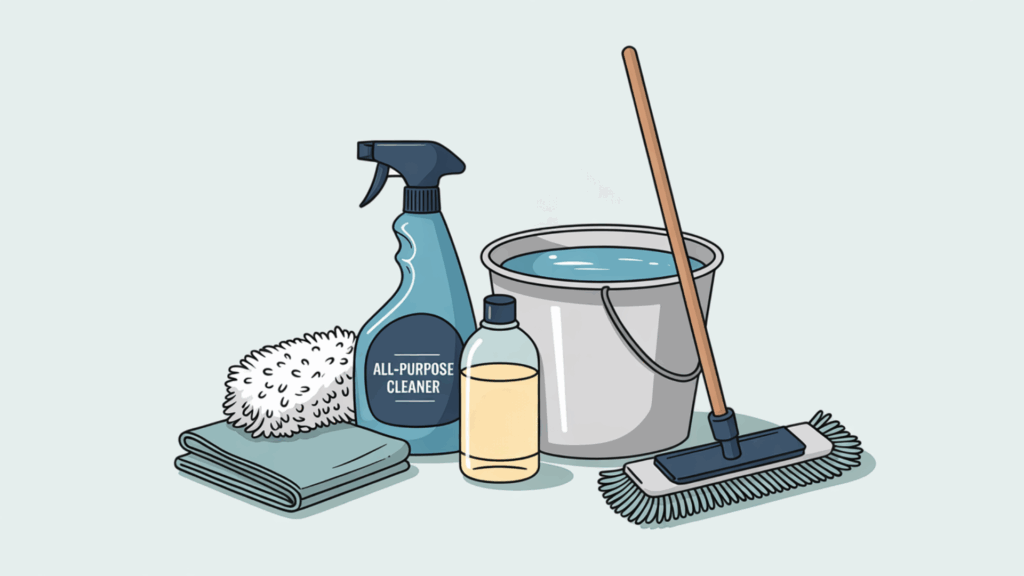
Before you start cleaning, it’s a good idea to gather all your supplies. Don’t worry, you won’t need anything fancy. Most of these items you probably already have at home.
- A microfiber cloth or a duster with a long handle to remove dust and cobwebs
- A spray bottle to mix your cleaning solution
- Dishwashing liquid (just a small amount)
- A bucket filled with clean water
- A microfiber flat mop to wipe the walls
Step-by-Step Wall Cleaning Guide Before Painting
Cleaning your walls doesn’t have to be difficult or time-consuming. Just follow these simple steps, and your walls will be ready for a fresh coat of paint in no time.
Step 1: Dust the Walls
Before using any water or cleaner, start by dusting your walls. This helps get rid of spiderwebs, dirt, and loose dust that may not be easy to see.
Use a microfiber cloth or a duster with a long handle. Begin at the top of the wall and move down so the dust falls toward the floor.
Don’t forget the corners and edges where dust likes to hide.
This step helps make sure your cleaning solution doesn’t just turn dry dust into sticky messes when you mop.
Step 2: Mix Your Cleaning Solution
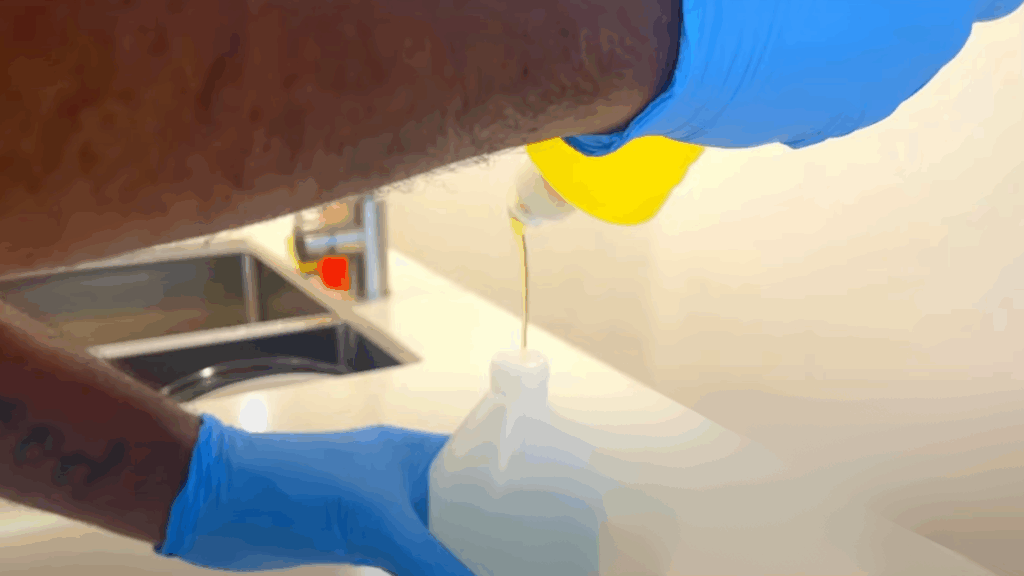
You don’t need any fancy cleaner to get the job done. Just take a clean spray bottle and add about one teaspoon of dishwashing liquid.
Then, fill the rest with water. Gently shake it to mix. That’s it! This simple cleaner works well for most wall types and is safe to use.
Make sure the bottle sprays in a light mist, not a strong stream. You’ll be spraying this onto your mop, not the wall.
This mix is enough to break down dirt without damaging your paint.
Step 3: Spray Evenly on the Wall
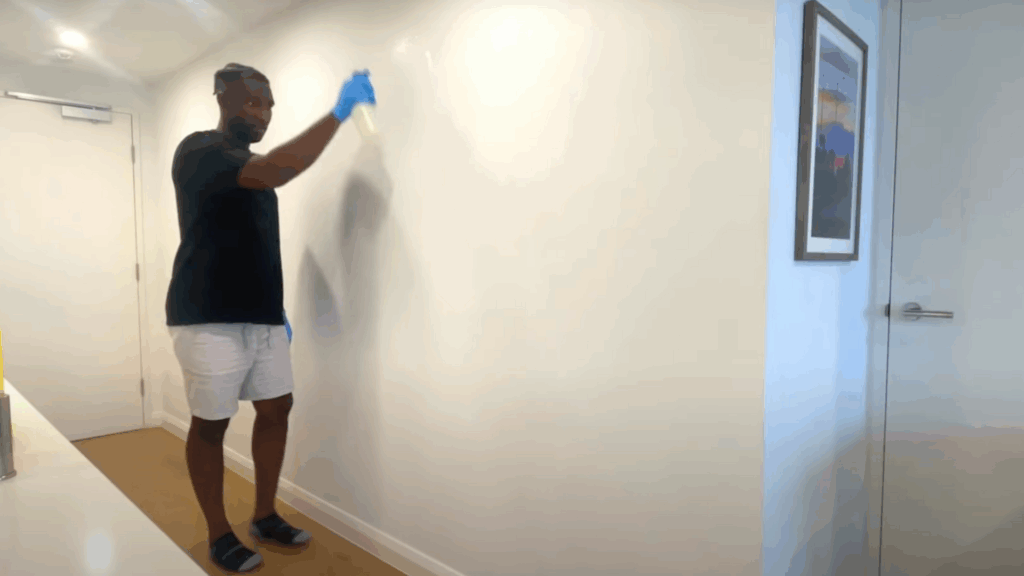
When it’s time to use your cleaning solution, spray it gently and evenly on the wall.
Don’t soak one spot too much- use a light mist across a small section.
This helps avoid streaks and keeps the paint underneath safe. It’s important to spray lightly so the wall doesn’t get too wet, which could lead to peeling or bubbling later.
Flat or matte paint finishes can be more sensitive, so be extra careful with how much cleaner you use.
A gentle, even spray is all you need to loosen dirt without causing damage.
Step 4: Rinse and Squeeze the Mop
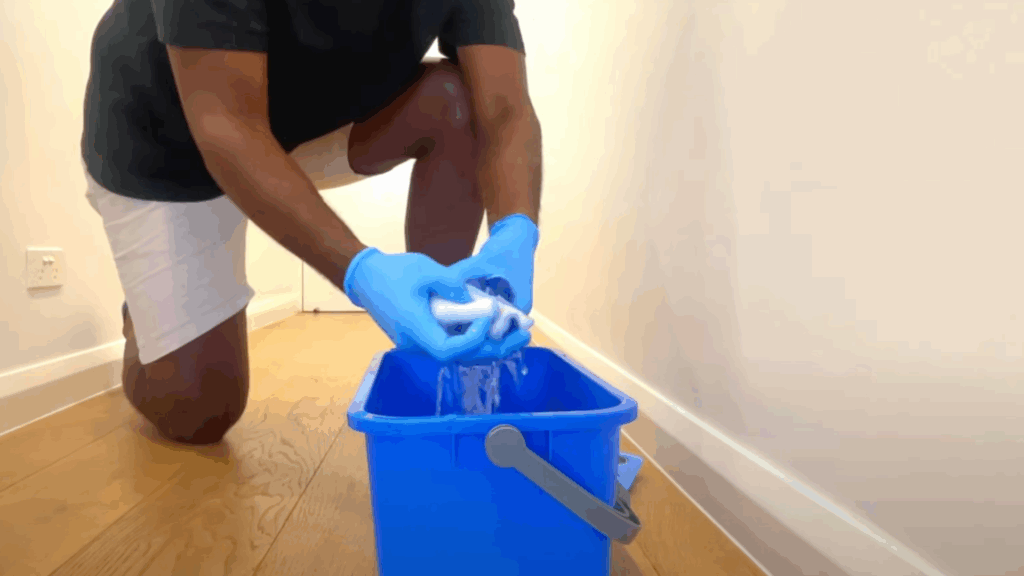
Now it’s time to rinse the mop in your bucket of clean water. After dipping it in, squeeze it out really well.
The mop should be damp-just wet enough to wipe off dirt and soap, but not dripping. A soggy mop can leave too much water on the wall, which may damage the paint or drywall.
After rinsing and squeezing, you’re ready to clean another section. Keep a towel nearby in case you need to wipe up extra water.
Always make sure your mop is clean before moving to the next step.
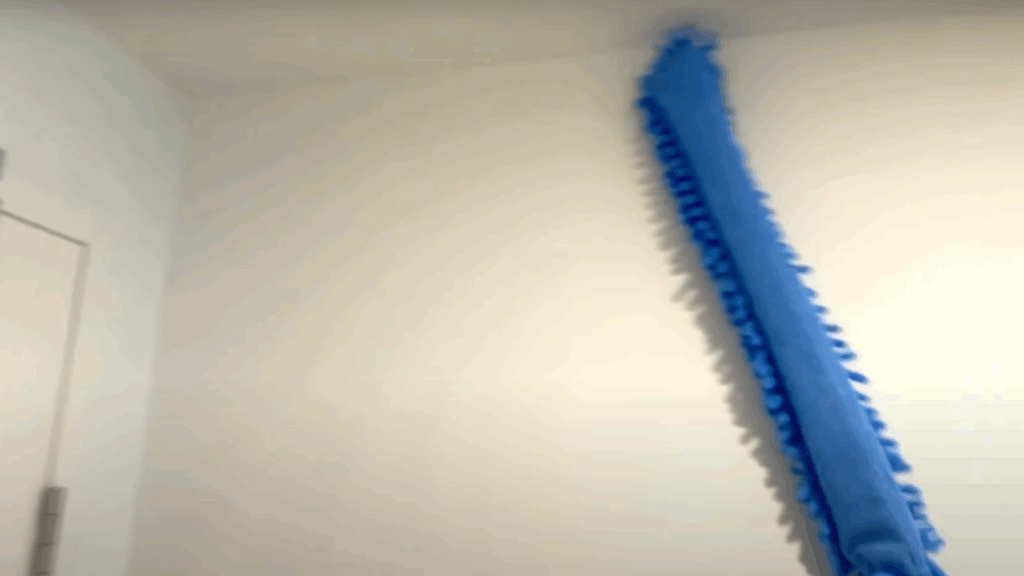
Step 5: Clean in Small Sections
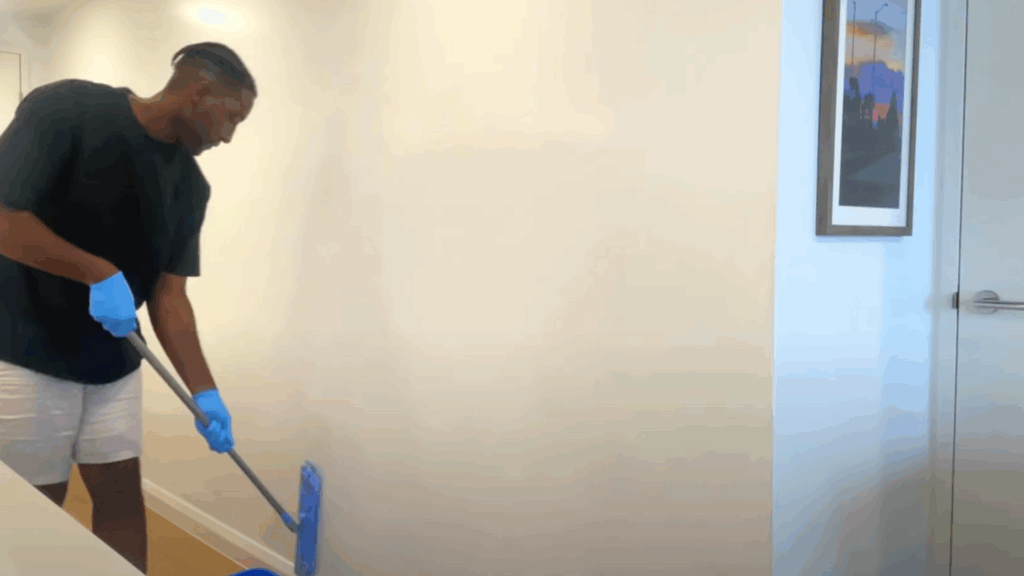
Don’t try to clean the whole wall at once. Work in small sections, about as wide as your shoulders. Use straight up-and-down strokes, like painting.
This way, you’ll cover every spot without missing anything. After one section, rinse the mop in clean water, squeeze it out, and then move to the next area.
This helps you avoid spreading dirt around. It also gives your wall a more even clean. Make sure to check your mop often- if it looks dirty, rinse it right away.
A clean mop means cleaner walls.
Step 6: Spot Clean with a Magic Eraser
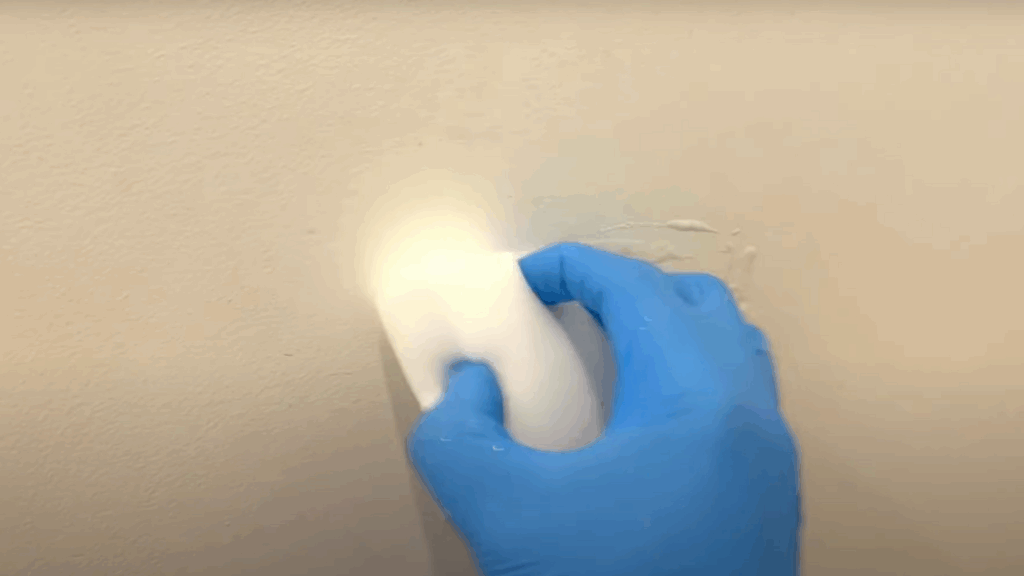
If you still see marks on the wall after mopping, use a Magic Eraser. Wet the eraser with water and add a drop of dish soap if needed.
Gently scrub the dirty spot in circles. Be careful not to press too hard, especially on flat paint, because it can make the paint shiny in that spot.
When the mark is gone, wipe the area with a dry microfiber cloth to remove any leftover soap.
This trick works great on crayon, fingerprints, and other small messes that the mop couldn’t clean.
Want to see how it’s done? Check out the video by @Cleaning Made Easy- it shows each step in action and makes the whole process even easier to follow.
Different Cleaning and Priming Techniques to Try
Cleaning and priming vary depending on the wall type and what’s on it. Some walls have grease, stains, or even mold. Below are a few tips to handle these issues and prep your walls for painting.
- For Greasy Walls: Mix warm water with a few drops of dish soap made to cut grease. If it’s really bad, try adding some vinegar. Wipe the wall with a soft cloth or sponge.
- For Mold or Mildew: Mix one part bleach with three parts water. Wear gloves and open windows. Scrub the area gently, then rinse and dry well.
- For Glossy Walls: Paint won’t stick well to shiny walls. Lightly rub the surface with fine sandpaper. Wipe off the dust after sanding.
- Using Primer: After cleaning, apply a primer. It helps paint stick better and look smoother. Let the primer dry before painting.
Quick Tips for Better Wall Prep Before Painting
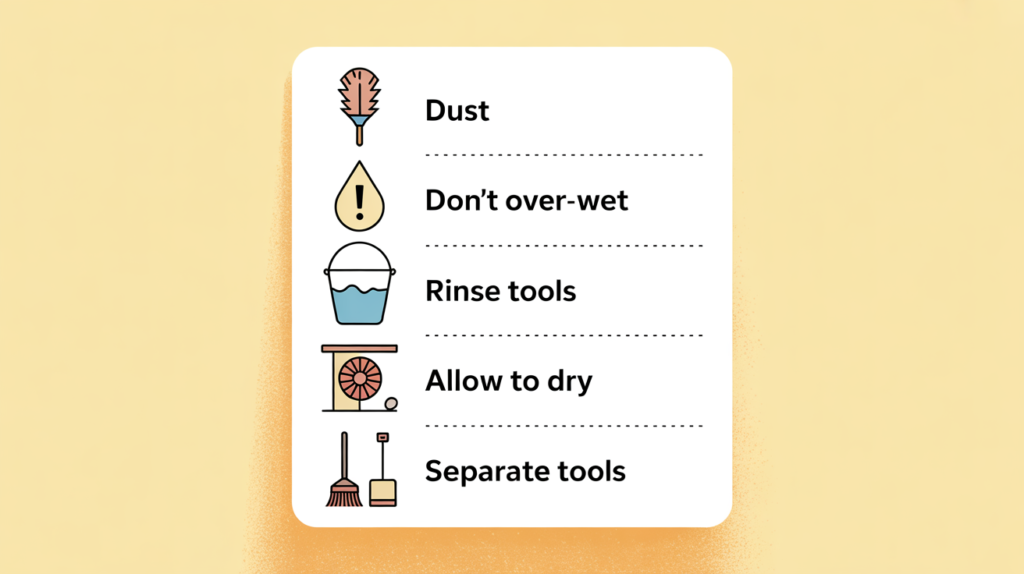
Getting ready to paint doesn’t have to be hard, especially if you keep a few helpful tips in mind. These small steps can make a big difference in how your paint turns out.
- Always start with dusting: It’s an easy step to skip, but it helps the most. Dust and cobwebs can mess up your paint job if left behind.
- Don’t over-wet the wall: Too much water can cause paint to bubble or peel. Keep your mop or cloth just damp.
- Use clean water: Rinse your mop or sponge often. Dirty water spreads dirt around instead of cleaning it.
- Let walls dry completely: Never paint a wet wall. Wait until it’s fully dry so the paint sticks right.
- Label your tools: If you’re using a sponge or mop just for walls, keep it separate. This keeps everything cleaner.
Conclusion
Cleaning your walls before painting might seem like a small step, but it makes a big difference. It helps the paint stick better, look smoother, and last longer.
With just a few simple tools and easy steps, you can get your walls ready without much trouble. From dusting to spot cleaning, each part of the process matters.
You don’t need fancy products- just dish soap, water, and a little time.
Also, don’t forget to check your wall type. Some walls might need extra care, like sanding or priming, especially if they’re glossy or stained.
Taking the time to prep your walls the right way helps your paint job turn out great.
Now that you know what to do, you’re all set! If you’re painting a whole room or just one wall, this cleaning guide will help you start strong.
Prepare smart, paint with confidence, and enjoy how fresh and clean your space looks when you’re done.