
Have you been staring at those outdated floor tiles, wishing they looked better? I was in the same spot last year.
Painting your ceramic floor tiles is easier than you think. With some basic supplies and a little patience, you can make them look brand new without spending a fortune on replacements.
In this guide, I’ll walk you through:
- How to paint ceramic floor tiles step-by-step
- The basic tools you’ll need (nothing fancy)
- Common mistakes and how to avoid them
Many people worry about the paint chipping or peeling. I had those same concerns! But after trying different methods, I found a simple approach that works well.
You don’t need to be an expert. This guide breaks everything down into small, manageable steps that anyone can follow.
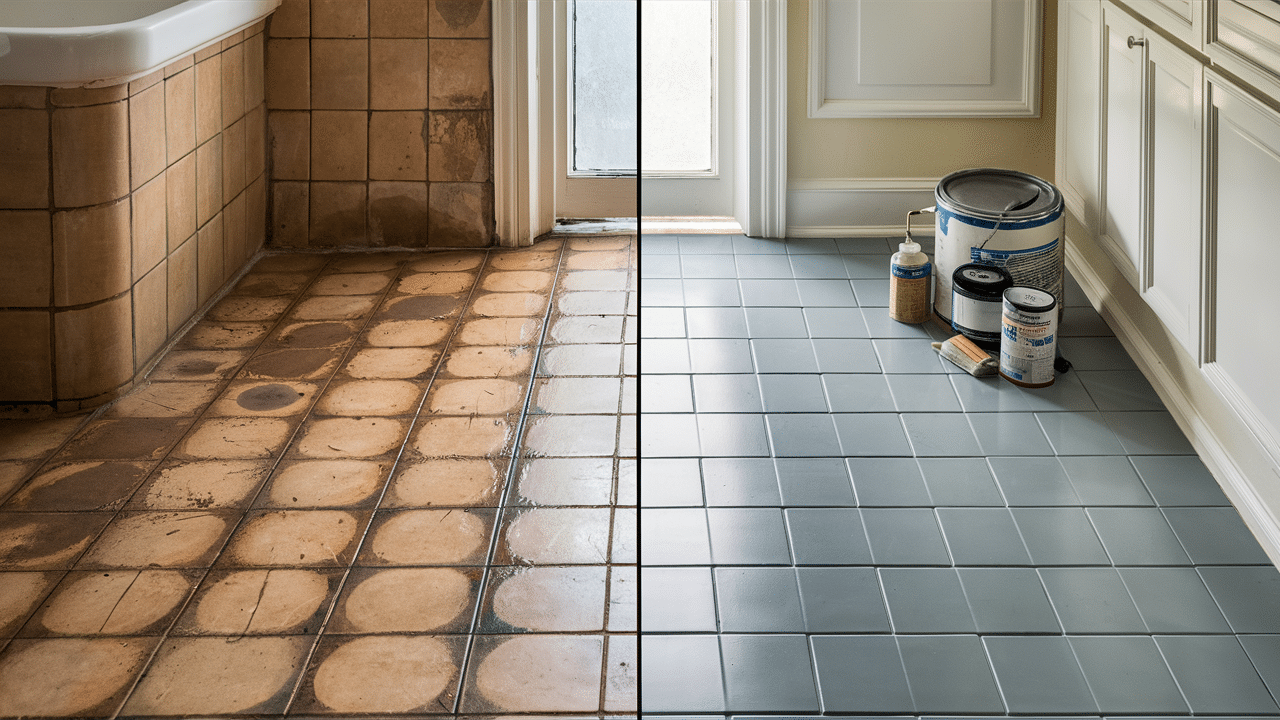
Trust me – if I could transform my ugly old bathroom tiles into something that looks fresh and new, you can too.
Why Paint Ceramic Floor Tiles?
Before we get into the how-to, let’s talk about why painting your ceramic tiles makes sense:
- Save money: New tile installation can cost thousands of dollars
- Update your look: Change the style without major remodeling
- Fix cosmetic issues: Hides stains or old grout
- Less mess: No demo work or dust from tile removal
- Personal touch: Create a custom look with colors you choose
I painted my bathroom floor tiles last year when I wanted to update the look but couldn’t afford new flooring. The total cost was under $100, and they still look great today.
Supplies You’ll Need
Before starting your tile painting project, gather these basic supplies:
- Tile cleaner or degreaser
- Sandpaper (220 grit)
- Painter’s tape
- Primer made for tile or glossy surfaces
- Floor paint or porch-and-patio paint
- Foam roller and small brush
- Sealant (water-based polyurethane)
- Gloves and mask
- Drop cloth to protect surrounding areas
- Patience (it really helps)
You can find most of these at any hardware store. Make sure to get enough paint for at least two coats.
Preparing Your Tiles
The prep work makes a huge difference in how long your paint job lasts. Don’t skip these steps! Many beginners rush straight to painting, eager to see the transformation, but professionals know that 80% of a successful paint job happens before the first coat of paint.
Proper preparation creates the foundation that determines whether your paint will last for years or begin peeling within weeks.
1. Clean Thoroughly
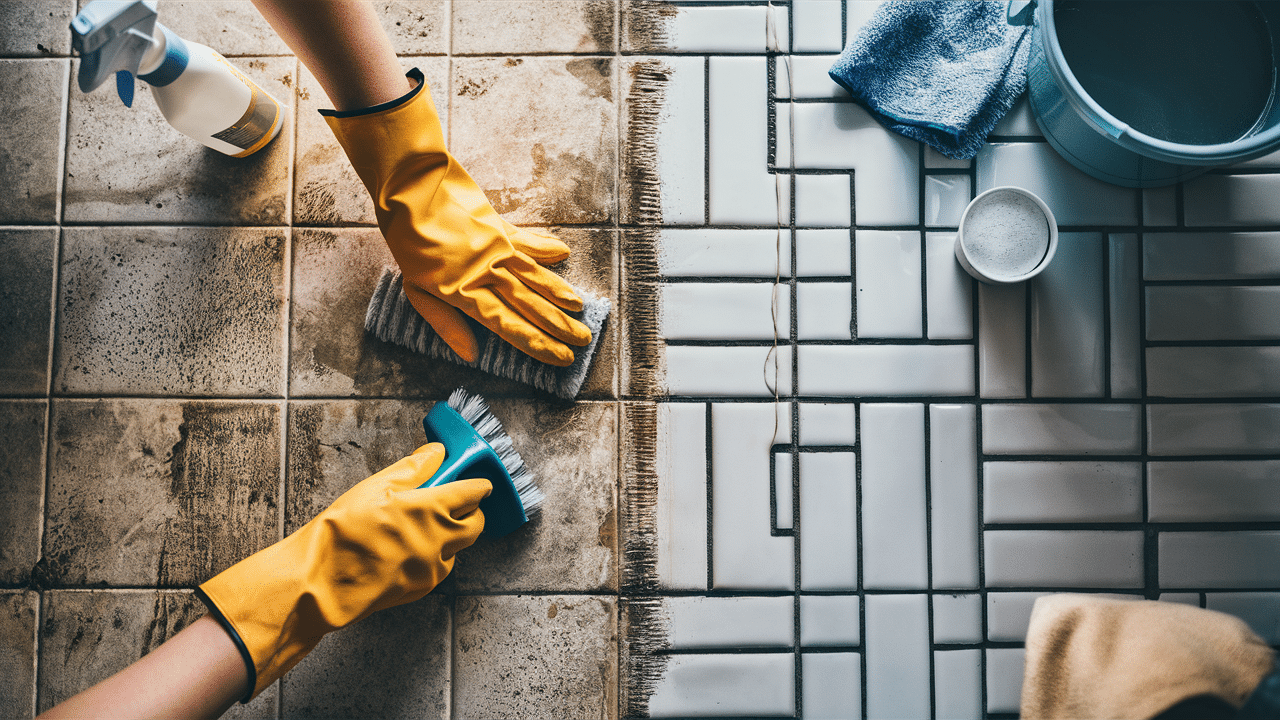
Proper cleaning is essential before you begin painting. Scrub your tiles with a degreaser or strong tile cleaner.
Use a scrub brush to remove all dirt, soap scum, and grime from both the tiles and grout lines. For tough spots, try a mixture of vinegar and water or a commercial tile cleaner.
Pay special attention to corners and areas near toilets or sinks where dirt tends to build up. Make sure the floor is completely dry before moving to the next step.
This thorough cleaning process creates the clean base needed for the paint to adhere properly and last longer.
2. Sand Lightly
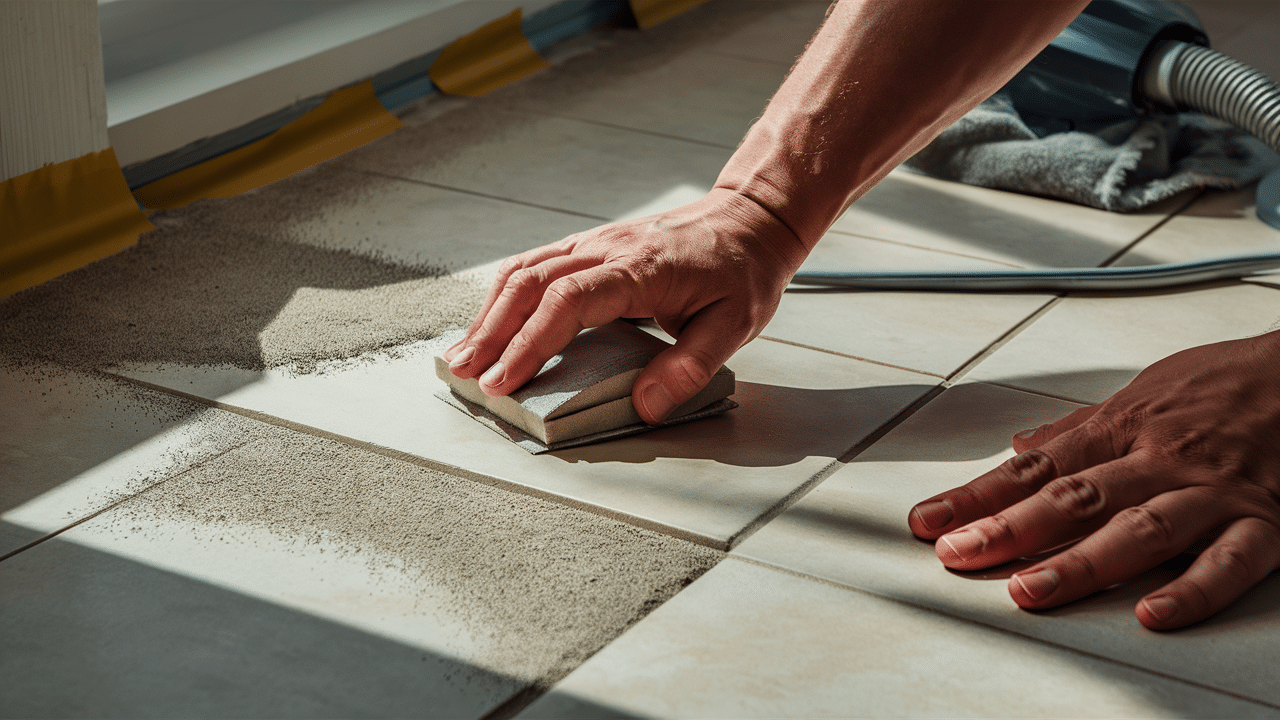
After cleaning, prepare the surface by lightly sanding with 220-grit sandpaper. Work across all tiles with gentle pressure—remember, you’re not trying to remove material; you’re just creating a slightly textured surface that helps the primer and paint stick better.
Once you’ve finished sanding, vacuum carefully, then wipe with a damp cloth to ensure no dust remains. Let the floor dry completely.
This creates a surface that will grab onto the primer, resulting in a more professional-looking finish that won’t peel or chip easily.
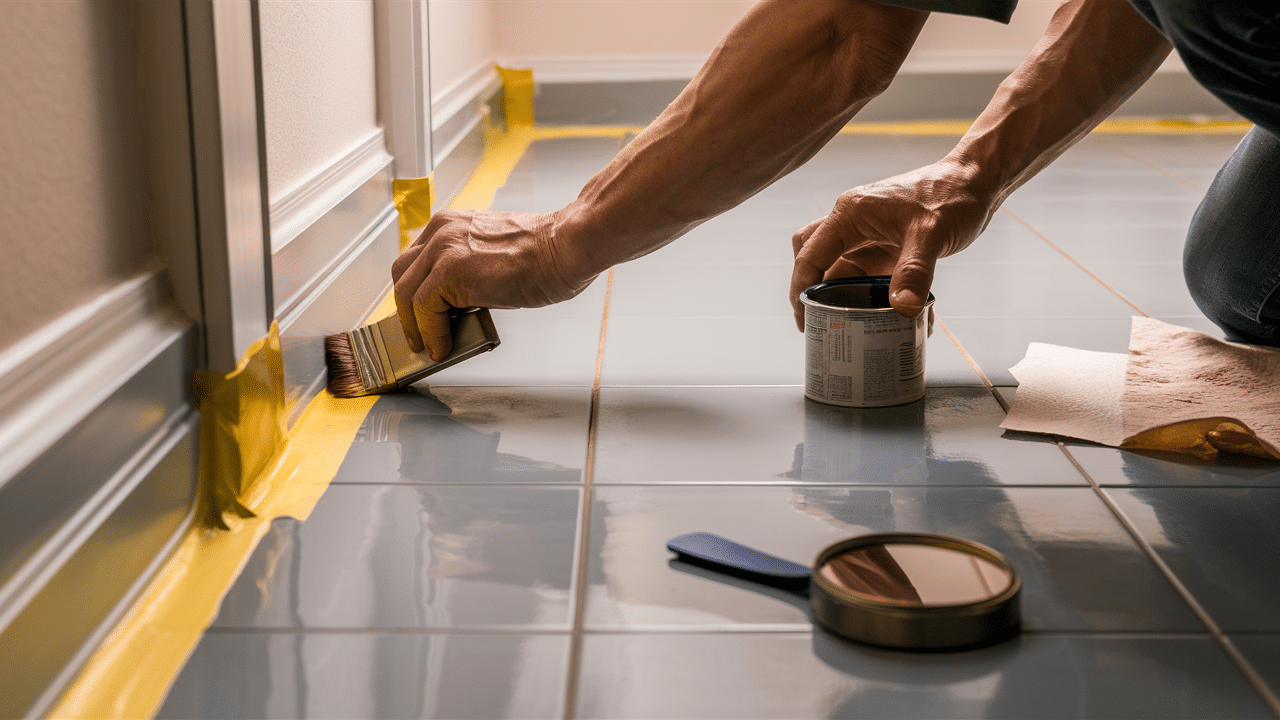
3. Tape Carefully
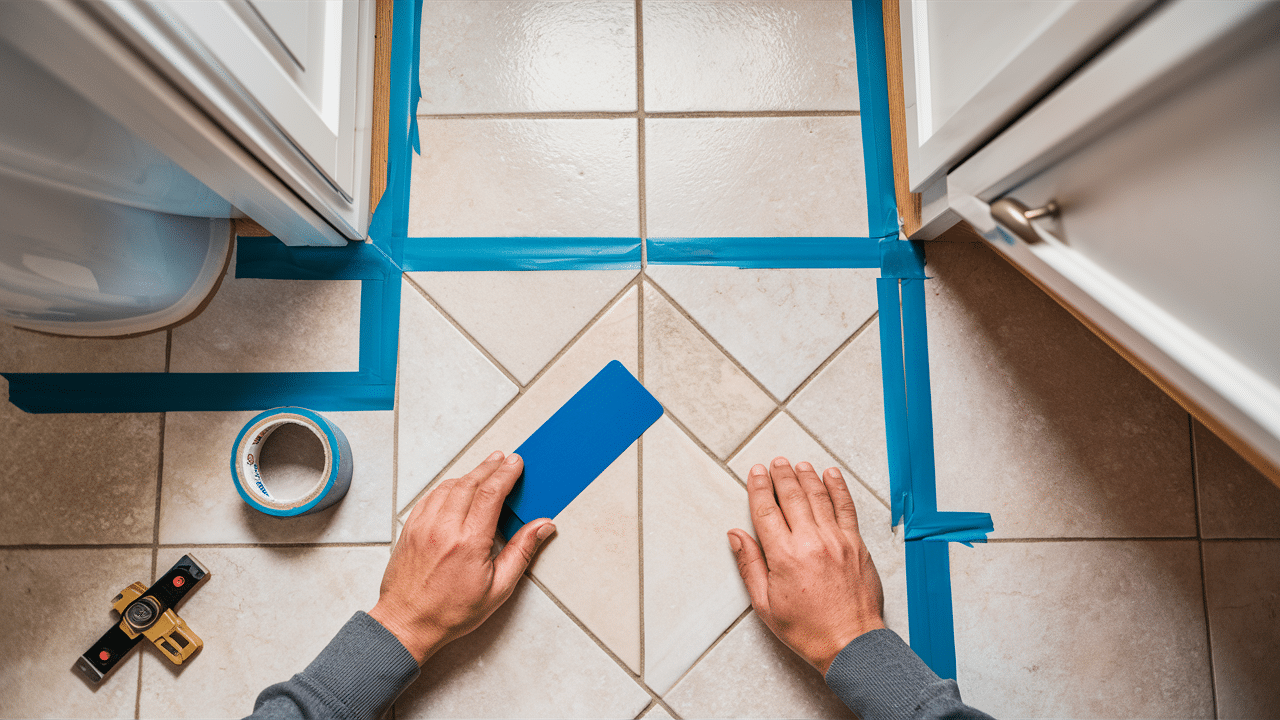
The final preparation step is to mask off areas that should remain unpainted. Cover baseboards, toilet bases, cabinets, and anything else that touches the floor with painter’s tape.
Once all the tape is in place, use your finger or a plastic card to press down firmly along all the edges. This critical step prevents paint from seeping underneath and creating messy lines.
Taking your time during this taping process will save you considerable frustration and touch-up work later.
Good prep work might take a few hours, but it’s worth it! Well-prepped tiles will hold paint much longer than ones that were rushed.
Step-by-Step Painting Process
Now for the fun part – actually painting your tiles! After all that cleaning, sanding, and taping, you’re finally ready to see your vision take shape.
This is where your floor begins its transformation from tired and worn to fresh and stylish.
4. Apply Primer
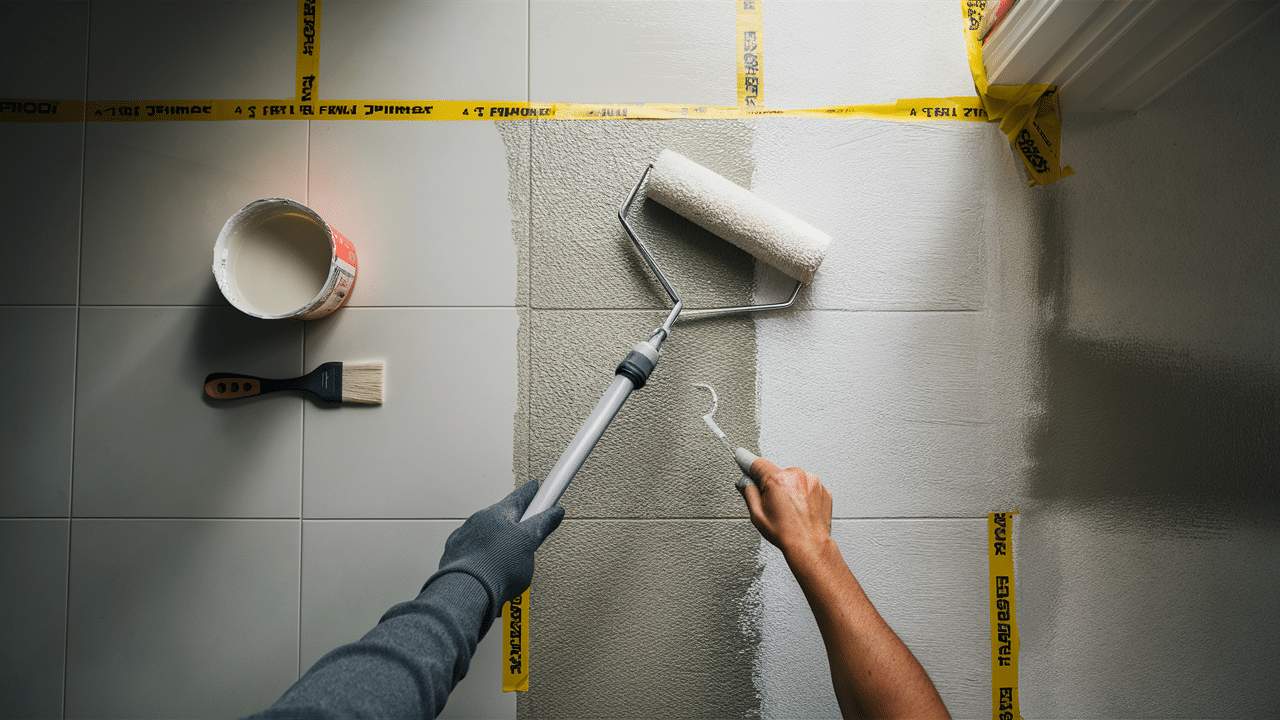
Begin by applying primer specifically made for tile or glossy surfaces. Pour a small amount of primer into a paint tray, then use a foam roller to apply a thin, even coat.
Work in small sections, about 3×3 feet at a time. Roll in one direction, then cross-roll (roll perpendicular to your first direction) to ensure even coverage. Use a small brush for corners and edges that the roller can’t reach.
Allow this first coat to dry completely, which typically takes 2-4 hours, depending on temperature and humidity. The room should feel well-ventilated during this process.
The primer is ready for paint only when it has complete, even coverage with no tile showing through.
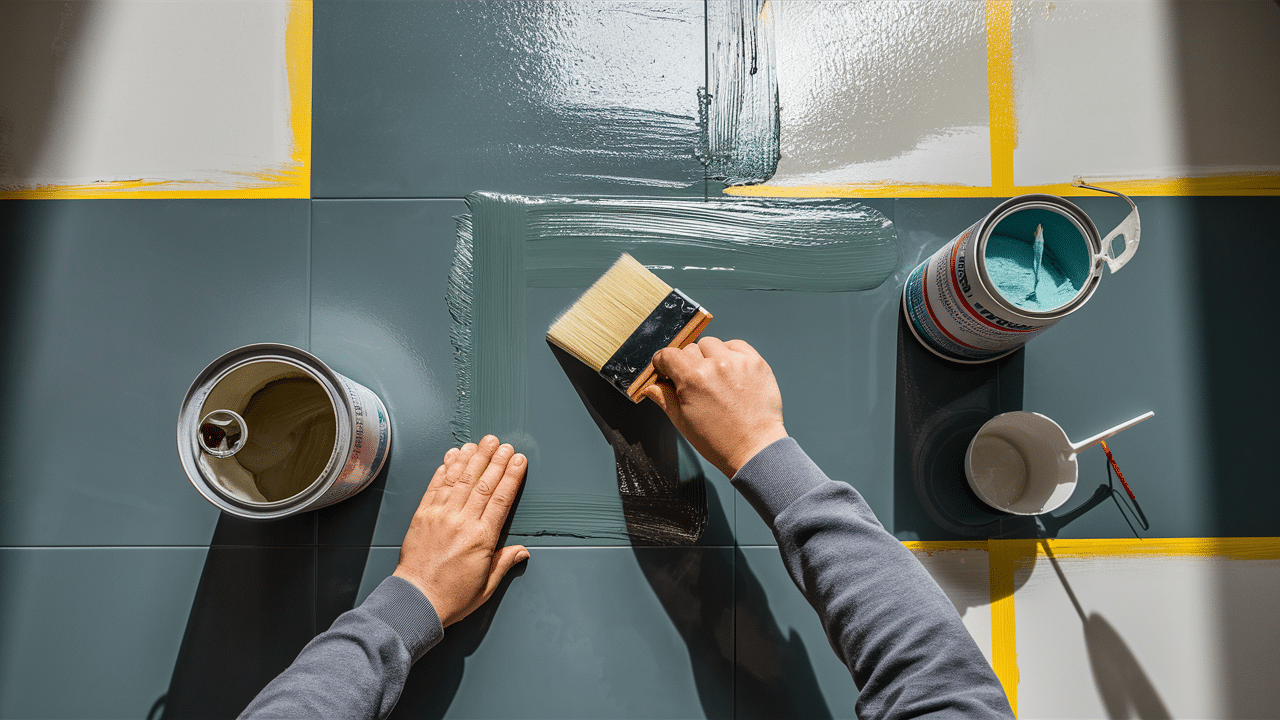
5. Apply First Coat of Paint
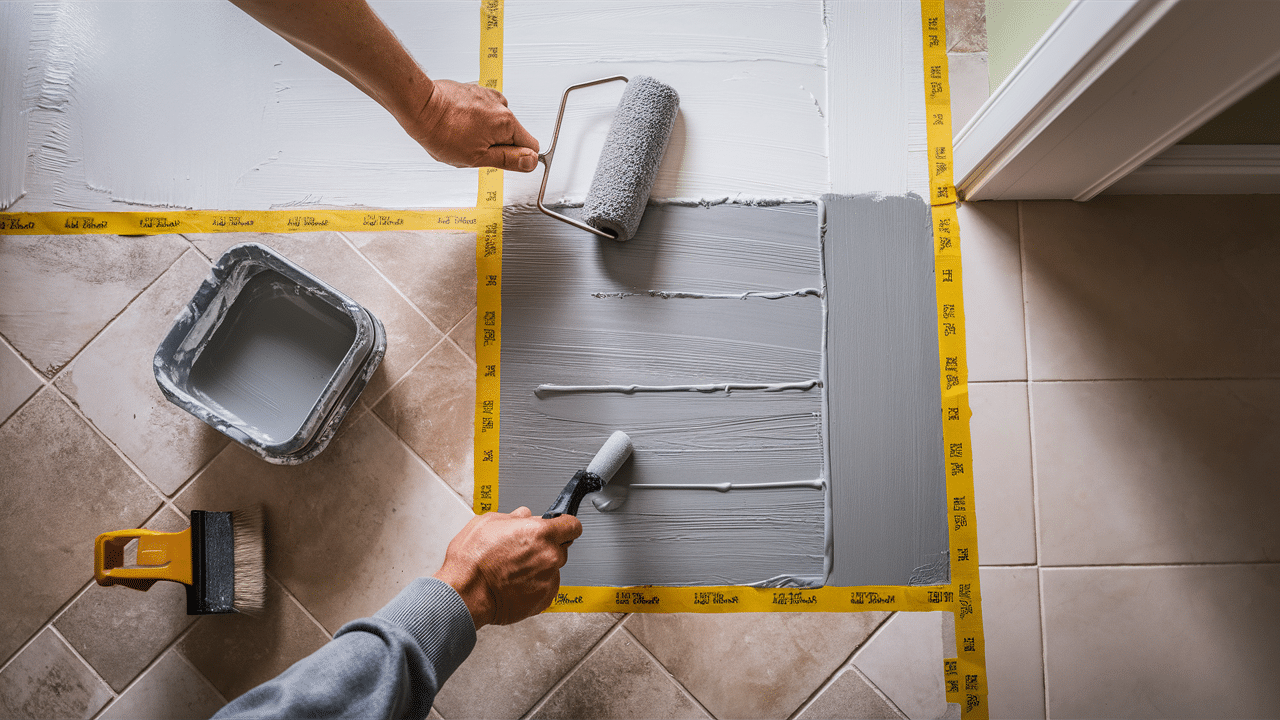
Preparation is key when you’re ready to apply the paint. Stir the paint thoroughly to ensure the color and ingredients are completely mixed.
As with the primer, use a foam roller to apply thin, even layers rather than trying to cover everything in one go. Work in small sections and maintain a wet edge to prevent visible lines.
Allow 6-8 hours between coats, though you should always check your specific paint’s instructions, as drying times can vary. If you’re working in a bathroom, keep the fan running to help with drying.
6. Let It Dry Completely
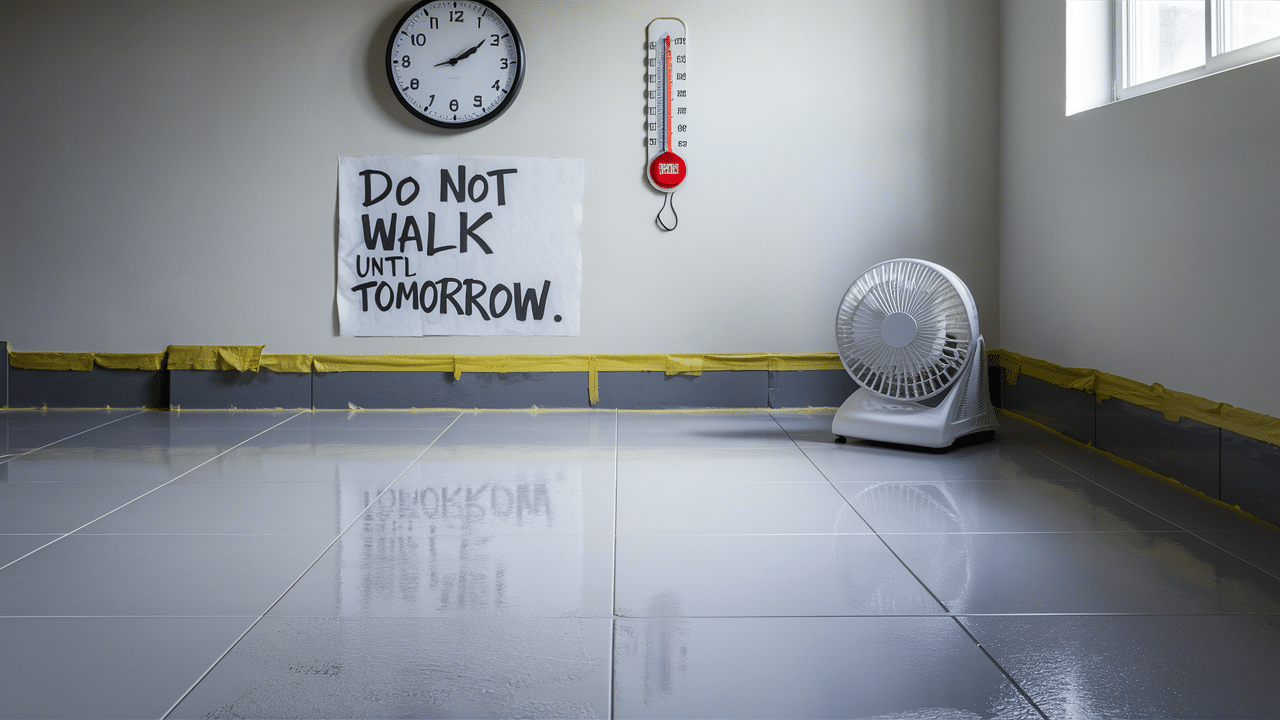
Be patient! Rush this step, and your finish will suffer.
Patience during the drying process is crucial for a professional-looking finish. Set a timer between coats to avoid the temptation to rush—applying the next coat too soon is a common mistake that leads to peeling and bubbling.
Before adding another layer, touch the surface gently to confirm it doesn’t feel tacky or sticky. For optimal drying, aim for an environment between 65-75°F with low humidity, as these conditions allow the paint to cure properly.
I let mine dry overnight. The wait was hard but worth it.
7. Apply Second Coat of Paint
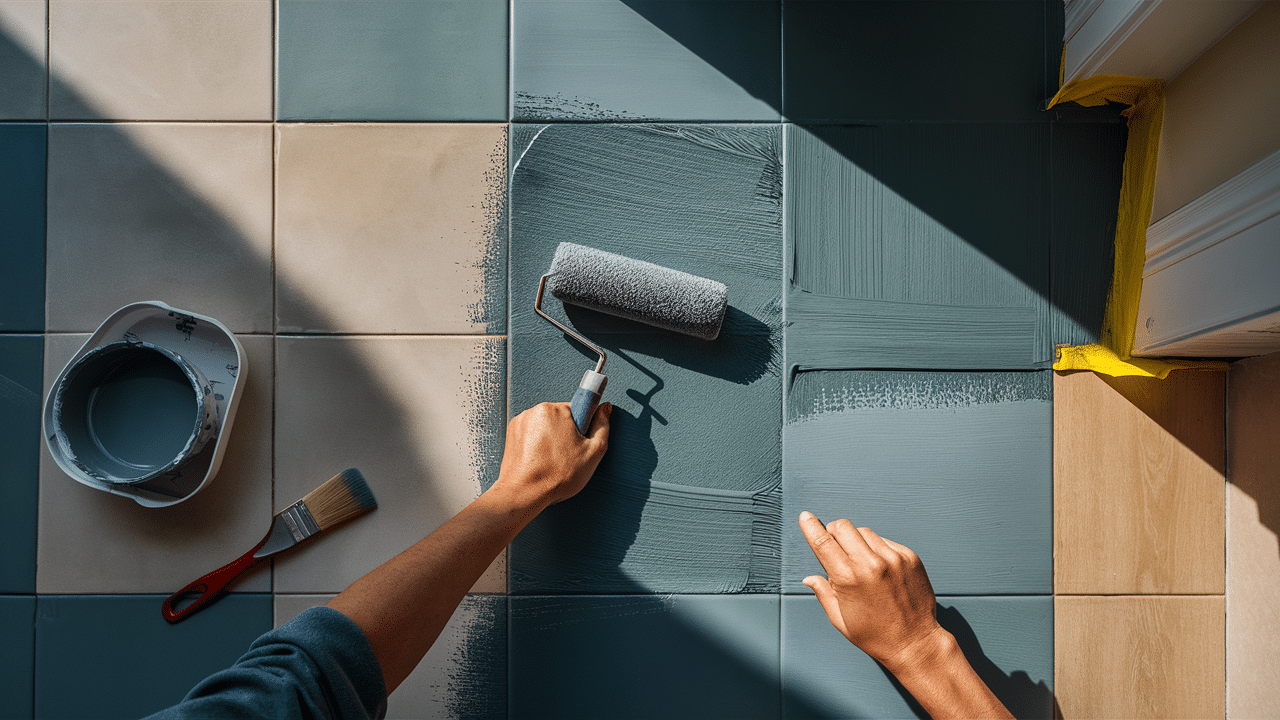
The second coat will provide deeper, more even color coverage. Apply it just like the first, using the same techniques with your foam roller and brush.
Take your time to ensure a smooth, even application without drips or roller marks. Pay special attention to the corners and edges, which often need extra coverage.
You’ll see the color deepen with this coat. The finish starts to look more solid and even.
8. Touch Up with a Small Brush
After your second coat has dried, inspect the floor carefully for any missed spots or uneven areas. Use a small brush to touch up these spots.
Look at your floor from different angles and in different lighting. This helps spot missed areas or imperfections that might not be obvious at first glance.
These small fixes might seem minor, but they make a big difference in the final appearance.
9. Apply Clear Sealant
The final step in your tile painting project is applying a protective clear coat. Once the paint is fully dry—ideally after 24 hours—apply 2-3 light coats of water-based polyurethane.
This protective layer is not just optional but essential for longevity, as it adds significant protection against foot traffic and moisture. Be sure to choose a floor-grade sealer designed for high-traffic environments.
Like the paint itself, apply the sealer in thin, even coats and allow proper drying time between applications for the most durable finish. I used a wide brush for the sealer application, which gave me more control than a roller.
10. Let It Cure Before Walking On It
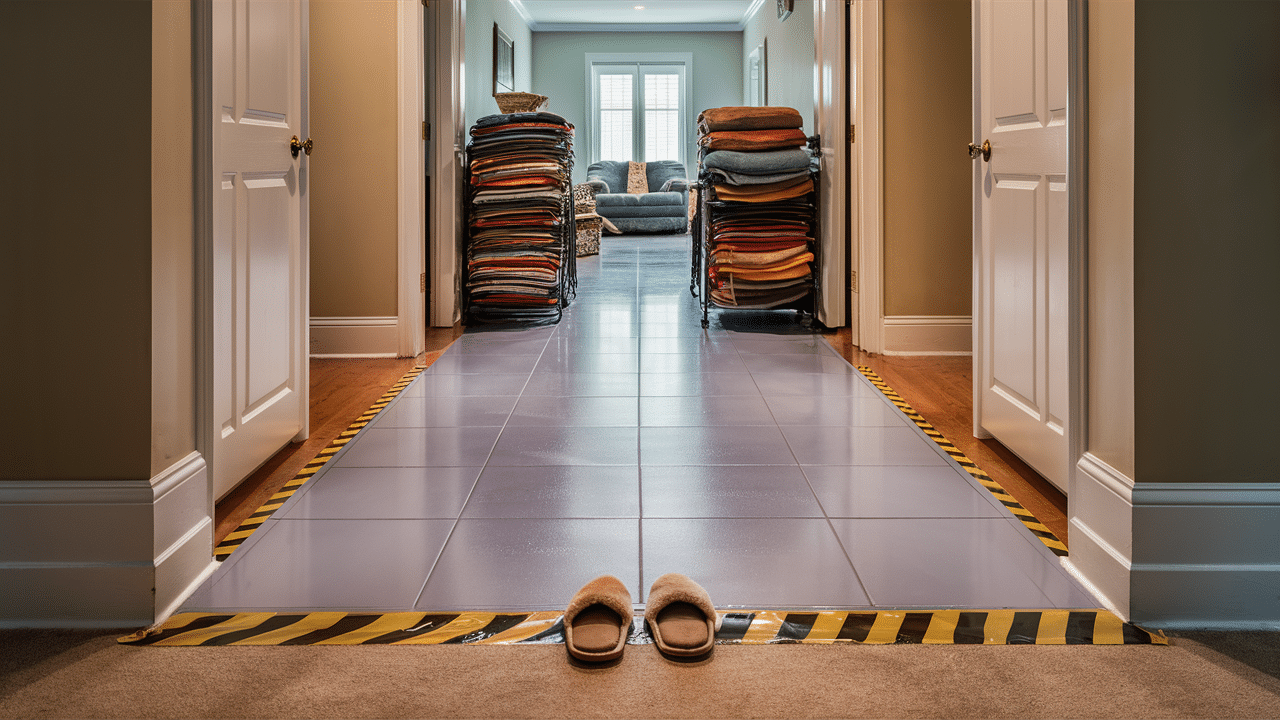
The hardest part is waiting. Allow your newly painted floor to cure for at least 48-72 hours before walking on it, and wait a full week before moving furniture back.
The longer you can wait, the harder and more durable your finish will become. This patience pays off with a longer-lasting paint job.
I waited a full three days before moving the bathroom rugs back. It was tough, but my paint job is still perfect a year later.
Painting Different Areas of the Floor
- For large, open areas: Use the foam roller in a W pattern for even coverage
- For corners: Use a small brush and feather the edges
- For grout lines: Either paint over them for a solid look or use a small brush to keep them defined
- For high-traffic zones: Apply an extra coat of sealer in these areas
The whole painting process takes about a weekend, including drying time. Most of that time is spent waiting between steps, so plan other activities during the waiting periods.
Common Mistakes and How to Avoid Them
Let me save you from the mistakes I made on my first try:
Paint peeling too soon
Cause: Not cleaning or sanding properly
Fix: Take extra time on prep work – it’s worth it!
Uneven, blotchy finish
Cause: Applying too much paint at once
Fix: Use multiple thin coats instead of one thick one
Visible roller marks
Cause: Rolling too fast or with a dry roller
Fix: Keep a wet edge and roll slowly with even pressure
The paint is wearing off quickly
Cause: No protective sealer
Fix: Apply 2-3 coats of quality floor sealer as your final step
Paint bubbling or blistering
Cause: Moisture trapped under the paint
Fix: Make sure tiles are completely dry before painting
Taking your time with each step will help you avoid most of these issues. Remember that rushing usually leads to a redo later.
Finishing Touches and Care Tips
After your paint and sealer are completely dry (wait at least 48 hours), you’re ready for the final steps that complete your floor transformation.
1. Remove tape carefully
When removing the painter’s tape, pull it away slowly at a 45-degree angle rather than yanking it straight up, which helps prevent the tape from taking paint with it.
If you notice the paint beginning to lift as you remove the tape, stop immediately and use a razor blade to carefully score along the edge, creating a clean separation between the tape and your painted surface.
For best results, remove the tape during the cooler part of the day when the paint is slightly harder and less likely to lift or stretch with the tape.
2. Fix minor imperfections
Even with careful application, you might discover minor imperfections once everything is dry. For small drips or bumps in the paint, use very fine sandpaper (400-grit) with an extremely gentle touch to smooth the surface, then touch up with paint and sealer.
3. Return furniture carefully
When it’s finally time to put everything back, add felt pads to the bottom of all furniture legs. Lift rather than drag furniture into place to protect your new floor finish.
Long-Term Care for Painted Tiles
To keep your painted tiles looking good:
- Clean with mild soap and water—no harsh scrubbing
- Avoid dragging furniture across the floor
- Use rugs in high-traffic areas
- Clean up spills right away
- Reapply sealer once a year in high-traffic areas
Avoid cleaners that contain ammonia or bleach, as these can dull the finish over time. A simple solution of warm water and mild dish soap works perfectly for regular cleaning.
When to Repaint
Signs that your floor needs repainting:
- Paint is chipping in multiple places
- Color has faded significantly
- Sealer has worn off in high-traffic areas
With proper care, your painted tiles should look great for 2-3 years before needing a touch-up. Bathrooms with less foot traffic may last even longer than kitchen floors.
Conclusion
Painting your ceramic floor tiles is a simple way to update your bathroom or kitchen without spending much money. By following these 10 steps and taking your time, you can create a finish that looks professional.
The key points to remember:
- Clean and sand properly before painting
- Use thin, even coats and be patient between them
- Protect your work with a quality sealer
This weekend project can save you thousands of dollars compared to replacing your tile. Plus, you get the satisfaction of doing it yourself!
Now that you know how to do it, what’s stopping you? Those old, ugly tiles could look brand new by next week.
Have you painted floor tiles before? Did you try a specific color or pattern? Share your experience in the comments below! I’d love to see how your project turned out.