
Thinking about painting your walls after removing the wallpaper? You’re not alone! A fresh coat of paint can make any room feel brand new. But before you grab a paintbrush, there are a few important steps you need to take.
Removing wallpaper often leaves behind glue, damage, or rough spots. If you skip the prep work, your paint might not stick well—or it could peel and look patchy later on.
In this blog, I’ll explain everything you need to know about painting after taking down wallpaper. From cleaning off sticky residue to fixing holes and choosing the right primer, I’ve got you covered.
Don’t worry—this guide is simple and easy to follow, even if you’re new to DIY. Let’s get your walls looking smooth and ready for that perfect coat of paint!
Should You Paint After Removing Wallpaper?
Yes, you can definitely paint your walls after removing the wallpaper, but only if you take the right steps first. Once the wallpaper is gone, the wall underneath usually isn’t ready for paint right away. There might be leftover glue, small holes, or rough spots that need fixing.
Painting without prepping the wall can lead to problems. The paint might not stick well, bubble, peel, or look uneven. But don’t worry—if you clean and smooth the wall, use primer, and take your time, you’ll get great results.
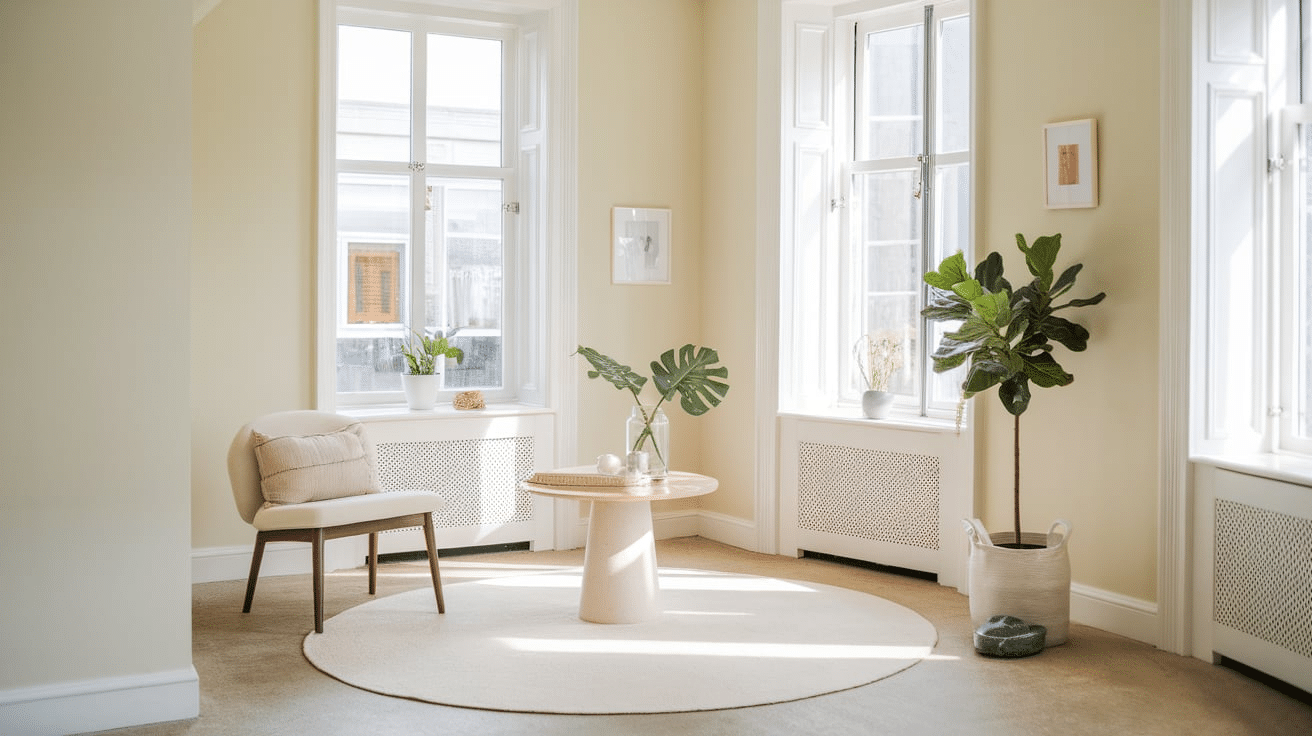
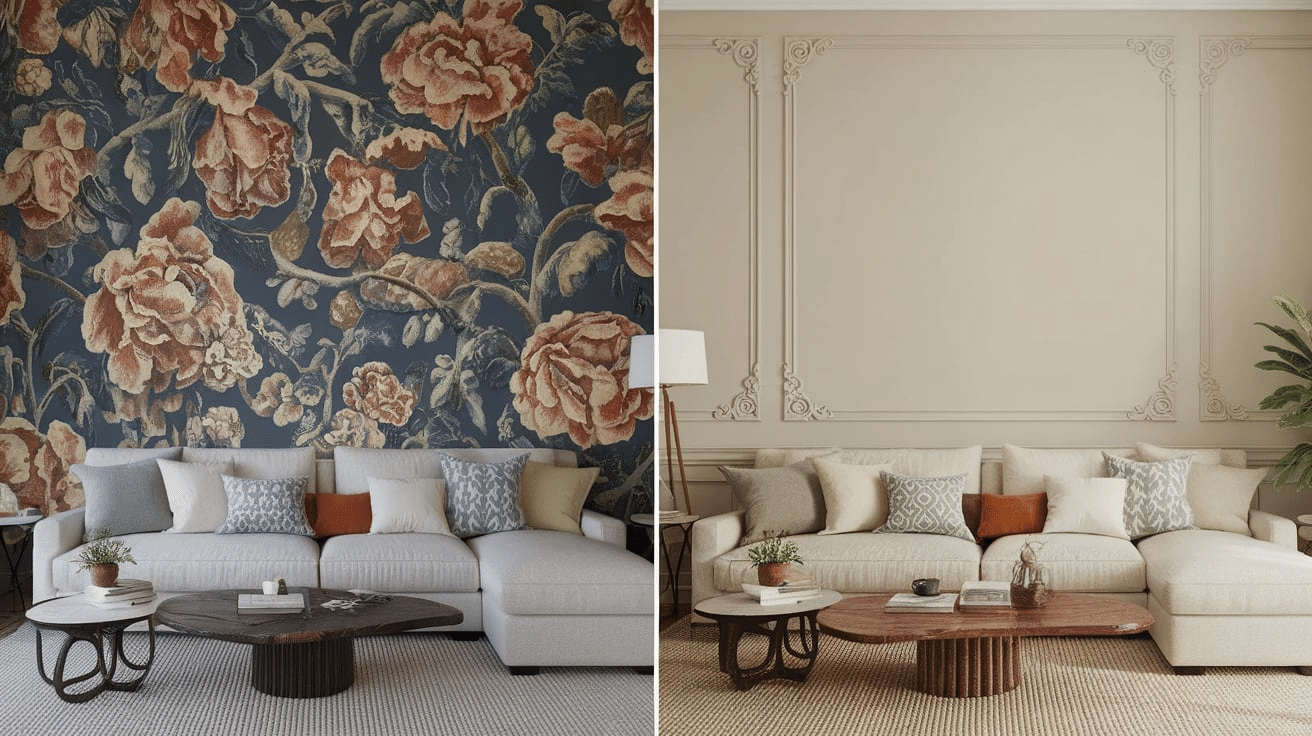
Painting after wallpaper is a great way to update your space. It gives your space a clean, modern look and lets you choose any color you want. So yes, go ahead and paint—but make sure to prep your walls first!
What to Expect After Removing Wallpaper
After you remove the wallpaper, your walls might not be ready for paint right away.
What You’ll Like About Painting Freshly Exposed Walls
- You can finally choose your own color and update the room.
- Paint gives your space a clean, smooth, modern look.
- It’s easier to decorate and match your style.
Common Wall Problems You Might See:
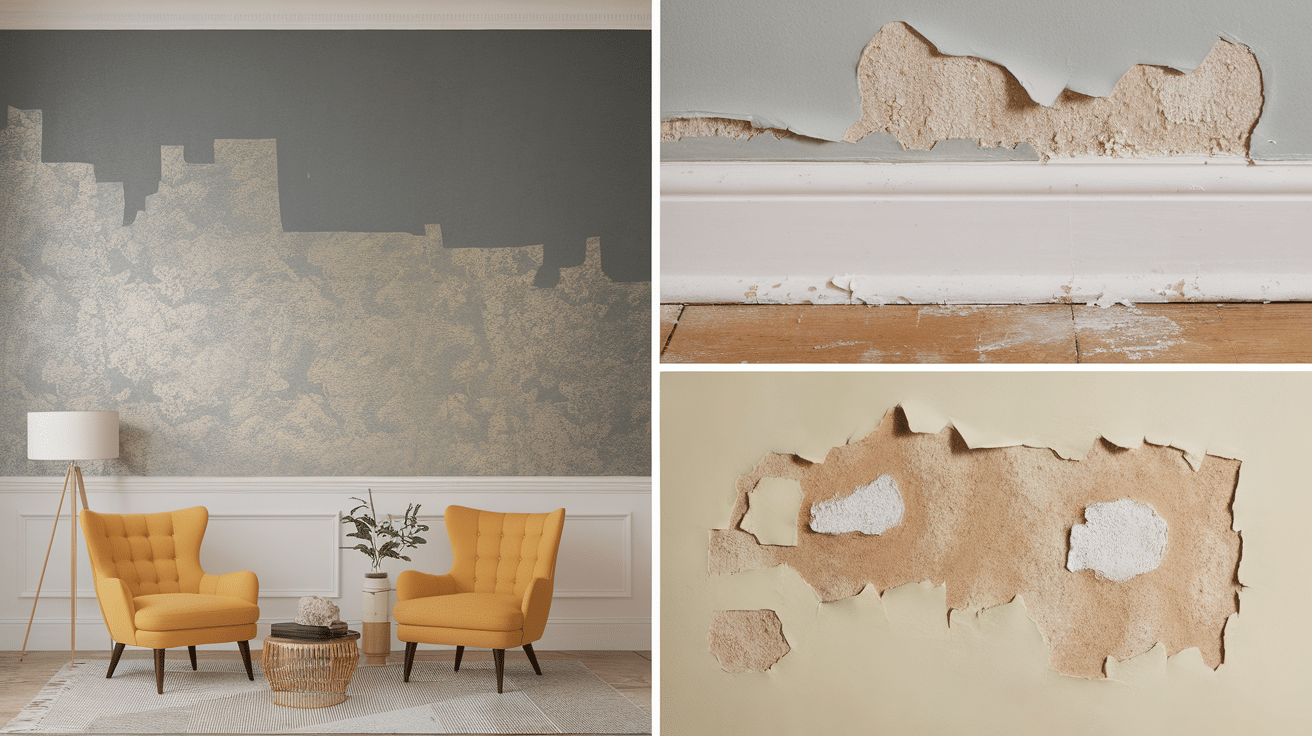
- Sticky residue from old wallpaper glue.
- Small holes or torn drywall paper.
- Uneven texture or rough patches.
Taking the time to prep your walls helps your paint job look its best!
Tools and Supplies You’ll Need
Before you start, make sure you have the right tools on hand. This will make the job easier and help you get better results.
You’ll need:
-
Wallpaper scraper or putty knife
-
Spray bottle with warm water or wallpaper remover
-
Sponge and bucket for cleaning
-
Drop cloths or old towels to protect the floor
-
Painter’s tape
-
Sandpaper (medium and fine grit)
-
Spackling paste or joint compound
-
Putty knife for patching holes
-
Primer (look for one made for damaged or porous walls)
-
Paint and paintbrushes or rollers
Having these supplies ready will save time and help you prep your walls like a pro!
Step-by-Step Guide to Painting After Removing Wallpaper
Painting after wallpaper can be a smooth process if you follow the right steps.
Step 1: Remove Any Leftover Glue
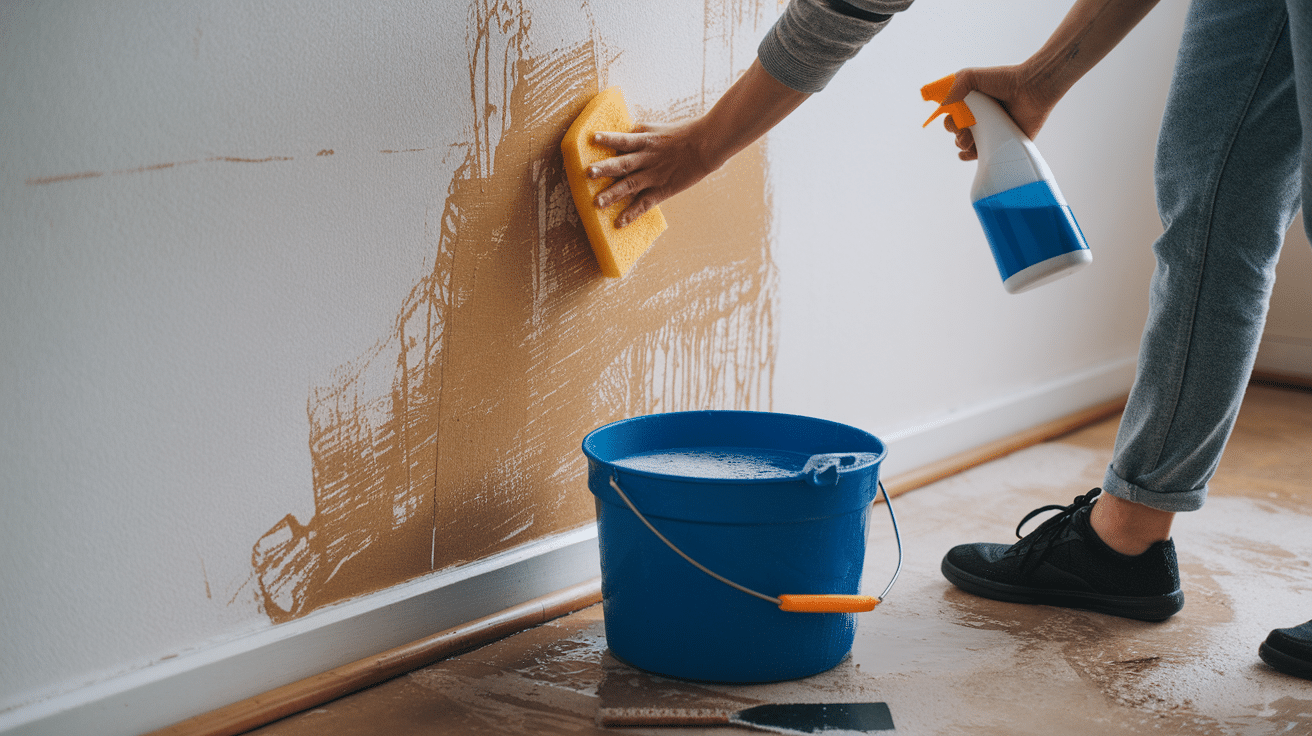
Even if the wallpaper is gone, the glue usually stays behind.
- Mix warm water with a little dish soap or use a glue remover.
- Spray it on the wall and let it soak for a few minutes.
- Use a sponge or scraper to wipe it off.
- Rinse with clean water and let the wall dry completely.
Step 2: Clean the Walls
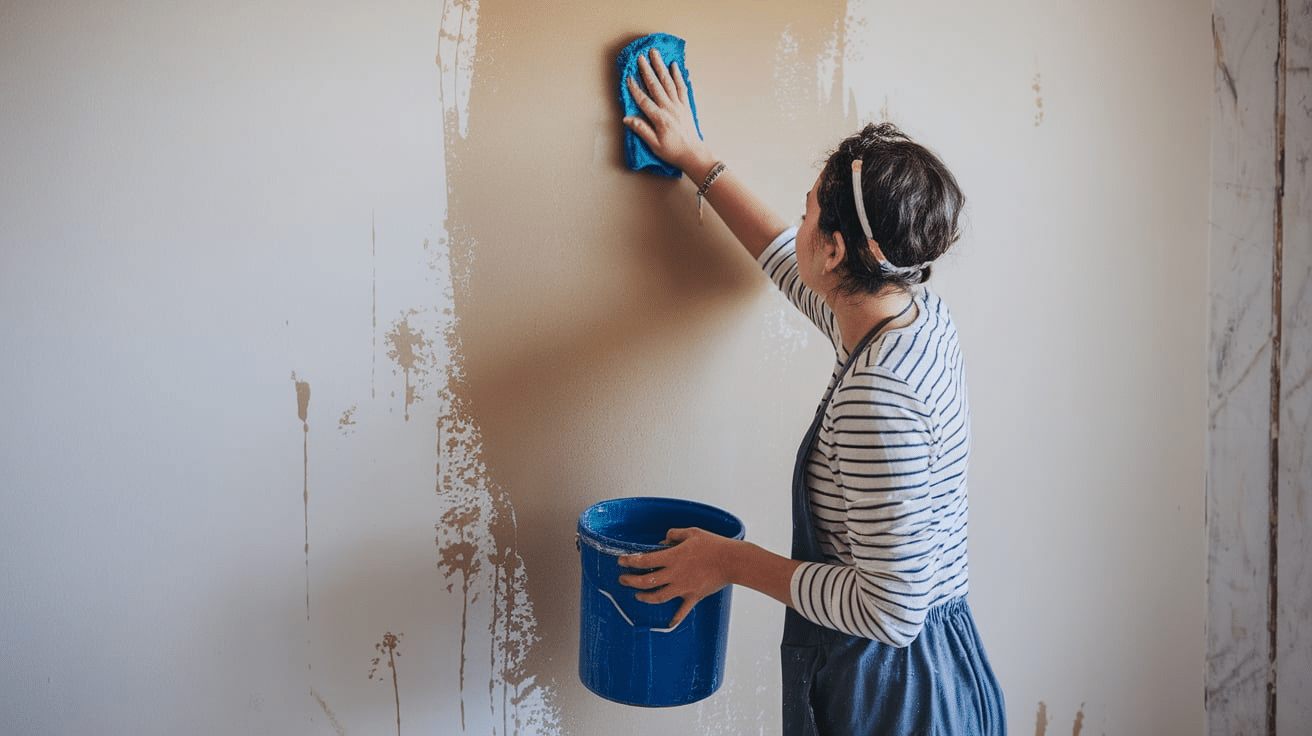
Once the glue is gone, you still need to clean the walls.
- Use a sponge with warm water and mild soap.
- Wipe the whole wall to remove dust and grime.
- Rinse again and let everything dry overnight if you can.
Step 3: Check for Damage and Repair
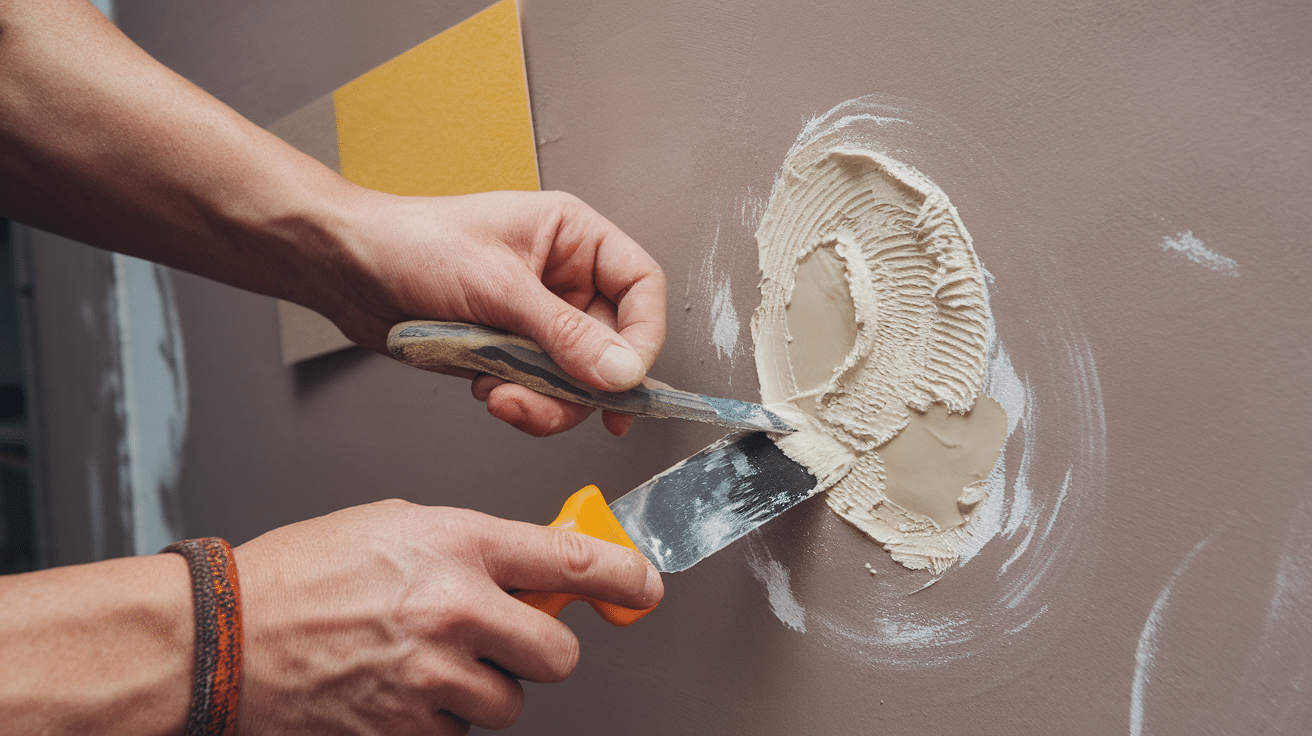
Now, take a close look at your walls.
- Check for small holes, dents, or torn drywall by looking and feeling for rough spots.
- Fill damaged areas with spackling paste or joint compound using a putty knife.
- Let the patch dry fully—check the product label for drying time.
- Sand the patched spots smooth once dry.
Step 5: Sand the Whole Wall
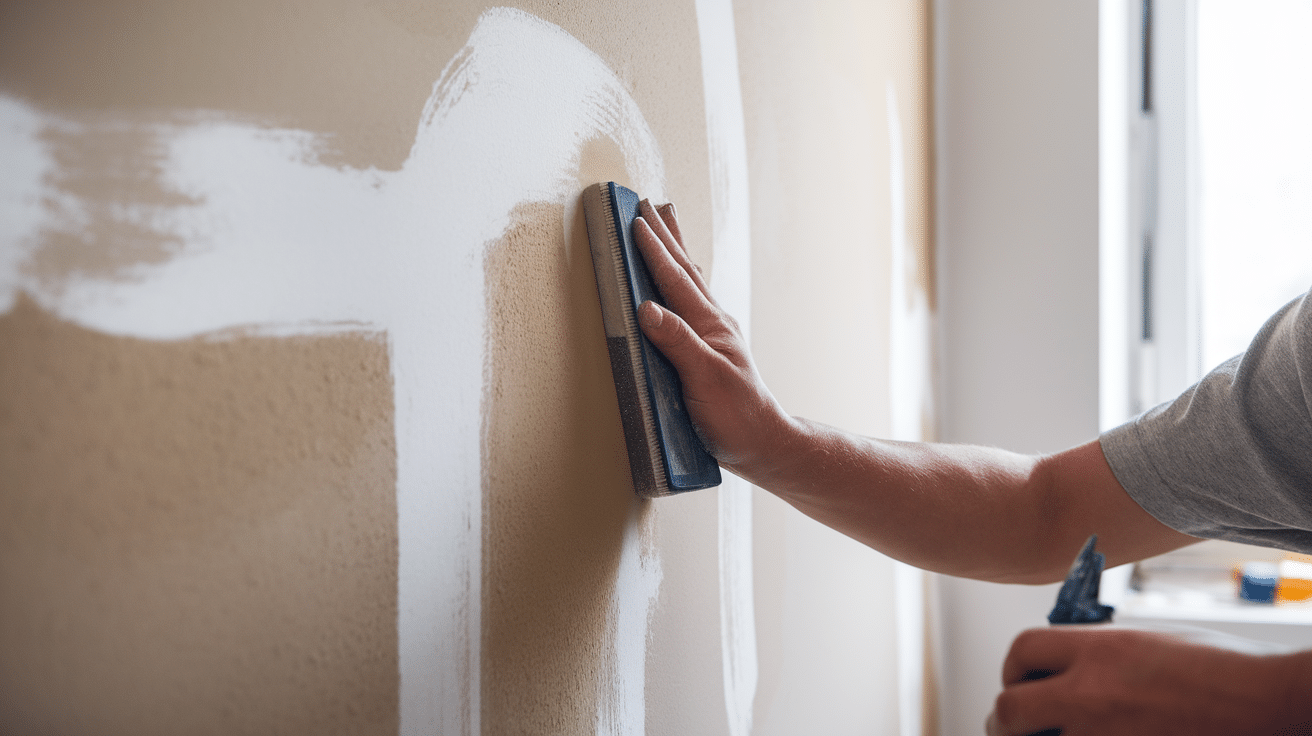
Even if there aren’t many patches, sanding helps paint stick better.
- Use medium (120–150 grit) or fine (180–220 grit) sandpaper for best results. A sanding block or pole sander makes it easier.
- Lightly sand the entire wall surface, not just the patched areas. This helps even out the texture and improves paint adhesion.
Step 6: Prime the Walls
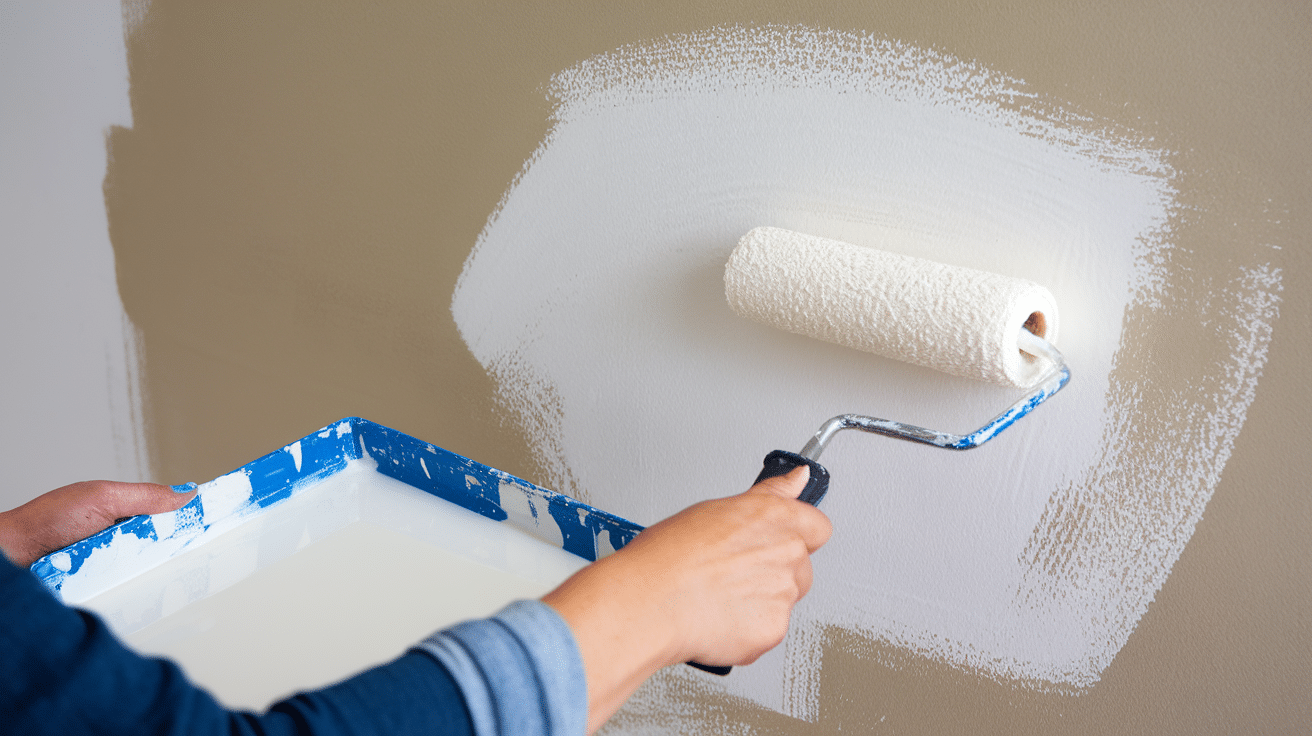
The primer is super important, especially after the wallpaper.
- Choose a primer designed to seal the surface and create a smooth base for paint. It helps cover repairs, blocks stains, and improves paint adhesion.
- Apply primer using a roller for large areas to get even coverage. Use a brush around corners, edges, and trim where a roller can’t reach.
- Make sure to cover the entire wall, especially over patched or sanded spots.
Step 7: Paint the Walls

Now you’re ready for color!
- Stir your paint thoroughly before starting to ensure even color and texture. Use a stir stick and mix from the bottom up.
- Begin by “cutting in”—use a brush to paint along edges, corners, ceilings, and around trim. This creates a clean border for rolling.
- Next, use a roller to cover the larger wall areas. Roll in a “W” or “M” shape to spread the paint evenly, then fill in the gaps with smooth strokes.
- For the best finish, apply two coats of paint. Let the first coat dry completely before adding the second coat to avoid streaks or peeling.
Step 8: Let the Paint Dry Properly
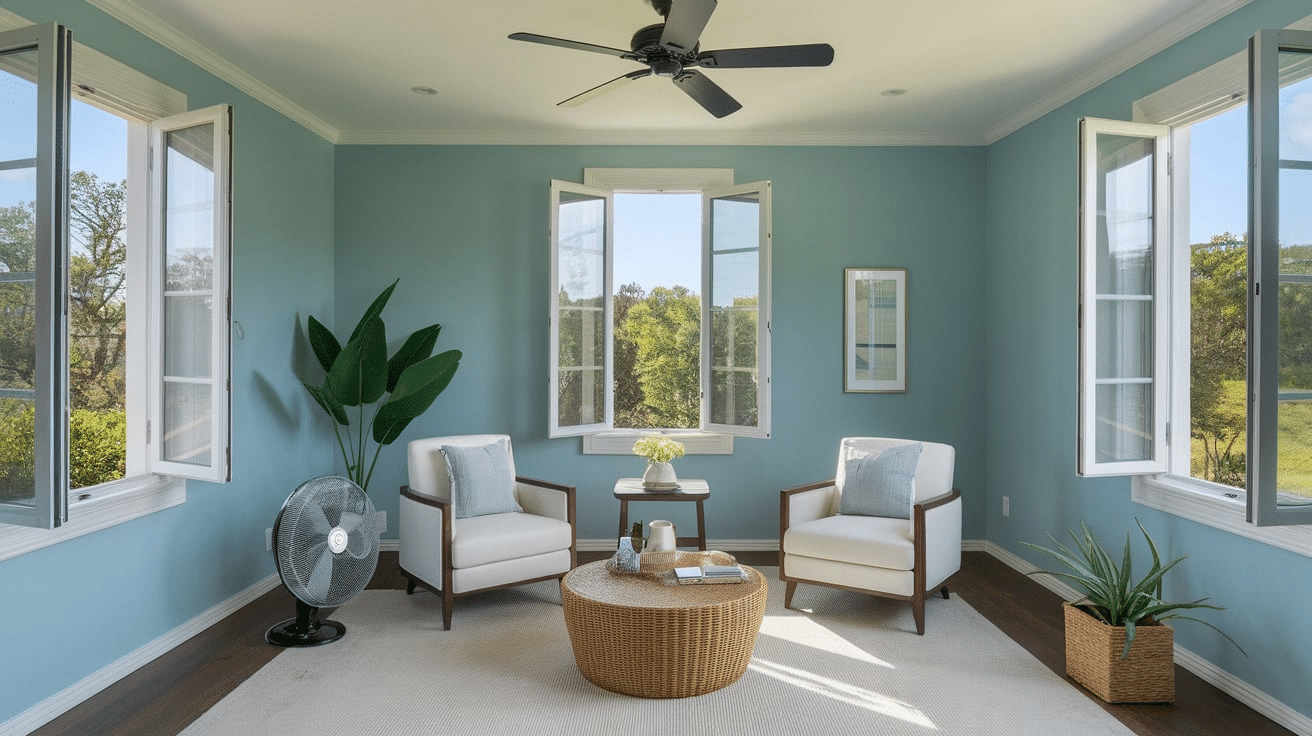
Don’t rush this part—letting the paint dry fully is key.
- Follow the drying time listed on the paint can (usually a few hours between coats).
- Make sure the room is well-ventilated. Open windows or use a fan to help speed things up.
- Keep pets and kids away from the walls while the paint is drying.
Take your time with each step, and your walls will turn out great! Want help choosing the right paint color or finish? I can help with that too.
What Kind of Paint Works Best After Wallpaper Removal?
Once your walls are clean, smooth, and primed, it’s time to pick the right paint. Not all paints are the same, and after wallpaper removal, you want one that sticks well and gives a nice, even finish.
Use Latex Paint
Latex (or water-based) paint is the best choice. It dries fast, has low odor, and is easy to clean with water. It also works great over primer. You can try:
Choose the Right Finish
After wallpaper, go with a smooth finish that hides imperfections:
- Eggshell: Soft look, hides small flaws
- Satin: Slightly shiny, easy to wipe clean
- Matte or Flat: Hides most imperfections but is not great in high-traffic areas
You can try:
Stick with trusted brands and always test a small area if you’re unsure. A good paint will make your hard prep work really pay off!
Is Painting Over Removed Wallpaper Worth It?
Yes, painting over walls after removing wallpaper is definitely worth it! It might take a little time and effort, but the results are totally rewarding. Once the wallpaper is gone and the wall is prepped, you get a smooth, clean surface that’s ready for a fresh coat of paint.
Painting gives you the freedom to choose your style, update your space, and make it feel new again. Plus, it adds value to your home and is much easier to change later than wallpaper.
So yes, it’s absolutely worth it!
Maintenance and Care Tips
Now that your walls are freshly painted, you’ll want to keep them looking great! Here are a few easy tips to help your paint job last longer:
- Dust your walls now and then. Use a dry cloth, a soft duster, or even the brush attachment on your vacuum to gently clean off dust.
- Wipe off marks right away. If something gets on the wall, clean it with a damp sponge and mild soap. Don’t scrub too hard, especially with flat paint.
- Be careful with furniture. Try not to bump or scrape the walls when moving things around.
- Do small touch-ups if needed. Keep a little extra paint for future touch-ups. A small brush works great for fixing tiny spots.
With just a little care, your walls will stay looking fresh and clean for years!
Conclusion
Painting your walls after removing wallpaper might seem like a big job, but it’s totally doable—especially if you take your time and follow the steps. The key to a smooth and lasting paint job is all in the prep. Cleaning off the glue, fixing any damage, sanding, and priming might take some effort, but it’s worth it in the end.
Once the hard part is done, painting becomes the fun part. You get to pick your colors and enjoy the fresh, clean look of your updated space. Whether you’re going for something bold or keeping it simple, a good paint job can really change the feel of a room.
So don’t rush—take it one step at a time, and enjoy the process. With the right tools and a little patience, you’ll have smooth, freshly painted walls you can be proud of!
Frequently Asked Questions
Can I paint over the wallpaper instead of removing it?
Yes, you can, but it’s not ideal. Paint might not stick well, and seams or bubbles can show through. If the wallpaper is damaged or peeling, it’s best to remove it first for a smoother, longer-lasting finish.
Should I use oil-based paint instead of latex?
Latex is easier to work with and clean up, especially for indoor walls. Oil-based paint is stronger but smells more and takes longer to dry.
What if the drywall paper tears during wallpaper removal?
Patch torn spots with joint compound. Let it dry, sand it smooth, and use a primer that seals drywall, like Zinsser Gardz, before painting.