Finding the right wheels for your vehicle can be tricky, especially with the 8×180 bolt pattern.
Many truck owners struggle to find proper fitment options that match their needs.
With the right information about the 8×180 bolt pattern, you can choose wheels that fit perfectly and perform well on your vehicle.
Understanding this specific pattern will help you make better buying choices.
This guide will show you everything about the 8×180 bolt pattern. You’ll learn which vehicles use this pattern, how to measure it correctly, and what wheel options work best.
We’ll also cover common fitment issues to watch out for and share tips for proper wheel installation.
Understanding the 8×180 Bolt Pattern
Definition of 8×180 Bolt Pattern
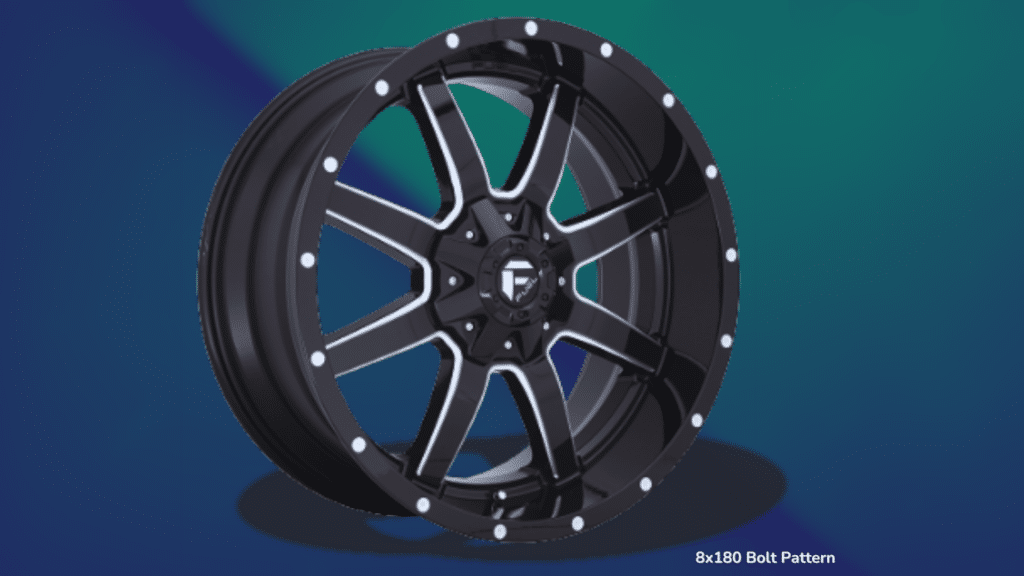
The 8×180 bolt pattern uses two key numbers that tell you important details about your wheel’s mounting points. The first number (8) shows how many lug holes are on your wheel. These holes are spaced equally around the wheel’s center.
The second number (180) tells you the diameter in millimeters of the circle formed by the center of these lug holes. This measurement is also called the bolt circle diameter (BCD). This pattern is common in several GM and Chevy trucks, making it a standard choice for many vehicle owners.
The pattern helps spread the vehicle’s weight evenly across all mounting points, which is vital for safety and performance.
How the 8×180 Bolt Pattern Works
The 8×180 pattern creates a strong connection between your wheel and vehicle hub. The eight mounting points form a perfect circle, with each lug nut placed exactly 45 degrees apart. This setup helps distribute force equally when your vehicle moves, turns, or stops.
The lug nuts must be fitted in a specific order and tightened to the right torque specs. This process, often called star or cross pattern tightening, ensures even pressure across all mounting points.
Proper installation prevents issues like vibration, uneven wear, and potential safety risks.
Measurement and Conversion: Mm to Inches
The 8×180 pattern uses metric measurements (millimeters), but many wheel specs come in inches. To convert the 180mm bolt circle to inches, divide by 25.4. This gives you approximately 7.09 inches.
Understanding both metric and imperial measurements helps when shopping for wheels.
You can measure your bolt pattern at home using simple tools. Place a ruler across the center of one lug hole to the outside edge of the hole across from it. This gives you the bolt circle diameter.
For exact measurements, it’s best to use a bolt pattern gauge or ask a professional. Getting these measurements right is key for proper wheel fit.
Factors to Consider when Selecting Wheels with An 8×180 Bolt Pattern
When choosing wheels for your vehicle, several key factors affect performance and safety. Let’s examine each important aspect to help you make an informed decision.
1. Load Capacity and Durability
The load capacity of your wheels must match your vehicle’s requirements. Each wheel comes with a specific weight rating that shows how much load it can handle safely. For 8×180 applications, which are often used in heavy-duty trucks, the load rating becomes especially important.
Steel wheels typically offer higher load capacities compared to aluminum options. However, modern aluminum alloy wheels use advanced materials that provide excellent strength. When checking load ratings, look at both the wheel’s capacity and your vehicle’s maximum load requirements.
The material quality and construction method affect long-term reliability. Cast wheels offer good value, while forged wheels provide extra strength. Consider your typical driving conditions – if you often carry heavy loads or drive on rough roads, choose wheels with higher load ratings.
2. Compatibility with Gm Trucks
The 8×180 bolt pattern appears on several GM truck models, but compatibility involves more than just matching bolt patterns. Check these specifications:
- Center bore size must match your vehicle’s hub
- Wheel offset needs to work with your truck’s suspension
- Rim width should fit within your wheel wells
- Brake caliper clearance requires verification
Most GM trucks using this pattern need a center bore of 124.1mm. This measurement ensures proper centering of the wheel on the hub. Some aftermarket wheels use a larger bore with hub-centric rings for proper fitting.
3. Ensuring Proper Fitment and Alignment
Correct wheel fitment prevents handling issues and uneven tire wear. Here’s what to check:
- Measure the wheel offset needed for your specific model
- Check the backspacing requirements
- Verify tire size compatibility
- Consider any suspension modifications
Proper wheel alignment becomes crucial after installation. Signs of poor fitment include:
- Rubbing against fenders or suspension parts
- Unusual steering wheel position
- Uneven tire wear patterns
- Vibrations at certain speeds
Always use a torque wrench when installing wheels. Follow the manufacturer’s torque specifications and tightening sequence. Re-check the torque after 50-100 miles of driving to ensure everything stays secure.
How to Install Wheels with An 8×180 Bolt Pattern

Installing new wheels requires attention to detail and proper safety measures. This guide will help you complete the installation correctly and safely.
Tools Required for Installation
| Tool | Purpose | Essential Notes | Safety Tips |
|---|---|---|---|
| Jack and Jack Stands | Lifts and securely supports the vehicle during wheel removal/installation | Must meet vehicle weight requirements; always use stands with jack | Place on solid ground, use proper lifting points |
| Lug Wrench/Impact Wrench | Removes and installs lug nuts | Manual or powered options available | If using impact wrench, be careful not to over-tighten |
| Torque Wrench | Ensures lug nuts are tightened to exact specifications | Must be calibrated and rated for required torque range | Always follow manufacturer’s torque specifications |
| Wire Brush/Cleaning Cloth | Cleans mounting surfaces and removes debris | Wire brush for rust/stubborn debris, cloth for general cleaning | Wear eye protection when using wire brush |
| Wheel Chocks | Prevents vehicle movement during maintenance | Place on opposite end from where you’re working | Use on both sides of wheel for maximum security |
Step-By-Step Guide to Installation
1. Check Your Parts
Before lifting the vehicle, verify that your new wheels match the 8×180 bolt pattern. Inspect all mounting points and ensure the center bore size fits your vehicle’s specifications.
2. Vehicle Preparation
Loosen (but do not remove) the lug nuts while the tire is still on the ground. This provides better leverage. Position your jack under the recommended lifting point.
3. Proper Lifting
Raise the vehicle steadily using the jack. Once it is high enough, place jack stands under the designated support points. Ensure the vehicle is securely supported before working underneath it.
4. Wheel Removal and Hub Care
Carefully remove the old wheels. Clean the hub surface using a wire brush and a suitable cleaner. A clean mounting surface prevents issues with wheel seating and balance.
5. New Wheel Mounting
Position the new wheel carefully over the hub, aligning the bolt holes with the studs. Ensure the wheel sits flat against the hub surface with no gaps.
6. Securing the Wheel
Begin threading all lug nuts by hand until they make contact with the wheel. This prevents cross-threading, which can damage both the lug nut and the stud.
7. Final Installation Steps
Tighten the lug nuts in a star pattern, but only partially. Lower the vehicle until the tires touch the ground. Use a torque wrench to tighten each lug nut to the manufacturer’s exact torque specifications, following the same star pattern.
Importance of Torque Specifications
Let’s explore each aspect of why correct torque matters for your wheel installation.
Ensures Proper Seating
When you tighten lug nuts to the right torque setting, your wheel sits perfectly flat against the hub surface. Think of it like closing a jar – too loose and it leaks, too tight and you damage the threads. The right torque creates equal pressure around all mounting points.
This even pressure keeps your wheel centered and stable. Without proper seating, your wheel might tilt slightly, leading to uneven tire wear and poor handling.
Prevents Over-Tightening
Using too much force when tightening lug nuts can cause serious problems. Metal can stretch or break under excess pressure. Wheel studs might crack or snap if you apply too much torque. The threads on lug nuts can also get damaged.
This damage isn’t always visible right away, but it weakens the connection between your wheel and vehicle. A torque wrench stops you from using too much force, protecting these vital parts.
Reduces Vibrations
Correct torque helps prevent unwanted movement between the wheel and hub. When lug nuts are tightened just right, they create a firm, stable connection. This stability cuts down on vibrations that you might feel in the steering wheel or through the vehicle floor.
Less vibration means your tires wear more evenly, your ride feels smoother, and your vehicle handles better on the road.
Enhances Safety
The right torque keeps your wheels securely attached to your vehicle. Each lug nut needs the correct amount of force – not too much, not too little. This proper tightening prevents wheels from working loose over time.
Regular torque checks, especially after installation, help maintain this safety margin. Think of torque specifications as your safety guarantee for wheel installation.
Common Mistakes to Avoid During Installation
Let’s look at the key errors that can cause problems during wheel installation. Understanding these issues helps prevent damage to your vehicle and keeps you safe on the road.
1. Misalignment of bolt holes
Incorrect alignment during wheel installation creates serious safety risks. When mounting the wheel, all eight holes must line up perfectly with the hub. Sometimes, installers try to force the wheel into position when the holes don’t match.
This damages both the wheel and the hub surface. Proper alignment means the wheel sits flat against the hub with no gaps or tilting. Take time to clean both surfaces before installation. Check that no rust, dirt, or old paint prevents the wheel from sitting flush.
If you feel resistance when placing the wheel, stop and check the alignment. Never use tools to force the wheel into position. A properly aligned wheel slides smoothly onto the hub, and all lug nuts thread easily by hand. Regular inspection of the mounting surfaces helps catch potential fitting problems early.
2. Ignoring torque specifications
The correct amount of force applied to lug nuts matters more than many people think. Each vehicle has specific torque requirements set by manufacturers for safety. Under-tightening leads to loose wheels, while over-tightening can stretch or break studs.
Many people skip using a torque wrench, relying instead on feel or experience. This creates uneven pressure across the wheel and leads to warped rotors or broken studs. The correct method requires a calibrated torque wrench and following the proper tightening sequence.
Check your vehicle’s manual for exact specifications. Tighten the nuts in a star pattern, making several passes until reaching the final torque value. After 50-100 miles of driving, check and adjust the torque again as needed.
3. Using incompatible lug nuts or adapters
Selecting the wrong hardware causes immediate and long-term problems. Each wheel design needs specific lug nuts that match the seat type and thread pattern. Many vehicle owners use incorrect lug nuts because they look similar to the right ones.
Some try to mix different styles or use adapters without checking compatibility. This compromises the wheel’s attachment to the vehicle. The wrong lug nuts might feel tight at first but can loosen over time. Make sure to use lug nuts designed for your specific wheels and vehicle.
Check the seat type (conical, flat, spherical) matches your wheel’s requirements. When replacing lug nuts, buy complete sets rather than mixing old and new ones. If using wheel adapters, verify they’re rated for your vehicle’s weight and designed for the 8×180 pattern.
Applications of the 8×180 Bolt Pattern in Different Vehicles
Understanding which vehicles use the 8×180 bolt pattern helps when searching for wheels and planning upgrades. Let’s look at the main vehicle categories that use this specific pattern.
General Motors trucks with the 8×180 pattern
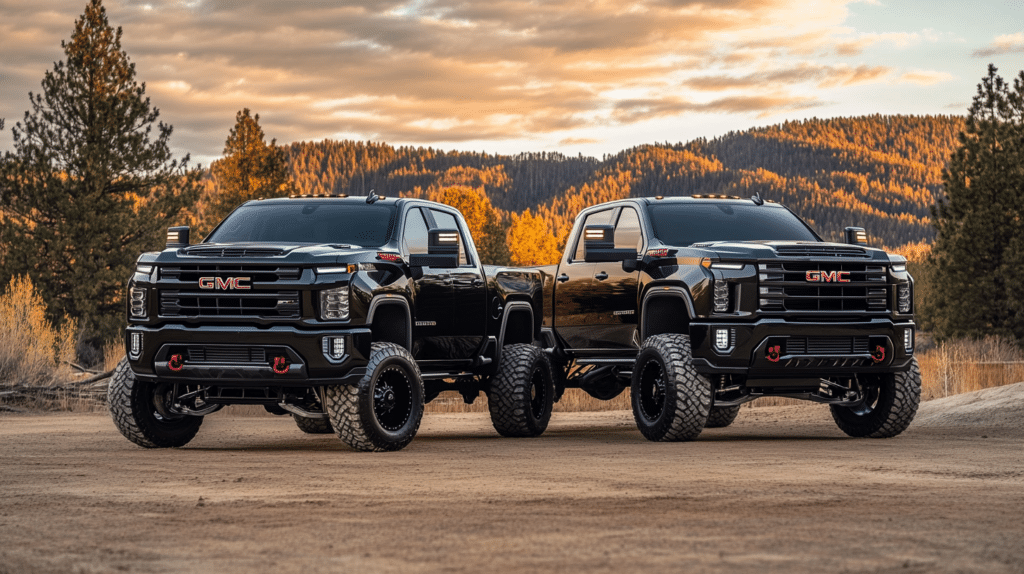
The 8×180 bolt pattern appears most commonly on heavy-duty GM trucks. This includes the Chevrolet Silverado 2500HD and 3500HD models made from 2011 onward. GMC Sierra 2500HD and 3500HD trucks from the same period also use this pattern.
These trucks need this specific pattern due to their size and load-carrying needs. The eight-lug design offers extra strength for heavy loads and towing tasks. This pattern comes standard on both single rear wheel and dually configurations of these trucks.
The consistent use of this pattern across GM’s heavy-duty line makes finding replacement wheels simpler.
Other vehicles that use the 8×180 configuration
While less common outside GM’s lineup, some specialty vehicles use the 8×180 pattern. Select commercial vehicles and custom-built trucks might share this bolt pattern. Some aftermarket wheel makers create wheels in this pattern for modified vehicles.
However, this pattern rarely appears on standard passenger cars or light-duty trucks. The pattern’s size and strength suit vehicles built for serious work.
When looking at non-GM vehicles, always verify the exact bolt pattern before buying new wheels.
Benefits of the 8×180 Bolt Pattern
Let’s examine the key advantages this wheel mounting system offers for heavy-duty vehicles.
1. Increased load-bearing capacity
The 8×180 bolt pattern excels at supporting heavy loads. Eight mounting points spread weight more effectively than patterns with fewer lugs. This design helps trucks carry maximum payloads safely.
The wider 180mm bolt circle creates a larger contact area between the wheel and hub. This spacing helps manage stress during heavy loading. The pattern’s design prevents single points of stress that could lead to failure. For trucks that regularly carry heavy cargo, this extra support proves invaluable.
2. Enhanced durability for heavy-duty use
This pattern’s design focuses on long-term strength. The eight-lug setup reduces wear on individual mounting points compared to six-lug patterns. The even spacing between lugs helps maintain proper wheel balance under stress.
These features extend the life of both wheels and mounting components. Regular maintenance becomes simpler because the pattern resists uneven wear patterns.
3. Suitable for towing and commercial applications
The 8×180 pattern handles the demands of frequent towing tasks. Its design manages the extra forces from trailer weight and movement. Commercial trucks benefit from this pattern’s ability to handle repeated loading cycles.
The pattern maintains stability during constant stop-and-go driving common in work situations. This makes it ideal for fleet vehicles and commercial operations where reliability matters most.
List of Vehicles Using the 8×180 Bolt Pattern

| Make | Model | Years | Available Trims | Notes |
|---|---|---|---|---|
| Chevrolet | Silverado 2500HD | 2011-2023 | Work Truck, LT, LTZ, High Country | All models including single and dual rear wheel configurations |
| Chevrolet | Silverado 3500HD | 2011-2023 | Work Truck, LT, LTZ, High Country | All models including single and dual rear wheel configurations |
| GMC | Sierra 2500HD | 2011-2023 | Base, SLE, SLT, Denali | All models including single and dual rear wheel configurations |
| GMC | Sierra 3500HD | 2011-2023 | Base, SLE, SLT, Denali | All models including single and dual rear wheel configurations |
Conclusion
A strong wheel mounting system forms the backbone of any heavy-duty truck’s performance.
The 8×180 bolt pattern, used in GM’s line of 2500HD and 3500HD trucks, offers solid support for tough work demands.
This pattern’s eight-point mounting system creates better stability and weight distribution than many other options.
Understanding this design helps truck owners pick the right wheels and maintain them properly.
With the right tools and careful attention to installation steps, you can ensure your wheels stay secure.
Proper care of your 8×180 wheels means safer driving, better performance, and longer-lasting parts.
Remember to check your torque settings regularly and always use compatible components for the best results.
Frequently Asked Questions
Can 8×180 Fit 8×6.5?
No. The 8×180 pattern (180mm) and 8×6.5 pattern (165.1mm) have different bolt circle diameters. They are not interchangeable without adapters.
Are All Gm 8-Lug Patterns the Same?
No. GM uses different 8-lug patterns. Modern heavy-duty trucks use 8x180mm, while older models often use 8×6.5 (165.1mm).
What Are Common Alternatives to the 8×180 Bolt Pattern?
Common alternatives include 8×6.5 (165.1mm), 8x170mm (Ford), and 8x165mm patterns. These appear on various heavy-duty trucks from different manufacturers.
Will 8 Lug Ford Rims Fit 8 Lug Chevy?
No. Ford typically uses 8x170mm pattern while Chevy uses 8x180mm or 8×6.5. These patterns don’t match and aren’t directly interchangeable.

