
Adding a brick wall inside your home can do more than just change the look of a room—it can change the whole mood. Brick gives off a feeling of strength, comfort, and timelessness. It’s something real that you can see and feel. And when you put it on an indoor wall, it becomes a standout feature that works in just about any room.
With the right tools, some time, and a plan, this is a project you can take on yourself. You don’t have to hire a pro or redo your whole house. Just one wall, done the right way, can make a big impact.
What Makes Brick Walls So Special?
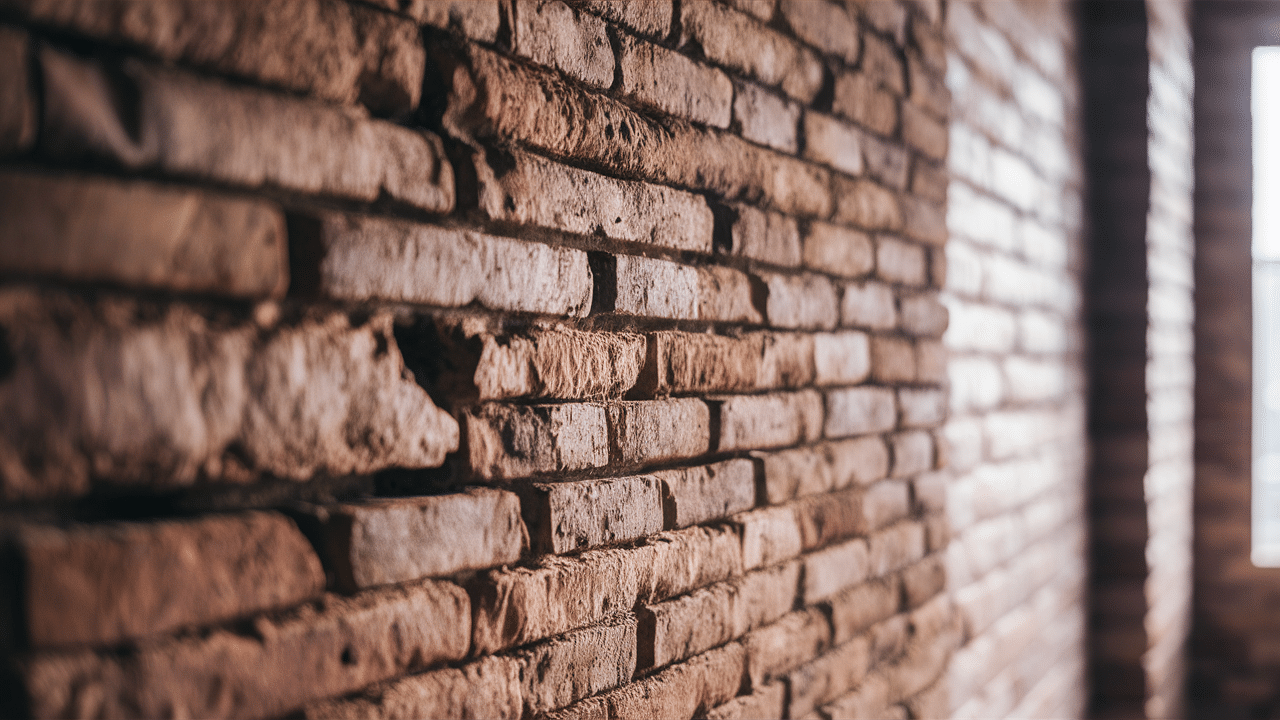
Brick isn’t just about how it looks. It’s also about how it feels. When you walk into a room with a brick wall, there’s a certain calm that comes with it. It makes the space feel grounded and real. You’re not looking at a print or wallpaper—you’re looking at something solid.
It also brings in natural color and texture. Brick has tiny bumps, lines, and shades that paint just can’t match. Even when the bricks are all the same shape, they’re never exactly the same. That small amount of difference gives the wall life.
Why Do It Yourself?
You might be wondering if this is too big of a job to take on alone. But the truth is, this is one of those projects that sounds harder than it is. If you can measure, cut, and follow instructions, you can do this.
Here’s what’s great about doing it yourself:
- You save money
- You learn a skill
- You work at your own pace
- You get to say, “I built that.”
You’ll feel good every time you walk into the room and see the wall you made. It’s not just about looks—it’s about pride in your space.
What This Guide Will Help You Do
This guide is for people who want to try something new, get their hands a little dirty, and enjoy the process along the way. It will walk you through:
- Choosing between real brick and brick veneer
- Picking the best spot for your wall
- Measuring and preparing the surface
- Installing the brick safely and neatly
- Grouting and finishing the wall
- Taking care of the wall long-term
Whether you’re adding brick behind a bed, in a hallway, around a fireplace, or just on a single accent wall, this guide gives you the clear steps to do it right.
Choosing the Right Brick for Your Space
Real Brick
Real bricks are thick, heavy, and strong. They’re the kind used on houses and outdoor buildings. If you want the most natural look and your wall can hold the weight, real brick might be for you. But it takes more time and effort.
Brick Veneer
Brick veneer is a thin version of real brick. It’s lighter, easier to install, and works better for indoor jobs. You stick it right onto your wall with mortar or adhesive. Most people won’t even know it’s not full brick.
Picking the Right Wall
Choose a wall that’s clean, solid, and not too tricky. A flat wall without too many outlets, windows, or corners will make the job easier. Think about how much light the wall gets. Natural light brings out the shape and color of the bricks, helping the wall stand out.
You don’t have to brick the whole room. Just one wall can make a big impact.
Planning and Measuring
Once you pick your wall, measure it from top to bottom and side to side. This helps you know how many bricks or panels you’ll need. Always order a little extra to cover breaks or cuts. If your bricks come in different sizes or shapes, double-check your math.
Tools and Materials You’ll Need
Here’s a simple list to help you get started:
- Brick veneer or full bricks
- Mortar or adhesive
- Grout bag
- Trowel
- Level
- Chalk line
- Safety glasses and gloves
- Drop cloth
- Sponge and water bucket
Get your workspace ready before you begin. Cover the floor, move nearby furniture, and keep tools close by.
How to Install Your Brick Wall
Step 1: Clean the Wall
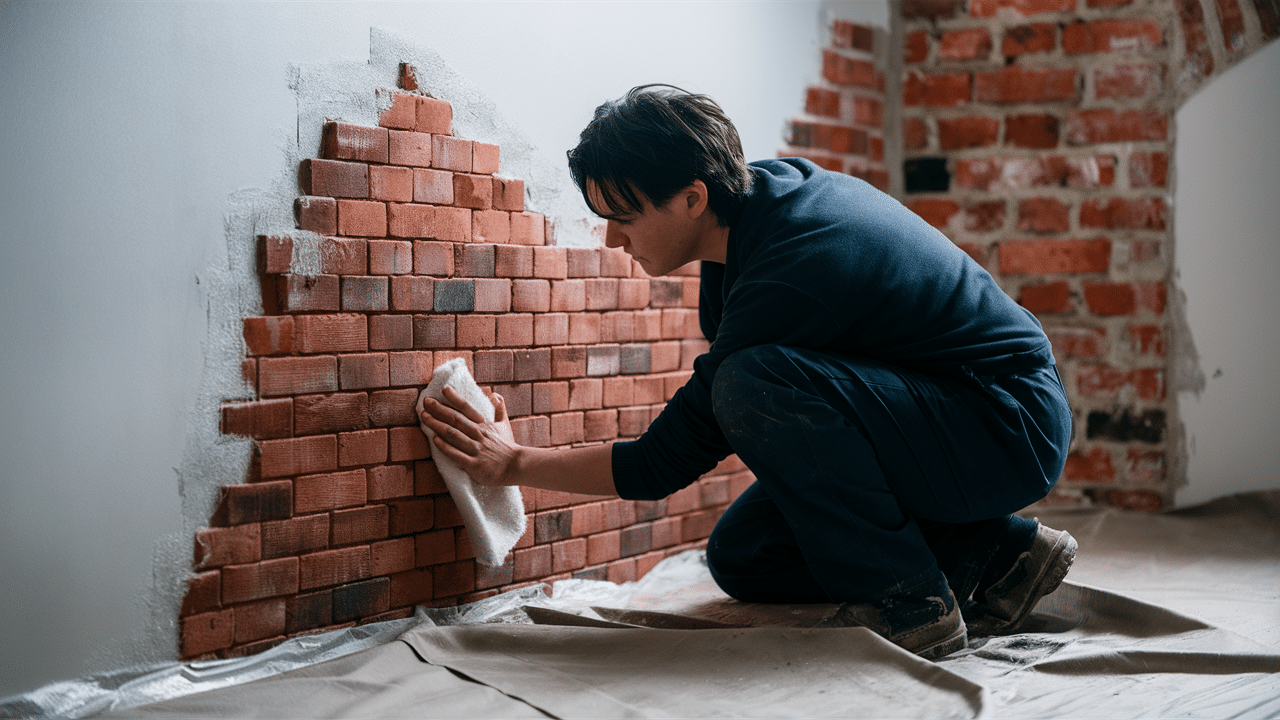
Before you begin, make sure the wall is not just clean but also dry and firm. If you’re working in an area where humidity is high (like near a kitchen or bathroom), consider applying a primer that prevents moisture buildup. If the surface is glossy or has old wallpaper, strip it or sand it until it’s dull.
If there are cracks or dents, patch them with filler and let them dry completely. This ensures your bricks stick evenly and stay in place over time.
Step 2: Draw Level Lines
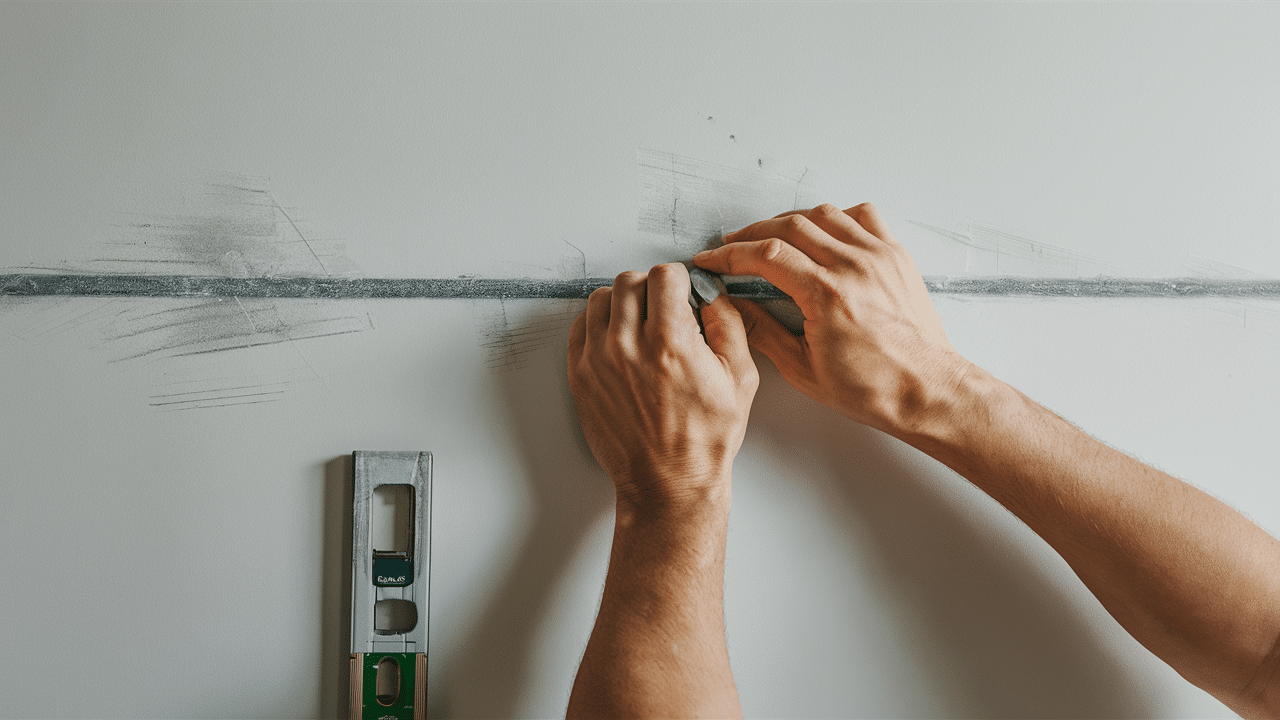
Measure and mark a center line from top to bottom if you’re starting in the middle, or use a corner if you prefer edge-to-edge. A center start helps balance the layout, especially if your wall will be a focal point.
Snap a chalk line every few rows to keep bricks level. Double-check that your floor is straight—if it’s not, the first row may need shims or careful adjustments.
Step 3: Start at the Bottom
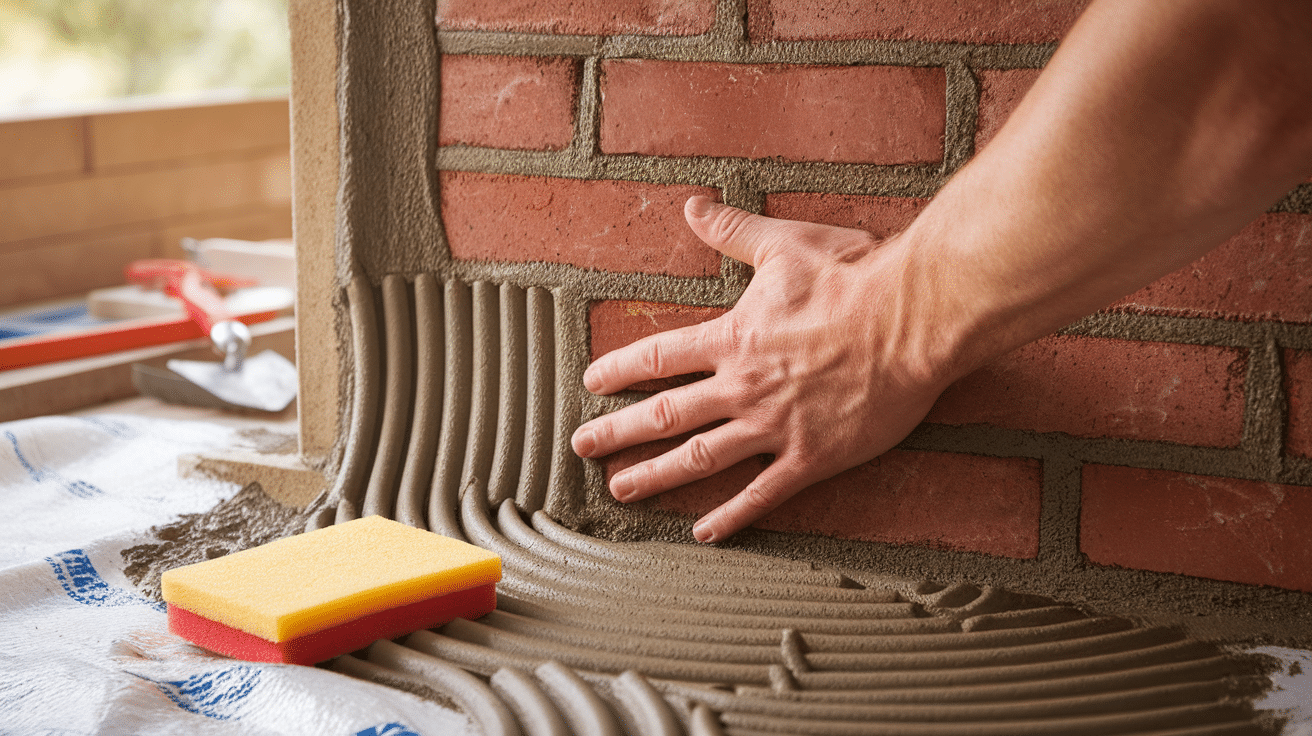
Don’t cover the entire wall with mortar or adhesive all at once. Work in smaller areas—about 3 feet by 3 feet—so it doesn’t dry before you place your bricks. Press firmly, but not so hard that mortar squeezes out the sides.
Keep a sponge handy to wipe smudges off the brick face before they dry.
Step 4: Cut to Fit

When you reach edges or corners, use a masonry saw or brick chisel to cut bricks. Always measure first and wear safety gear while cutting.
Step 5: Let It Dry
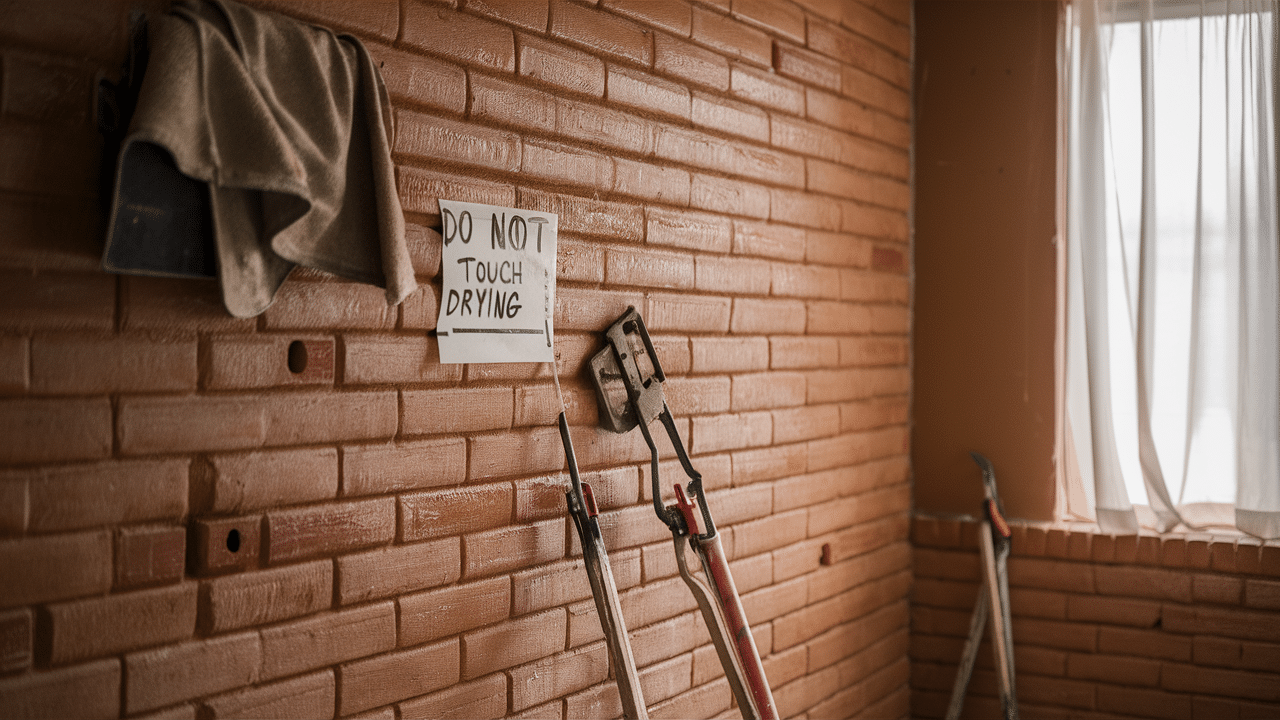
Once your bricks are up, let them set for about 24 hours. Please don’t touch or lean on the wall while it dries.
Adding Grout and Finishing Touches
Once the bricks are secure, fill the gaps using a grout bag. Start at the top and work down. Let the grout set for a bit, then smooth it using your finger or a round tool. Wipe off any extra with a damp sponge.
For walls in kitchens or bathrooms, seal the brick once it’s dry. Use a brush or roller to apply a clear sealant. This helps protect against stains and moisture.
Decorating Your Brick Wall
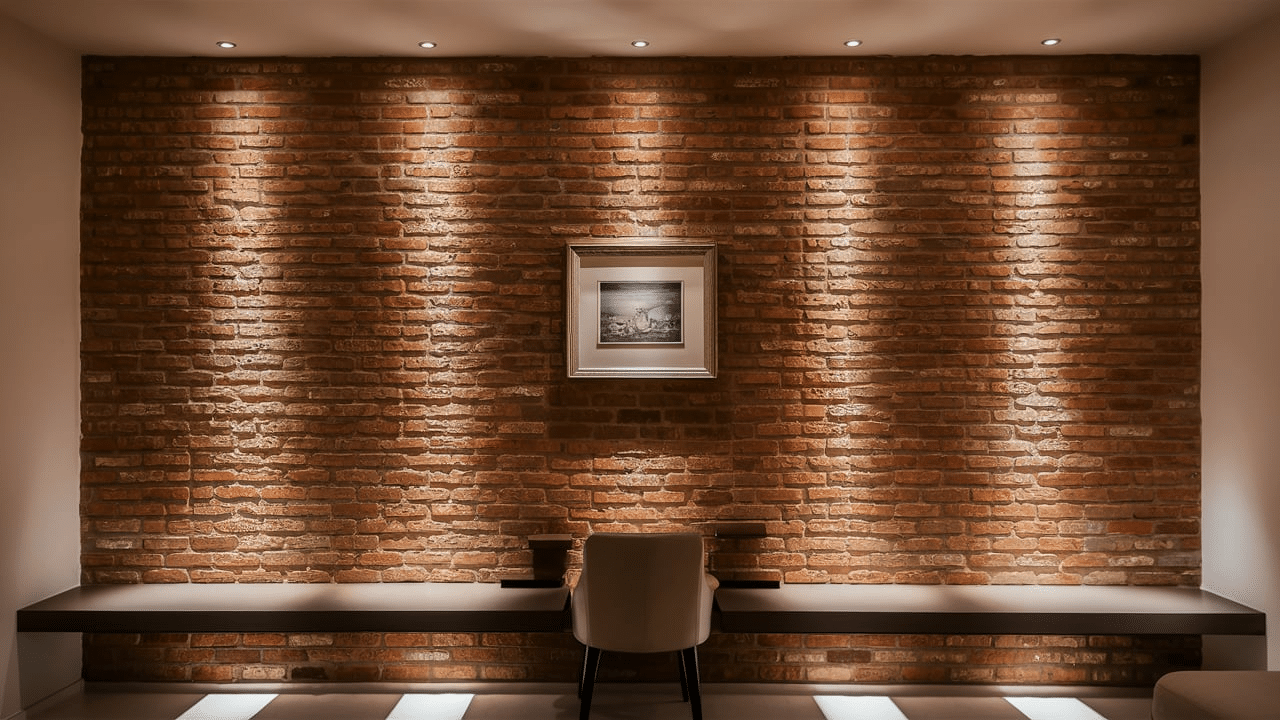
Your new wall doesn’t need much. A simple shelf, a framed photo, or a mirror might be enough. Use soft lights to bring out the brick’s shape and texture.
If it’s behind your bed, you may not need anything at all. The wall itself becomes the highlight.
Taking Care of Your Brick Wall
Brick is strong and easy to care for. Dust it once in a while with a cloth or soft brush. For deeper cleaning, use warm water and a mild cleaner—nothing harsh.
If you see cracks in the grout or small chips, fix them early with a little fresh grout or patching mix.
Final Thoughts
Doing a brick wall yourself can feel like a big job, but it’s one of those projects that really pays off. You don’t just end up with something nice to look at—you build something that feels strong and lasting.
Along the way, you’ll learn new skills, get more comfortable using tools, and take pride in watching your space change piece by piece. It doesn’t have to be perfect. Every small mark, line, or uneven edge gives it character. That’s what makes brick special—it’s meant to feel real, not flat or fake.
Whether your home is old or new, small or large, brick fits in. It becomes a part of the space that anchors it and makes everything else feel more grounded.
Frequently Asked Questions
Is Real Brick Better Than Brick Veneer?
Real brick is stronger, but it’s also much heavier. Brick veneer is easier to install and works great indoors. For most people doing a home project, brick veneer is the best choice.
Do I Need to Remove the Drywall First?
Not for veneer. As long as the drywall is clean and in good shape, you can apply the brick directly on top with mortar or adhesive.
Can I Install a Brick Wall in The Bathroom?
Yes, but it must be sealed properly to protect it from steam and water. Use a good water-resistant sealant, and keep the area well-ventilated.
How Do I Cut Bricks Safely?
Use a masonry saw or a chisel made for brick. Wear gloves and goggles. Cut slowly and measure carefully to avoid waste.
What Tools Are Required for This Project?
You’ll need bricks, mortar or adhesive, a trowel, level, chalk line, grout bag, and basic safety gear. Veneer is lighter, so you won’t need heavy-duty equipment.